
Disclaimer

How to change lambda sensor on a car – replacement tutorial
downloads:
1483
Views:
9637
How to change an oxygen sensor | AUTODOC tips

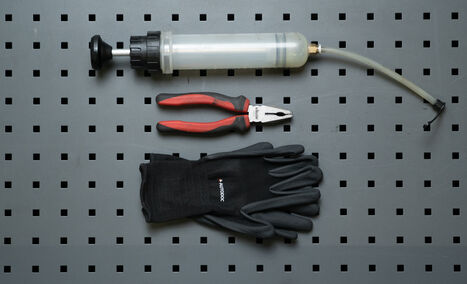
a wire brush
WD-40 spray
electronic spray
copper grease
a torque wrench
a combination spanner
a lambda sensor socket
a ratchet wrench

Please note!
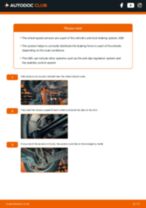
- Modern cars can have from 1 to 8 lambda sensors (also called oxygen sensors).
- Driving a car with a faulty lambda sensor can result in catalytic converter failure, difficulty starting the engine, poor engine performance, and increased fuel consumption.
- 1.
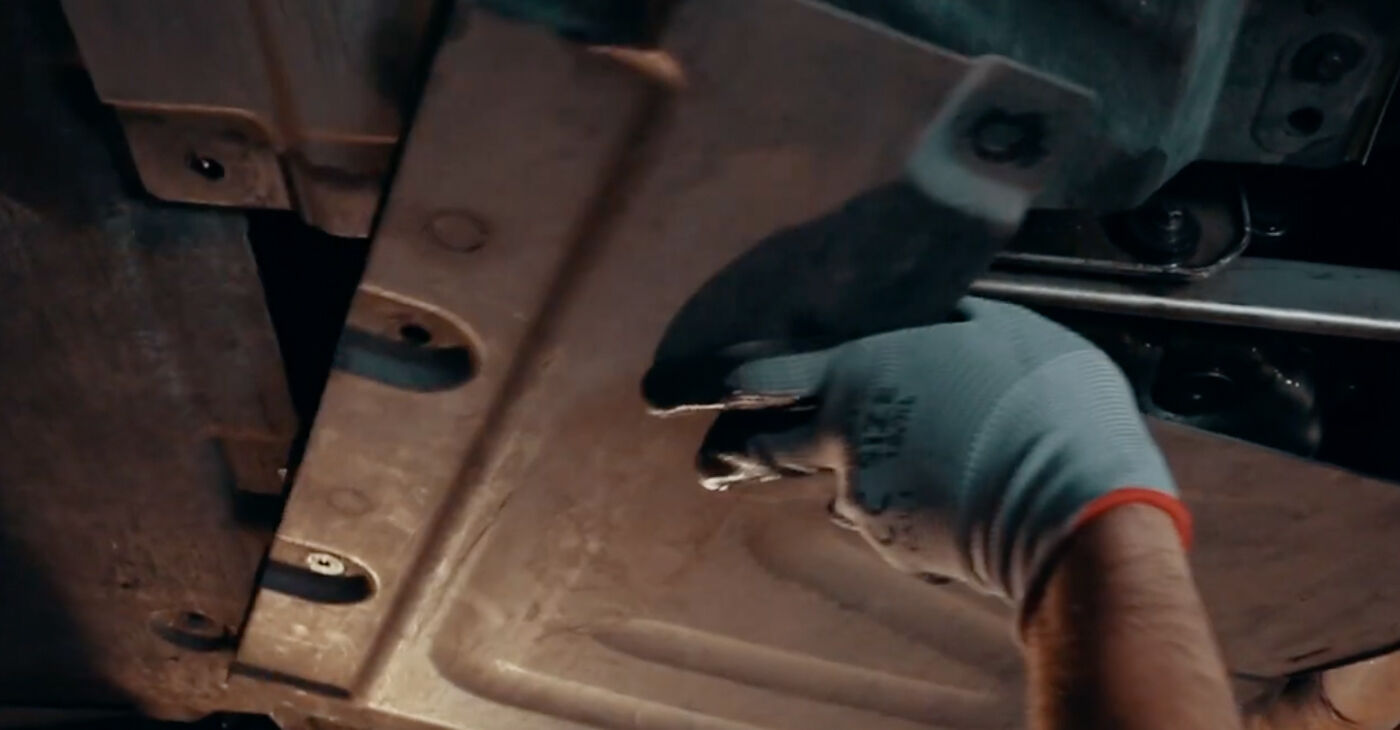 If the exhaust manifold is covered by a heat shield made from a metallised material, remove it.
 - 2.
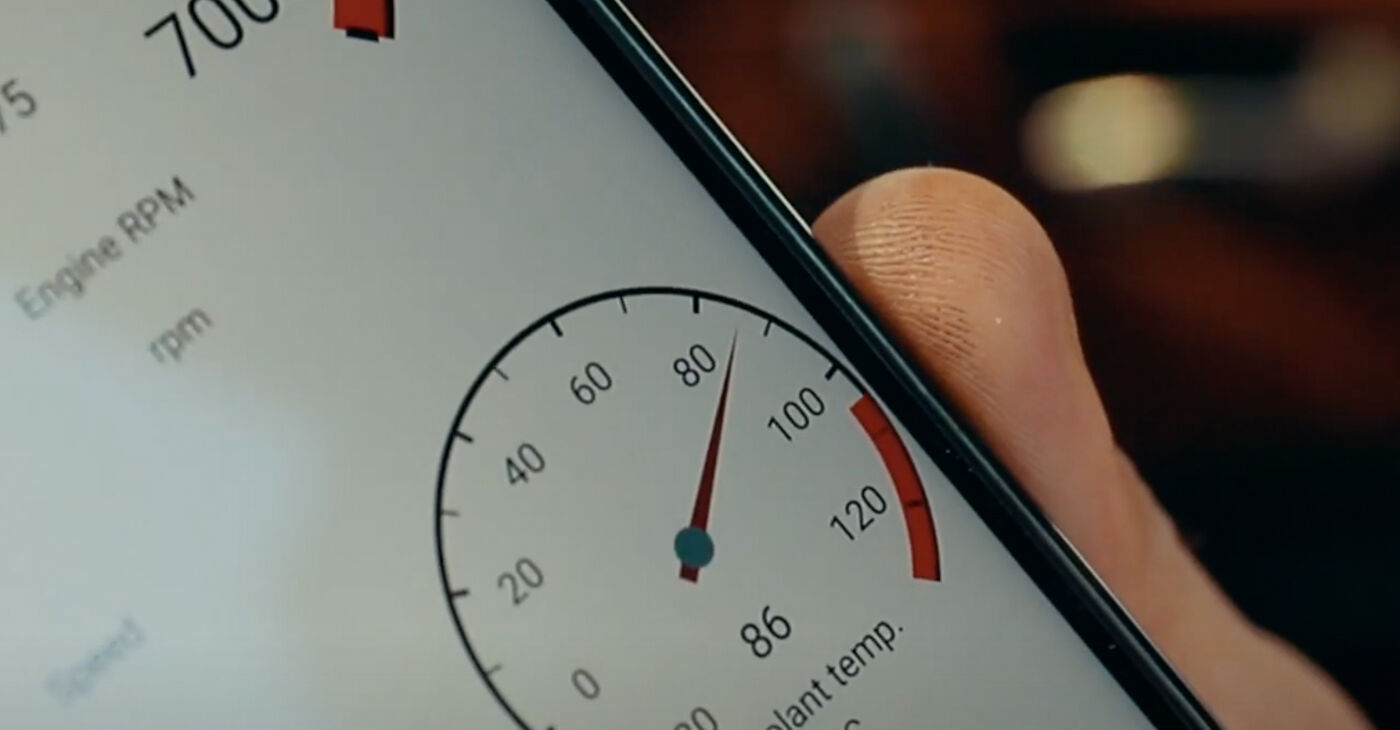 Warm up your engine to operating temperature so it will be easier to unscrew the lambda sensor.
 - 3.
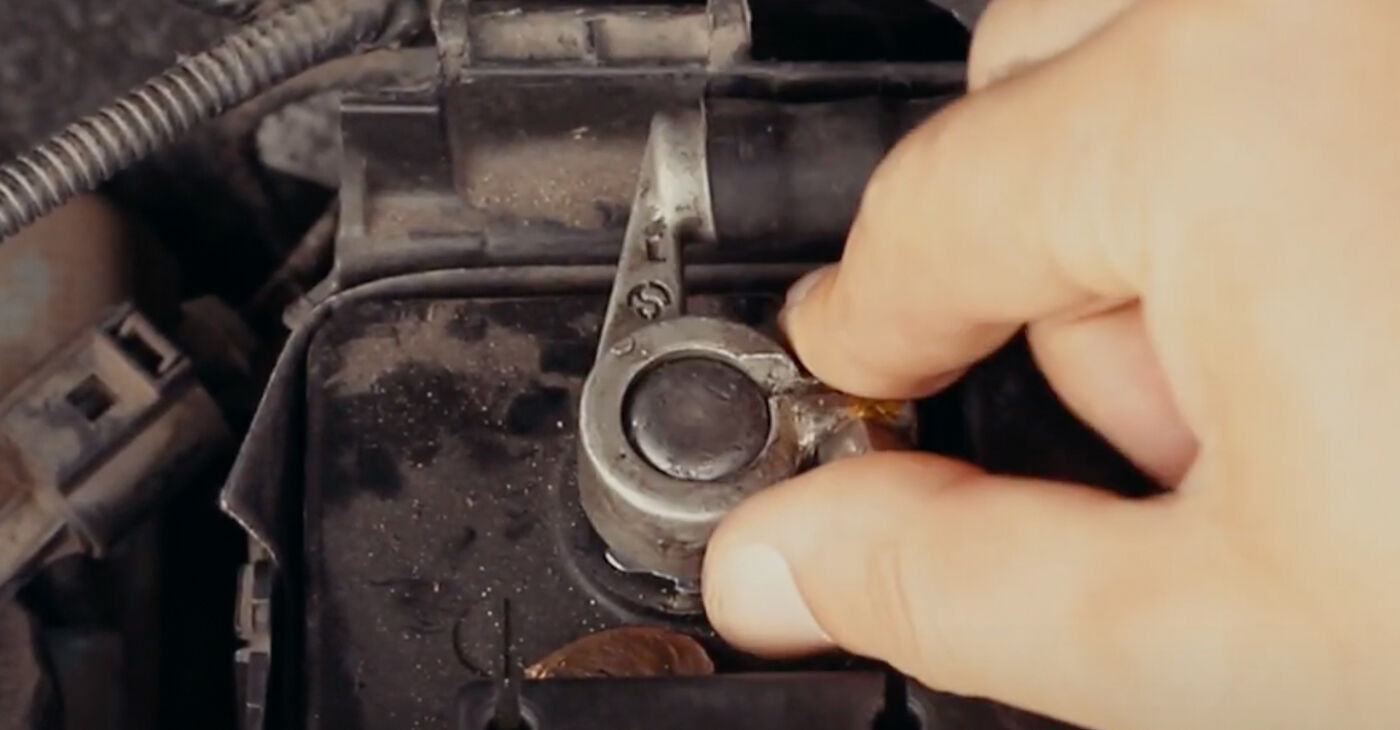
 Remove the negative terminal from the battery. Wear gloves to protect yourself from burns.
 - 4.
 Detach the sensor's connector.
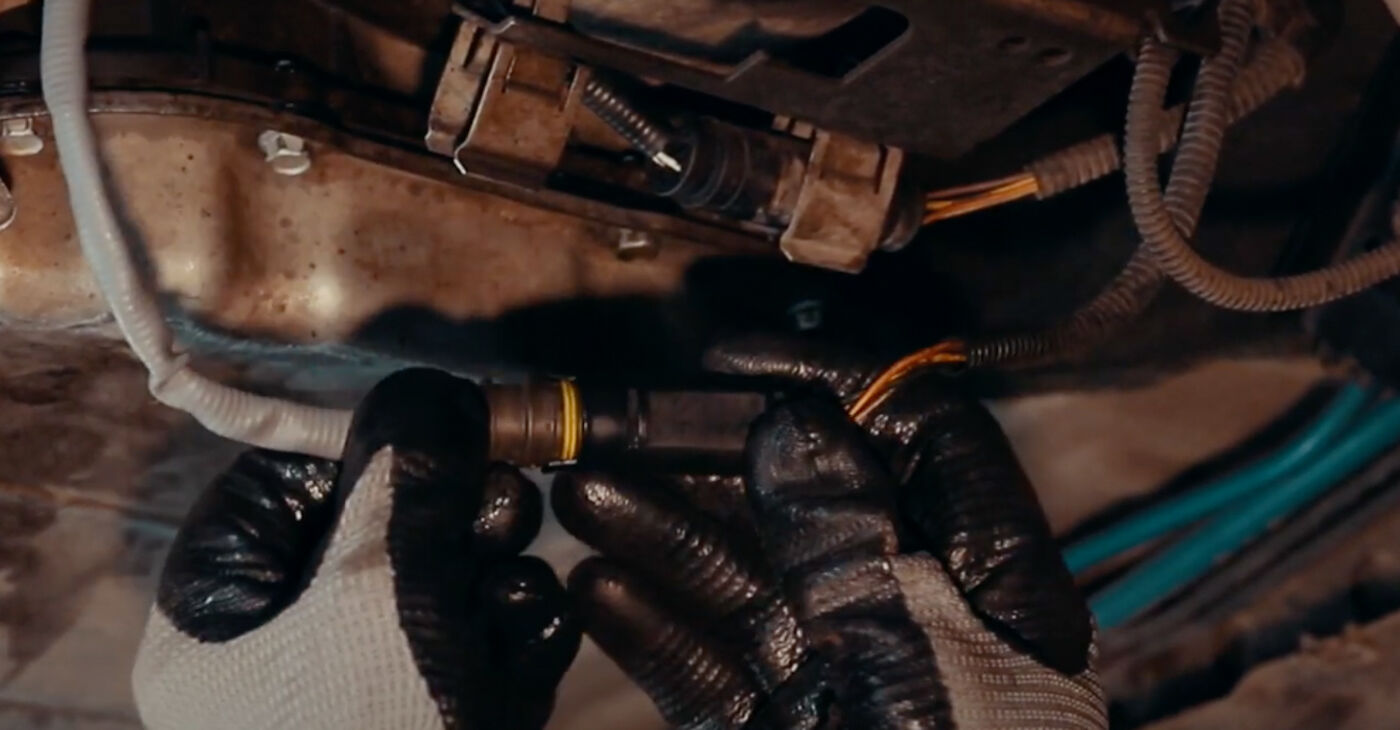
 - 5.
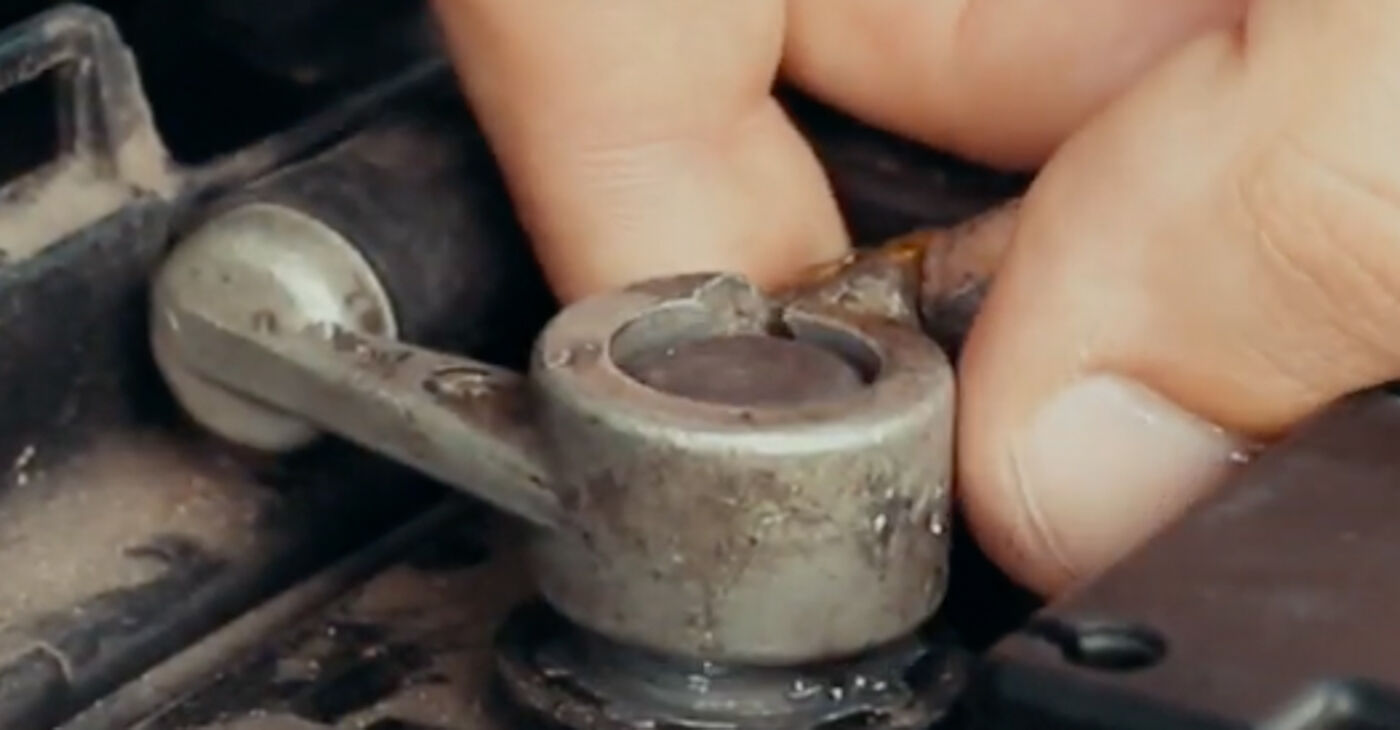
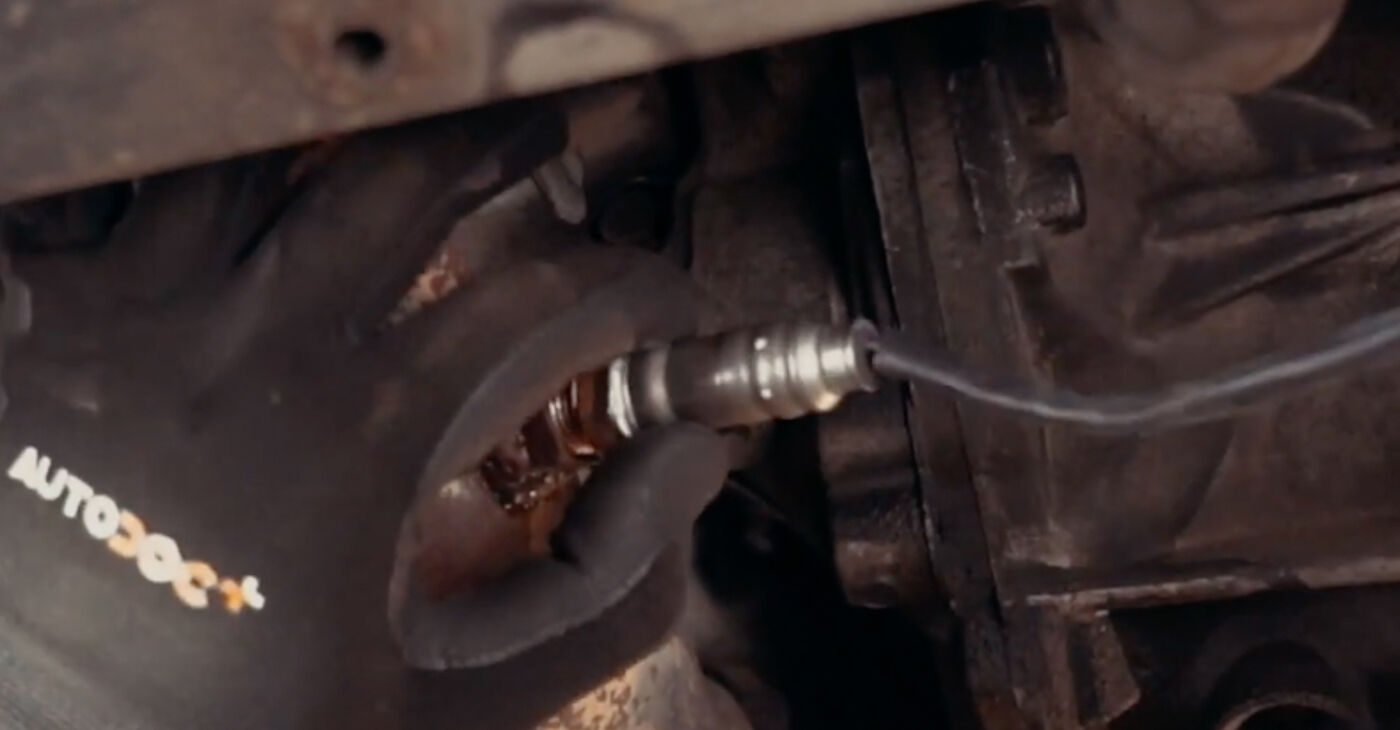
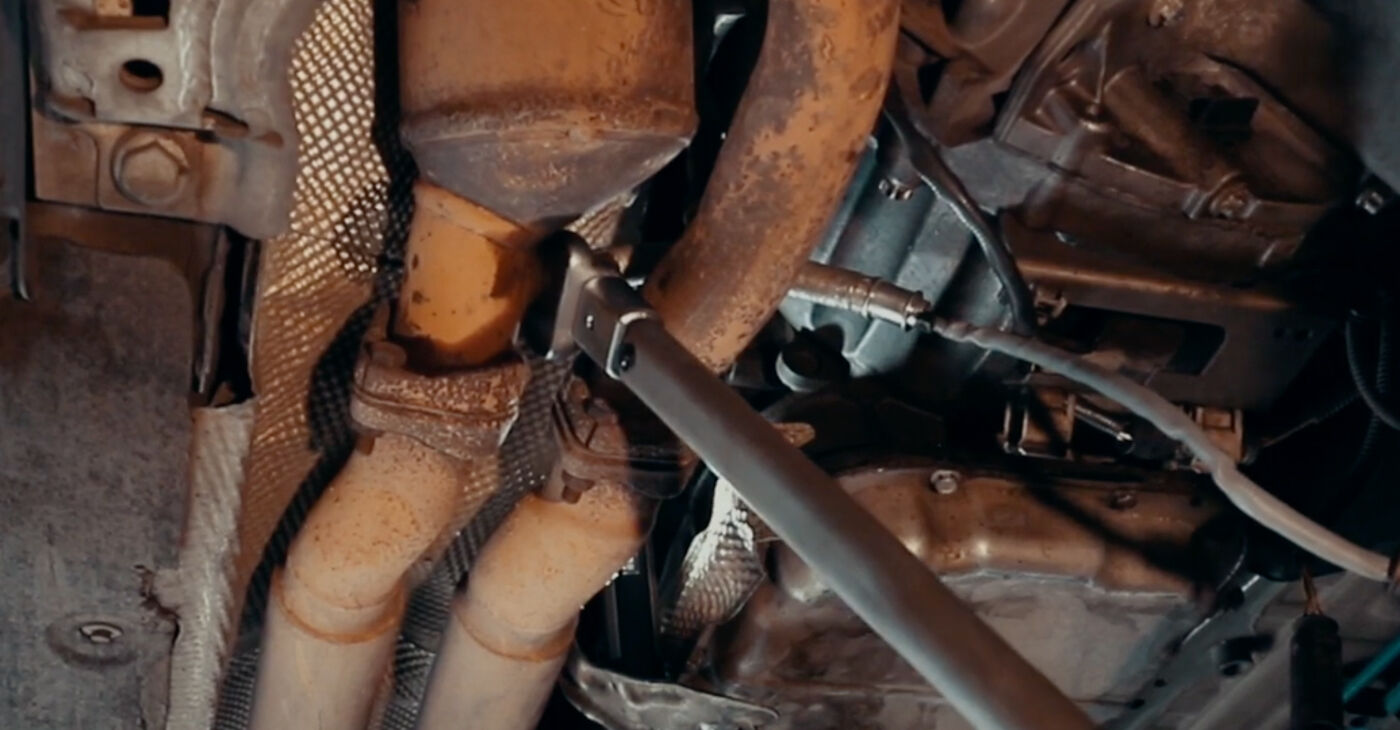
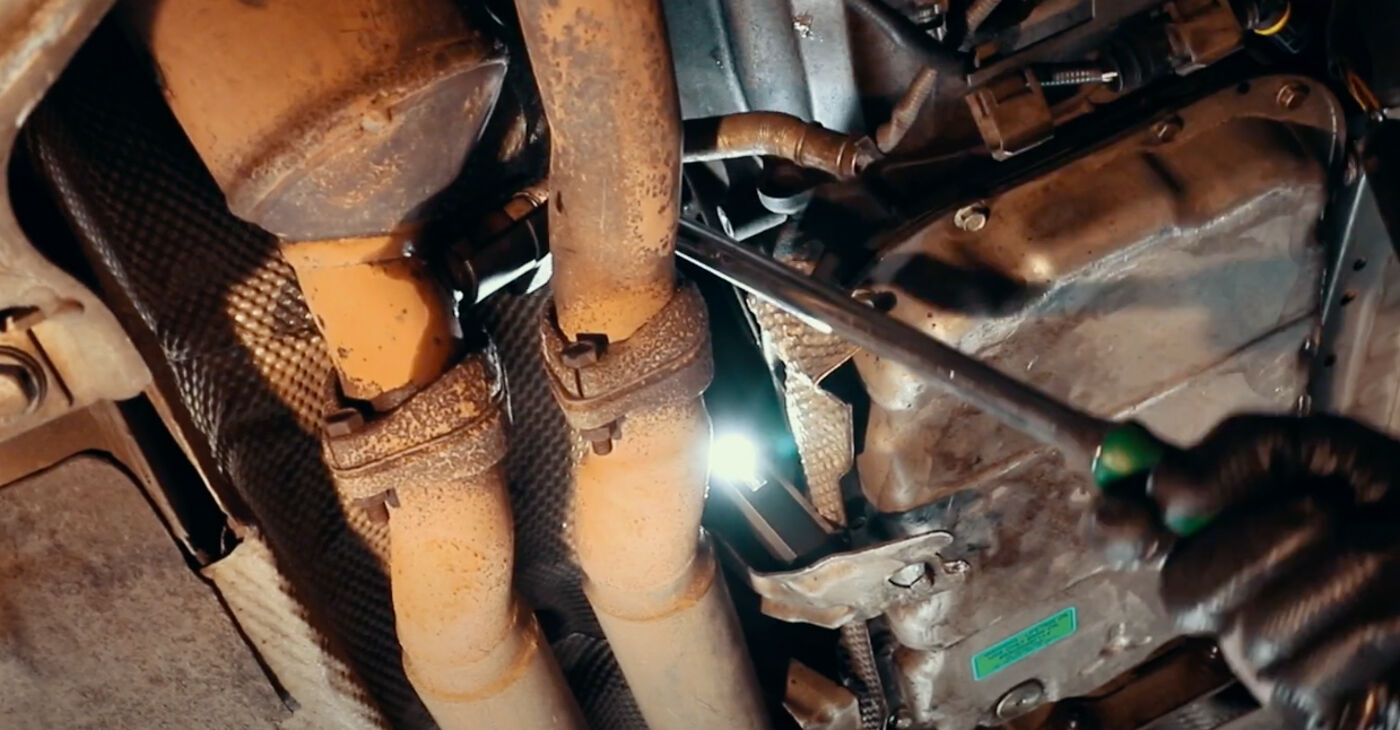 Using a special socket and ratchet wrench, unscrew the lambda sensor by rotating it counterclockwise.
 - 6.
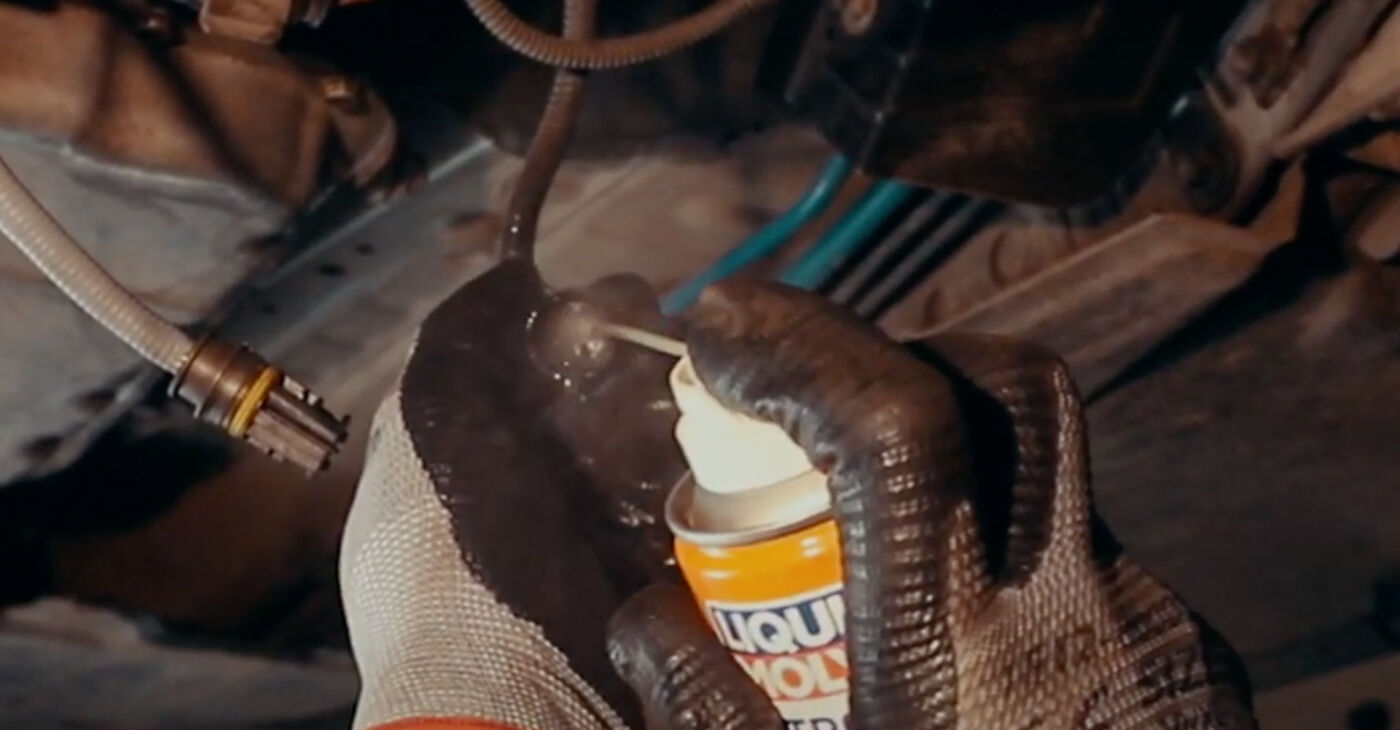
 Treat the thread of the new sensor with a special lubricant, such as high-temperature copper grease.
 - 7.
 Screw the sensor all the way in by hand.

Was this manual helpful?
Please rate this manual on a scale from 1 to 5. If you have any questions, feel free to ask us.
Users voted – 3
Unlock your car maintenance assistant!
Track expenses, manage logs, schedule replacements, and more.
Popular Engine maintenance tutorials
 Free download PDF
 1.51 MB
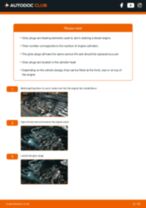 Free download PDF1.62 MB
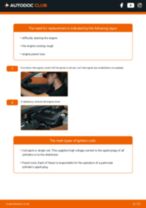 Free download PDF1.98 MB
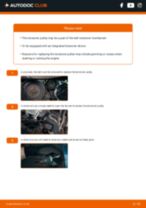 Free download PDF1.65 MB
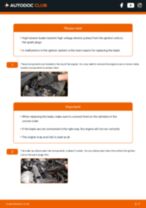 Free download PDF1003.52 KB
 Free download PDF870.4 KB
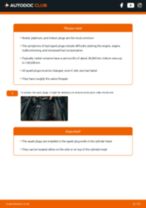 Free download PDF1.74 MB
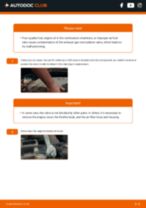 Free download PDF839.68 KB
 Free download PDF860.16 KB
Top auto repair manuals
 Free download PDF1.64 MB
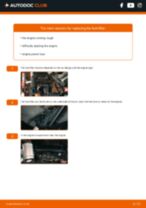 Free download PDF2 MB
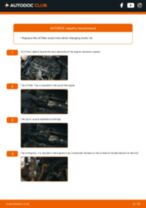 Free download PDF2.82 MB
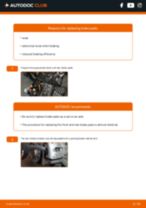 Free download PDF2.84 MB
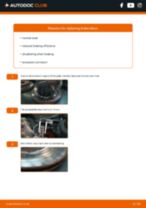 Free download PDF2.92 MB
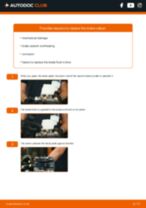 Free download PDF2.91 MB
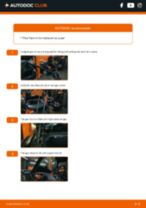 Free download PDF1.21 MB
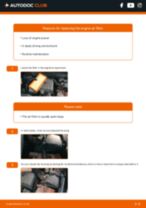 Free download PDF1.5 MB
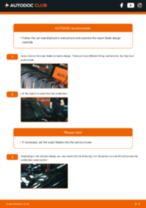 Free download PDF1.37 MB


Time to replace parts? Get even better deals in our Shop app.

SCAN ME