Disclaimer

How to change wheel cylinder on a car – replacement tutorial
downloads:
168
Views:
997
How to change a drum brake wheel cylinder [AUTODOC TUTORIAL]
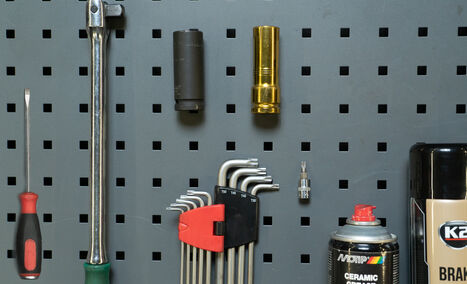
Flat screwdriver
Tap wrench
Torx wrench
Torx bit
Wheel impact socket
Impact socket
Ceramic grease
Brake cleaner
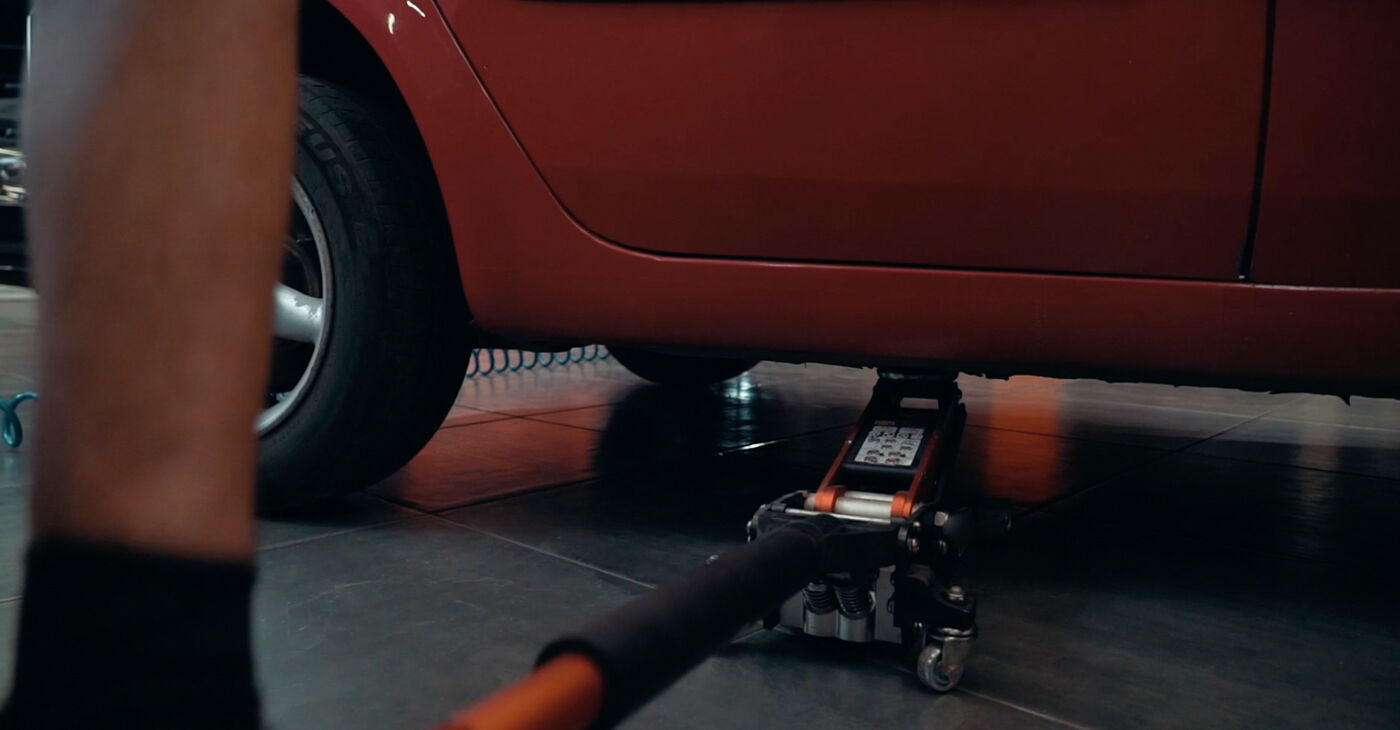
Jack

Please note!
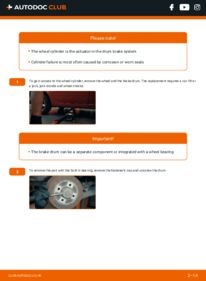
- The wheel cylinder is the actuator in the drum brake system
- Cylinder failure is most often caused by corrosion or worn seals
- 1.
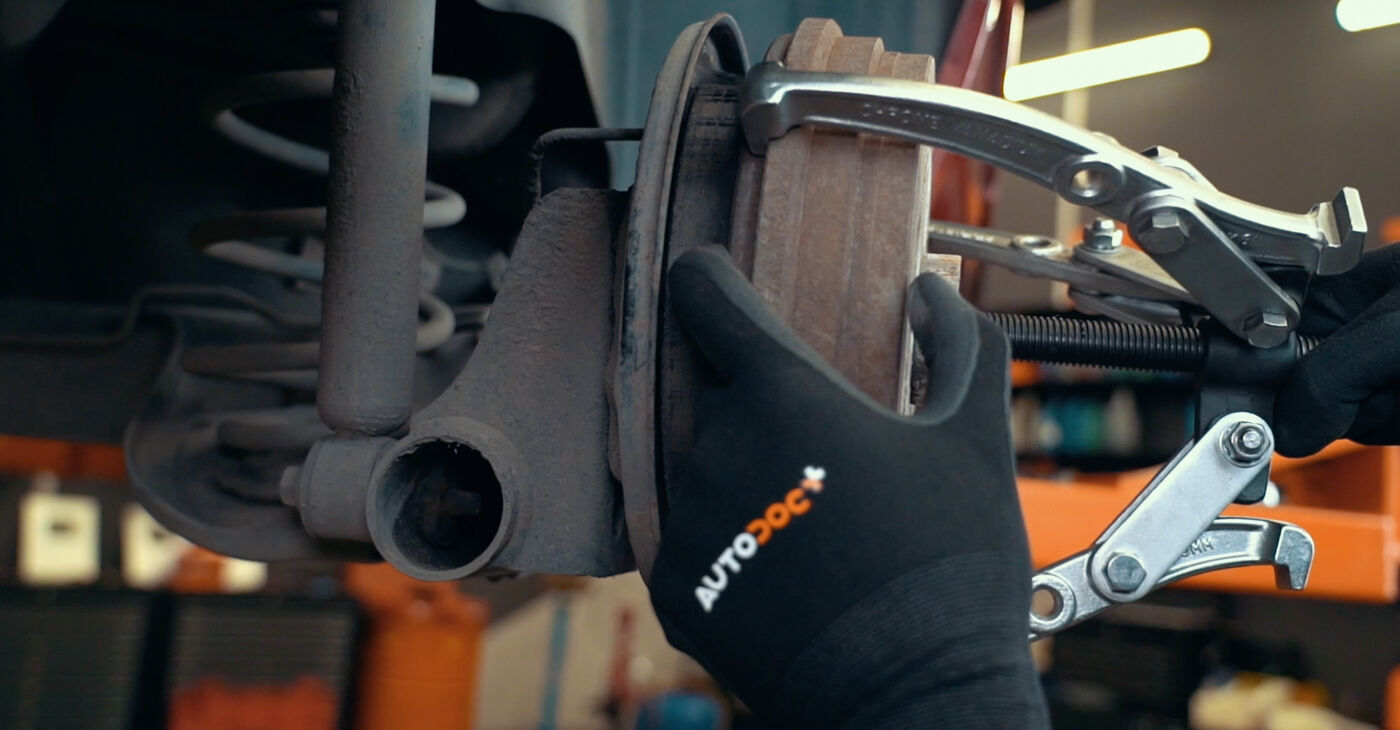
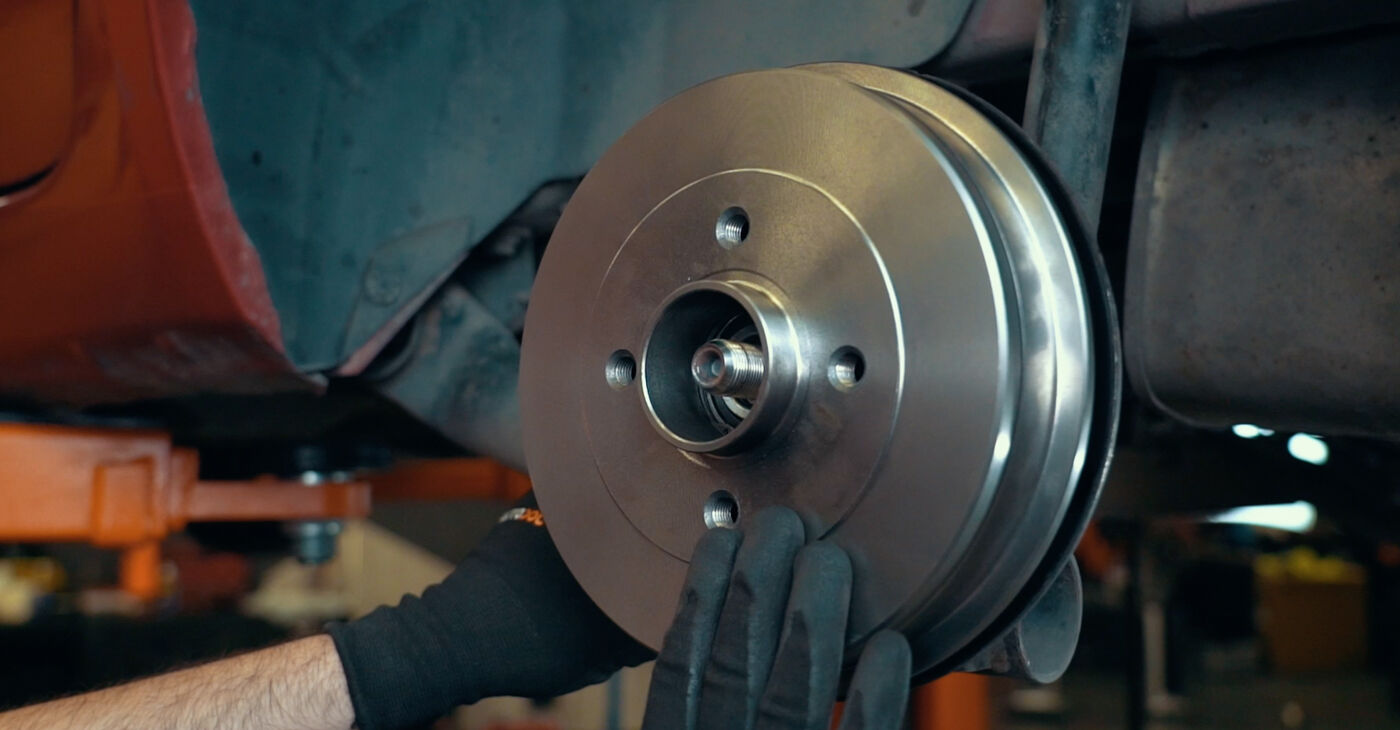
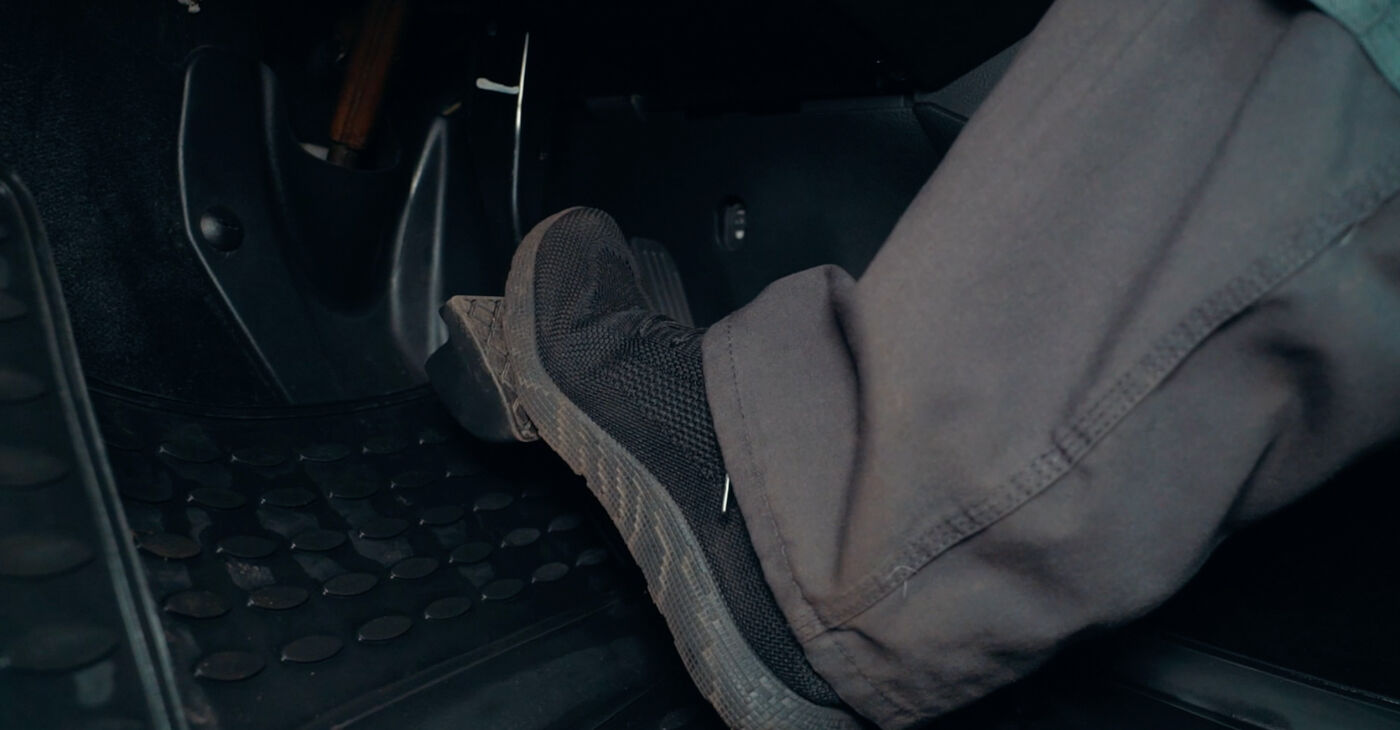
 To gain access to the wheel cylinder, remove the wheel and the brake drum. The replacement requires a car lift or a jack, jack stands and wheel chocksImportant!The brake drum can be a separate component or integrated with a wheel bearing
 - 2.
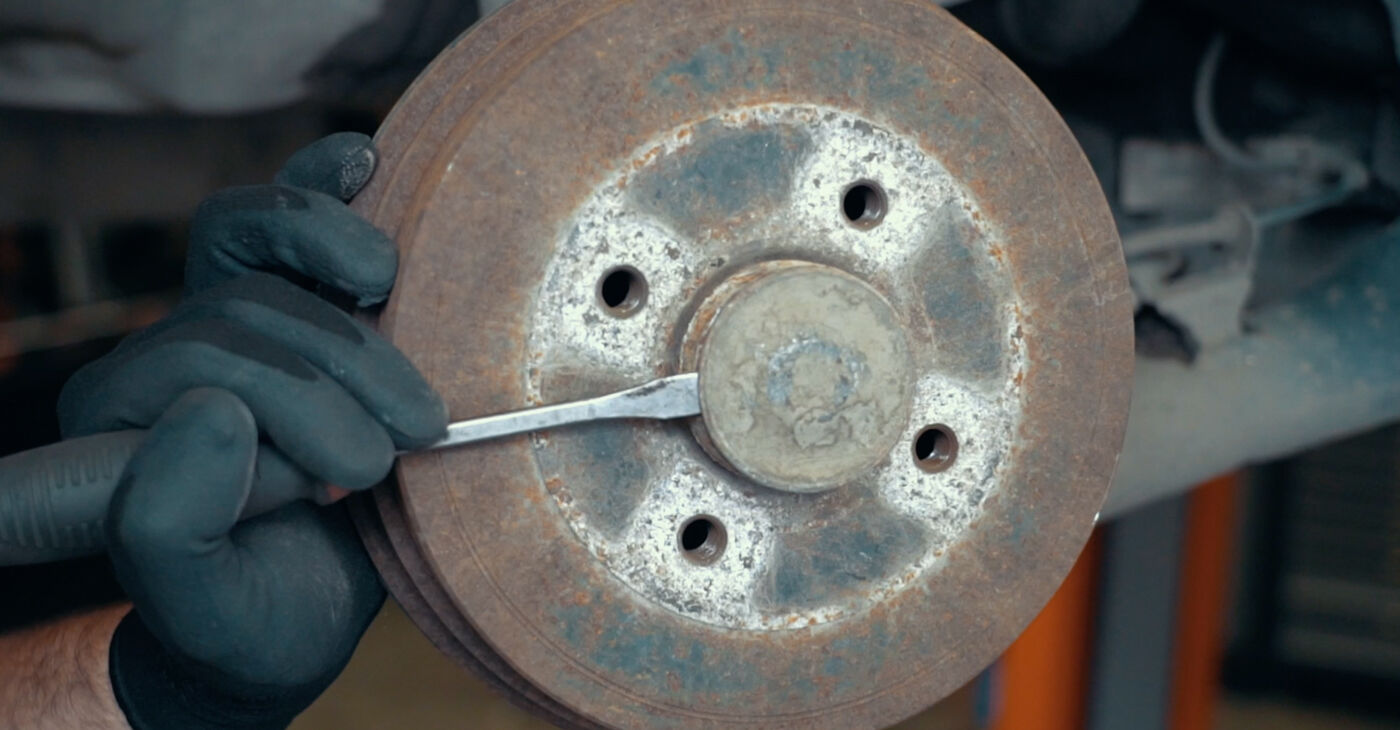 To remove the part with the built-in bearing, remove the fastener's cap and unscrew the drum
 - 3.
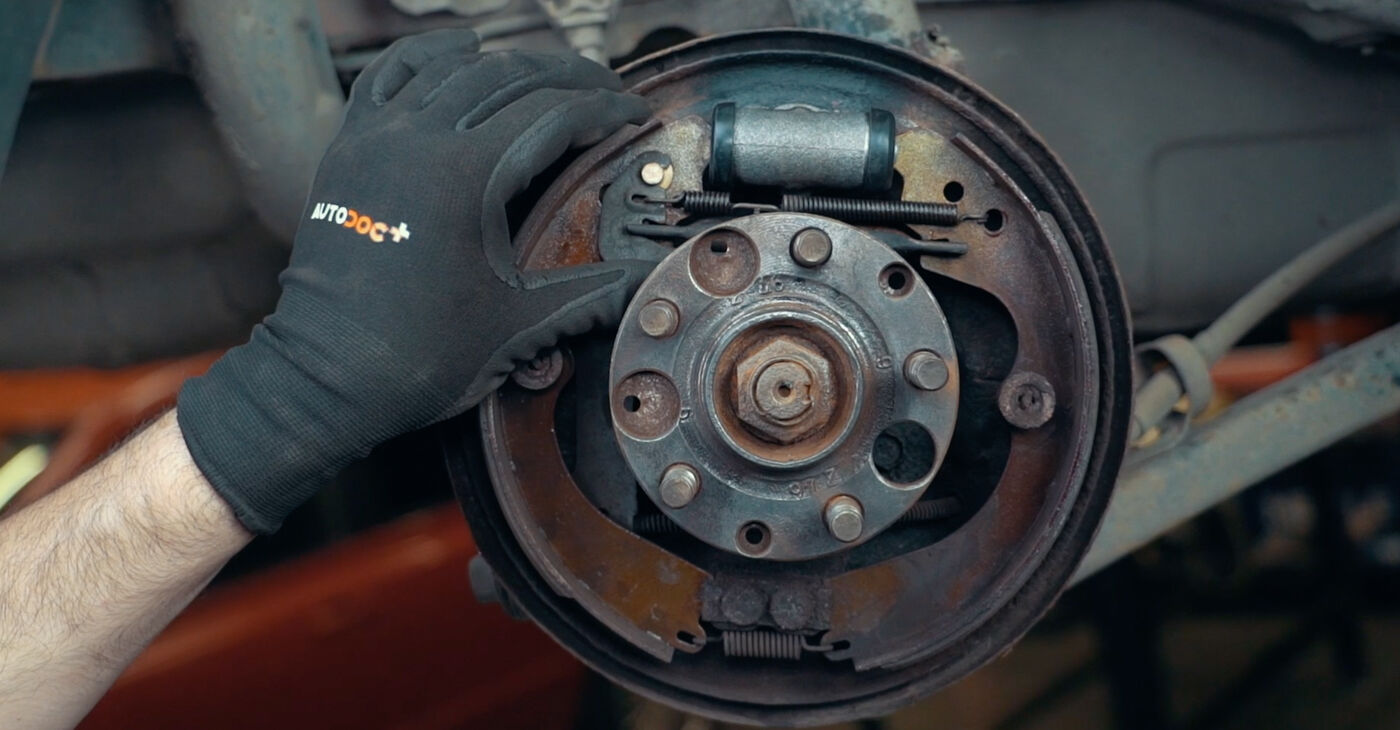
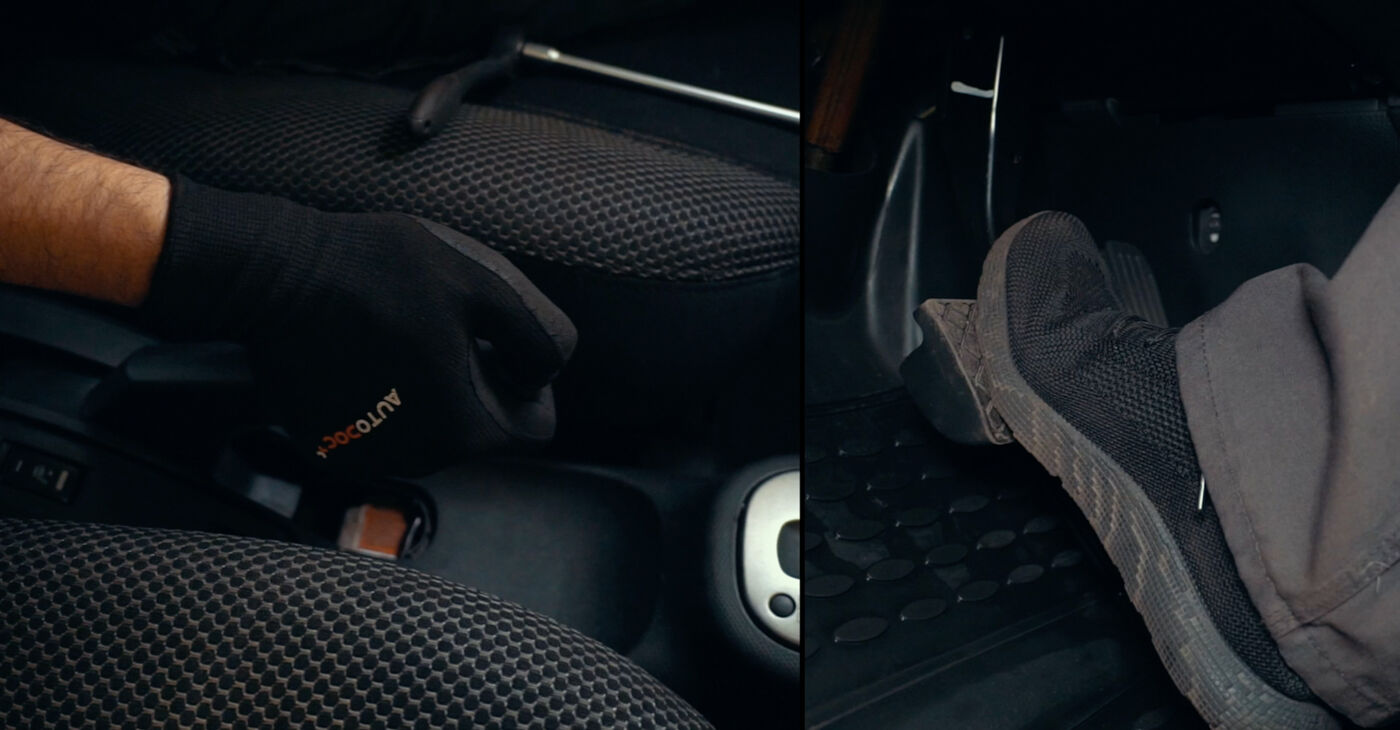
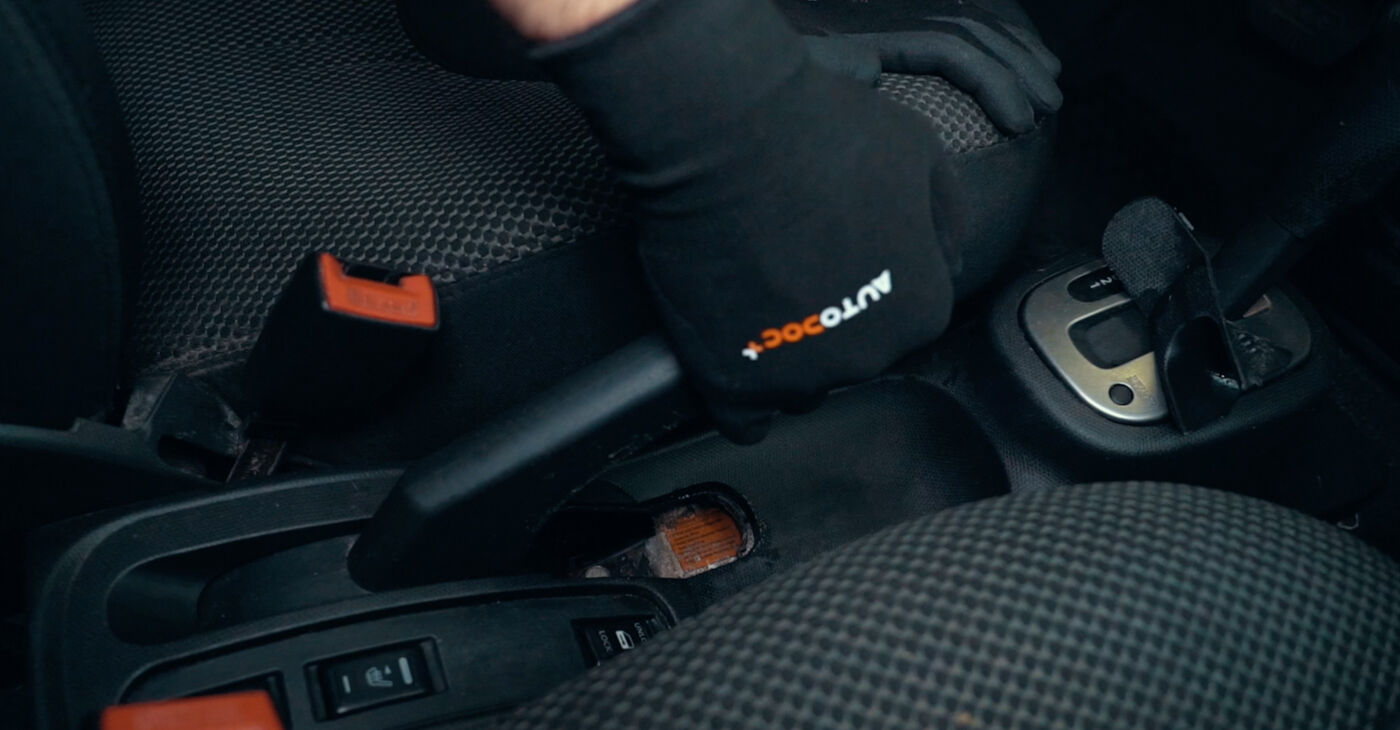 The brake drum is also held in place by the brake shoes. To remove the drum, the handbrake cable needs to be loosenedPlease note!It is accessible from inside the vehicle, in the centre console area or from under the car
 - 4.
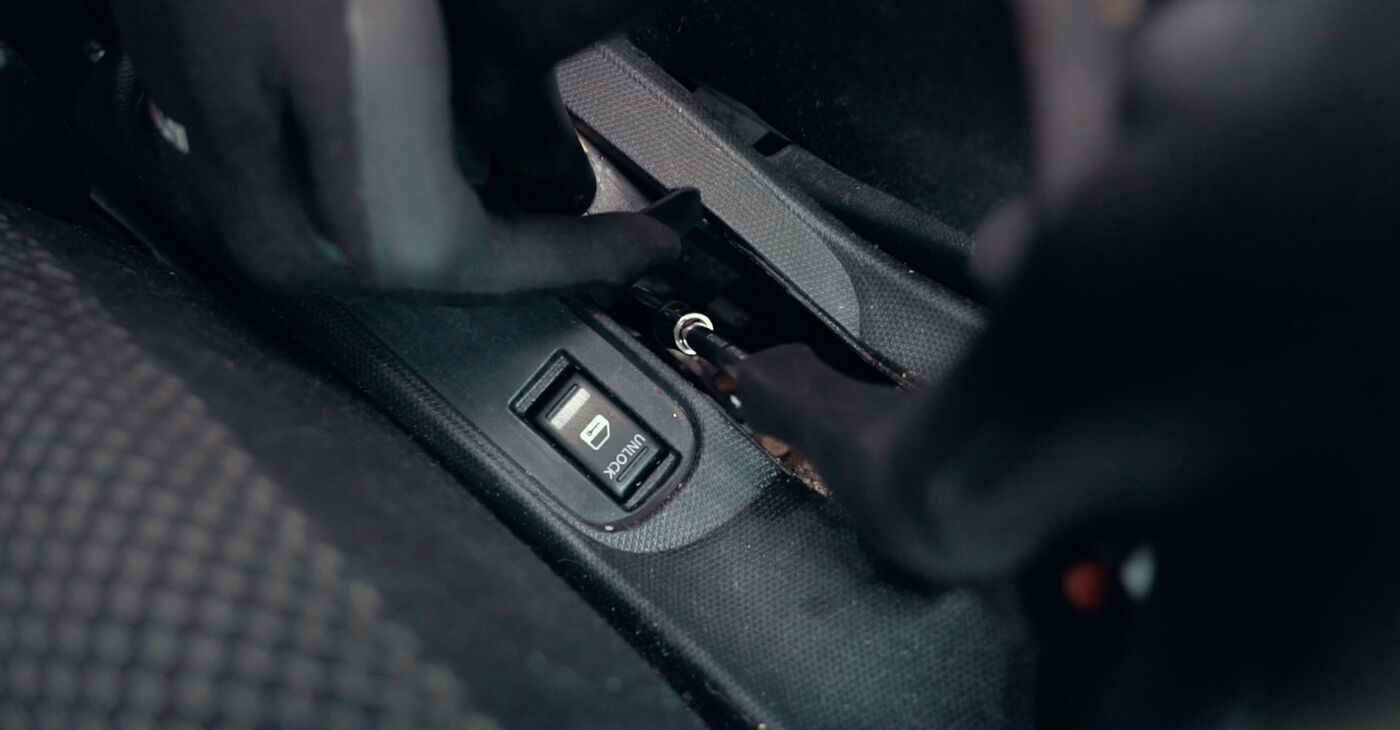 Use a deep drive socket to loosen the handbrake cableImportant!Please note that loosening the cables alone is not always enough to remove the drum easilyFor example, it can get stuck to the wheel hub surface or the brake adjuster can hold the brake shoes apart
 - 5.
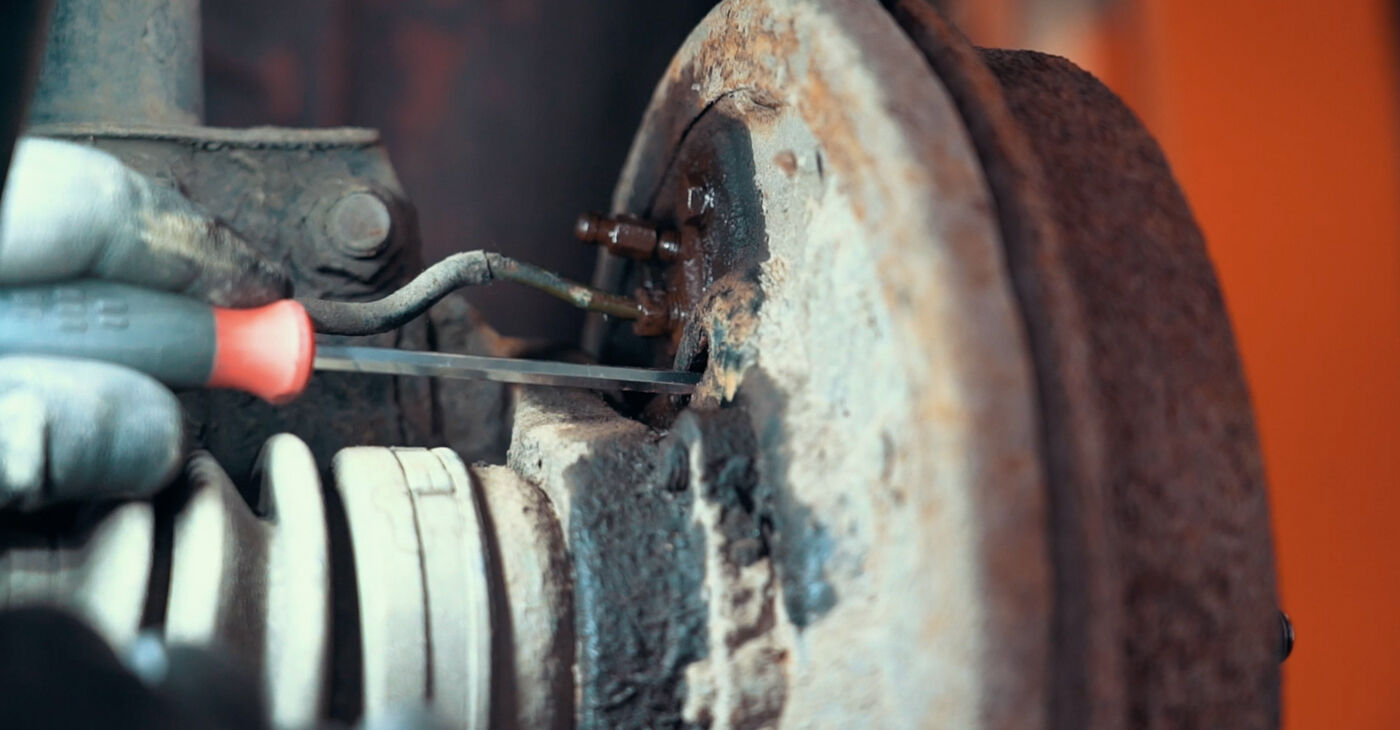 Some vehicles have an adjuster access hole in the brake drum backing plate. This allows you to quickly access the brake shoe adjuster gear. Rotate it to bring the shoes closer together to make it easier to remove the brake drum
 - 6.
 If there is no adjuster access hole, the procedure can be carried out via the wheel bolt holeImportant!However, if the mechanism is heavily corroded, the adjustment cannot be madeIn such cases, a slide hammer or a special puller is used for removal
 - 7.
 If the brake shoes are still holding the brake drum in place, push them through the gap while removing the drumAUTODOC recommends:If the brake shoe fastening components break, you will need a repair kit
 - 8.
 If the drum surface is stuck to the wheel hub, tap its outer surface with a hammerPlease note!Some drums have threaded service holesMatching bolts are screwed into them to make it easier to remove the drum
 - 9.
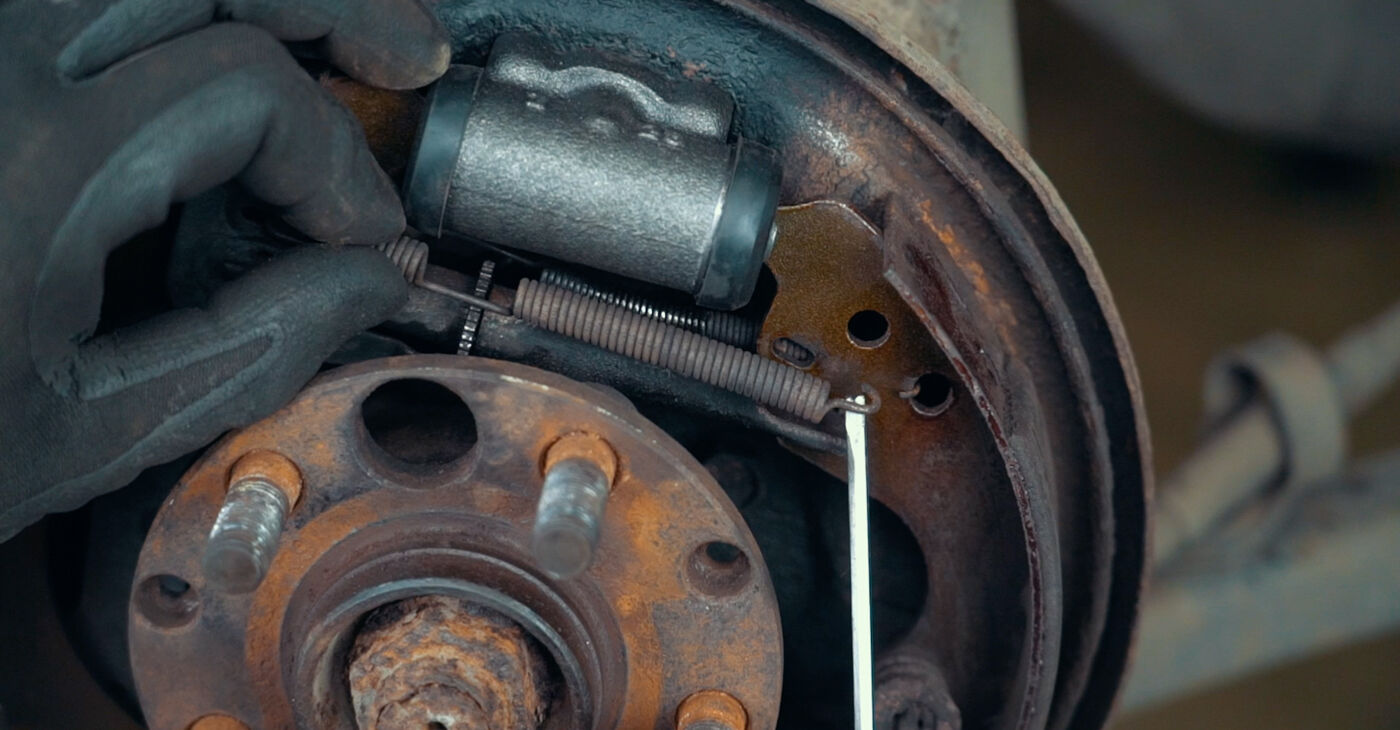
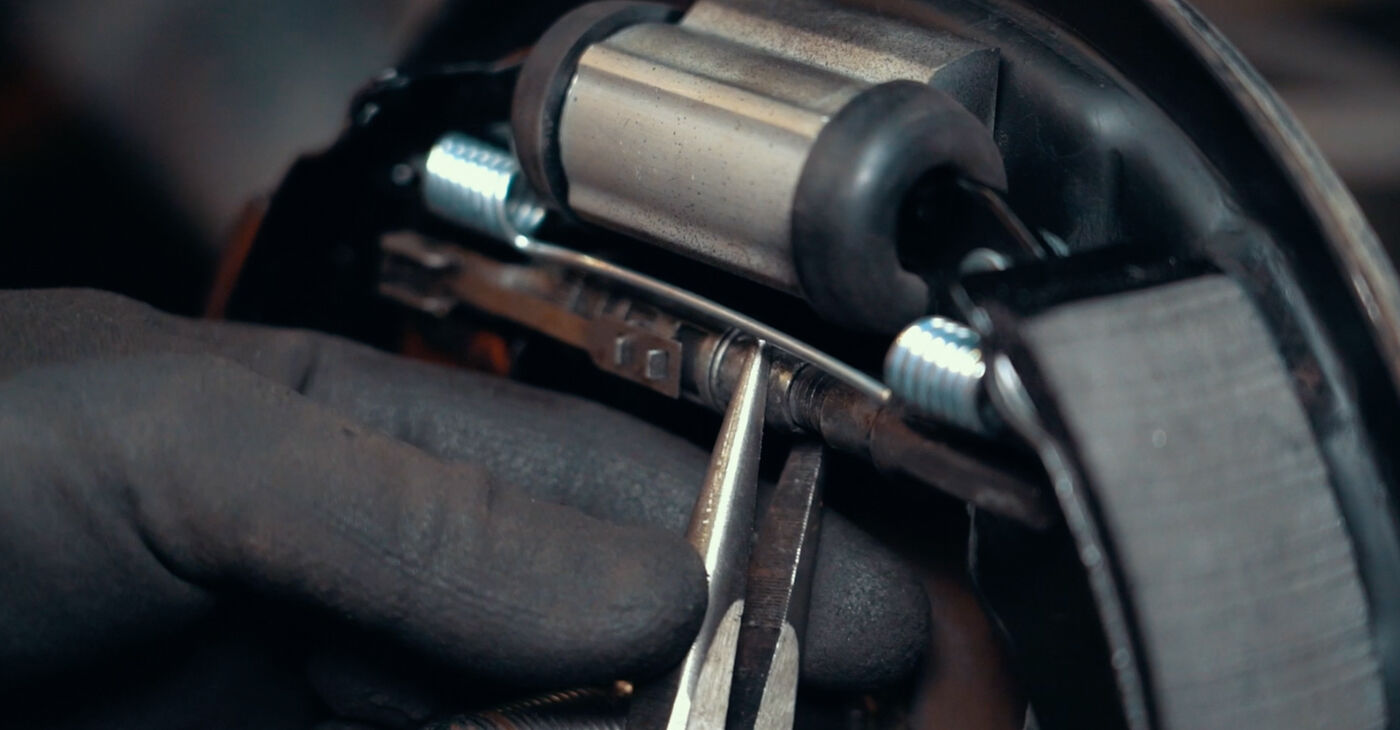
 Check whether the brake adjuster is in working condition, as well as the condition of its lever, the springs, brake shoes, and drum. Install new parts if necessary
 - 10.
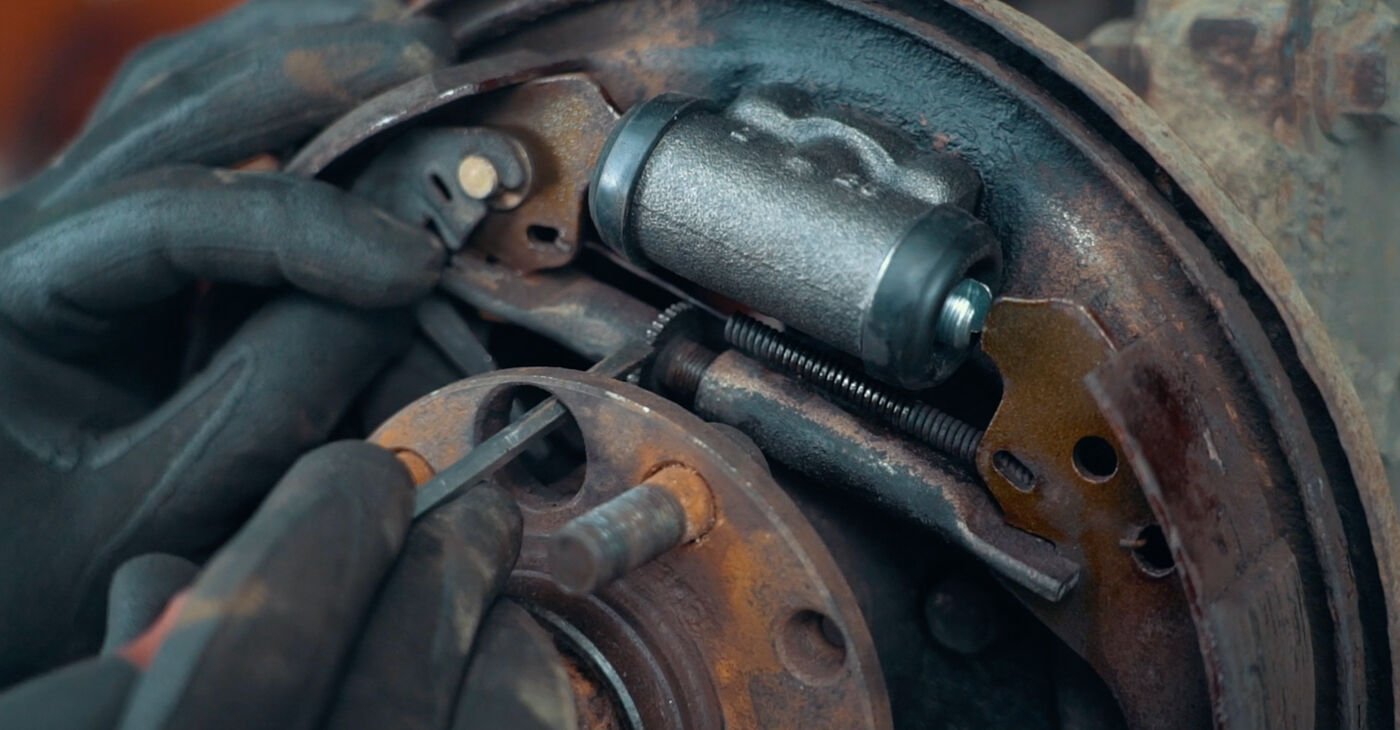
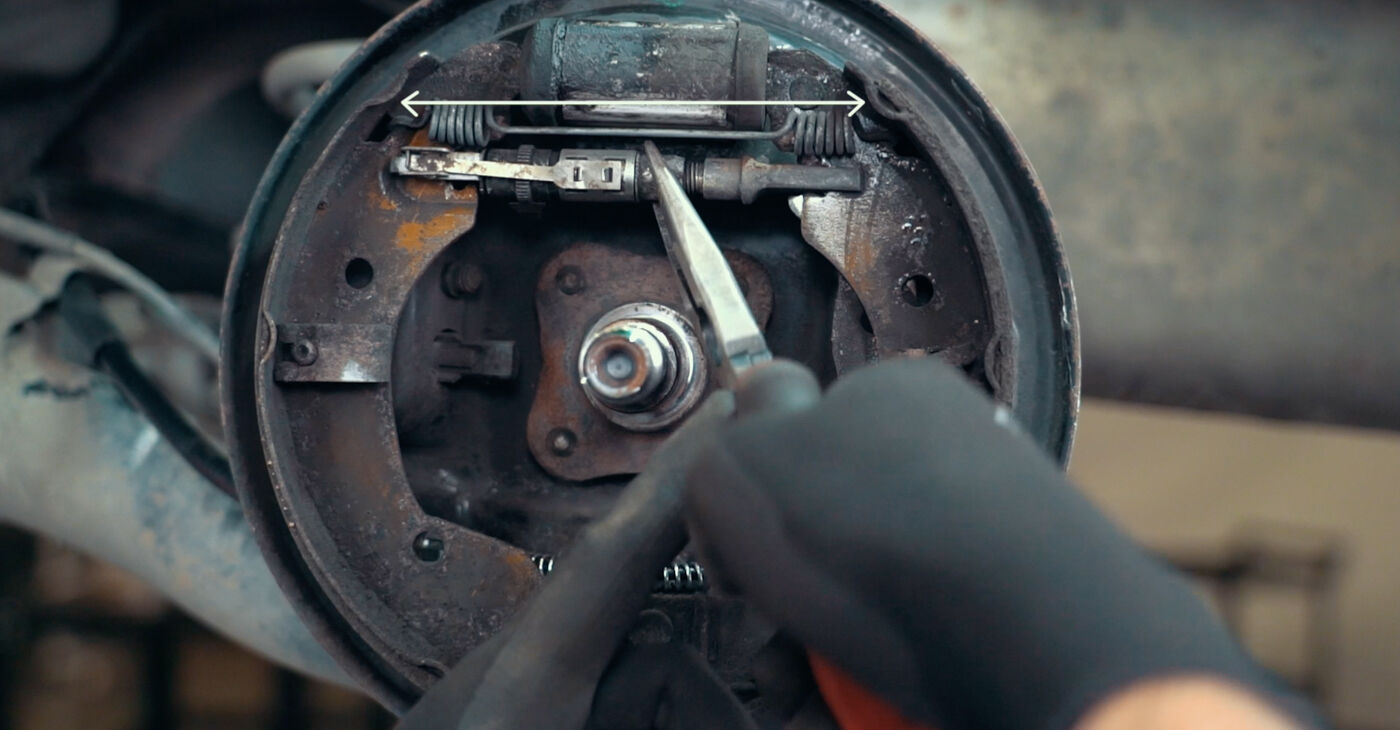 If all the parts are in good condition, you should only need to spread the brake shoes so that the brake cylinder can be removed
 - 11.
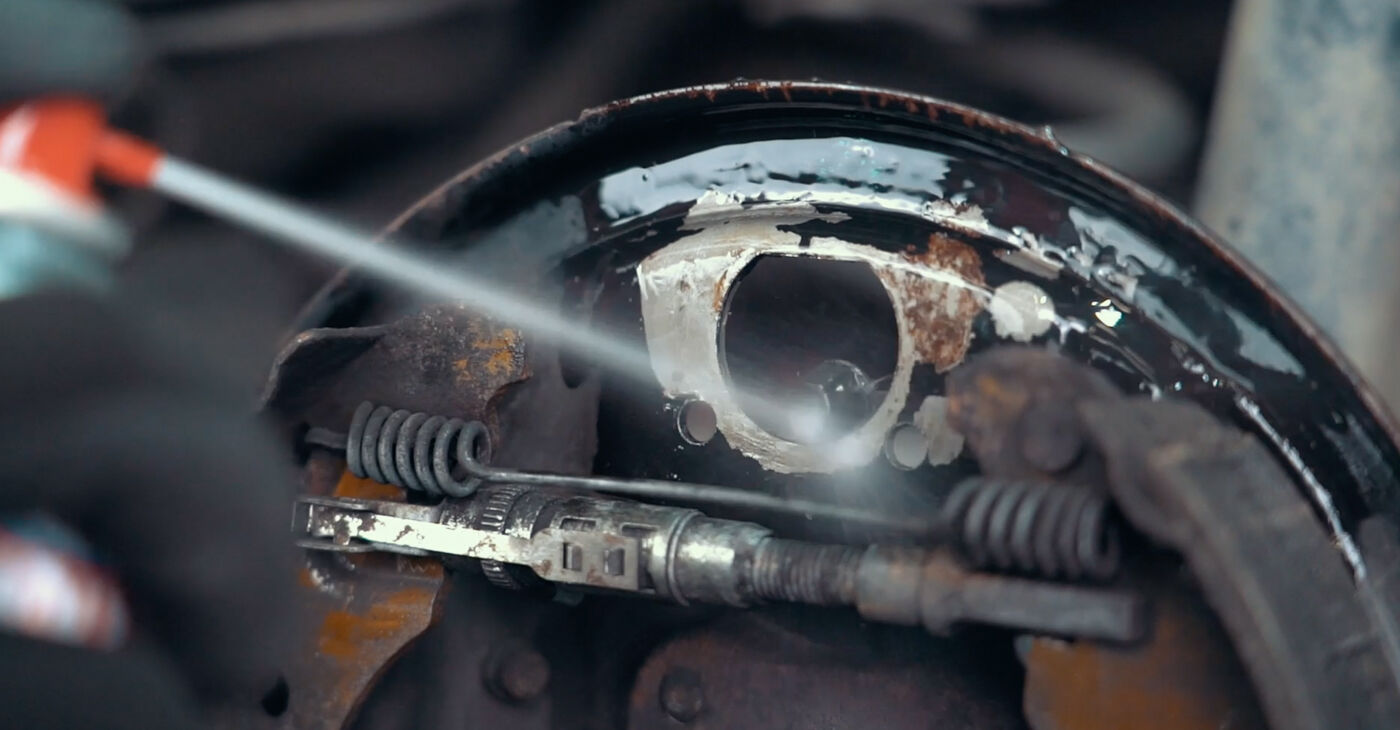
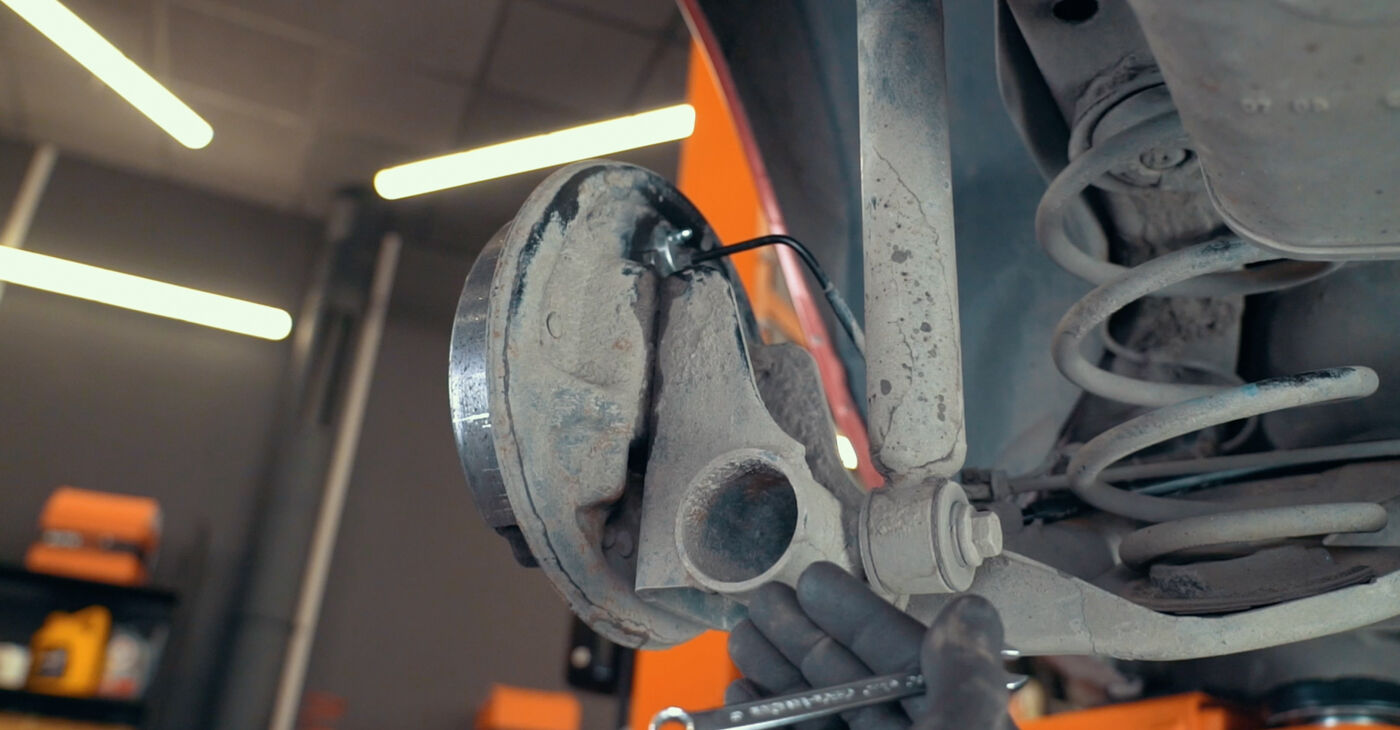
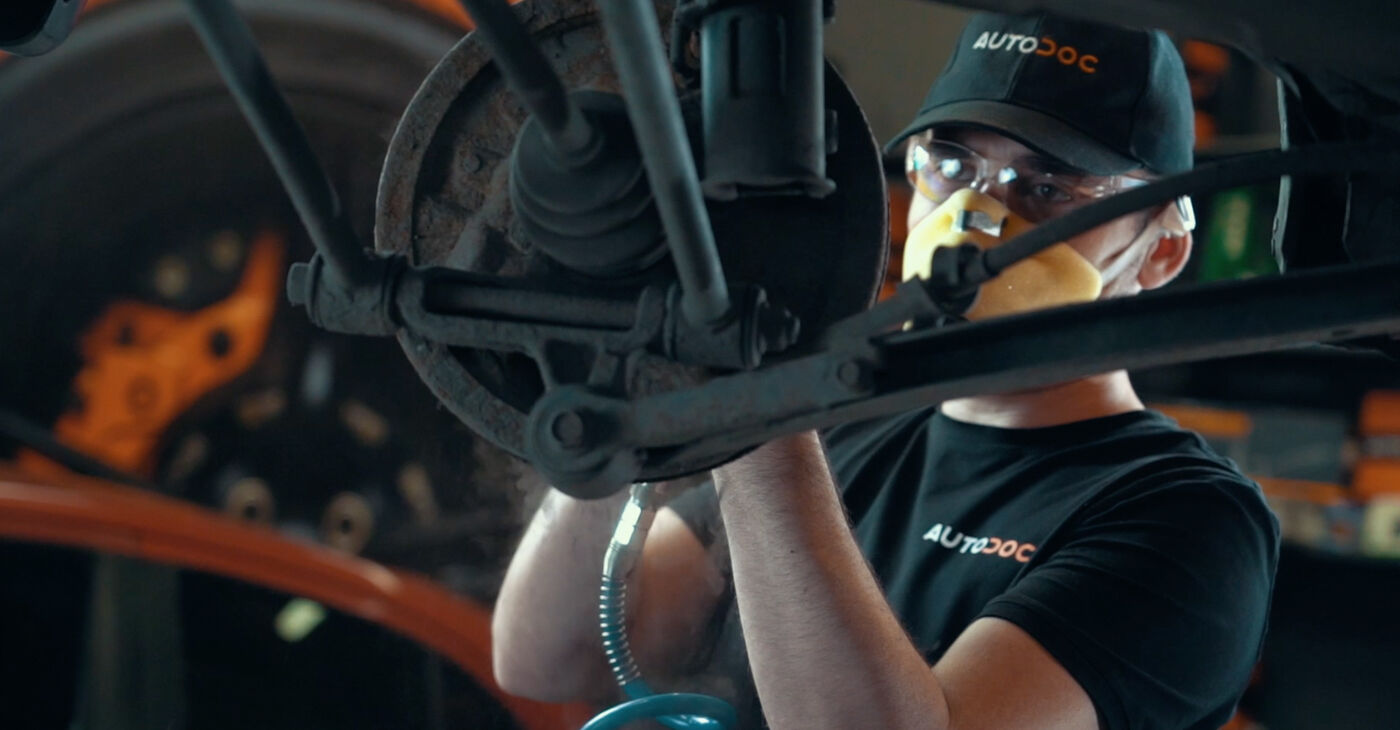
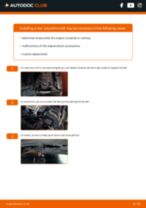
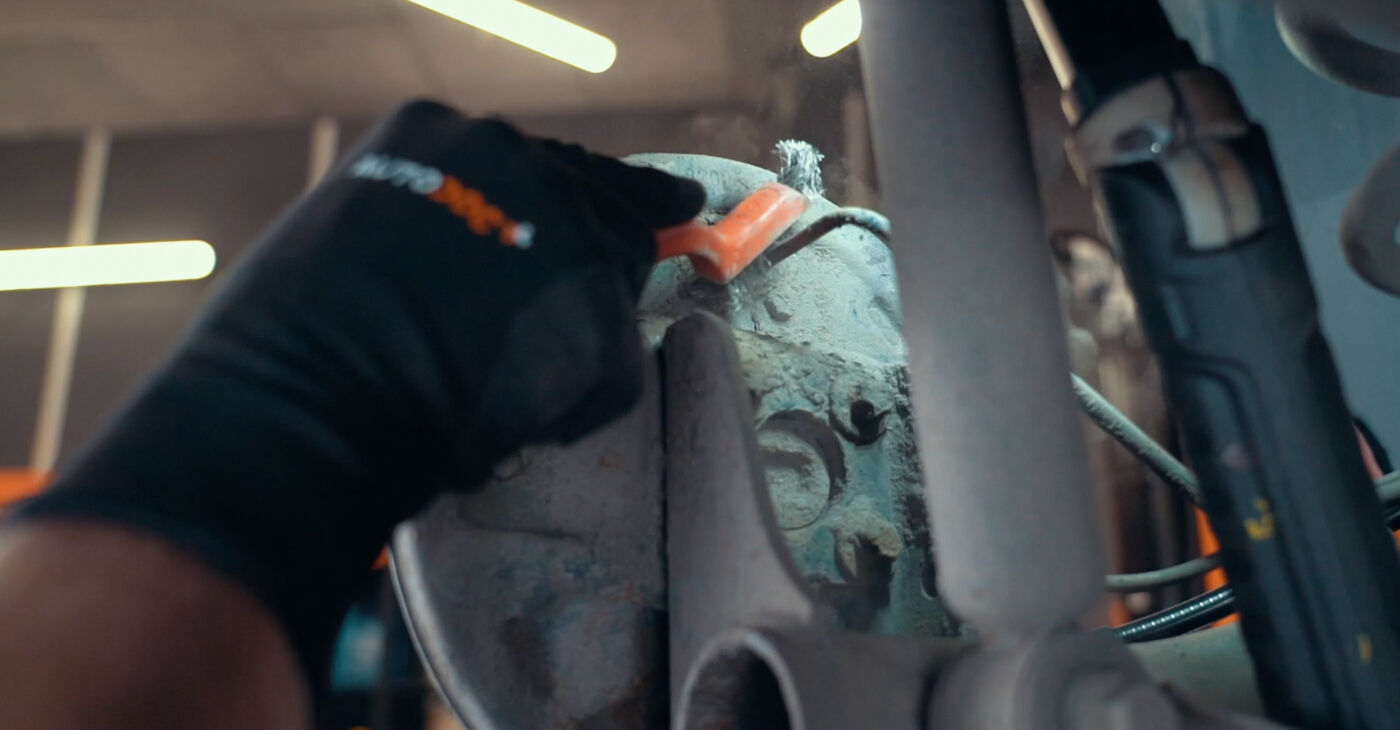 Clean the working area on the back of the backing plate
 - 12.
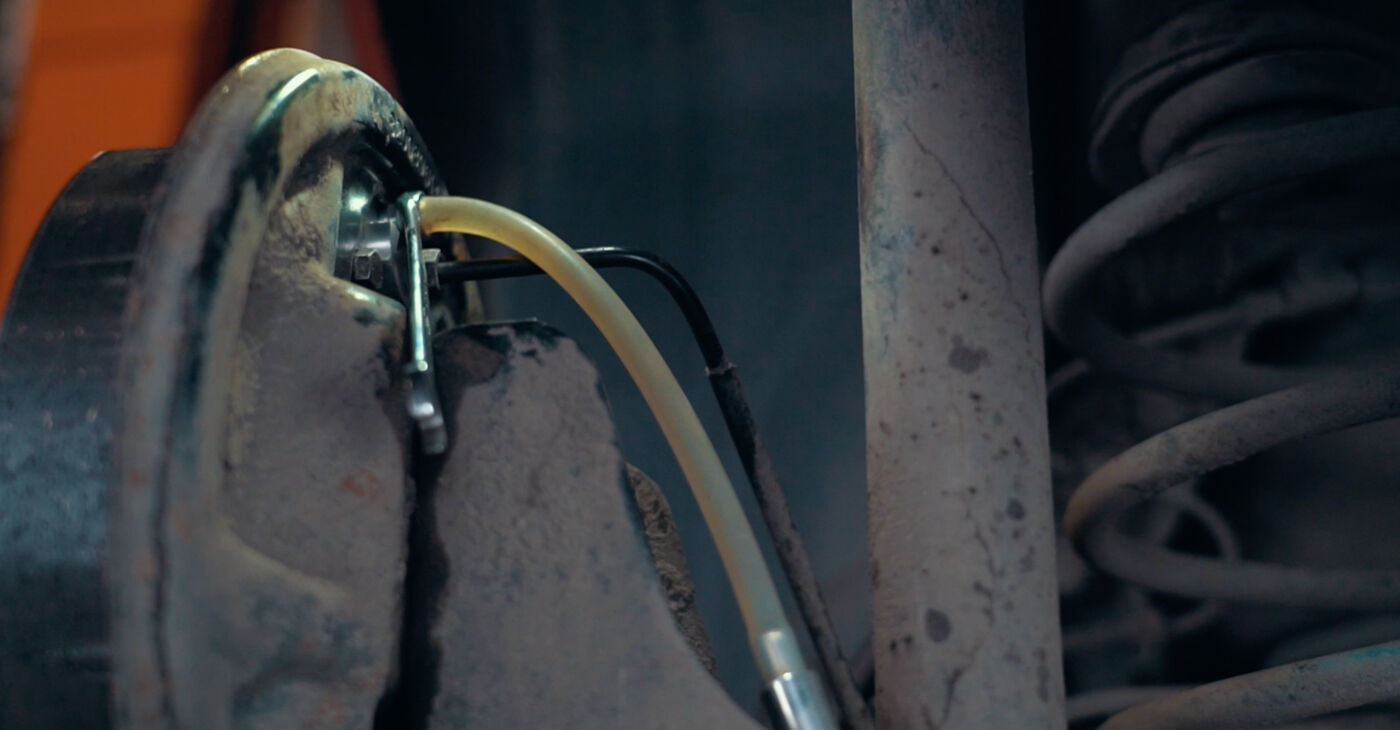
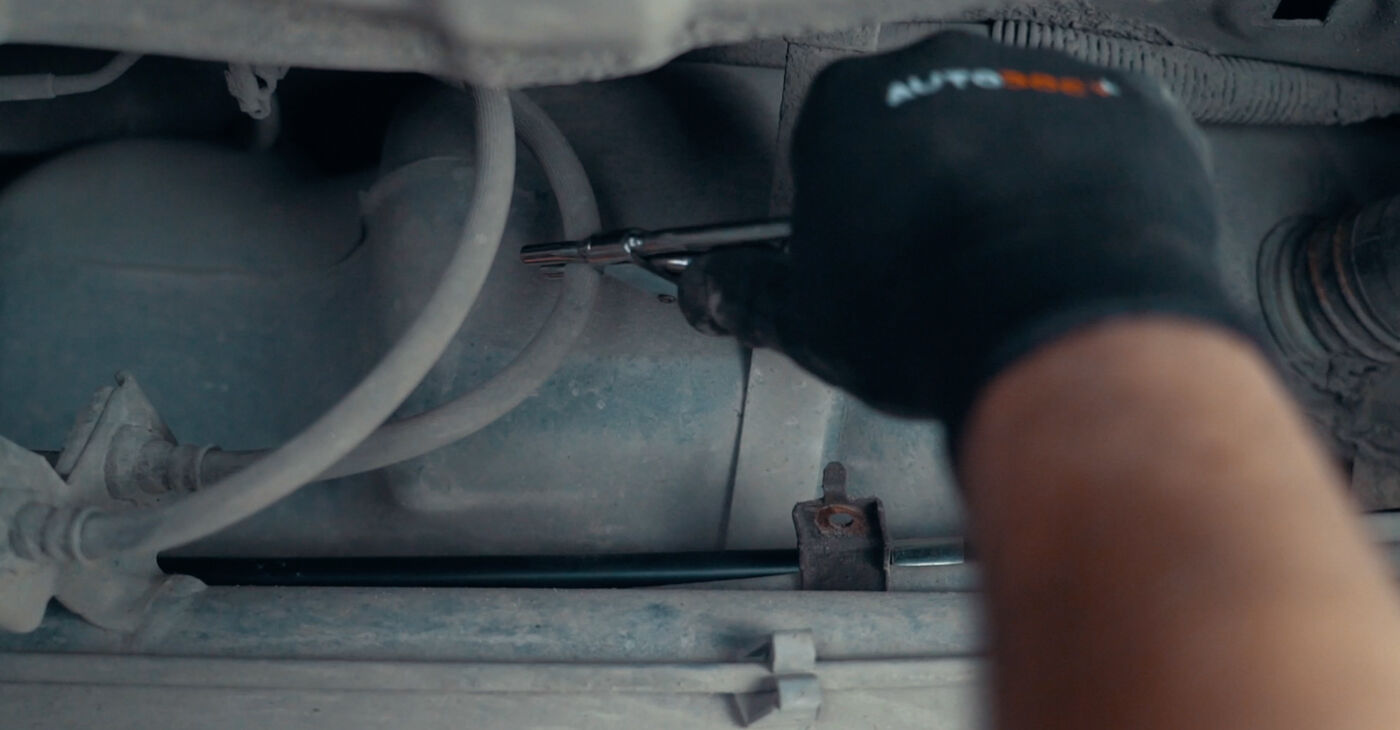 When unscrewing the pipe, clamp off the nearest flexible connection to avoid a brake fluid leak
 - 13.
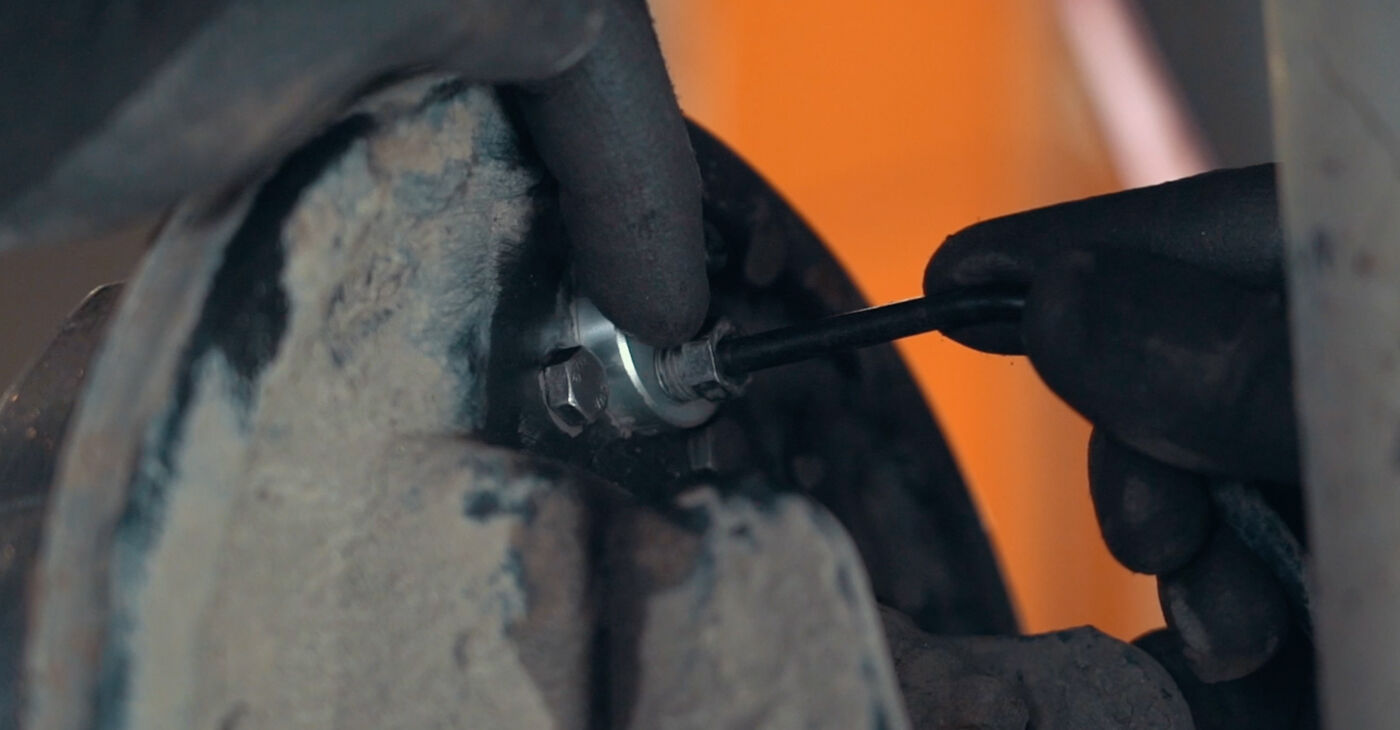
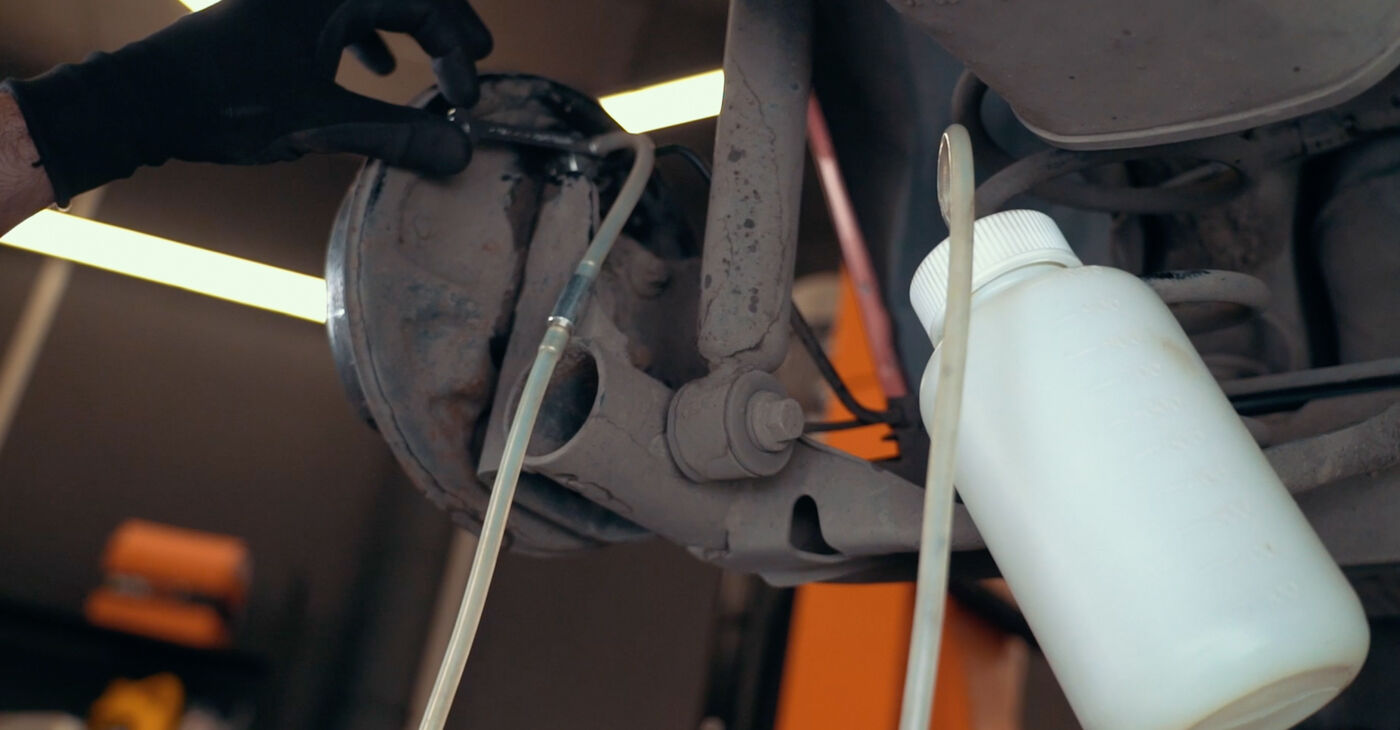
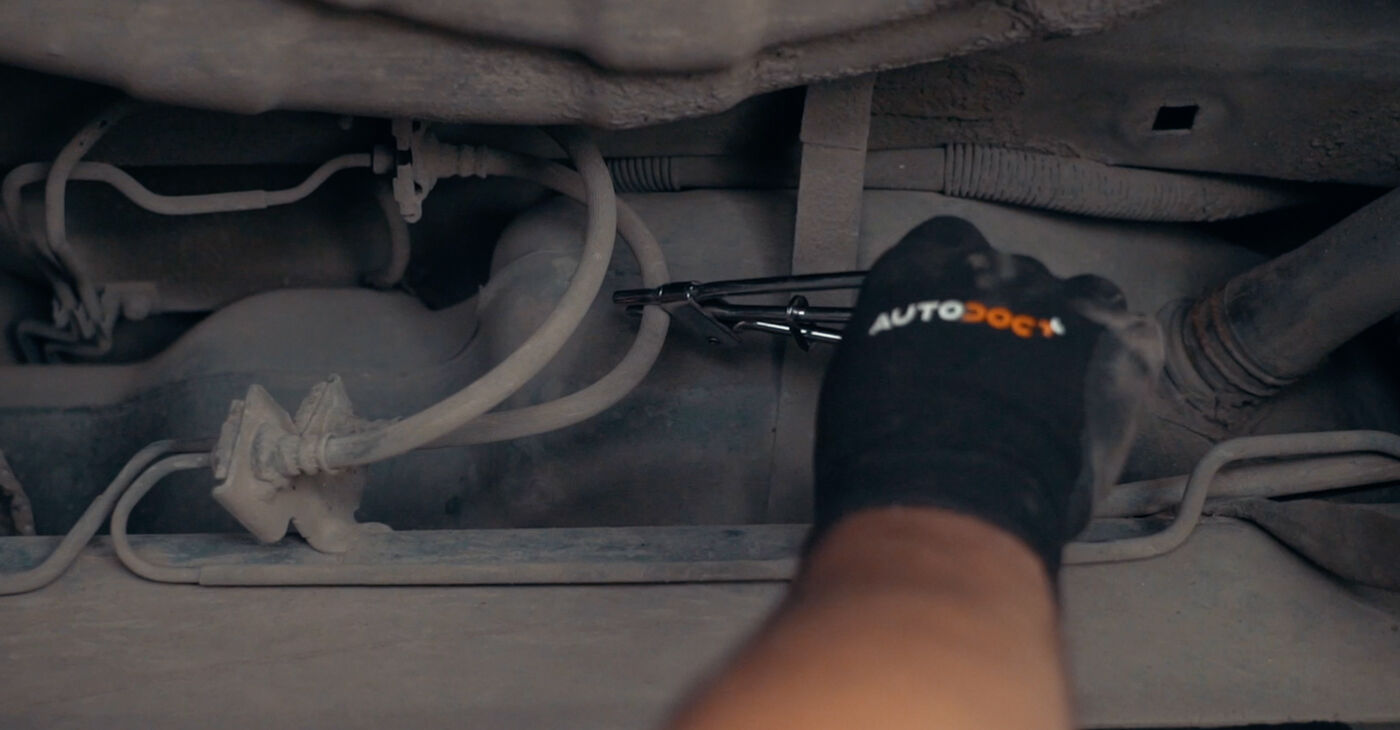
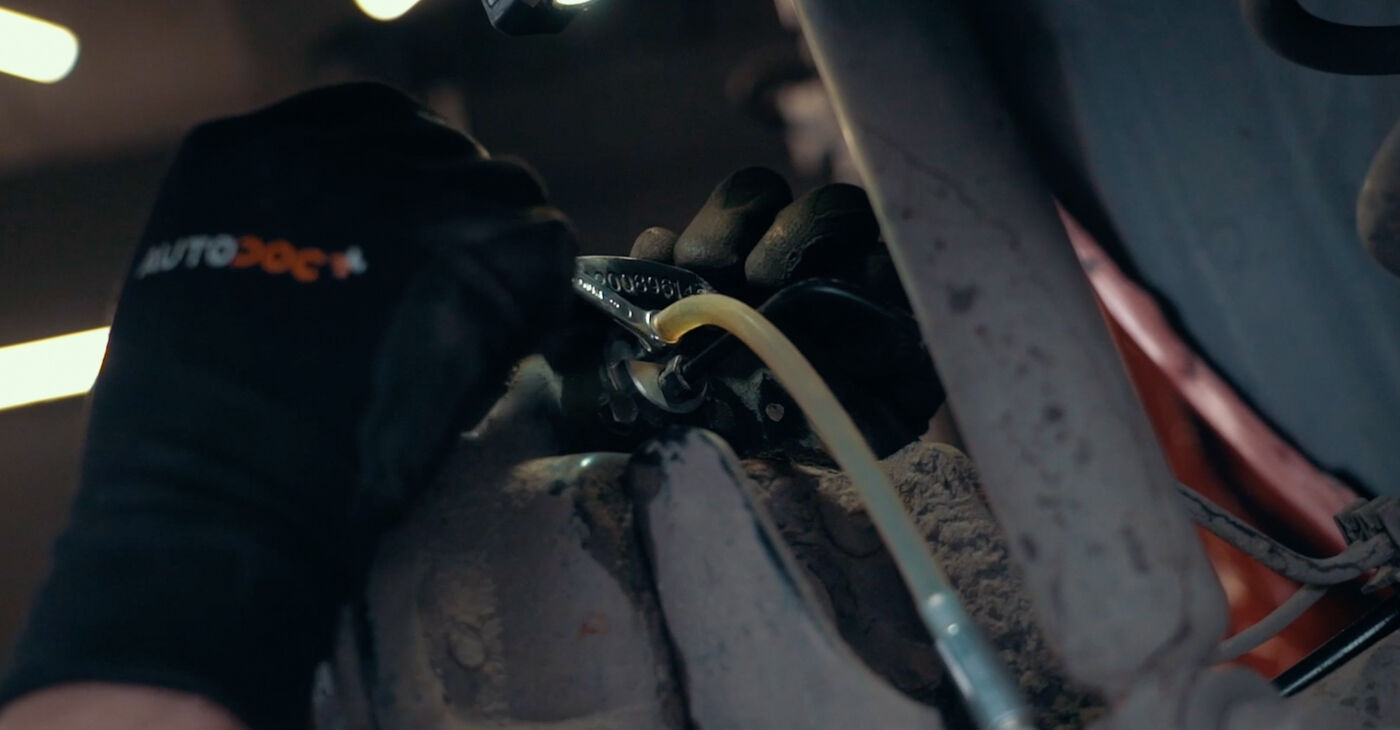
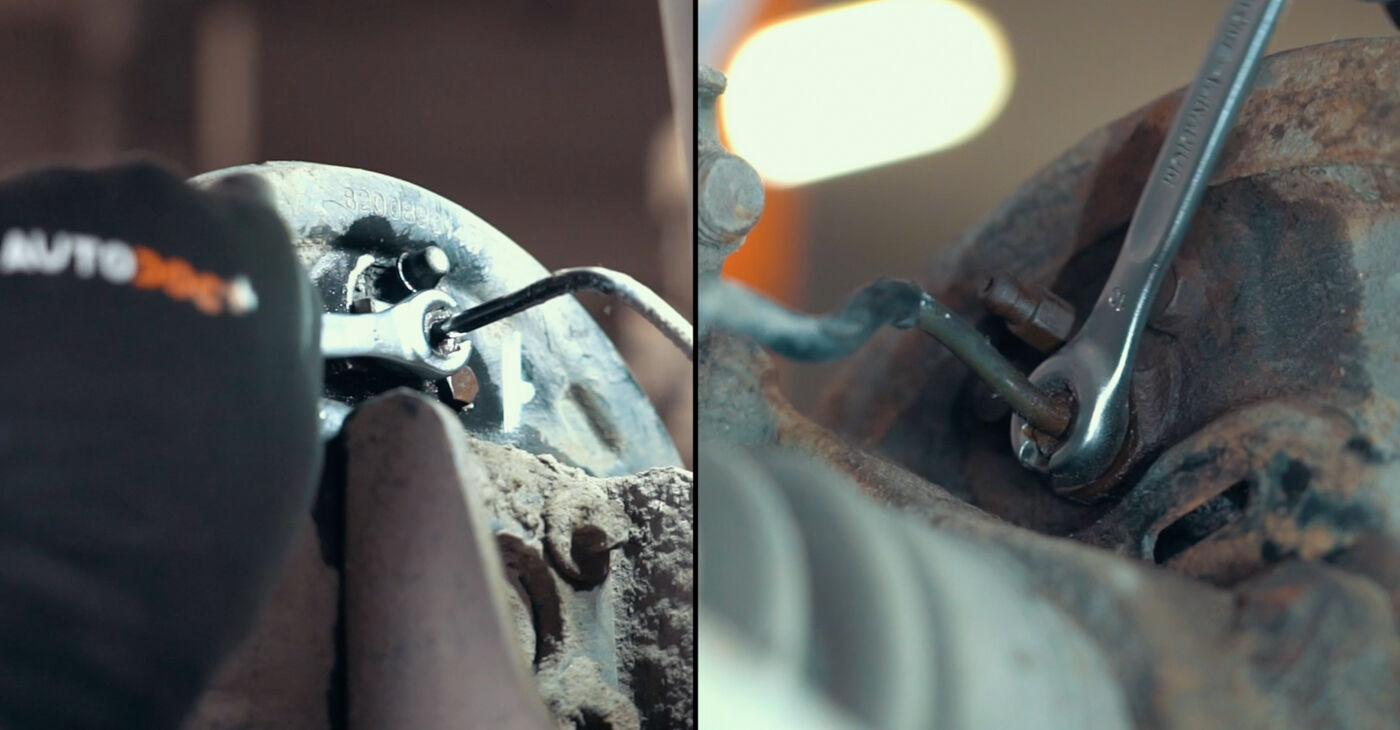 To prevent the brake pipe from turning, loosen the connection by rotating it gradually
 - 14.
 Unscrew the wheel cylinder fasteners and remove the cylinderAUTODOC recommends:Check the tapered tip of the brake pipe for dirt and damage
 - 15.
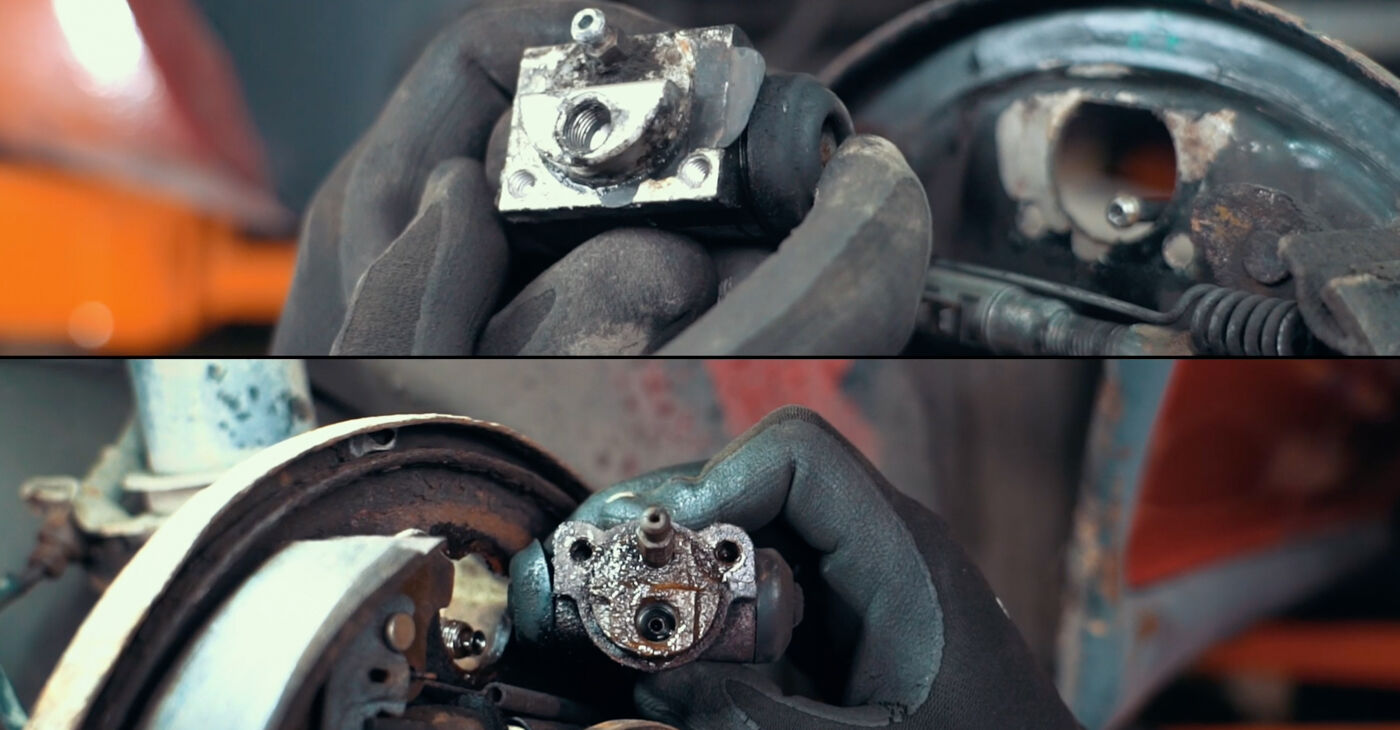
 Place the cap from the old cylinder on the brake pipe to prevent dirt from entering the brake line
 - 16.
 Clean the wheel cylinder mounting seat
 - 17.
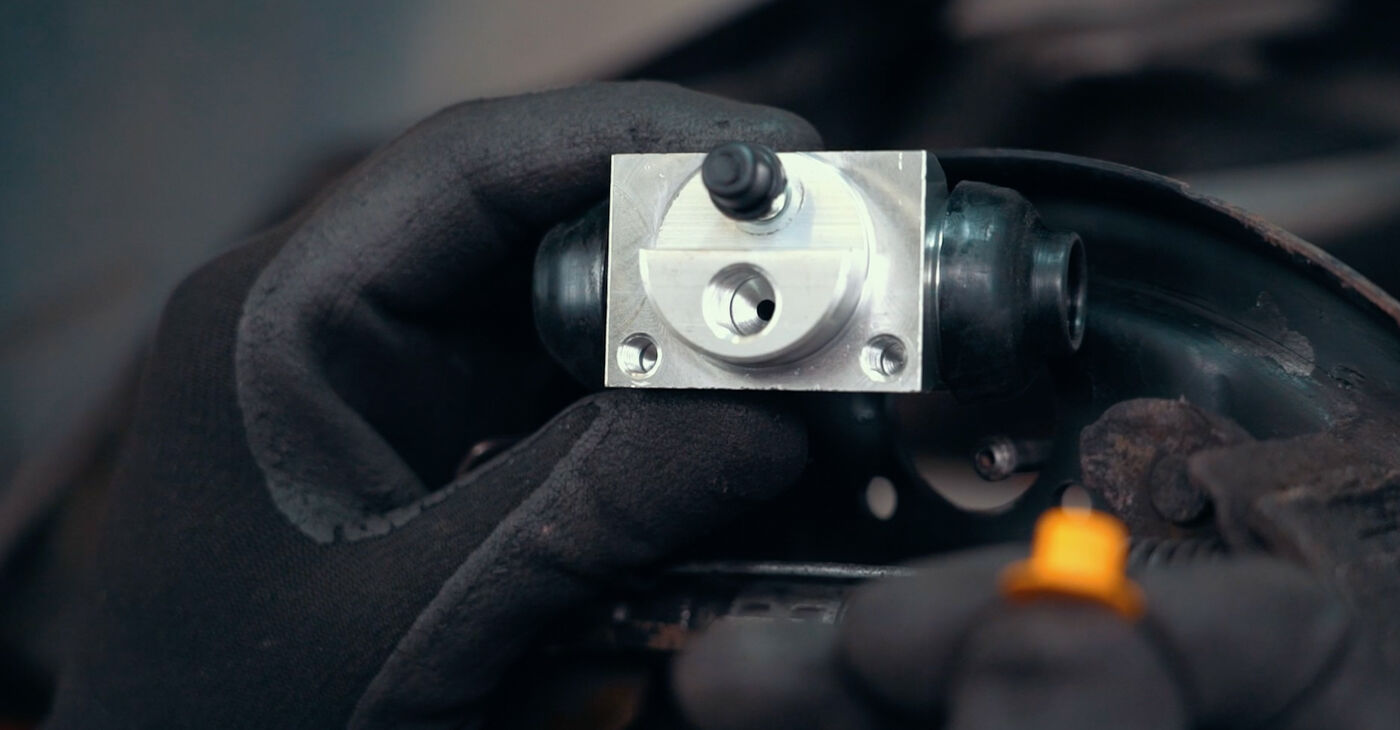 Remove the protective cap from the new cylinder
 - 18.
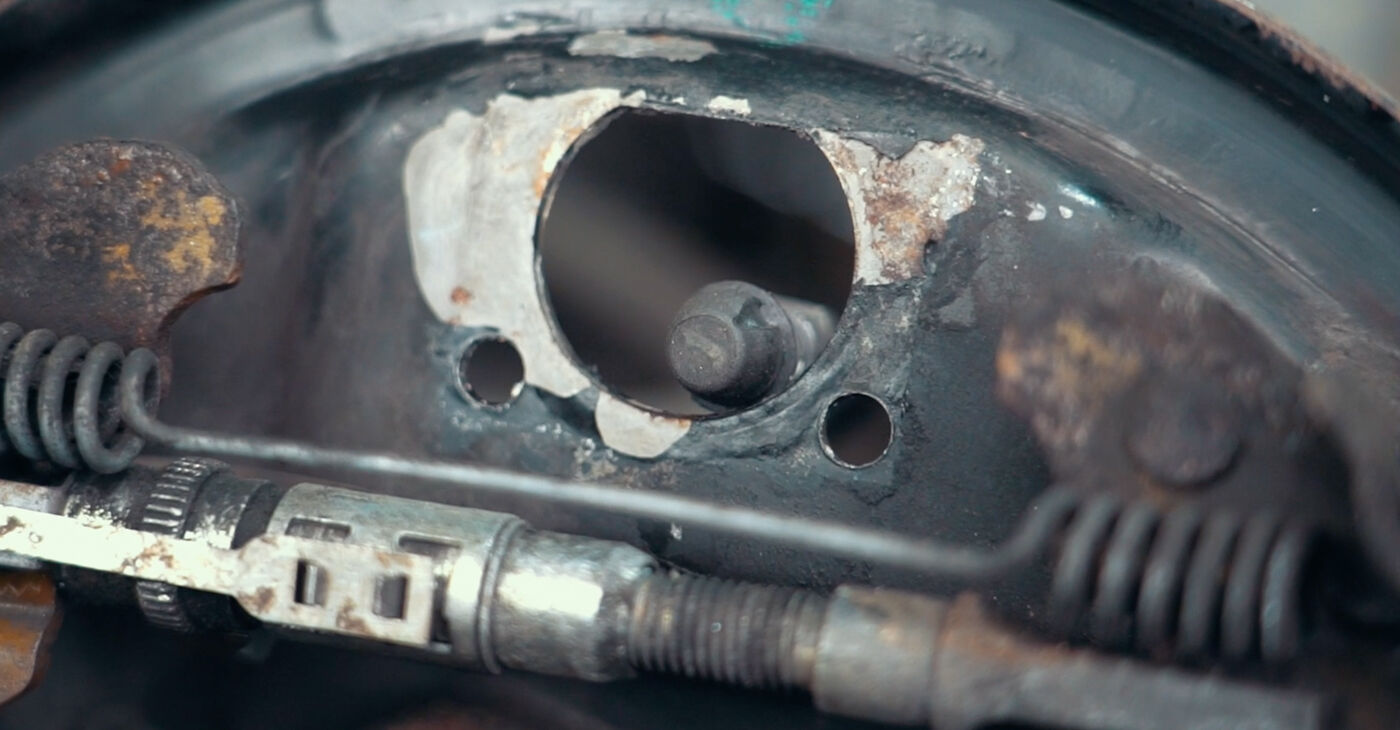
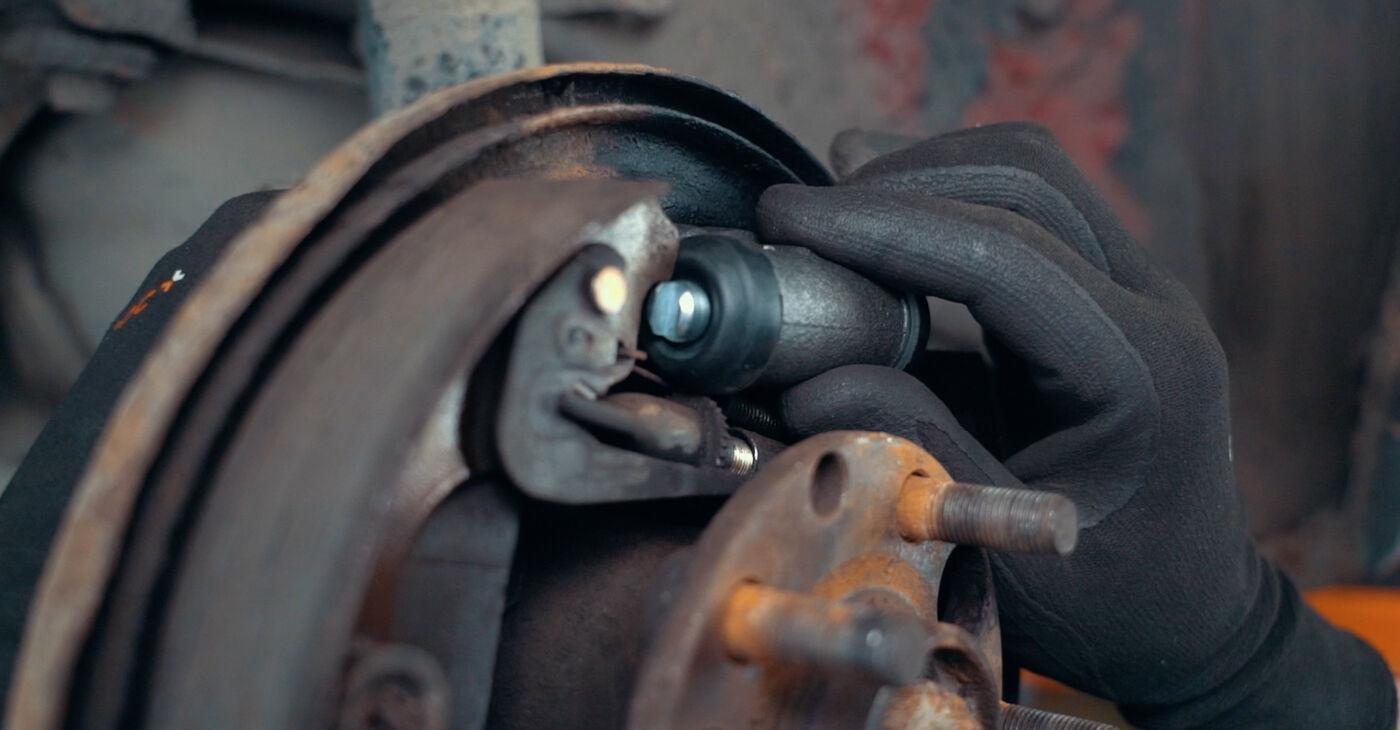 While inserting the brake pipe, place the cylinder into its mounting seatCaution!Make sure that the edges of the brake shoes don’t damage the wheel cylinder boots
 - 19.
 Tighten all fasteners to the torque recommended by the car manufacturer
 - 20.
 Check that the threaded part of the brake pipe fitting is in line with the thread in the mounting holeImportant!The part should be aligned properly when it is installed
 - 21.
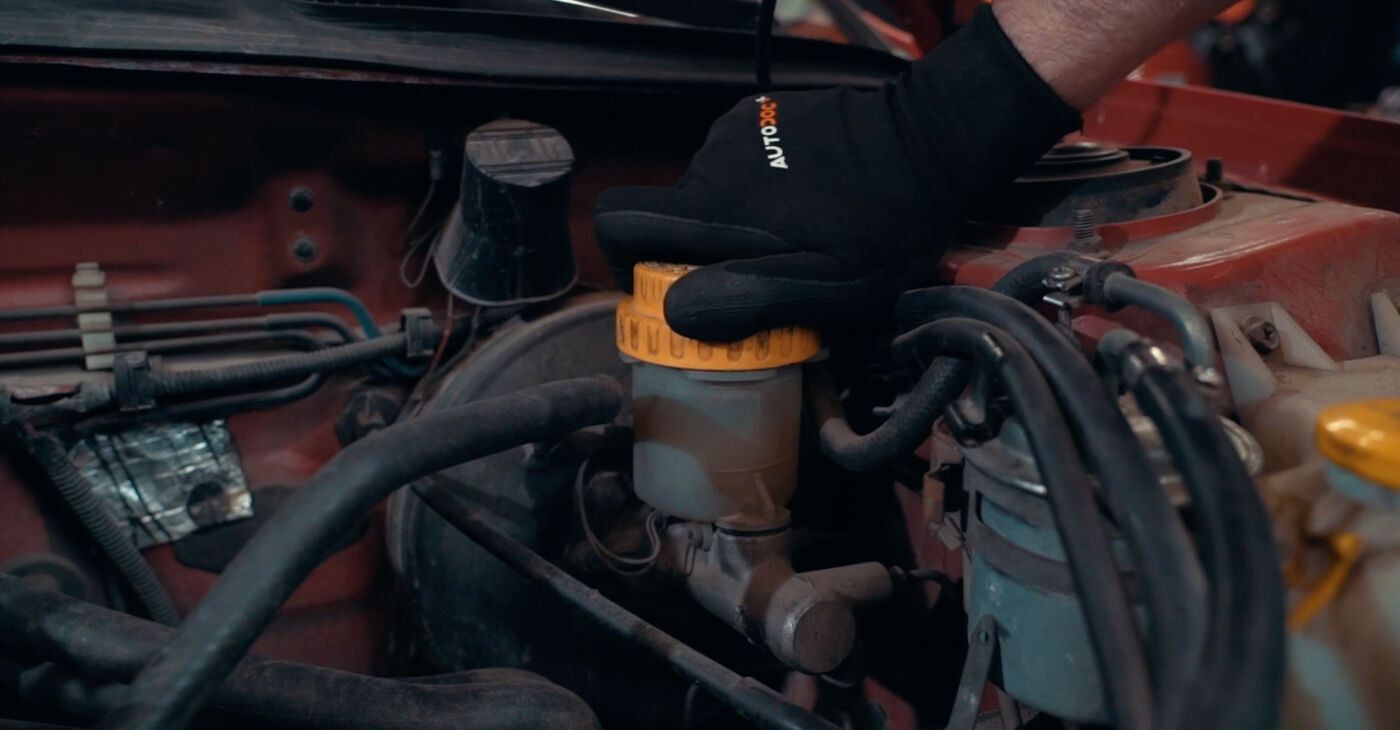
 Bleed the brake system according to the car manufacturer's instructions


Was this manual helpful?
Please rate this manual on a scale from 1 to 5. If you have any questions, feel free to ask us.
Users voted – 0
Unlock your car maintenance assistant!
Track expenses, manage logs, schedule replacements, and more.
Popular Brake System maintenance tutorials
 Free download PDF
 1.64 MB
 Free download PDF2.84 MB
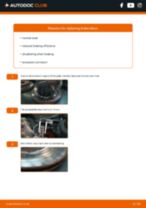 Free download PDF2.92 MB
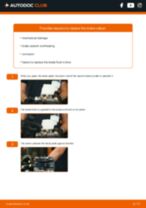 Free download PDF2.91 MB
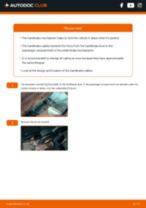 Free download PDF1.51 MB
 Free download PDF3.01 MB
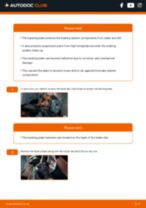 Free download PDF983.04 KB
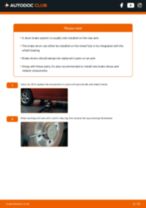 Free download PDF1.95 MB
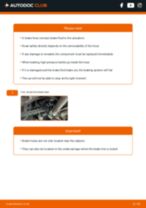 Free download PDF2.39 MB
Top auto repair manuals
 Free download PDF1.51 MB
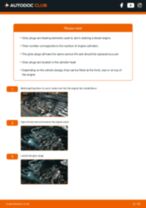 Free download PDF1.62 MB
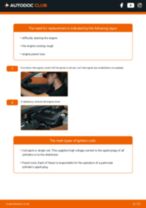 Free download PDF1.98 MB
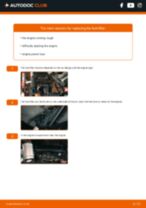 Free download PDF2 MB
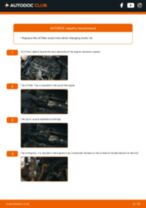 Free download PDF2.82 MB
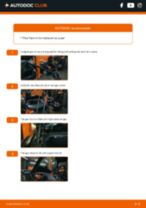 Free download PDF1.21 MB
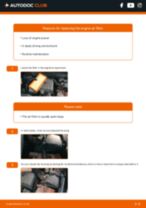 Free download PDF1.5 MB
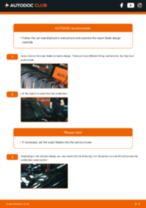 Free download PDF1.37 MB
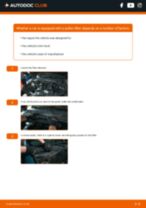 Free download PDF1.19 MB


Time to replace parts? Get even better deals in our Shop app.

SCAN ME