Disclaimer

How to change hand brake cable on a car – replacement tutorial
downloads:
5366
Views:
32143
Handbrake cable replacement [AUTODOC TUTORIAL]
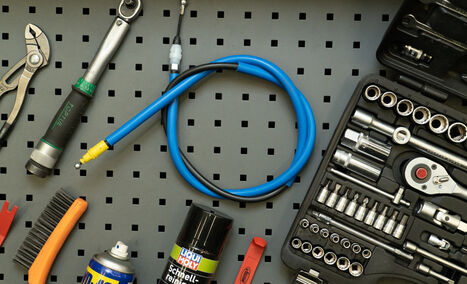
a set of suitable tools
all-purpose cleaning spray
wire brush
WD-40 spray
pliers
a set of plastic trim removal tools
a drum brake repair toolkit

Please note!
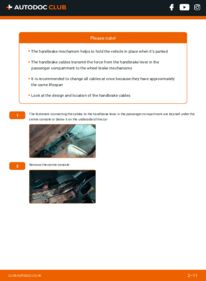
- The handbrake mechanism helps to hold the vehicle in place when it’s parked
- The handbrake cables transmit the force from the handbrake lever in the passenger compartment to the wheel brake mechanisms
- It is recommended to change all cables at once because they have approximately the same lifespan
- Look at the design and location of the handbrake cables
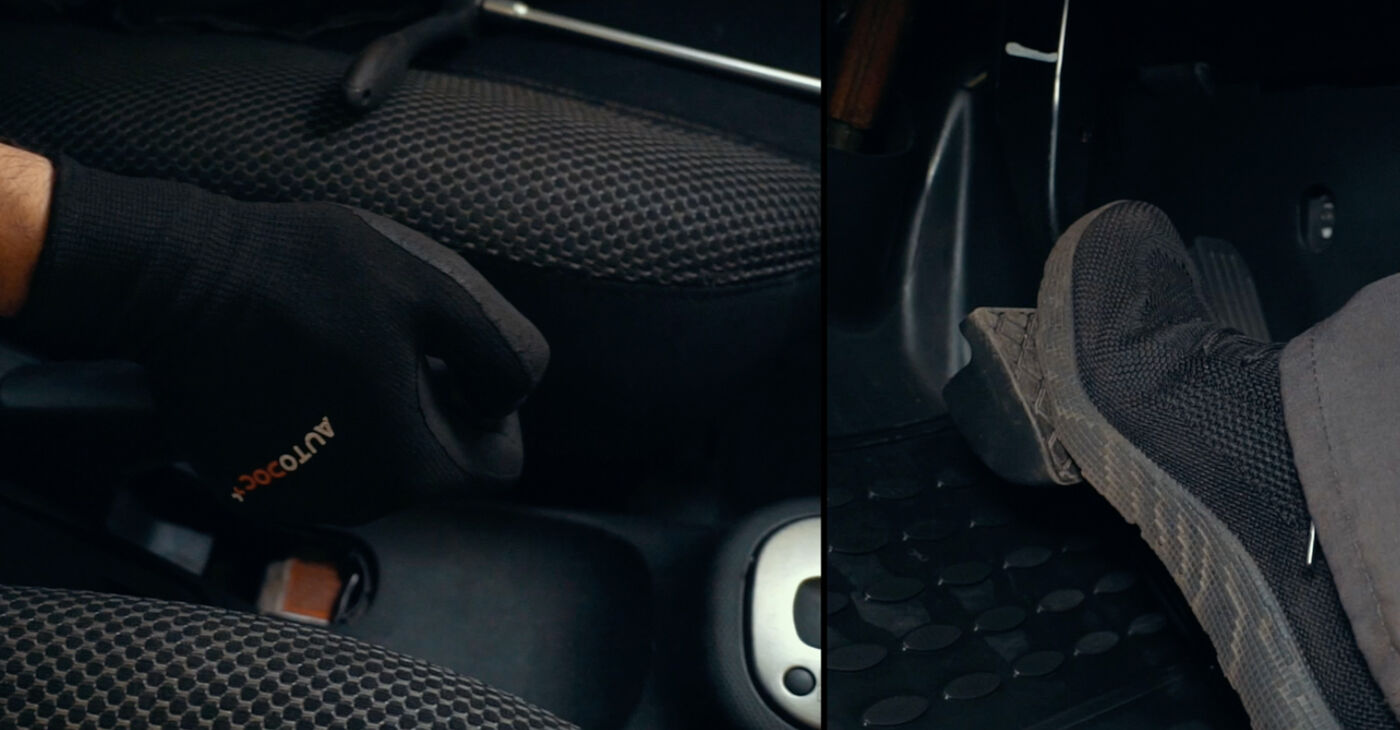
- 1.
 The fasteners connecting the cables to the handbrake lever in the passenger compartment are located under the centre console or below it on the underside of the car
 - 2.
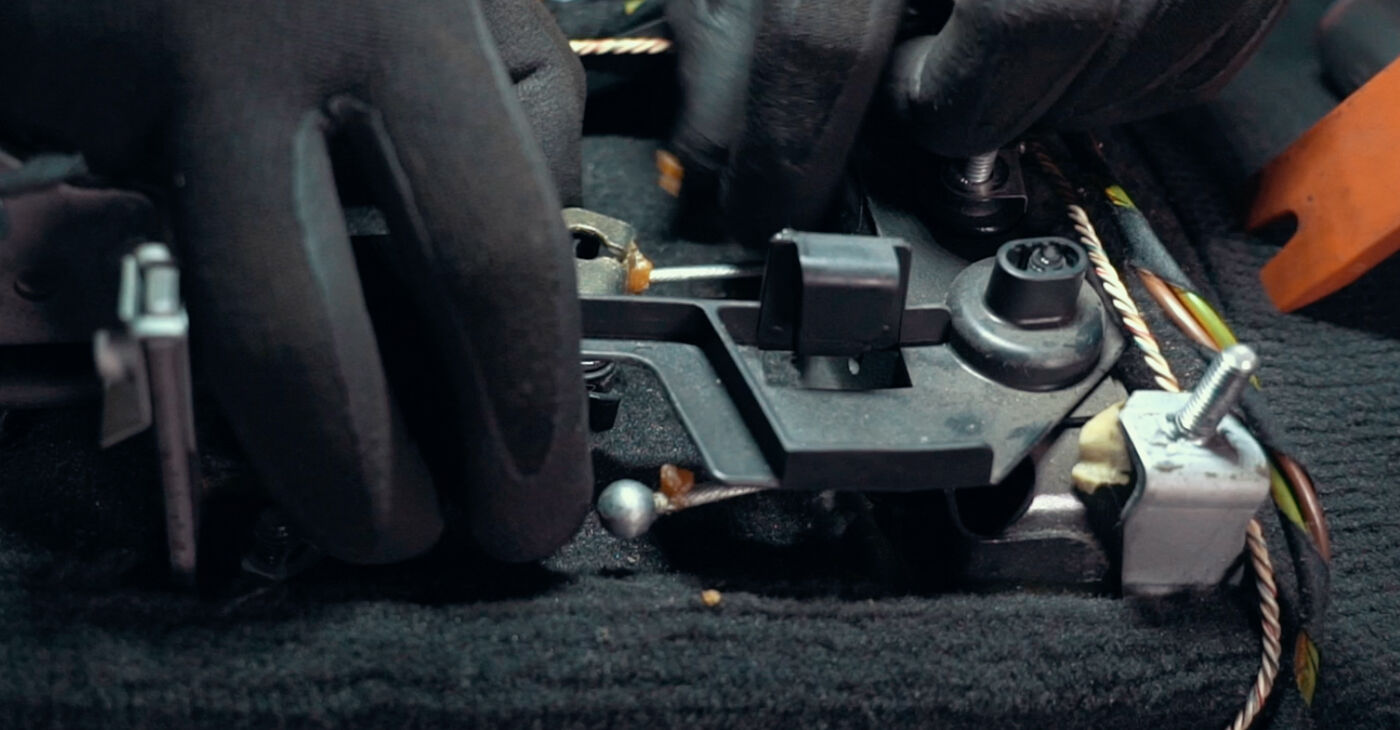
 Remove the centre console
 - 3.
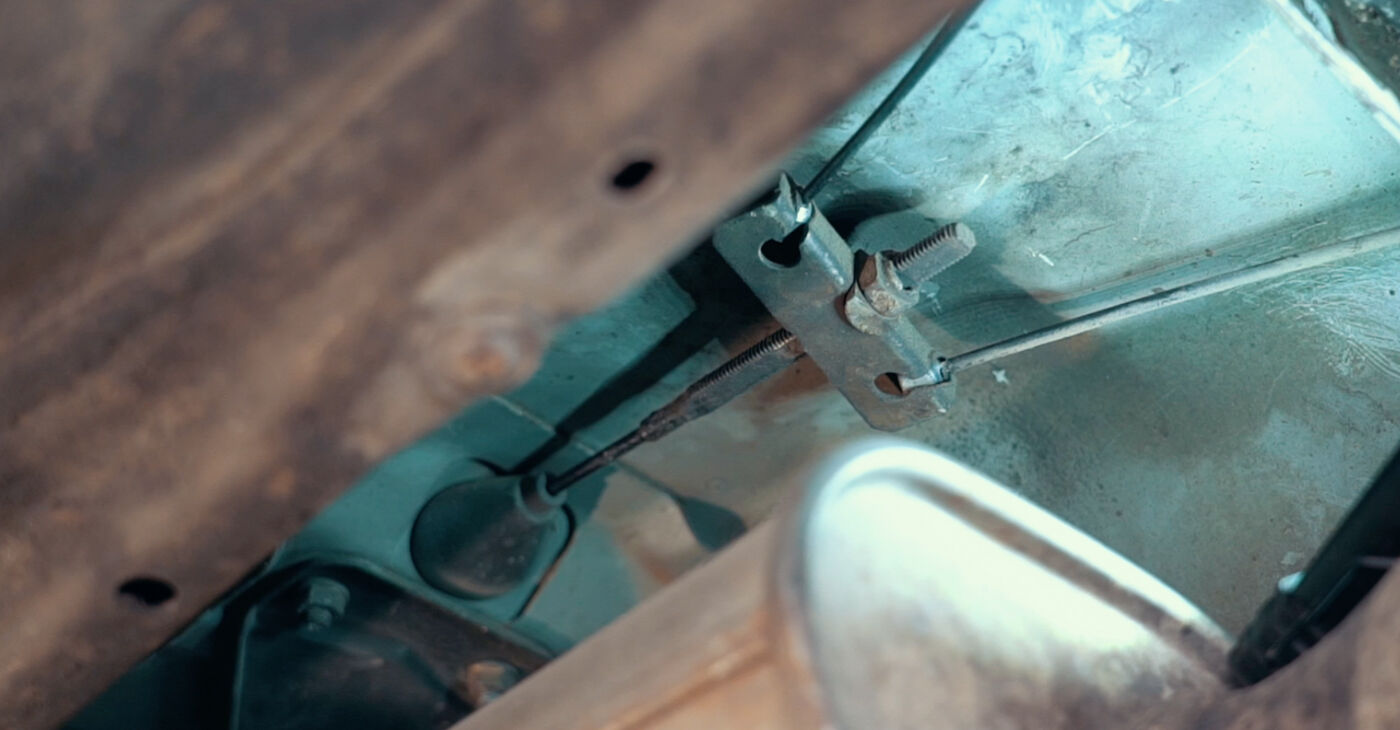
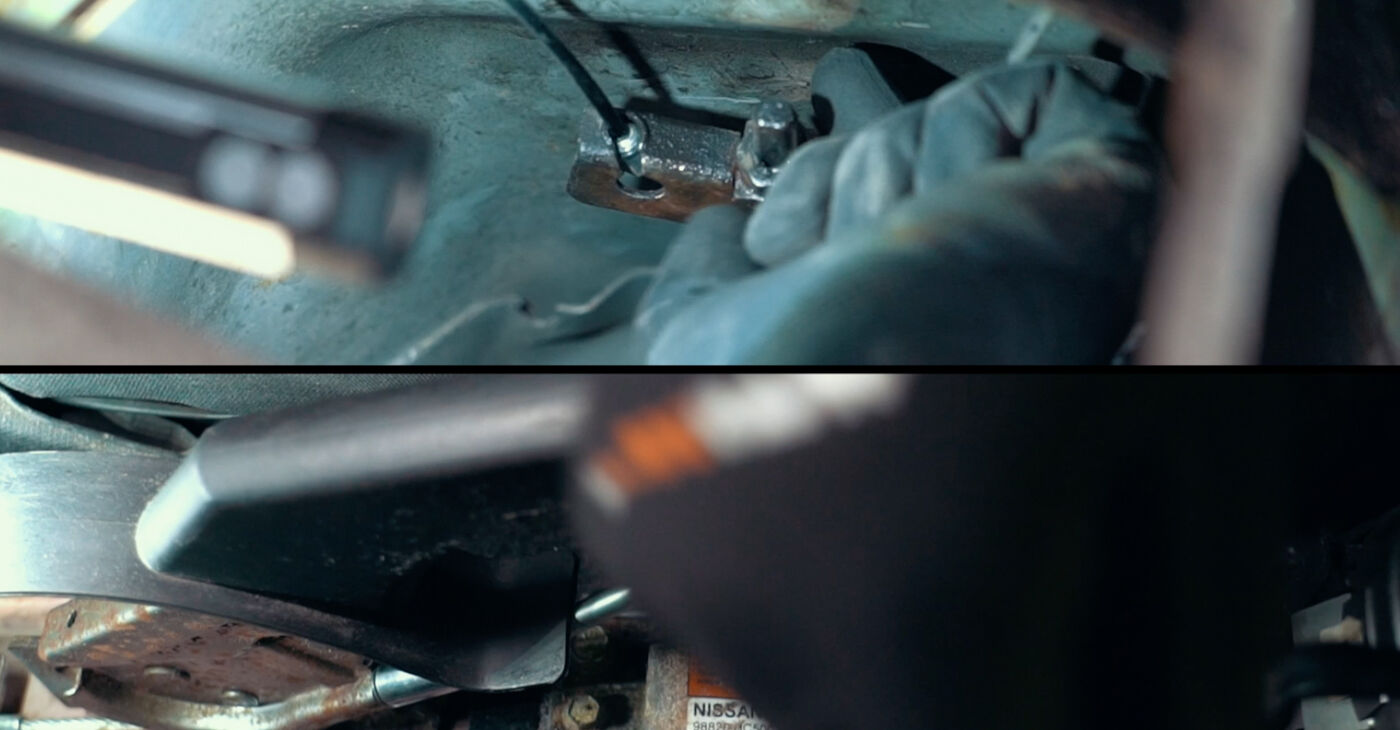 Loosen the tension of the cables
 - 4.
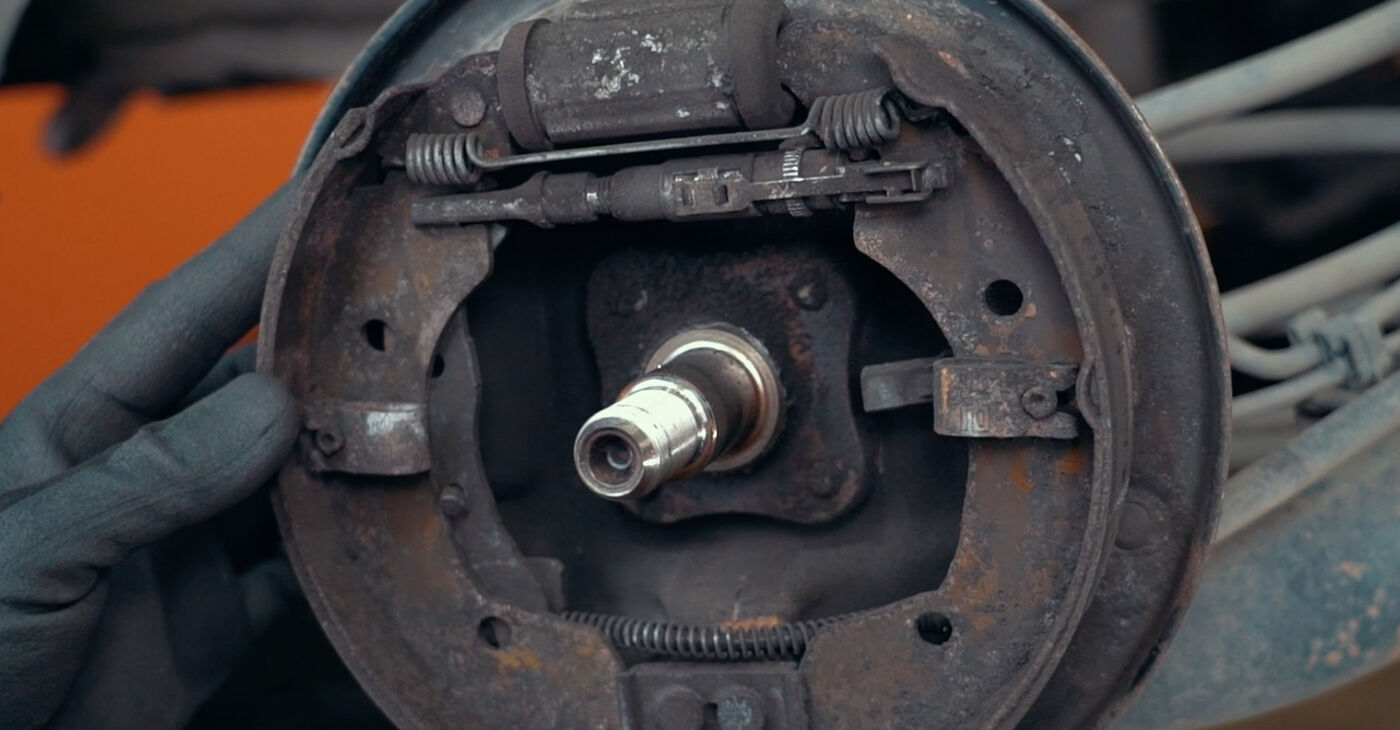
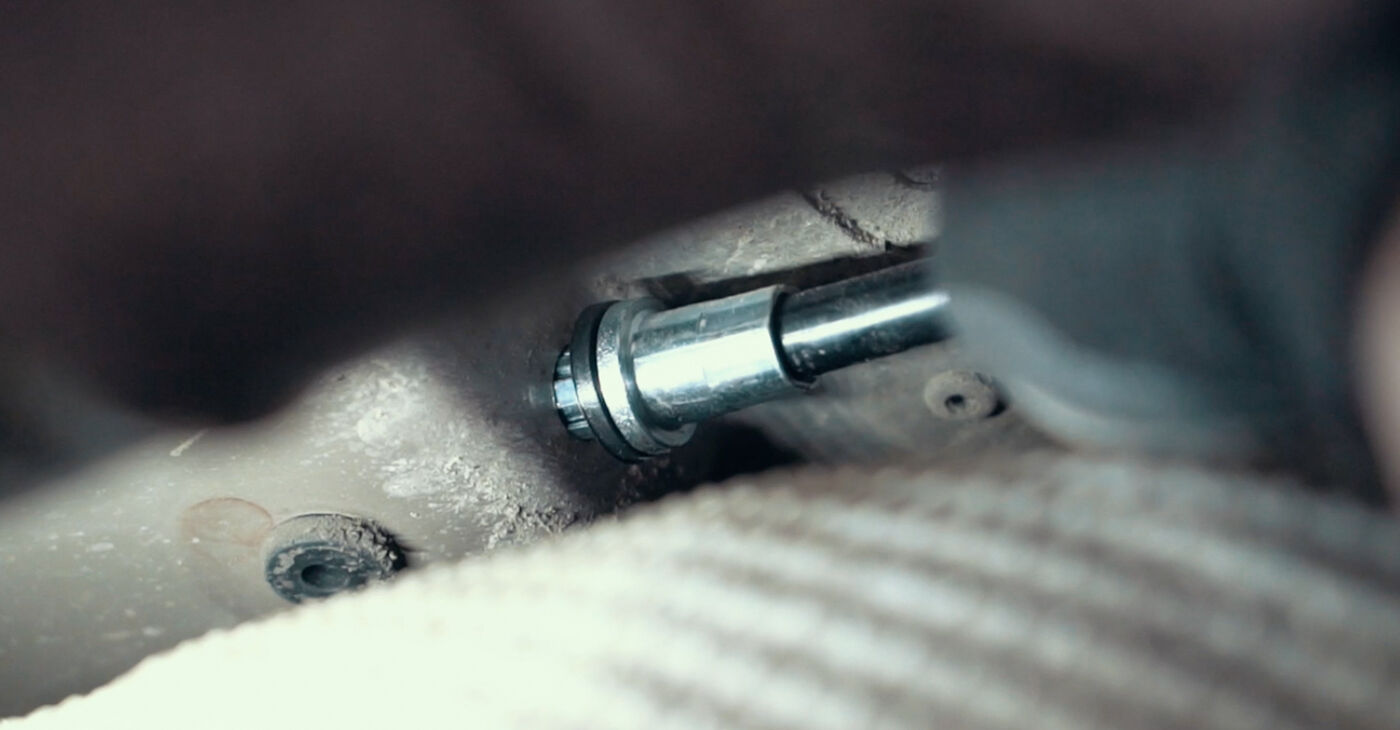
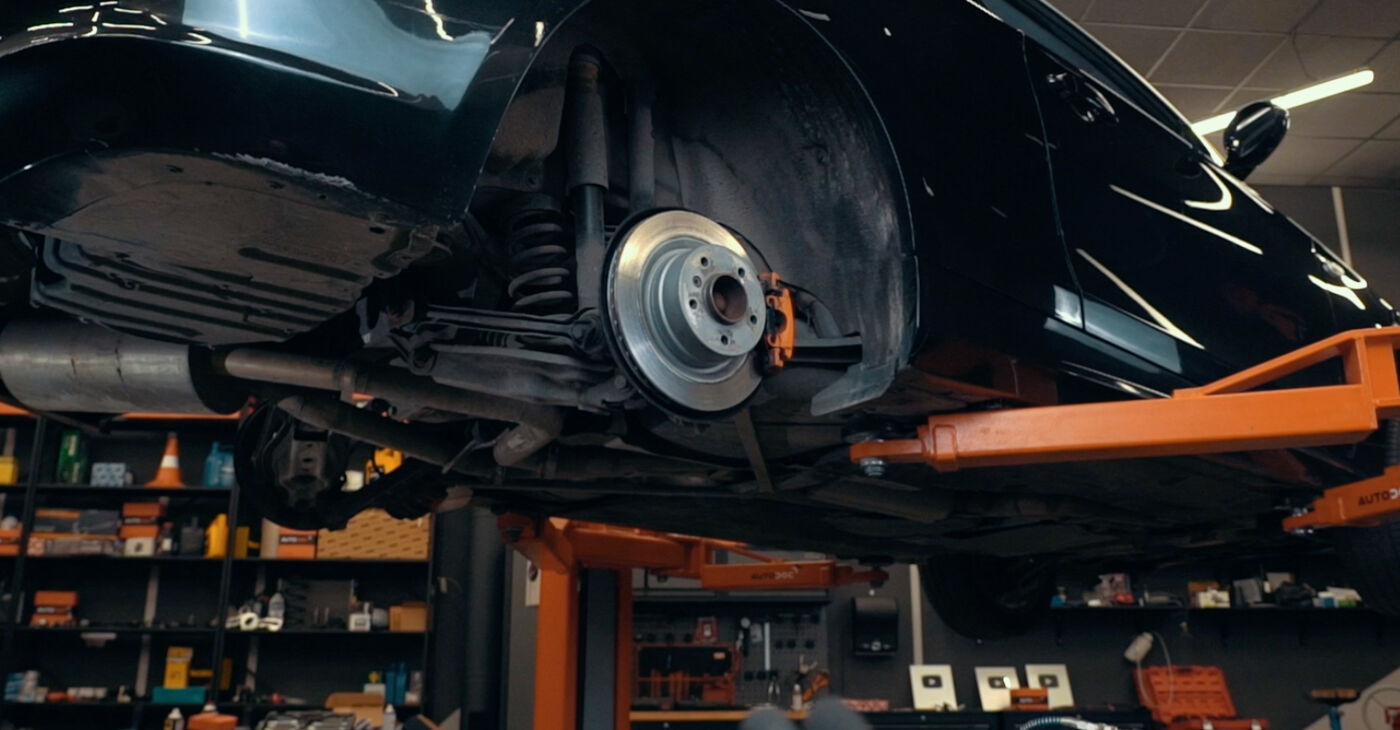 Remove the rear wheelsThe handbrake can use the following types of wheel brake mechanismsRear calipers with the integrated handbrake componentsBrake shoes that are housed inside a drum or disc
 - 5.
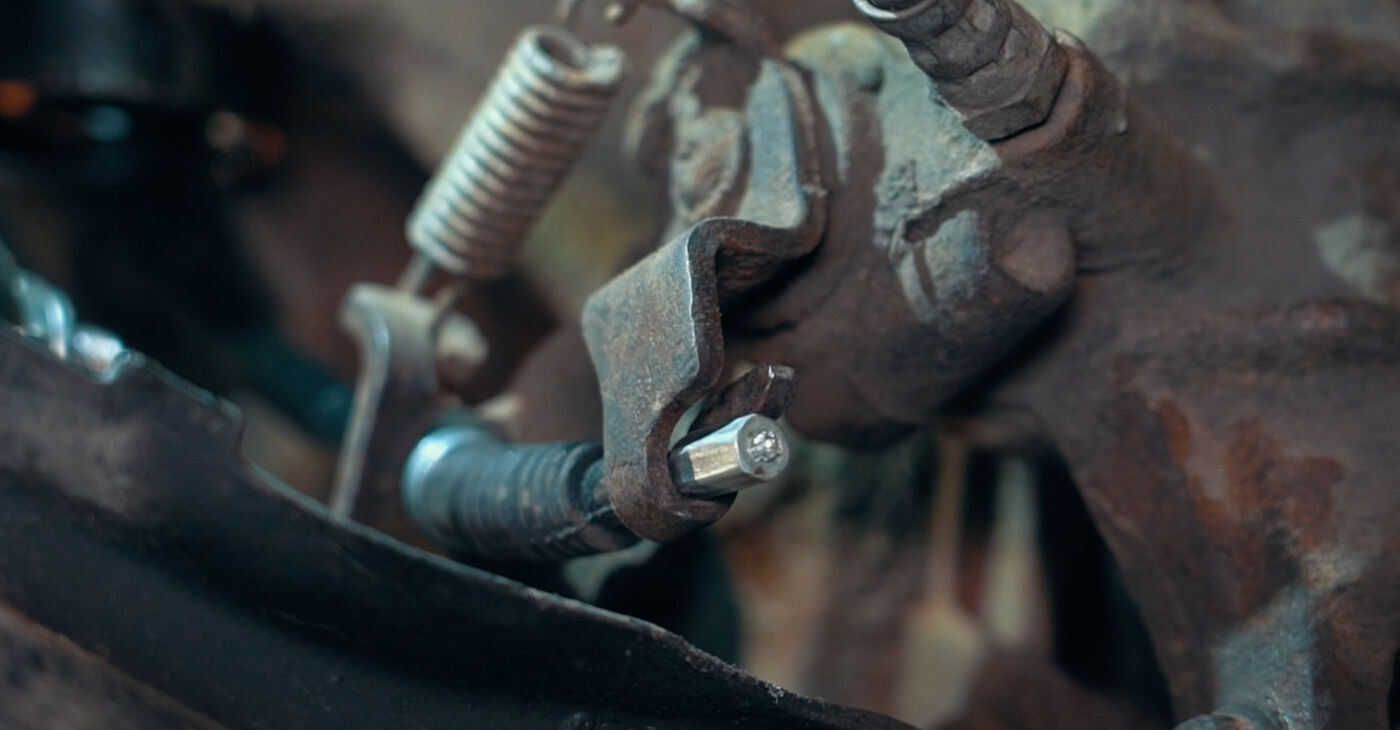 In the first case, simply disconnect the cables from the cable brackets on the calipers
 - 6.
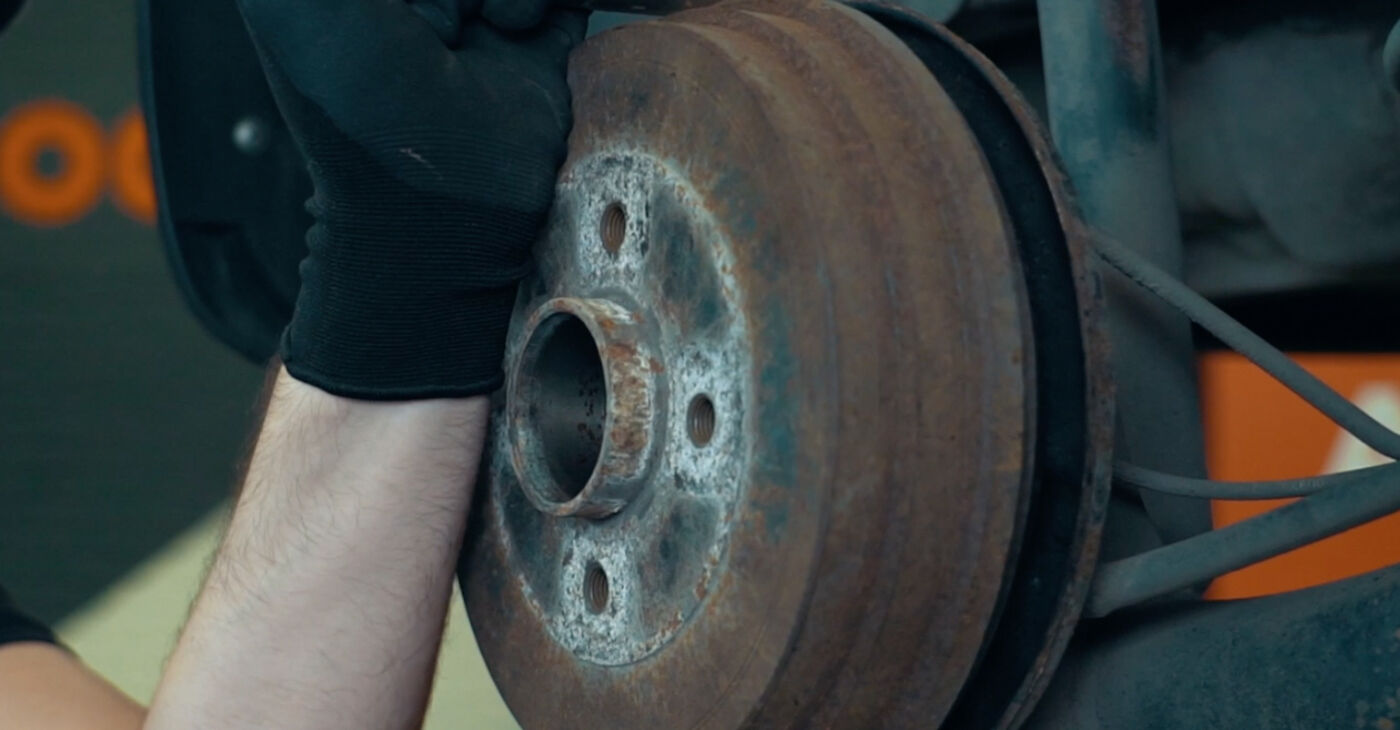
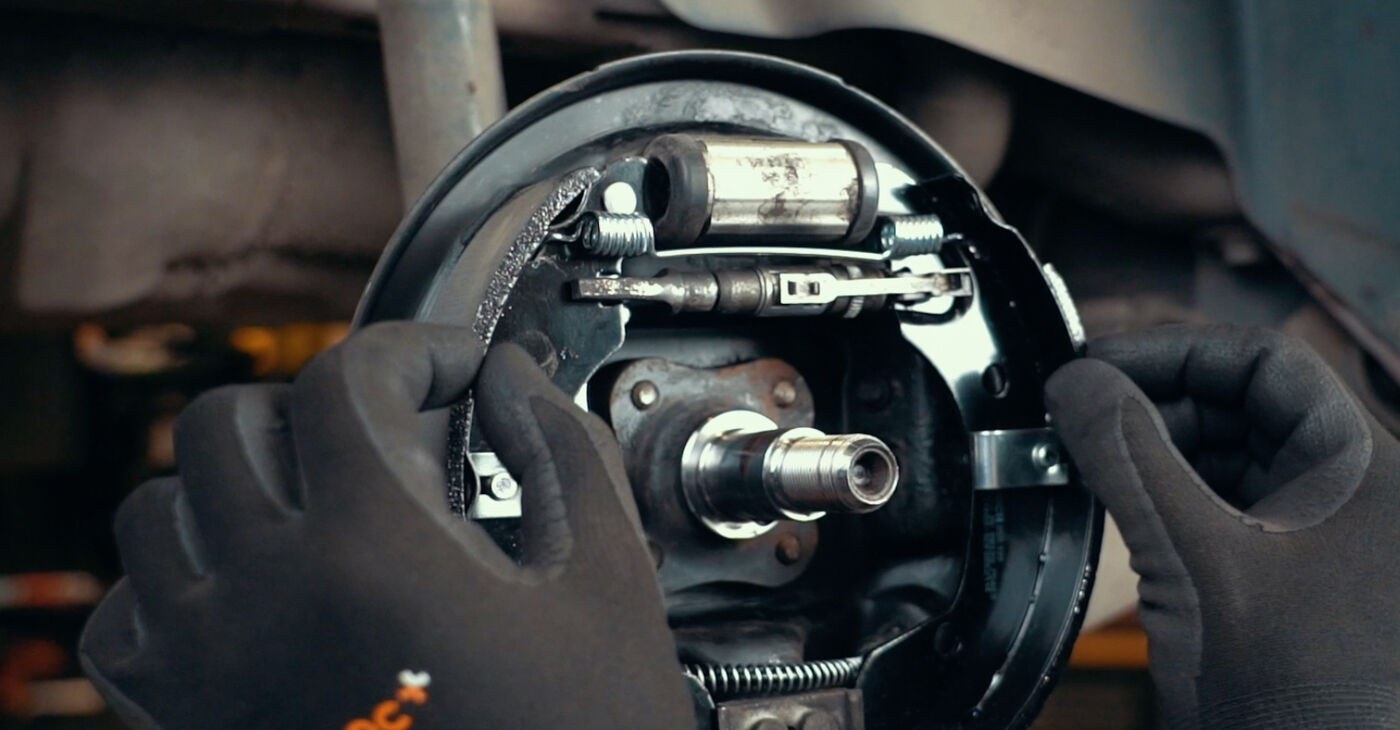
 For the second type, you need to remove the calipers, caliper brackets, and brake discs or drumsThe brake drum or disc might be difficult to remove;either because its surface is stuck to the hub or other mounting seator because the handbrake shoes are holding it in place
 - 7.
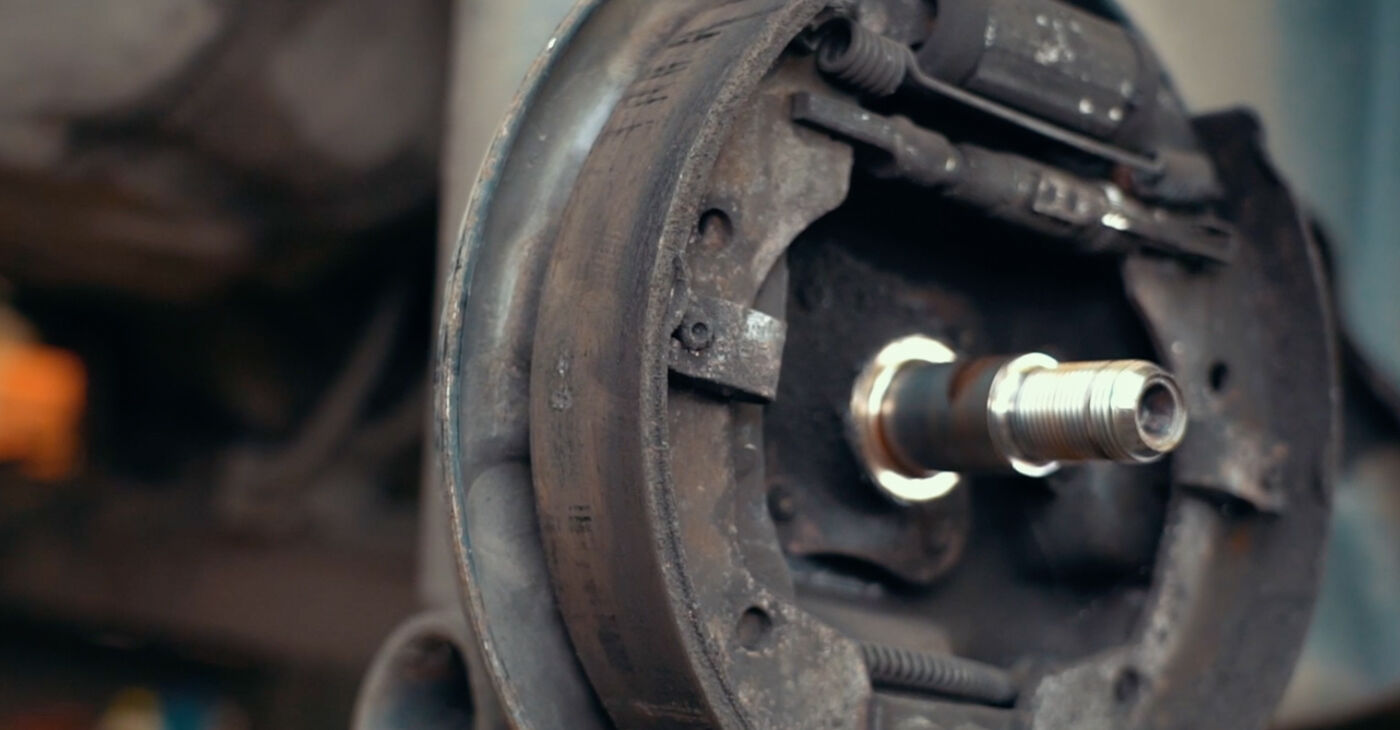
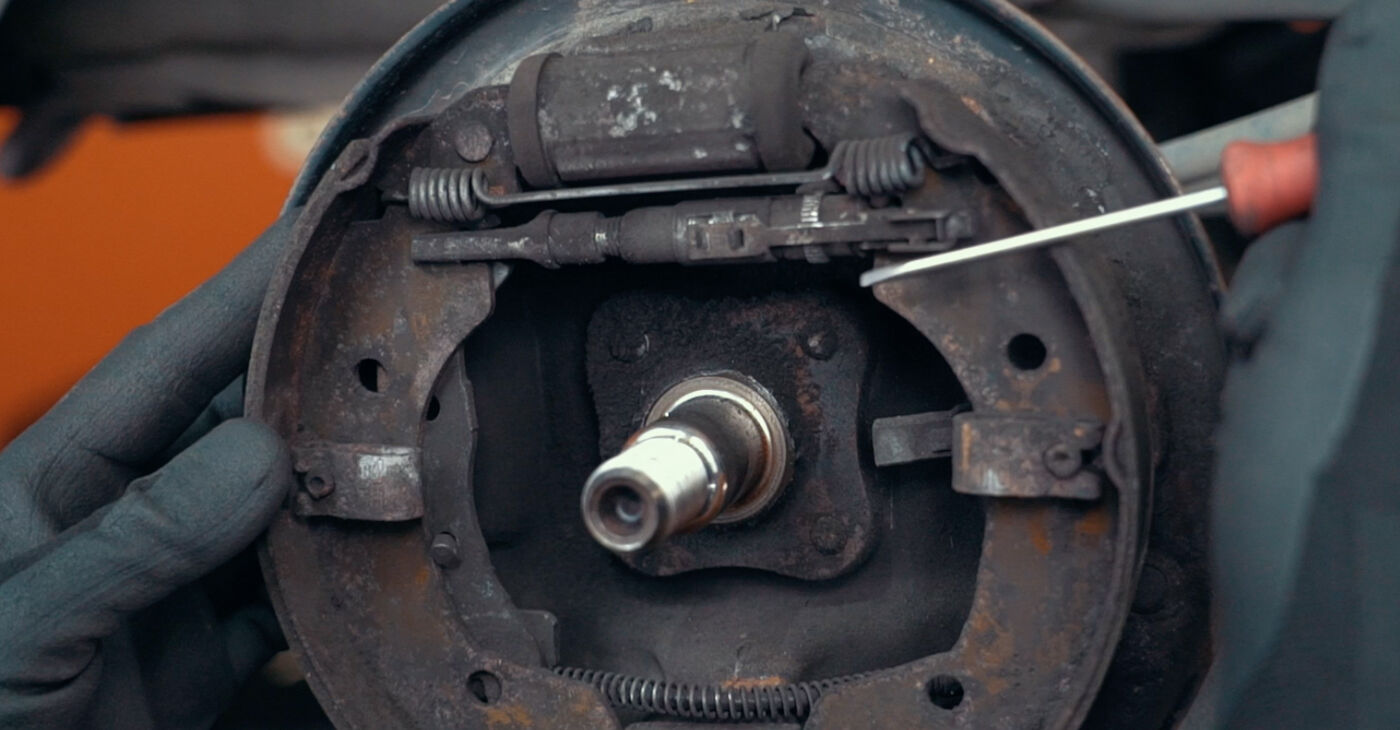
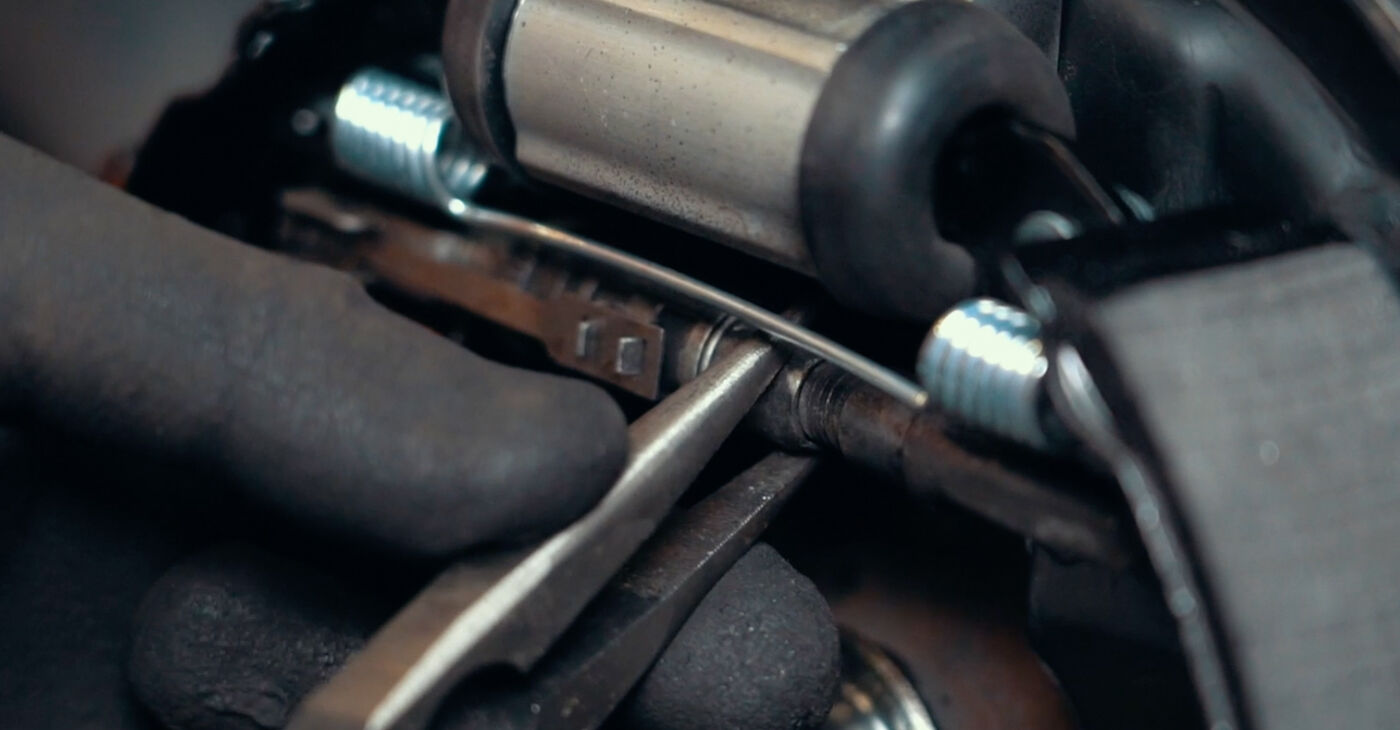
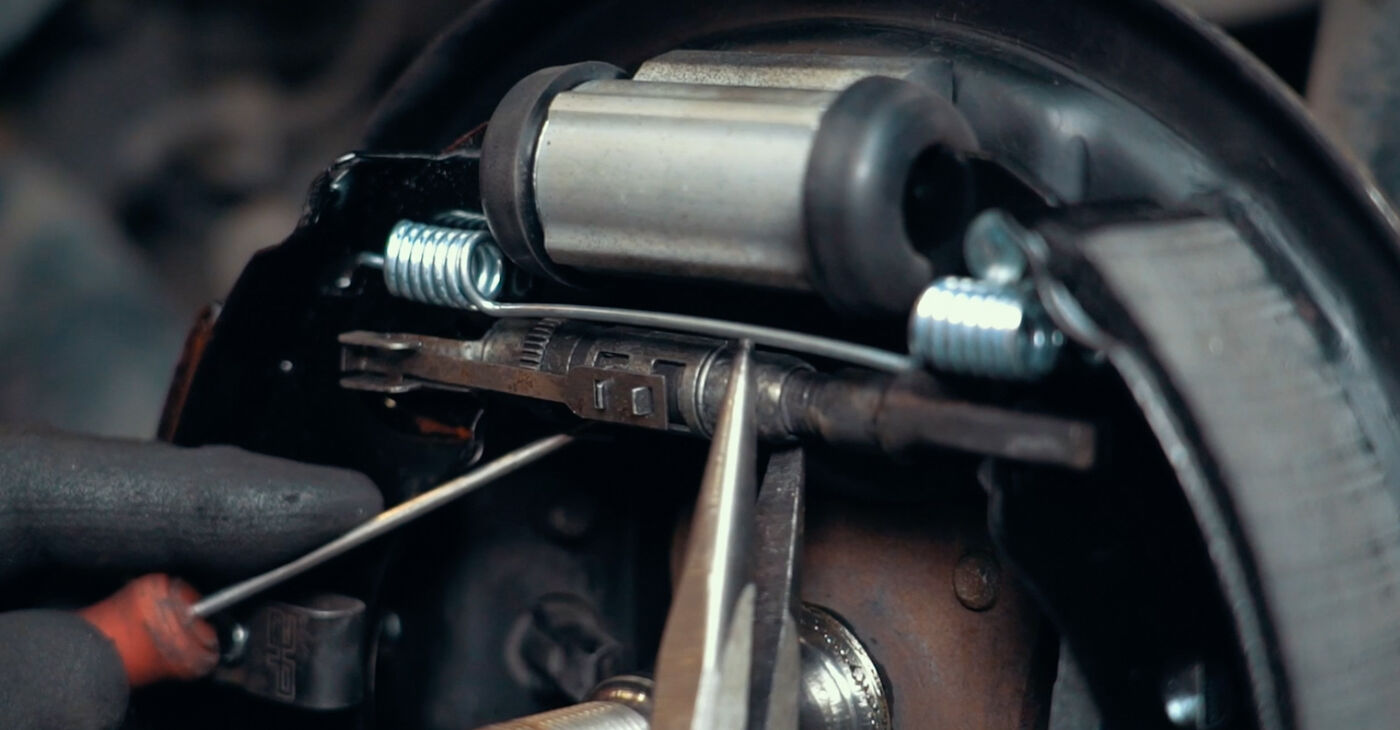
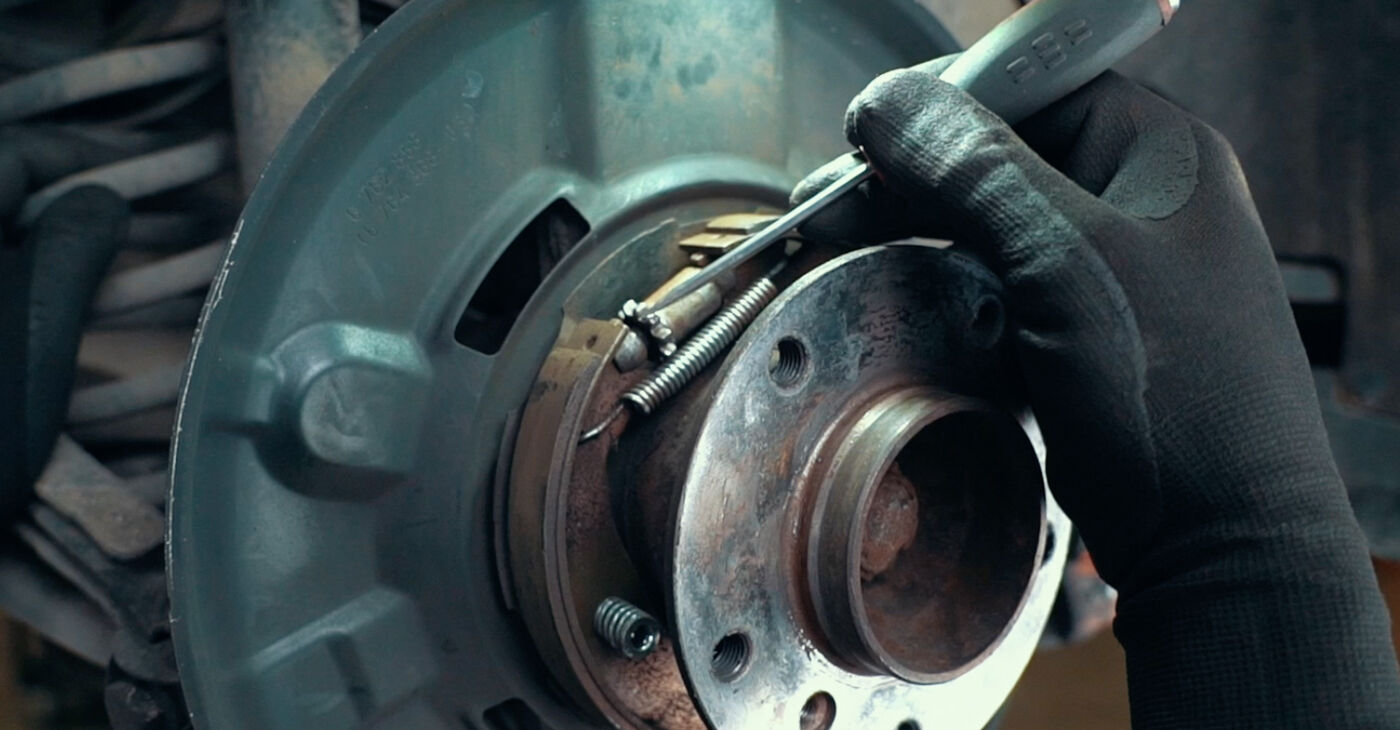 In the second case, loosen the brake shoe adjuster
 - 8.
 The adjuster gear can be accessed via the wheel bolt hole or the hole in the hub
 - 9.
 The adjuster access hole may be located in the brake backing plate. In this case, the adjustment is carried out from the back of the plateImportant!If the adjuster is stuck and the drum or disc is difficult to remove, a special tool will be required
 - 10.
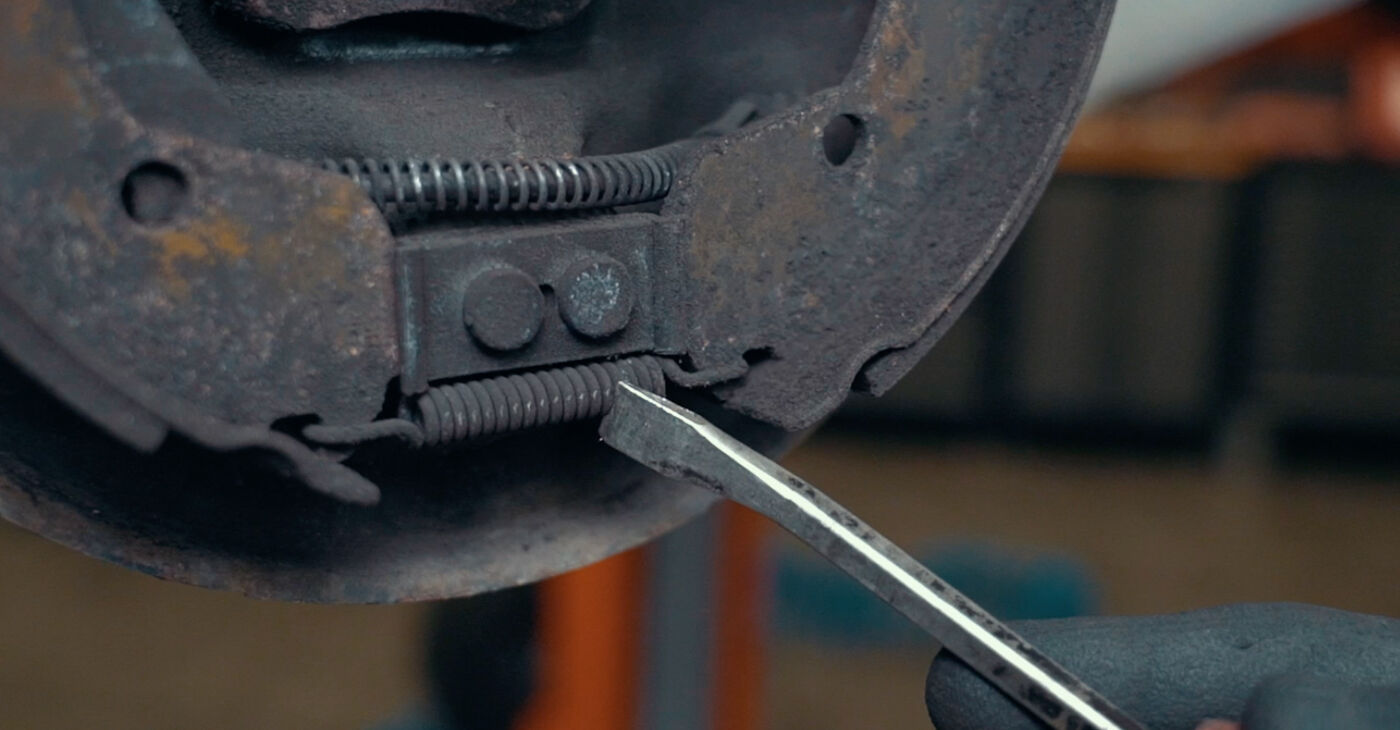
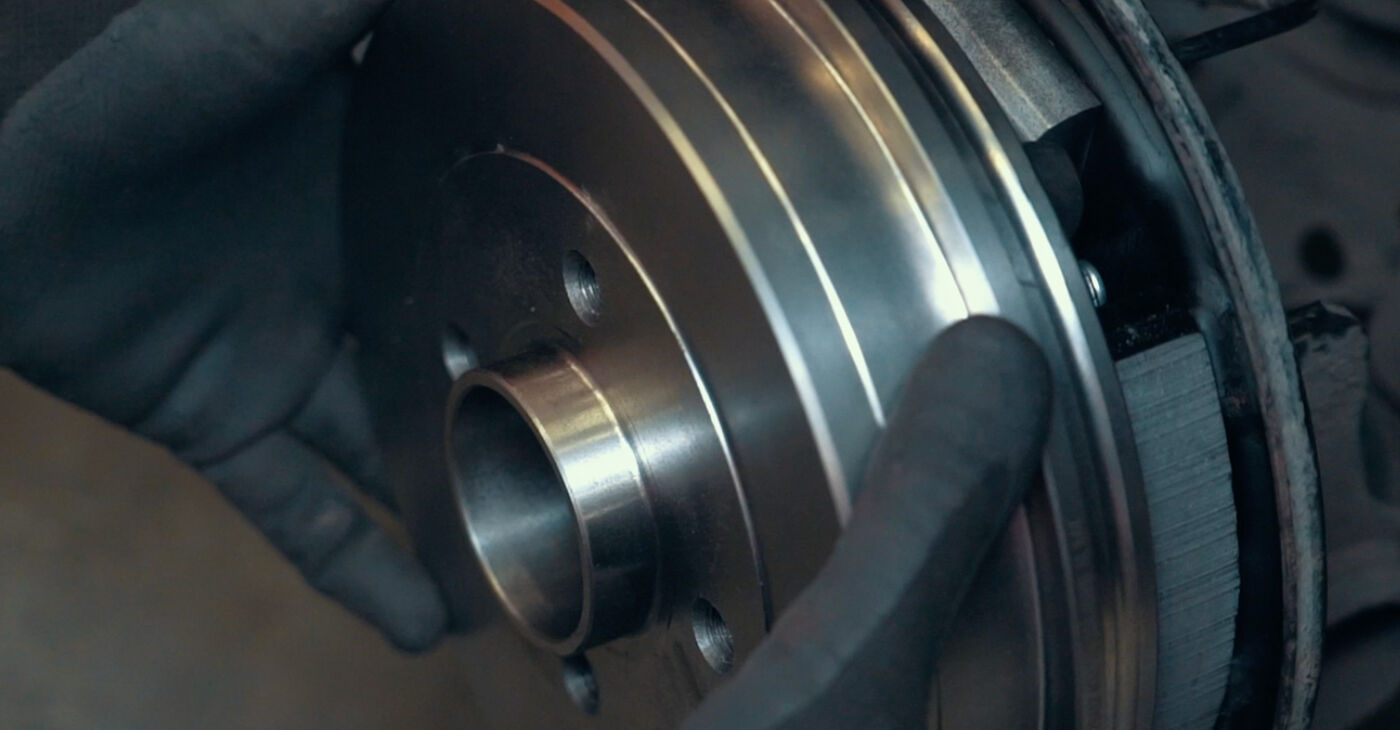
 You can tap the brake drum with a hammer to make disassembly easier or screw bolts into its service holes, if there are any
 - 11.
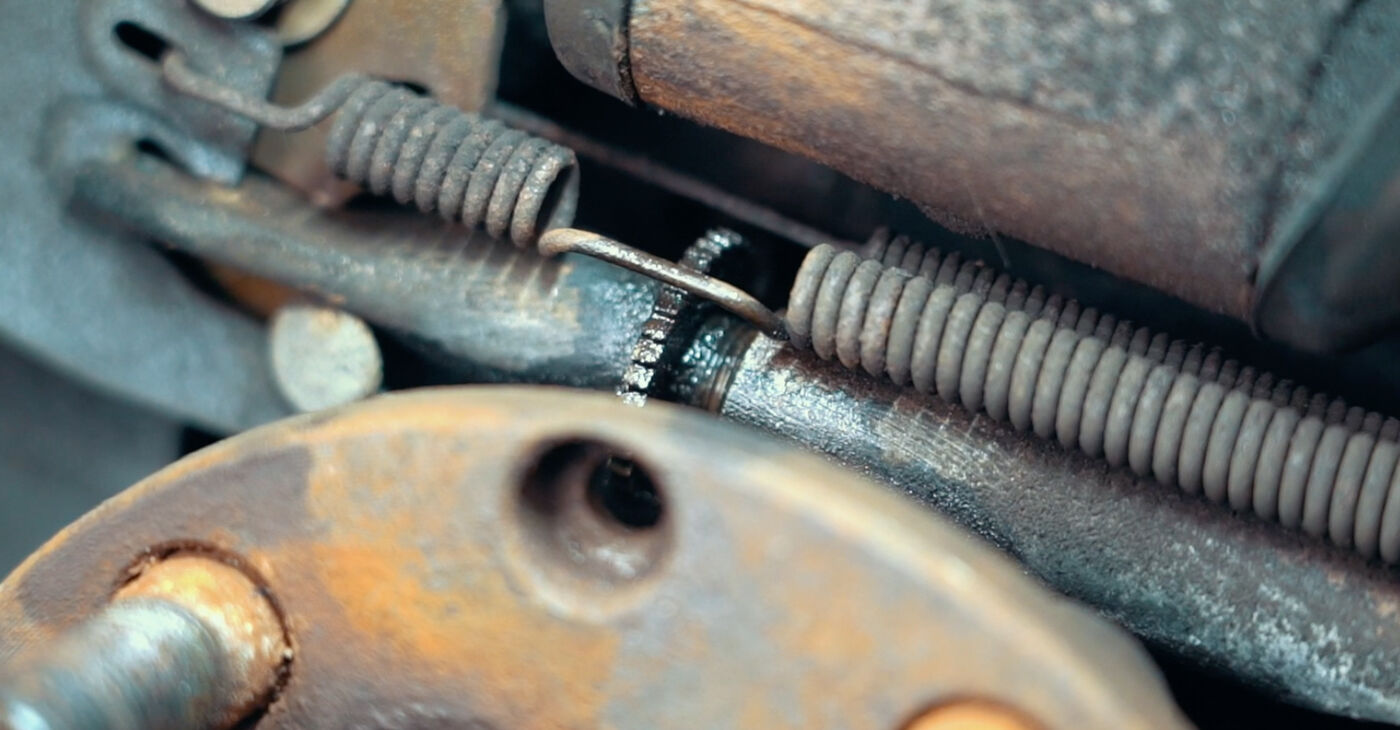
 Check the condition of the brake adjuster, the adjuster mechanism, the springs of the brake shoes, and the drum or disc. Replace them where necessary
 - 12.
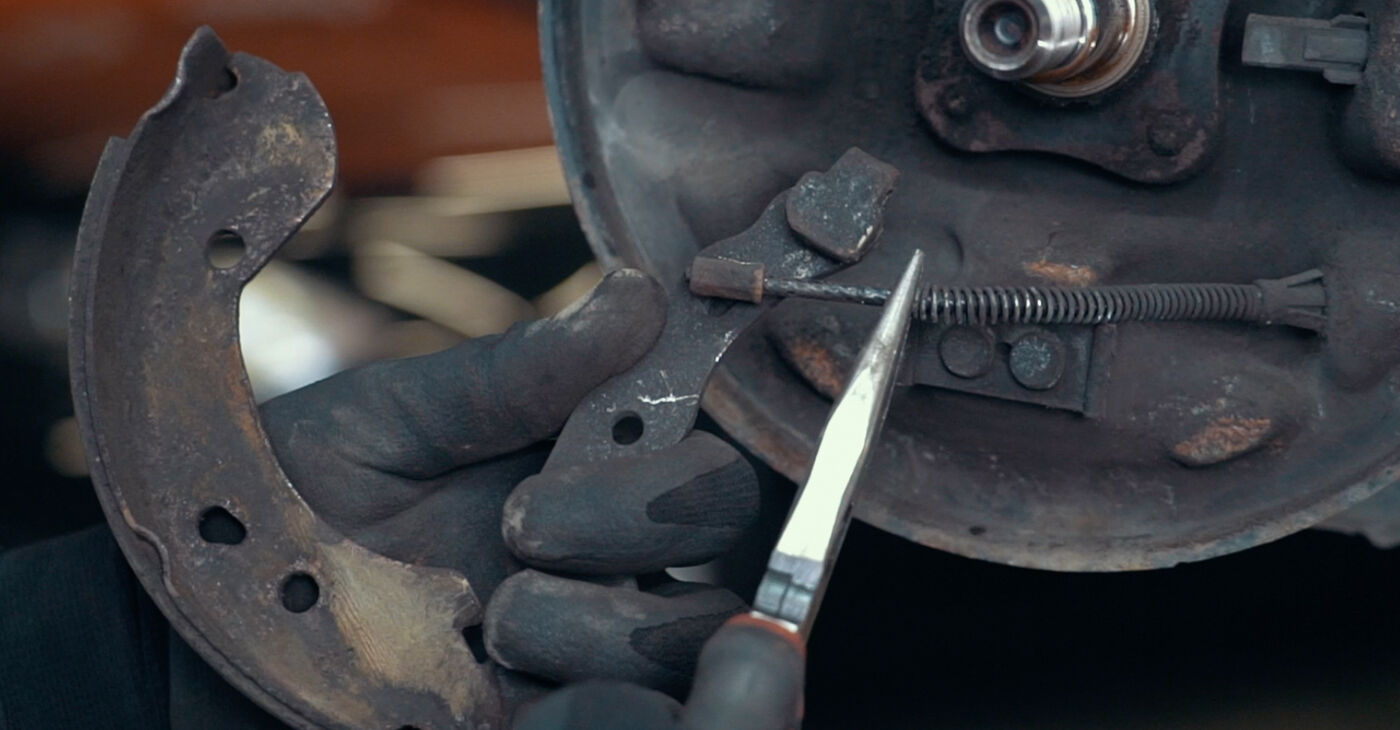
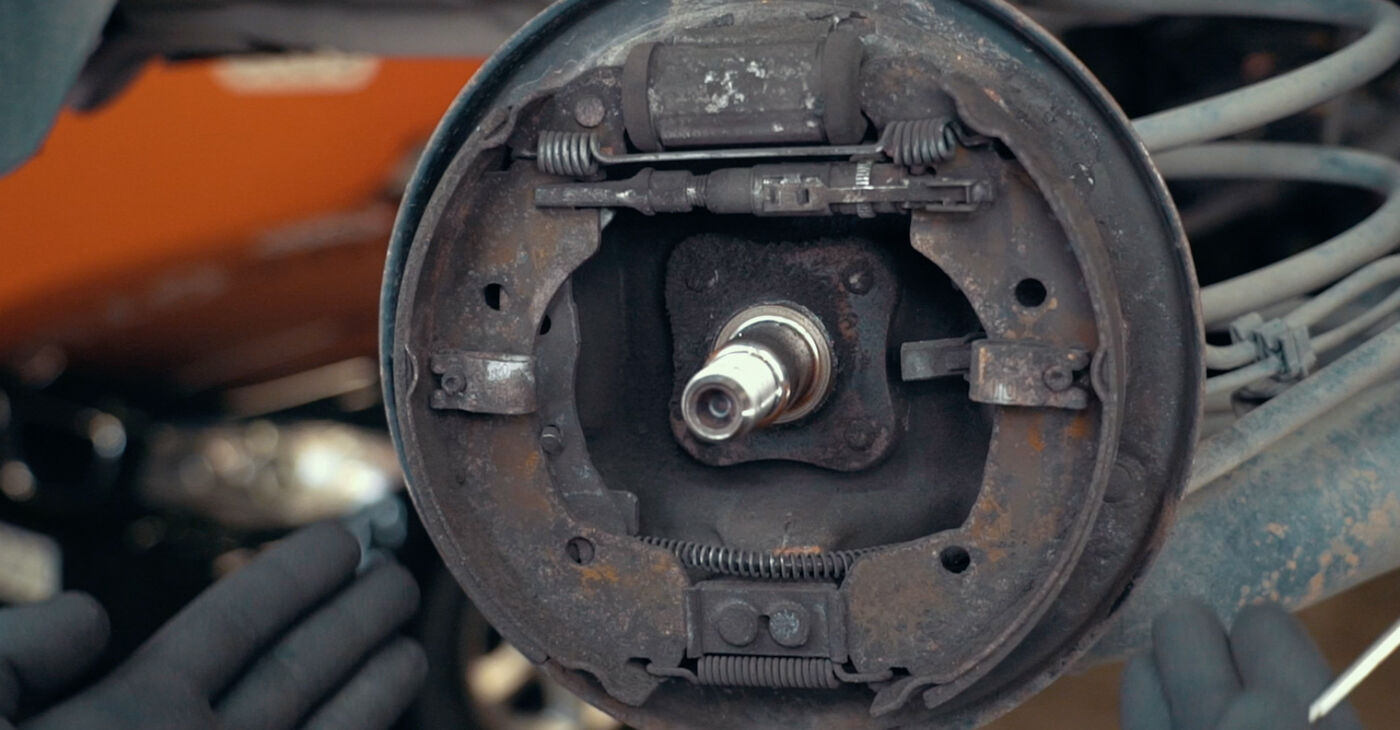 Access the cable fasteners; depending on the design, it may be necessary to remove the shoes first
 - 13.
 Note the position of all the elements and observe their design features
 - 14.
 Proceed in sequence, first on one side of the axle, then on the other

Was this manual helpful?
Please rate this manual on a scale from 1 to 5. If you have any questions, feel free to ask us.
Users voted – 1
Unlock your car maintenance assistant!
Track expenses, manage logs, schedule replacements, and more.
Popular Brake System maintenance tutorials
 Free download PDF
 1.64 MB
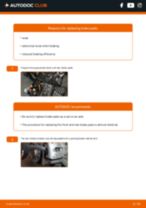 Free download PDF2.84 MB
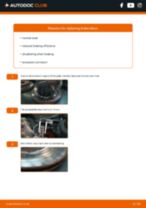 Free download PDF2.92 MB
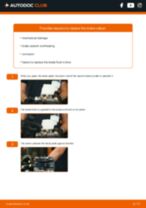 Free download PDF2.91 MB
 Free download PDF3.01 MB
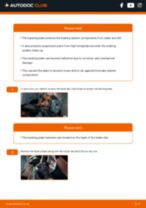 Free download PDF983.04 KB
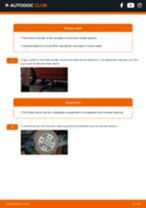 Free download PDF1.96 MB
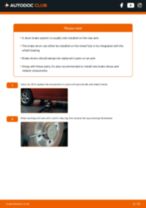 Free download PDF1.95 MB
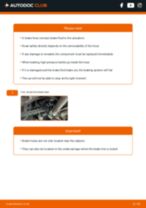 Free download PDF2.39 MB
Top auto repair manuals
 Free download PDF1.51 MB
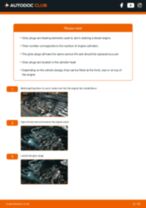 Free download PDF1.62 MB
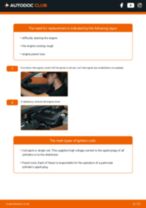 Free download PDF1.98 MB
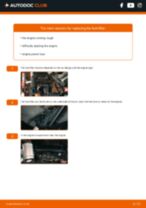 Free download PDF2 MB
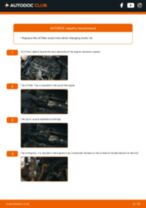 Free download PDF2.82 MB
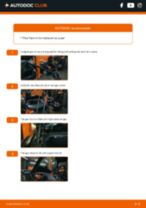 Free download PDF1.21 MB
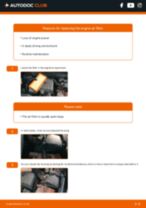 Free download PDF1.5 MB
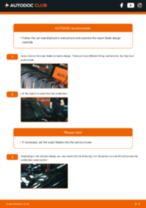 Free download PDF1.37 MB
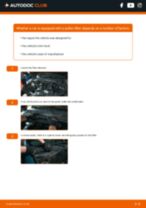 Free download PDF1.19 MB


Time to replace parts? Get even better deals in our Shop app.

SCAN ME
Generally, the replacement process will be similar; however, there may be slight variations due to the specific design features of your vehicle. For more detailed information, please refer to the vehicle's technical documentation or contact the service center directly