
Disclaimer

How to change ball joint on a car – replacement tutorial
downloads:
1313
Views:
8125
How to change a ball joint [AUTODOC TUTORIAL]
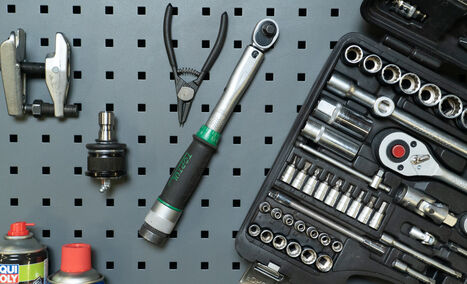
a new part
a toolkit
a cleaning agent
WD-40 spray
a torque wrench
snap ring pliers
a ball joint puller
a special C-frame tool for pressing out ball joints and a set of sleeves

Please note!
- Ball joints are spherical bearings that connect the suspension arms to other suspension components
- Over time, the insert that surrounds the ball stud wears out, which results in free play
- Free play is indicated by incorrect operation of the suspension and abnormal noises when driving over bumps
- Ball joint failure can be caused by a leaky dust boot
- Dirt and moisture getting inside cause abrasion of the mating components
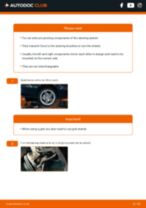
- 1.
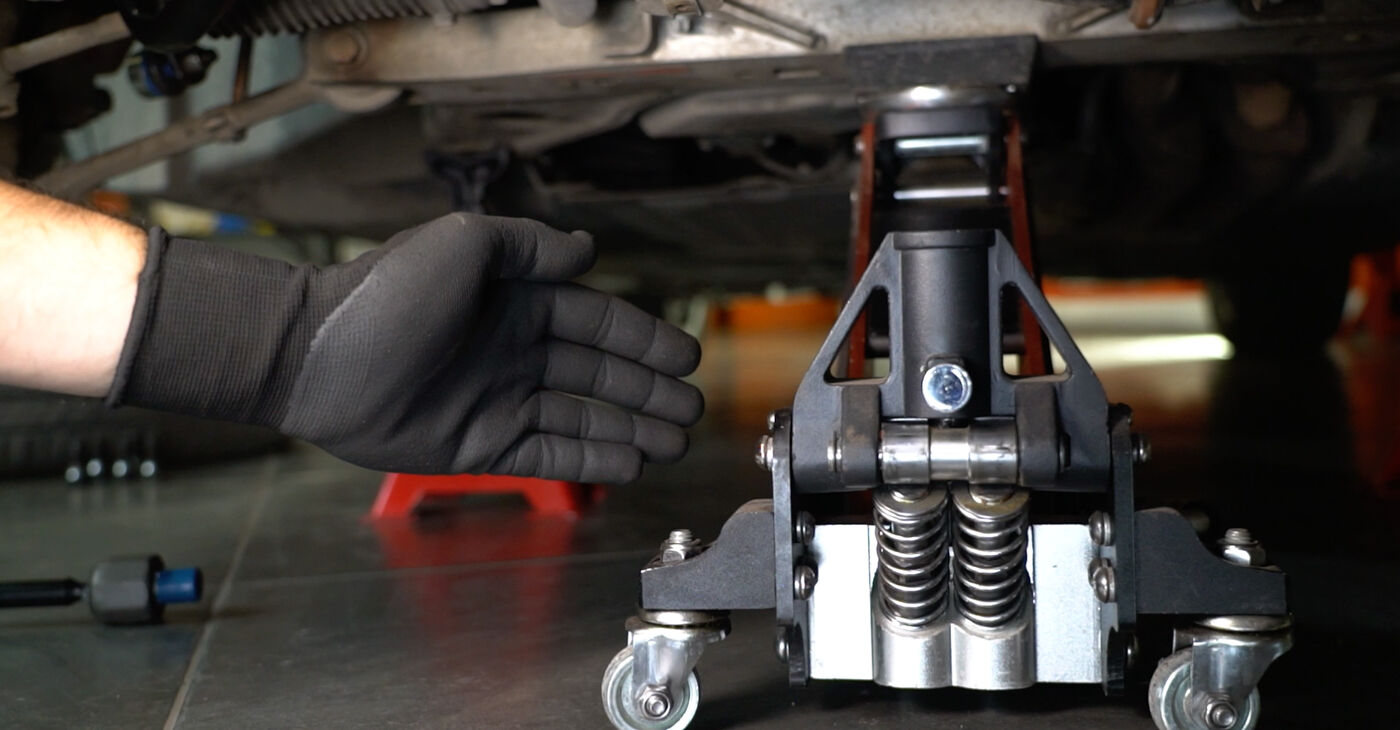 A car lift or jack can be used to access the component
 - 2.
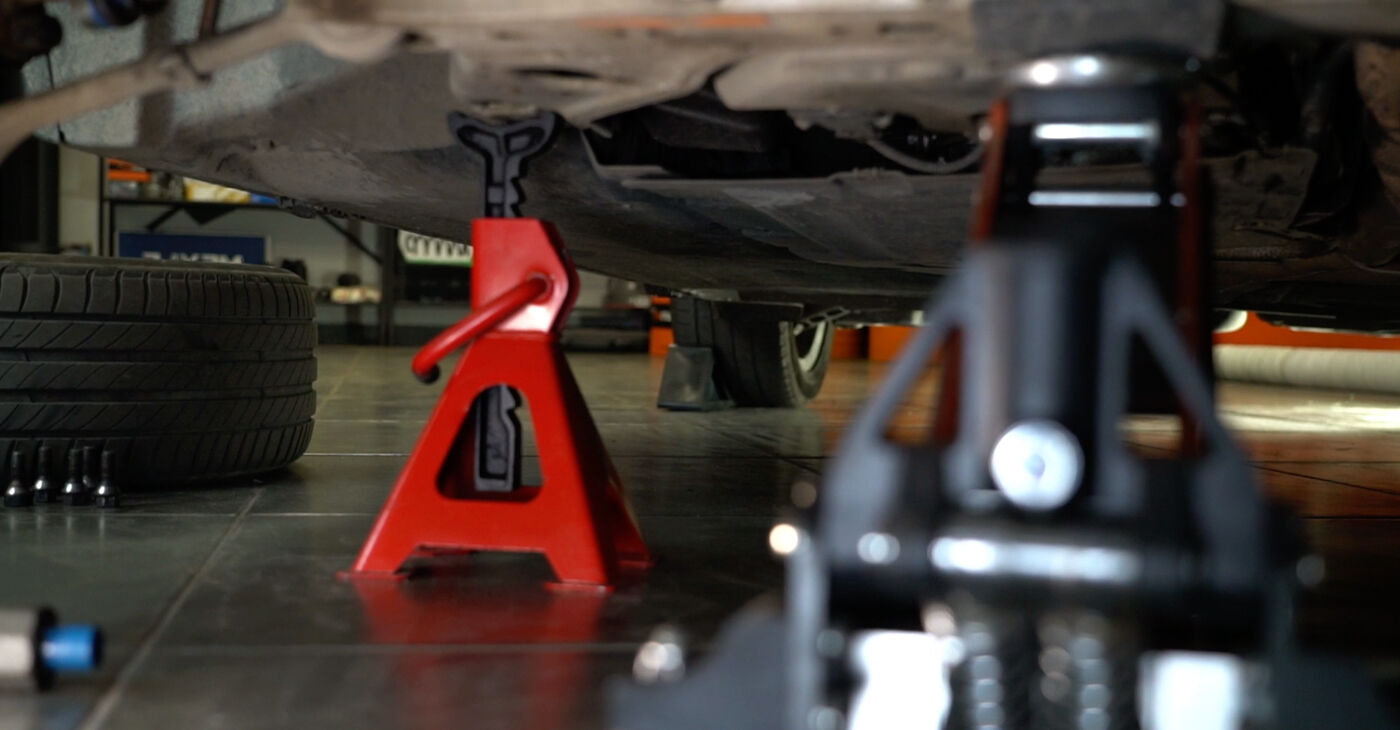 When using a jack, be sure to secure the car with jack stands and wheel chocksBall joints differ depending on the type of attachment and can:Be press-fitted in their mounting seatBe secured with threaded fastenersCome assembled with the arm
 - 3.
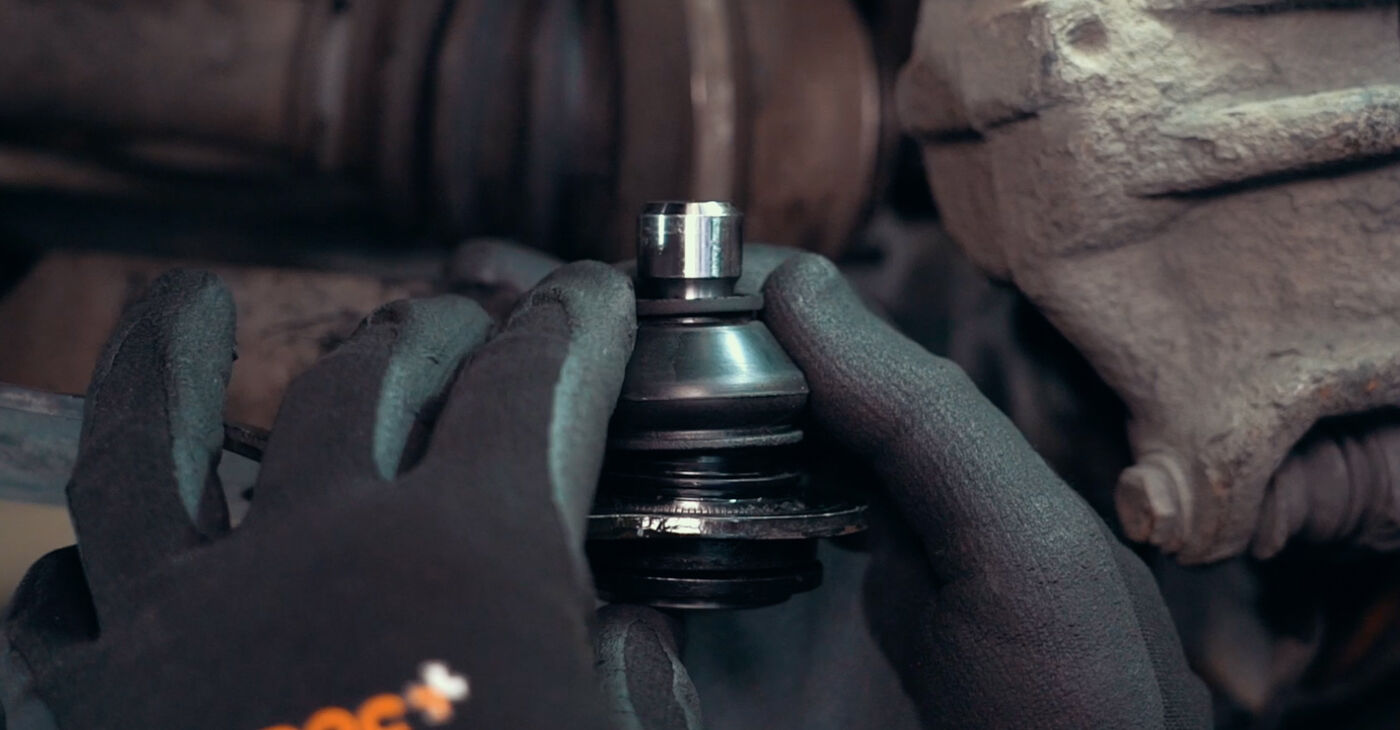
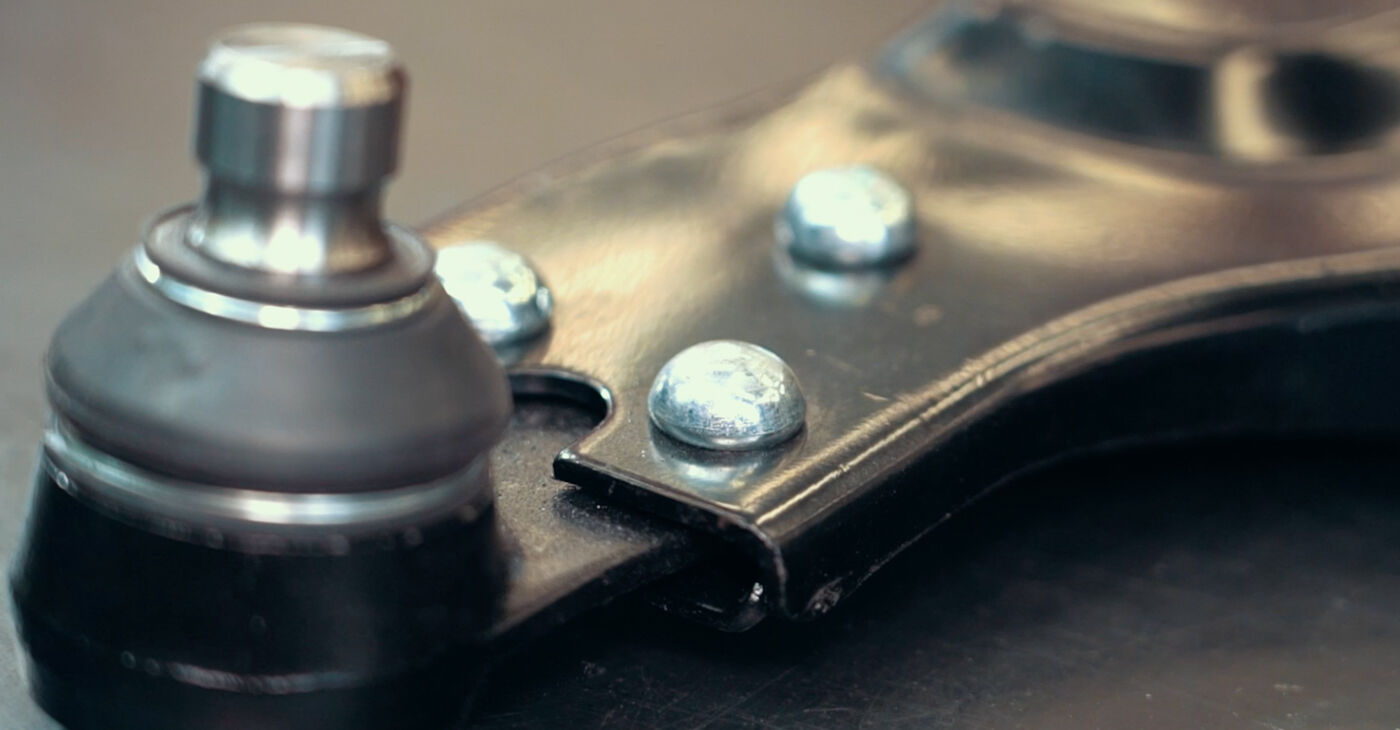
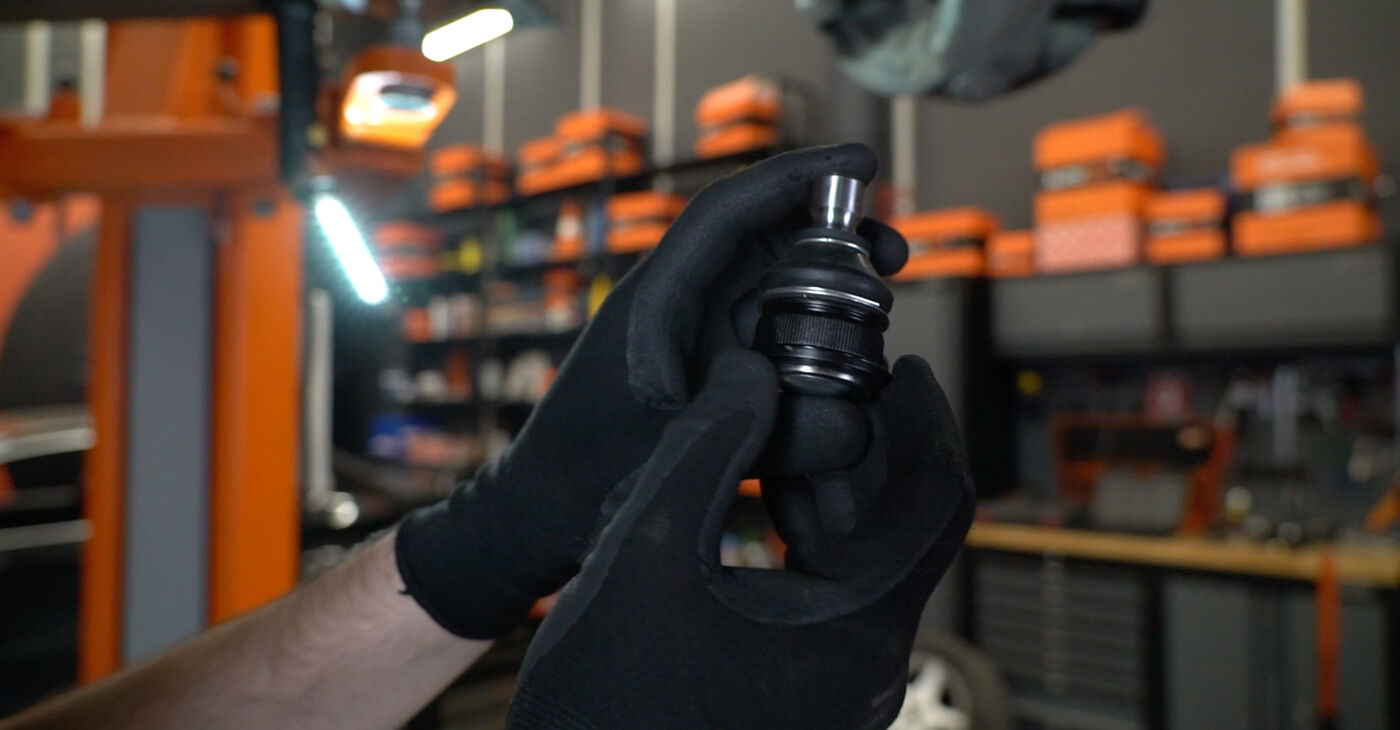 Familiarise yourself with the design of the ball joint and its fasteners
 - 4.
 Removal of a ball joint may require dismounting the part in which it is press-fitted
 - 5.
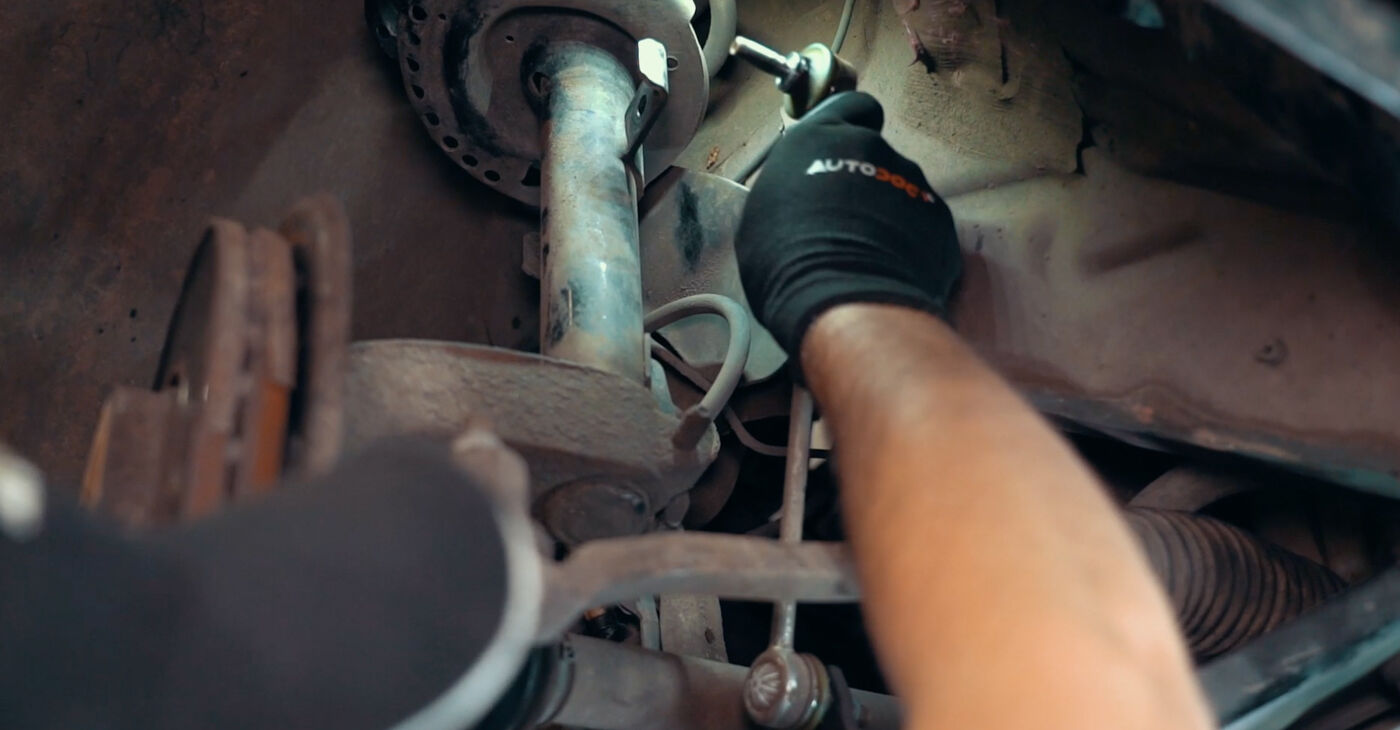 Detach any components obstructing access to the ball joint
 - 6.
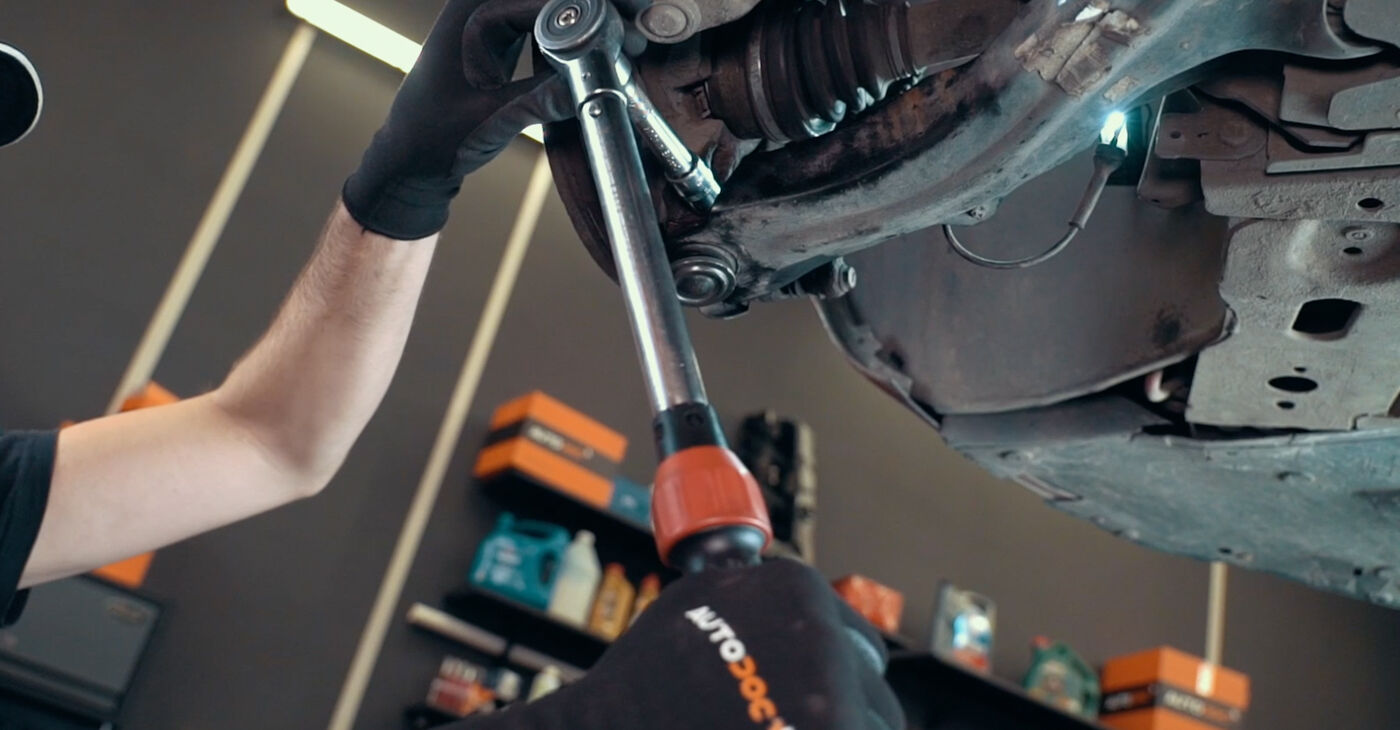
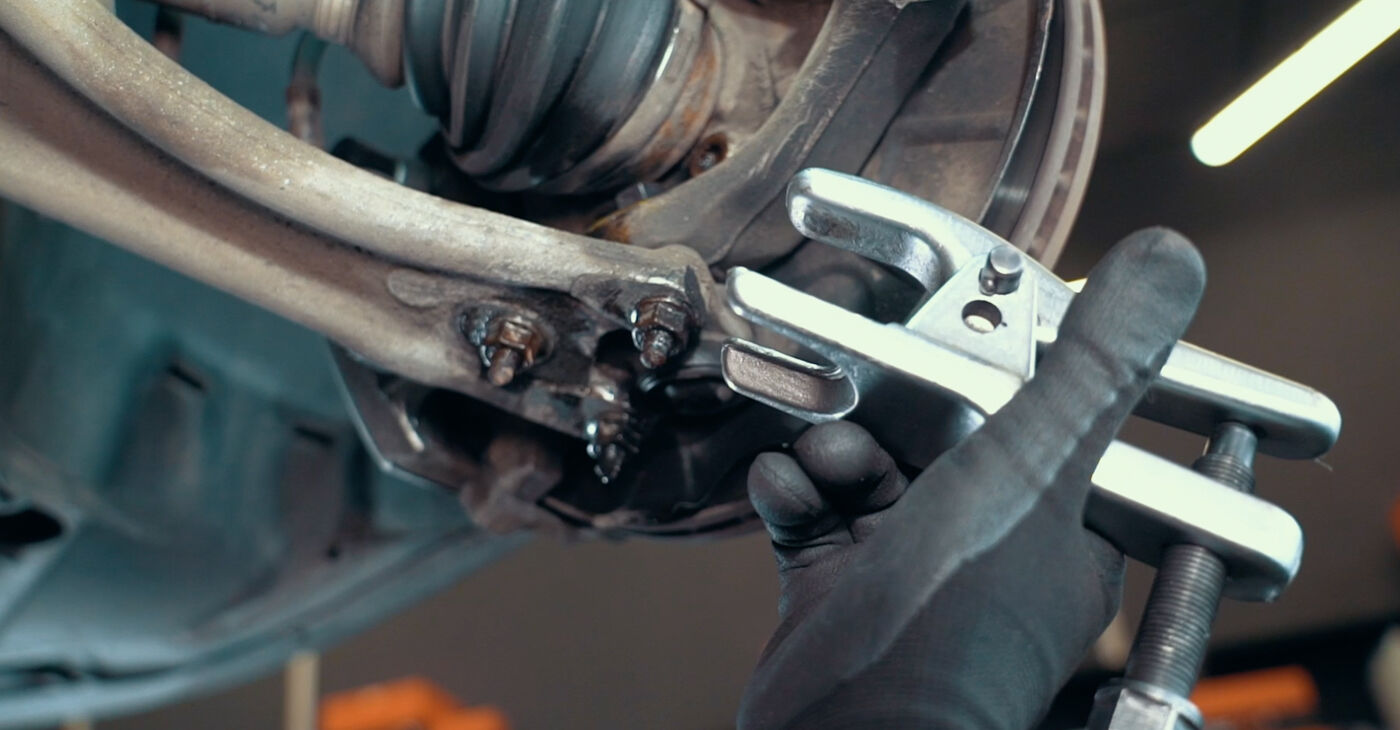
 To remove the ball joint, you should disconnect it from the steering knuckle
 - 7.
 In most cases, when working with a steering knuckle, the CV axle should be disengagedImportant!This will prevent the CV joints losing tightness or the CV axle being detached from the gearbox
 - 8.
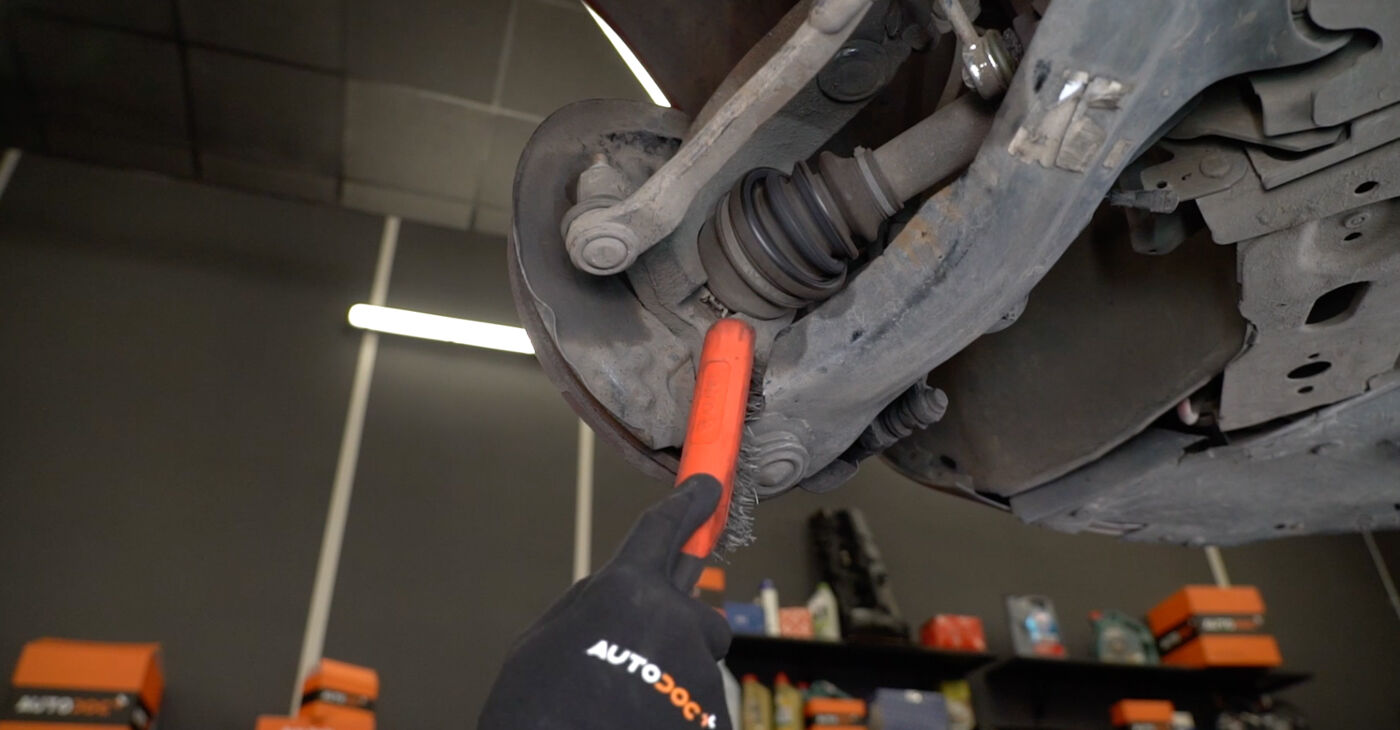 Clean the working area
 - 9.
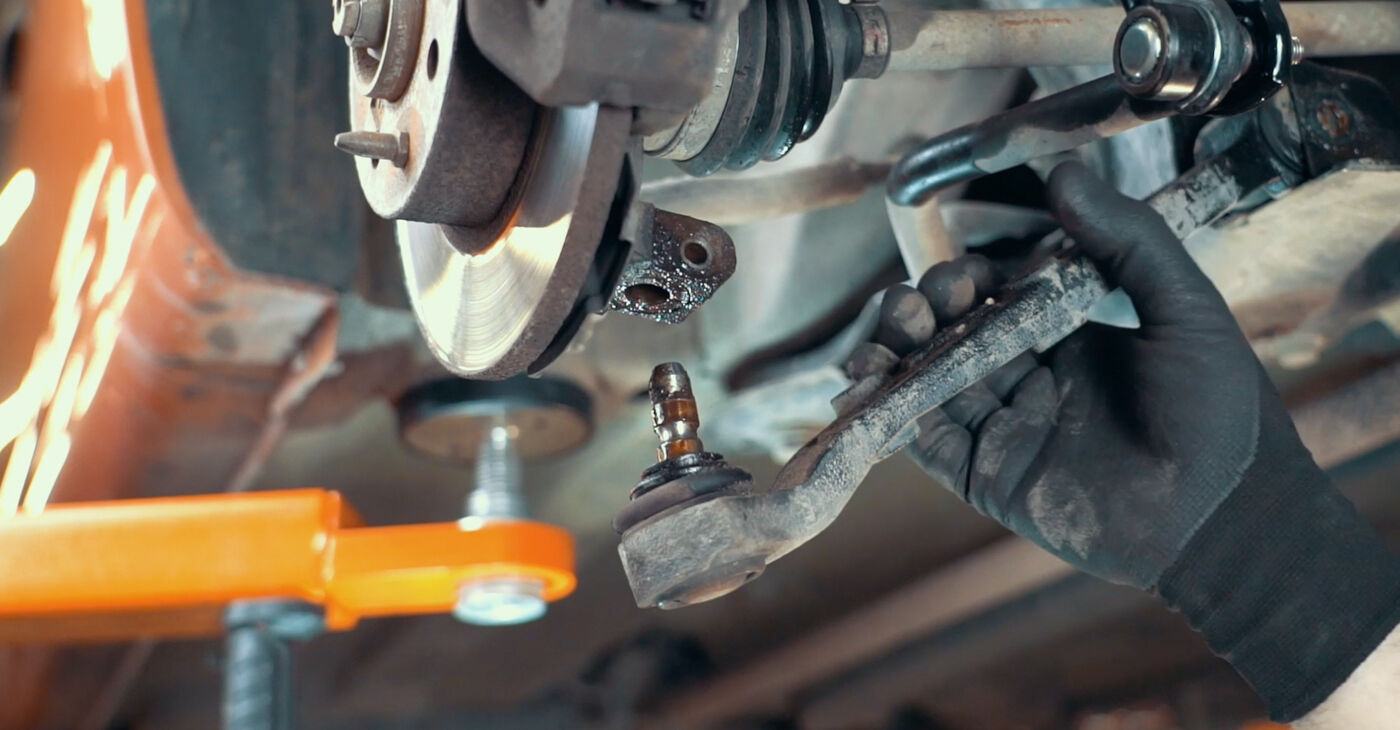
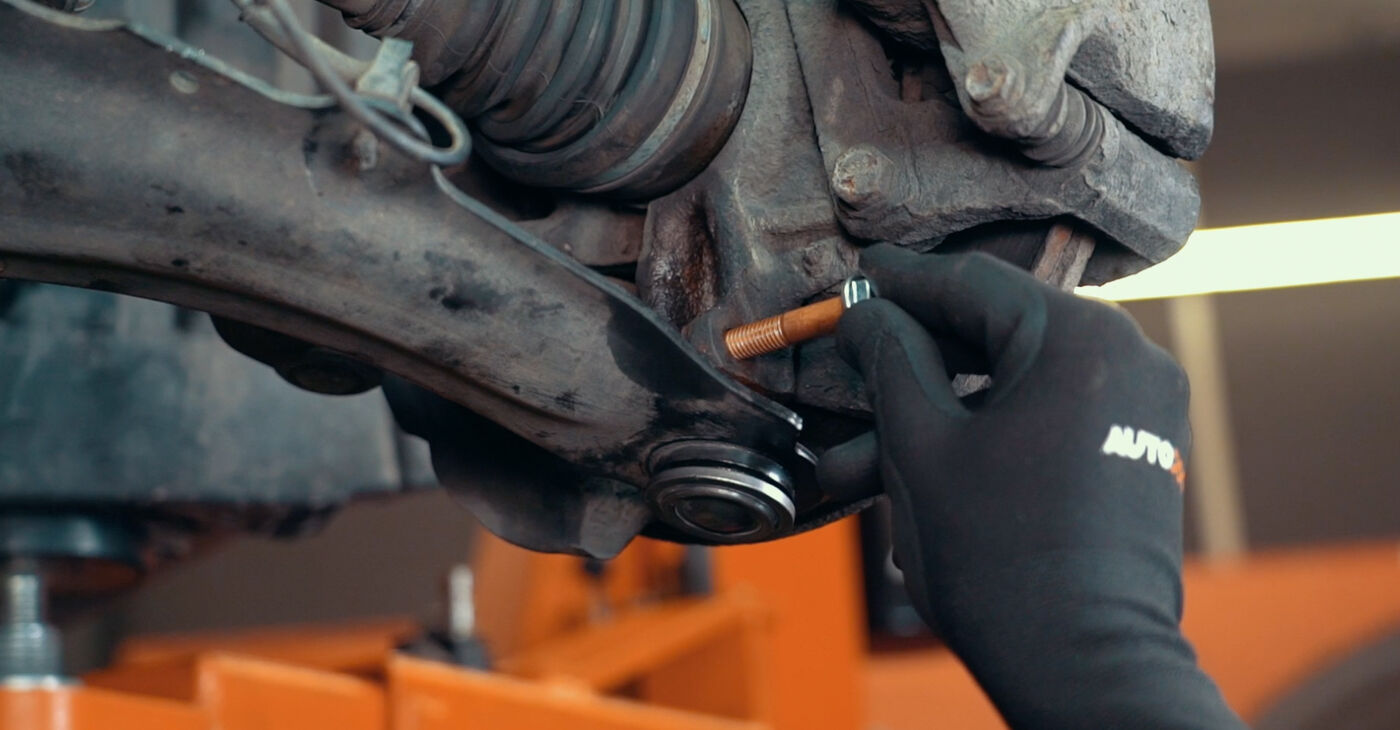
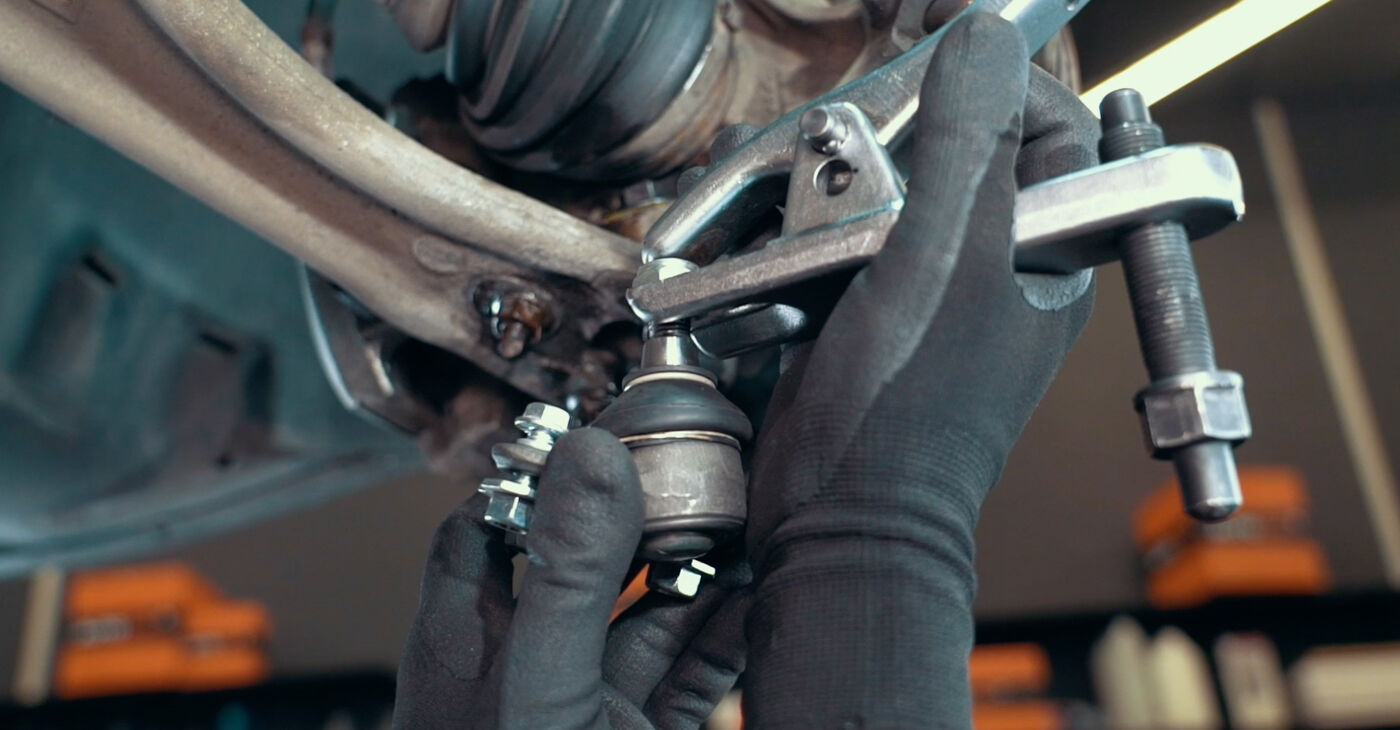
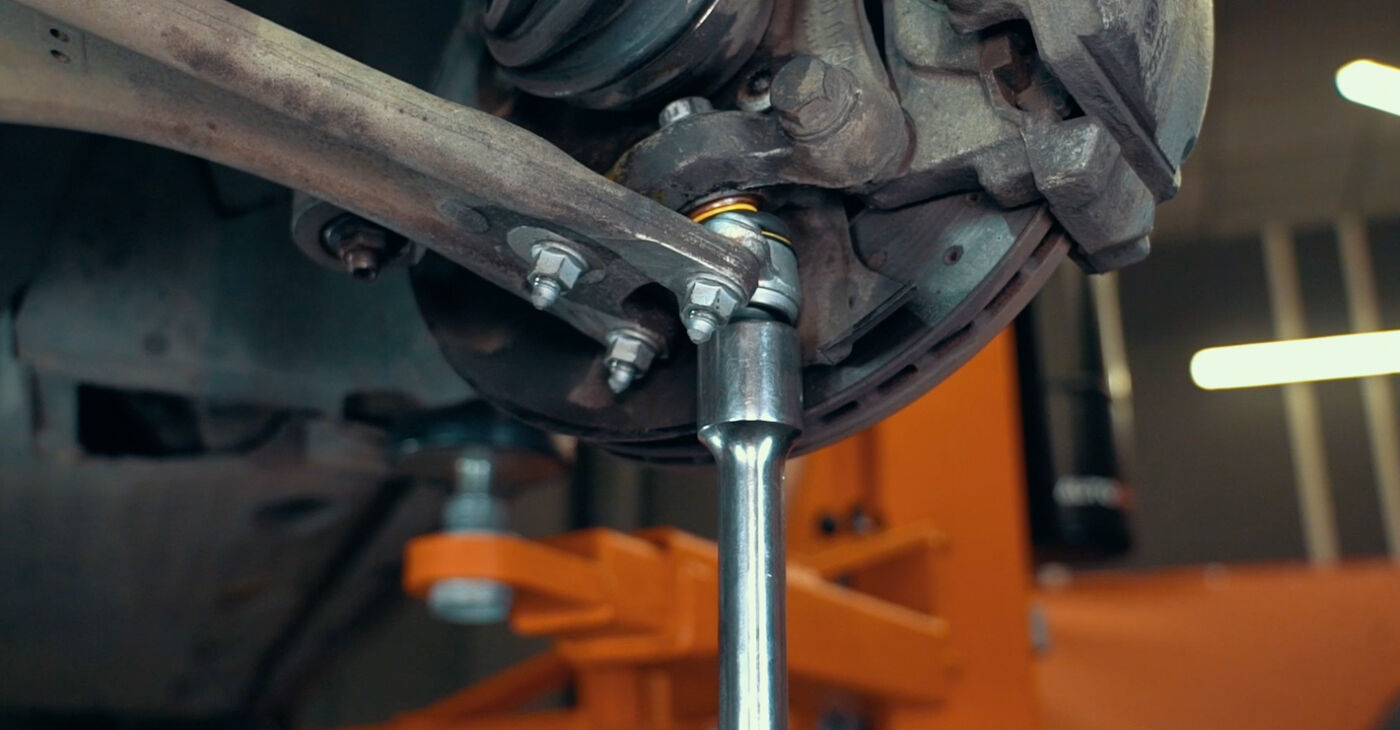
 Remove the fasteners that connect the ball joint to the steering knucklePlease note!Ball joints with a cylindrical stud are secured in the knuckle by a clamping connectionComponents with a tapered stud fit snugly in the mounting seat in the knuckle and are secured by a nut
 - 10.
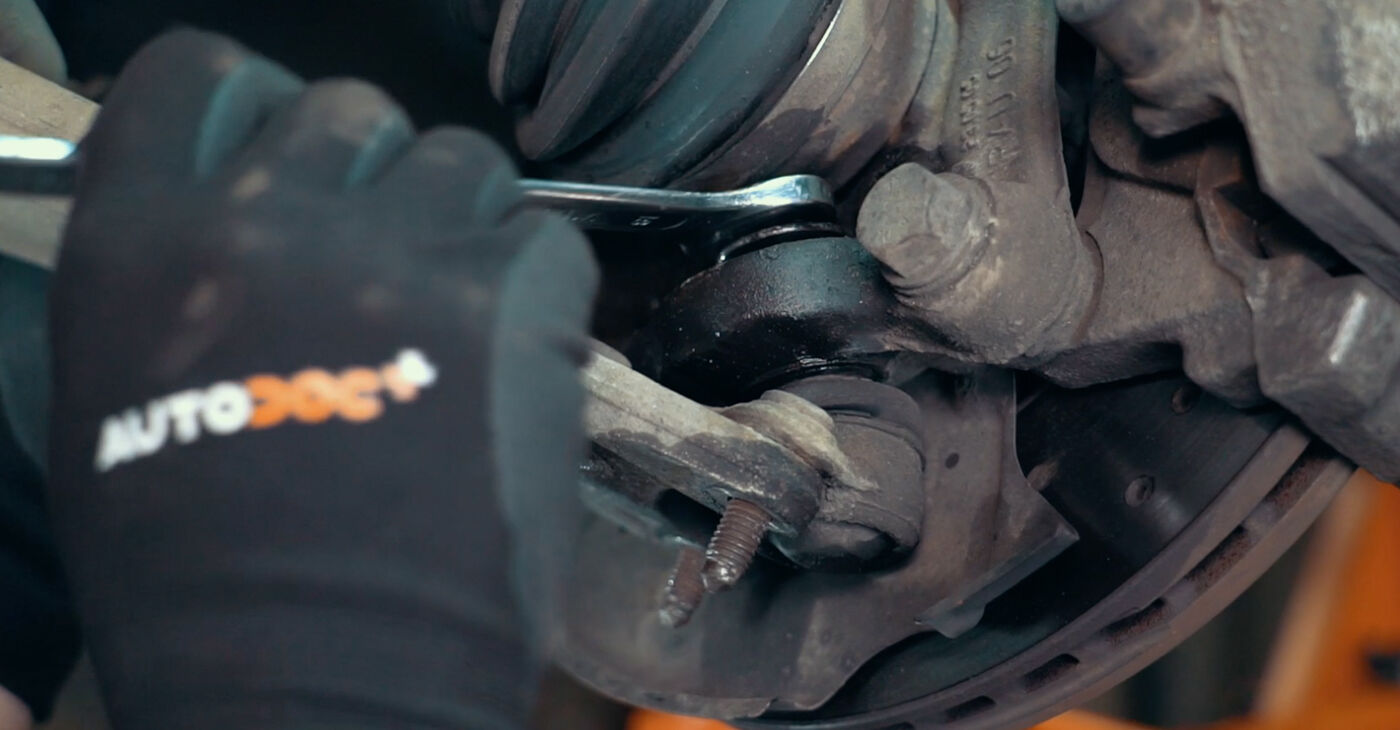
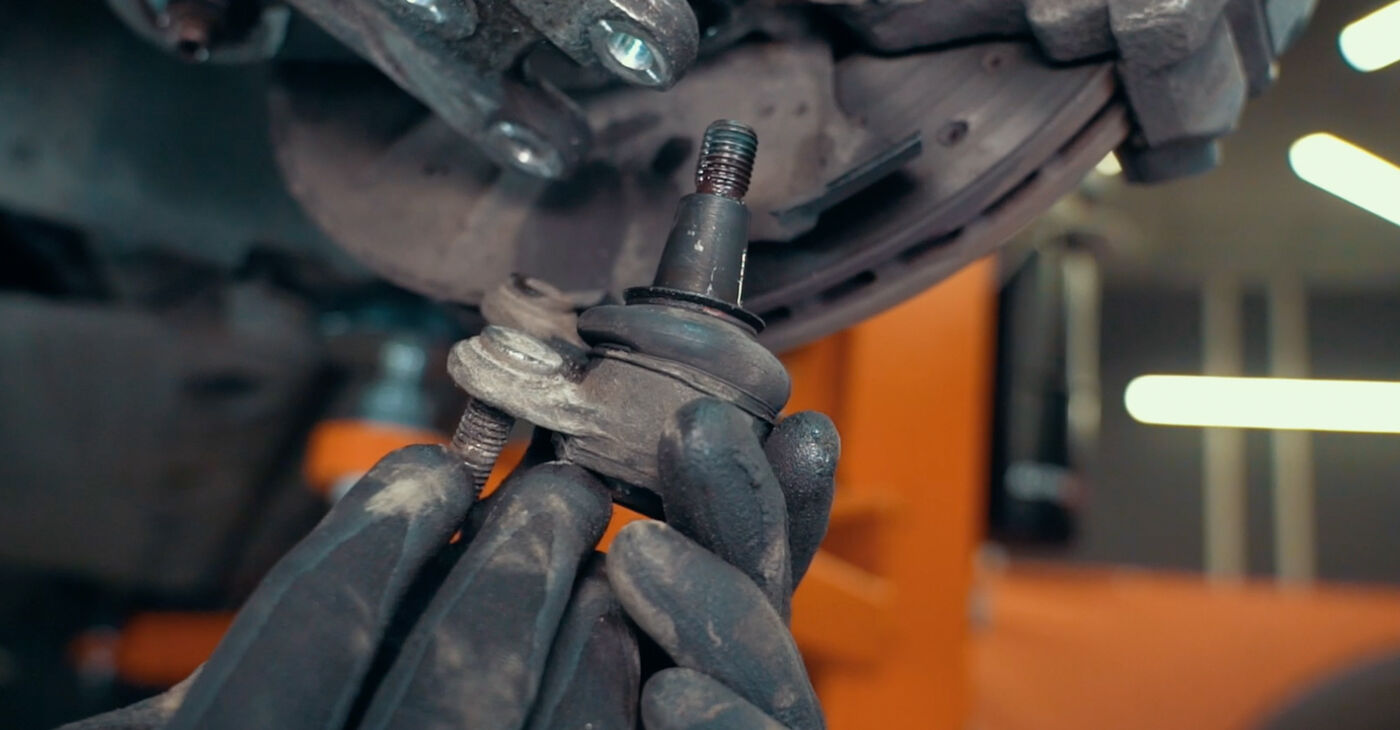
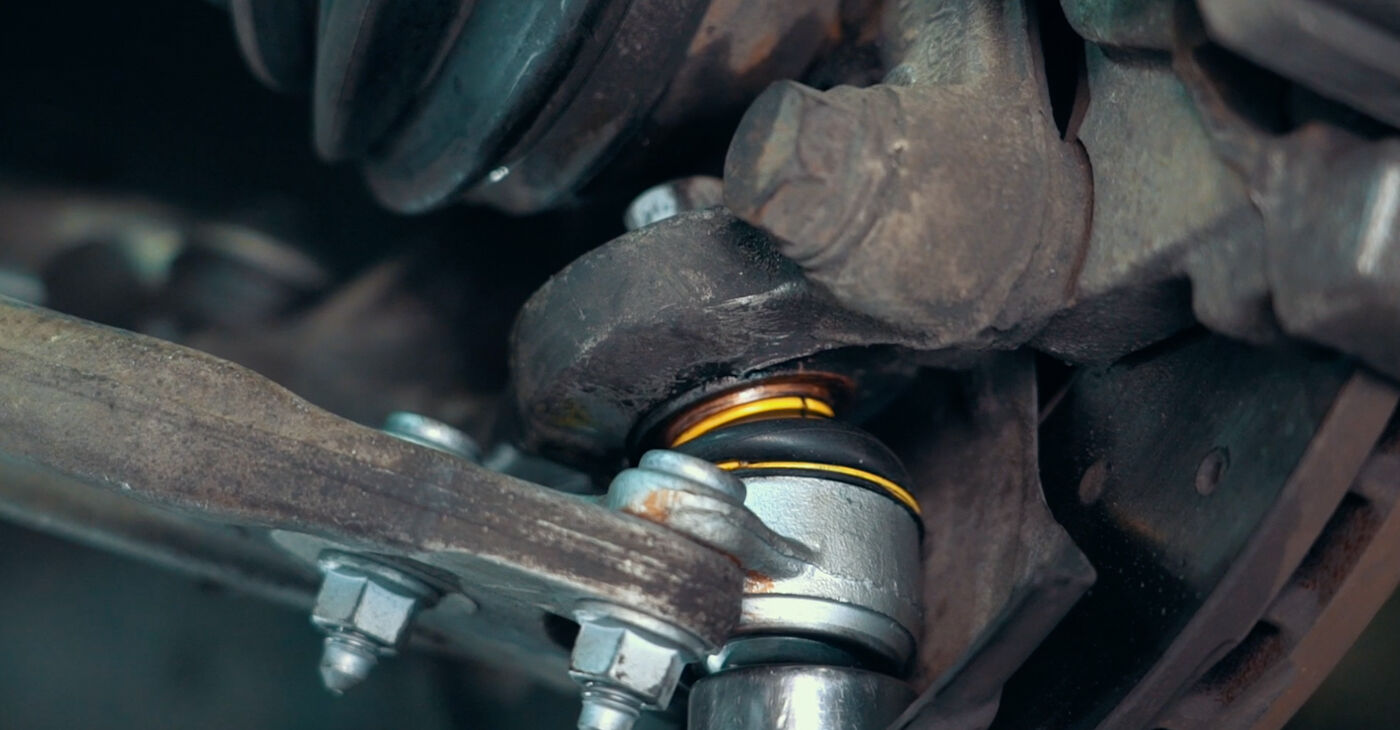
 Release the clamp and remove the ball stud from its seatBe careful:Suspension components may be loaded by the bushings or their own weight
 - 11.
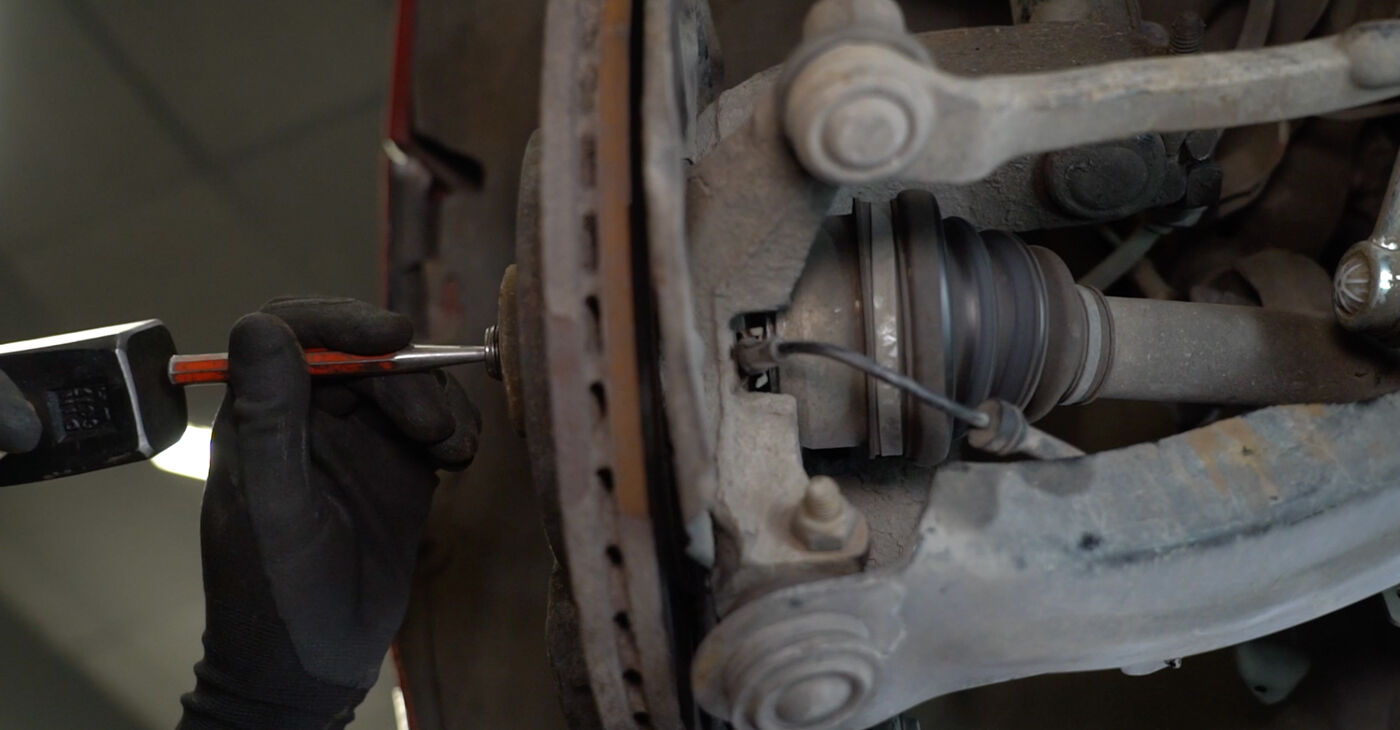
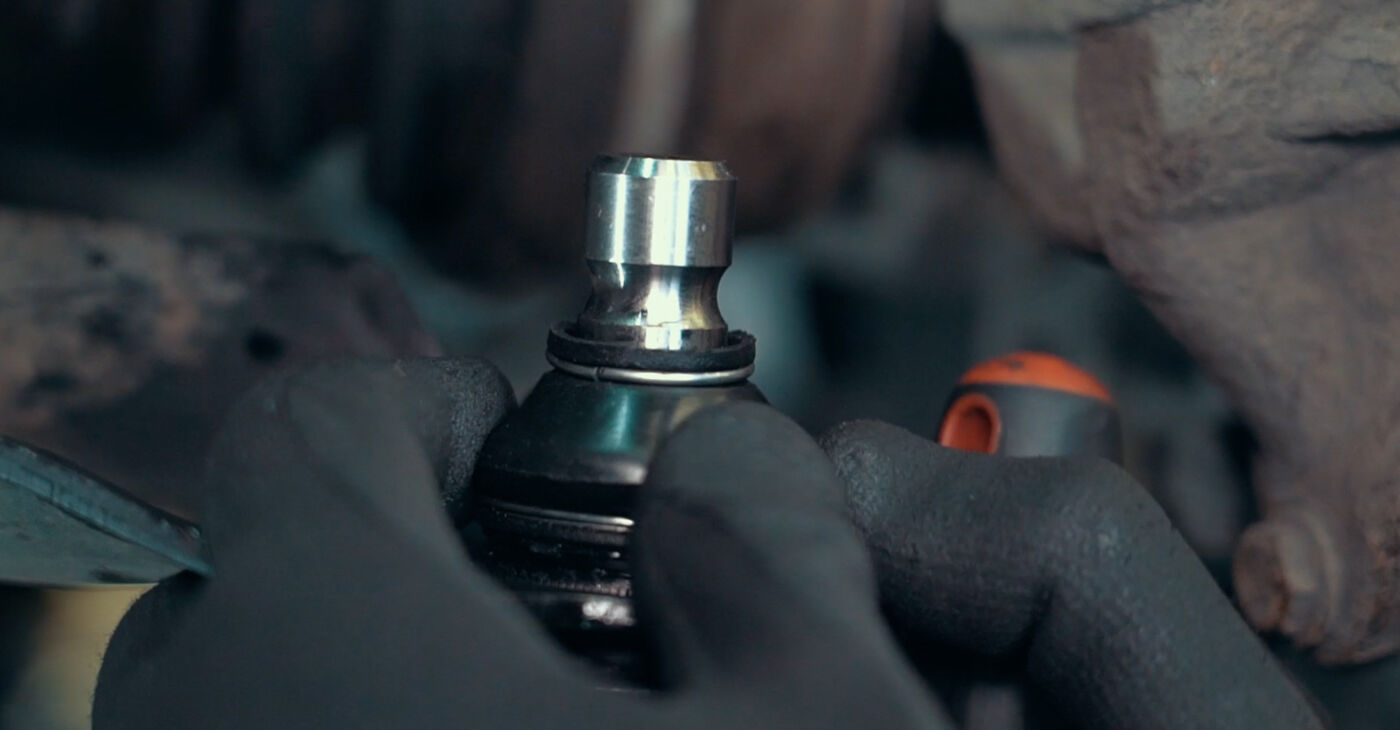
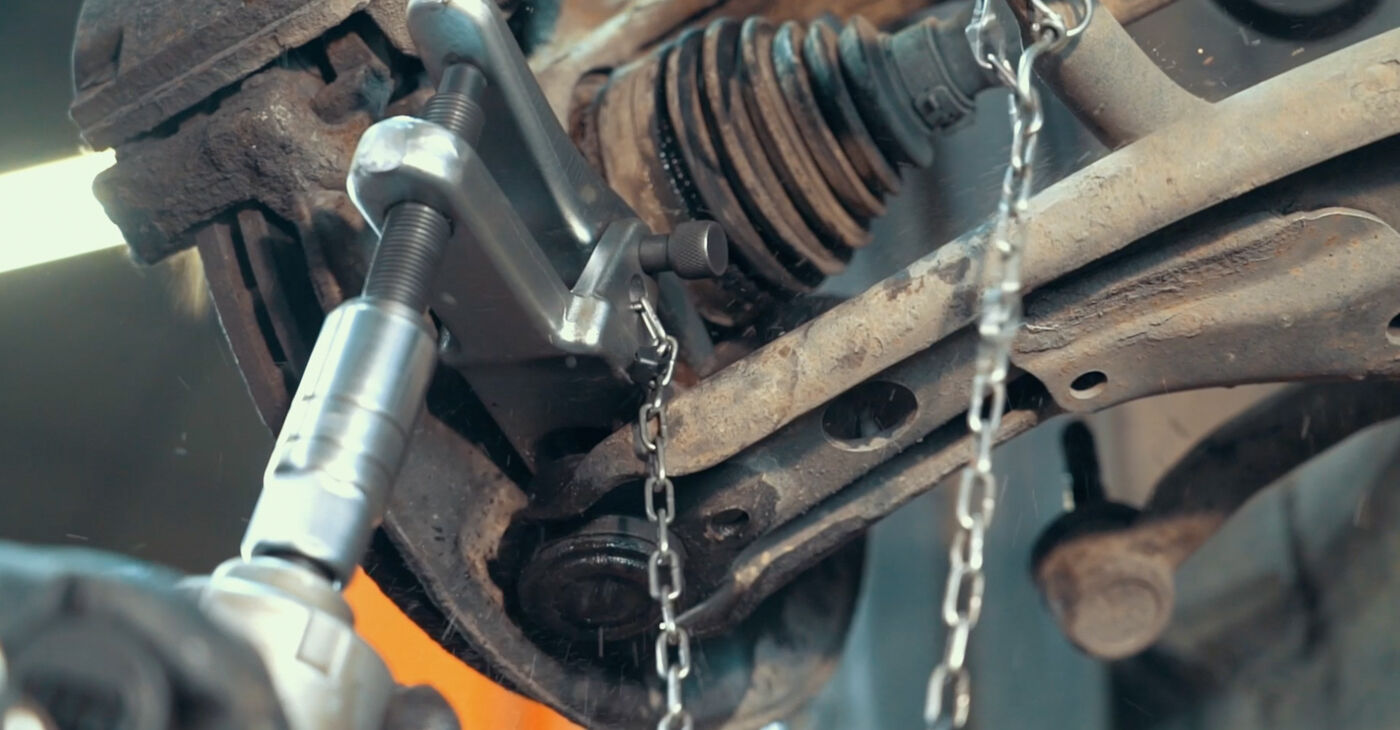
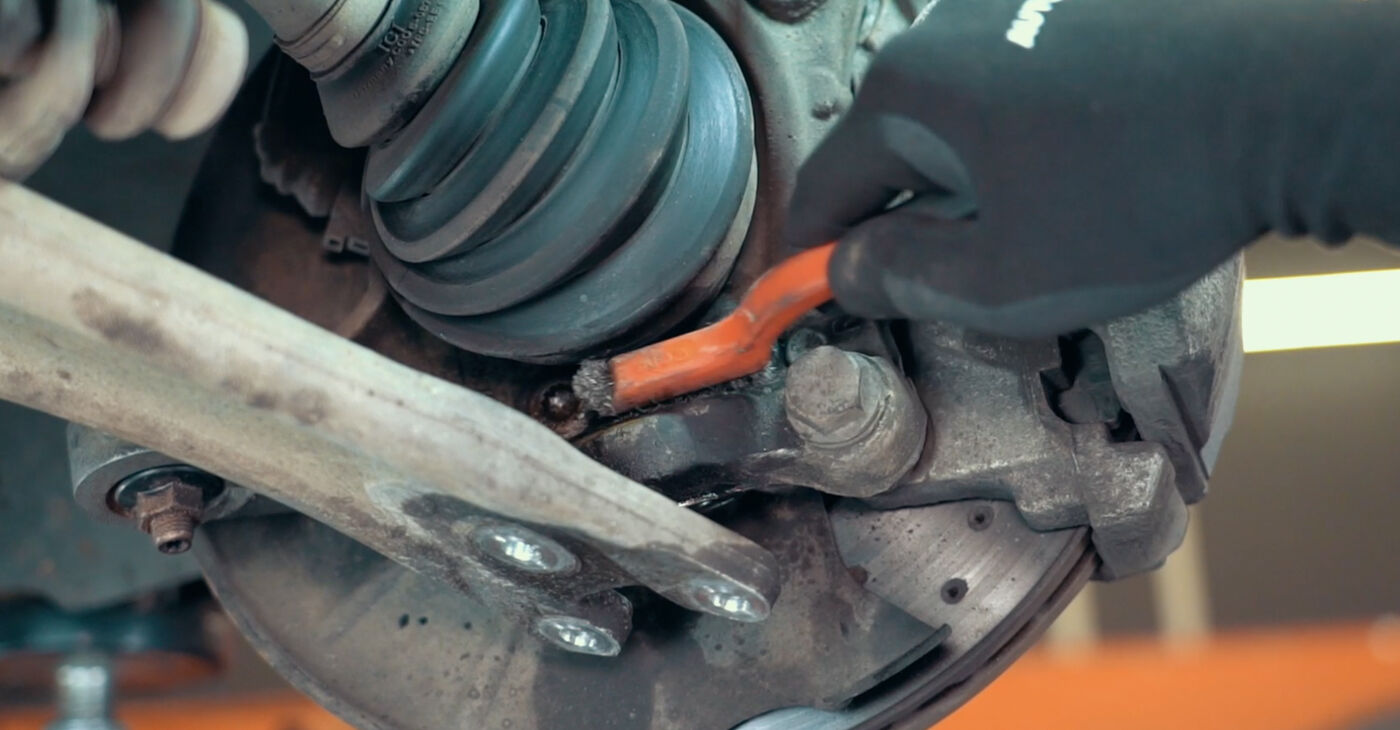
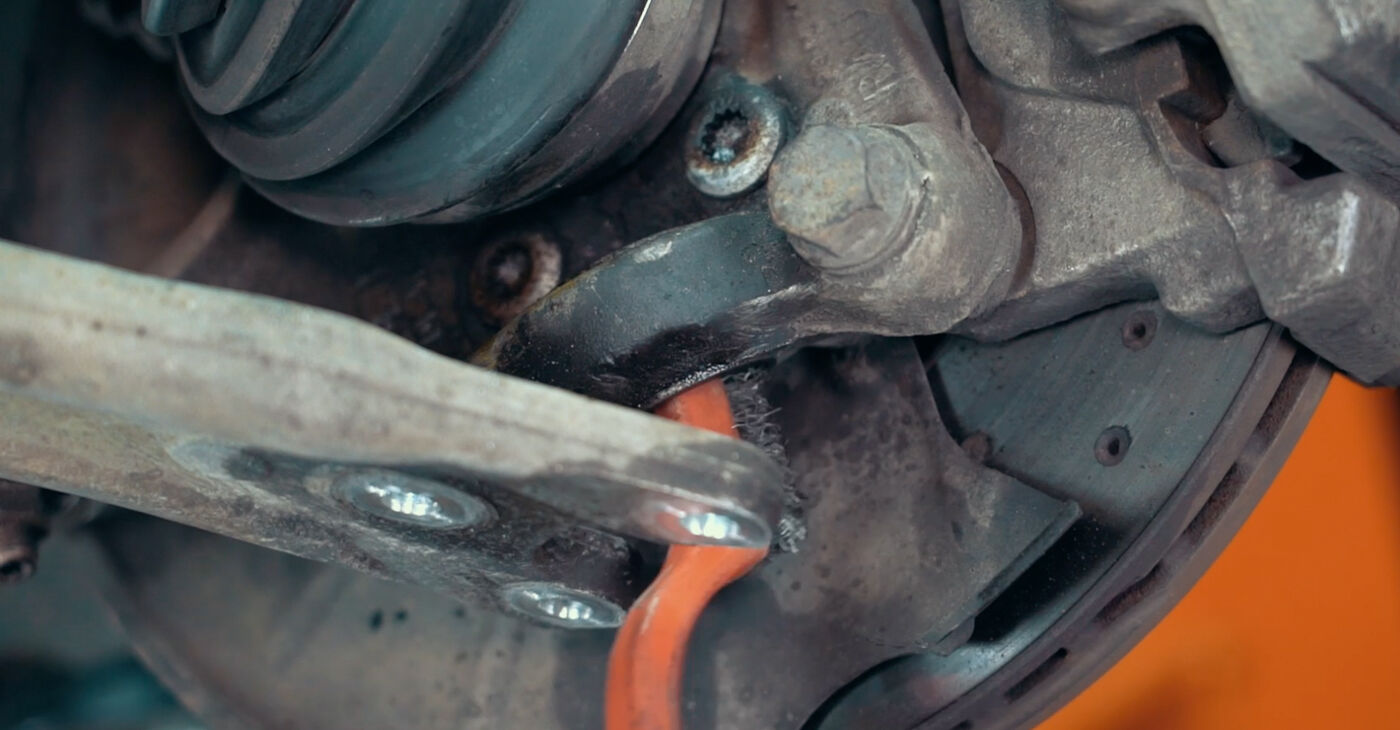
 The dust boot needs to be removed before dismounting the jointPlease note!Since the CV axle was detached, the steering knuckle can be moved freelyThis allows you to displace it relative to the ball joint without the risk of disconnecting the half axle from the gearboxUnderneath is the area of the joint’s body that should be acted upon when pressing out the part
 - 12.
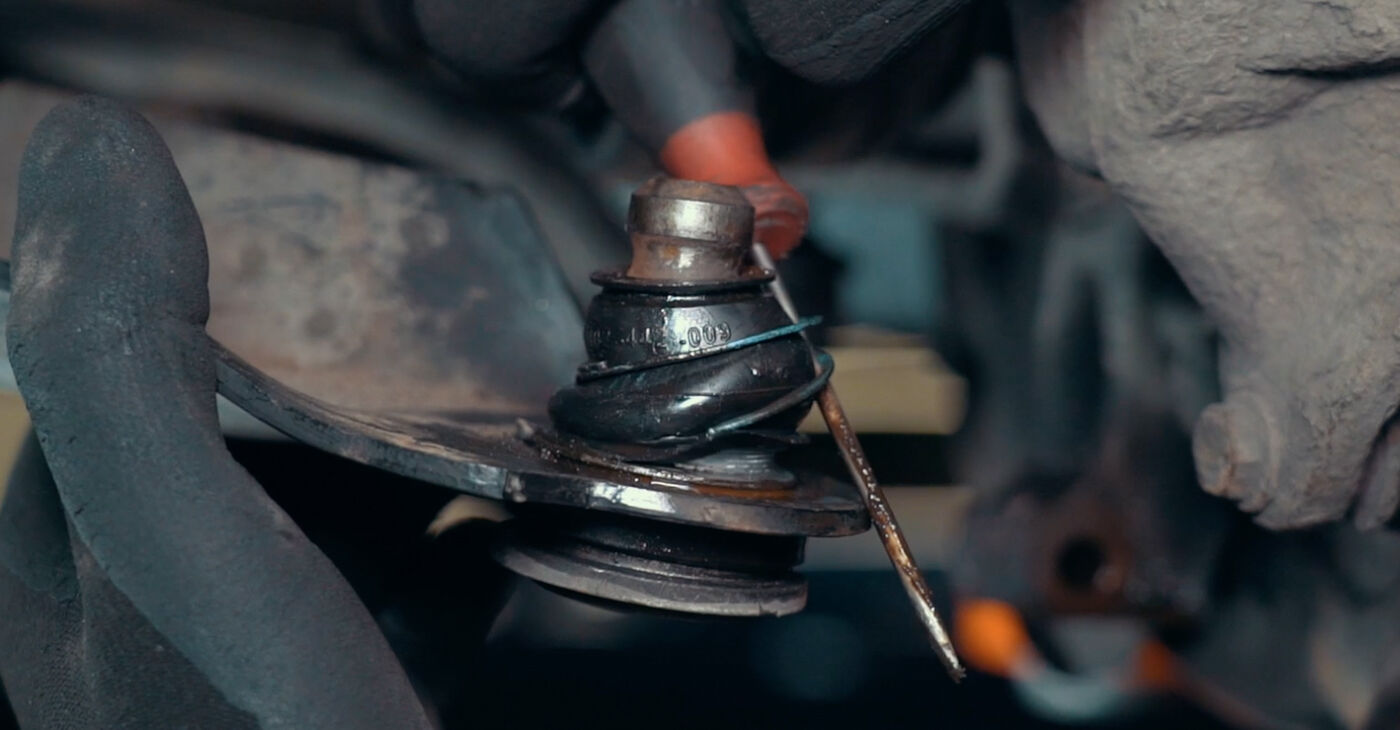 Remove the clips and dust boot
 - 13.
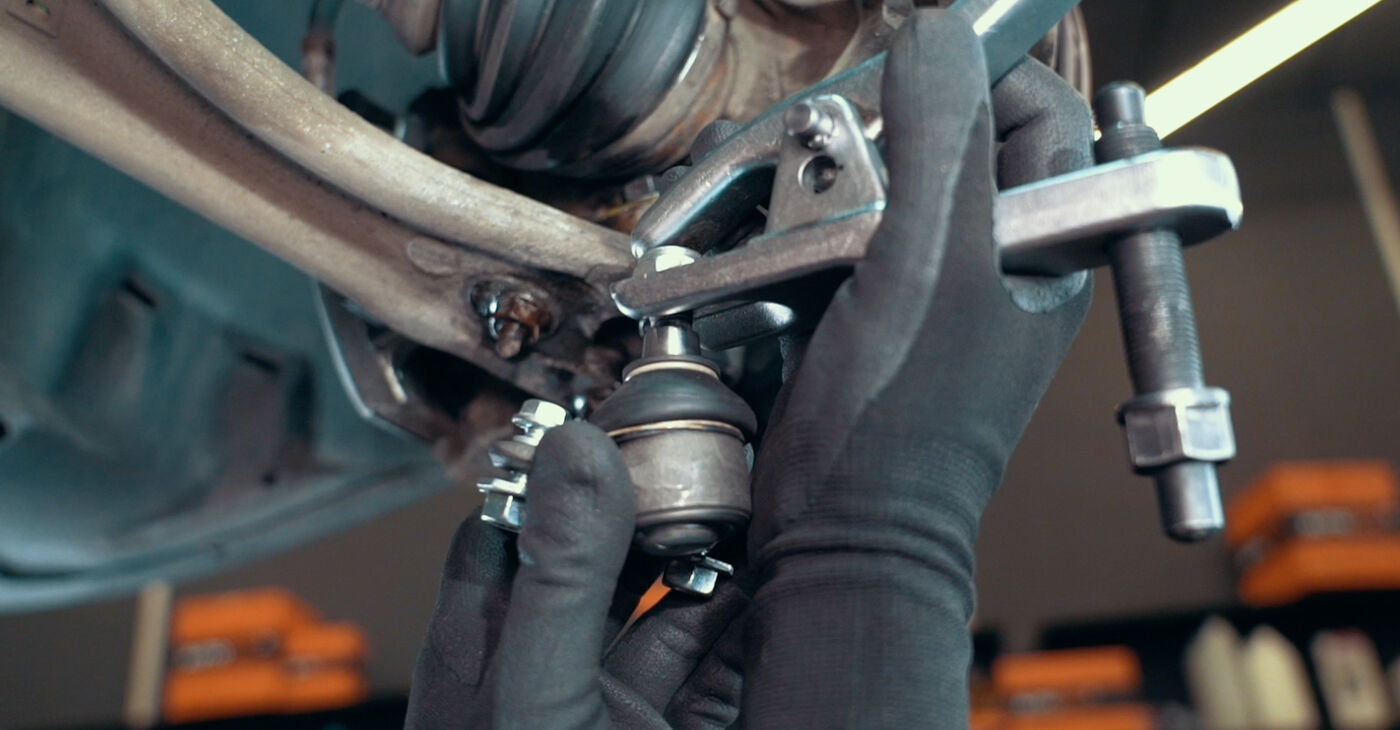
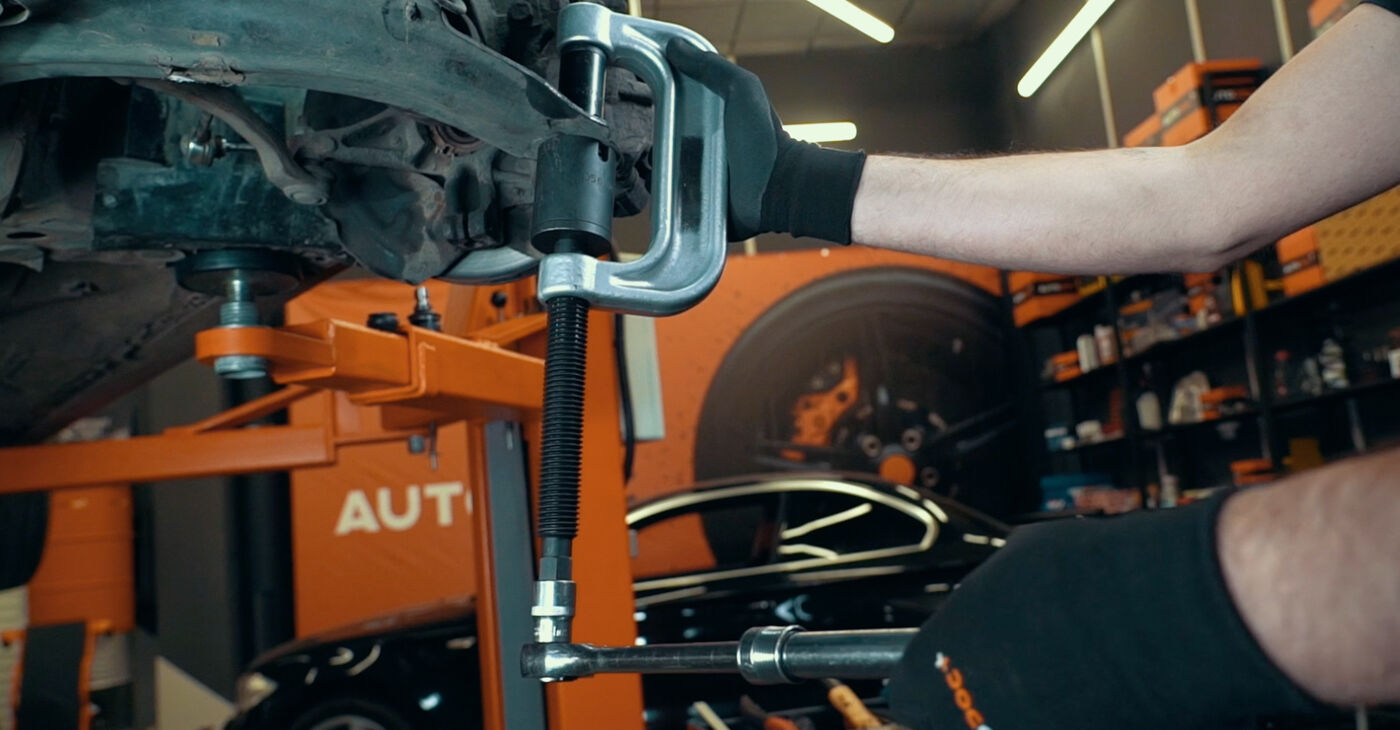 Apply force uniformly over the entire upper surface of the part to avoid damaging the mounting holeIt is important to choose the right sleevesThe lower one must have a diameter that matches the resting surface on the arm and be larger than the ball jointThe diameter of the upper one should match the size of the joint’s bodyIf you have sleeves of different diameters at your disposal, you can use a press or a two- or three-jaw puller
 - 14.
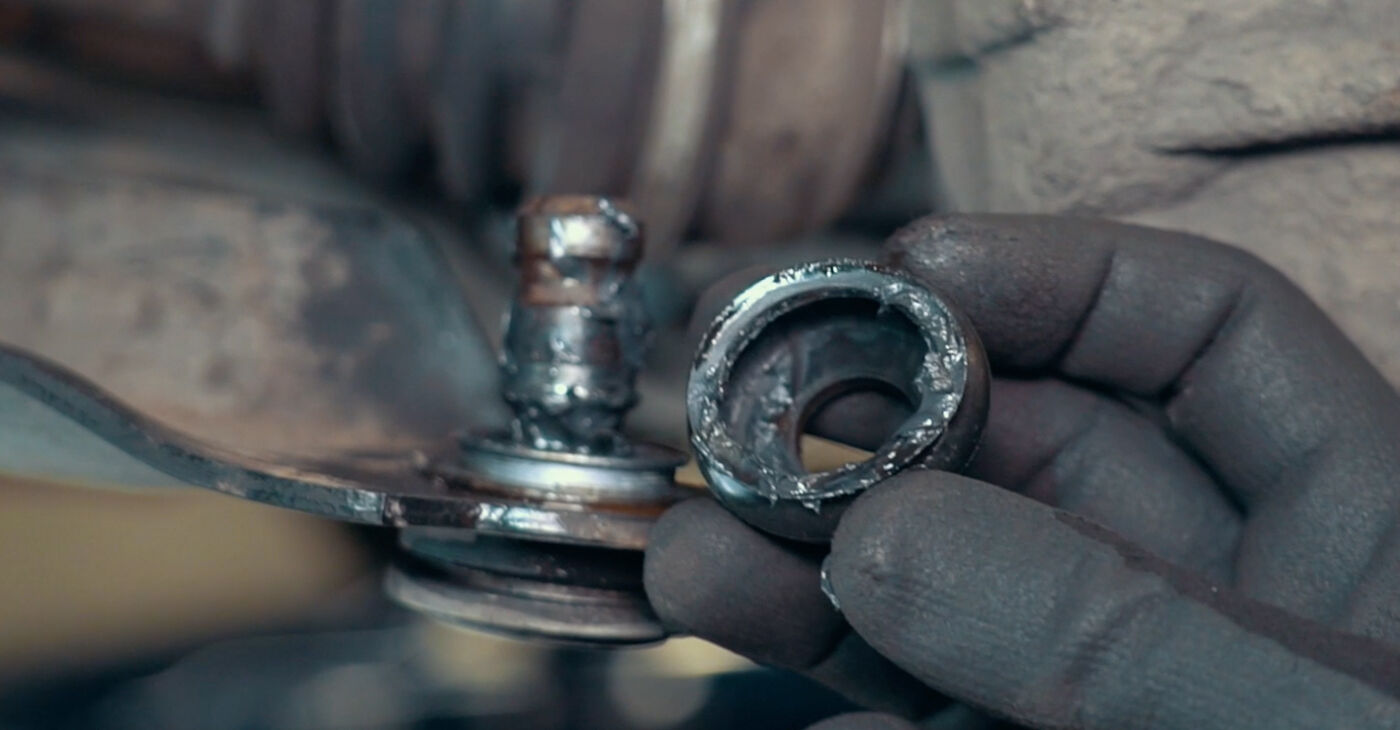
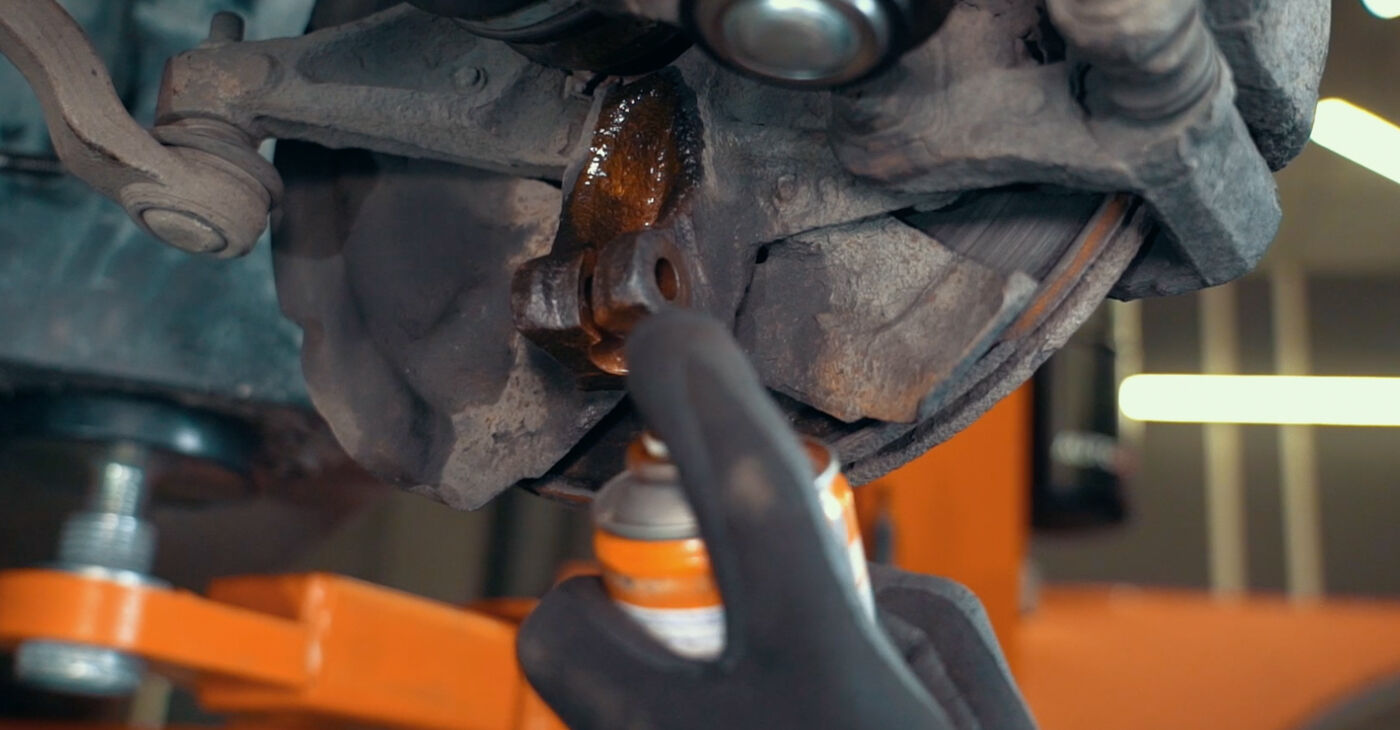
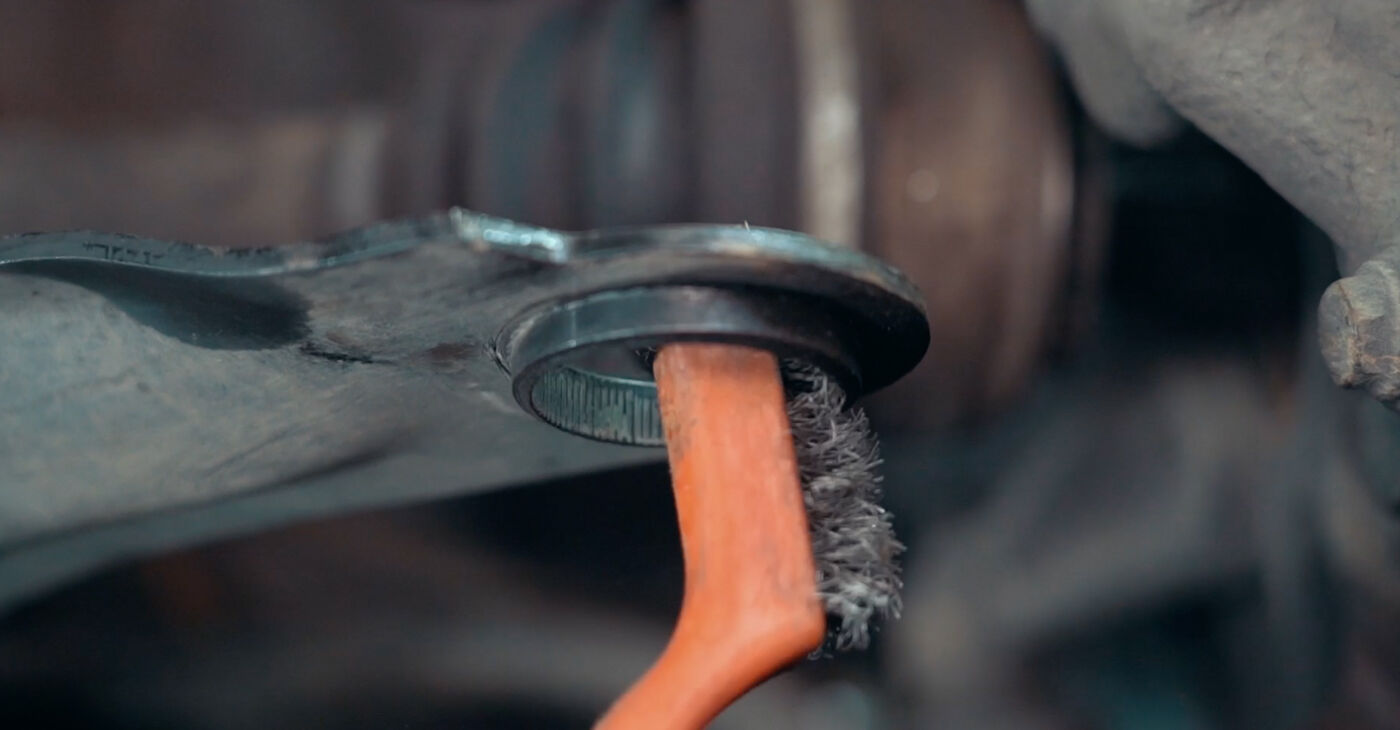 Clean the mounting seat
 - 15.
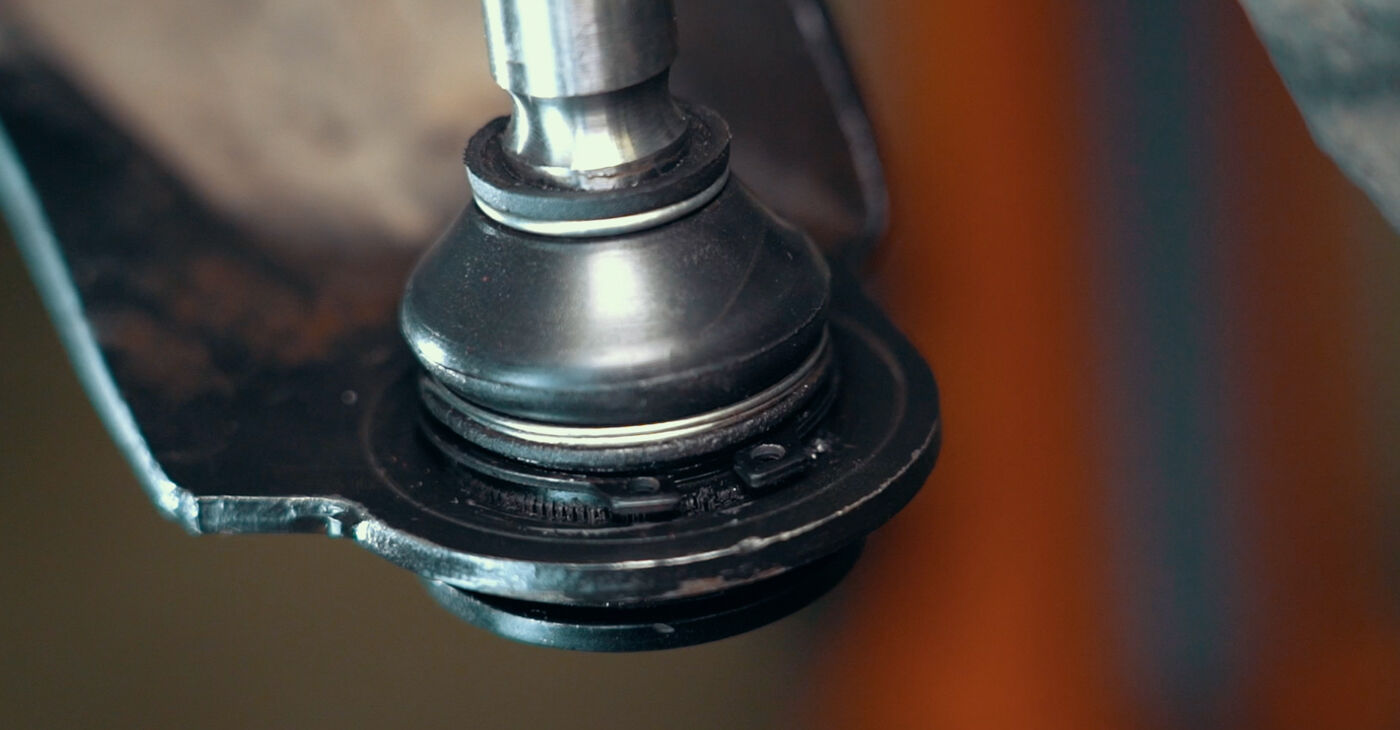
 Carefully pry up the clip and remove the rubber element
 - 16.
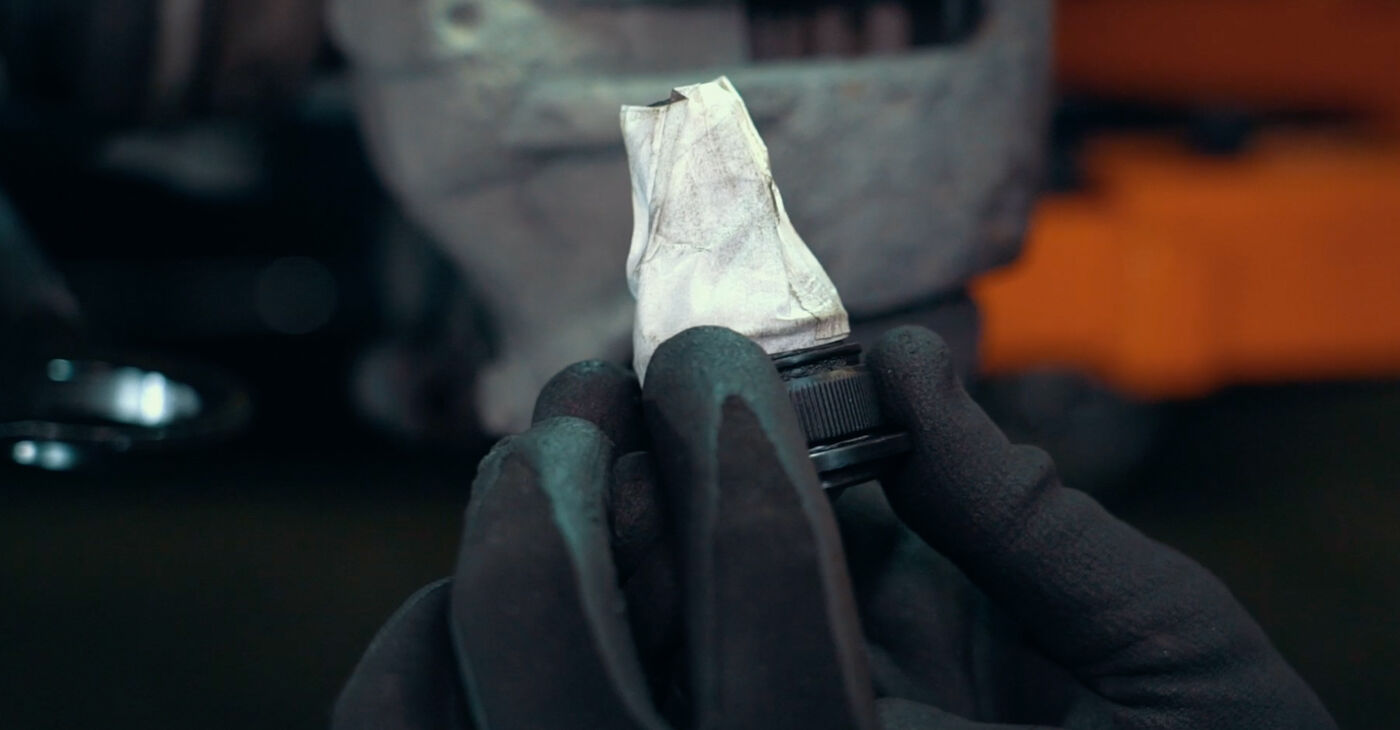 Cover the joint with masking tape to prevent it from getting dirty
 - 17.
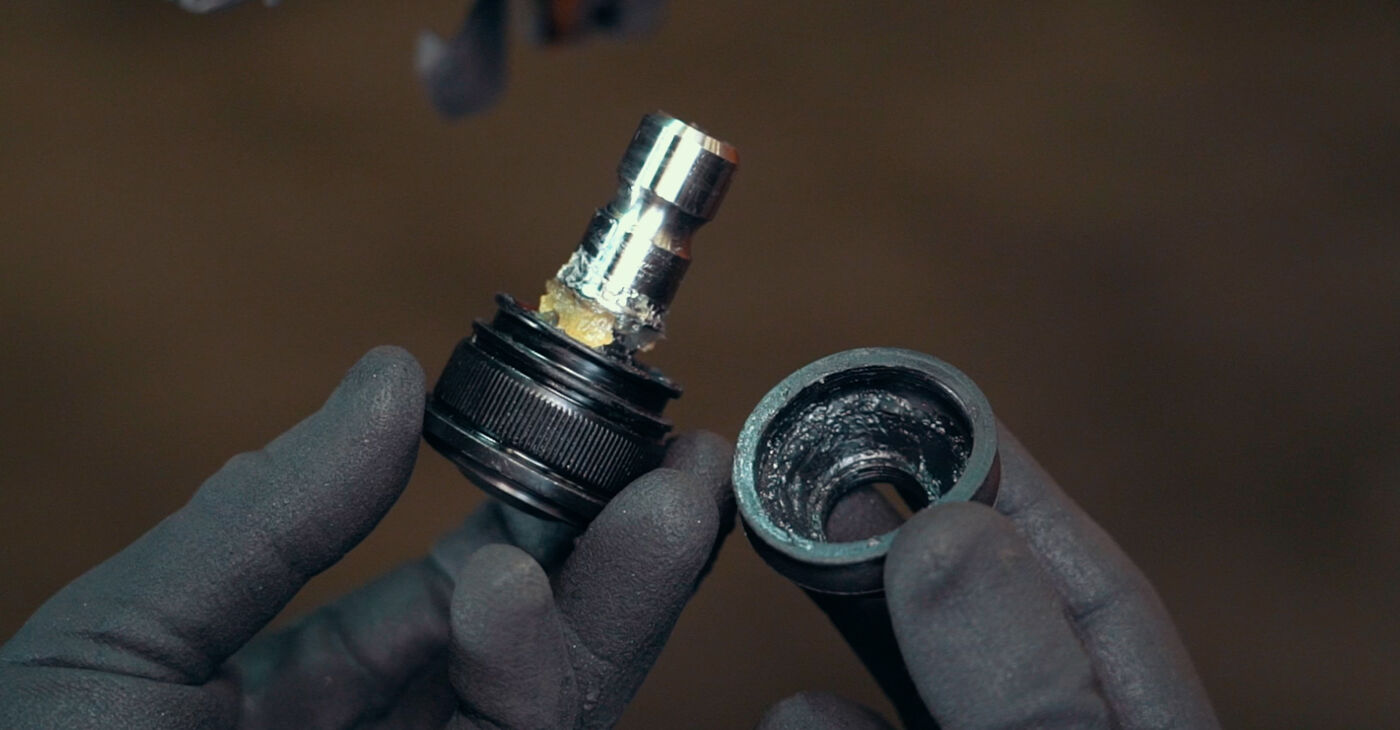
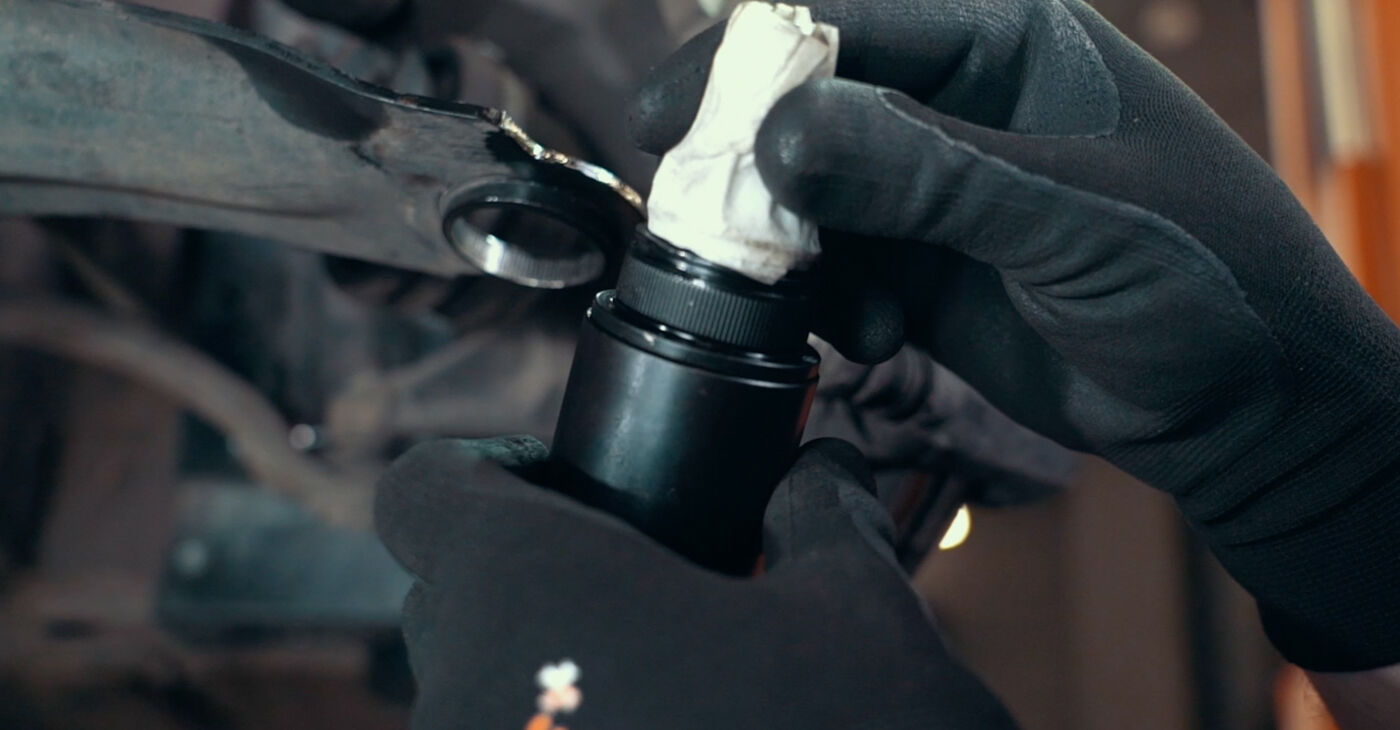 Select a sleeve with an appropriate diameterAUTODOC recommends:When pressing in the ball joint, apply force on its body, i.e. on its circular edgeThe central part is the cover of the ball joint insert and is not load-bearingAvoid misalignment of the ball joint and suspension armThey must be kept parallel during press-fitting
 - 18.
 Reinstall the dust bootCaution!Be careful not to damage the dust boot with the tool or clips
 - 19.
 Fit the snap ring
 - 20.
 Make sure that all components are correctly installed
 - 21.
 Clean all fasteners

Was this manual helpful?
Please rate this manual on a scale from 1 to 5. If you have any questions, feel free to ask us.
Users voted – 2
Unlock your car maintenance assistant!
Track expenses, manage logs, schedule replacements, and more.
Popular Suspension and Arms maintenance tutorials
 Free download PDF
 1.31 MB
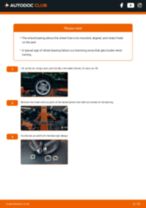 Free download PDF2.41 MB
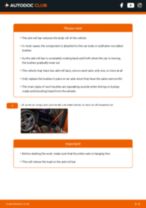 Free download PDF593.92 KB
 Free download PDF1.11 MB
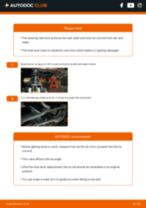 Free download PDF1.28 MB
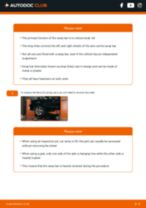 Free download PDF972.8 KB
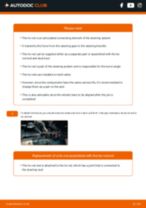 Free download PDF1.7 MB
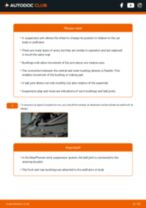 Free download PDF1.07 MB
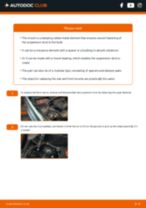 Free download PDF1.04 MB
 Free download PDF972.8 KB
Top auto repair manuals
 Free download PDF1.51 MB
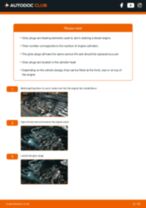 Free download PDF1.62 MB
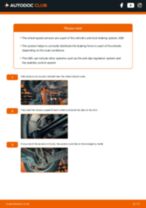 Free download PDF1.64 MB
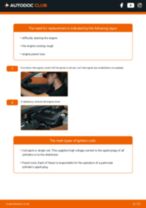 Free download PDF1.98 MB
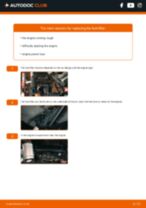 Free download PDF2 MB
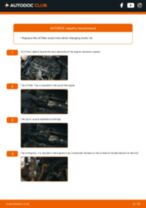 Free download PDF2.82 MB
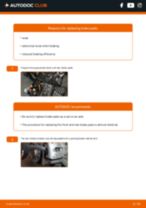 Free download PDF2.84 MB
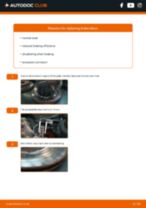 Free download PDF2.92 MB
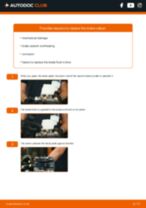 Free download PDF2.91 MB


Time to replace parts? Get even better deals in our Shop app.

SCAN ME