
Disclaimer

How to change control arm on a car – replacement tutorial
downloads:
2057
Views:
12345
How to change a track control arm [AUTODOC TUTORIAL]
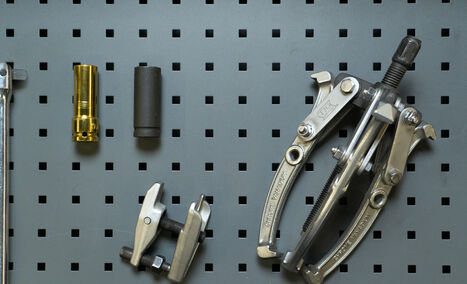
Tap wrench
Wheel impact socket
Impact socket
Ball joint puller set
3-Arm Gear Puller
Jack

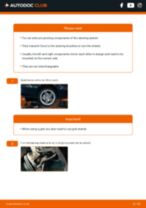
Please note!
- A suspension arm allows the wheel to change its position in relation to the car body or subframe
- There are many types of arms, but they are similar in operation and are replaced in much the same way
- Bushings only allow movement of the arm about one rotation axis
- The connection between the central and outer bushing sleeves is flexible. This enables movement of the bushing or mating part
- A ball joint allows not only mobility, but also rotation of the assembly
- Suspension play and noise are indications of worn bushings and ball joints
- 1.
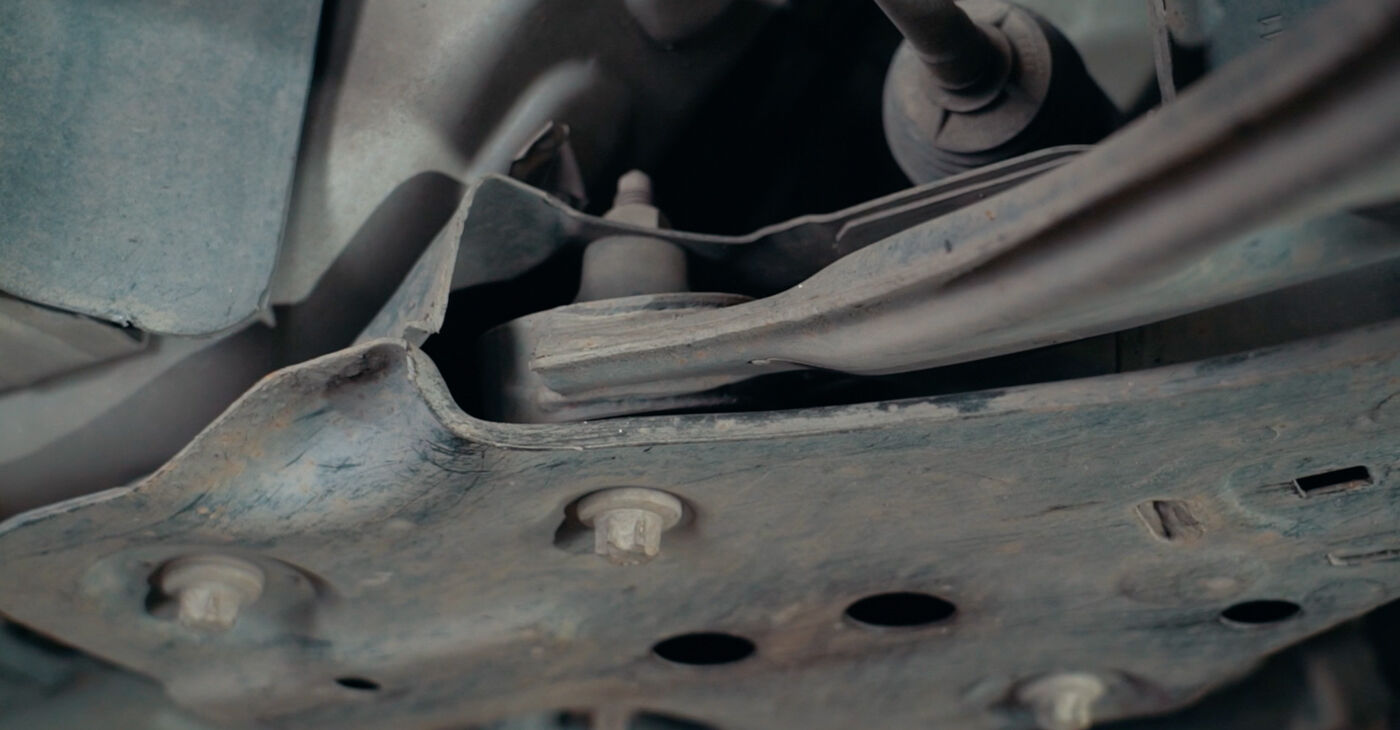 To remove any type of suspension arm, you should first access its fasteners and familiarise yourself with its designImportant!In the MacPherson strut suspension system, the ball joint is connected to the steering knuckleThe front and rear bushings are attached to the subframe or body
 - 2.
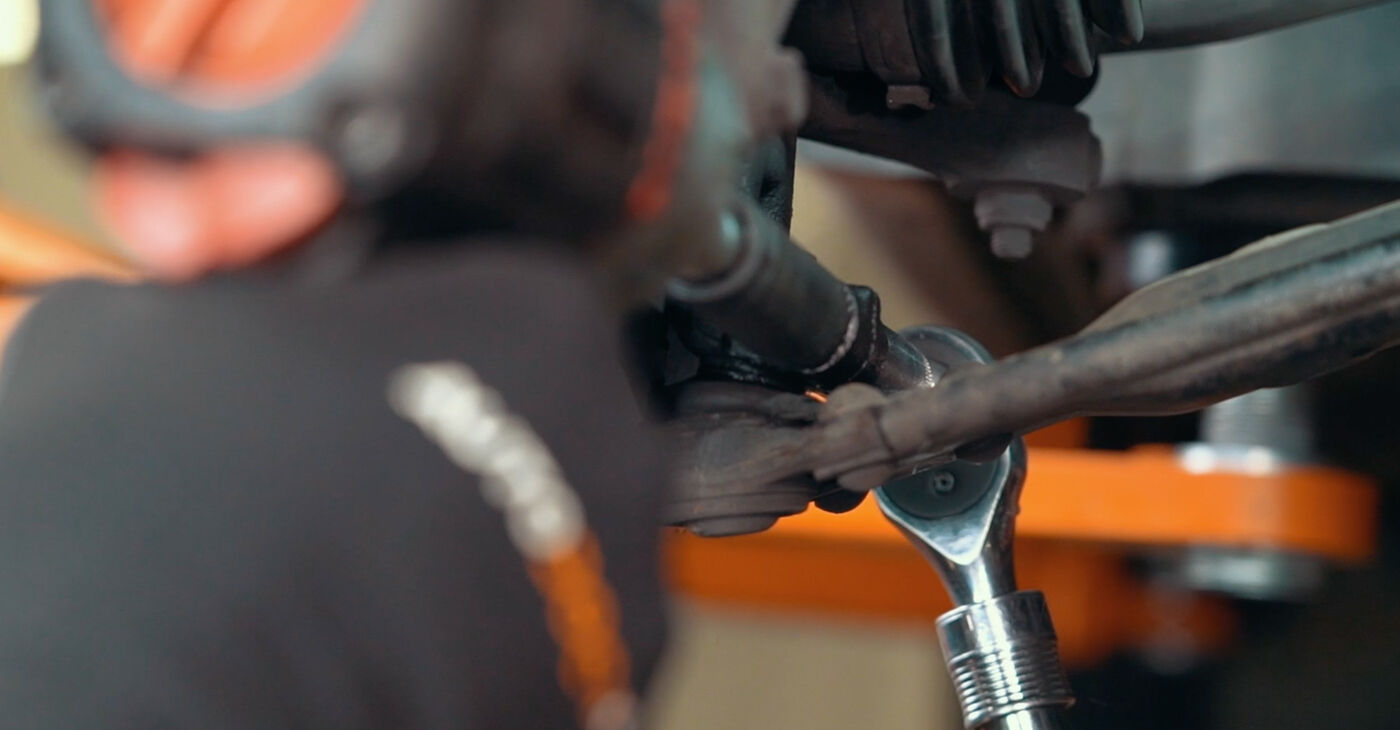
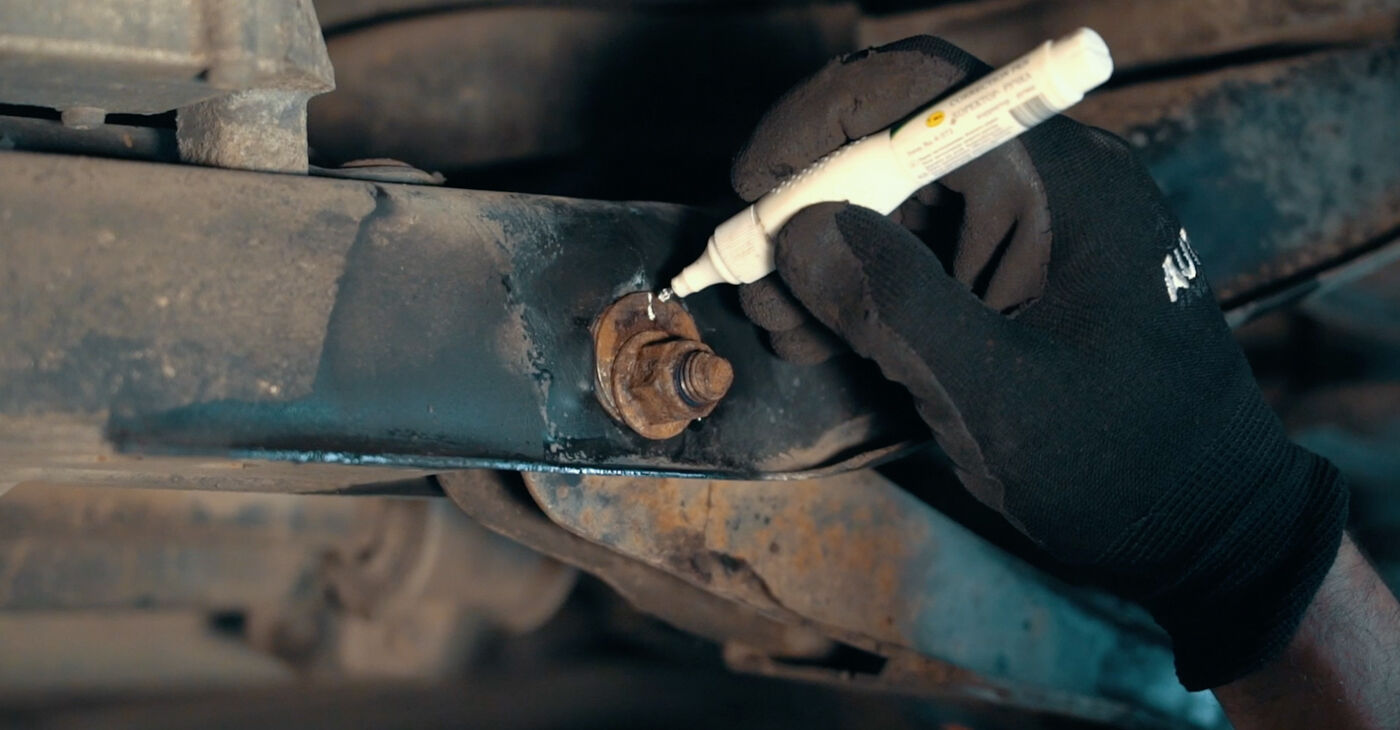
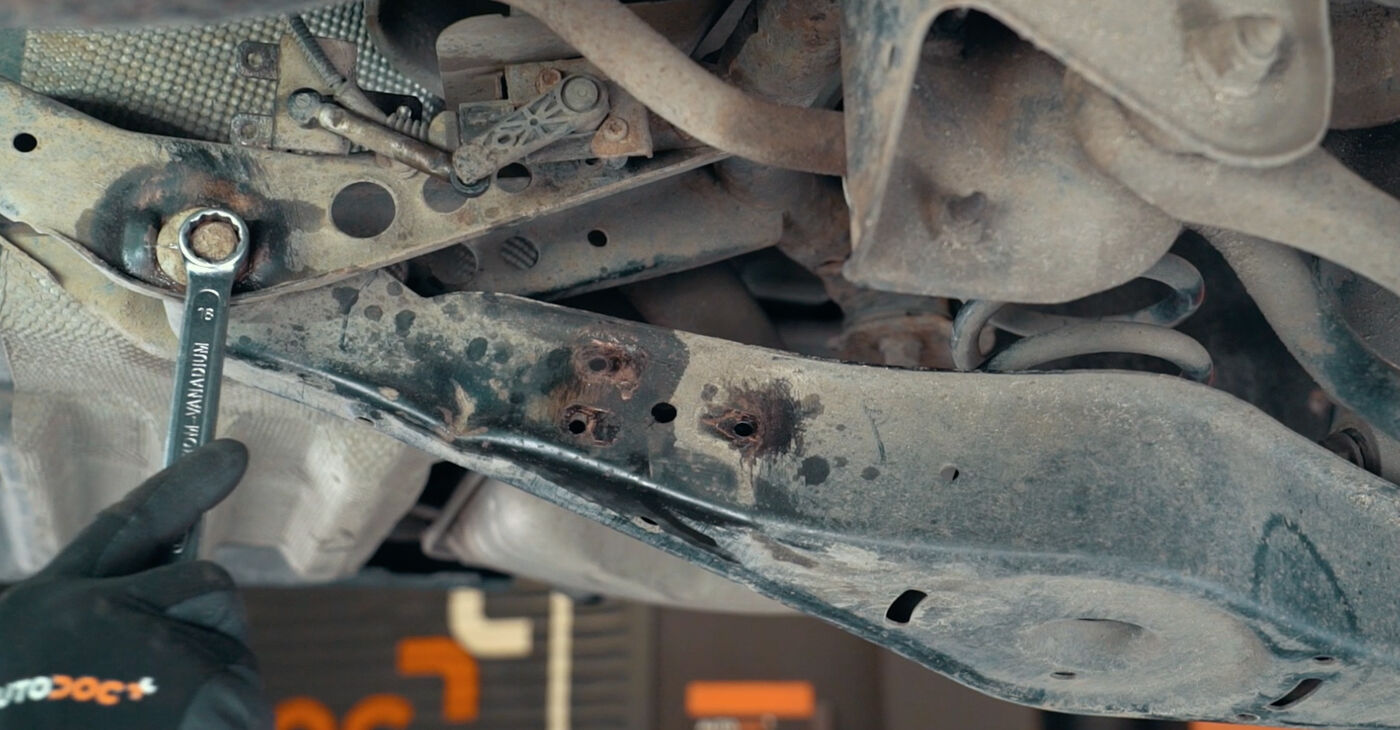
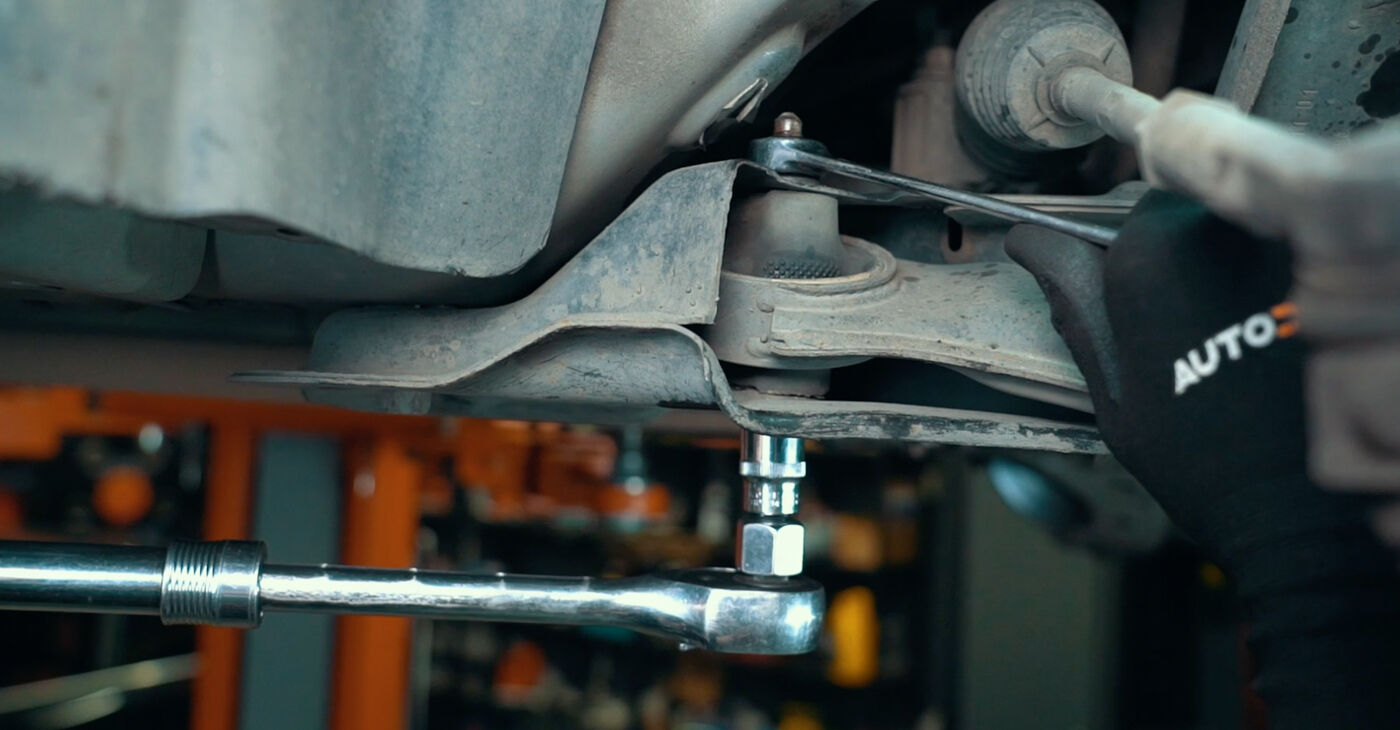 Loosen the fasteners of the bushings without unscrewing them completely
 - 3.
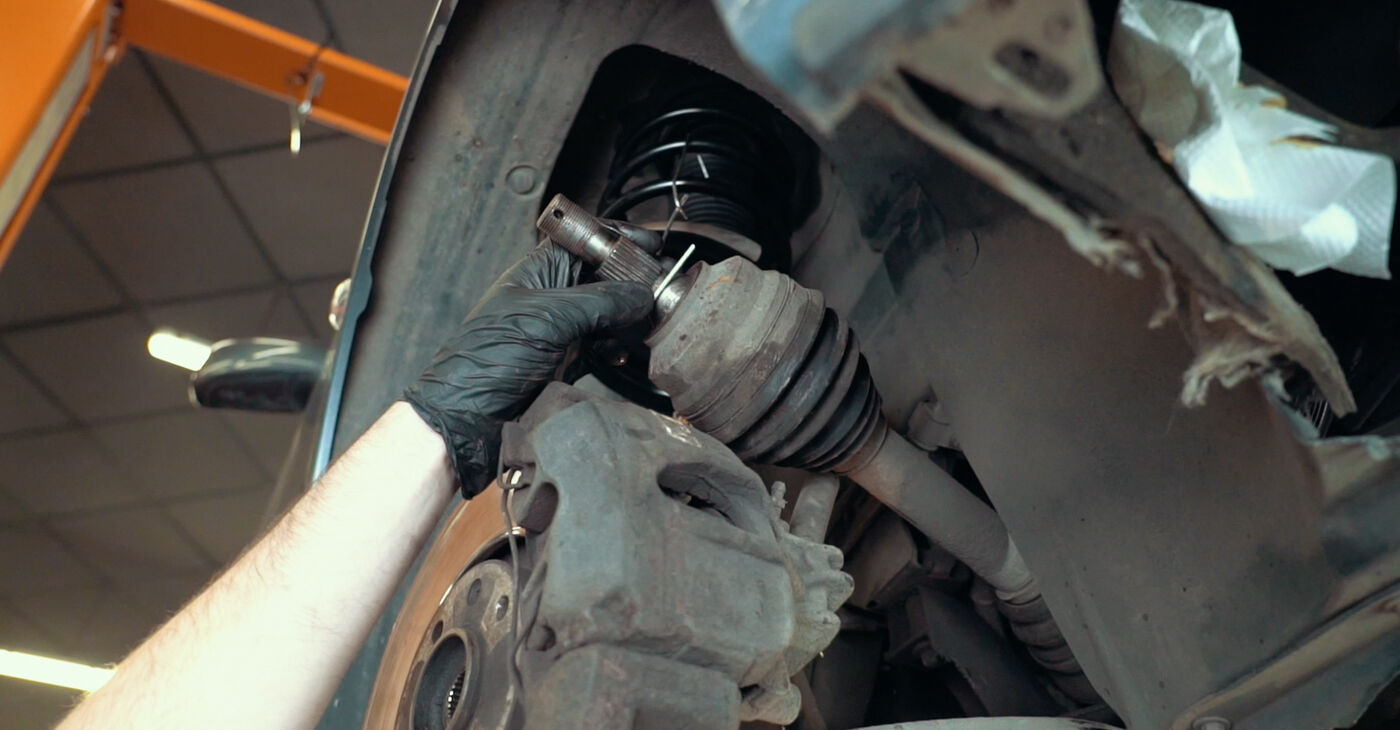
 Unscrew the ball joint fastener and remove the ball joint from the steering knuckle
 - 4.
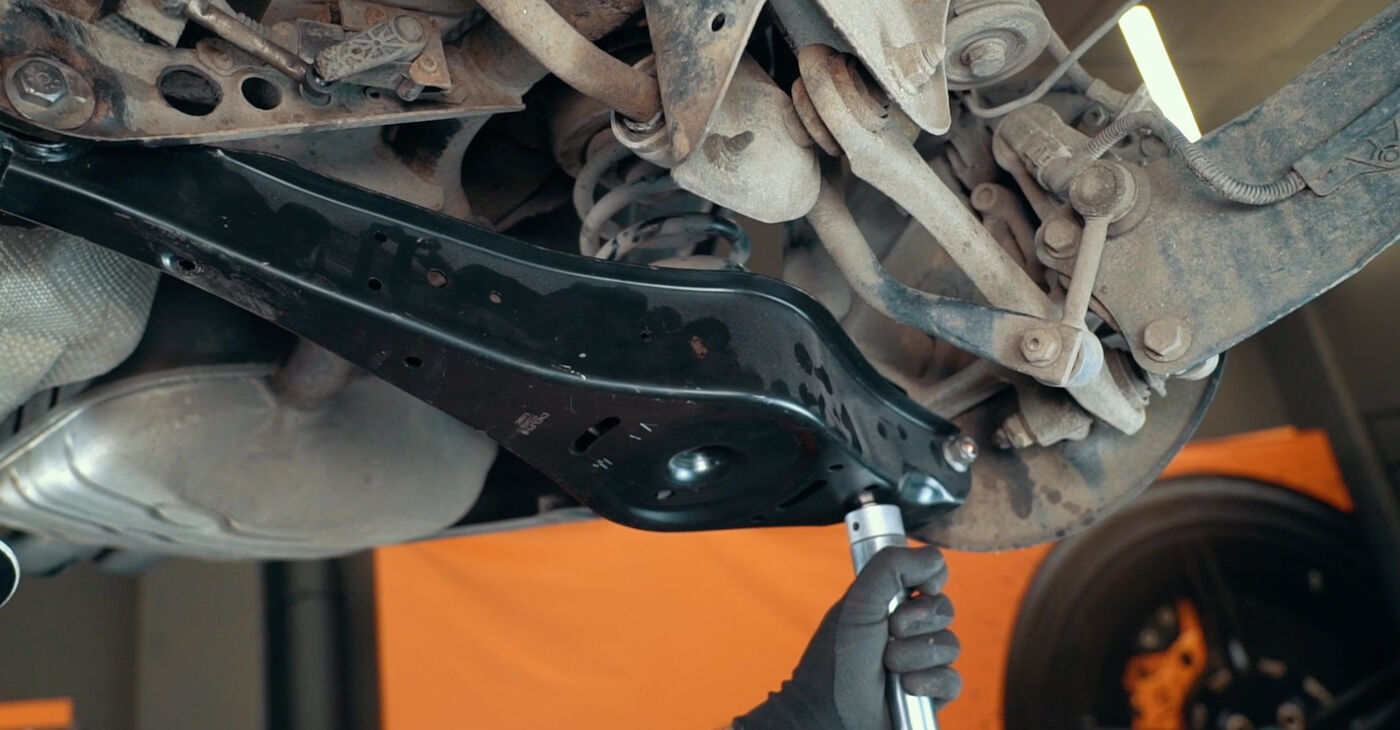
 Remove the fasteners of the bushings and dismount the armPlease note!The ball joint of the arm can be removable or permanently fixed to the armThe ball stud can be of two types:A tapered one is secured by a nut and requires pressing out with a special puller. These pullers vary in height, angle, and jaw openingA cylindrical one is inserted in a clamp, which should be slightly spread beforehand
 - 5.
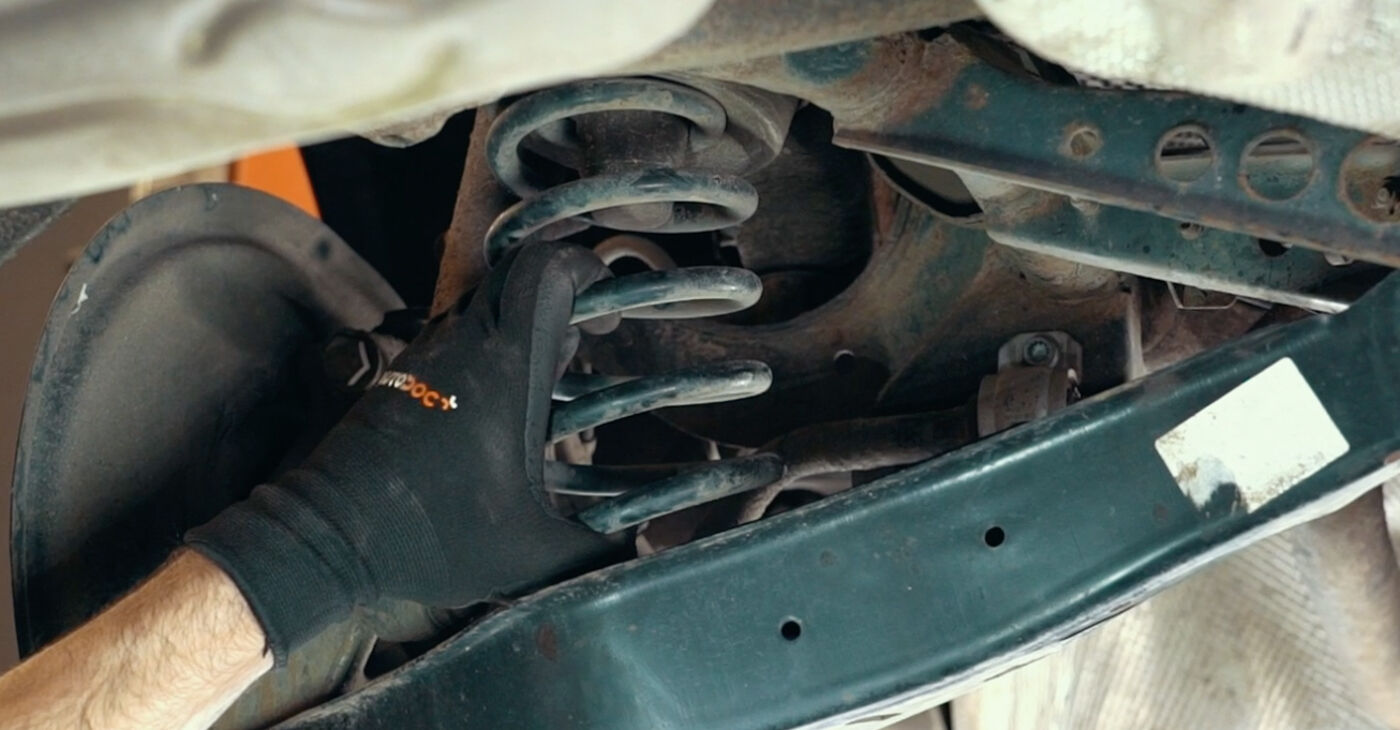
 To avoid injury, proceed carefully when removing the arm as its edge is spring-loadedBe careful!When one arm bushing is unscrewed, the other is still under loadIn this design, the rear bushing is only fixed in the vertical directionThe front one, on the other hand, is secured by its fastener against longitudinal movement
 - 6.
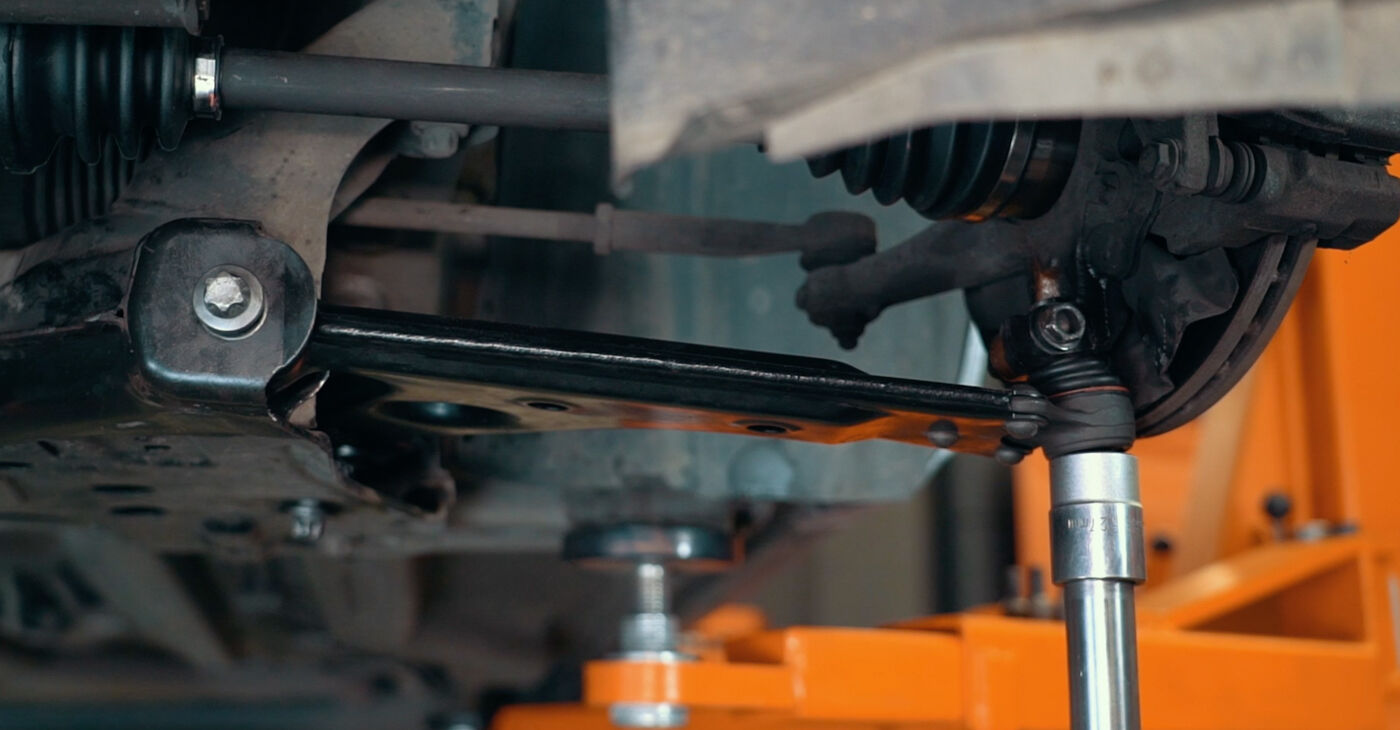
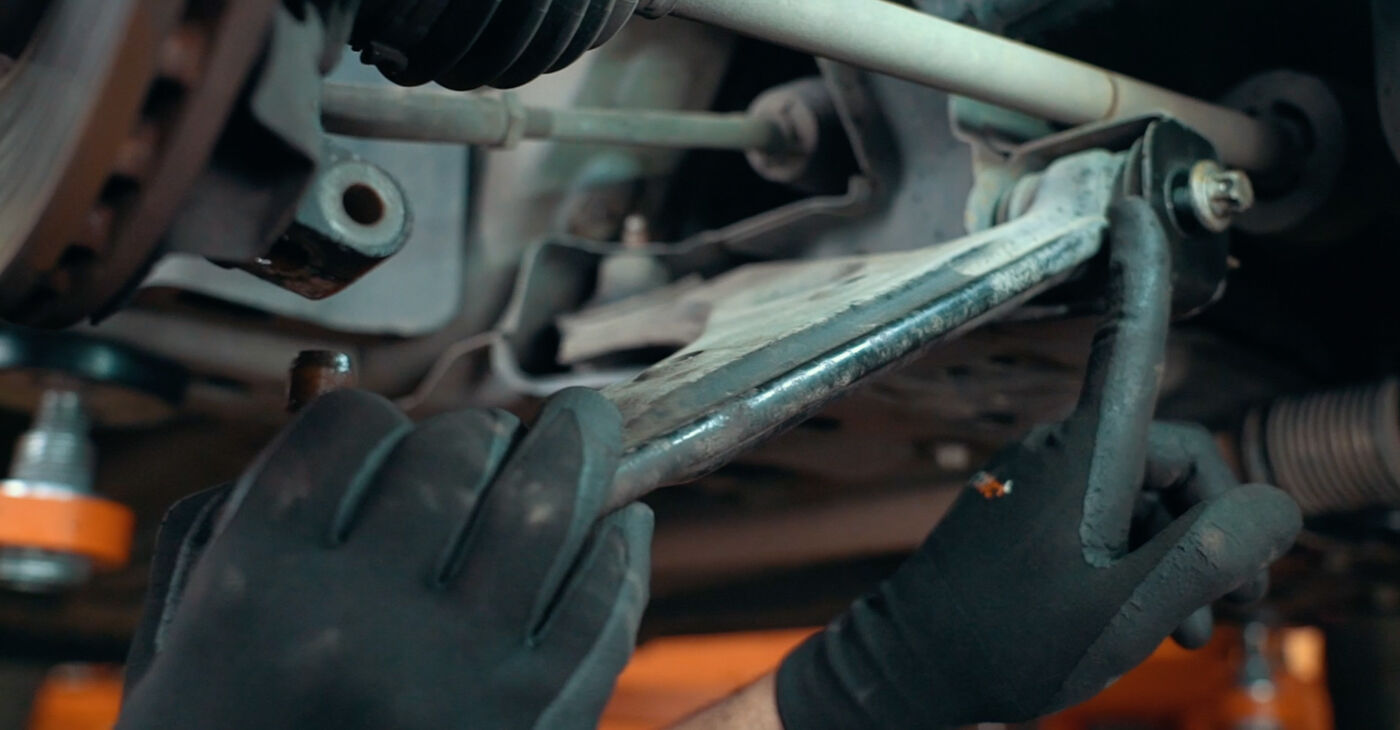 To remove the arm, first disconnect the front bushings, then the rear onePlease note!For a certain type of bushing, there are retaining grooves on the subframe that set the installation direction of the inner sleeve of the bushingThese bushings can only be removed in a certain positionOn some cars, the rear bushing is attached to the subframe with a bolt that is inserted from aboveThis means that in order to remove the arm, you should first access it and possibly remove other components
 - 7.
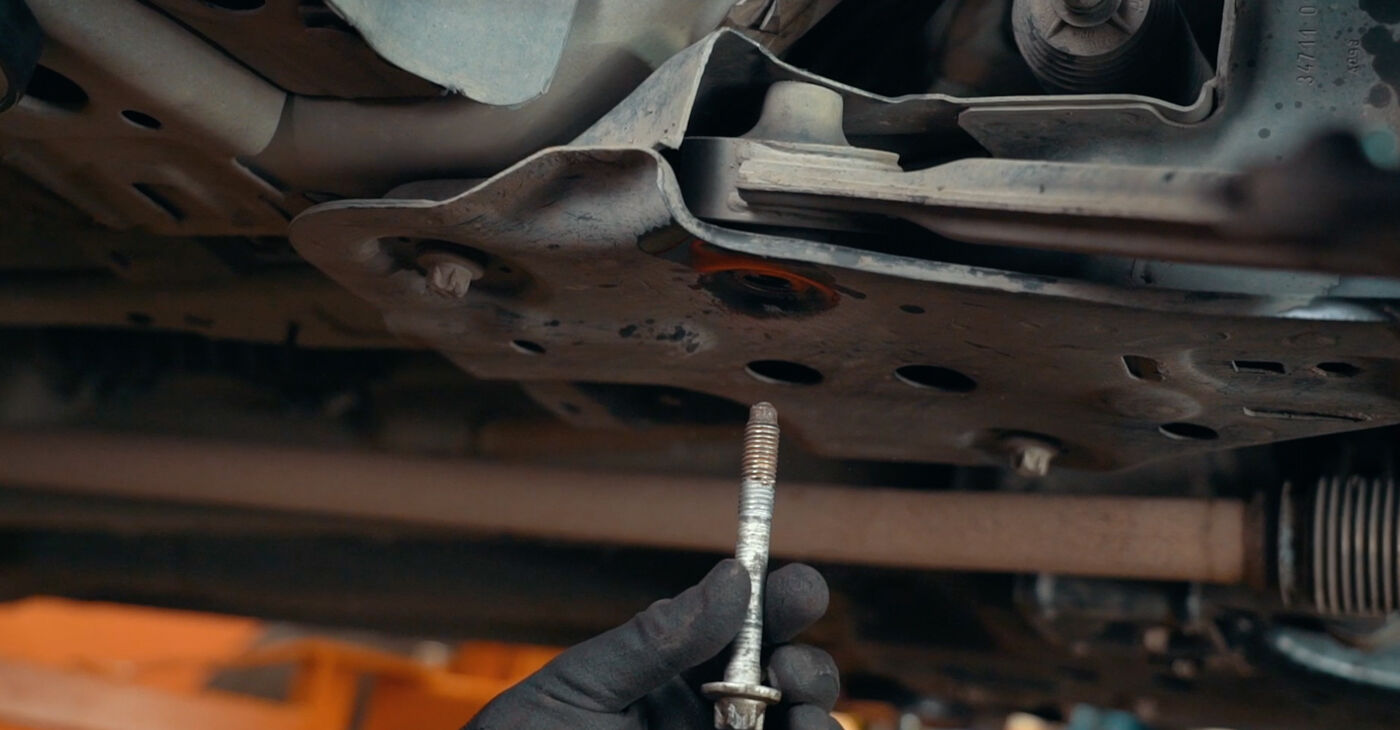
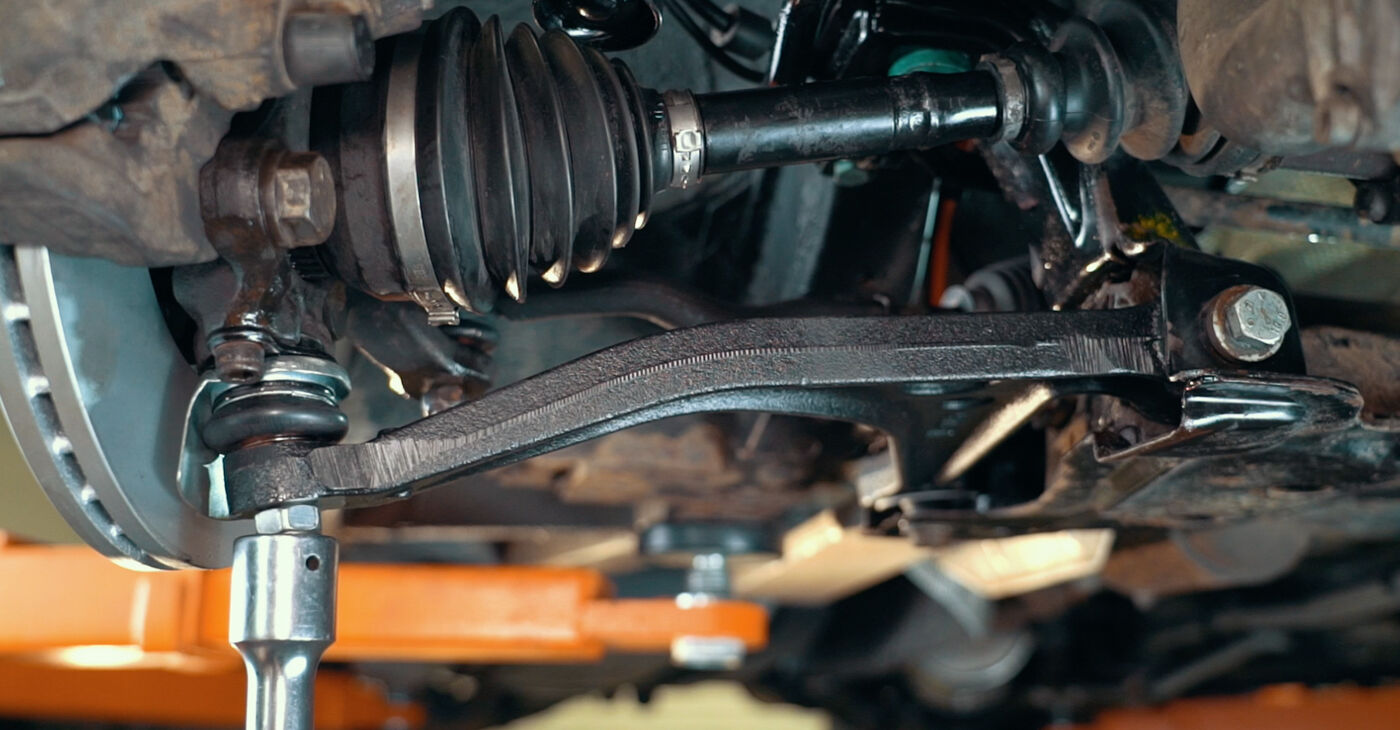
 The design in which the front bushing is positioned vertically is common. To remove its fastening bolt, you should move aside the CV axleCaution!In most cases, the arms are replaced on both sides of the axle in the same wayAn exception is removal of the bolt of the front bushing on some vehicles with automatic transmission
 - 8.
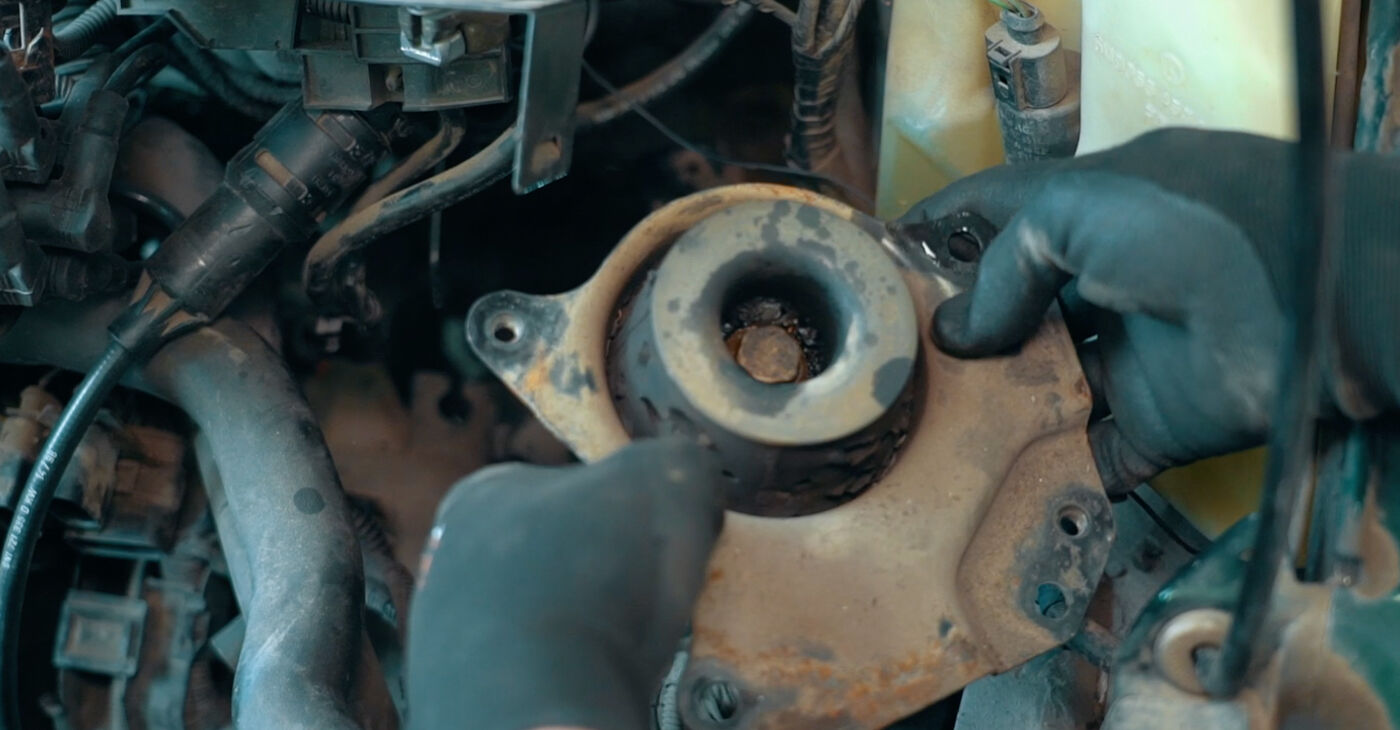 It might be necessary to first remove the gearbox mount and raise the gearbox a little together with the engine
Was this manual helpful?
Please rate this manual on a scale from 1 to 5. If you have any questions, feel free to ask us.
Users voted – 3
Unlock your car maintenance assistant!
Track expenses, manage logs, schedule replacements, and more.
Popular Suspension and Arms maintenance tutorials
 Free download PDF
 1.31 MB
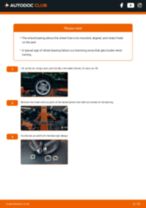 Free download PDF2.41 MB
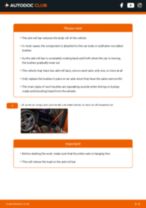 Free download PDF593.92 KB
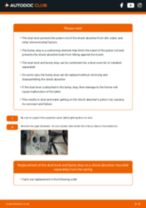 Free download PDF1.11 MB
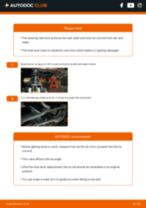 Free download PDF1.28 MB
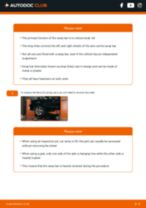 Free download PDF972.8 KB
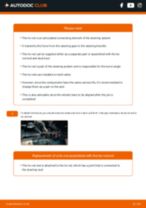 Free download PDF1.7 MB
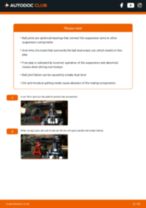 Free download PDF2.05 MB
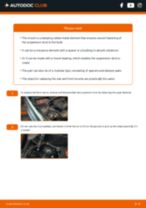 Free download PDF1.04 MB
 Free download PDF972.8 KB
Top auto repair manuals
 Free download PDF1.51 MB
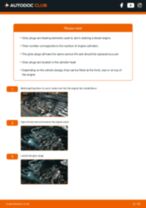 Free download PDF1.62 MB
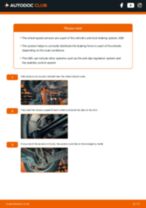 Free download PDF1.64 MB
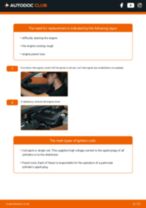 Free download PDF1.98 MB
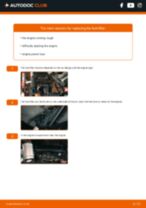 Free download PDF2 MB
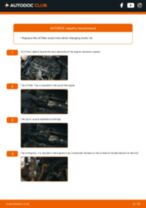 Free download PDF2.82 MB
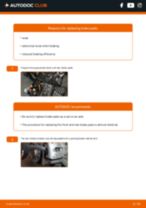 Free download PDF2.84 MB
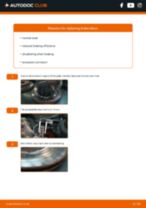 Free download PDF2.92 MB
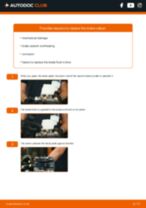 Free download PDF2.91 MB


Time to replace parts? Get even better deals in our Shop app.

SCAN ME