Disclaimer

How to change wheel bearing on a car – replacement tutorial
downloads:
4117
Views:
24393
Wheel bearing repair [AUTODOC TUTORIAL]
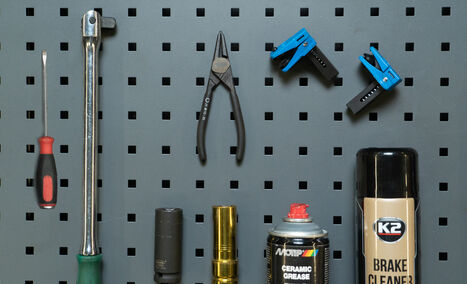
Flat screwdriver
Tap wrench
Wheel impact socket
Impact socket
Ceramic grease
Brake cleaner
Jack
Line stoppers
Circlip pliers

Please note!
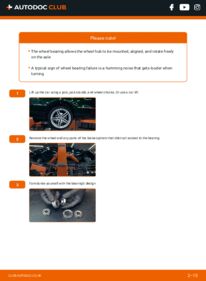
- The wheel bearing allows the wheel hub to be mounted, aligned, and rotate freely on the axle
- A typical sign of wheel bearing failure is a humming noise that gets louder when turning
- 1.
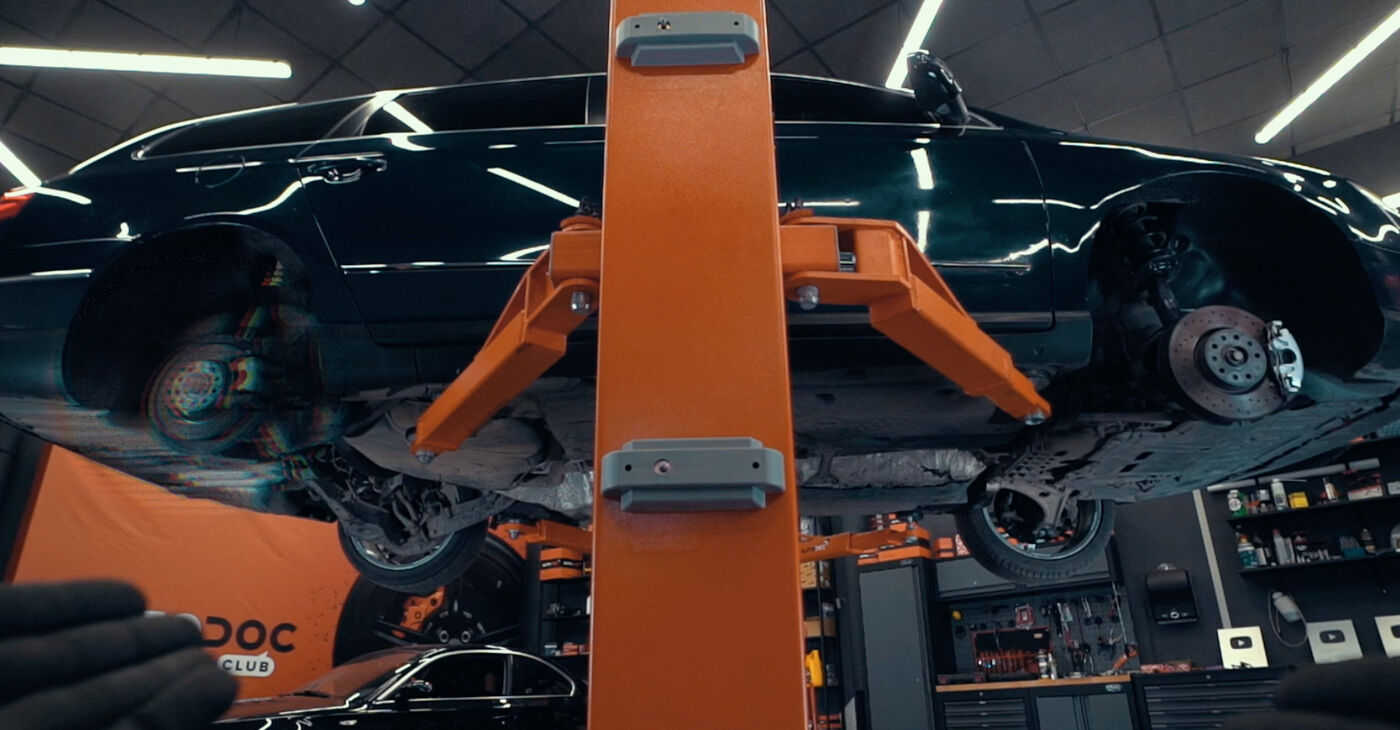
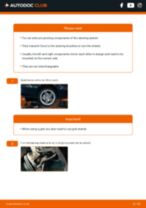
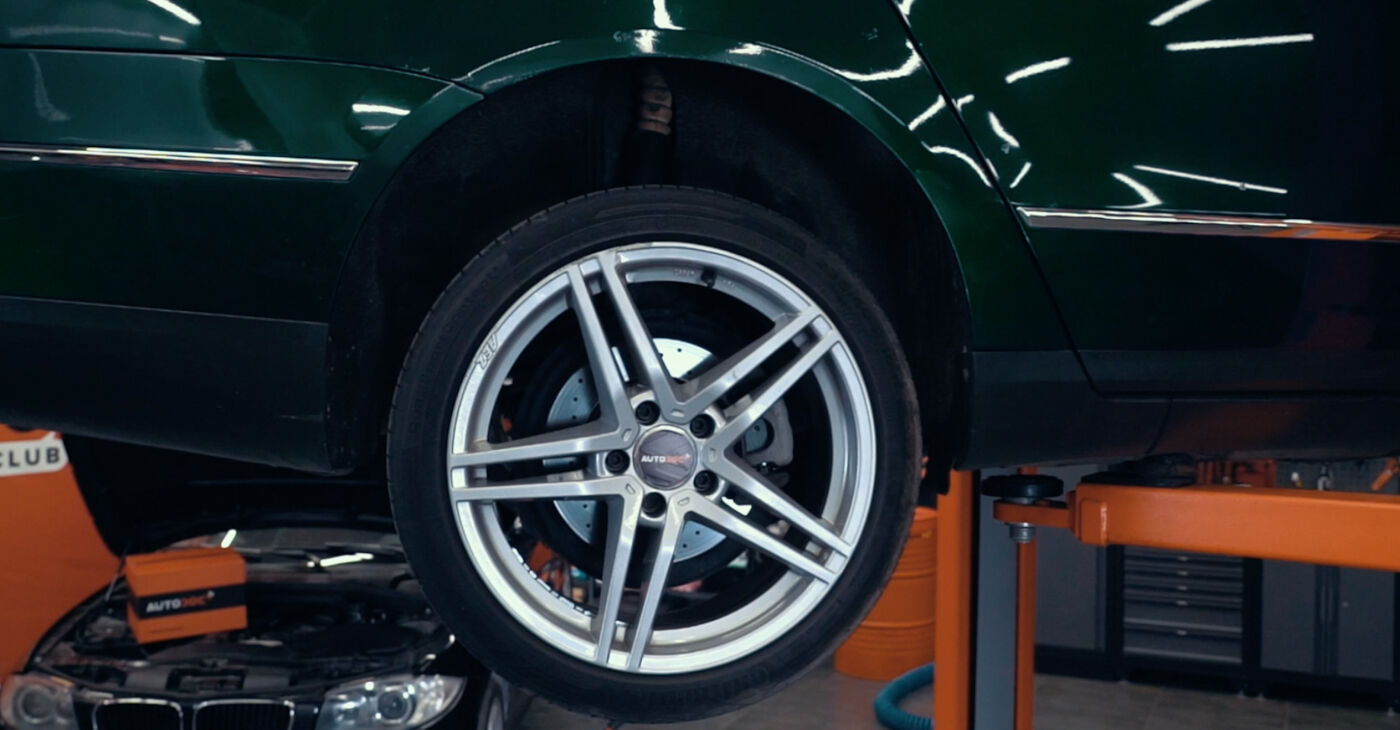 Lift up the car using a jack, jack stands, and wheel chocks; Or use a car lift
 - 2.
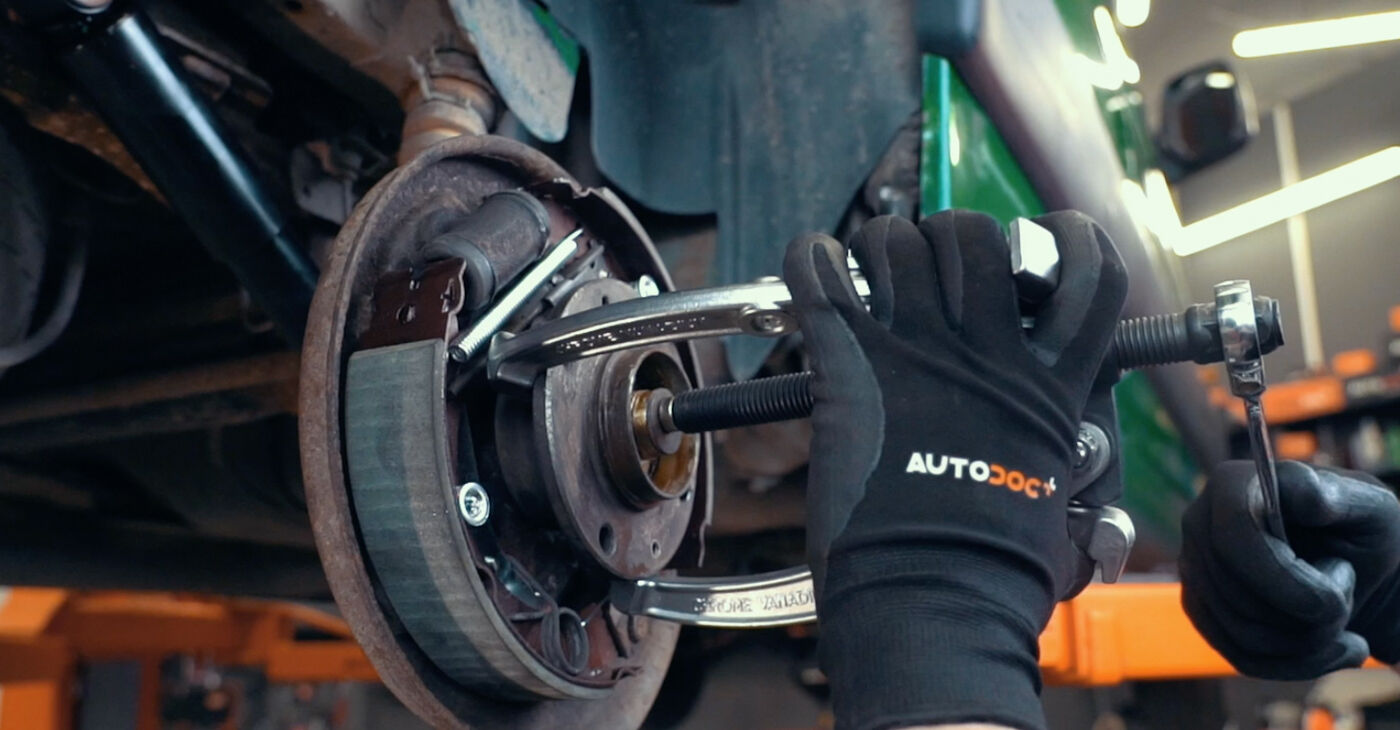
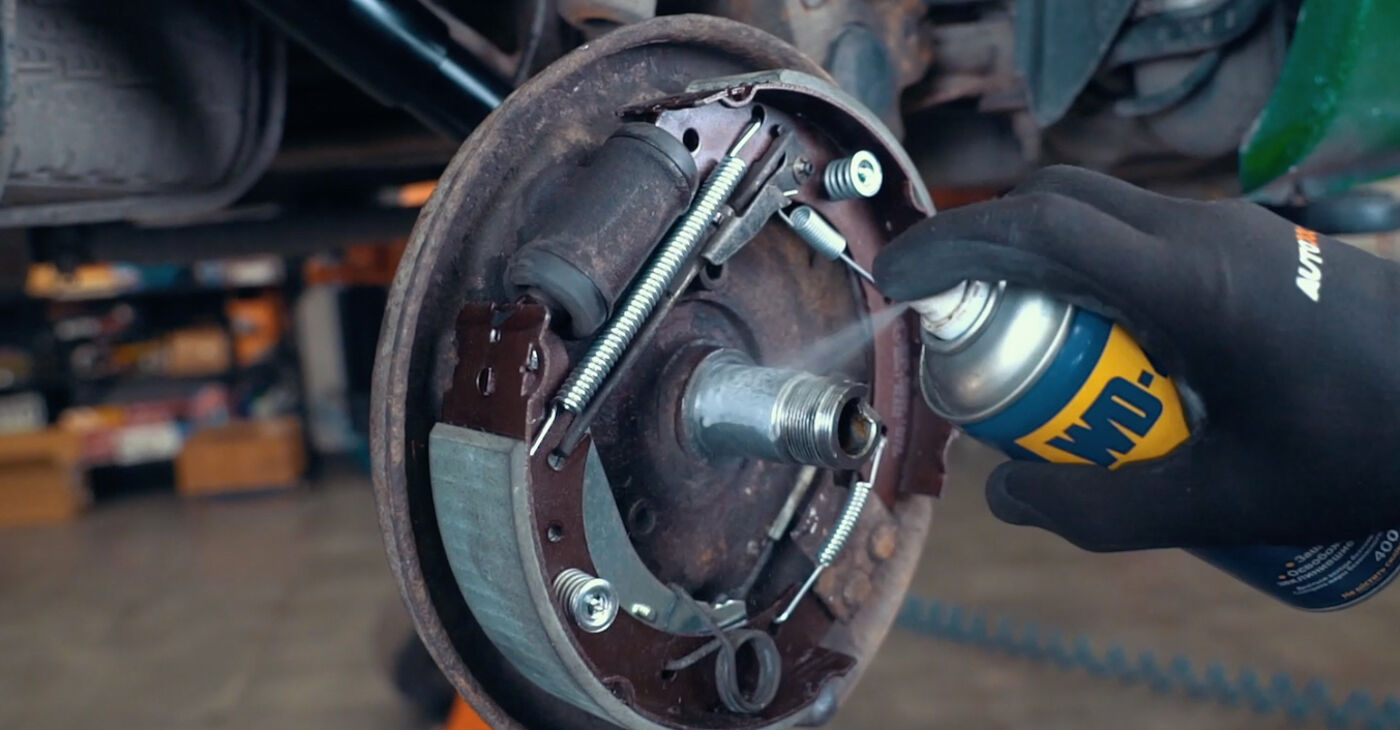
 Remove the wheel and any parts of the brake system that obstruct access to the bearing
 - 3.
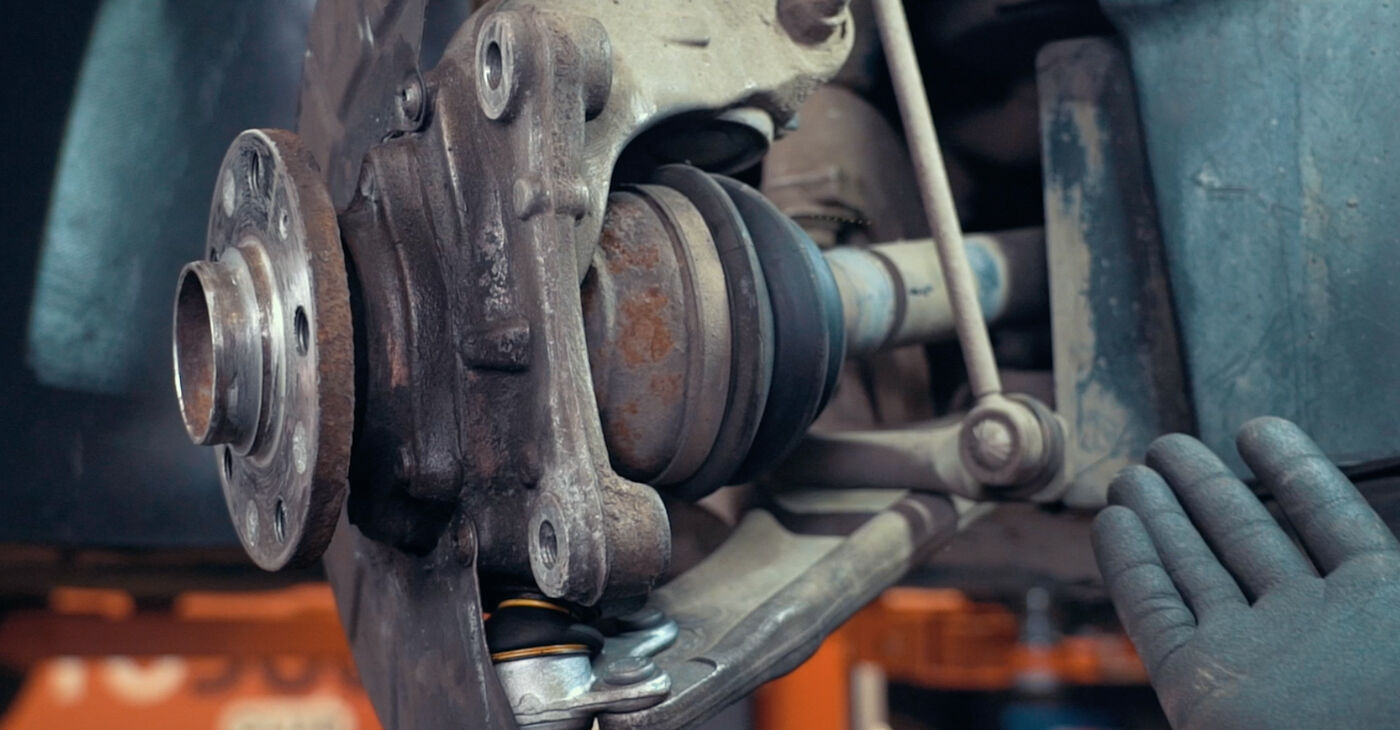
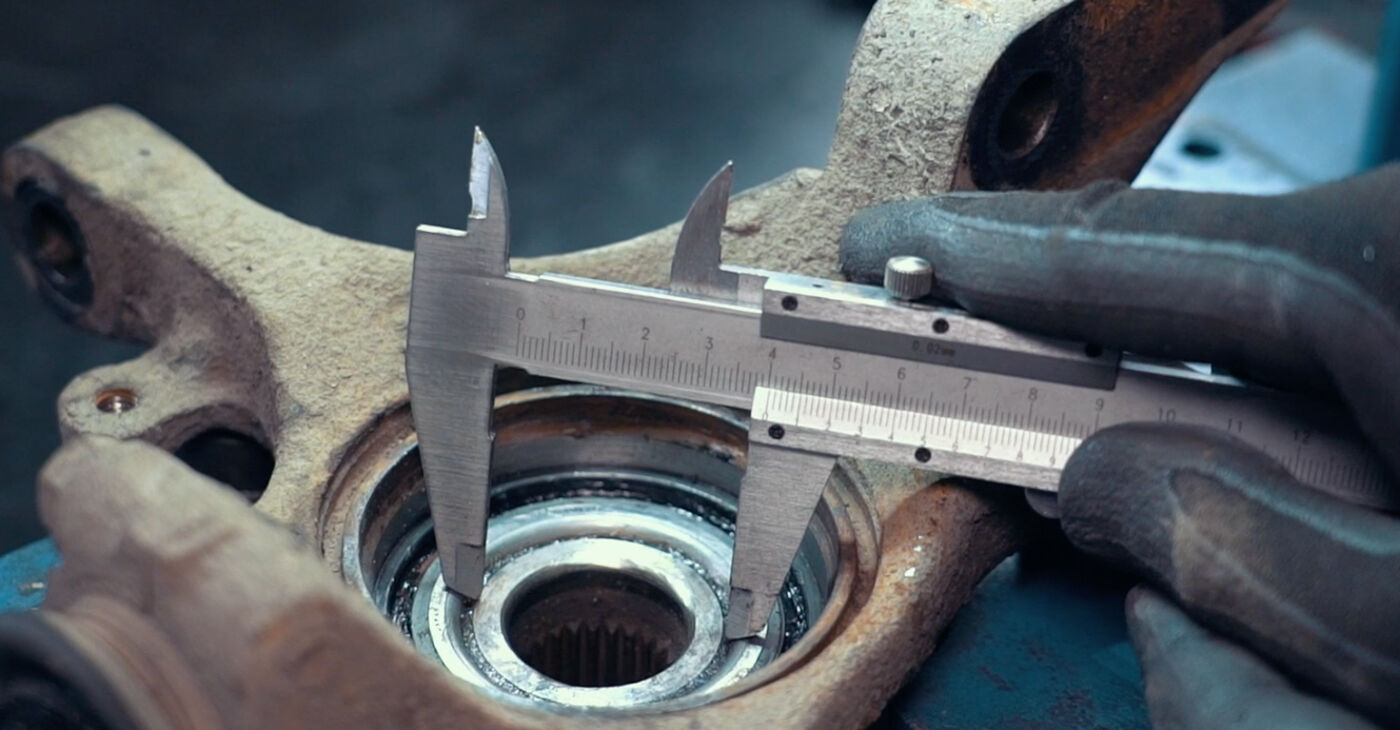
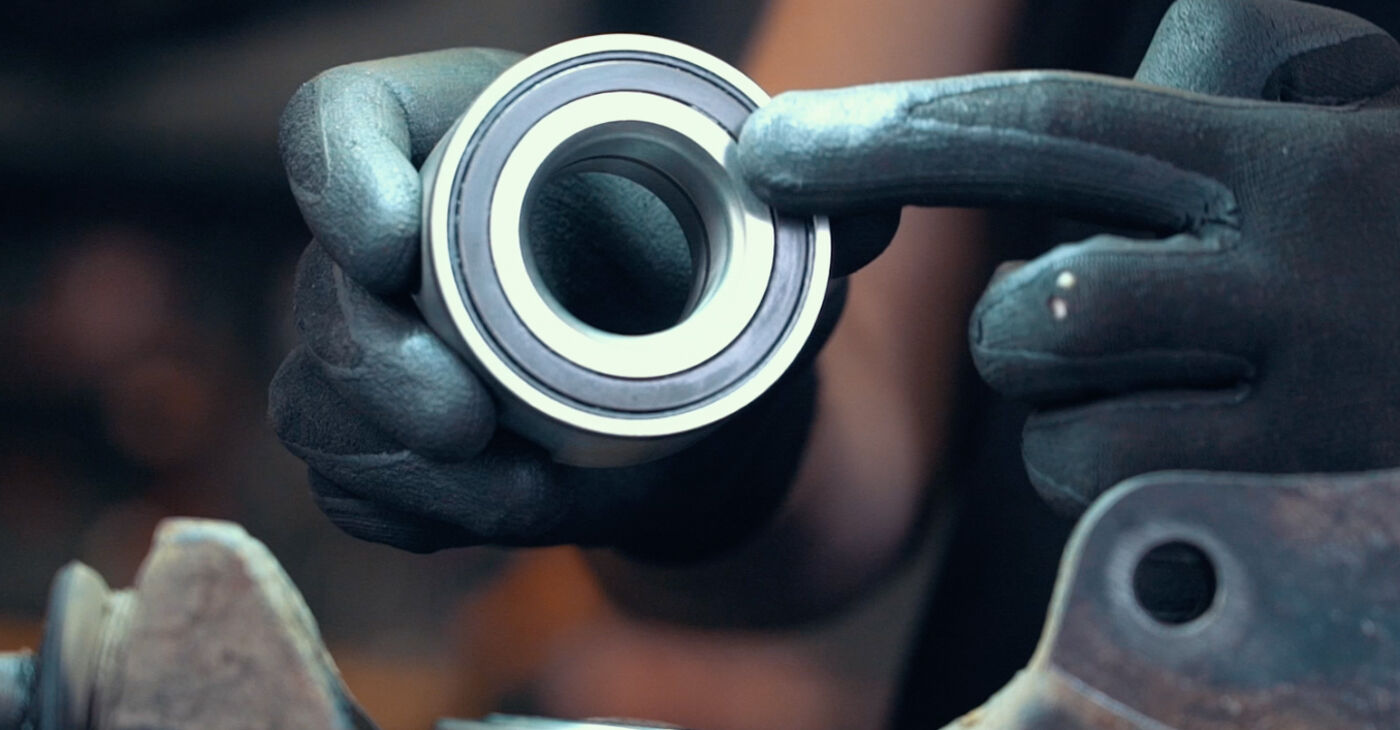
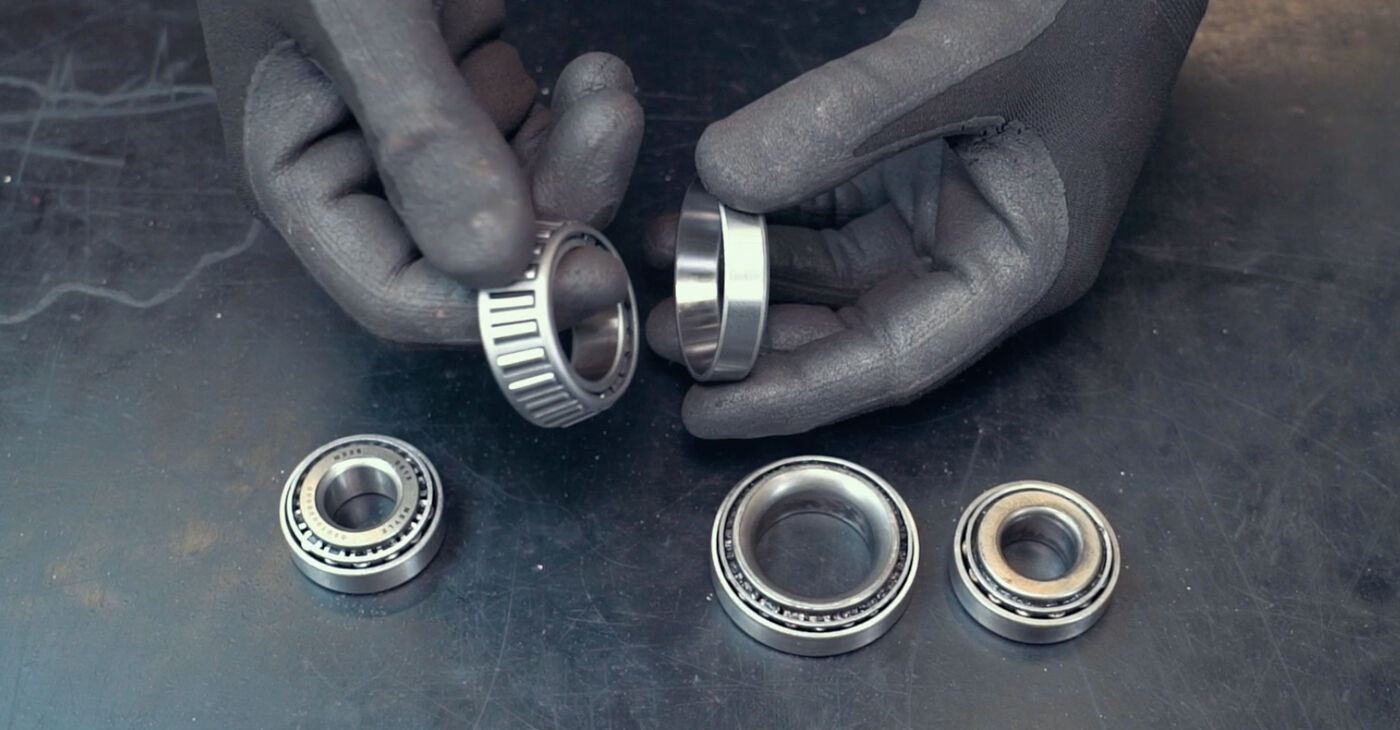 Familiarise yourself with the bearing’s designThere are several types of wheel hub bearingsSingle row ball bearings and tapered roller bearings (GEN-0)Dual row bearings (GEN-1)Bearings equipped with a flange with mounting holes (GEN-2)Wheel hub assembly (GEN-3)
 - 4.
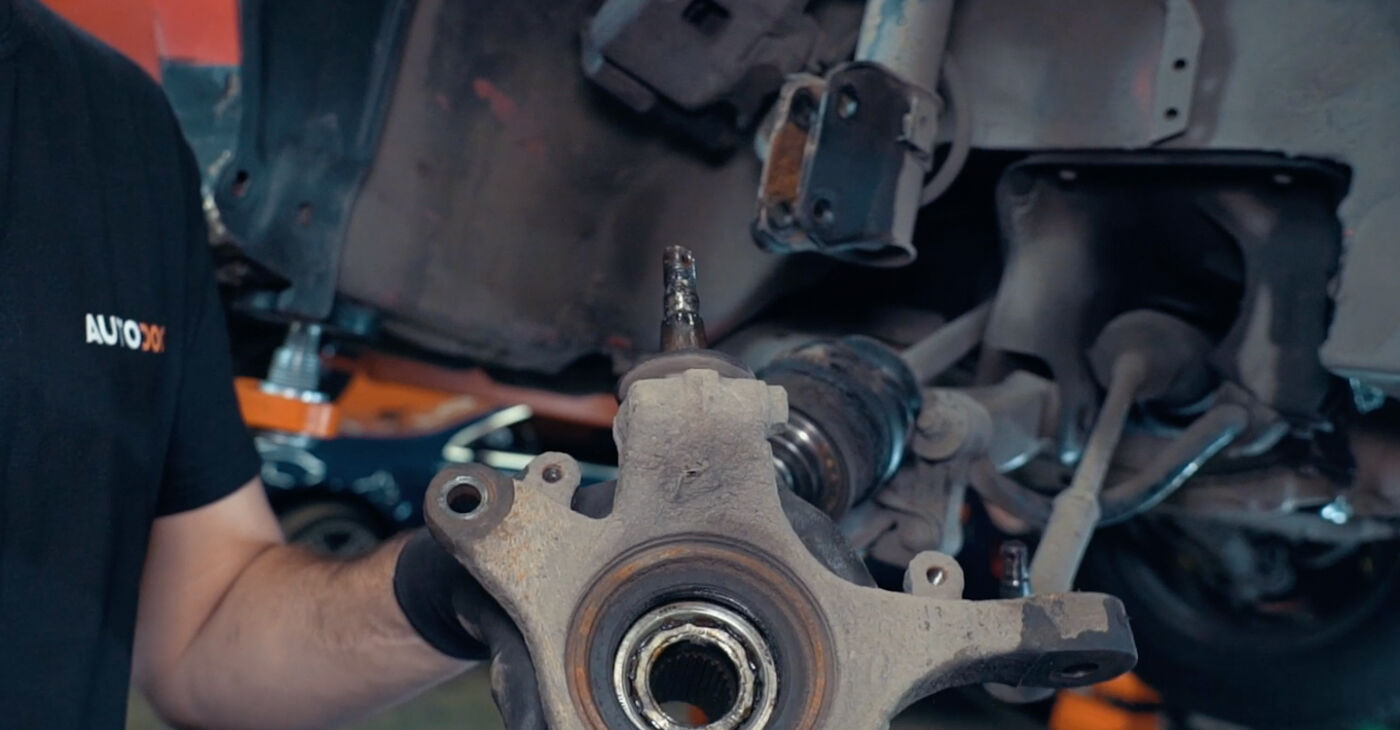
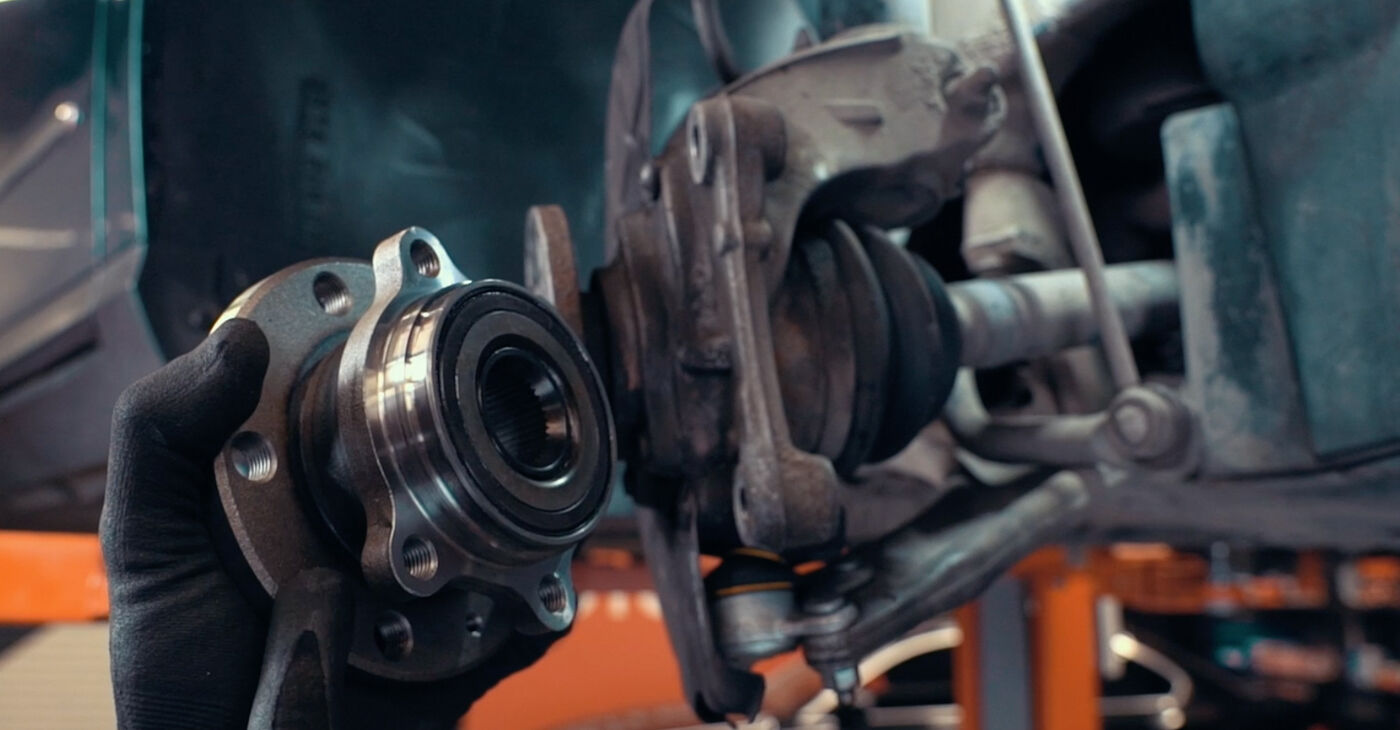 The wheel hub bearing assembly (GEN-3) on the drive axle is attached to the steering knuckle
 - 5.
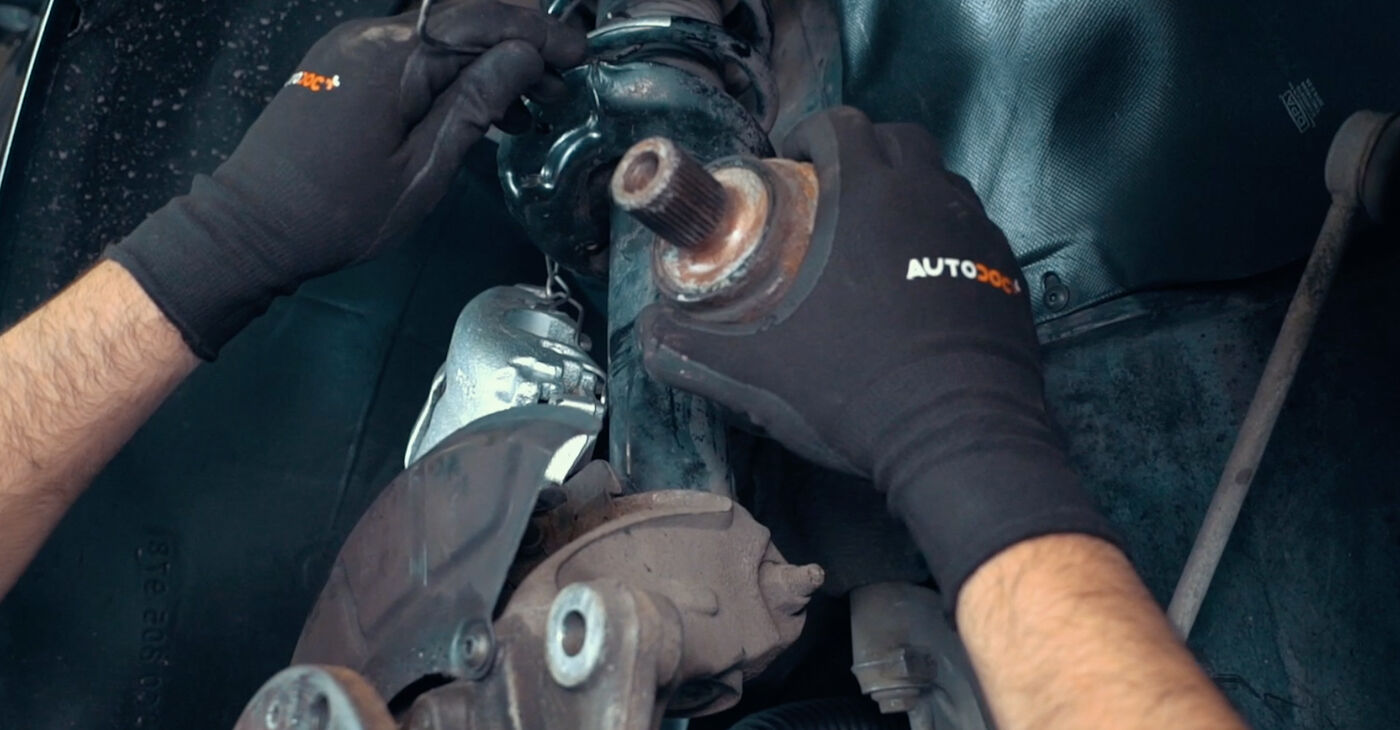
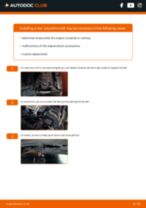
 In order to access its fasteners you need to disconnect the CV axleAUTODOC experts recommend:The CV axle fastener is easier to unscrew with the car on its wheels
 - 6.
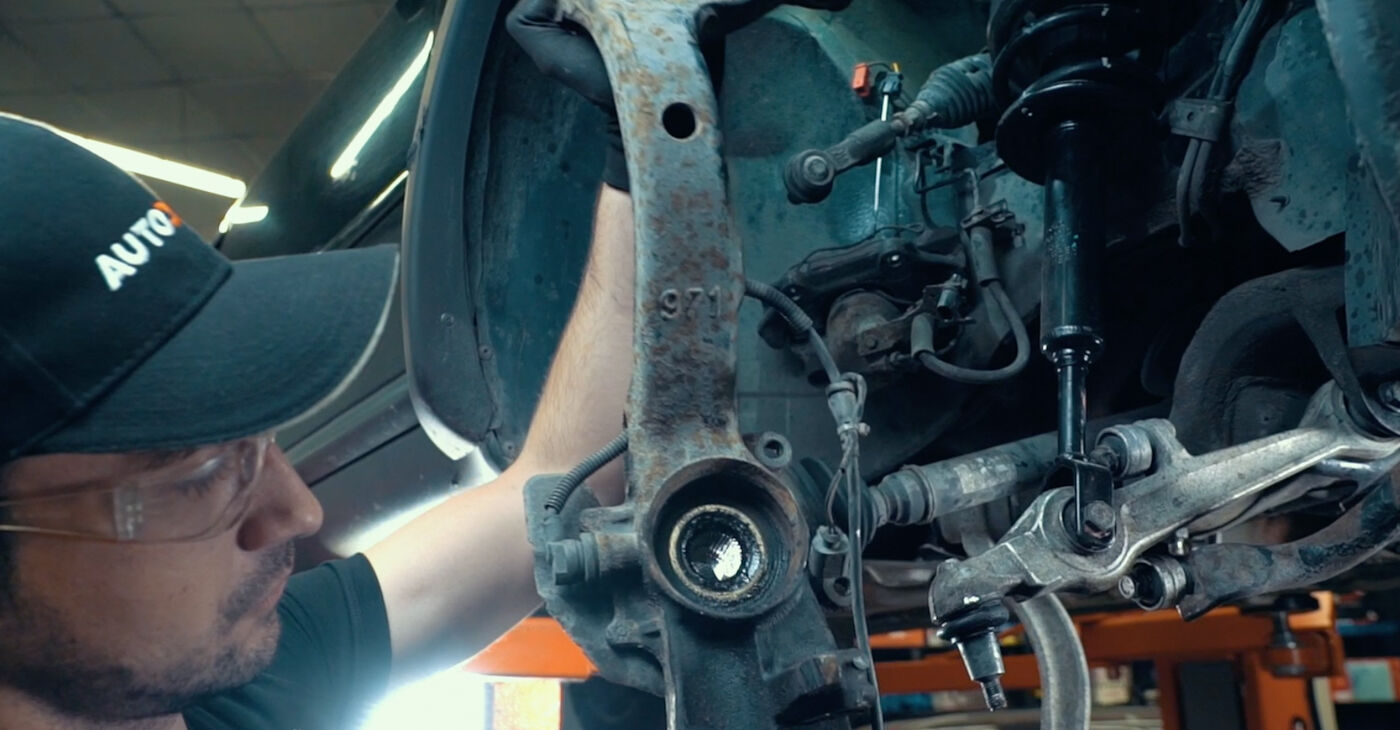 Depending on the car design it may be necessary to dismount the complete steering knuckle
 - 7.
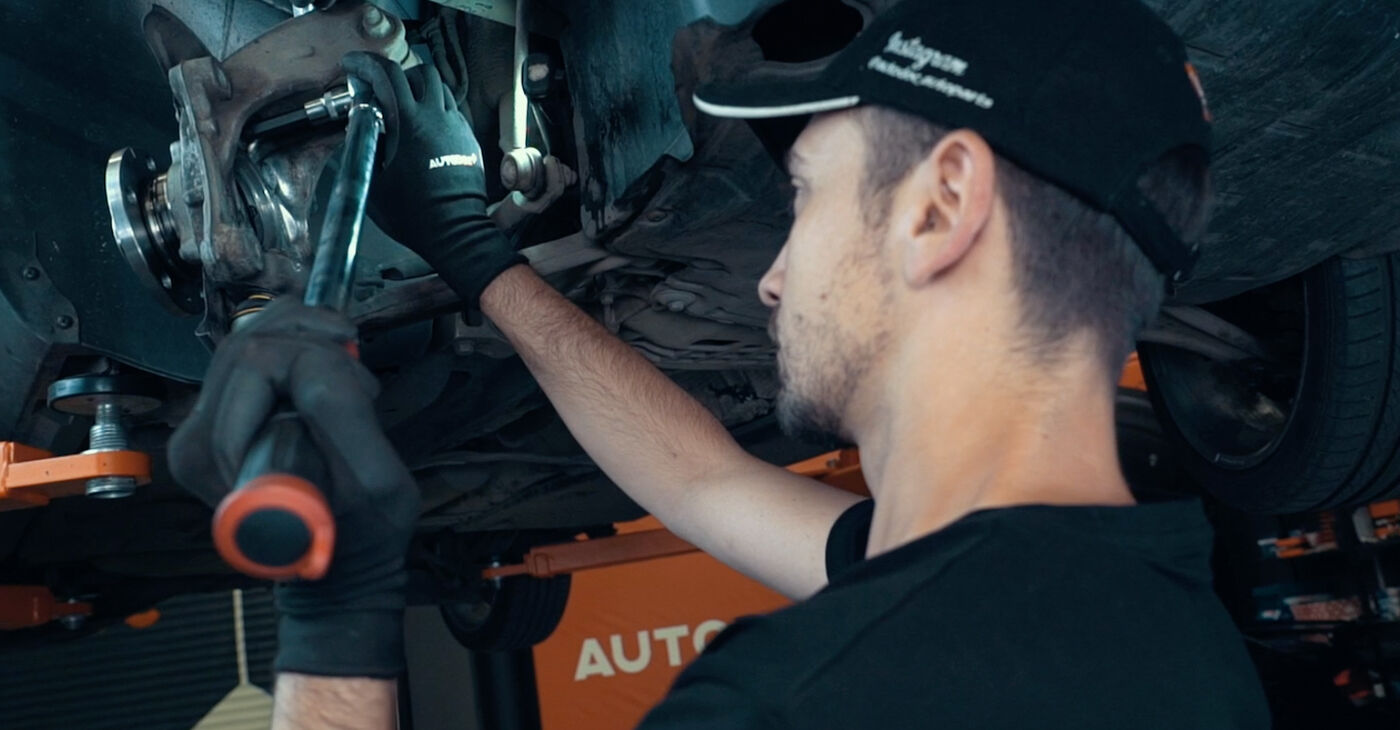
 It needs to be disconnected from the suspension strut, control arms, and steering components
 - 8.
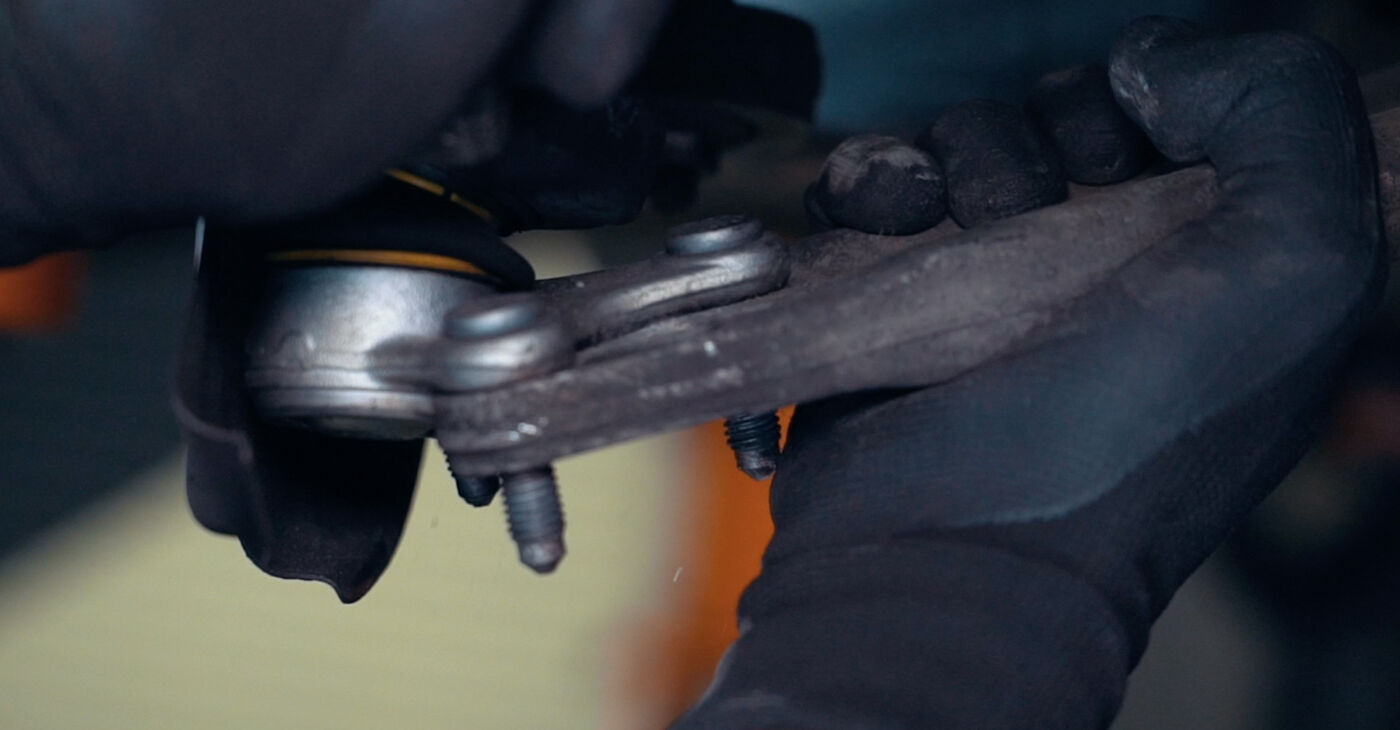
 Disconnect the ball joint and the CV axle
 - 9.
 Move the CV axle aside
 - 10.
 Use a jack to support the steering knuckle or attach it to the ball joint
 - 11.
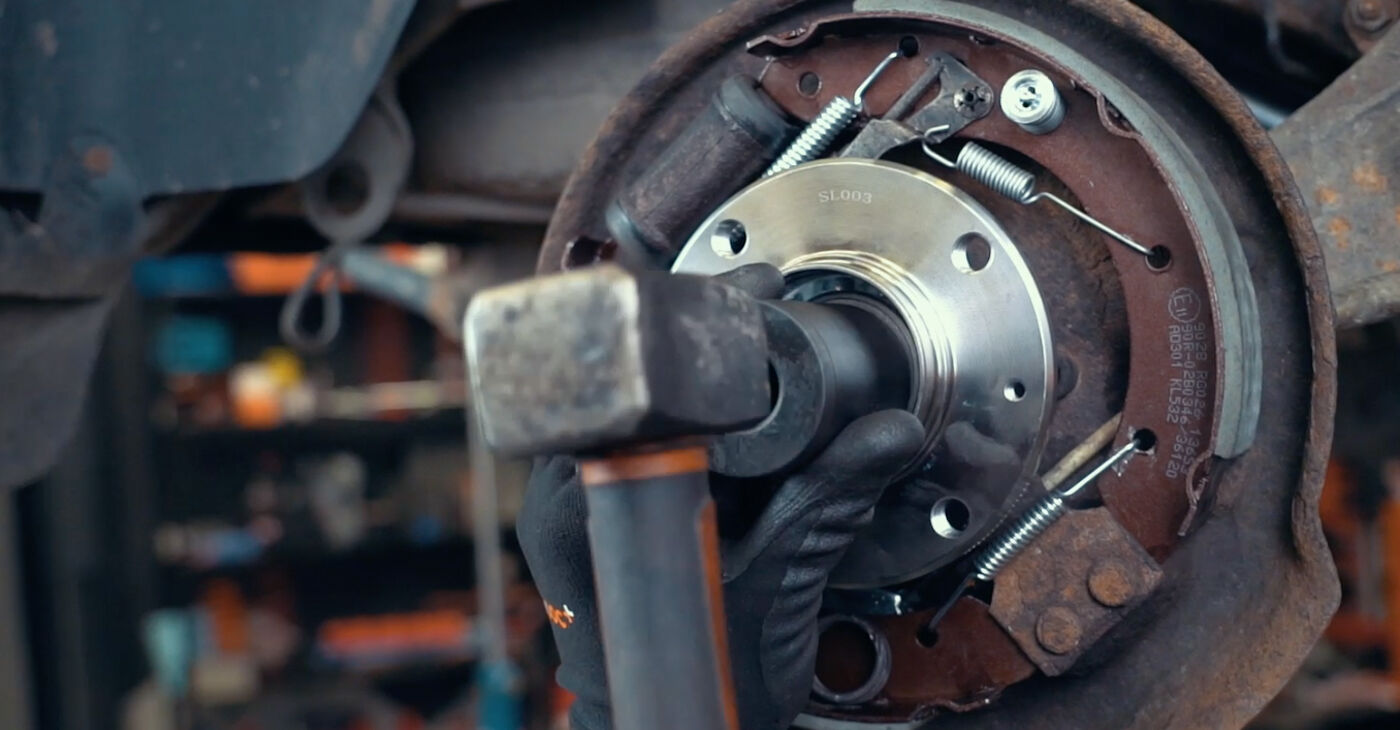
 Clean all fastenersAUTODOC recommends:Tap the fasteners with a hammer to make them easier to unscrew
 - 12.
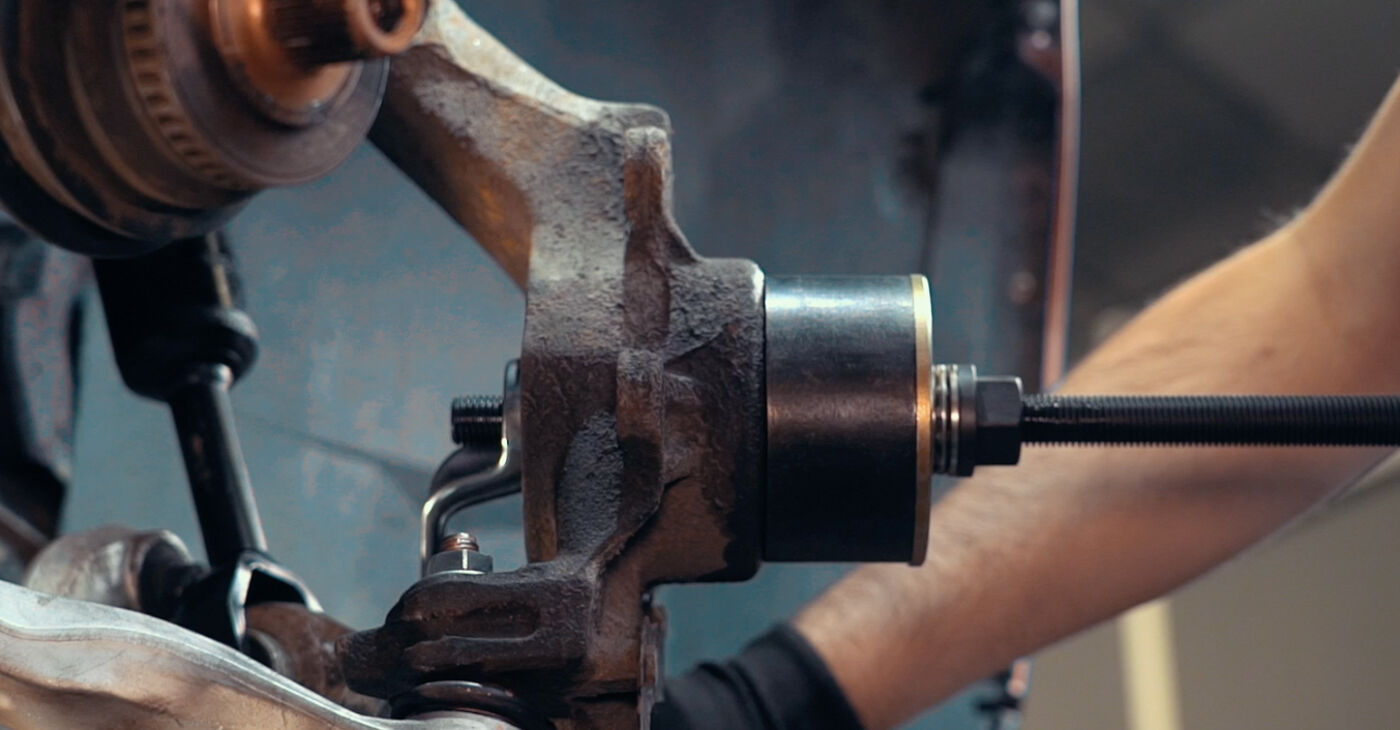
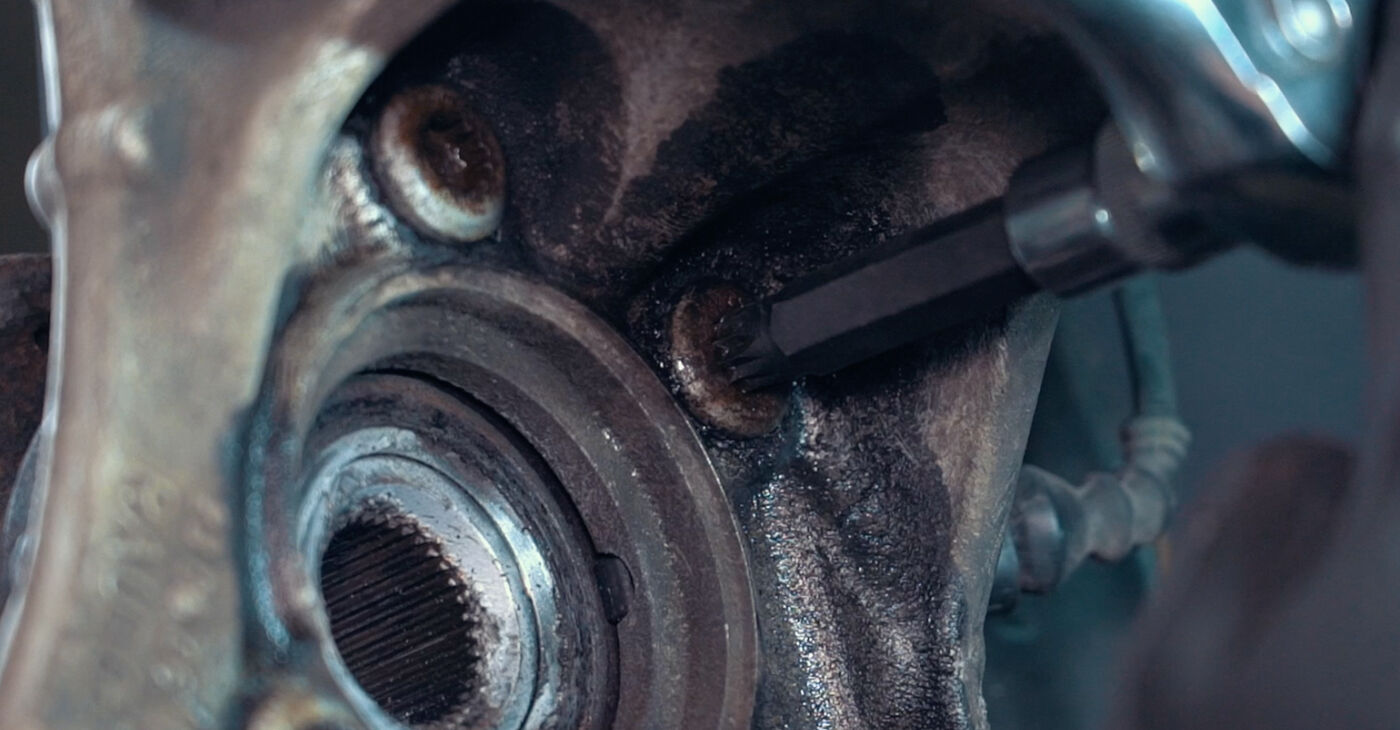 Unscrew the wheel hub bearing fastener
 - 13.
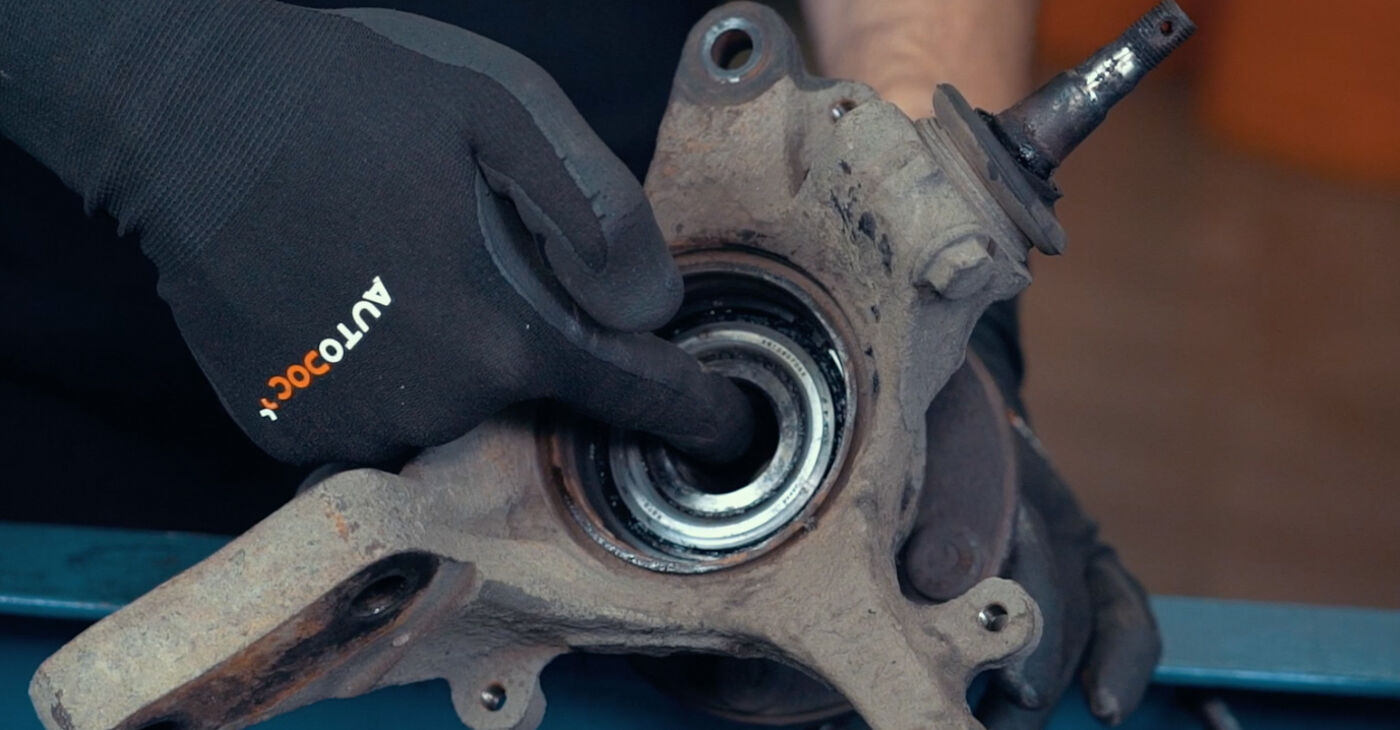
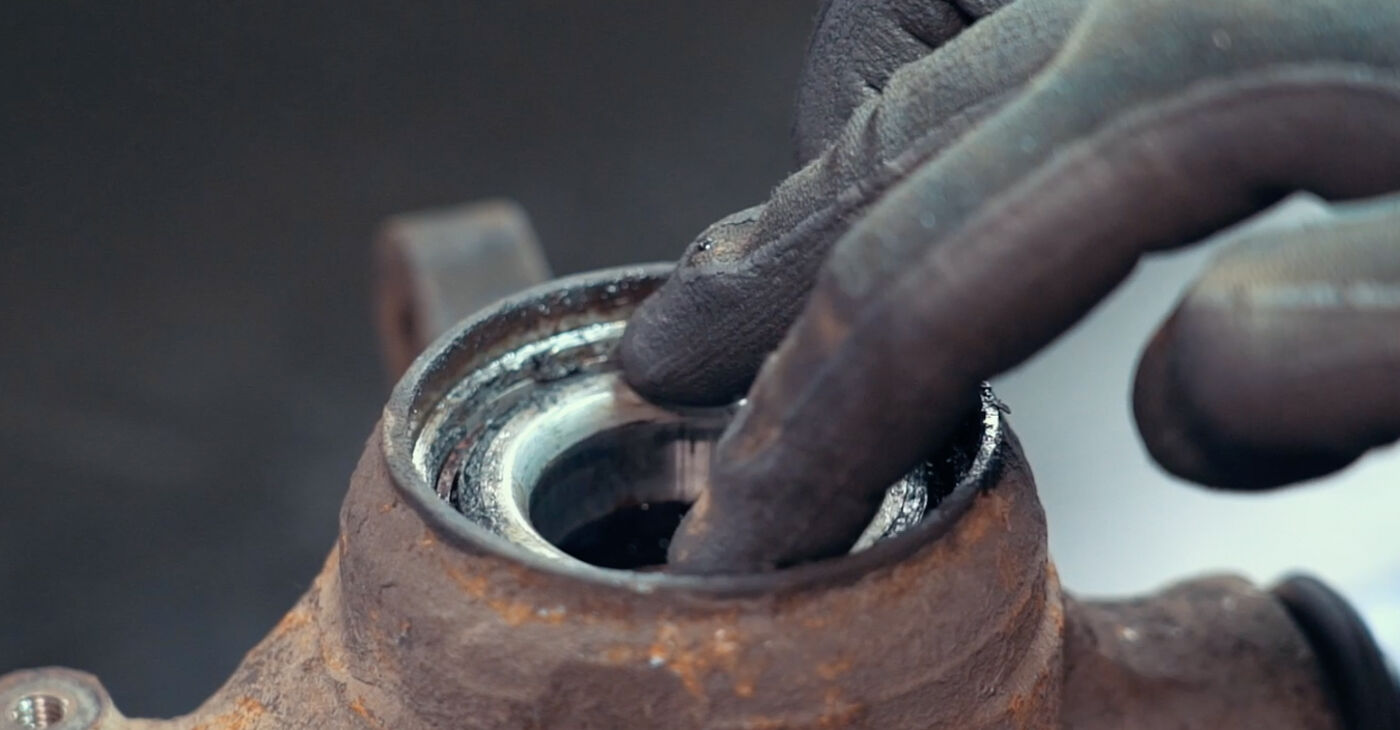
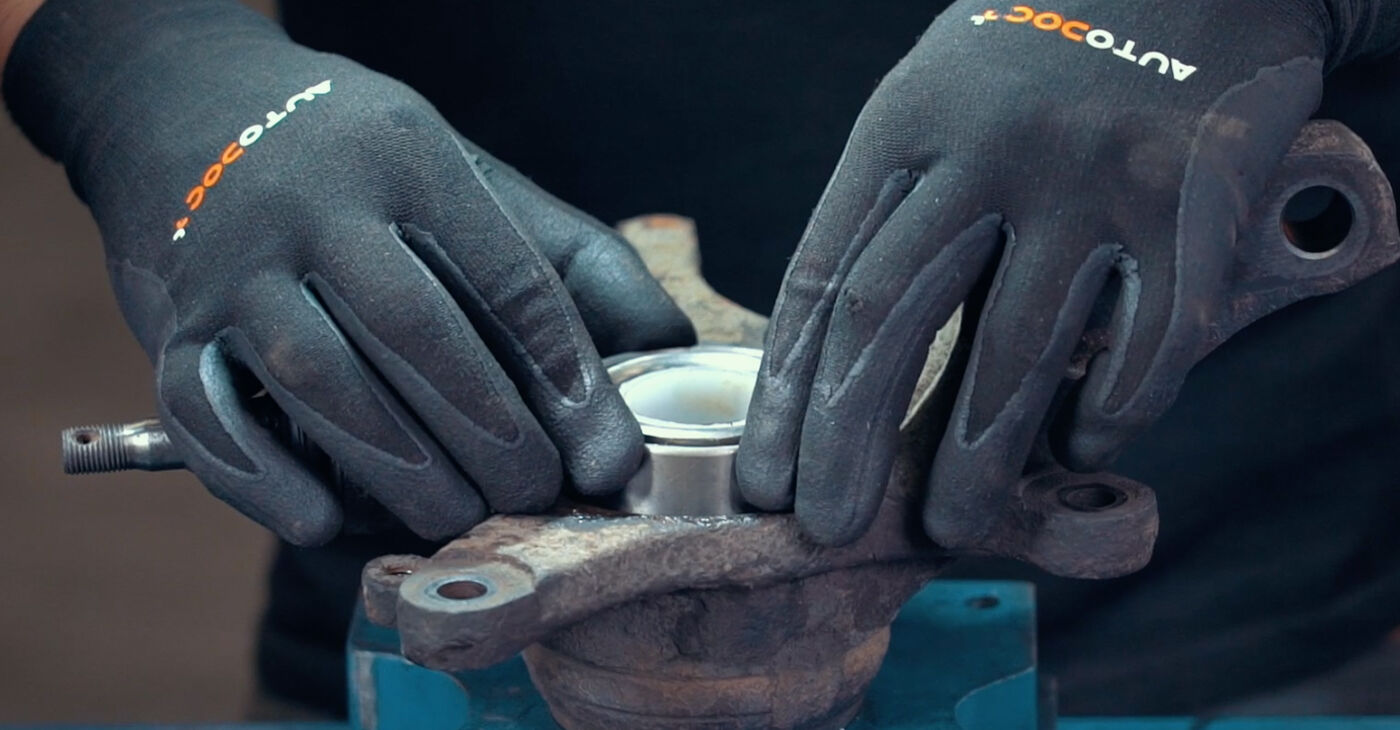
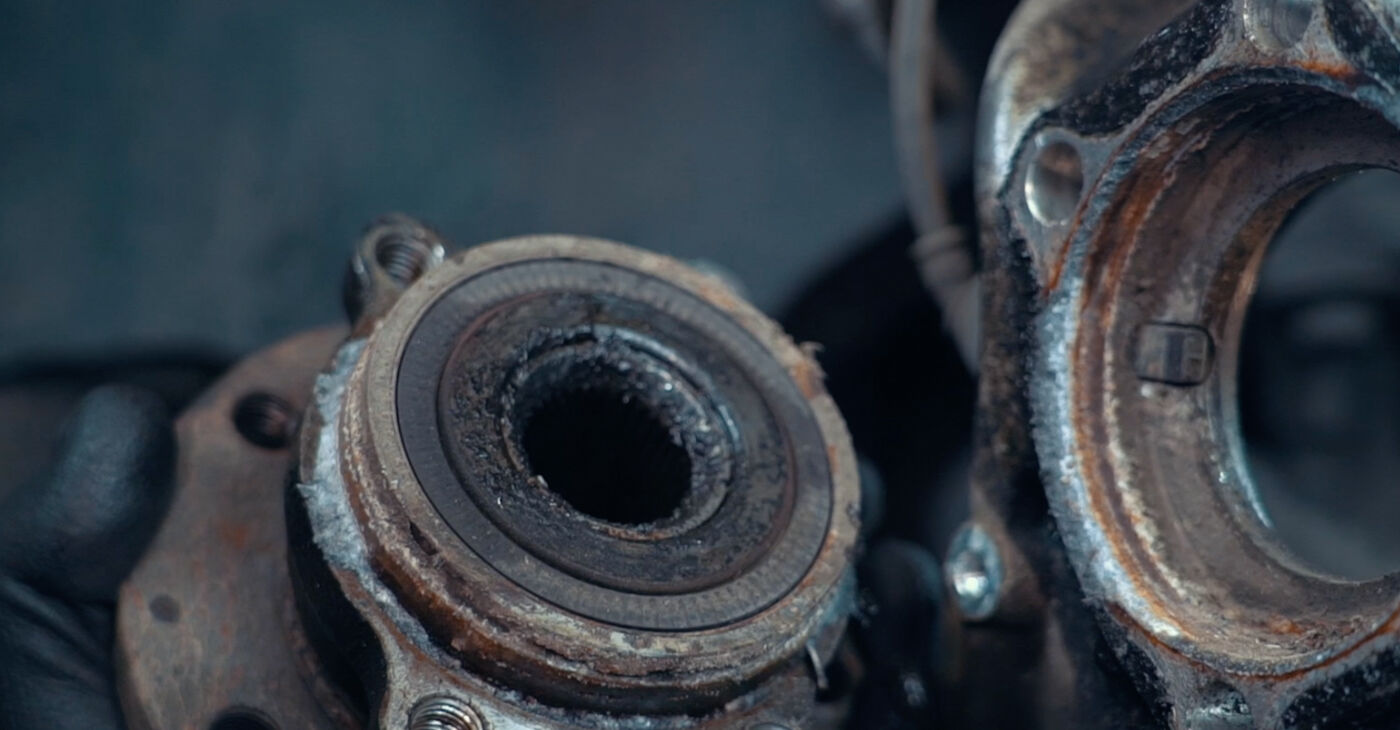 Remove the bearing from its seat on the steering knucklePlease note!If removal is difficult, additional tools may be required
 - 14.
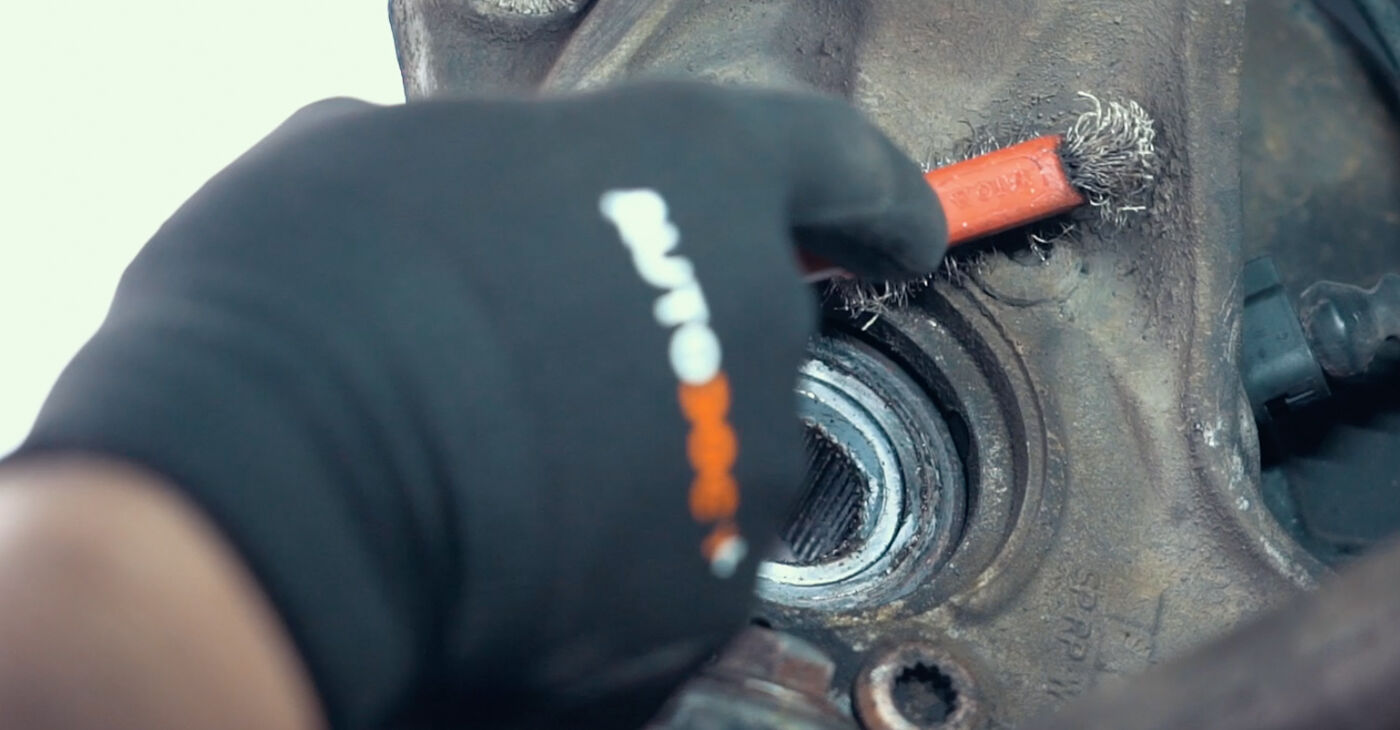
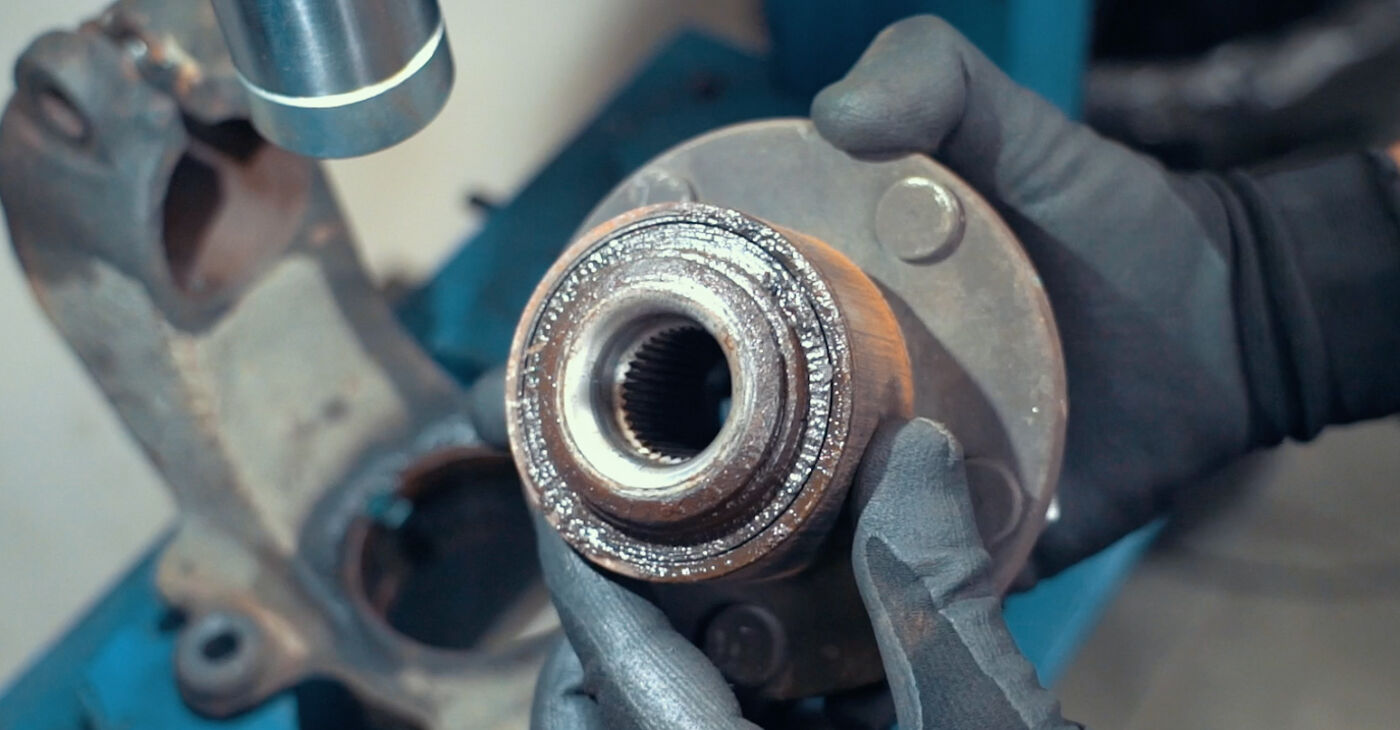
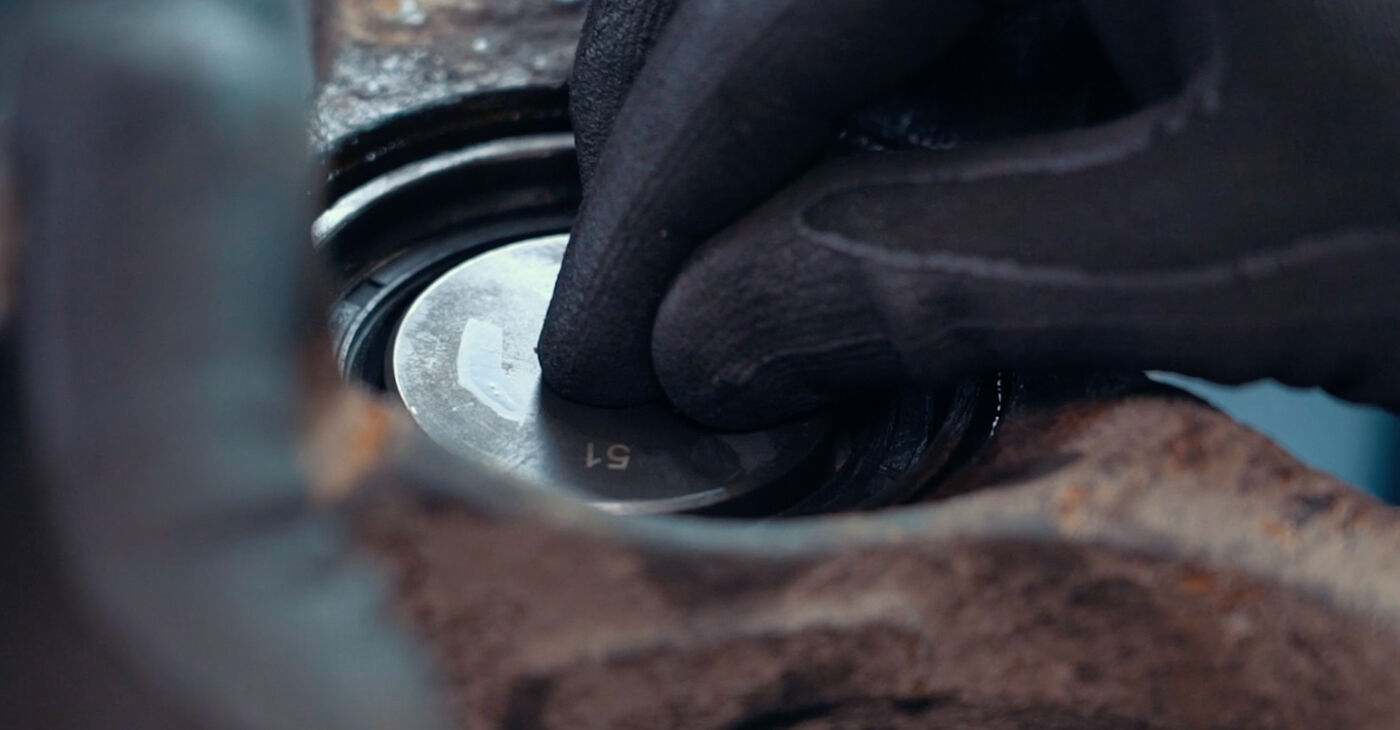
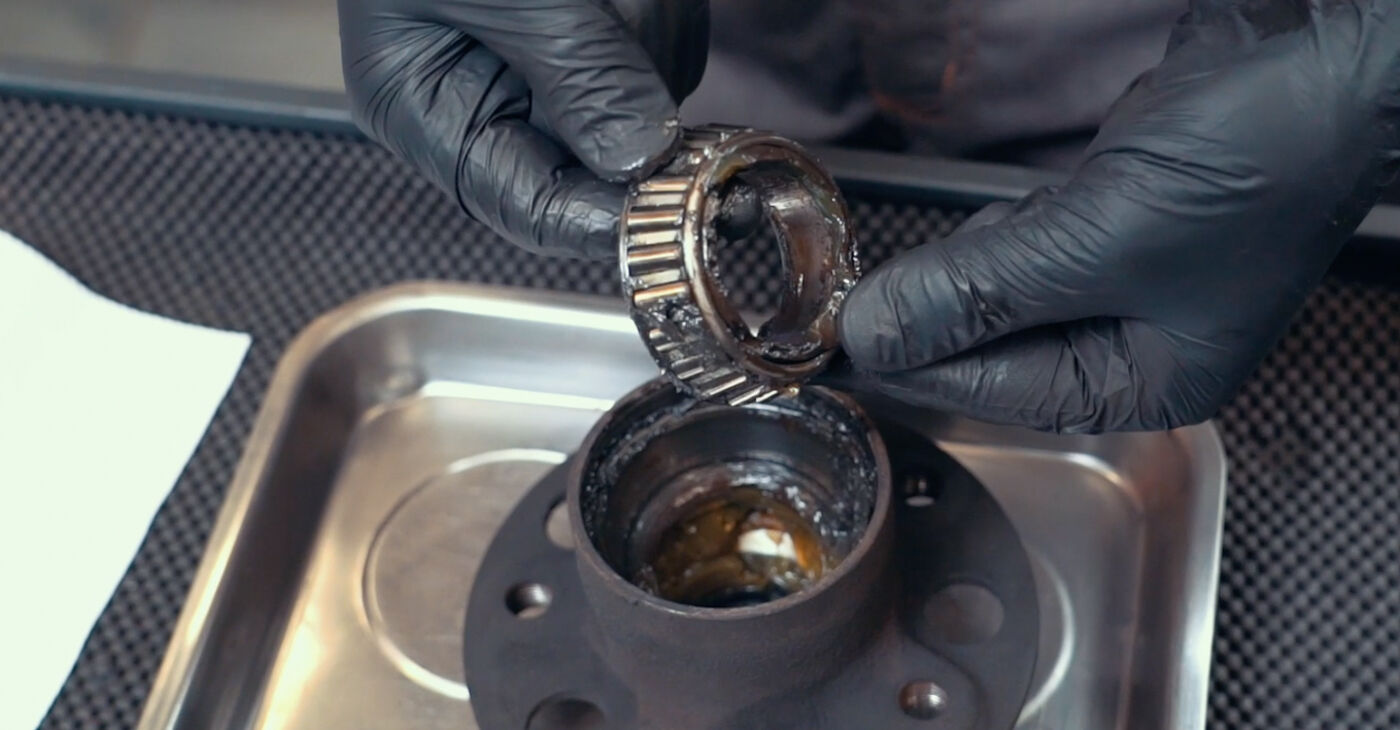
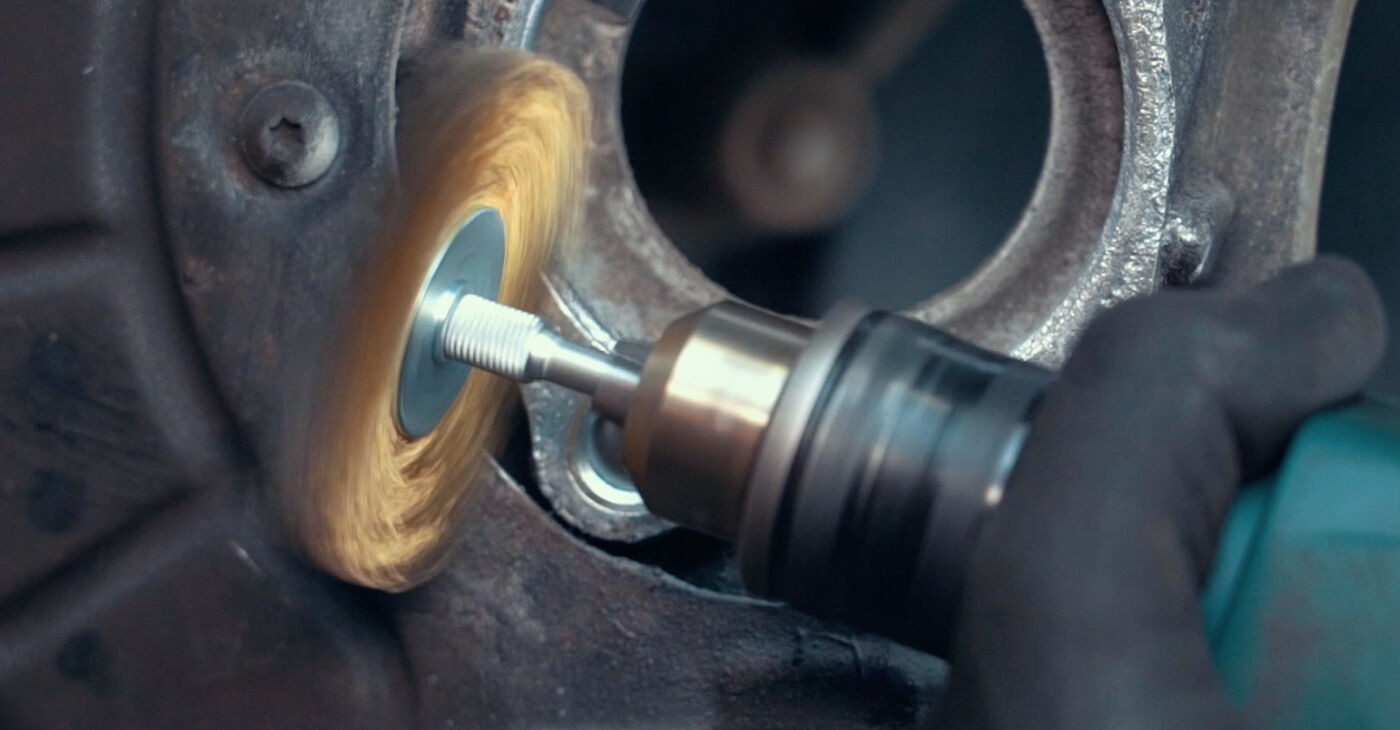 Clean the mounting seats
 - 15.
 Proceed carefully, especially if there is an ABS sensor
 - 16.
 Be sure to use new fasteners
 - 17.
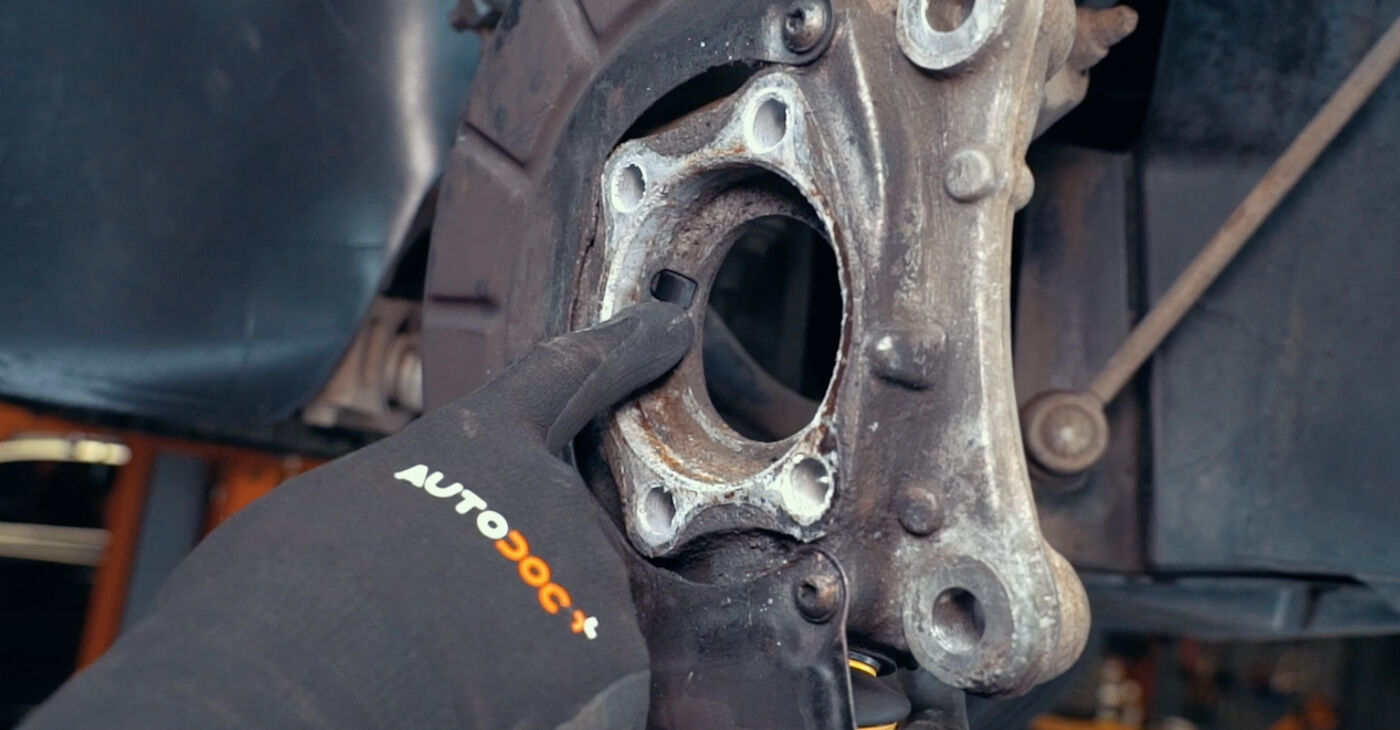
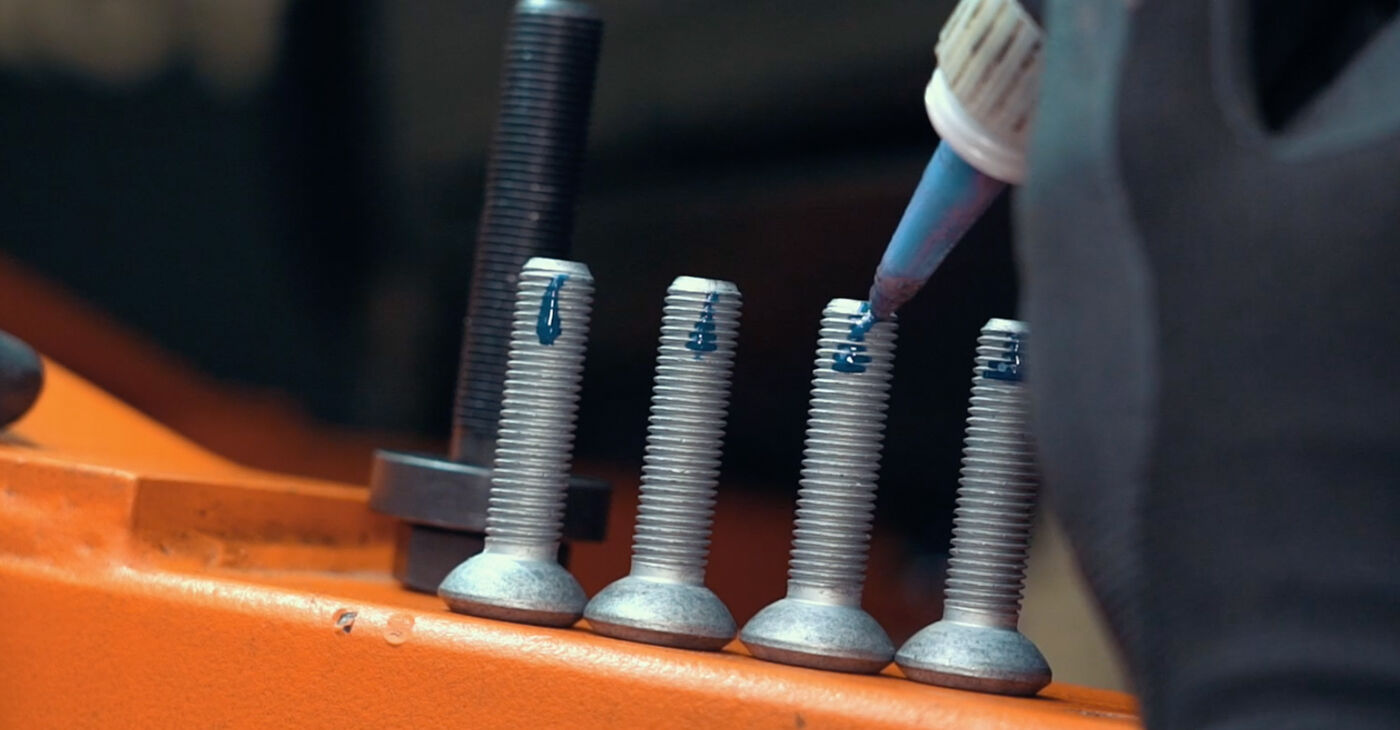
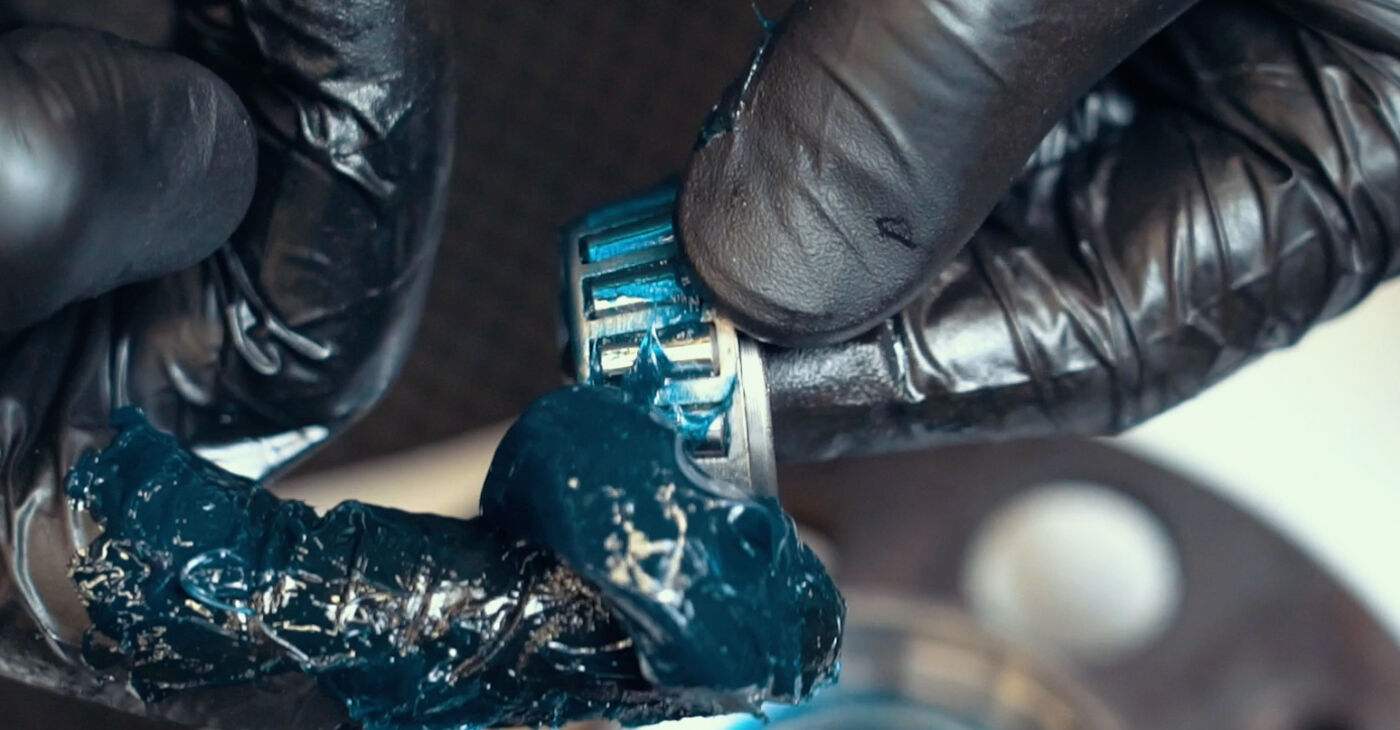
 Coat the mounting surface of the bearing with a corrosion inhibitor
 - 18.
 Tighten the bolts one by one, crosswise
 - 19.
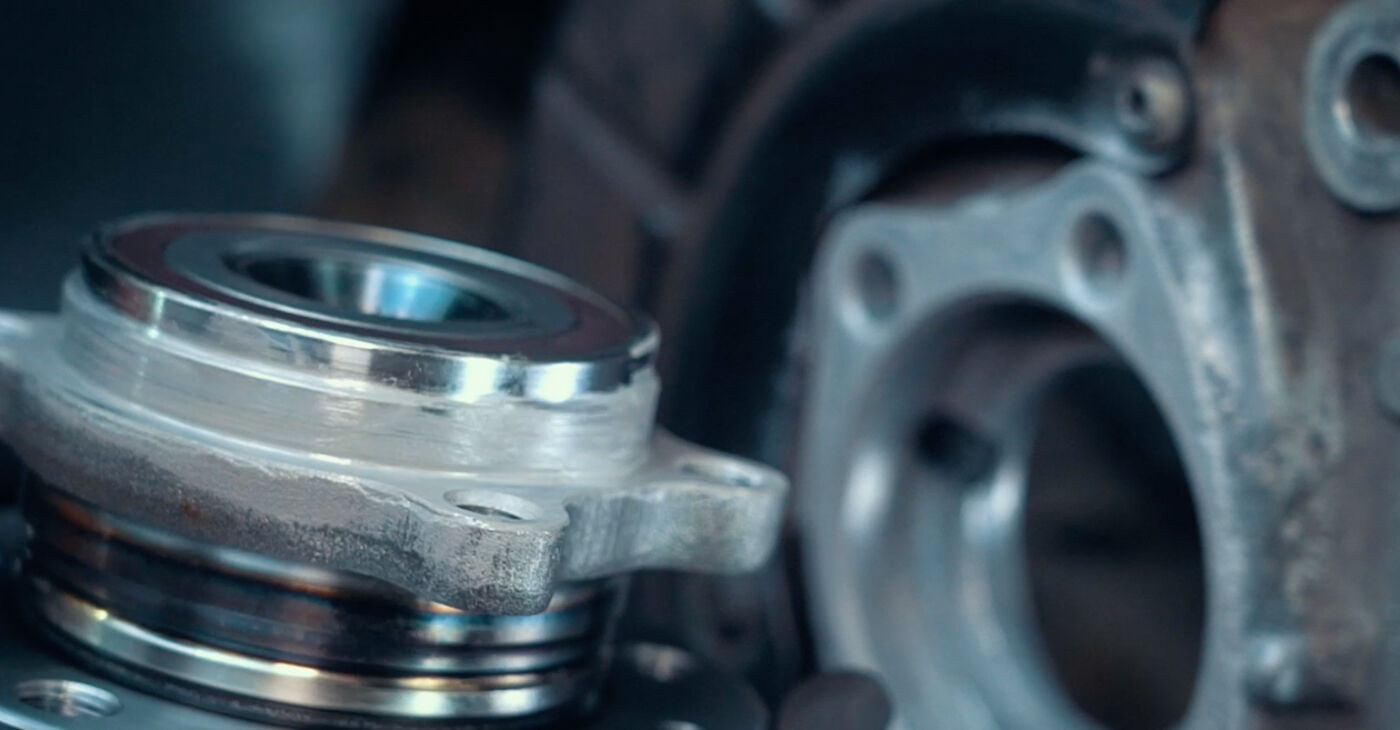
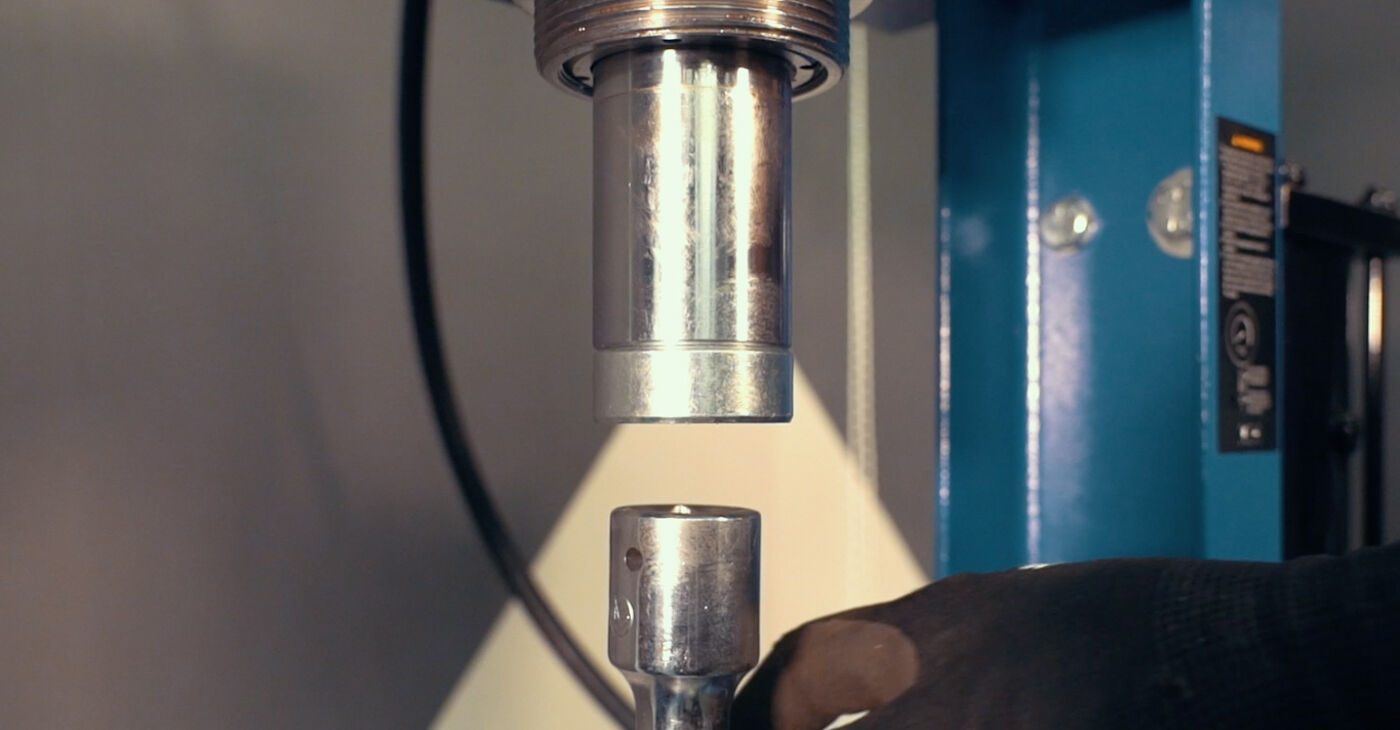
 A GEN-2 (flange) bearing is normally fitted in the wheel hub, which is mounted to the axleImportant!A special puller may be needed to remove the bearing from the axle
 - 20.
 Clean the hub bearing mounting seat
 - 21.
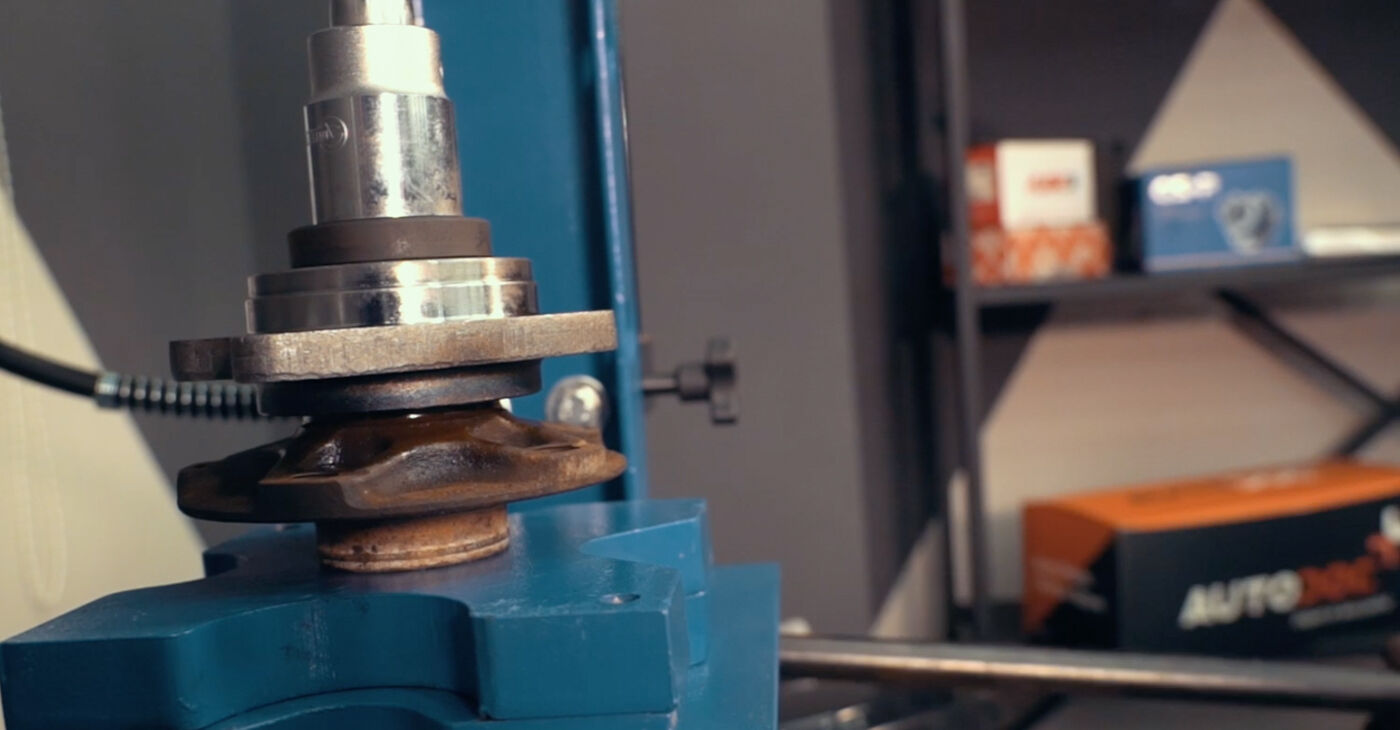
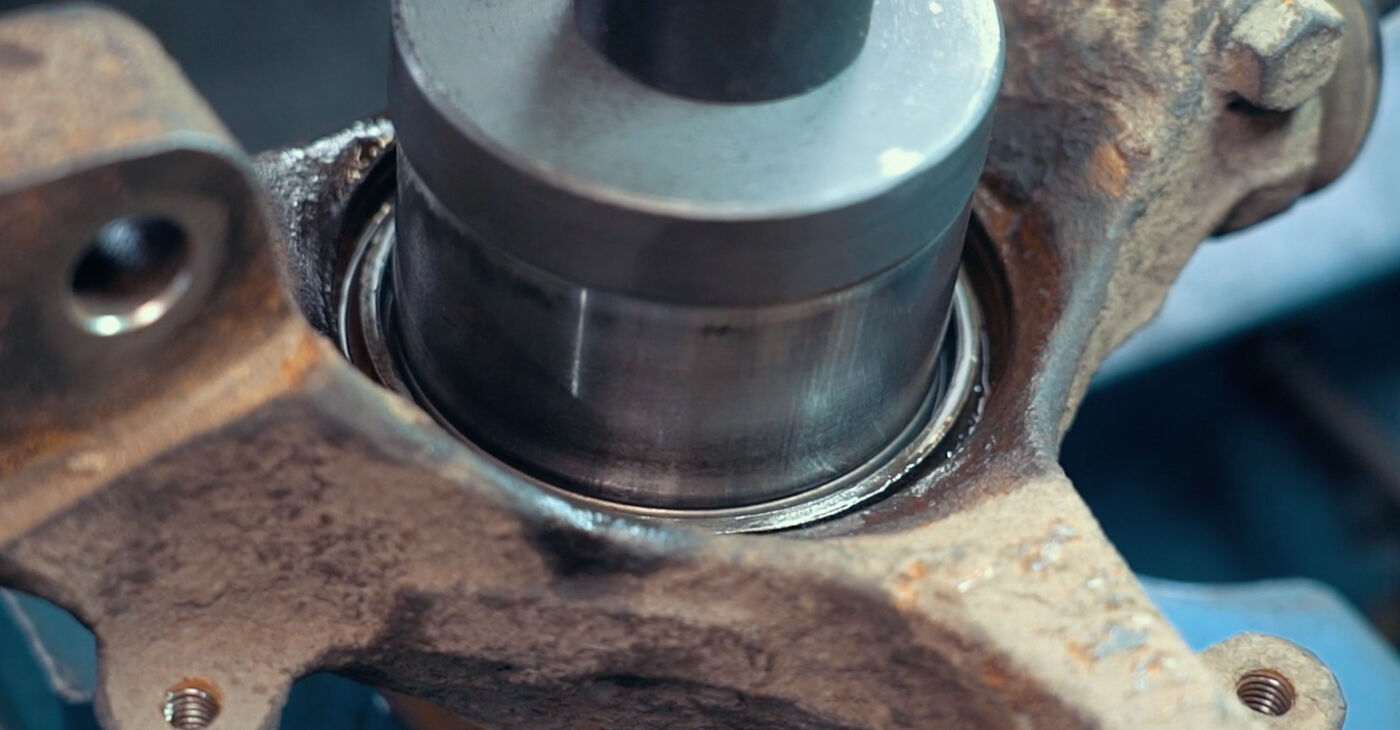
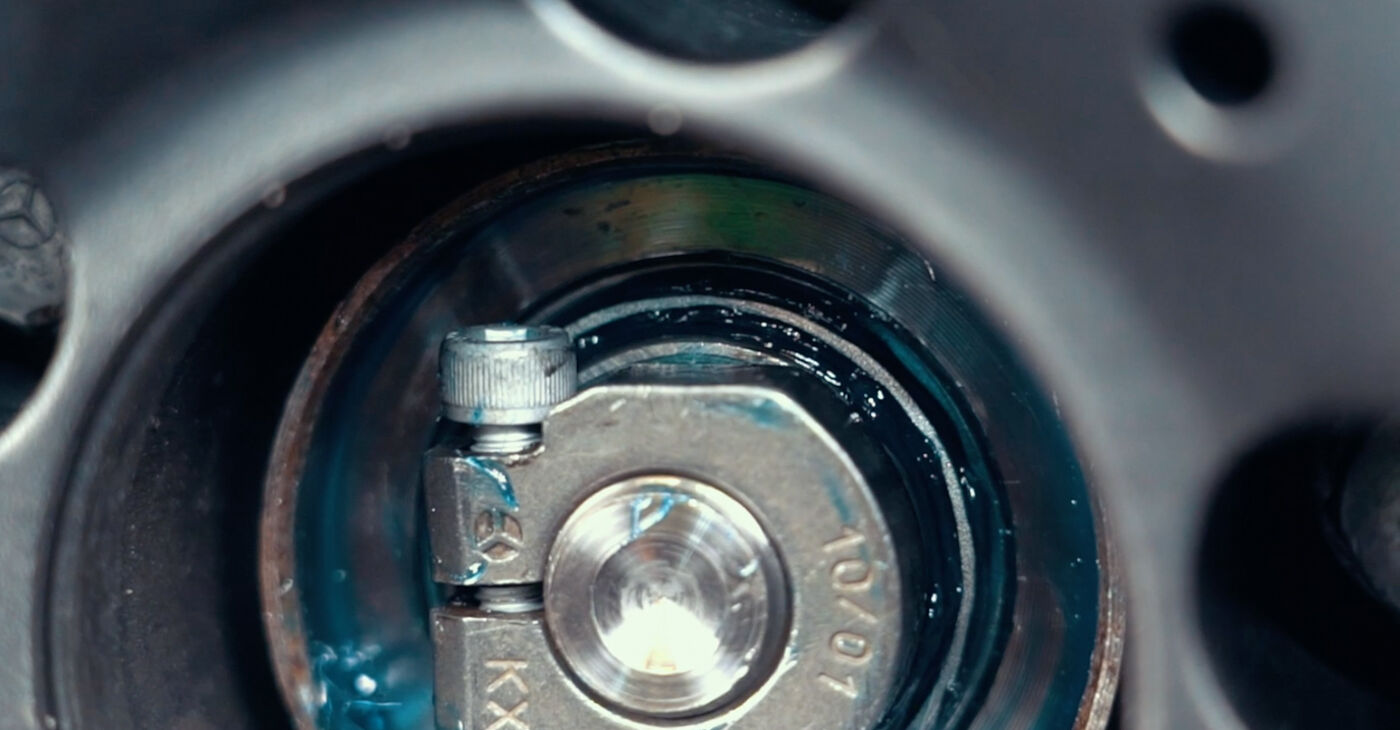
 When installing this type of bearing, you should only exert force on the inner ring
 - 22.
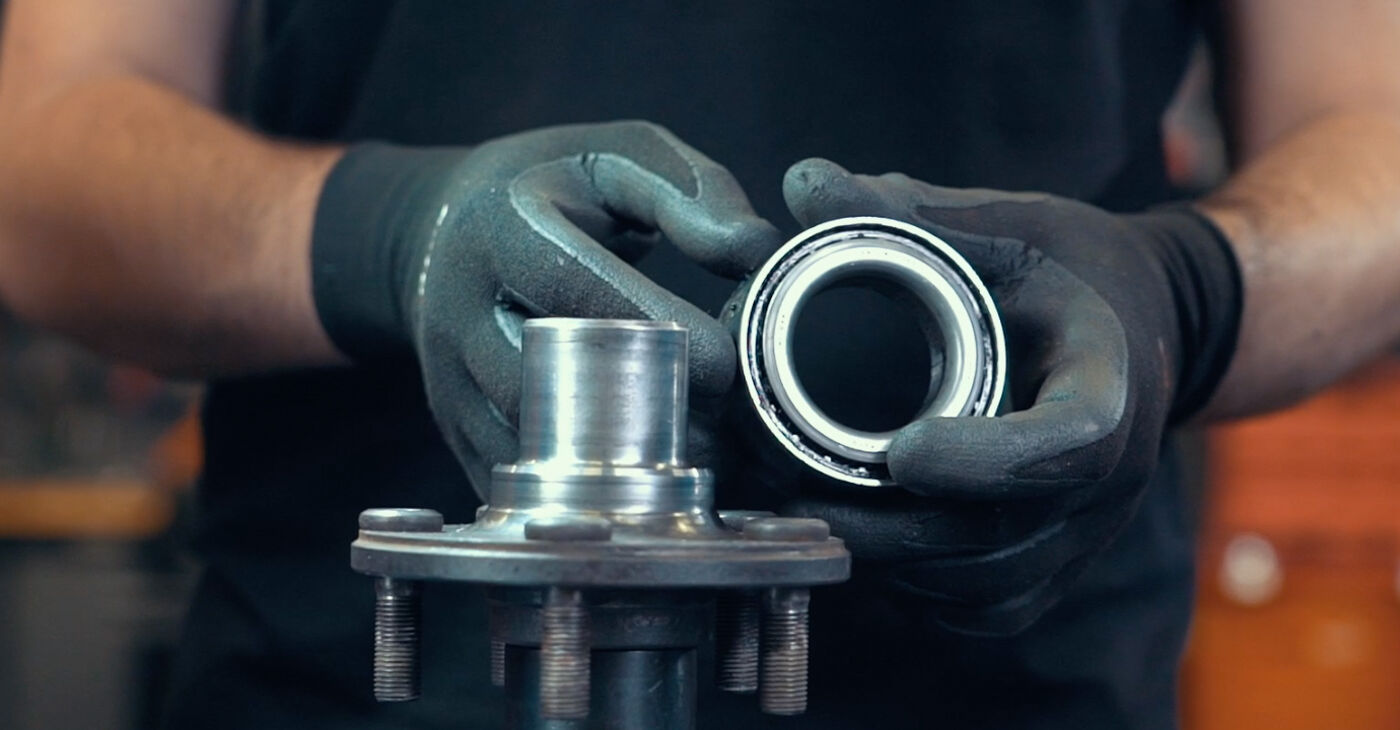
 If the bearing is mounted on one of the drive wheels, it is necessary to dismount the wheel hub bearing assembly
 - 23.
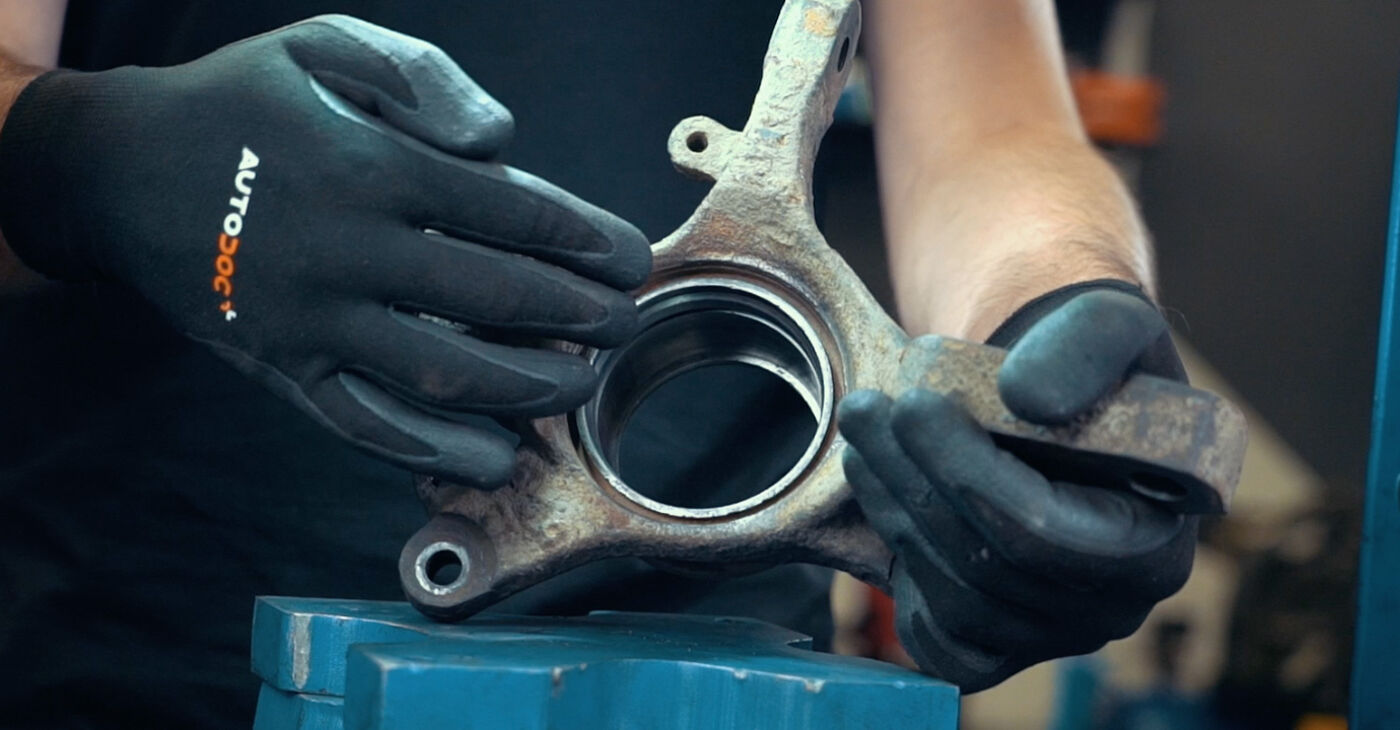
 In this case, the bearing is attached to the steering knuckle. The wheel hub needs to be pressed out of it
 - 24.
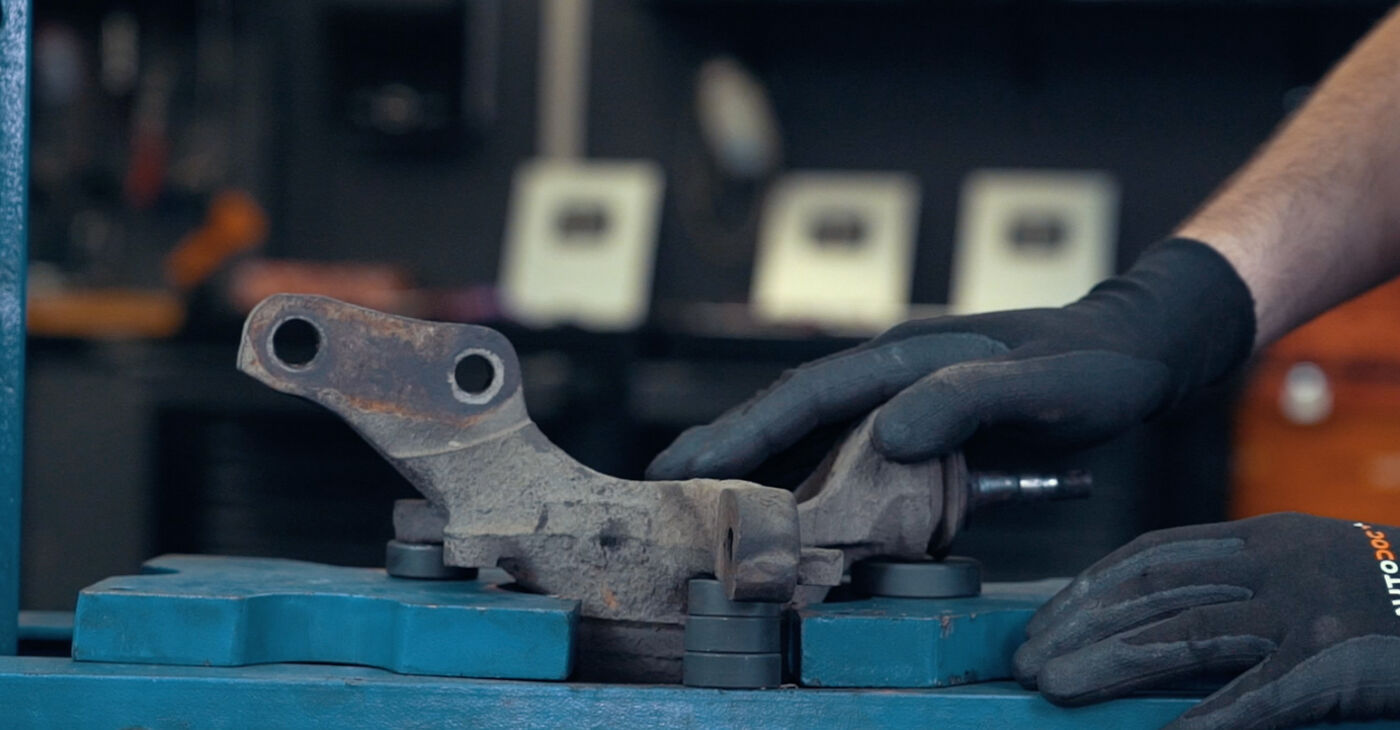
 Replacing the double row bearing (GEN-1) requires dismounting the steering knuckle


Was this manual helpful?
Please rate this manual on a scale from 1 to 5. If you have any questions, feel free to ask us.
Users voted – 1
Unlock your car maintenance assistant!
Track expenses, manage logs, schedule replacements, and more.
Popular Suspension and Arms maintenance tutorials
 Free download PDF
 1.31 MB
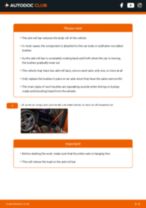 Free download PDF593.92 KB
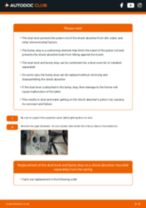 Free download PDF1.11 MB
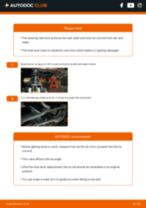 Free download PDF1.28 MB
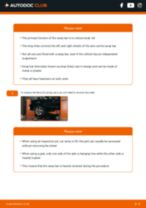 Free download PDF972.8 KB
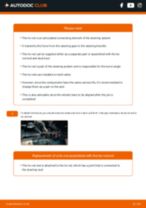 Free download PDF1.7 MB
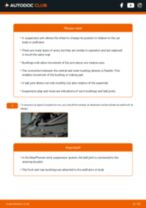 Free download PDF1.07 MB
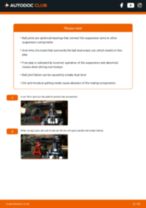 Free download PDF2.05 MB
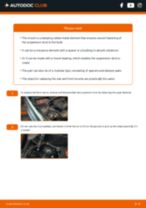 Free download PDF1.04 MB
 Free download PDF972.8 KB
Top auto repair manuals
 Free download PDF1.51 MB
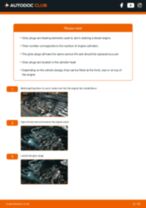 Free download PDF1.62 MB
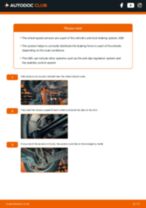 Free download PDF1.64 MB
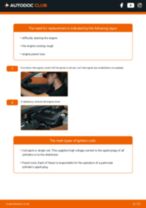 Free download PDF1.98 MB
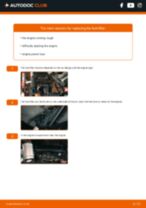 Free download PDF2 MB
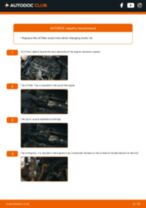 Free download PDF2.82 MB
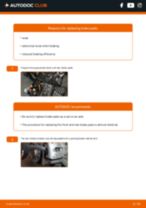 Free download PDF2.84 MB
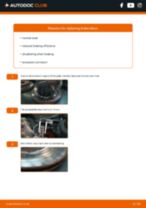 Free download PDF2.92 MB
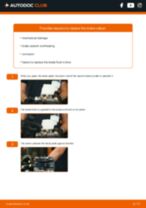 Free download PDF2.91 MB


Time to replace parts? Get even better deals in our Shop app.

SCAN ME