Disclaimer
How to change rear wheel bearing on Nissan Micra K12 – replacement guide
downloads:
13
Views:
531
Important!
This replacement procedure can be used for:
NISSAN MICRA III (K12) 1.5 dCi, NISSAN MICRA III (K12) 1.5 dCi, NISSAN MICRA III (K12) 1.0 16V, NISSAN MICRA III (K12) 160 SR, NISSAN MICRA III (K12) 1.5 dCi, NISSAN MICRA III (K12) 1.5 dCi … View more
The steps may slightly vary depending on the car design.
NISSAN MICRA III (K12) 1.5 dCi, NISSAN MICRA III (K12) 1.5 dCi, NISSAN MICRA III (K12) 1.0 16V, NISSAN MICRA III (K12) 160 SR, NISSAN MICRA III (K12) 1.5 dCi, NISSAN MICRA III (K12) 1.5 dCi … View more
The steps may slightly vary depending on the car design.
How to change rear wheel bearing on NISSAN MICRA K12 [TUTORIAL AUTODOC]

All the parts you need to replace – Wheel Bearing for MICRA III (K12) and other NISSAN models
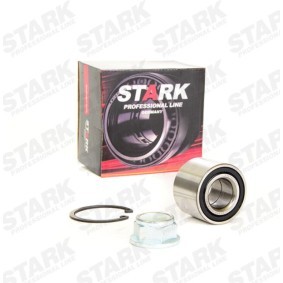
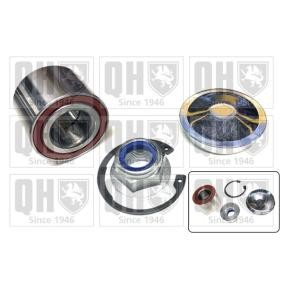
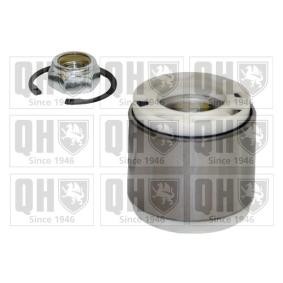
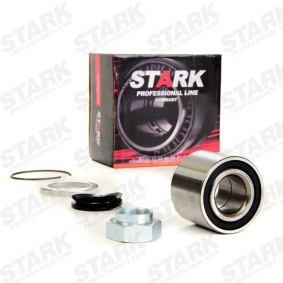
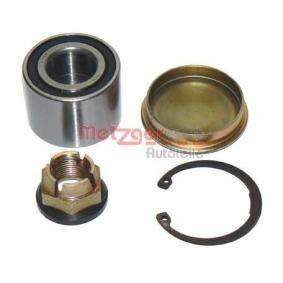
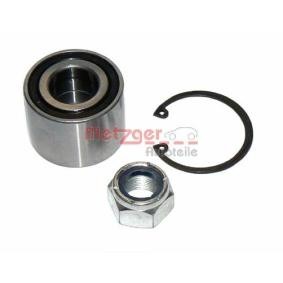
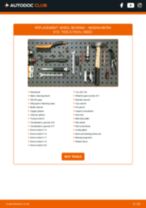
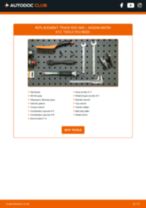
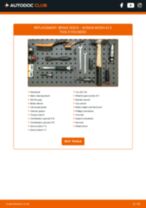
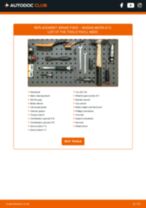
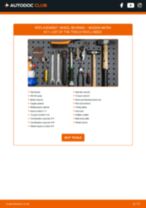
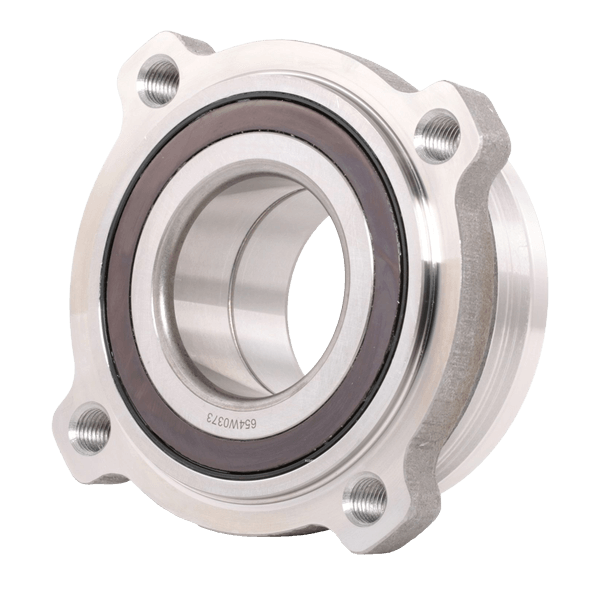 Wheel bearing kit
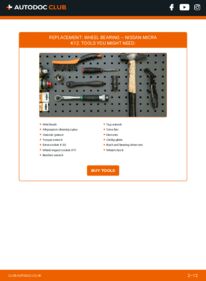
Alternative products

Wire brush
All-purpose cleaning spray
Ceramic grease
Torque wrench
Drive socket # 30
Wheel impact socket #17
Ratchet wrench
Tap wrench
Crow bar
Hammer
Circlip pliers
Bush and bearing driver set
Wheel chock
Replacement: wheel bearing – Nissan Micra K12. Professionals recommend:
- Do not re-use the bearing assembly of your Nissan Micra K12 car.
- The wheel hub bearing replacement procedure is identical for both wheels on the same axle.
- All work should be done with the engine stopped.
Replacement: wheel bearing – Nissan Micra K12. Take the following steps:
- Step 1Secure the wheels with chocks.Step 2
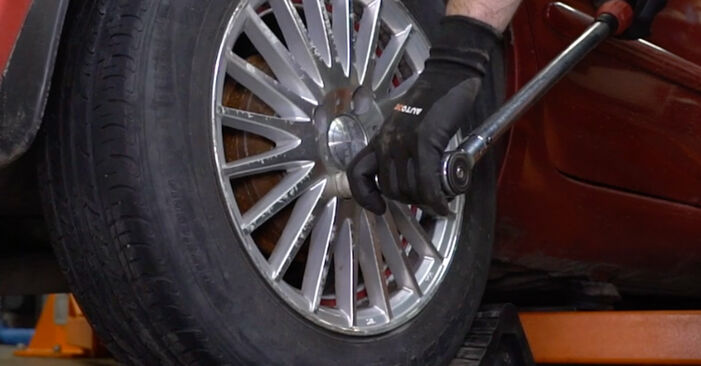
 Loosen the wheel bolts. Use wheel impact socket #17. Use a tap wrench.
 - Step 3
 Raise the car.Replacement: wheel bearing – Nissan Micra K12. AUTODOC experts recommend:If you are using a jack, make sure it rests on a flat surface without any unevenness.Be sure to additionally secure the car with jack stands.
 - Step 4
 Unscrew the wheel bolts.AUTODOC recommends:To avoid injury, hold up the wheel when unscrewing the bolts.
 - Step 5
 Remove the wheel.
 - Step 6
 Remove the hub bearing cap. Use a crowbar. Use a hammer.
 - Step 7
 Unscrew the wheel hub fastener. Use a drive socket #30. Use a tap wrench.
 - Step 8
 Remove the fastening nut.
 - Step 9
 Remove the brake drum assembled with the wheel hub bearing.Replacement: wheel bearing – Nissan Micra K12. Tip:Examine the brake drum. Replace it if necessary.
 - Step 10
 Remove the wheel hub bearing retaining ring. Use circlip pliers.
 - Step 11
 Press out the wheel hub bearing. Use a bush and bearing driver set.
 - Step 12
 Clean the hub bearing mounting seat. Use a wire brush.
 - Step 13
 Press fit the new wheel hub bearing into the brake drum. Use a bush and bearing driver set.AUTODOC recommends:Check to make sure the wheel hub bearing is positioned correctly. Avoid its misalignment.Stop pressing on the surface of the bearing immediately after it has been fitted into its mounting seat.
 - Step 14
 Install the wheel hub bearing retaining ring. Use circlip pliers.
Was this manual helpful?
Please rate this manual on a scale from 1 to 5. If you have any questions, feel free to ask us.
Users voted – 1
Need New Tyres?
Find out which tyre and wheel sizes are compatible with the NISSAN Micra III Hatchback (K12) model

Popular maintenance tutorials for Nissan Micra Mk3
Complete guides for changing the Wheel bearings on different NISSAN MICRA models
Unlock your car maintenance assistant!
Track expenses, manage logs, schedule replacements, and more.
Tips & tricks for your NISSAN MICRA III (K12)
View more
 Why Checking Your Oil is Crucial for Engine Performance
 DIY rear axle restoration | Drivetrain restoration – Part 2
 How to repair a bumper yourself | AUTODOC tips
 Which Coolant is Best? Comparison Test | AUTODOC
Most commonly replaced car parts on NISSAN MICRA

Time to replace parts? Get even better deals in our Shop app.

SCAN ME










It is necessary to inspect the connection point and the handbrake cable. At the connection point, it should be possible to adjust and loosen the handbrake cable. For further details, please refer to your vehicle’s repair manual or consult your mechanic.