
Disclaimer

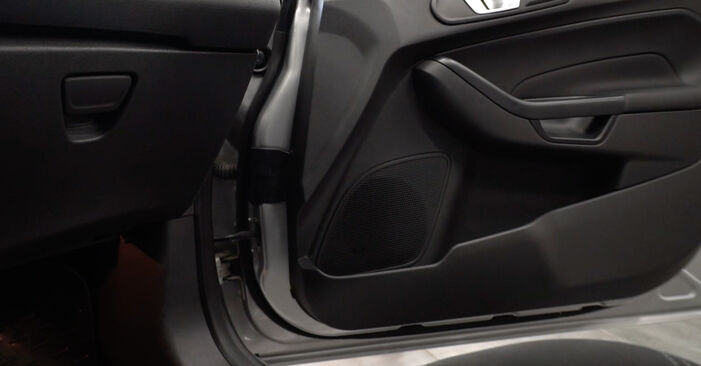
How to change pollen filter on FORD Puma Off-Road – replacement guide
downloads:
1
Views:
33
Recommended replacement interval for the part category Pollen filter : 15000 km
Important!
This replacement procedure can be used for:
FORD Puma Off-Road 1.0 EcoBoost, FORD Puma Off-Road 1.0 EcoBoost mHEV, FORD Puma Off-Road 1.0 EcoBoost mHEV, FORD Puma Off-Road 1.5 EcoBlue, FORD Puma Off-Road 1.0 EcoBoost, FORD Puma Off-Road 1.5 ST EcoBoost, FORD Puma Off-Road 1.0 Flexifuel, FORD Puma Off-Road 1.0 EcoBoost mHEV, FORD Puma Off-Road 1.0 ST EcoBoost mHEV … View more
The steps may slightly vary depending on the car design.
This video shows the replacement procedure of a similar car part on another vehicle
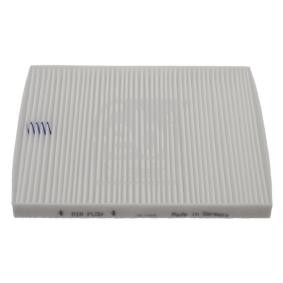
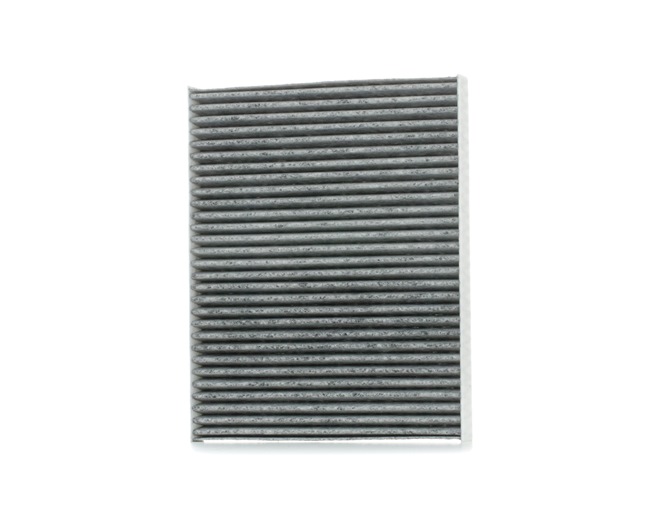
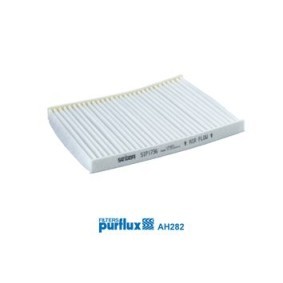
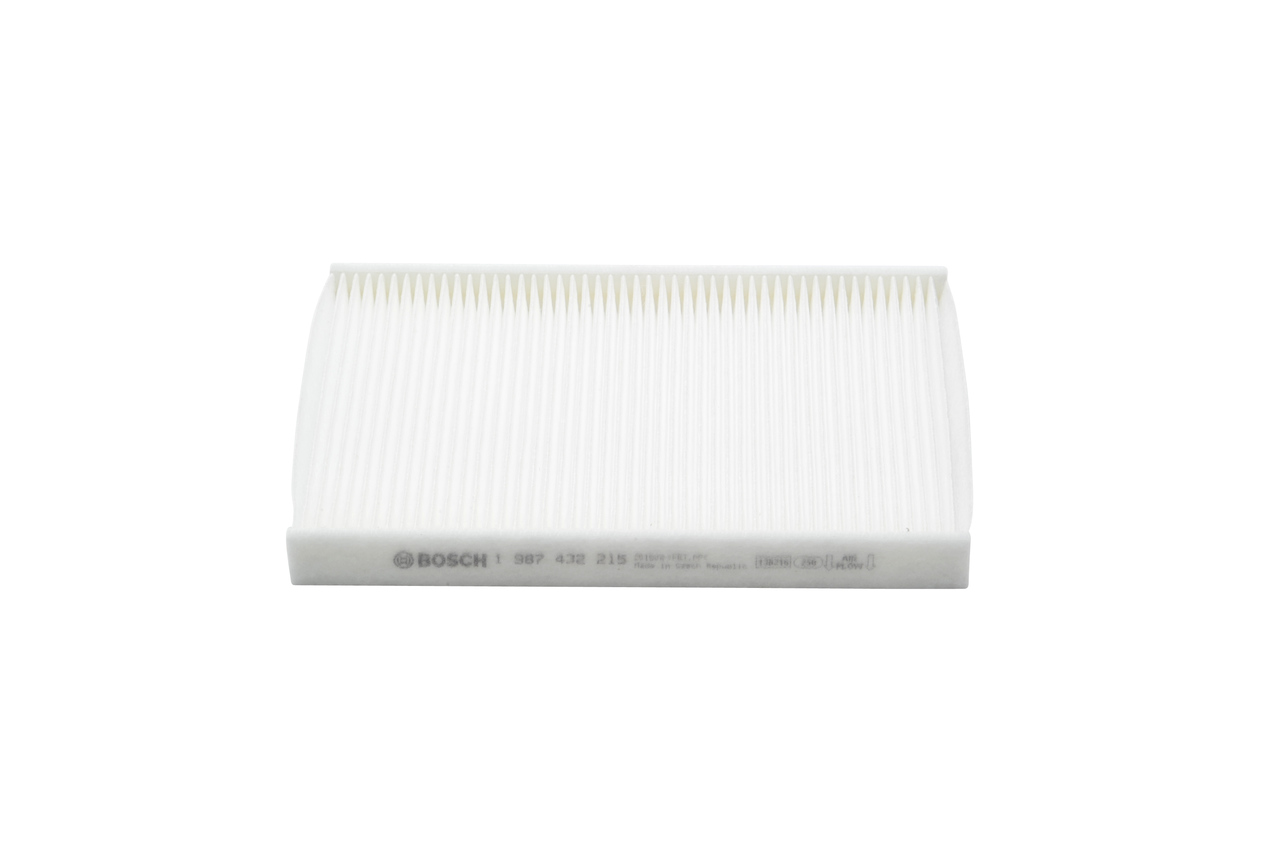
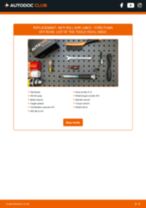
All the parts you need to replace – Pollen Filter for Puma Off-Road and other FORD models
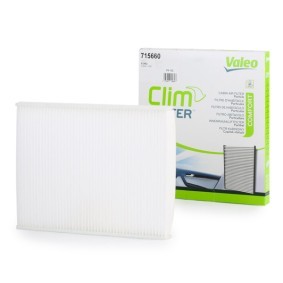
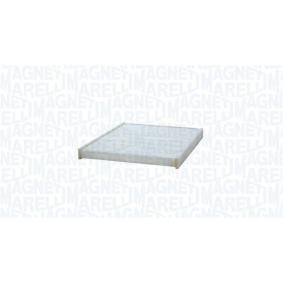
Alternative products
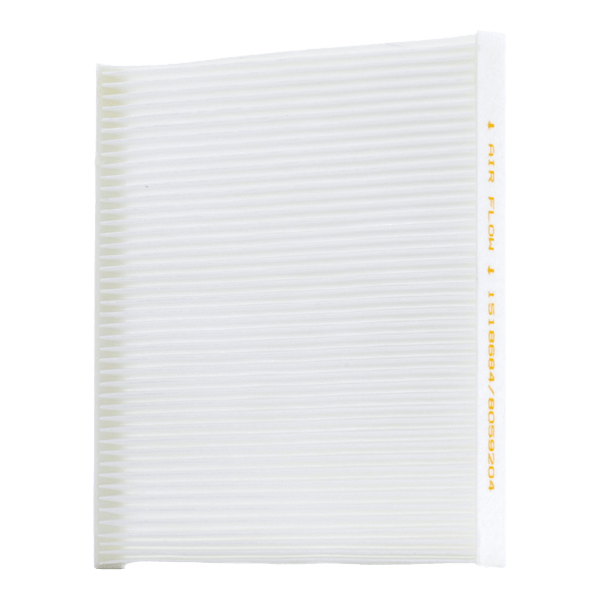 Pollen filter
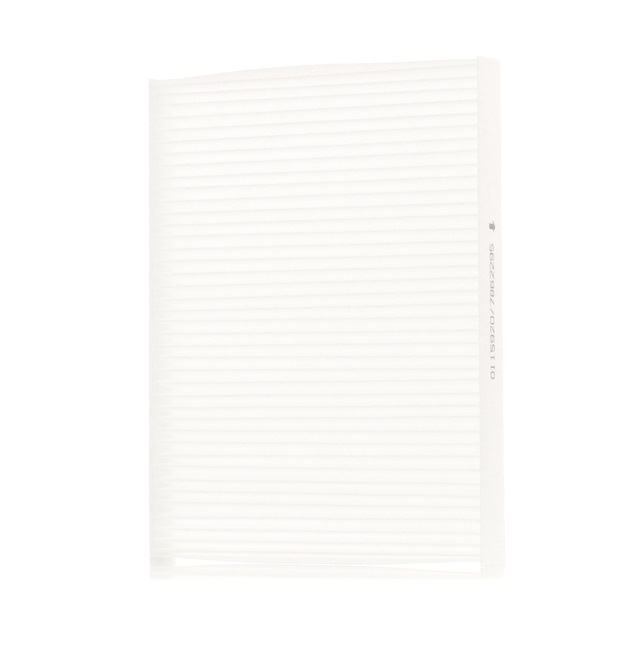


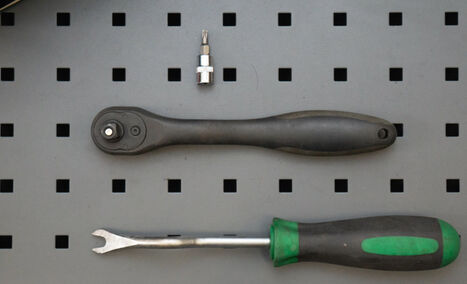
Torx bit T20
Ratchet wrench
Clip removal tool

Replacement: pollen filter – FORD Puma SUV. Tip from AUTODOC:
- Replace the cabin filter at least once every six months, in early spring and autumn seasons.
- Follow the terms, recommendations and requirements of the part operation provided by the manufacturer.
- If the air flow into the cabin has sharply reduced, replace the filter before a scheduled maintenance.
- Warning! Shut down the engine before starting any work – FORD Puma SUV.
Carry out replacement in the following order:
- Step 1
 Move the passenger seat fully backwards.
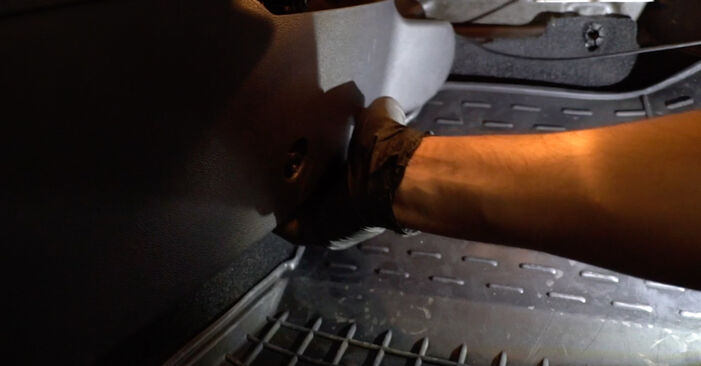
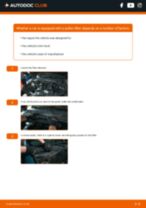
 - Step 2
 Remove the clips of the bottom trim panel. Use a clip removal tool.
 - Step 3
 Remove the bottom cover of the glove box.
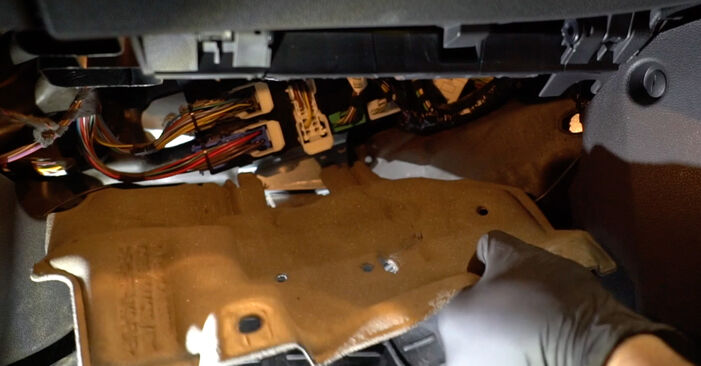
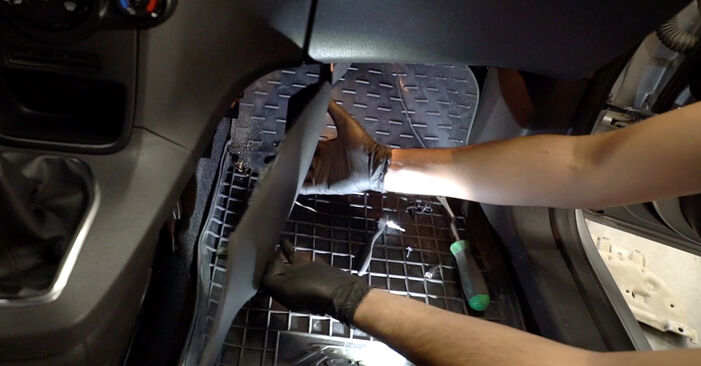
 - Step 4
 Remove the clips from the plastic side panel. Use a clip removal tool.
 - Step 5
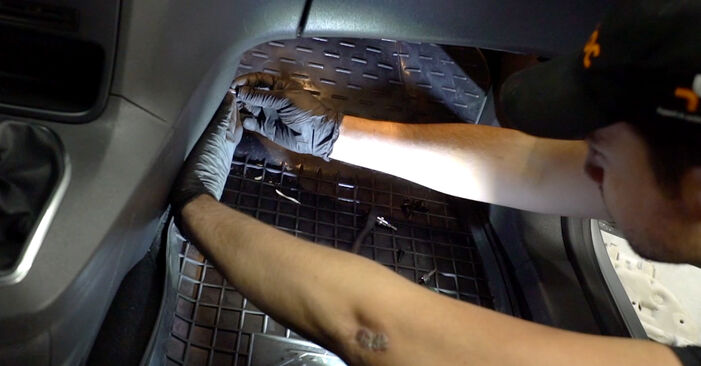
 Remove the side plastic cover.
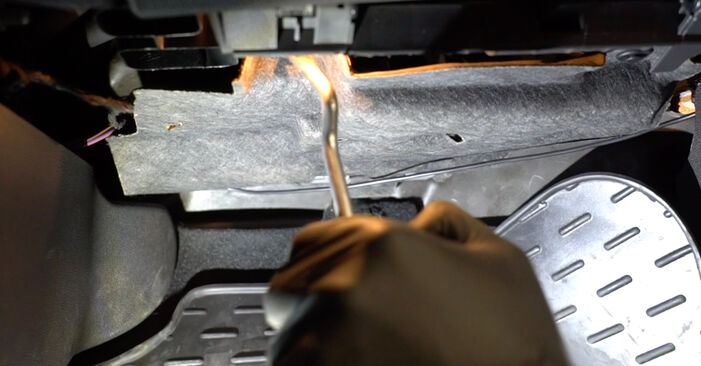
 - Step 6
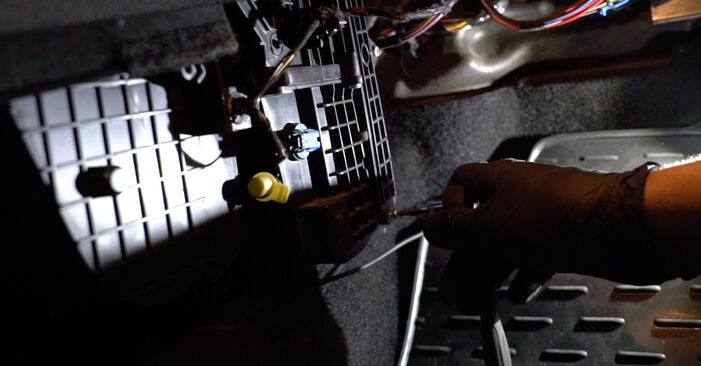 Unscrew the fasteners of the cabin filter housing cover. Use Torx T20. Use a ratchet wrench.
 - Step 7
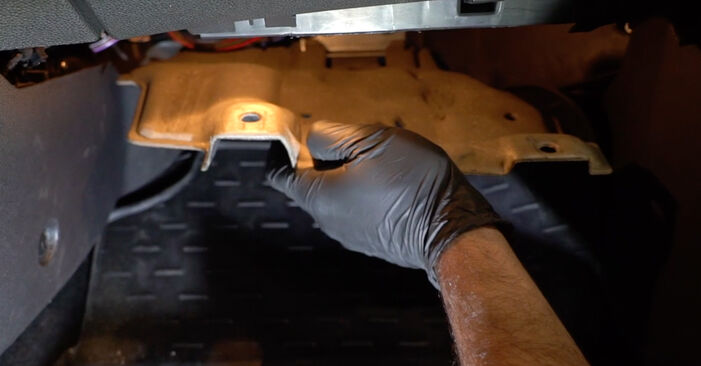
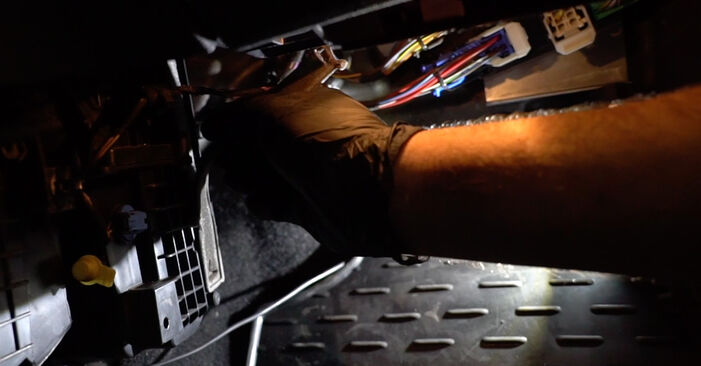 Remove the cabin filter housing cover.AUTODOC recommends:Replacement: pollen filter – FORD Puma SUV. Do not use excessive force when removing the part as this may damage it.
 - Step 8
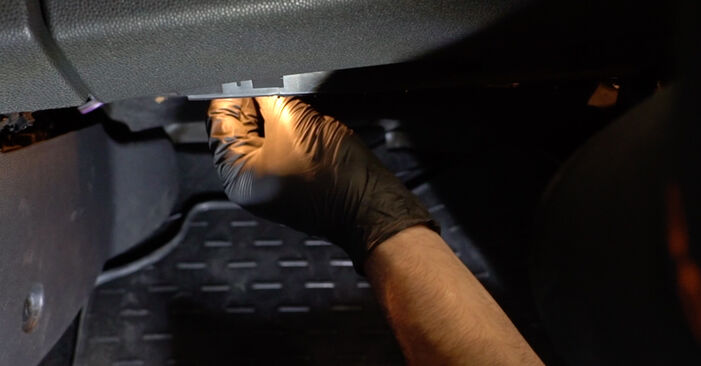
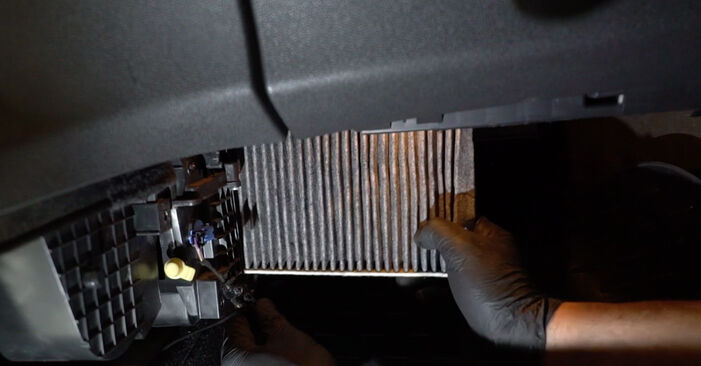 Remove the cabin filter.Replacement: pollen filter – FORD Puma SUV. AUTODOC experts recommend:Do not attempt to clean and reuse the filter - it will affect the quality of air cleaning inside the car.
 - Step 9
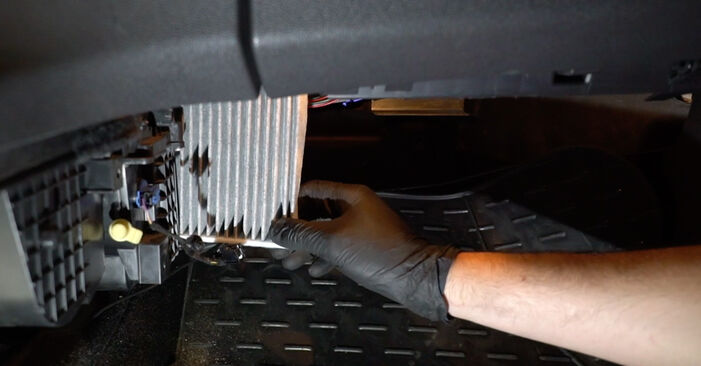 Install the cabin filter to its mounting seat.AUTODOC recommends:Replacement: pollen filter – FORD Puma SUV. Be sure to position the filtering element correctly. Avoid misalignment.Follow the air flow direction arrow on the filter.FORD Puma SUV – It's important to only use high-quality filters.
 - Step 10
 Reinstall the cabin filter housing cover. Make sure you hear a click indicating that it is locked in place.AUTODOC recommends:Replacement: pollen filter – FORD Puma SUV. Do not use excessive force during installation. This may damage the fasteners.
 - Step 11
 Screw in the fasteners of the cabin filter housing cover. Use Torx T20. Use a ratchet wrench.
Was this manual helpful?
Please rate this manual on a scale from 1 to 5. If you have any questions, feel free to ask us.
Users voted – 0
Need New Tyres?
Find out which tyre and wheel sizes are compatible with the FORD Puma Off-Road model

Popular maintenance tutorials for FORD Puma SUV
 Free download PDF
 1.25 MB
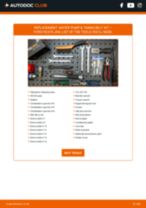 Free download PDF7.83 MB
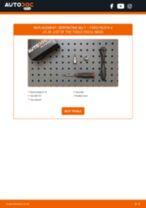 Free download PDF2.14 MB
 Free download PDF2.92 MB
 Free download PDF1.58 MB
 Free download PDF1.99 MB
Complete guides for changing the Pollen filter on different FORD PUMA models
 Free download PDF1.19 MB
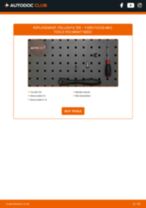 Free download PDF1.2 MB
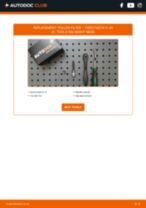 Free download PDF931.84 KB
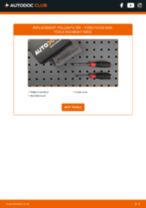 Free download PDF1.18 MB
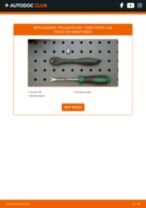 Free download PDF1.21 MB
 Free download PDF911.36 KB
Unlock your car maintenance assistant!
Track expenses, manage logs, schedule replacements, and more.
Tips & tricks for your FORD Puma Off-Road
View more
 TOP 6 WD-40 lifehacks | AUTODOC tips
 Top 5 possible reasons your car is shaking or vibrating
 How to tighten cylinder head bolts
 7 signs of faulty fuel injectors | AUTODOC tips
Most commonly replaced car parts on FORD PUMA


Time to replace parts? Get even better deals in our Shop app.

SCAN ME