- 1 Car lights explained
- 2 Dipped headlights: what they are, when to use them, and how to identify them
- 3 Main beam headlights: what they are, the light symbol, and when to use them
- 4 Dipped headlights vs Main beam
- 5 Fog lights: symbol, when to use the lights, and how to turn them on
- 6 Rear fog lights: symbol, what they do, when to use them, and how to turn them on
- 7 Sidelights: light symbol, how to use the lights
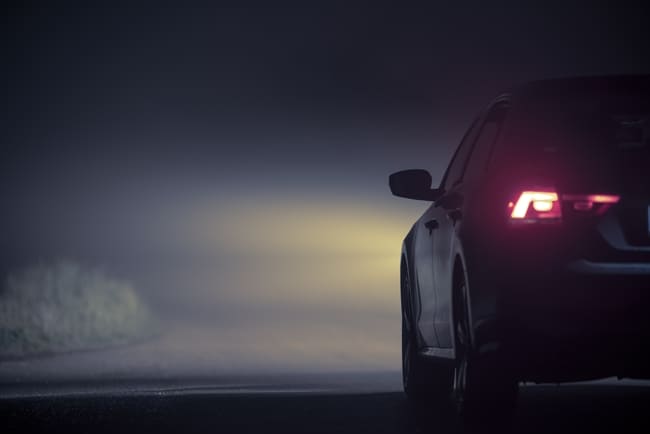
- 8 Tail lights: how to use them, light symbol
- 9 Brake lights: how they work and what they do
- 10 Indicators: what they do
- 11 Hazard lights: what are they and what they used for
- 12 Which lights to use at different times of day
- 13 Car headlight bulb types
How much do you really know about the lights on your car? If you don’t know much, don’t panic! This guide is here to help.
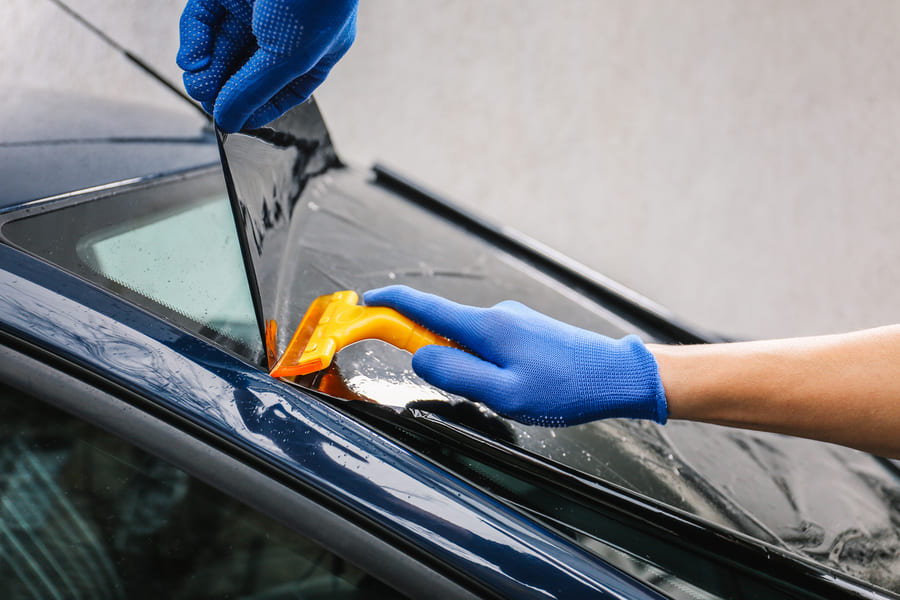
Car lights are not necessarily considered to be the most important topic when it comes to driving, but knowing what each one is for and when to use them is fundamental knowledge that could save you from getting into an accident. They are indispensable for road safety and motorists need to maintain them properly. To learn more on how to maintain car lights, check out our blog articles and tips, such as this article on how to restore the intensity of your headlights.
Car lights explained
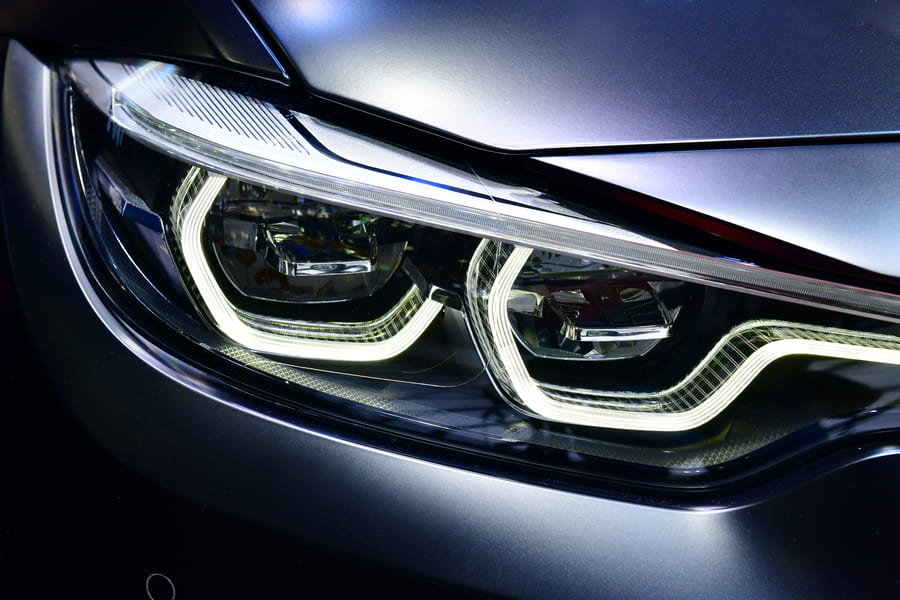
Headlights are the main and most important lights on a car. They help you see the road at night and ensure that other drivers see you. There are two types: low beam headlights for normal use in dark or low visibility conditions and high beam lamps for dark roads with no traffic.
Cars also feature sidelights, fog lights, and daytime running lights (DRLs). These help you stay safe and visible in different situations and weather conditions.
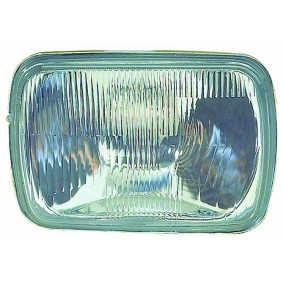
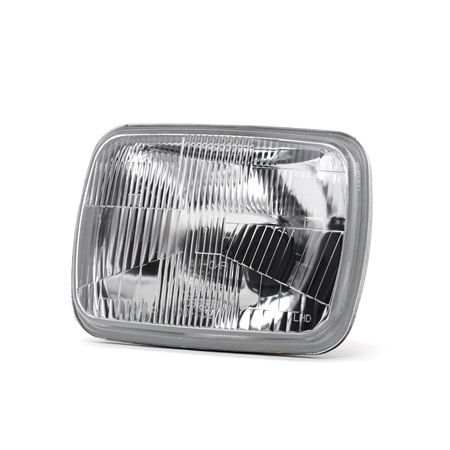
Dipped headlights: what they are, when to use them, and how to identify them

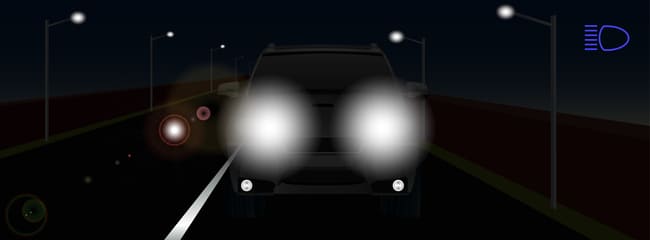
Dipped headlights, a.k.a. low beam headlights, are the standard front lights used when driving at night or in poor visibility. They point downwards to light the road ahead without dazzling other drivers or cyclists. You should use them after dark, in tunnels, and during rain, fog, or snow.
These lights are not as bright as full beam headlights, but they are still bright enough to illuminate the road ahead of you. You can usually turn them on with a switch on a dashboard dial or indicator stalk. You can usually switch them on using a dial or switch on the dashboard.
A dipped headlight symbol on your dashboard display, which is shaped like a headlamp with lines slanting down, shows when they’re switched on. A lot of new vehicles come with running lights which don’t require human input. They switch on automatically when the engine is on to ensure that the car remains visible during the day.
When to use dipped headlights
According to the Highway Code, you should switch on your dipped headlights whenever visibility is seriously low due to darkness or bad weather conditions, such as fog. Visibility is considered seriously low when motorists are able to see less than 100m ahead of the vehicle.
When must you use dipped headlights during the day?
You should switch on your dipped headlights whenever you enter a tunnel or you can see less than 100m in front of you due to fog, snow, or heavy rain. In these conditions, dipped headlights help other drivers spot your vehicle sooner, reducing the risk of collisions.
You should not rely on sidelights or daytime running lights alone, as they may not be bright enough.If you need the wipers to clean the windscreen continuously, other drivers have their headlights switched on, or you’re struggling to see obstacles ahead, it’s probably time to switch the low beam headlights on.
How to turn on dipped headlights
To turn on your headlights, locate the control switch, which is usually found on a dial near the steering wheel or on a stalk behind it. Turn the dial or rotate the end of the stalk to the dipped headlight symbol, which looks like a headlamp with lines pointing downward.
In most modern cars, the dipped headlights will switch on automatically in low-light conditions, but it’s still good to know how to switch them on manually. If you’re unsure, check your vehicle’s manual for the exact location and operating instructions for your car model.
Main beam headlights: what they are, the light symbol, and when to use them
The main beams, also known as full beam or high beam headlights, allow you to see much further and wider than dipped lights. They are designed for use on unlit roads while driving in the dark. These are the brightest lights on a car, designed for helping the driver to see much further when driving in the dark.
They are angled higher than dipped headlights, which is why they are sometimes called high beam headlights. You should only use full beams when there are no vehicles ahead or approaching, as the intense light can dazzle other drivers. It’s important to switch back to dipped headlights in traffic or well-lit areas to ensure safety for everyone on the road.
When to use main beam headlights
Full beam headlights should be used responsibly to avoid endangering others. They are suitable for dark, rural roads with no street lighting, where visibility is limited. However, when another vehicle approaches or you’re driving behind someone, you must switch back to dipped headlights to prevent dazzling other drivers.
It’s also important to switch to low beams on sharp bends or hills where other road users may suddenly appear. You should also dim the lights when you see a deer near or in the road, for example, as the bright light can cause the animal to freeze or panic. Moreover, full beam lights are therefore not to be used instead of the regular dipped headlights if one of the headlights gets damaged.
How to turn on high beam headlights
In most cases, they are switched on by flicking the indicator stalk forwards or backwards When they are switched on, you should see a blue icon that looks like a headlamp with five horizontal lines projecting straight ahead on your dashboard. However, the dipped headlights must be switched on first either using a stalk switch or control dial next to the steering wheel (depending on the model).
Dipped headlights vs Main beam
The table below highlights the key differences between dipped (low beam) headlights and main beam lights, explaining what they are used for.
| Characteristic | Dipped Headlights | Main Beam (Full Beam) |
| Usage | Everyday driving in poor visibility conditions, city roads | Unlit rural roads at night |
| Beam angle | Angled downward | Angled straight ahead |
| Brightness | Moderate | Very bright |
| Safety | Safe around other drivers | Can dazzle others if misused |
| Similarity | Both improve night visibility | Both improve night visibility |
| When to avoid | During the daytime when visibility is normal | In the daytime and when there are drivers or cyclists ahead |
What happens if you drive with faulty headlights?
Broken headlights put the driver and everyone else on the road at risk, particularly when driving in the dark as the other cars will not be able to see the vehicle. If you are caught driving with a broken bulb by the police in the UK, you could be fined around £60, receive penalty points, receive a Vehicle Defect Rectification Notice, or even have the car taken off the road. You should also make sure the lights are angled correctly to maintain effectiveness.
Fog lights: symbol, when to use the lights, and how to turn them on
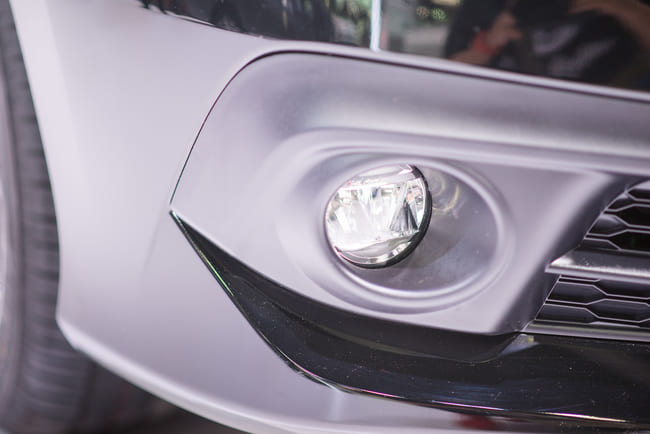
Fog lights are an essential feature for improving safety during adverse weather conditions. They are designed to provide focused illumination, helping drivers navigate through low-visibility situations such as fog, heavy rain, or snow. It’s important to switch off your fog lights when visibility improves or when driving on clear roads, as they can be blinding for road users.
Fog lights are specifically designed for increasing visibility in foggy or misty weather conditions. Unlike headlights, these lights are not reflected by fog. They are also installed lower down on the vehicle, usually under the front bumper. The majority of modern cars have two sets of fog lights, one for the front and one for the rear of the vehicle. The front ones are usually green and the rear ones are usually amber coloured.


When to use fog lights
According to the Highway Code (226), fog lights are strictly for visibility purposes in foggy weather only and should only be used when you can’t see further than 100m (328 feet). Drivers must switch the lights off as soon as visibility improves to avoid dazzling other road users. You should also note that these lights could also overpower the brake lights because they are brighter than the standard tail lights.
Using them unnecessarily can reduce road safety, especially in busy traffic or at night when they can confuse or irritate other drivers. Always check the weather conditions carefully and rely on your normal headlights first, only using the fog lights when absolutely necessary.
How to turn on fog lights
First, turn on your dipped headlights as the fog lights won’t work without them. Then, look for the light switch/control dial, which is usually on the dashboard or indicator stalk. The symbol looks like a lamp with three horizontal lines and a wavy vertical line. Remember to switch them off when visibility improves as leaving them on can dazzle other drivers and may be illegal. It’s also a good idea to check your car’s manual because fog light controls can vary slightly between models.
Rear fog lights: symbol, what they do, when to use them, and how to turn them on
Rear fog lights are an important safety feature designed to help other drivers see your vehicle in poor visibility. They are much more intense than regular tail lights and are bright red to stand out in thick fog, unlike the front fog lights, which emit a bright yellow light.
The rear lights are used to make your car visible to traffic behind you, preventing collisions and helping other drivers maintain a safe distance and speed. The rear fog light symbol is very similar to the front fog lamp symbol except it faces the opposite direction with the three lines pointing horizontally and one vertical wavy line running down the centre.
When to use rear fog lights
As explained above, rear fog lights can only be used when visibility is severely reduced due to fog. The general recommendation is to switch them on when you can see less than 100 metres ahead of you, which, for reference, is about the same size as a football field.
Turn them off as soon as visibility improves or when you’re in slow-moving traffic as brake lights will be more effective and rear fog lamps can be distracting. Do not attempt to use the full beam headlights in these weather conditions as the light will be reflected back by the thick fog.
How to turn on rear fog lights
To turn on your rear fog lights, locate the fog light switch on your vehicle’s dashboard or indicator stalk— it’s usually marked with a symbol showing a lamp facing left with a horizontal line and wavy lines through it. Turn on your headlights first, then activate the rear fog lights. Always check your dashboard for the rear fog light warning indicator when they’re on.
Sidelights: light symbol, how to use the lights
Your sidelights are used when it’s not dark enough for dipped headlights, such as at dusk or during overcast conditions. They help make your vehicle more visible to other road users. Sidelights, also known as parking lights, are located at the front corners of the vehicle.
When the sidelights are turned on, the tail lights are often activated at the same time, as well as the rear number plate light. The symbol for car sidelights usually looks like two small semi-circles or lamps facing opposite directions, often with lines radiating outward, or two small green lights on the dash.
When to use parking lights
Parking lights are useful when your vehicle is stationary in dimly lit areas, helping to keep it visible to other road users. They’re especially helpful on narrow roads or in rural locations. According to the Highway Code, motorists are required to use their parking lights when they are parked on a road at night with a speed limit of more than 30mph.
They may also be used when the car is parked in a foggy area as this will ensure that your vehicle is visible to other traffic. The lights can be left on without draining the vehicle’s battery. However, it isn’t necessary to switch them on if the speed limit is 30mph or below and the car is facing the flow of traffic or parked in an official parking bay.
How to turn on sidelights
To turn on your car’s sidelights, locate the light control switch, which can usually be found on a dial near the steering wheel or on the indicator stalk. Turn the switch to the sidelights symbol, often indicated by two small semi-circles or lamps.
Are sidelights tested in an MOT check-up?
Yes, your car sidelights are tested during an MOT check in the UK. The test ensures that both the left and right sidelights are working properly and are the right brightness. Working bulbs and clear lenses are a requirement to pass the safety check.
Tail lights: how to use them, light symbol
Tail lights are the small red lights at the back of the vehicle. Unlike other lights, these do not have to be manually switched on and off, as they will turn on/off automatically whenever the headlights are switched on/off. They help the driver behind the vehicle to see it and determine how far away it is, allowing them to adjust their speed on time.
You’ll usually see the tail light symbol as a green icon showing two lights facing opposite directions with lines. It’s important to regularly check your tail lights are working properly, especially before driving at night or in poor weather.
Brake lights: how they work and what they do
The brake lights are easy to confuse with the tail lights as they are located next to each other at the rear and are both red. However, the brake lights are usually much brighter. They will automatically light up whenever you press the brake pedal to let other road users know that your vehicle is slowing down. This gives them enough time to slow down as well to avoid a collision or tailgating.
Properly working brake lights are crucial in heavy traffic or poor weather, where quick reactions are needed to prevent serious accidents. For safety reasons, it is important to check and maintain the lights regularly. If you get caught driving with faulty lights, you could face a fine and/or penalties.
Indicators: what they do
All licensed drivers should have a solid understanding of what indicator lights are for and how to use them. Each vehicle has four indicators which are located on all four corners of the vehicle, next to the headlights.They are used to show other drivers which direction you intend to turn when you are turning onto a different road, changing lanes, or pulling over, for example. Some vehicles also have side mirror or fender indicators for better visibility.
The lights are turned on/off using the indicator stalk. They should switch off by themselves once you have turned the car. Unfortunately, drivers often make the avoidable mistake of indicating too soon or too late.
Hazard lights: what are they and what they used for
Car hazard lights are the same lights that are used for the indicators. As the name suggests, they are used to warn other drivers of potential hazards, such as obstructions or dangerous road conditions. There is usually a button on the dashboard with a red warning triangle symbol, which activates the lights.
When you press this button, two lights at the front of the car and two at the rear will flash on and off to warn other road users of a hazard or obstruction, either caused by you or by something else.
When to use hazard warning lights
In summary, the hazard lights are supposed to be used when the vehicle is stationary to warn others that the car will temporarily obstruct the road. This is useful when you are forced to stop, have had an accident, or have broken down. You should not use hazard lights while driving, except on motorways to warn of an unexpected traffic problem ahead. Always switch them off once the danger has passed. Using them in other cases while driving is illegal.
Which lights to use at different times of day
Using the correct car lights helps you see clearly and ensures other drivers can see you. Different times of day require different lights for safety and visibility. Here’s a quick guide to what lights to use:
| Time of day | What lights to use |
| Daytime (normal) | Daytime running lightsSide lights |
| Daytime (low visibility) | Dipped headlights, fog lights (visibility below 100m), parking lights (in extreme cases) |
| Sunrise/sunset | Dipped headlightsSide lights |
| Night time | Dipped headlightsHigh/full beam headlights (unlit roads, no traffic)Parking lights |
Car headlight bulb types
There are several types of headlight bulbs available, each with its own benefits and drawbacks. You should make sure the bulb you choose is right for your budget and compatible with your specific vehicle model.
- Halogen bulbs
- Pros: Affordable, widely available, easy to replace
- Cons: Shorter lifespan, less bright than other types
- Xenon (HID) bulbs
- Pros: Very bright, provide a whiter light closer to daylight, energy efficient
- Cons: More expensive, can dazzle other drivers if misaligned, may require a ballast
- LED bulbs
- Pros: Long-lasting, energy efficient, brighter than halogen, instant light
- Cons: Higher upfront costs, may require a conversion kit for older vehicles
- Laser headlights (found in high-end cars)
- Pros: Extremely bright and energy efficient, long range
- Cons: Very costly, limited availability, mostly used in luxury vehicles
You should also check whether the bulb is compatible with the specific light fitting on the car (e.g. H7, H4, etc.).


Comment