Disclaimer

How to change CV joint on a car – replacement tutorial
downloads:
1654
Views:
8842
How to replace CV joint [AUTODOC TUTORIAL]
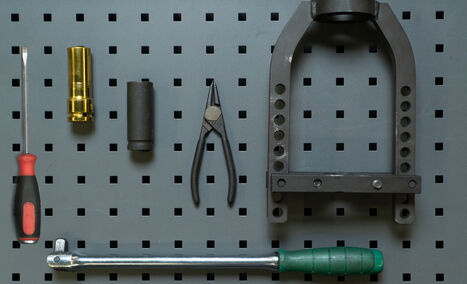
Flat screwdriver
Tap wrench
Wheel impact socket
Impact socket
CV joint puller
Circlip pliers
Jack
Line stoppers

Please note!
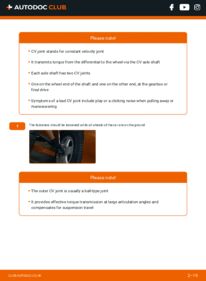
- CV joint stands for constant velocity joint
- It transmits torque from the differential to the wheel via the CV axle shaft
- Each axle shaft has two CV joints
- One on the wheel end of the shaft and one on the other end, at the gearbox or final drive
- Symptoms of a bad CV joint include play or a clicking noise when pulling away or manoeuvering
- 1.
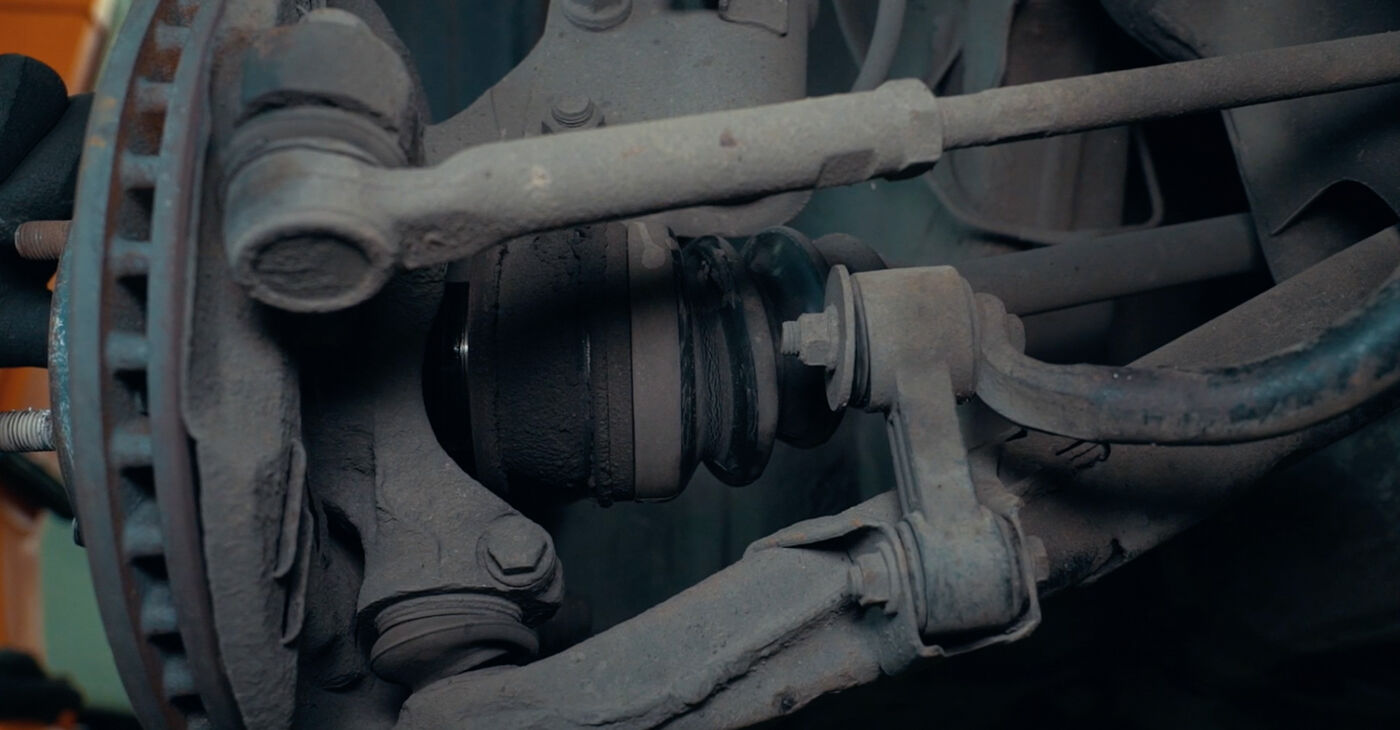
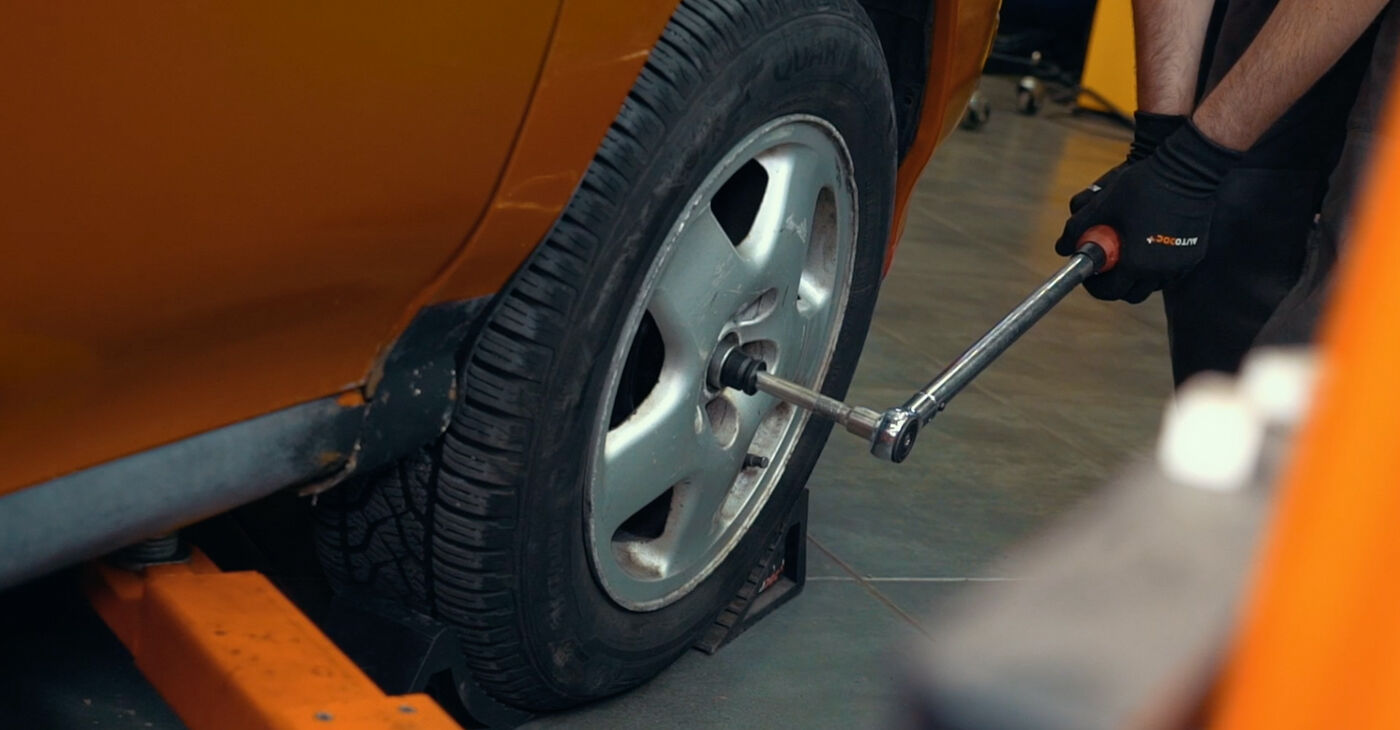
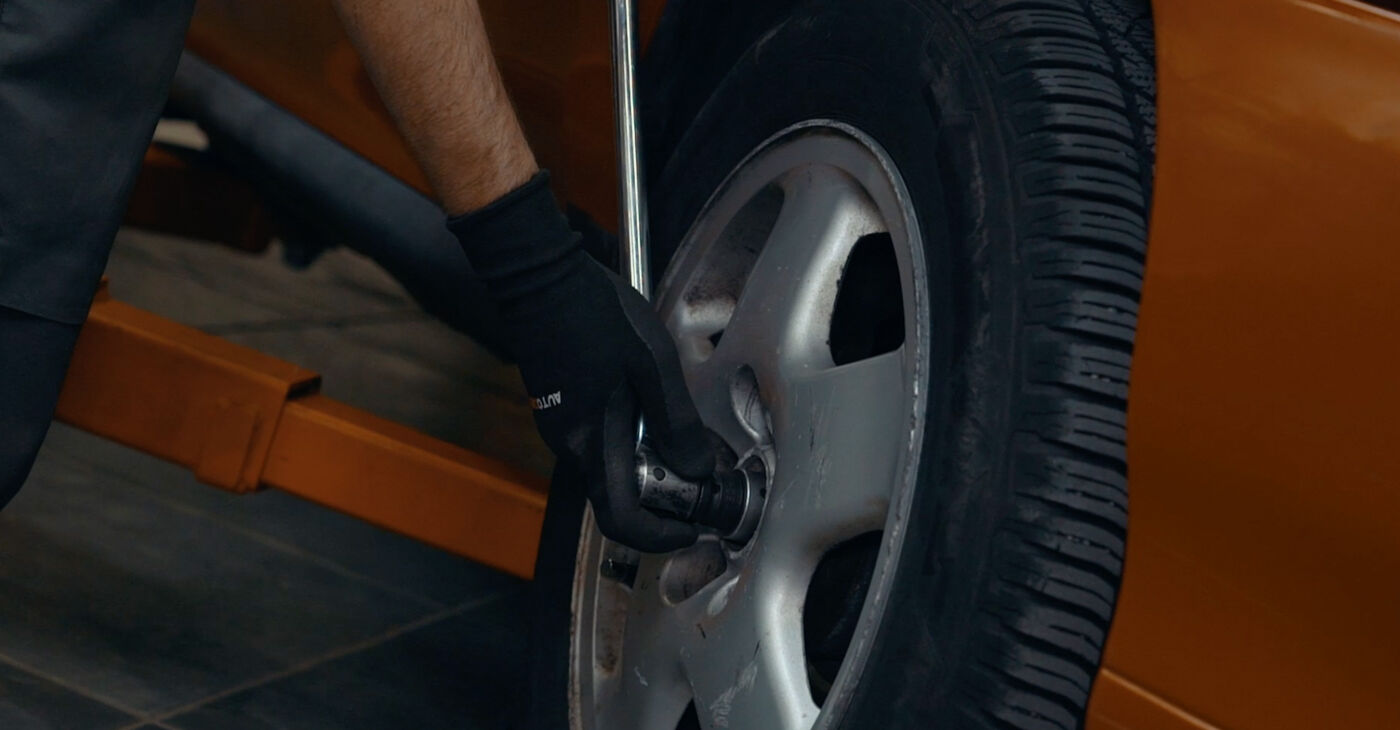 The fasteners should be loosened while all wheels of the car are on the groundPlease note!The outer CV joint is usually a ball-type jointIt provides effective torque transmission at large articulation angles and compensates for suspension travel
 - 2.
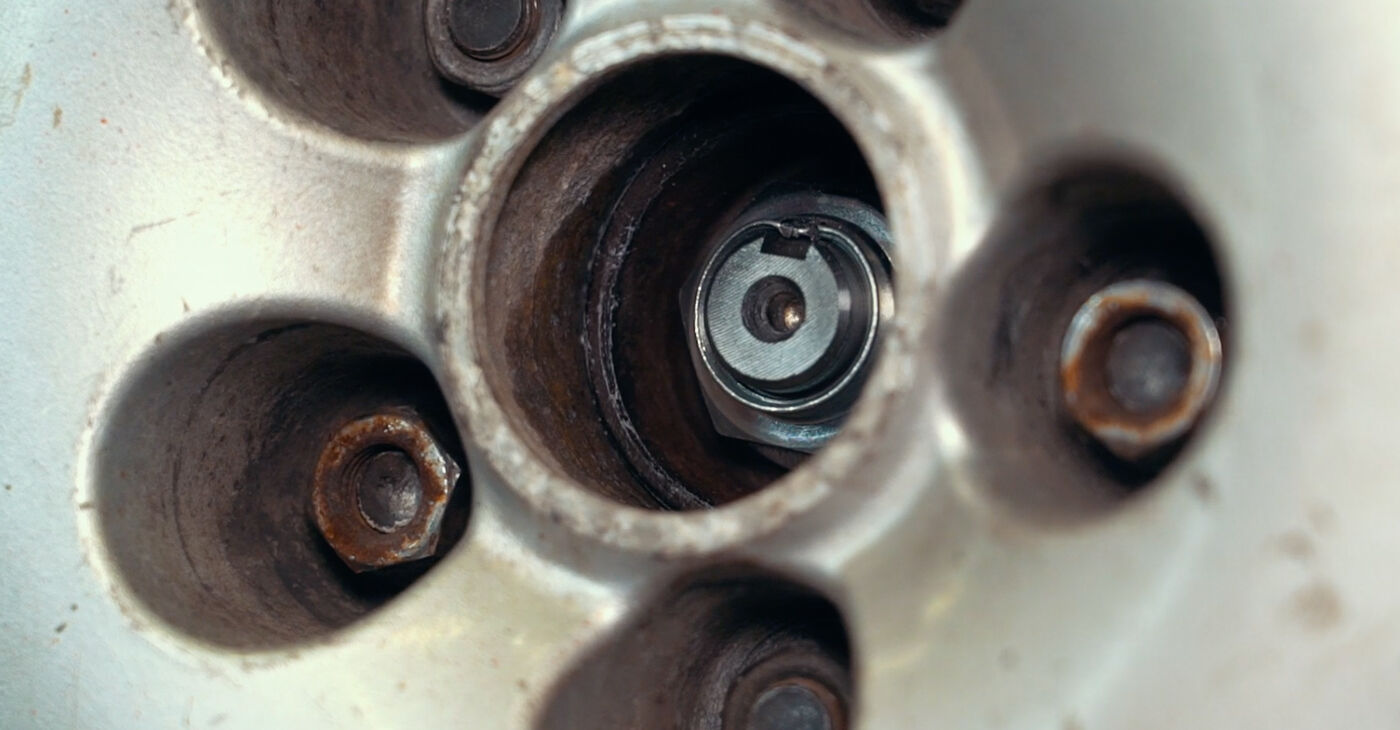
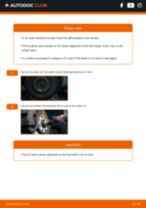
 To remove the outer CV joint, you do not need to remove the CV axle, you can just detach it from the wheel hub. As a rule, the CV axle is secured in the hub with a bolt or nut. A cotter pin is also used in some car models
 - 3.
 Make sure that the CV axle has enough longitudinal travel to allow you to get the CV joint out
 - 4.
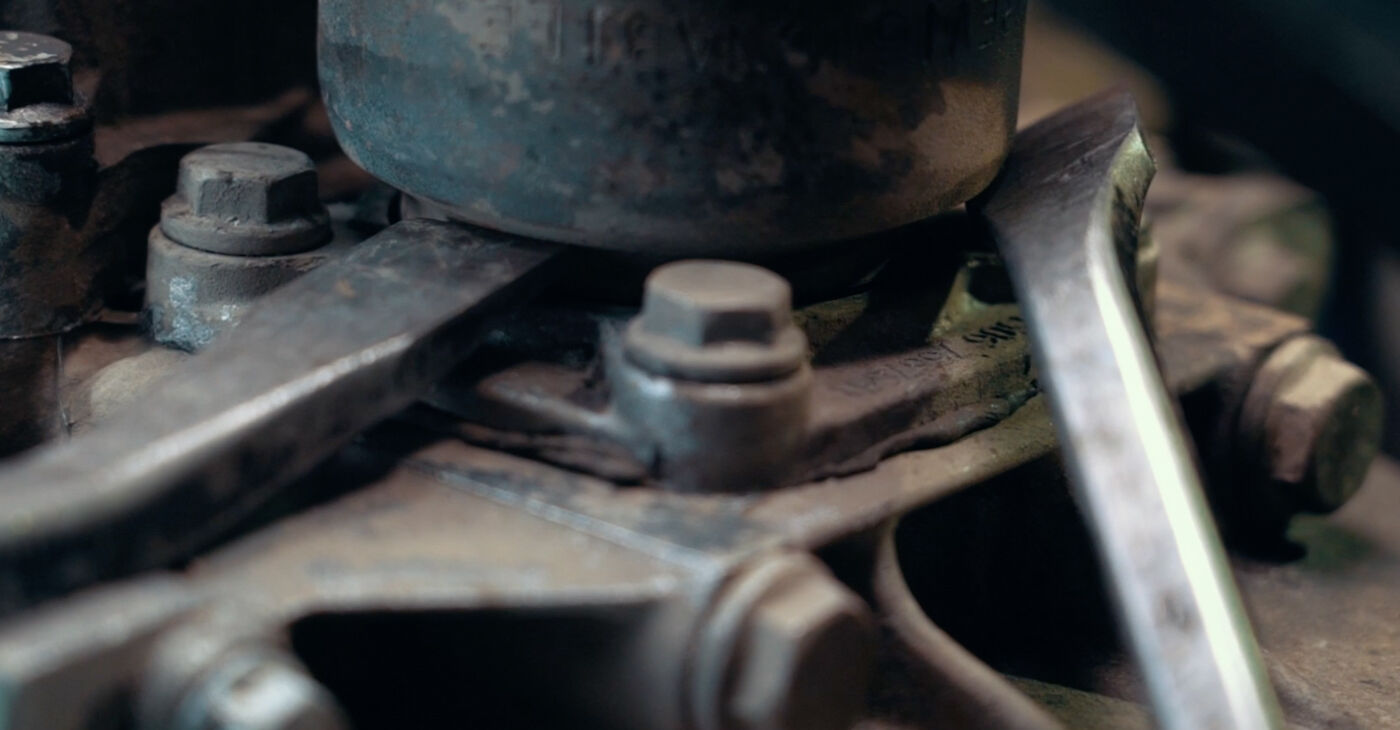
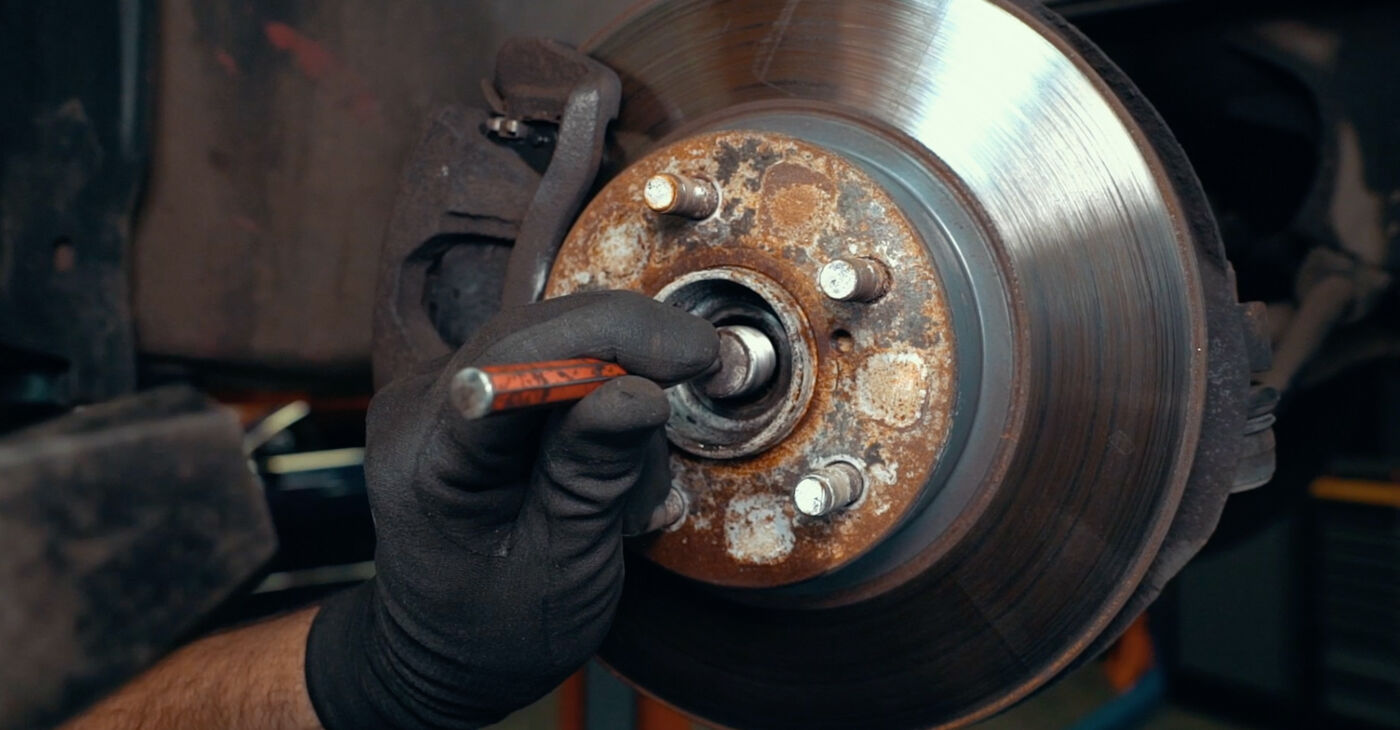 Knock the CV joint out of the hub by hitting its centre hole
 - 5.
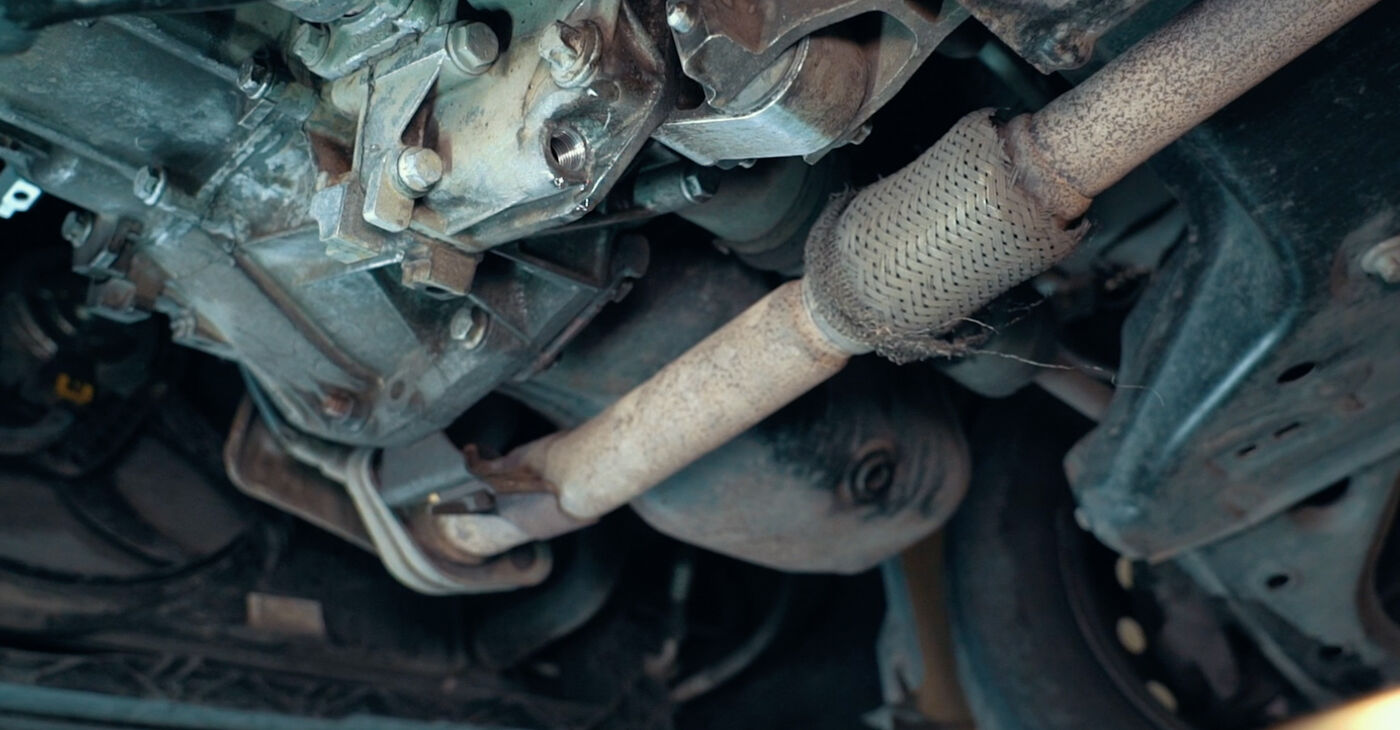
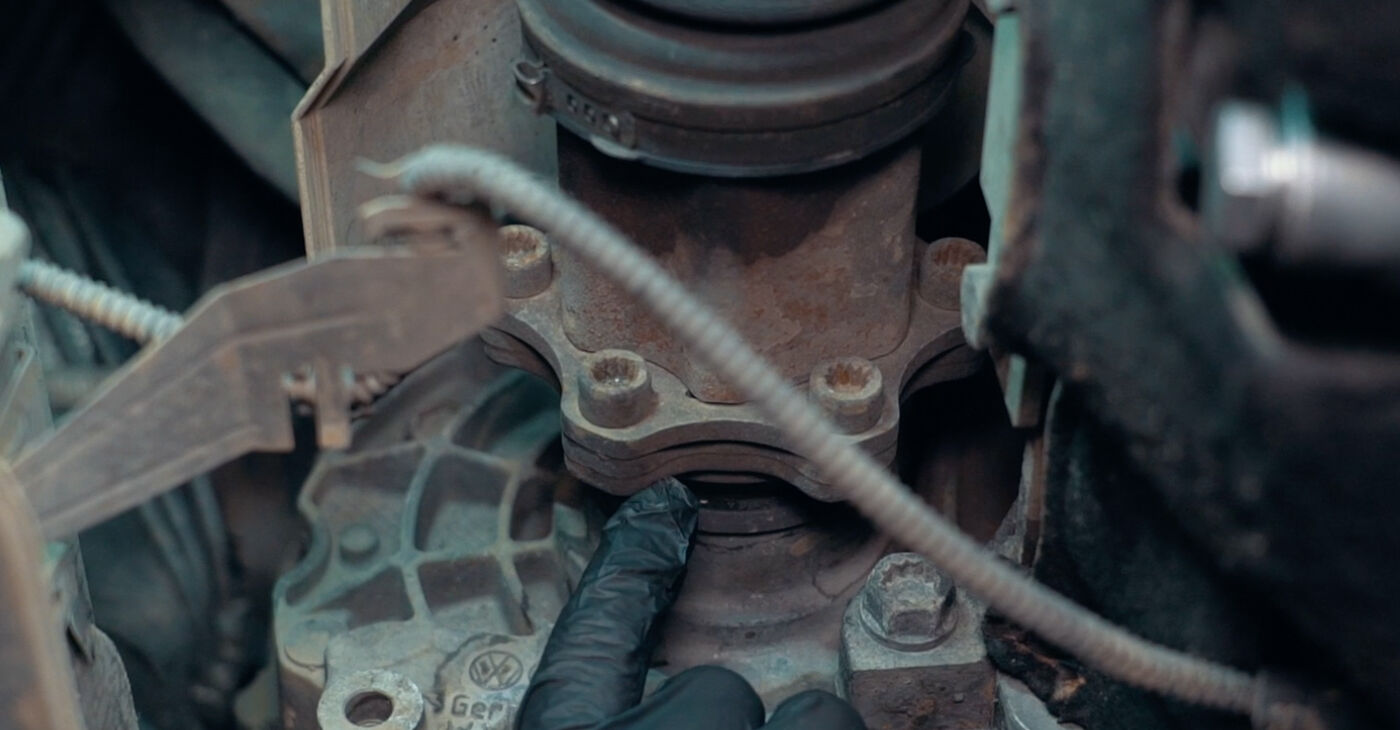
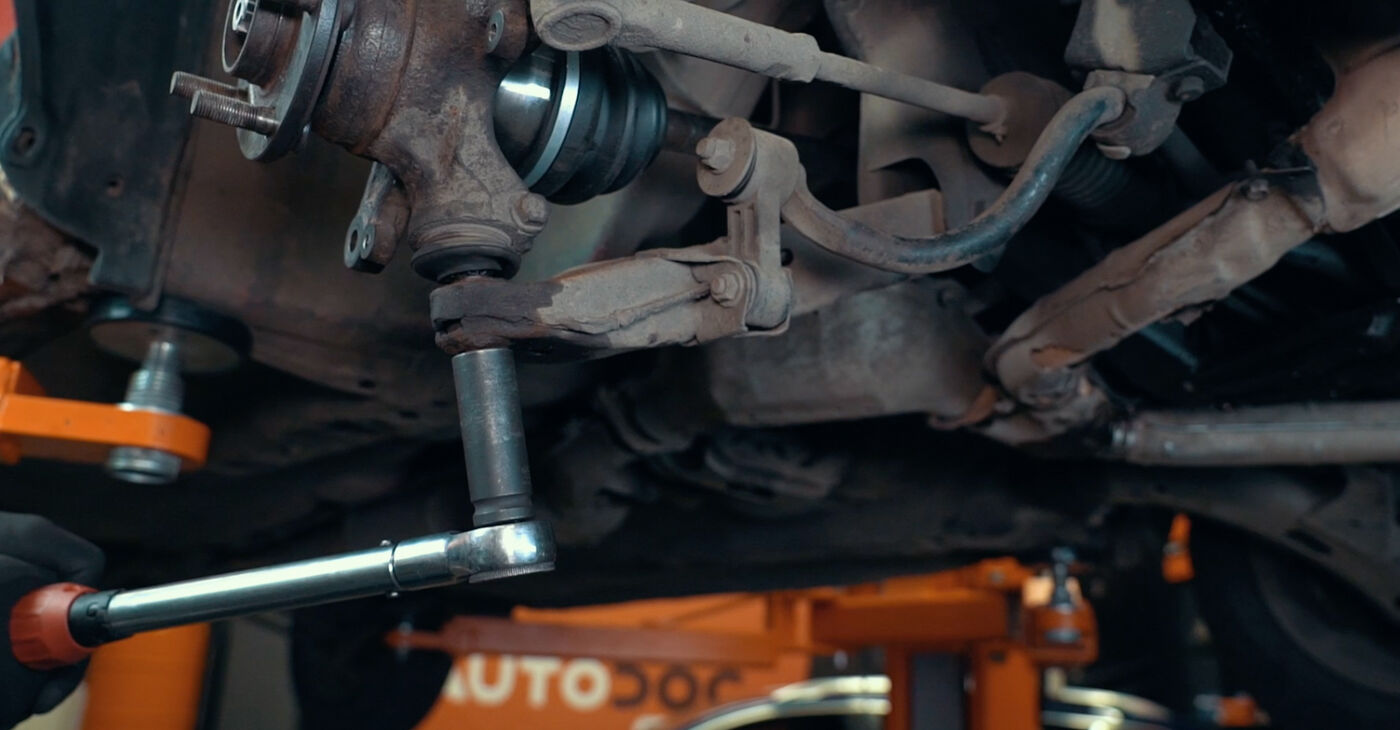
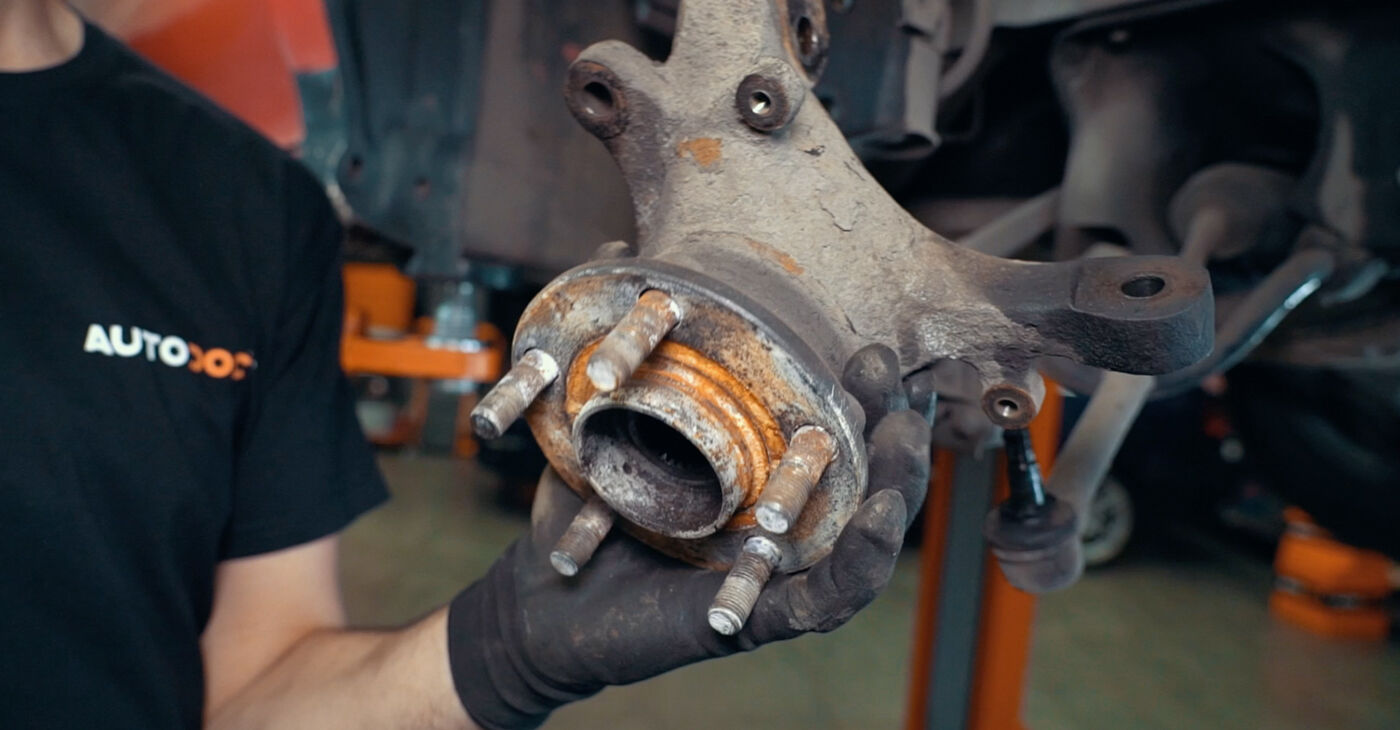 Detach the CV joint from the steering knuckle or hub. To do this, you might need to remove the ball joint or detach the steering knuckle from the suspension strut
 - 6.
 Then remove the dust boot clampsAUTODOC recommends:To pull this type of CV joint off the axle shaft, you can use the axle bolt
 - 7.
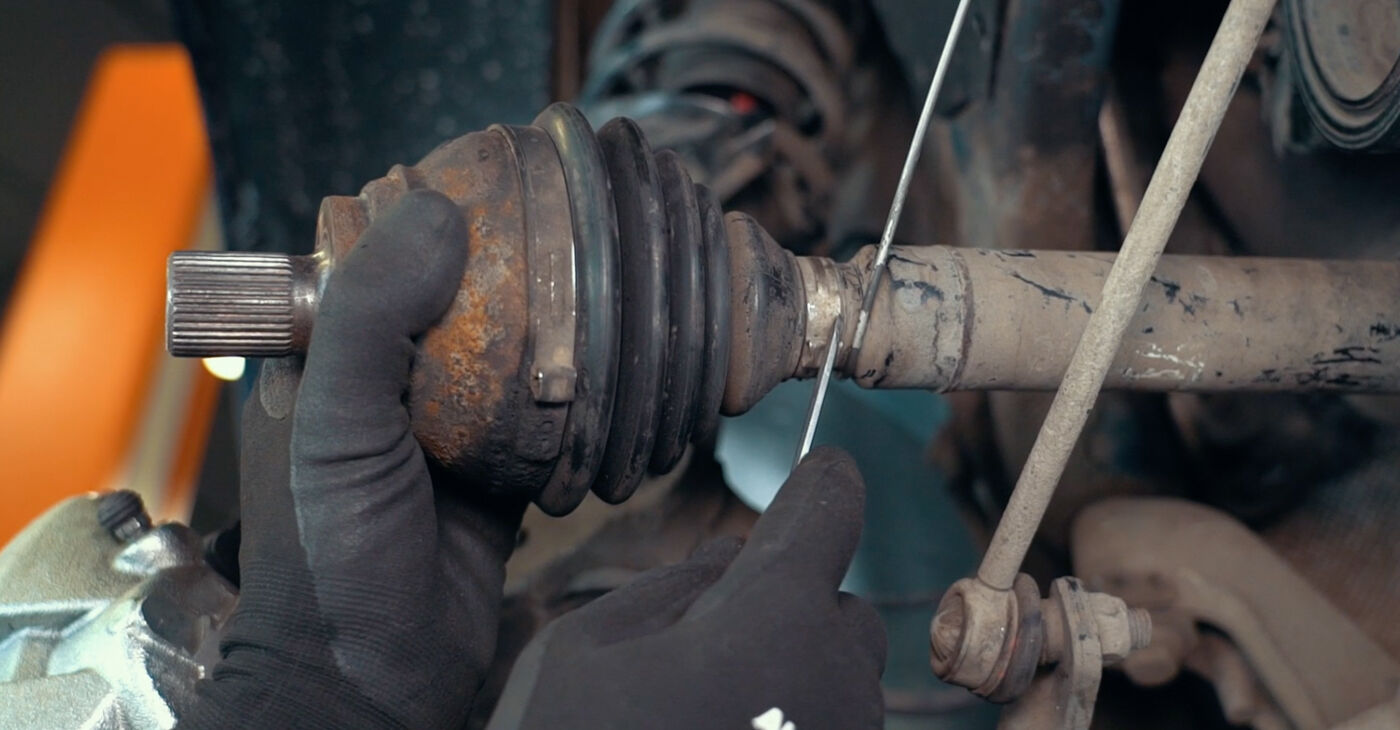
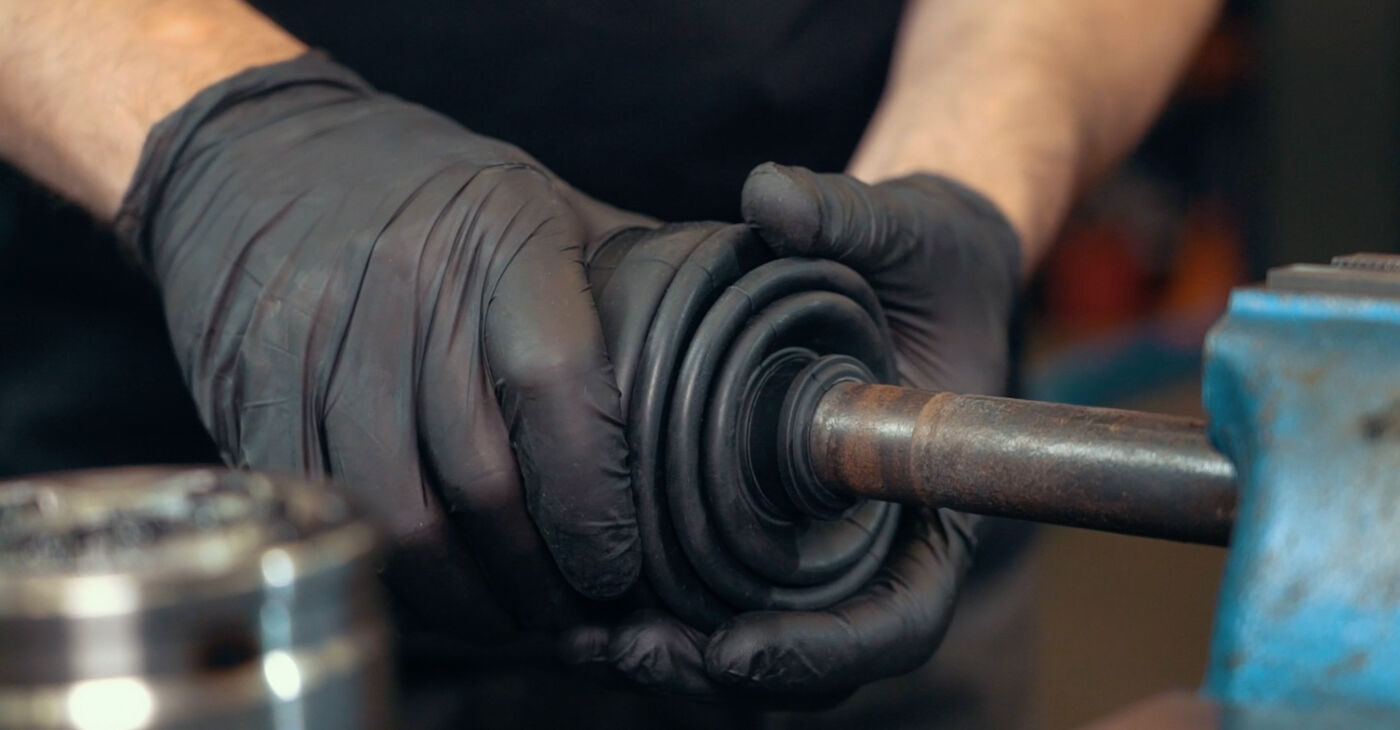
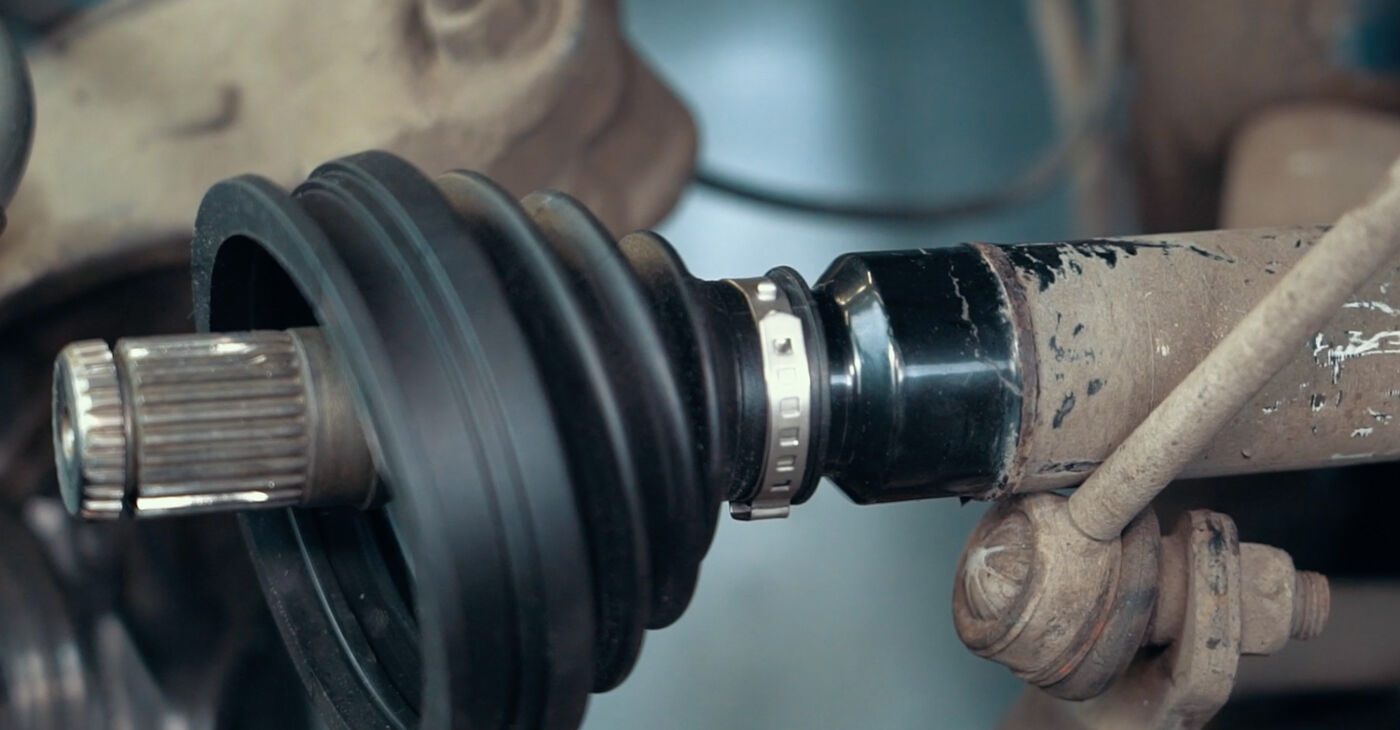
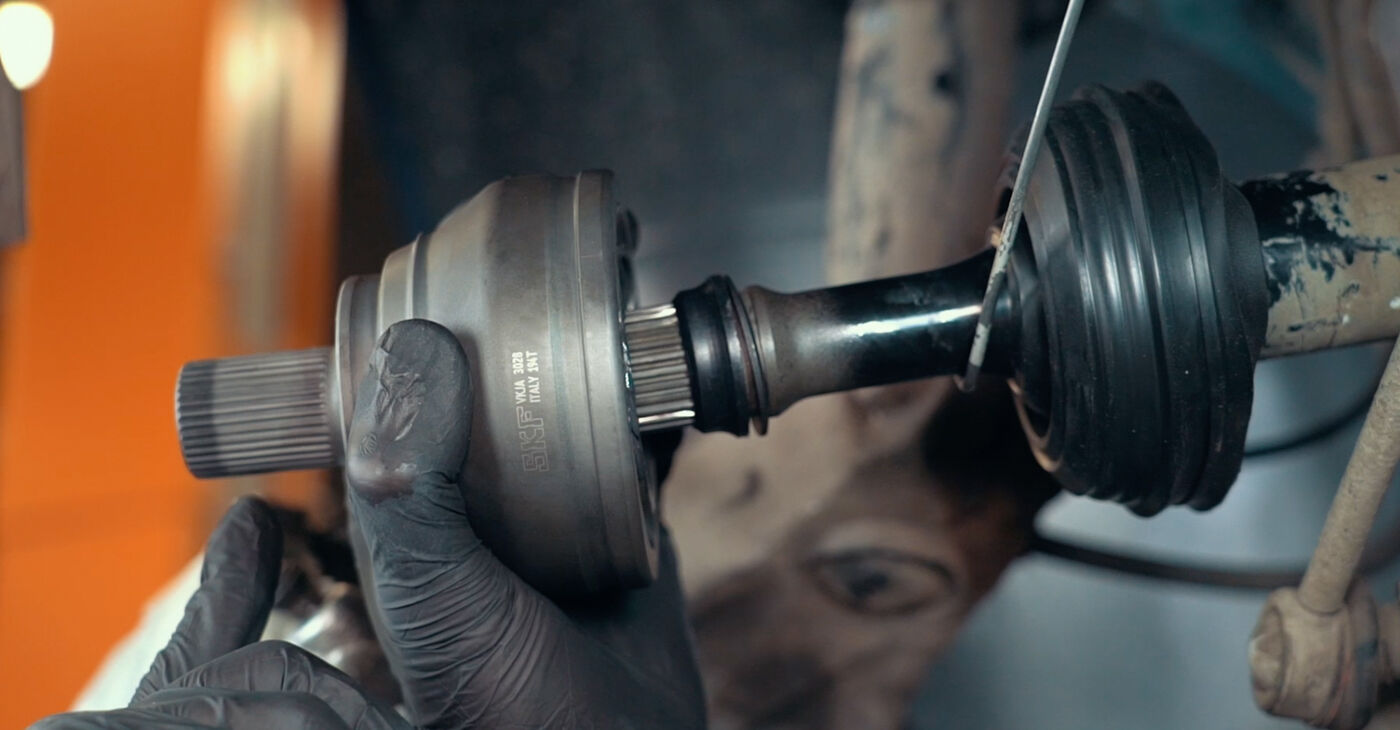
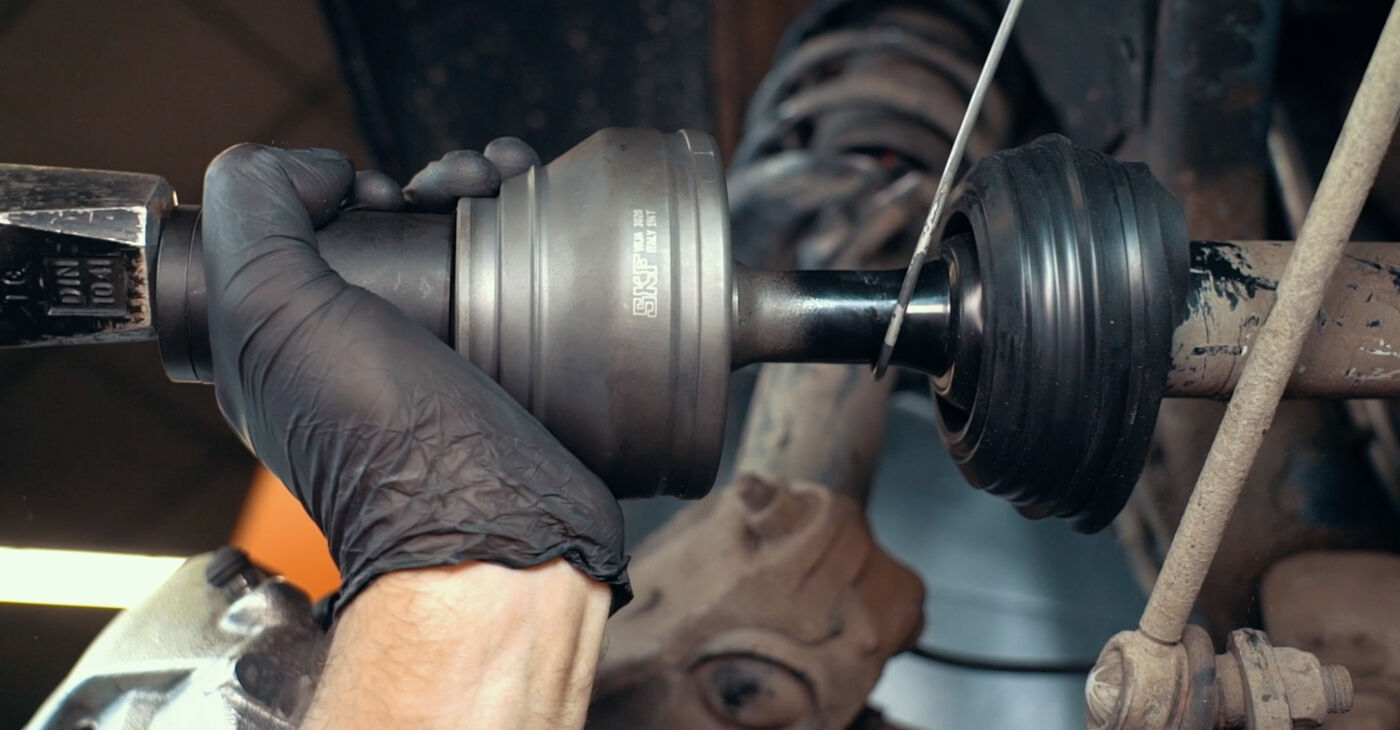
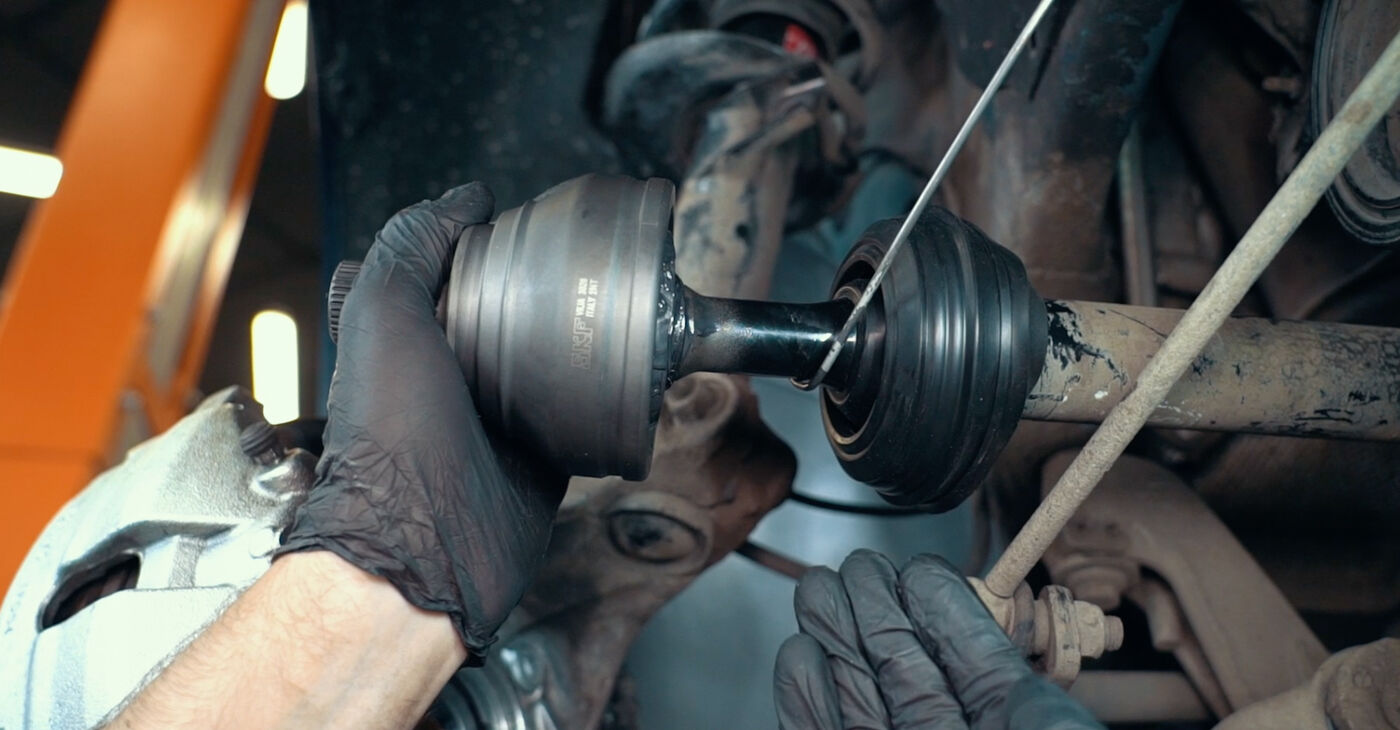
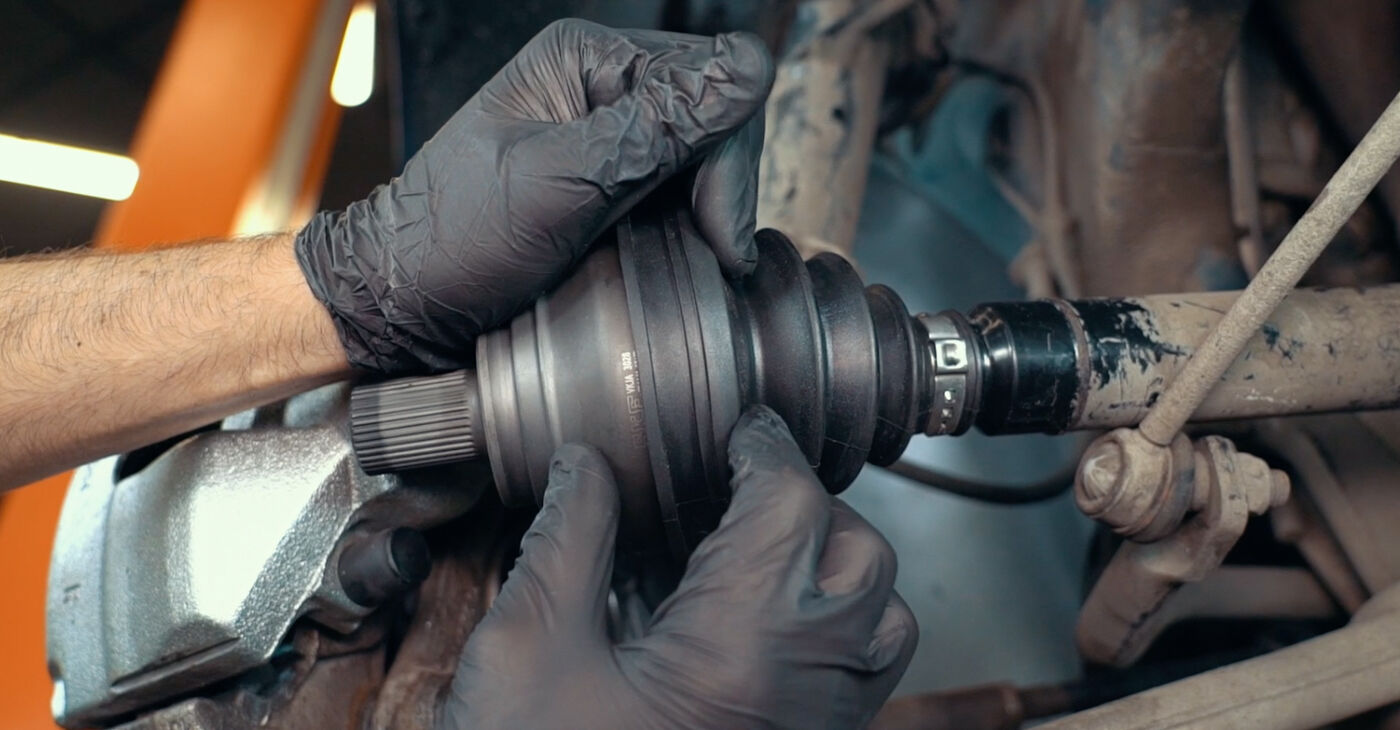
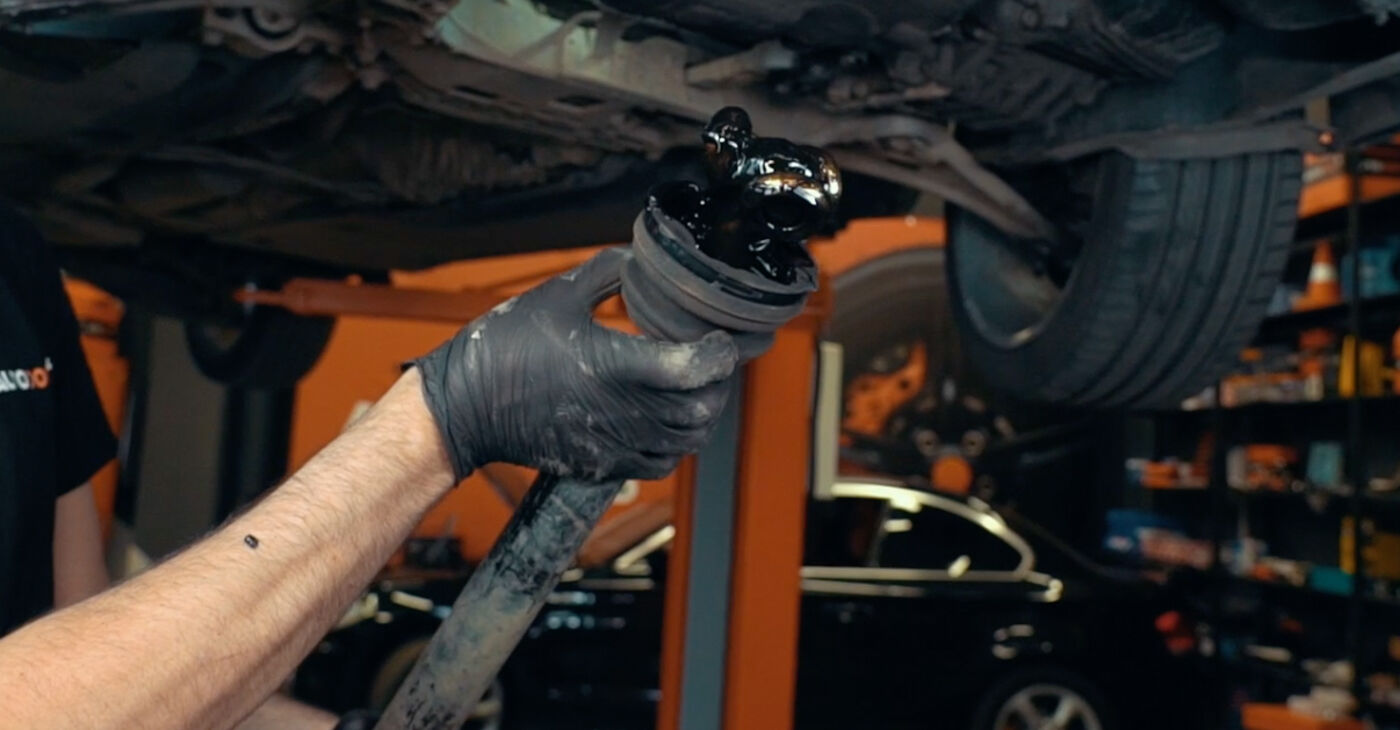
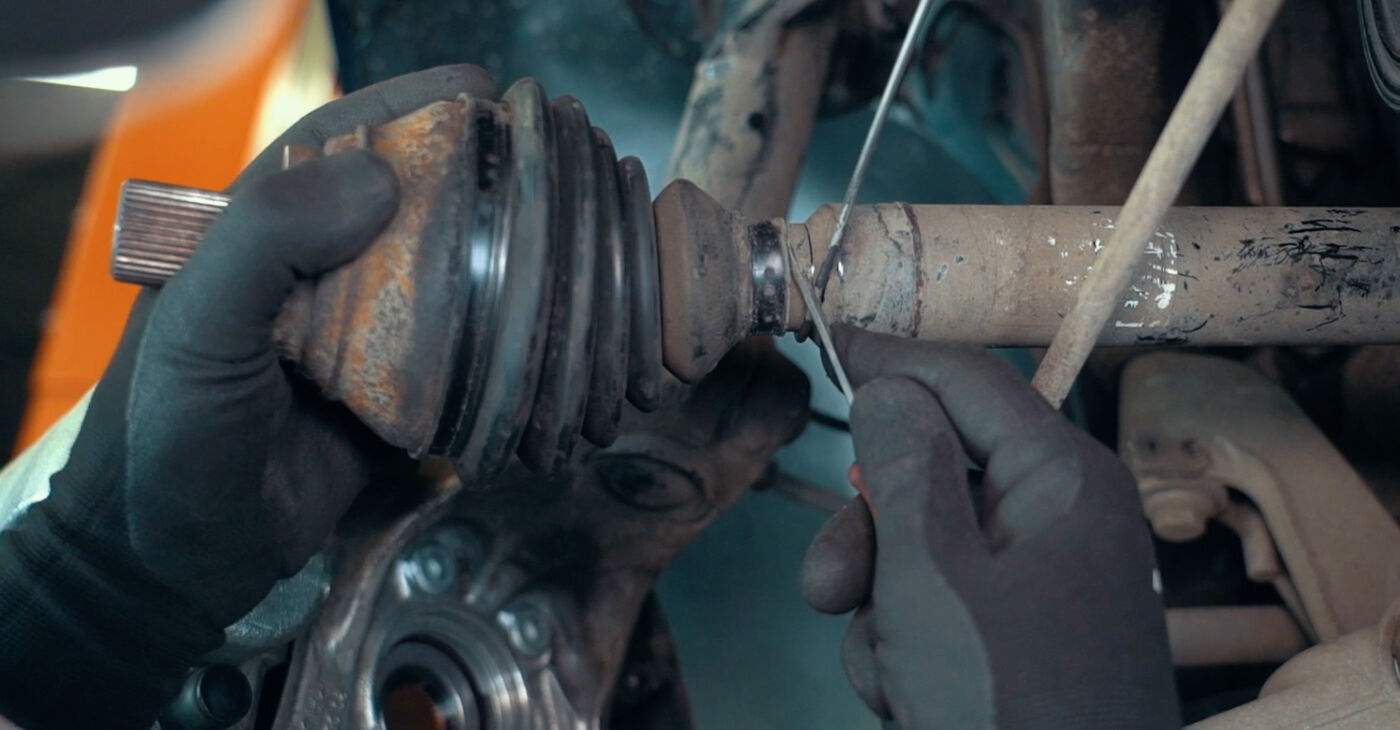 Remove the clamps, pry off the dust boot and make sure it is not stuck to the axle shaftImportant!The internal components of the CV joint are sealed with a leak-tight dust bootIt keeps the grease inside and protects the assembly against harmful environmental influences
 - 8.
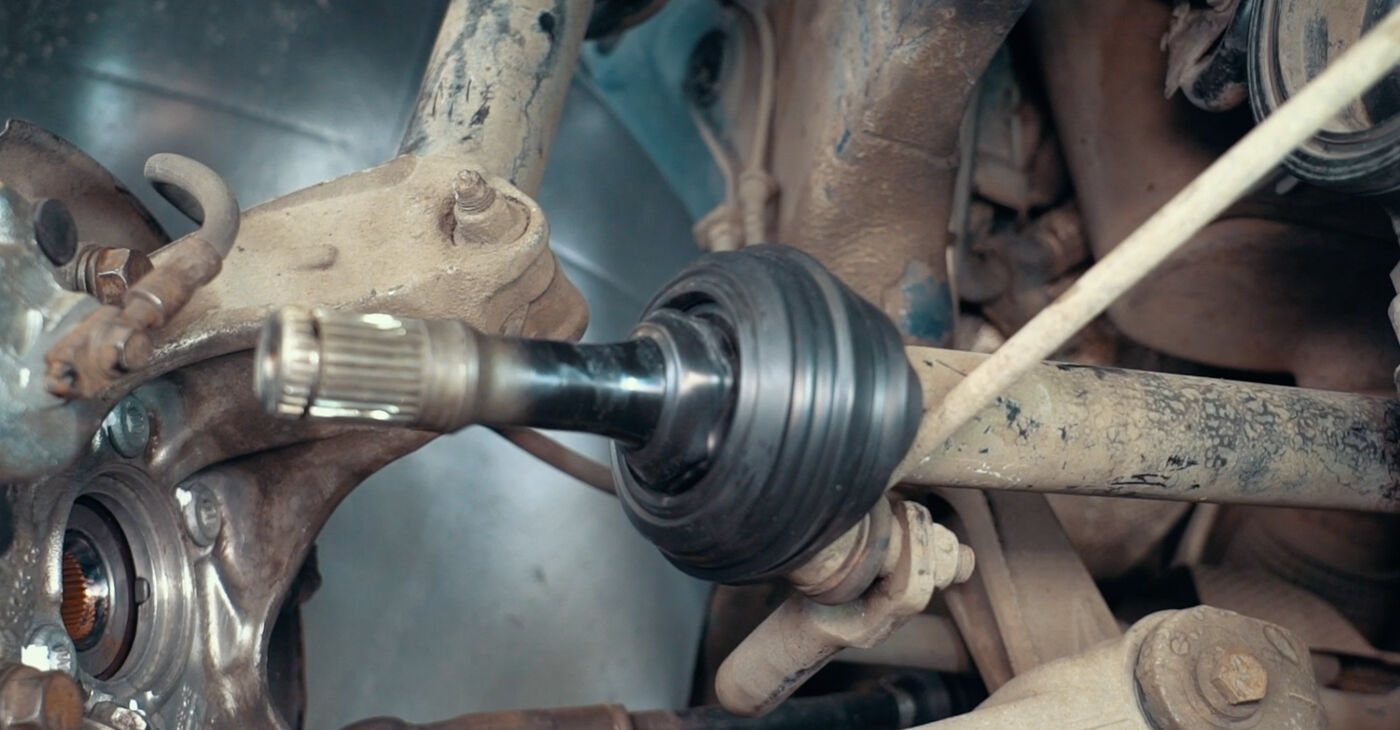
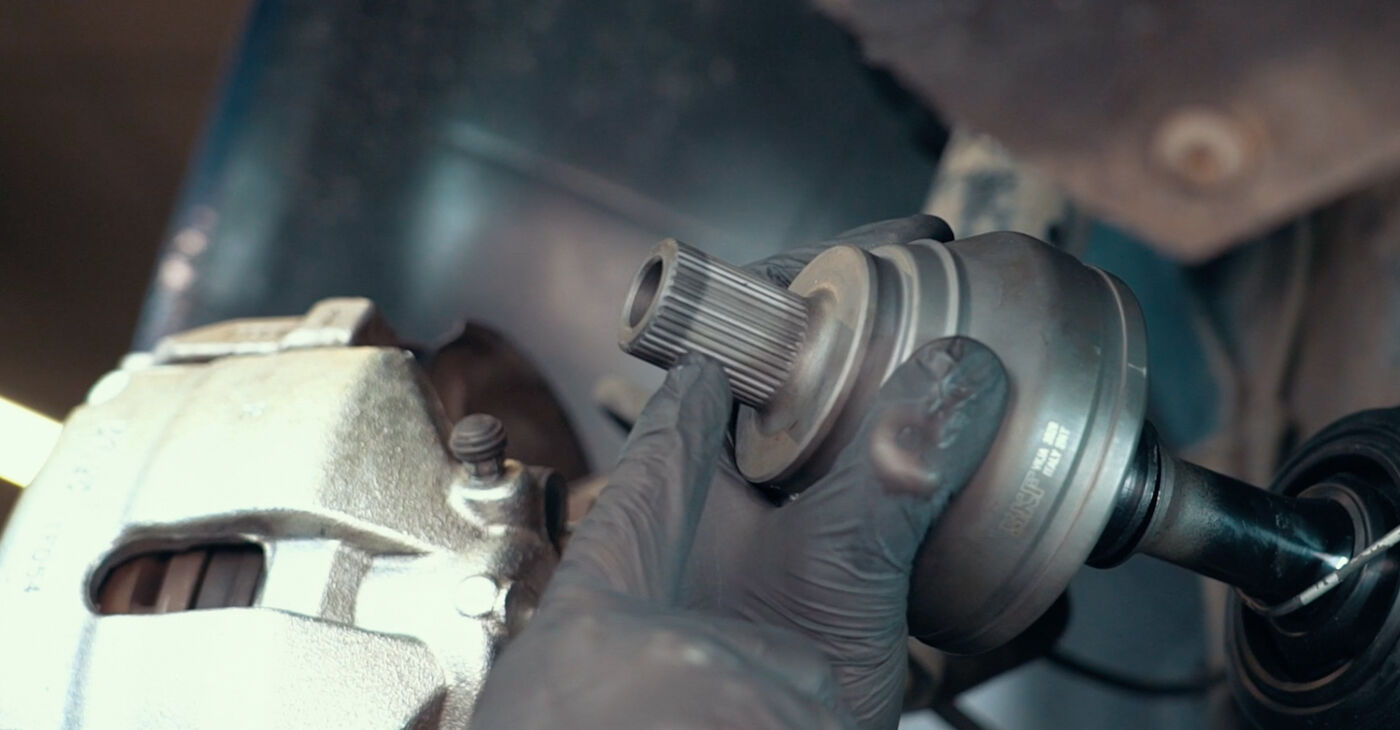
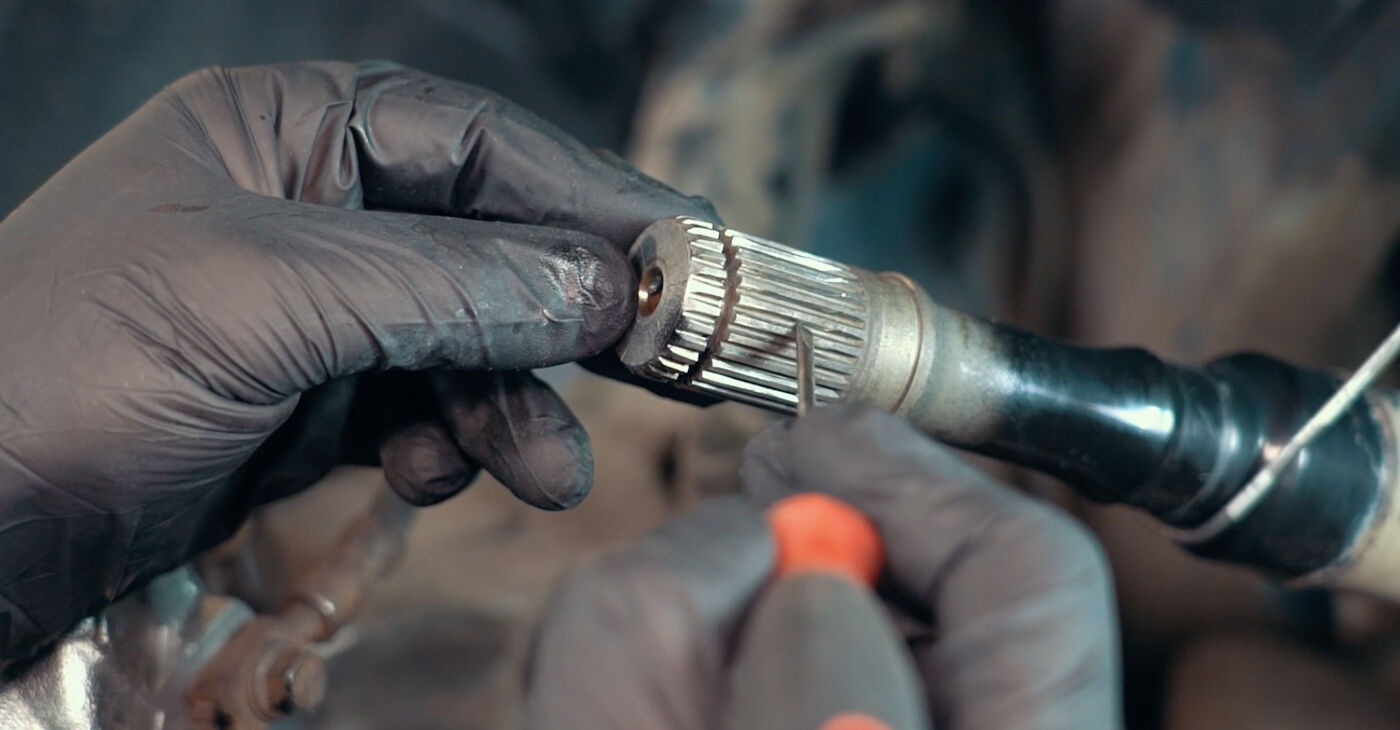 Inspect the splines on the axle shaft. Worn splines can cause play in the jointPlease note!To disassemble this type of CV joint, you will need special tools
 - 9.
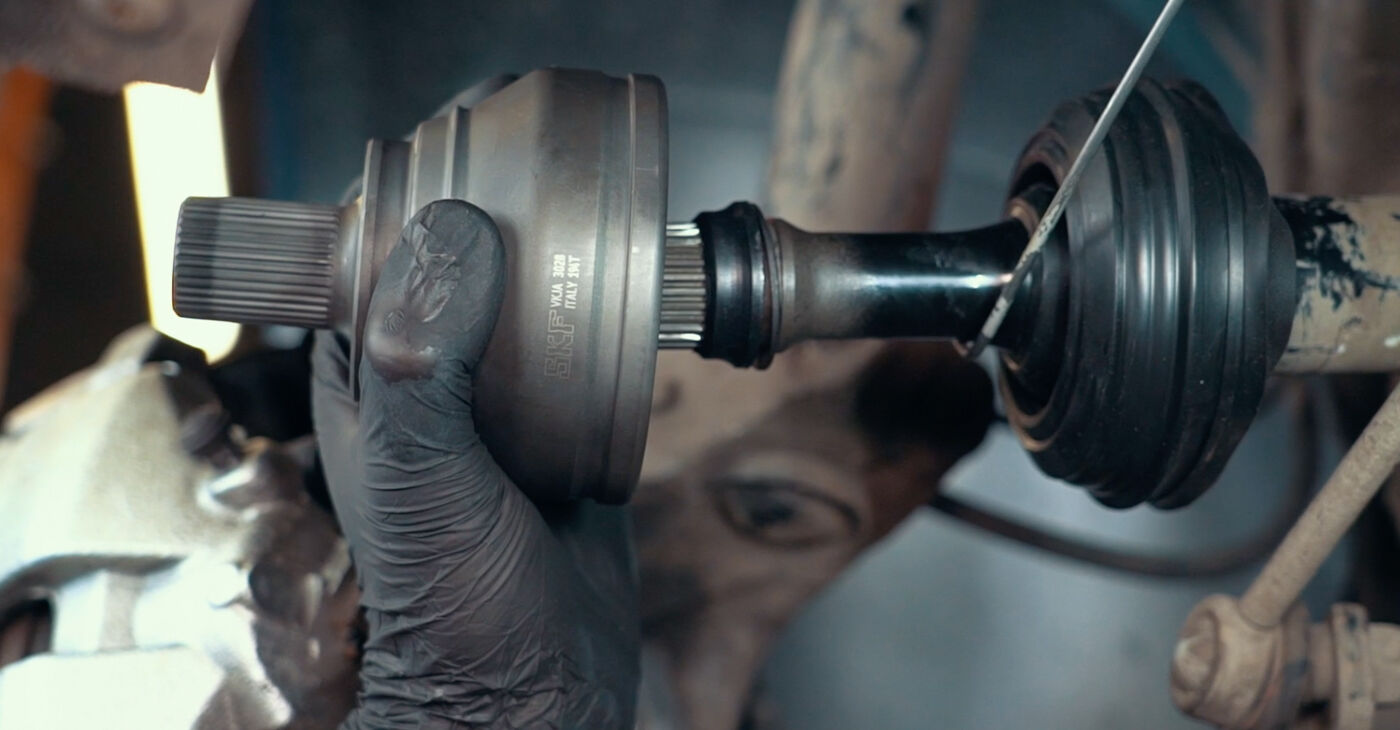
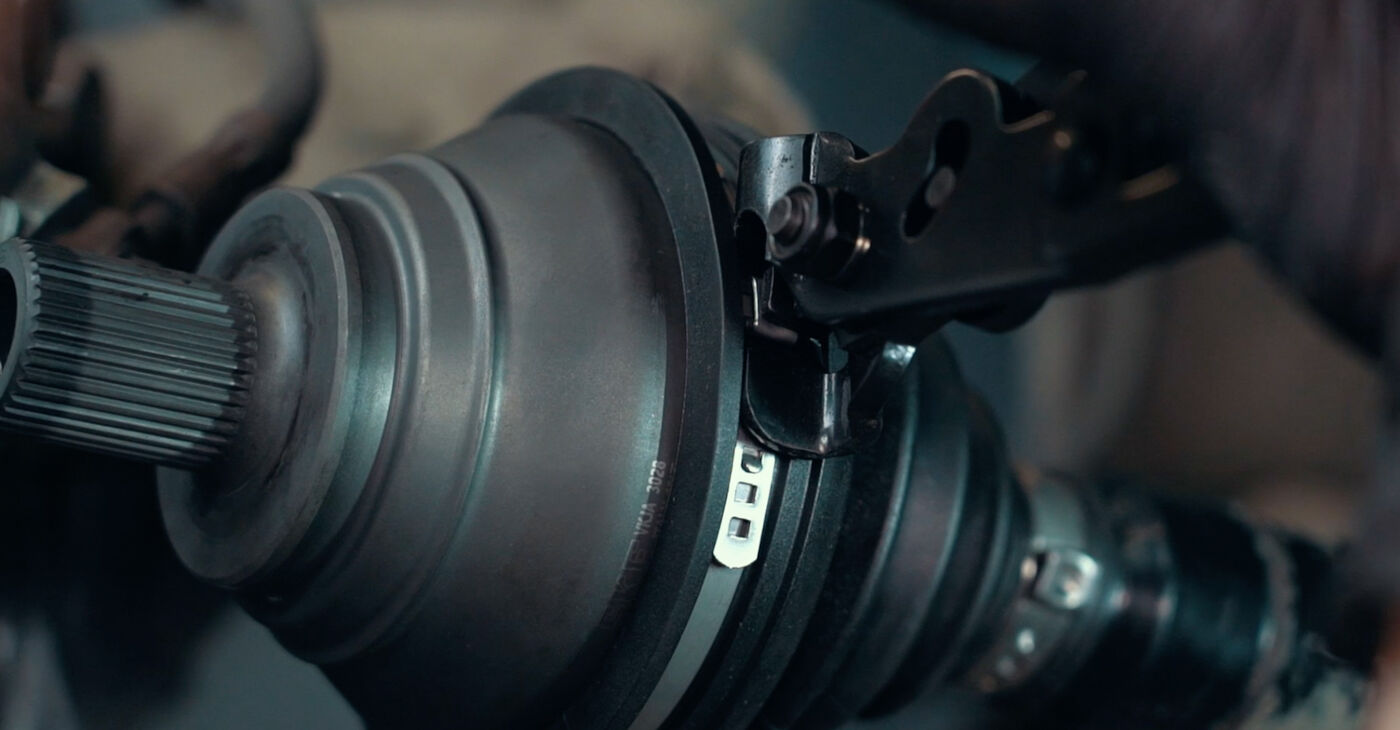
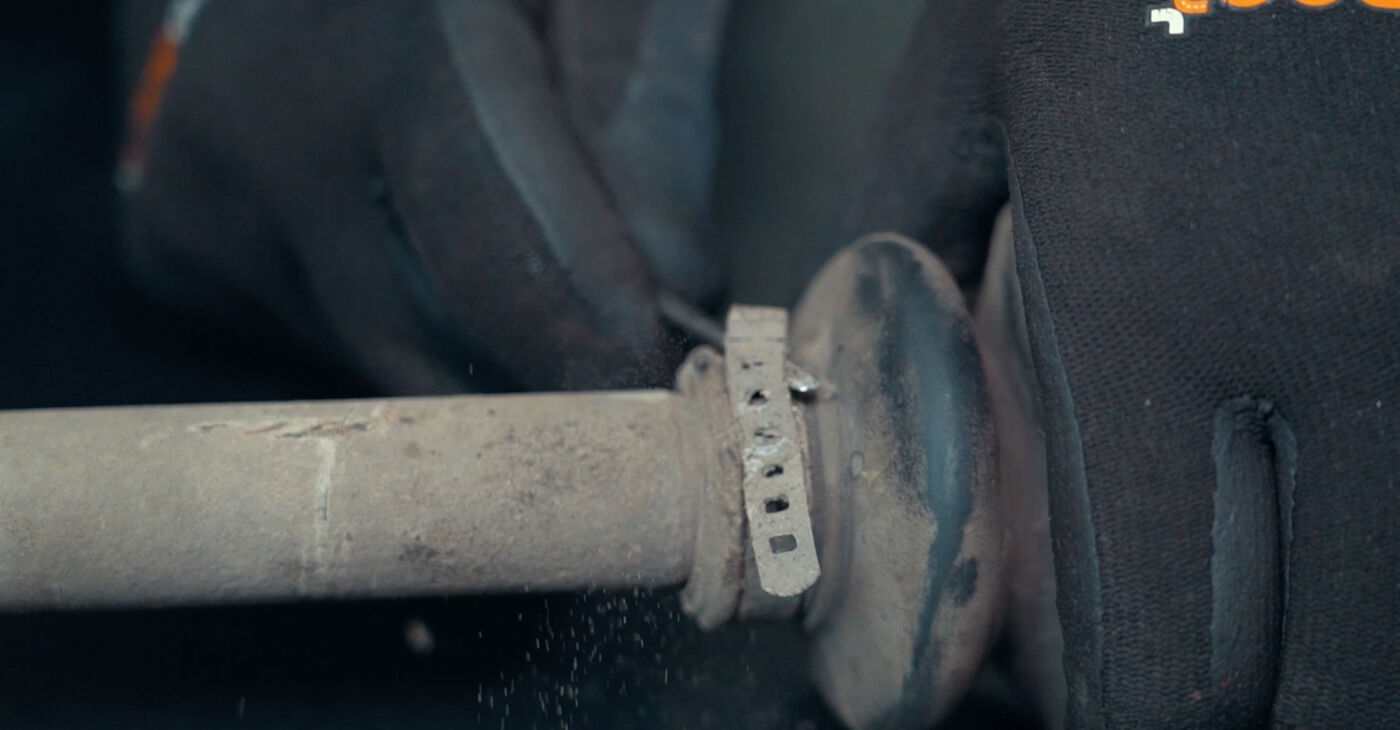 Remove the dust boot clamps
 - 10.
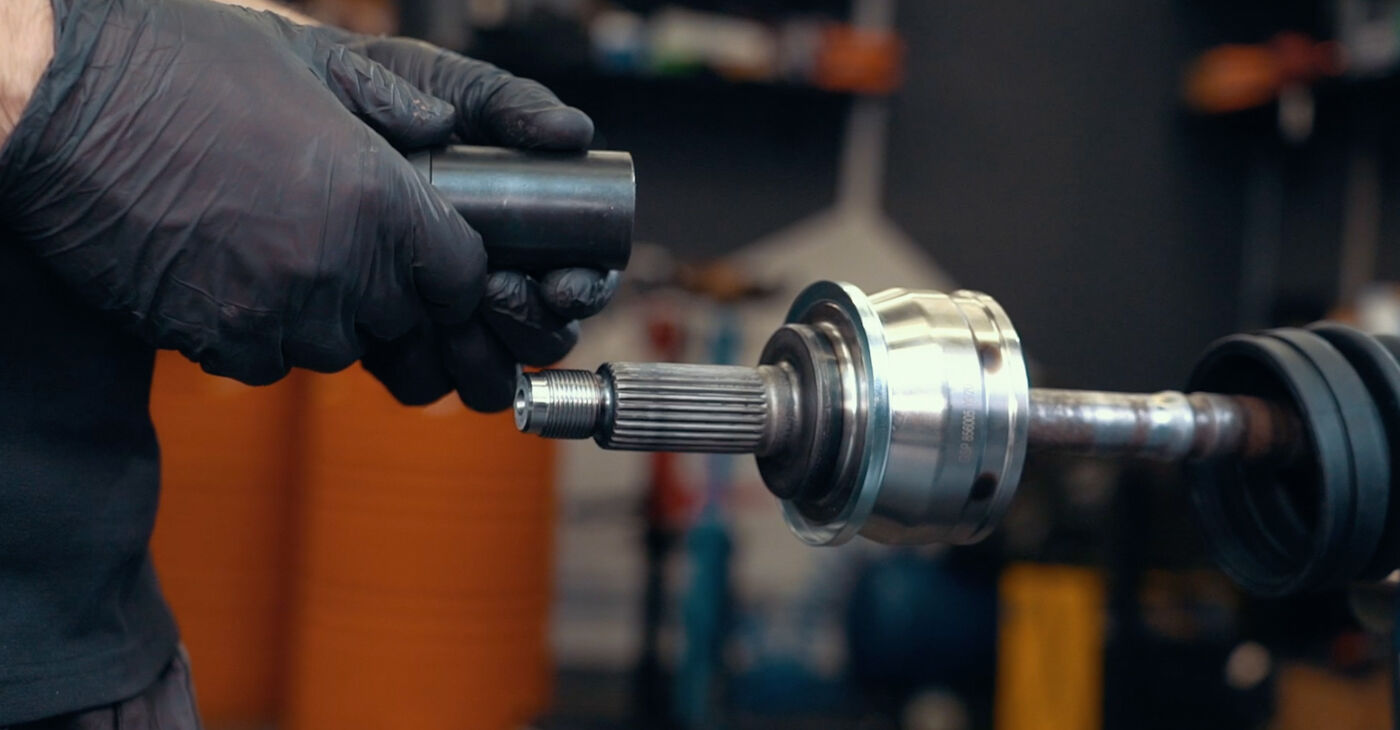
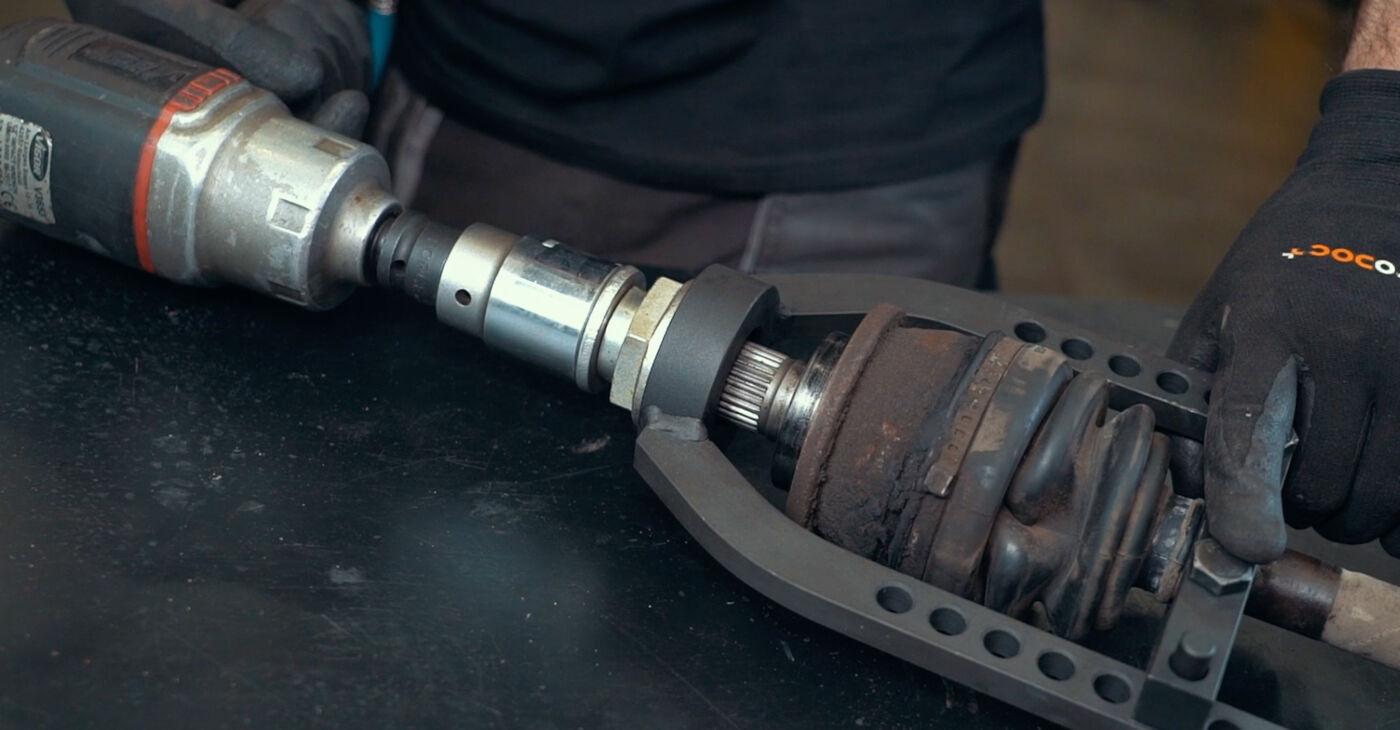 Use a puller and the axle nut to remove the CV joint from the axle shaft
 - 11.
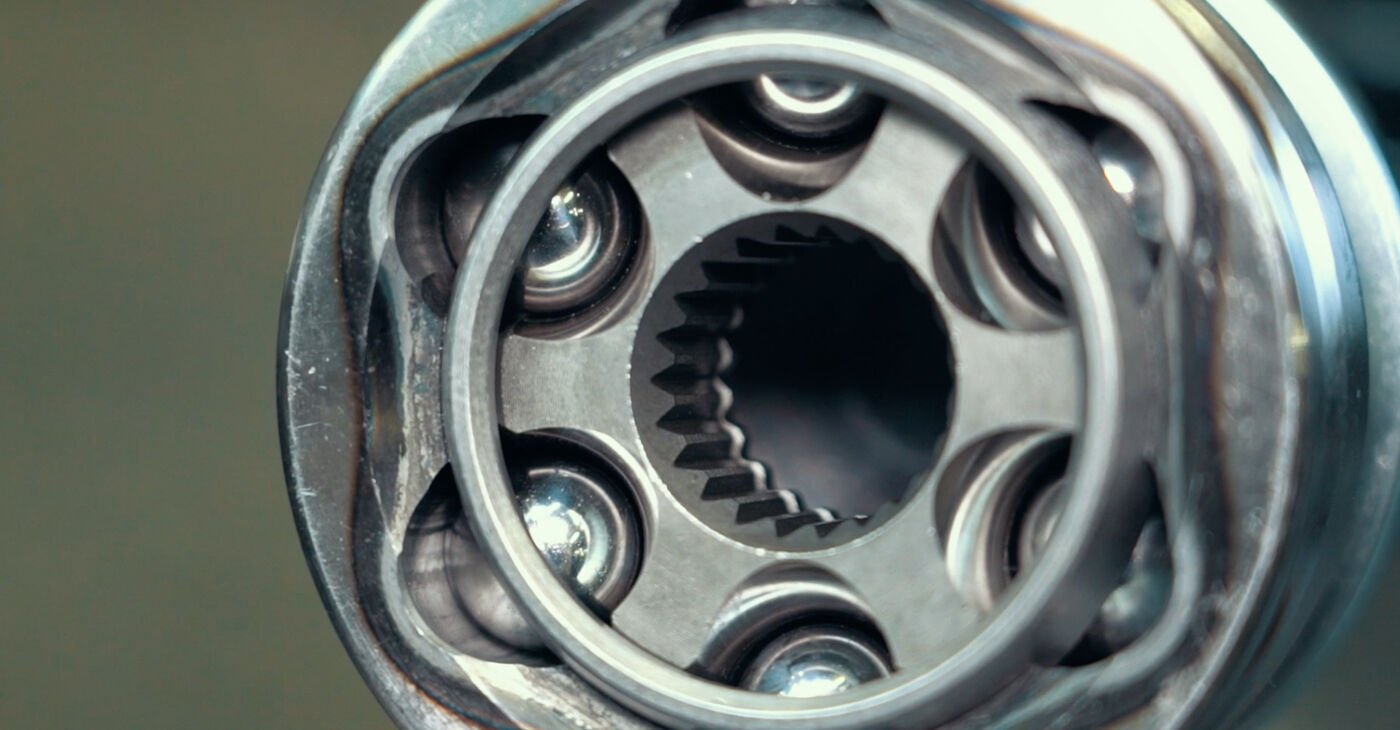
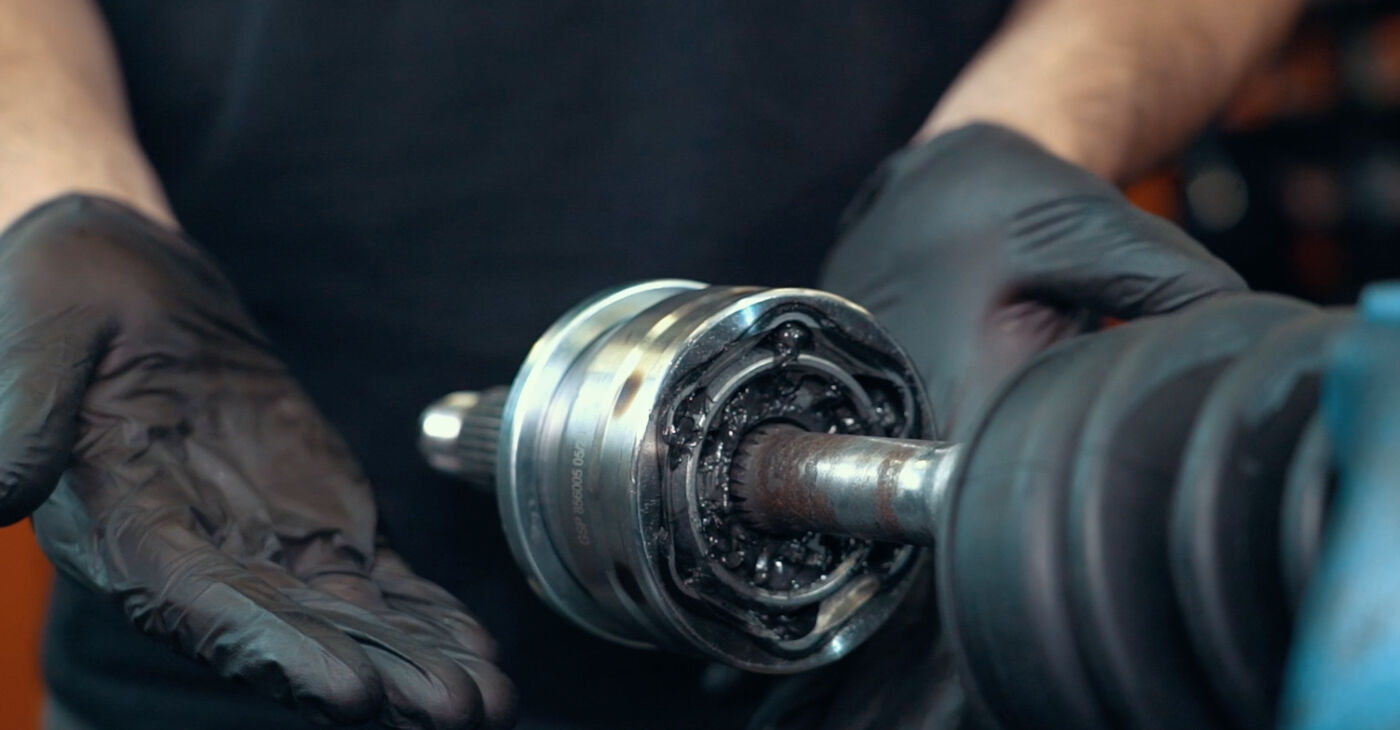
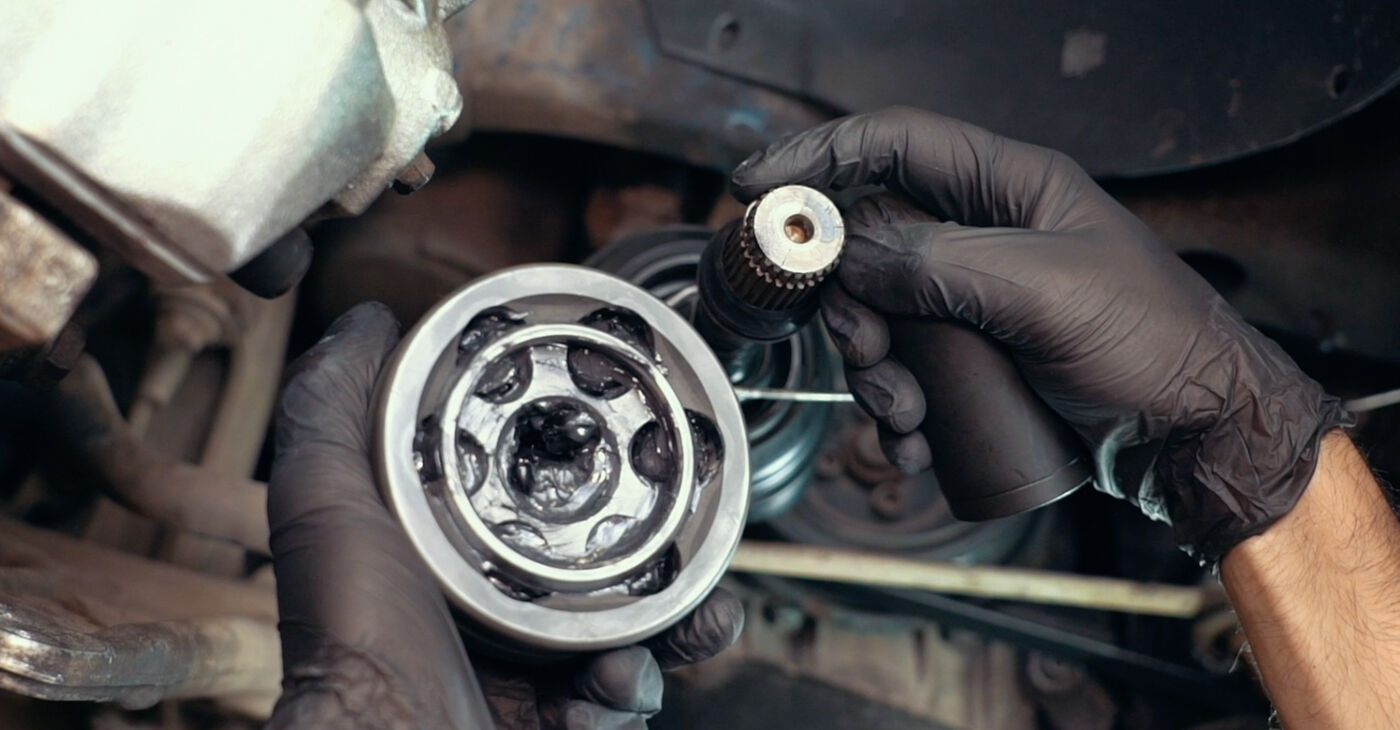
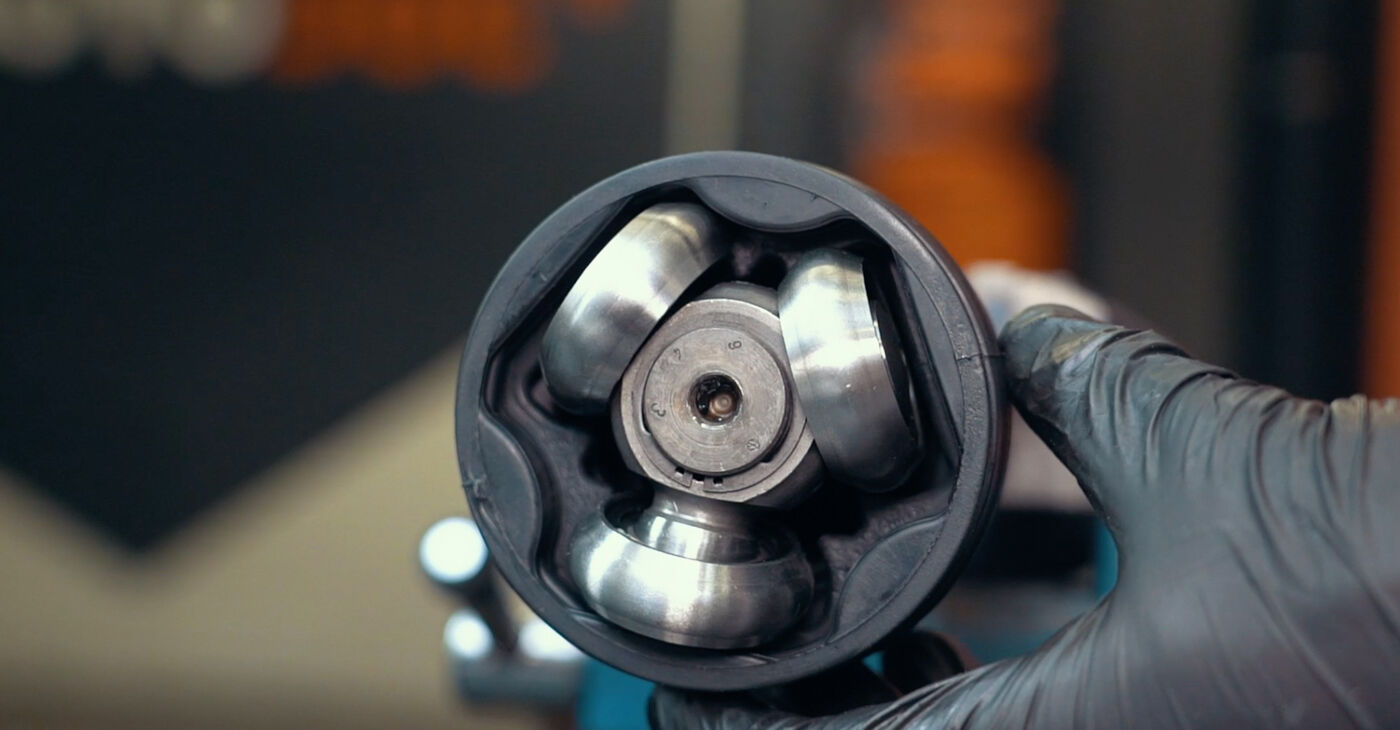
 Remove the dust boot, thrust washer and plastic bushing that limits the articulation angle of the CV jointThe following signs indicate that the CV joint needs to be replaced:a worn inner racedull spots on the surfaces of the ballsa worn or corroded cageworn or corroded grooves in the housing
 - 12.
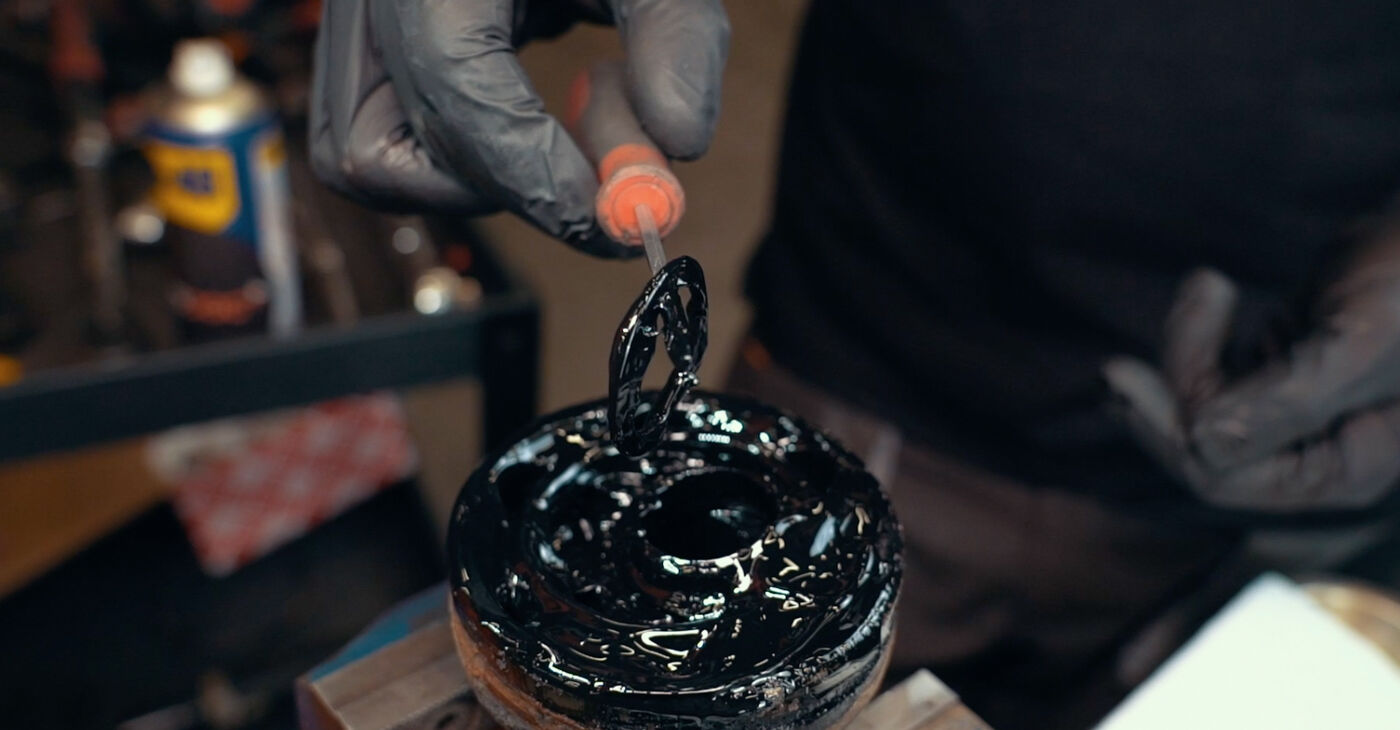
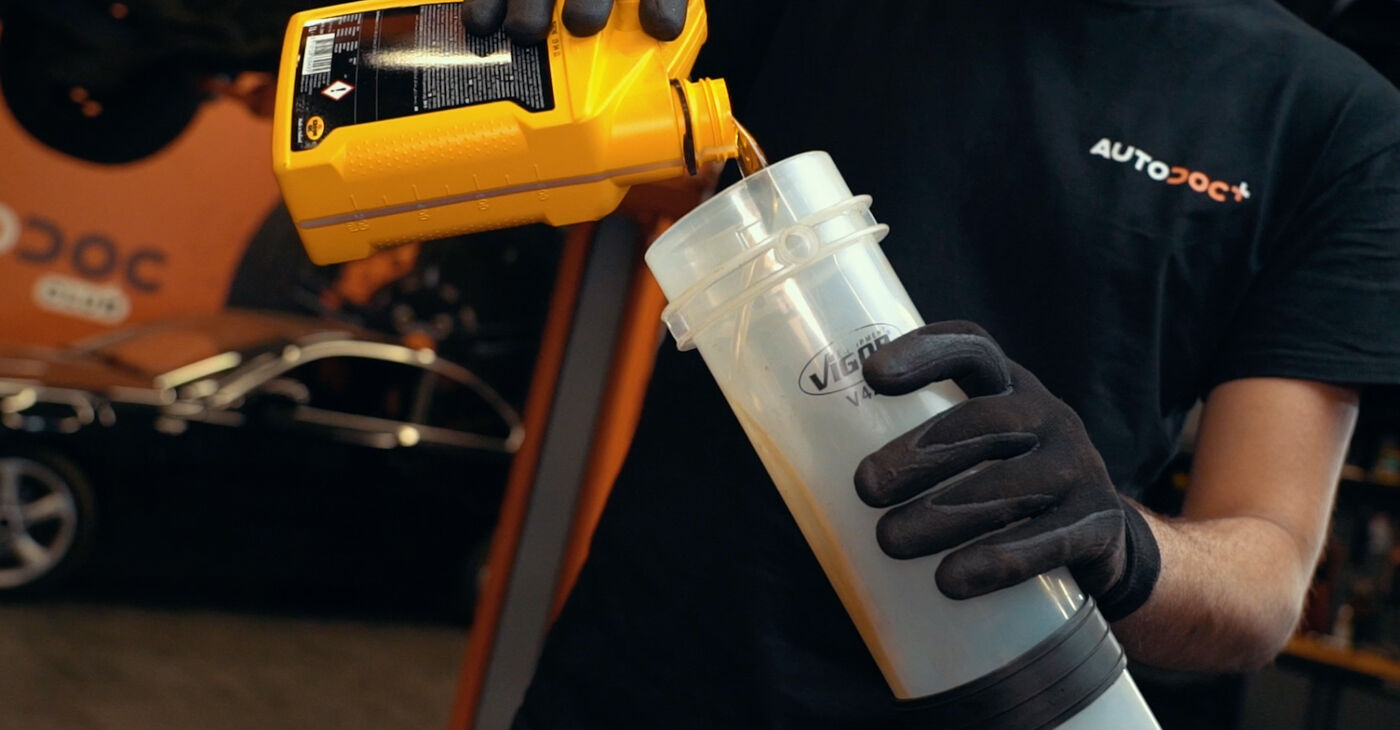
 Lubricate the new CV joint if there is no factory grease inside itAUTODOC experts recommend:Please note that the lubricants for the inner and outer CV joints have different compositions
 - 13.
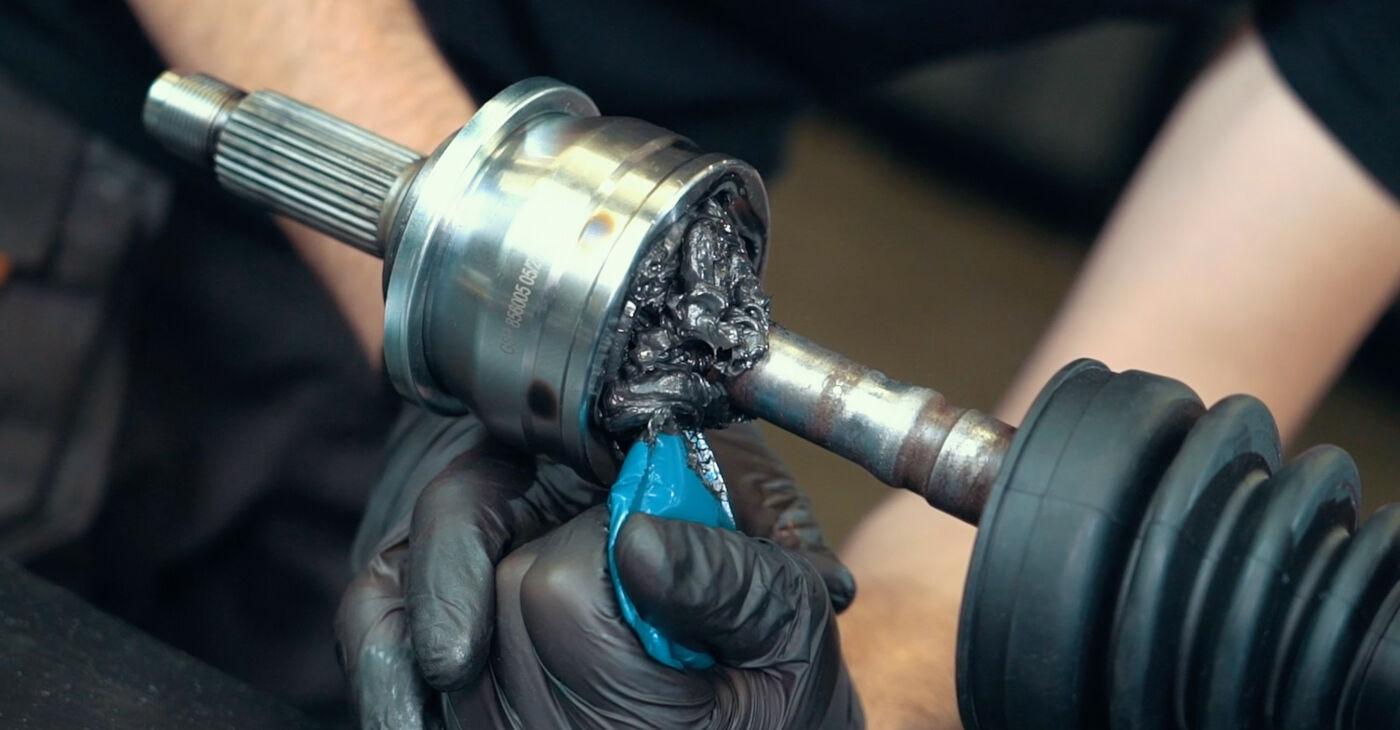
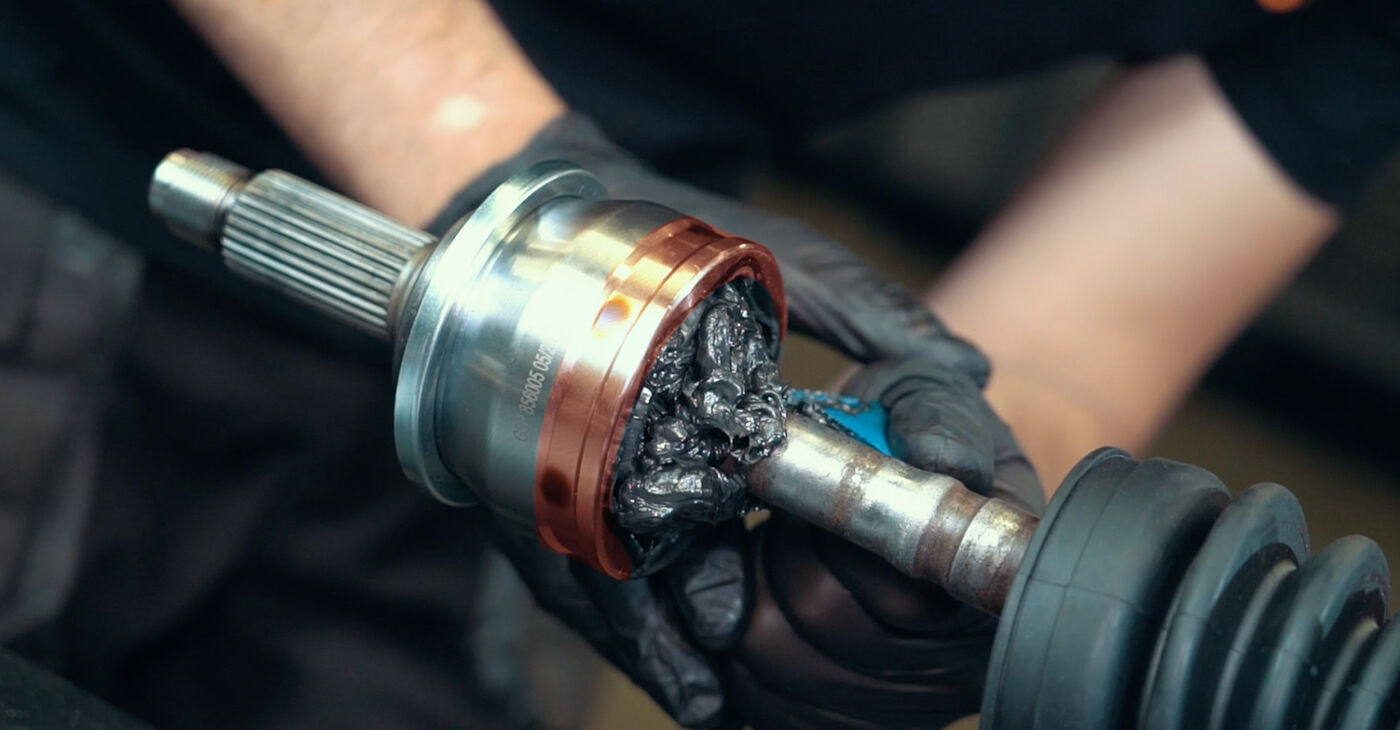
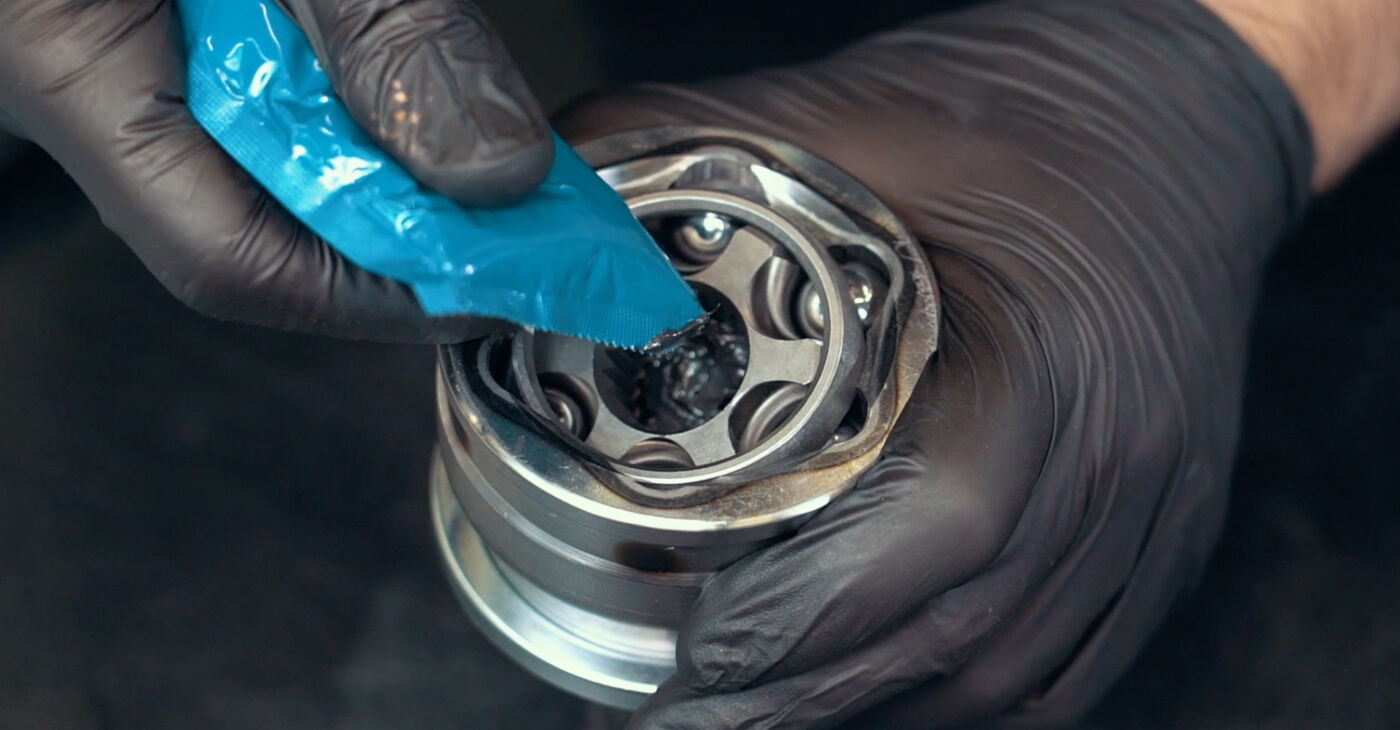 Apply most of the grease to the inside of the CV joint
 - 14.
 Tilt the joint in different directions to distribute the lubricant evenly
 - 15.
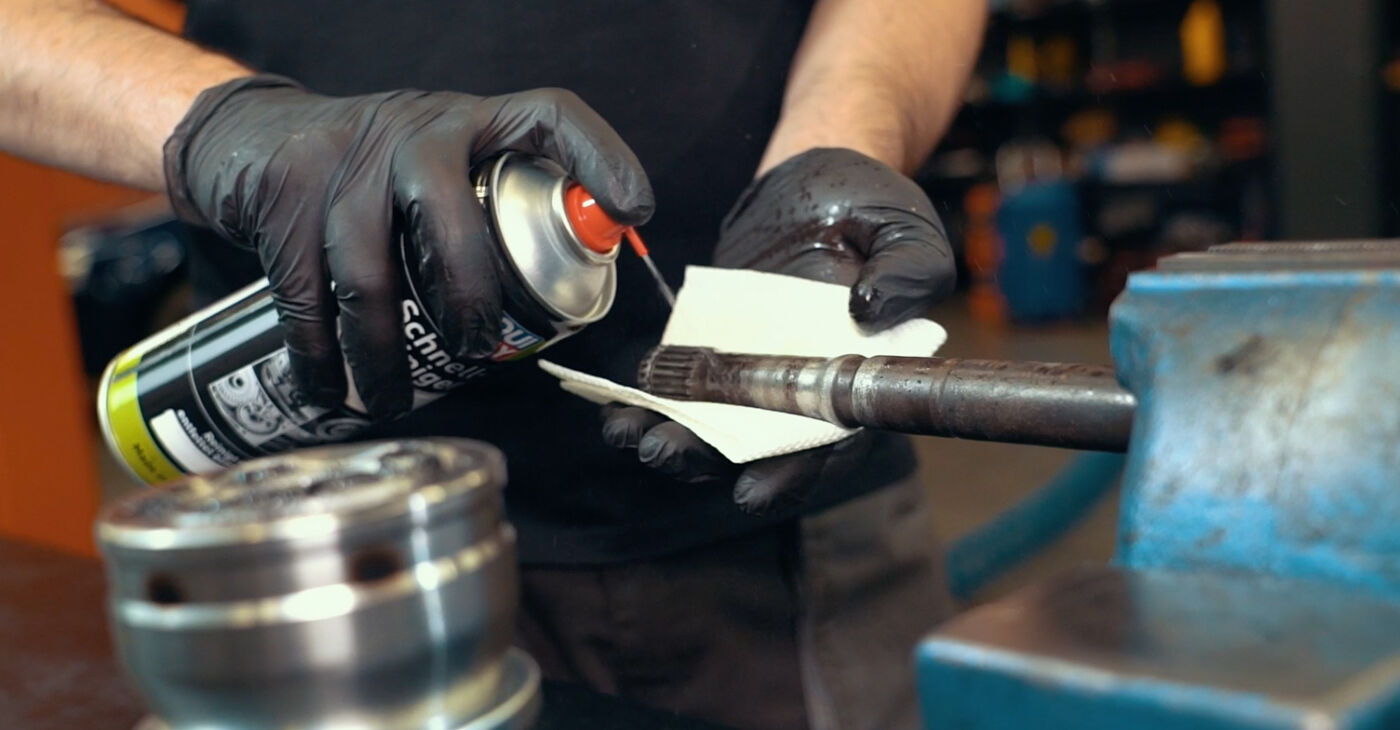 Degrease the CV boot’s mounting seat on the axle shaft
 - 16.
 Slide the dust boot further along the shaft, away from its mounting seat so that it does not get in the way while you are assembling the CV joint
 - 17.
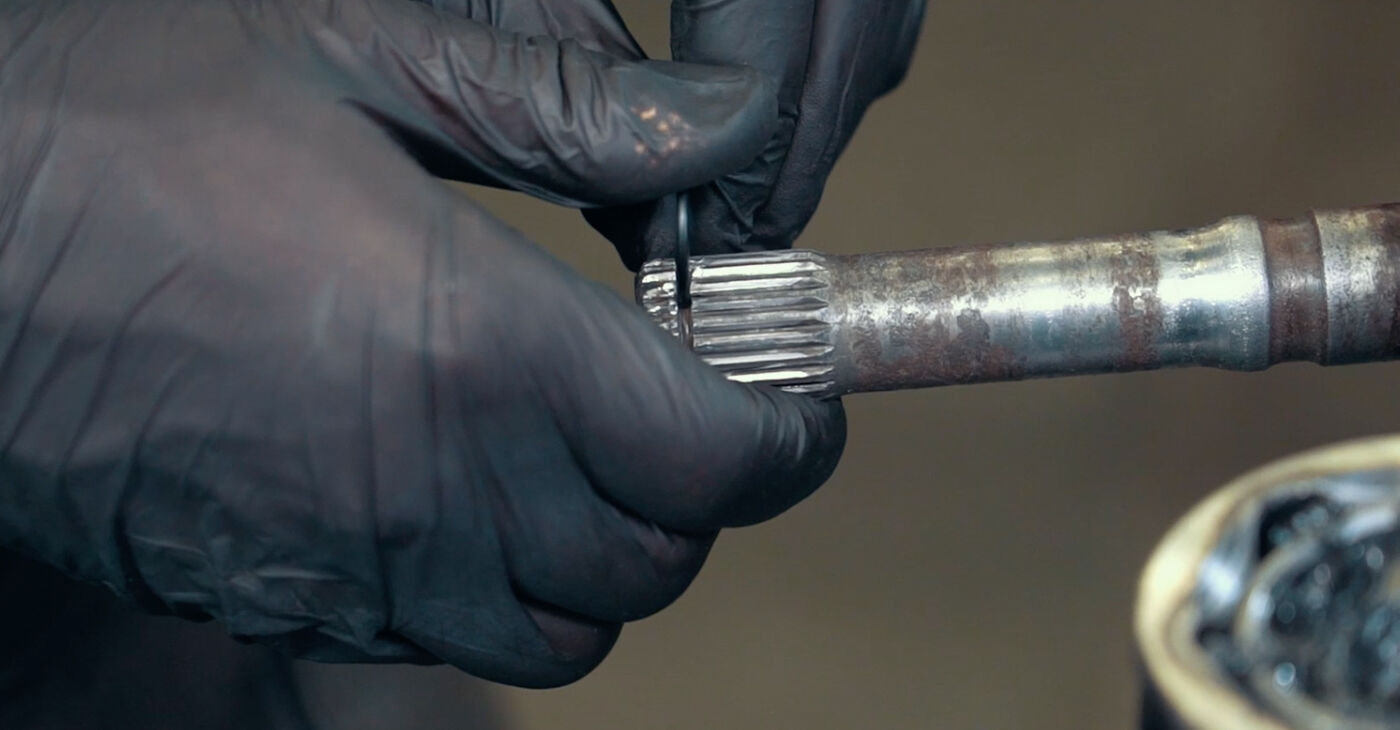 Install the circlip
 - 18.
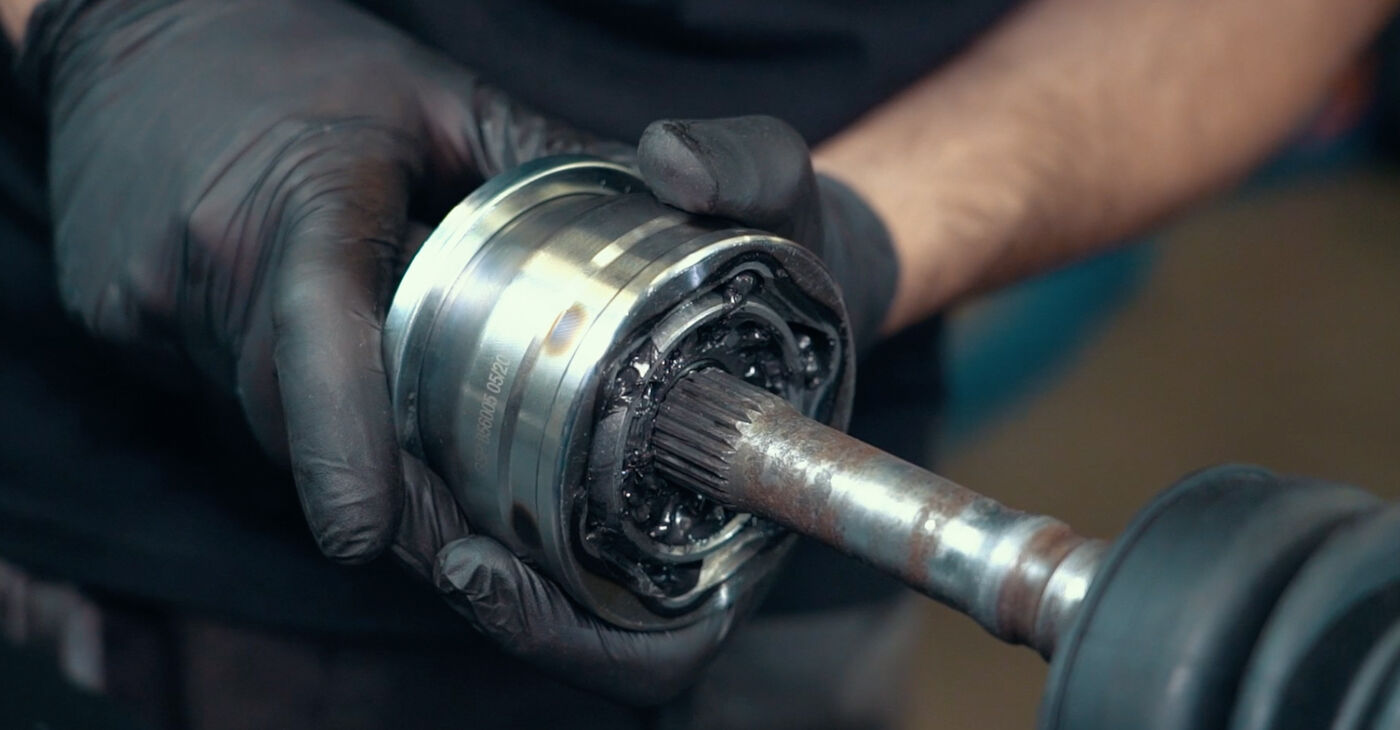 Place the CV joint on the end of the axle shaft
 - 19.
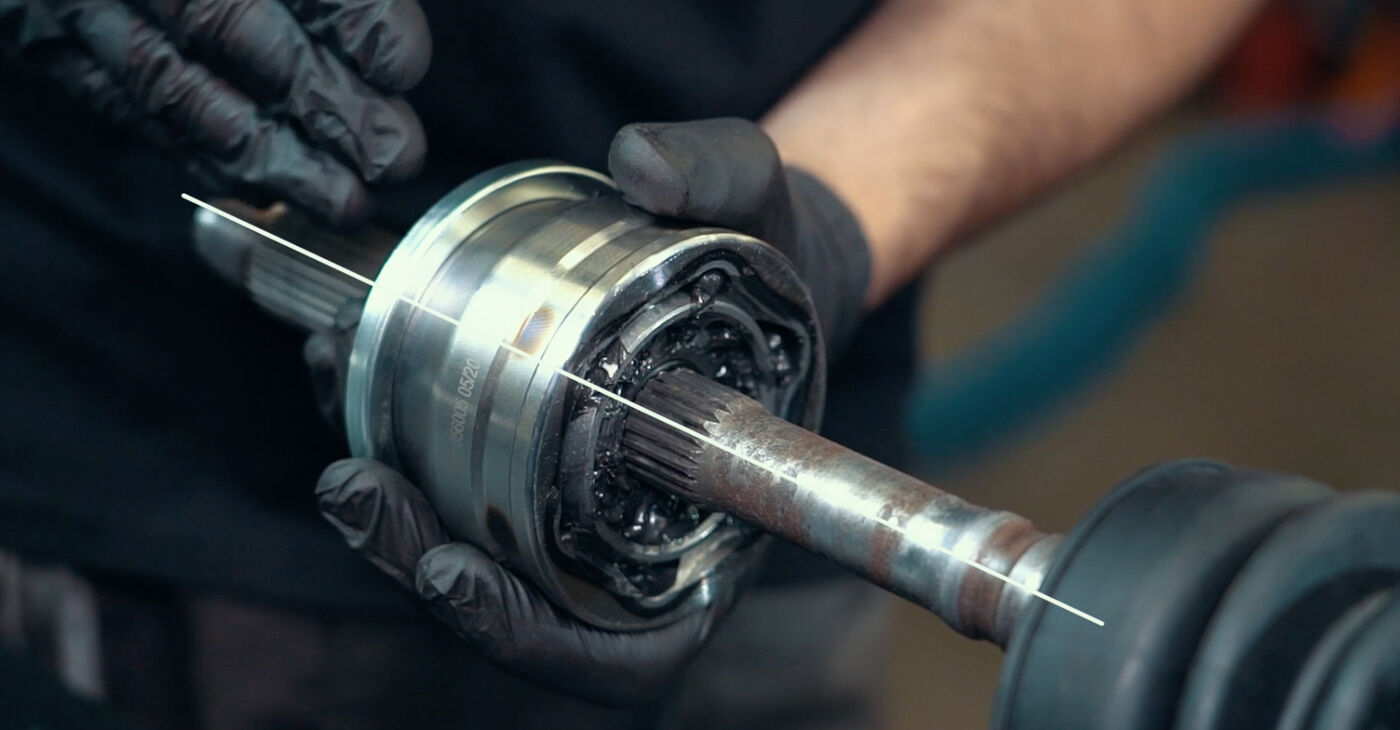 Make sure that the CV joint and the axle shaft are aligned
 - 20.
 Apply force to the joint’s housing using an extended driver
 - 21.
 Or hit the centre hole using a punch
 - 22.
 Continue doing so until the circlip is in the correct positionPlease note!When correctly seated, a small amount of axial play in the joint is acceptable
 - 23.
 Apply the remaining grease to the CV joint
 - 24.
 Prevent the grease from getting on the dust boot's mounting seat, otherwise the boot will not be secure
 - 25.
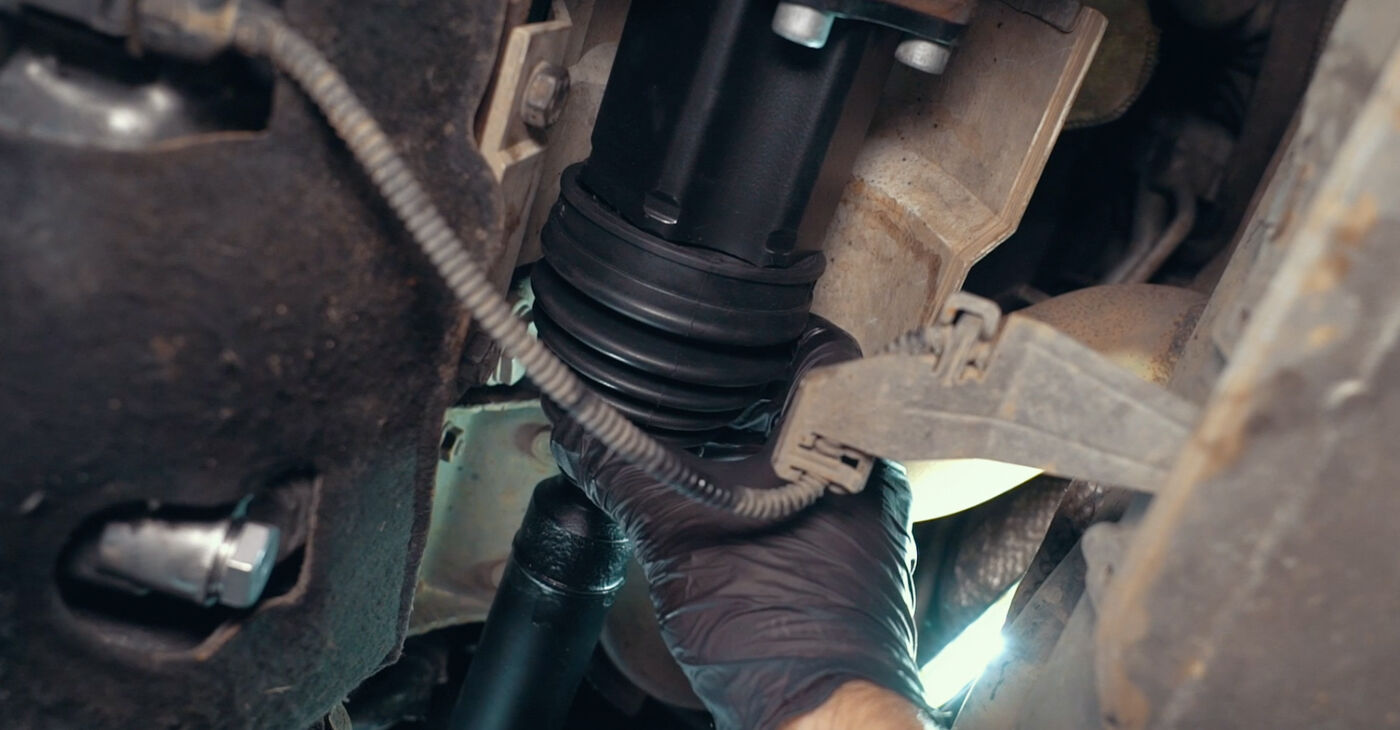
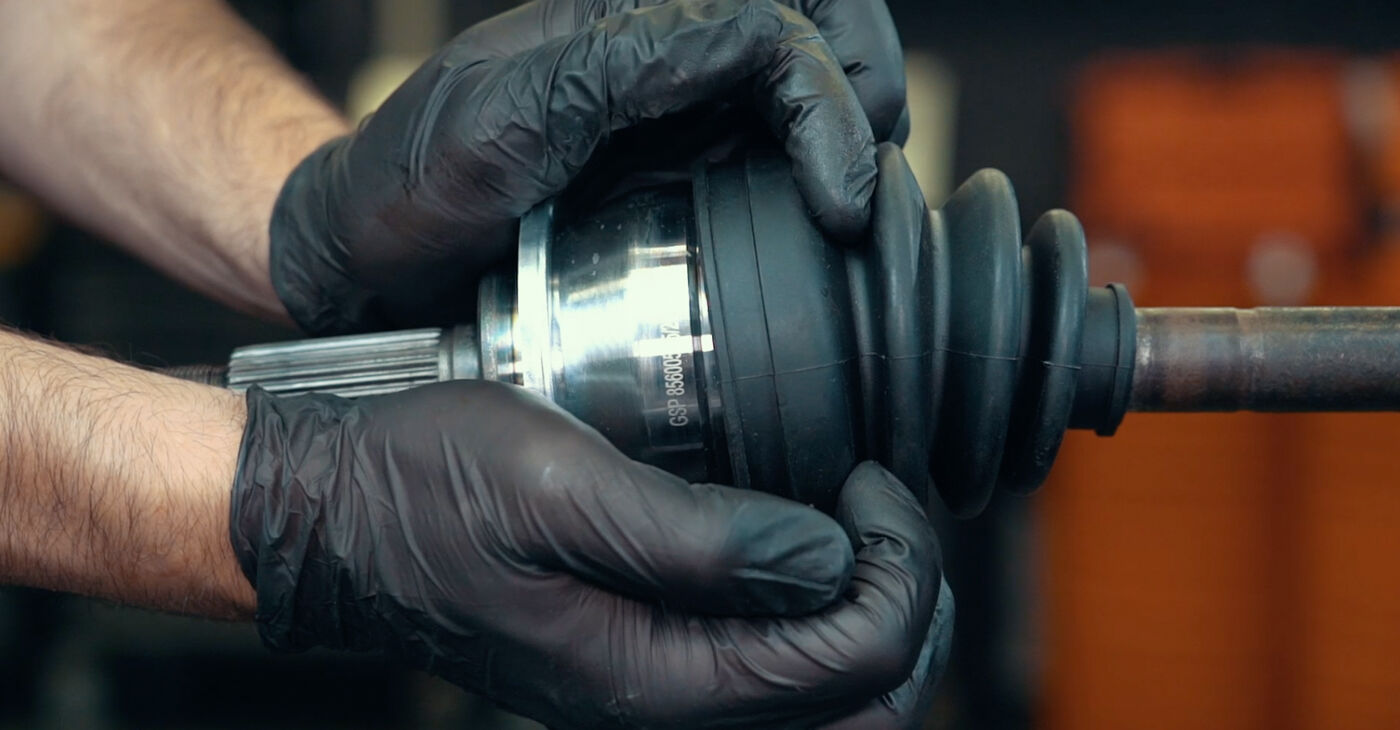 Carefully install the dust boot on its mounting seat
 - 26.
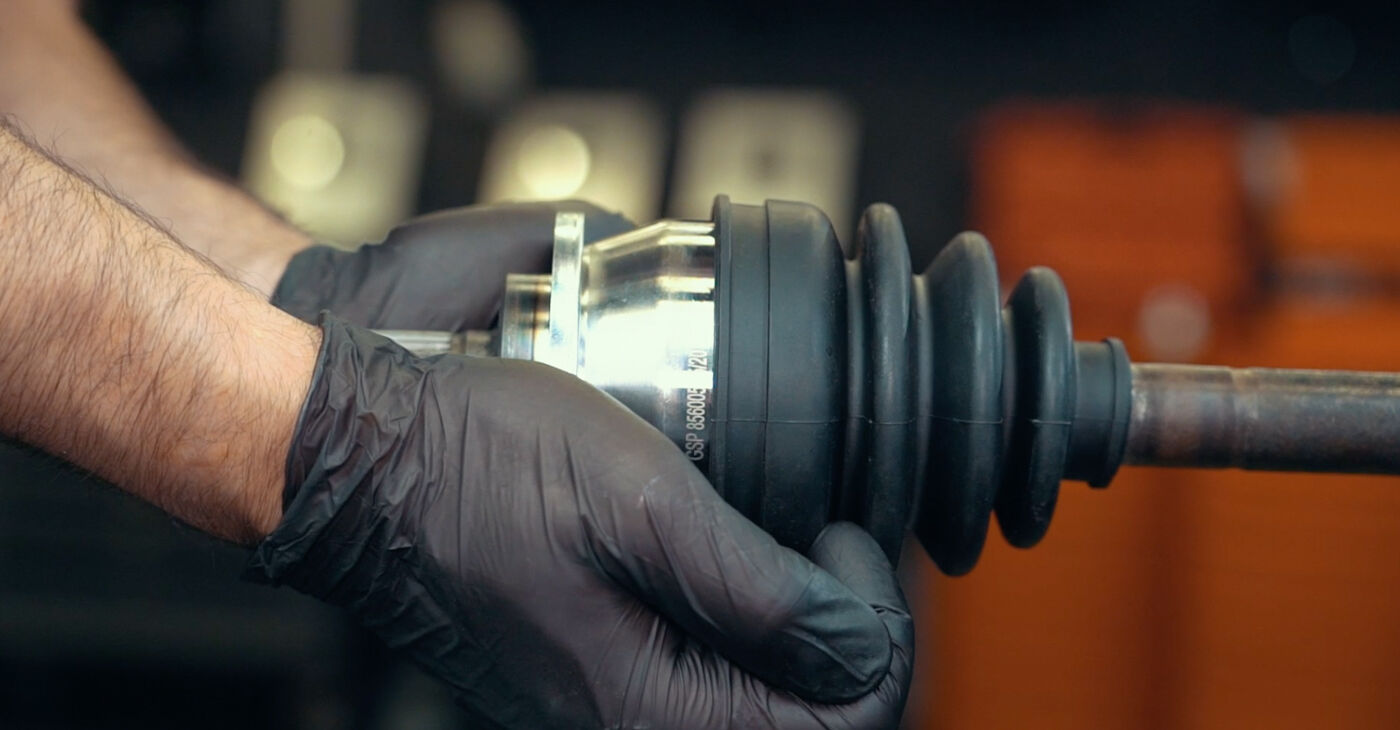 Check that it fits tightly around the CV joint housingCaution!The dust boot should not rotate
 - 27.
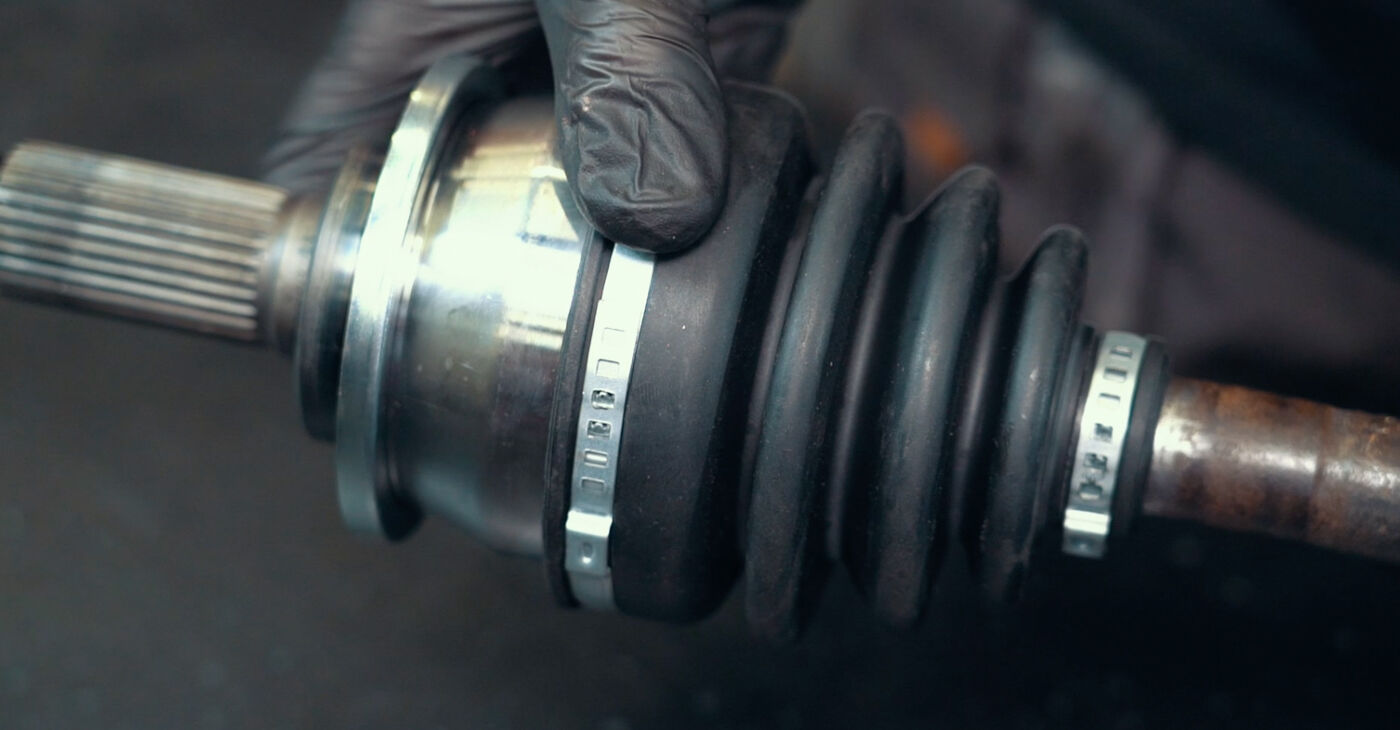 Make sure that the clamps are positioned correctly and properly aligned
 - 28.
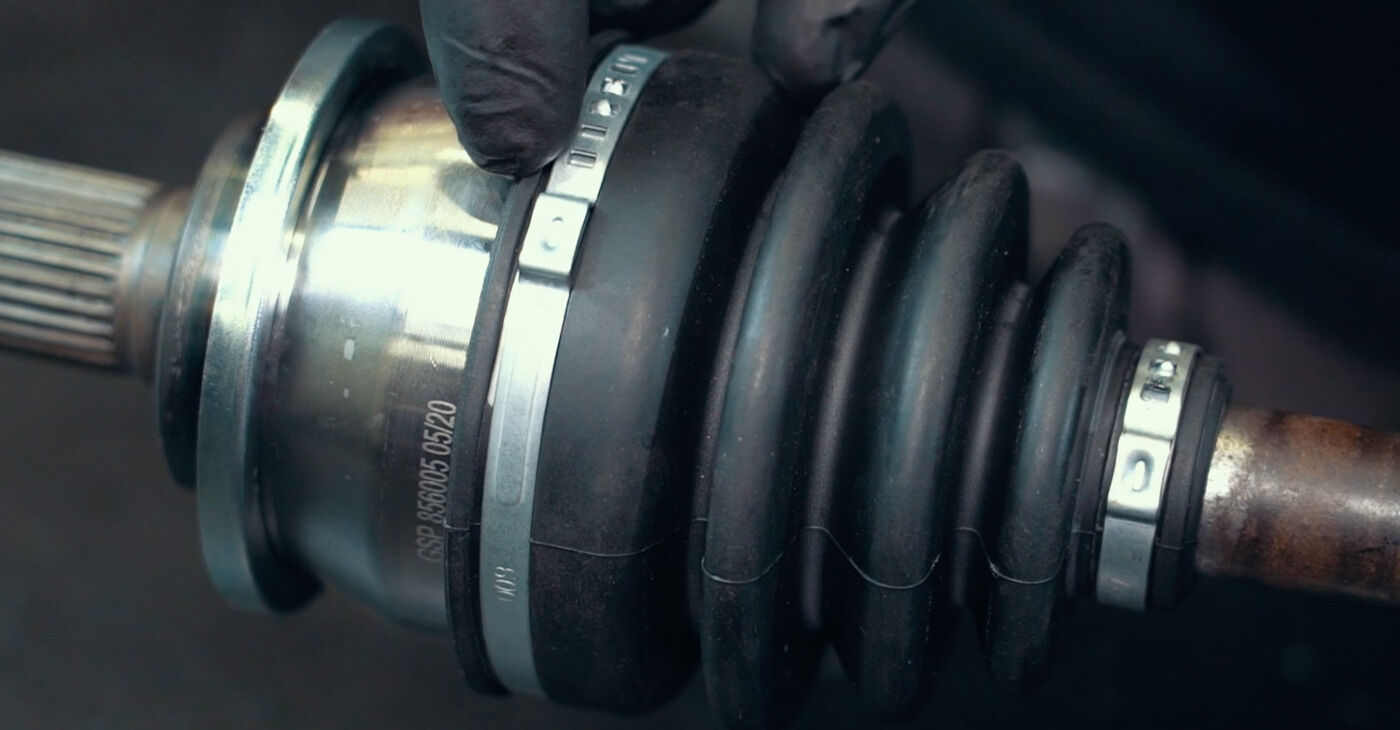 To avoid damaging the dust boot, do not overtighten the clampsPlease note!In most cases, you may need a special tool to tighten the clamps
 - 29.
 Check that the dust boot is seated properly
 - 30.
 Turn the boot inside out to avoid smearing it with grease when installing the CV joint


Was this manual helpful?
Please rate this manual on a scale from 1 to 5. If you have any questions, feel free to ask us.
Users voted – 1
Unlock your car maintenance assistant!
Track expenses, manage logs, schedule replacements, and more.
Popular Drive Shaft and CV Joint maintenance tutorials
 Free download PDF
 1.4 MB
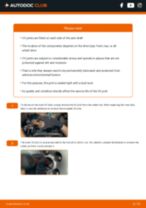 Free download PDF2.94 MB
 Free download PDF2.8 MB
 Free download PDF2.87 MB
 Free download PDF2.88 MB
 Free download PDF2.89 MB
 Free download PDF2.89 MB
 Free download PDF2.88 MB
 Free download PDF3.14 MB
Top auto repair manuals
 Free download PDF1.51 MB
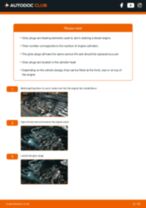 Free download PDF1.62 MB
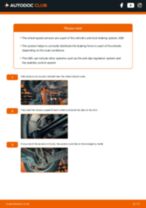 Free download PDF1.64 MB
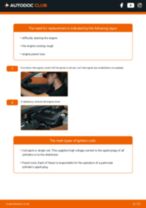 Free download PDF1.98 MB
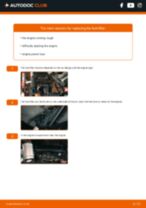 Free download PDF2 MB
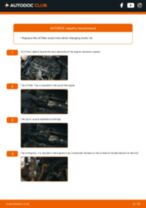 Free download PDF2.82 MB
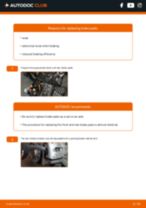 Free download PDF2.84 MB
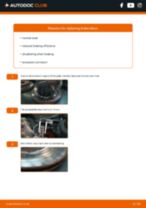 Free download PDF2.92 MB
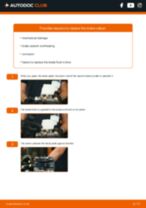 Free download PDF2.91 MB


Time to replace parts? Get even better deals in our Shop app.

SCAN ME