Disclaimer

How to change brake fluid on a car – replacement tutorial
downloads:
2179
Views:
14447
How to change brake fluid [AUTODOC TUTORIAL]
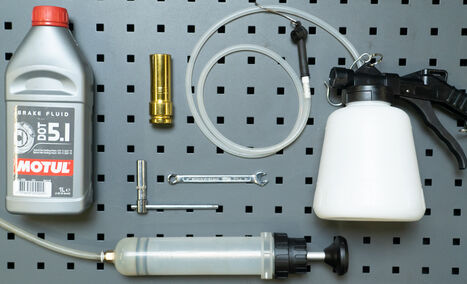
New brake fluid of a suitable type
Tools to loosen the bleeder screw
A wrench to remove the wheel fasteners
A syringe to extract the brake fluid from the expansion tank
A brake bleeder
You will also need a car lift or jack with jack stands and wheel chocks
Alternatively, you can place the vehicle on a ramp or over an inspection pit

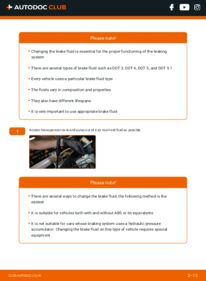
Please note!
- Changing the brake fluid is essential for the proper functioning of the braking system
- There are several types of brake fluid such as DOT 3, DOT 4, DOT 5, and DOT 5.1
- Every vehicle uses a particular brake fluid type
- The fluids vary in composition and properties
- They also have different lifespans
- It is very important to use appropriate brake fluid
- 1.
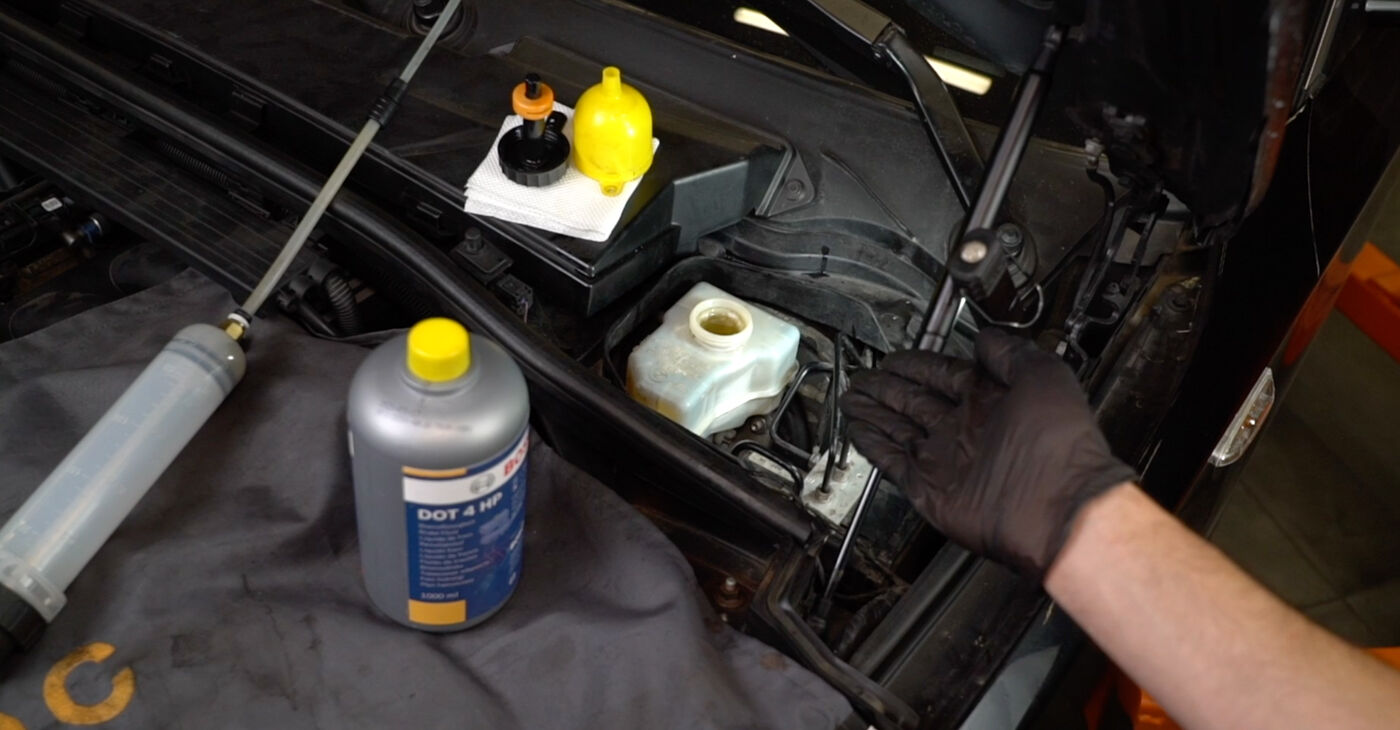
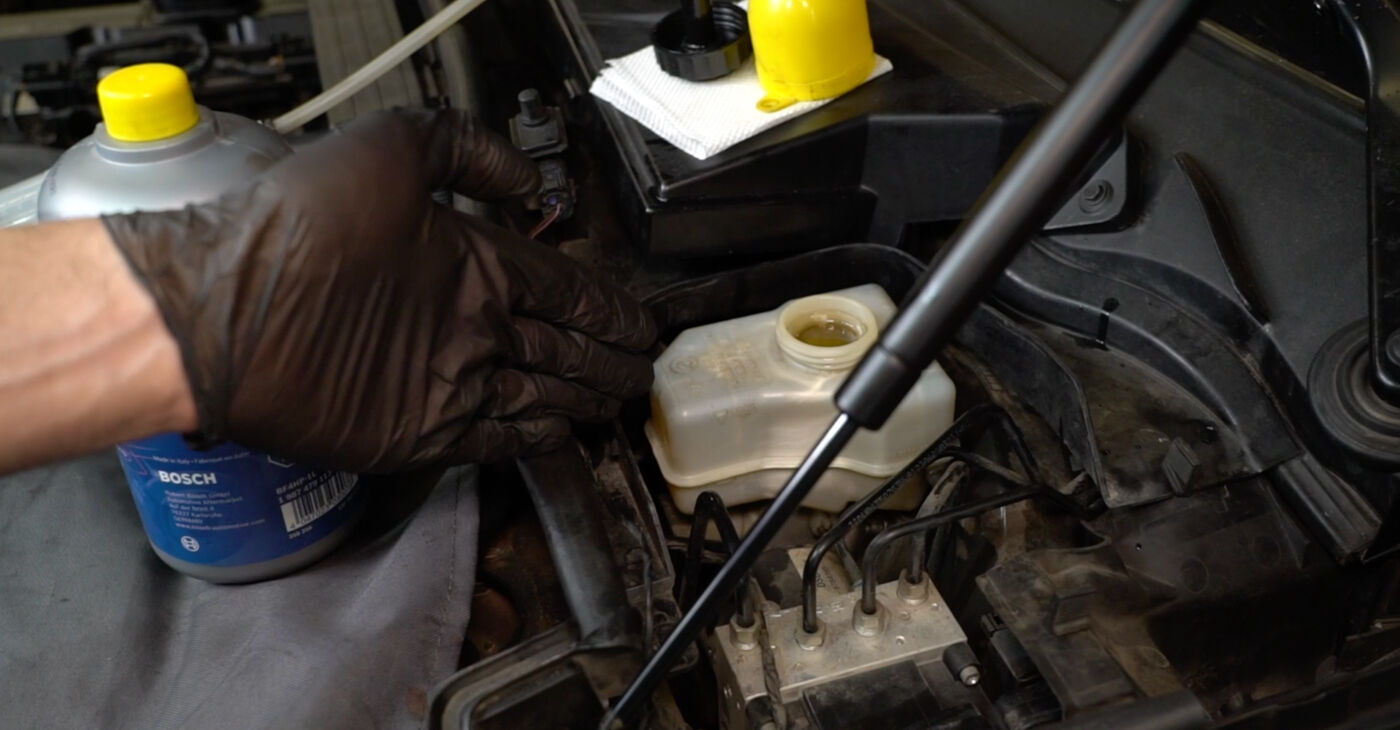
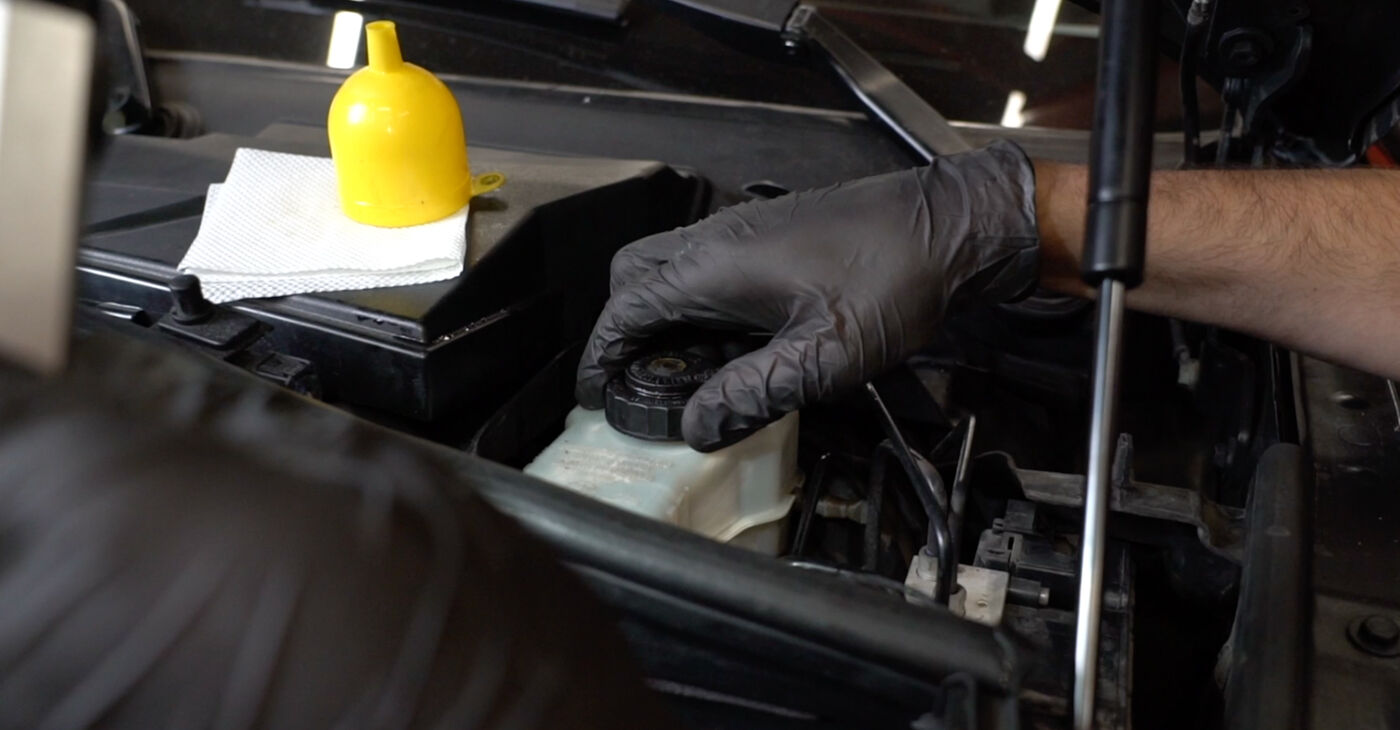
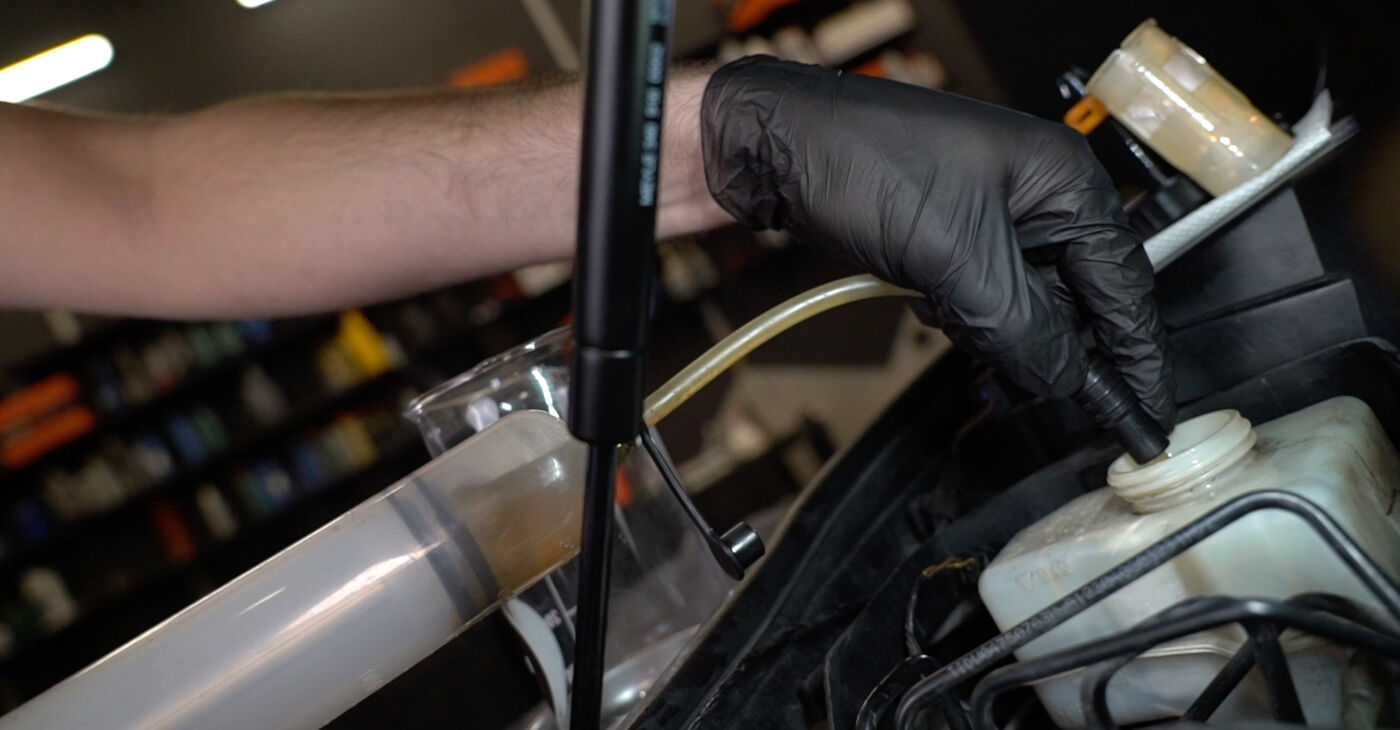 Access the expansion tank and pump out of it as much old fluid as possiblePlease note!There are several ways to change the brake fluid; the following method is the easiestIt is suitable for vehicles both with and without ABS or its equivalentsIt is not suitable for cars whose braking system uses a hydraulic pressure accumulator. Changing the brake fluid on this type of vehicle requires special equipment
 - 2.
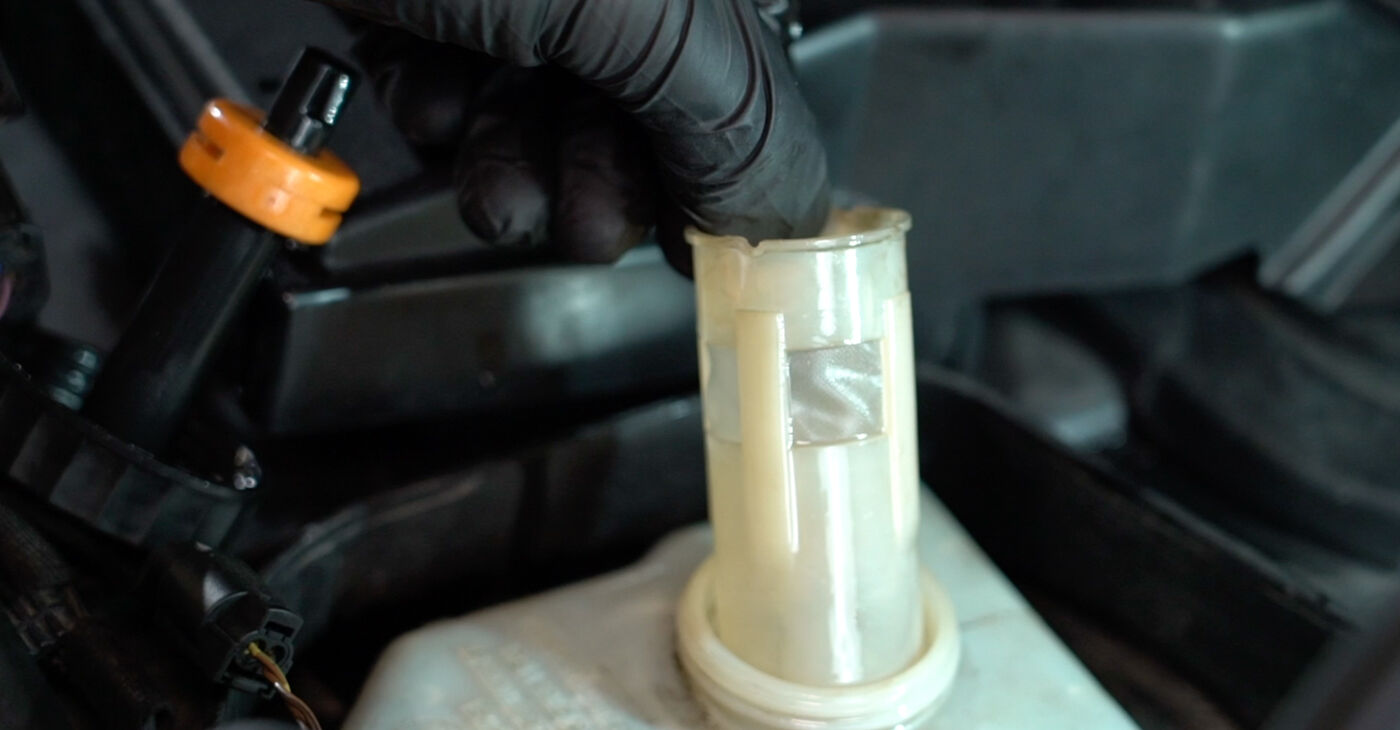 Remove the strainer that prevents dirt from entering the tank
 - 3.
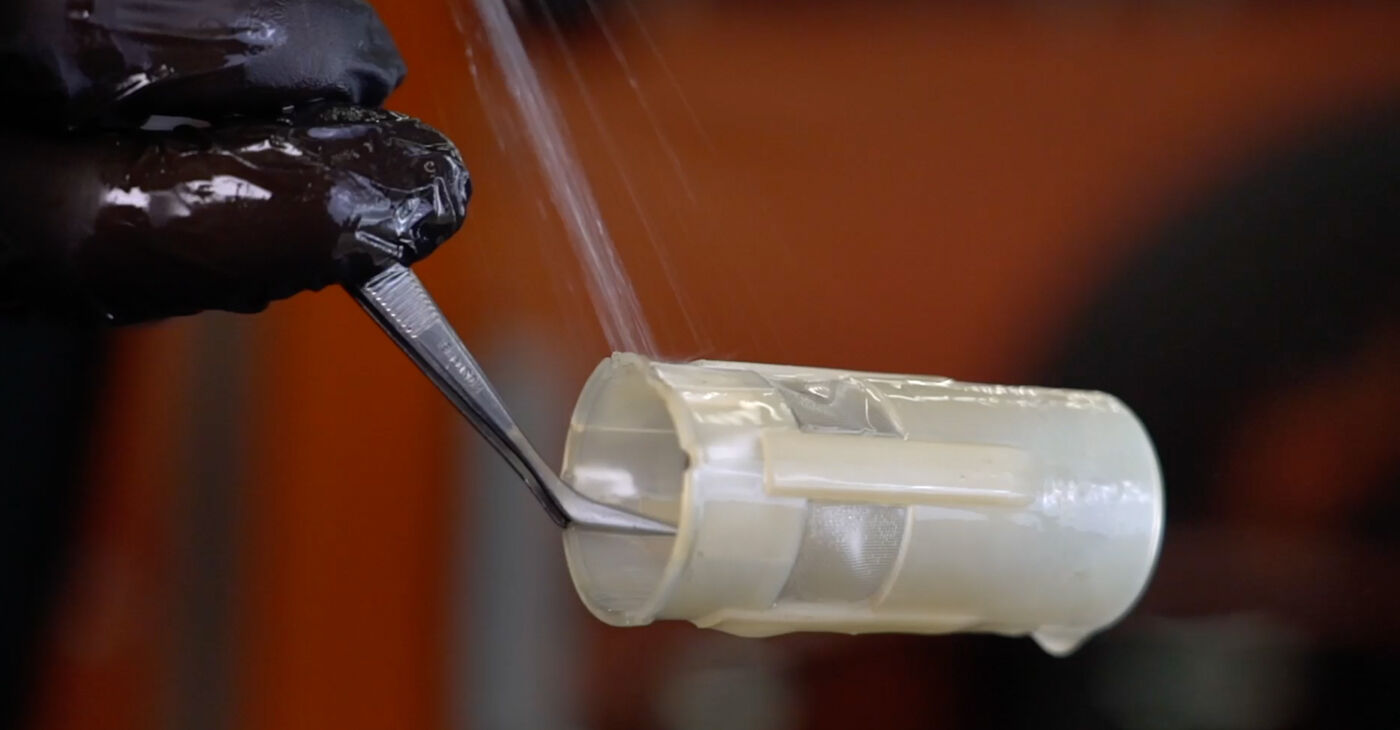 Rinse it, dry it, and put it back in placeAUTODOC recommends:Take care to prevent dirt from entering the expansion tank
 - 4.
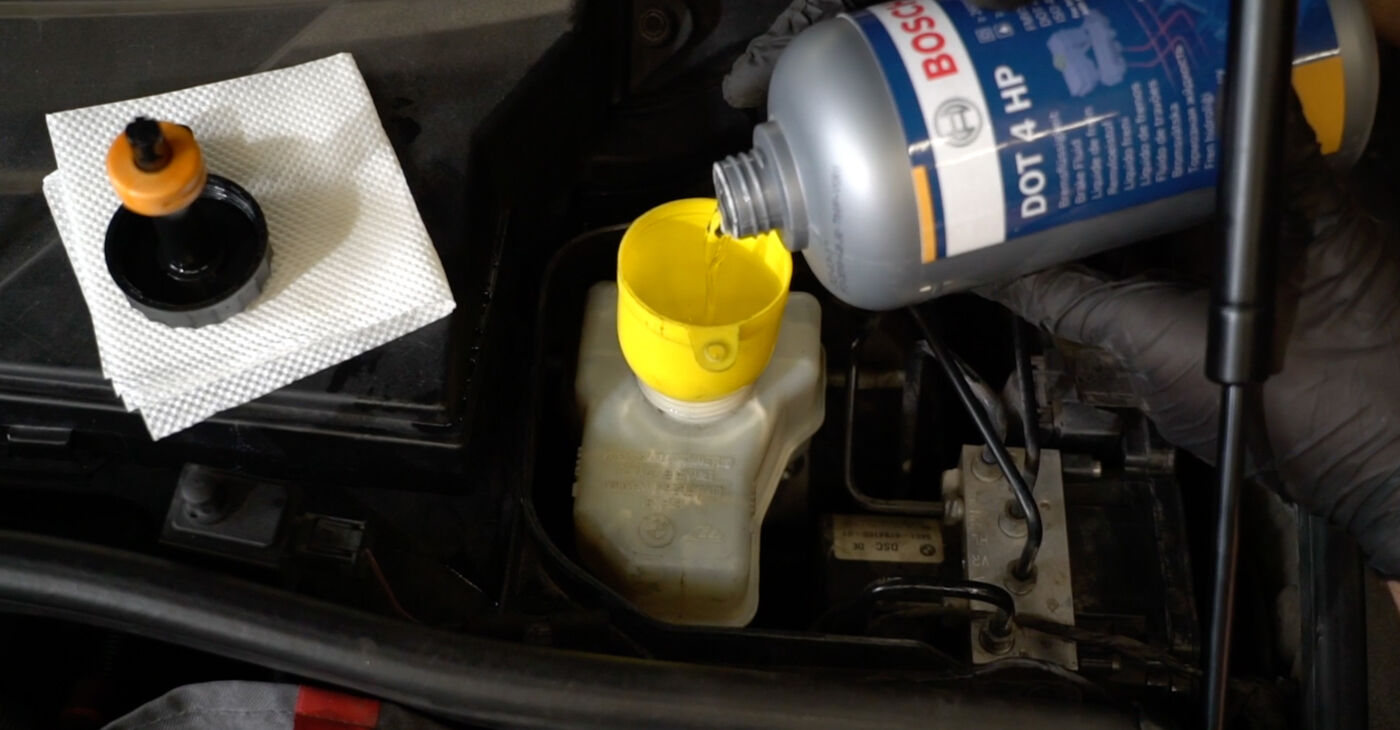
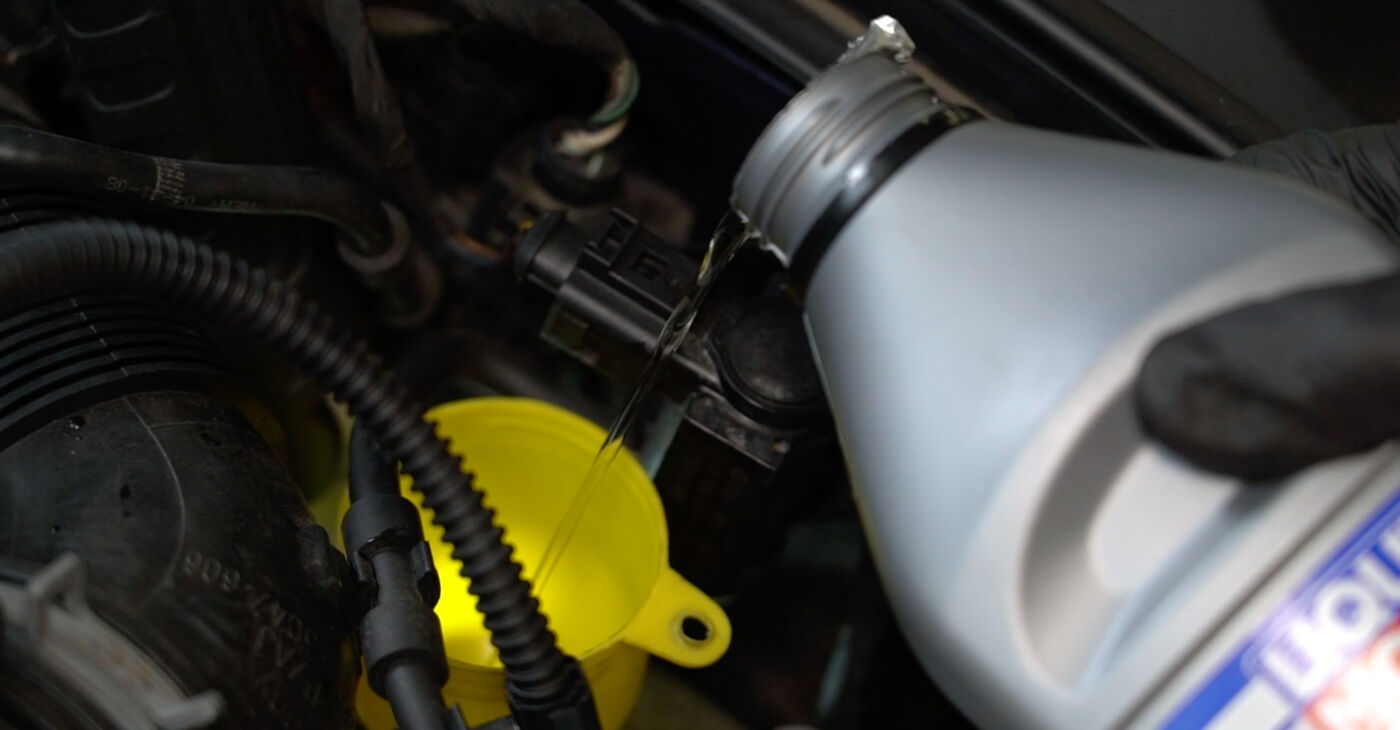
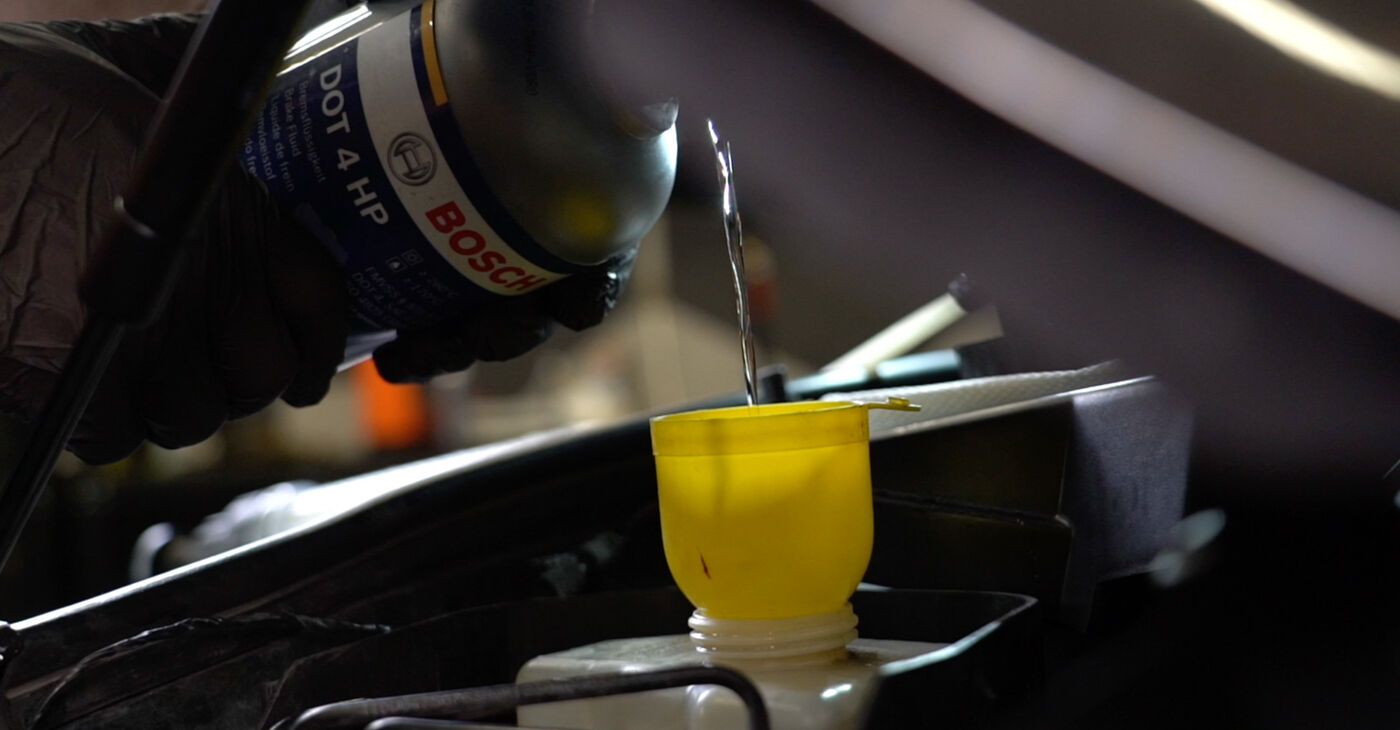 Pour new brake fluid into the reservoir
 - 5.
 During replacement, constantly check the fluid level and top it up from time to time
 - 6.
 Extract the old fluid from the tank and fill it with new fluidImportant!Change your brake fluid in accordance with the manufacturer's recommended scheduleOnly use new brake fluid
 - 7.
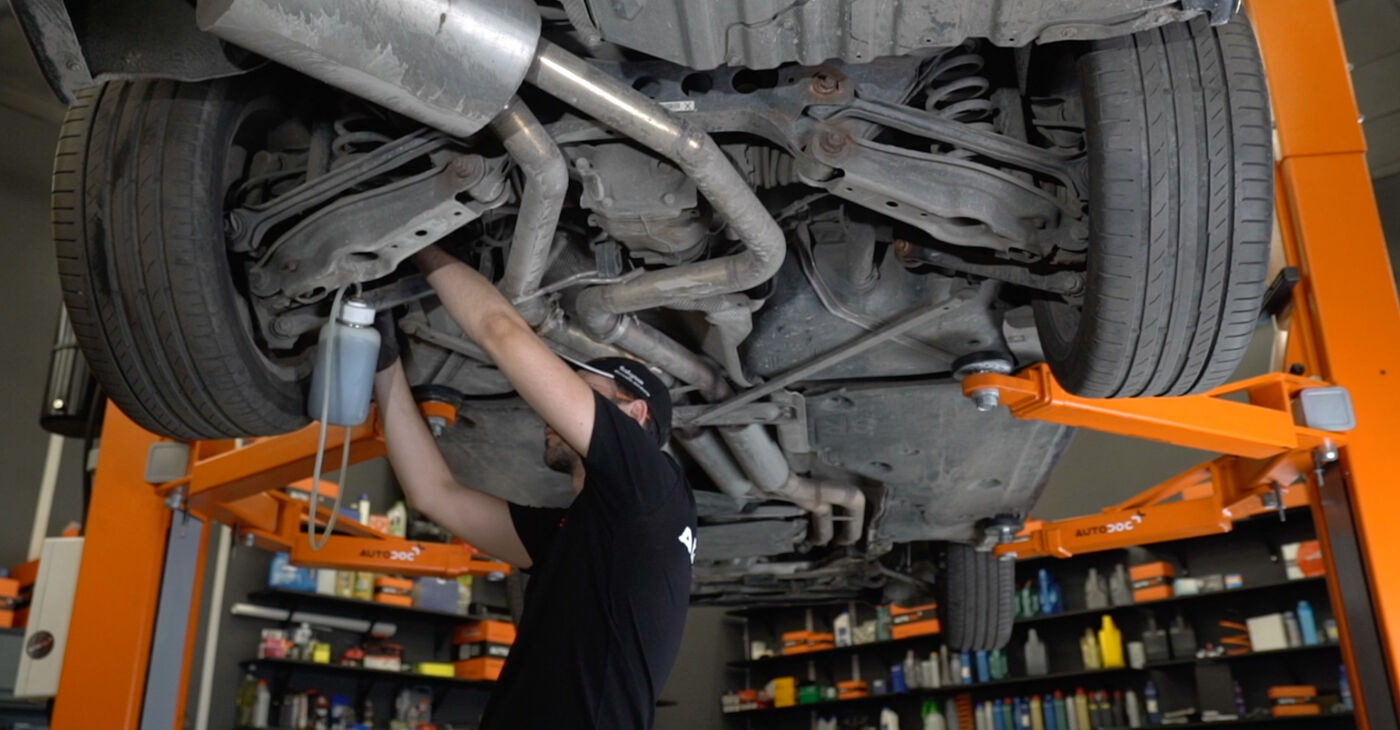
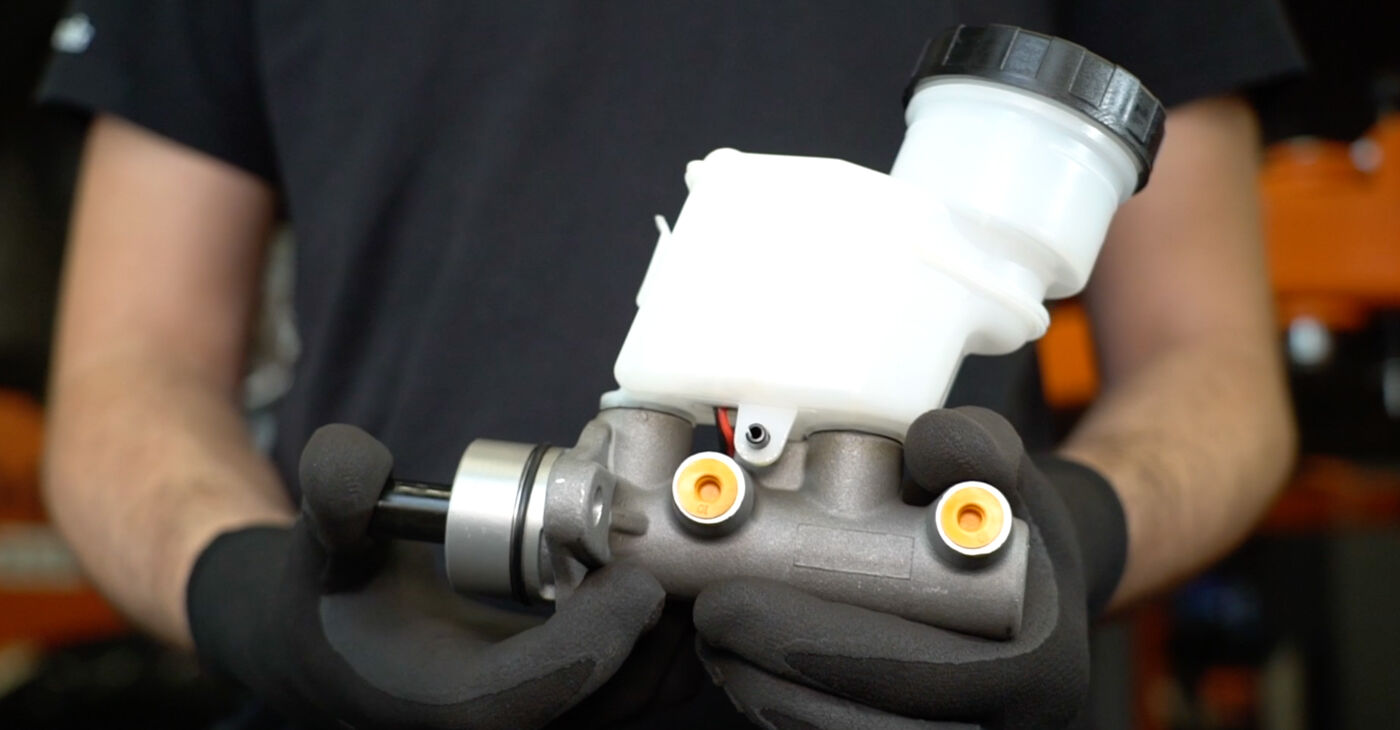 Use the brake pedal and brake master cylinder to force any remaining old fluid out of the circuits
 - 8.
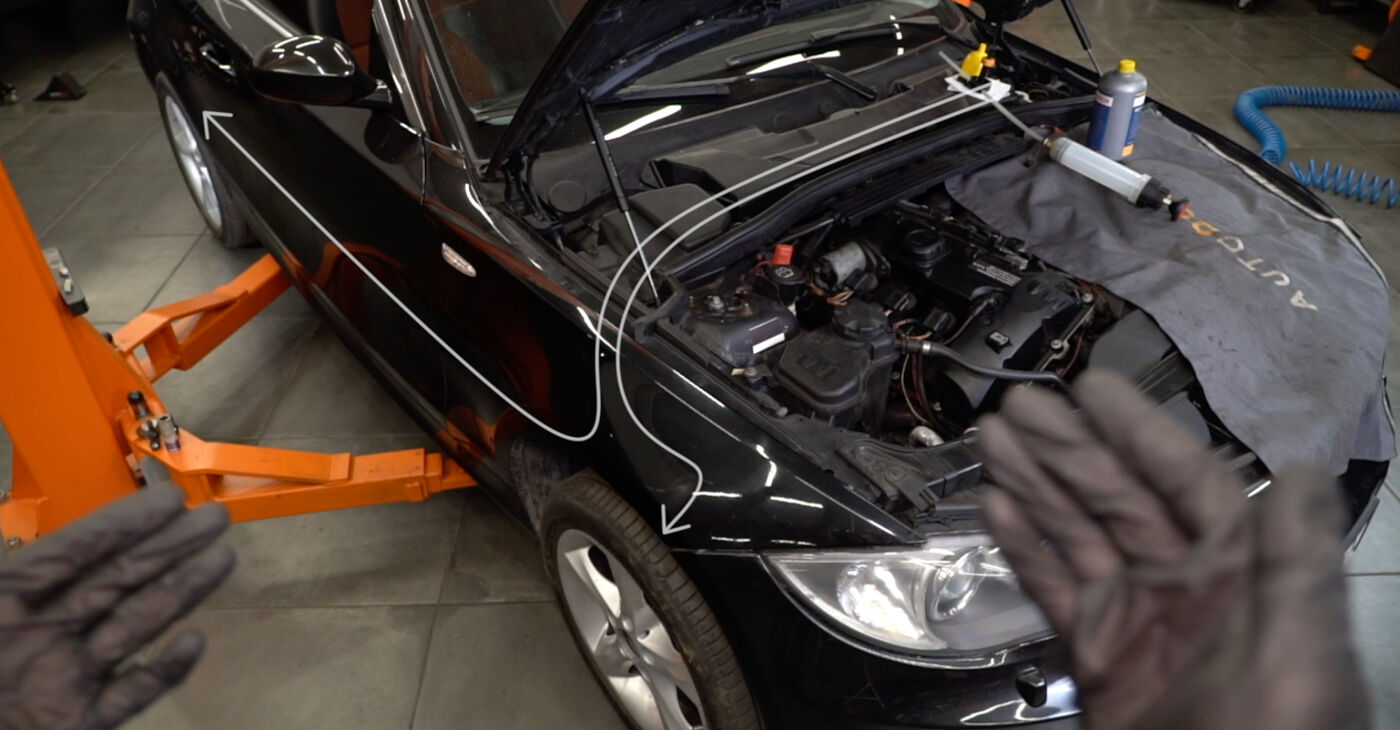 Start bleeding the system from the longest brake circuit which extends farthest from the tankImportant!For left-hand drive vehicles, the most distant point is the rear right wheelThe order of bleeding depends on the brake line lengthTake into account the location of the ABS unit and its distance from the brake master cylinder
 - 9.
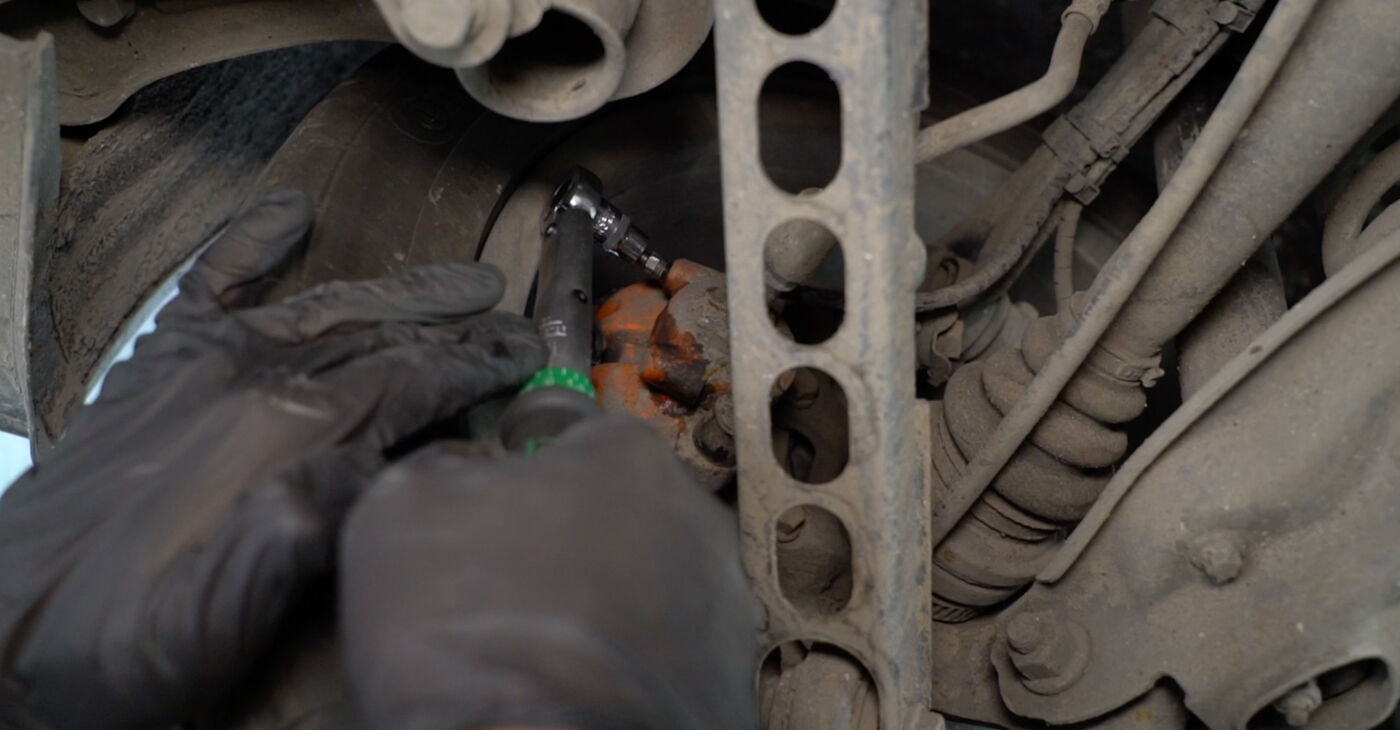
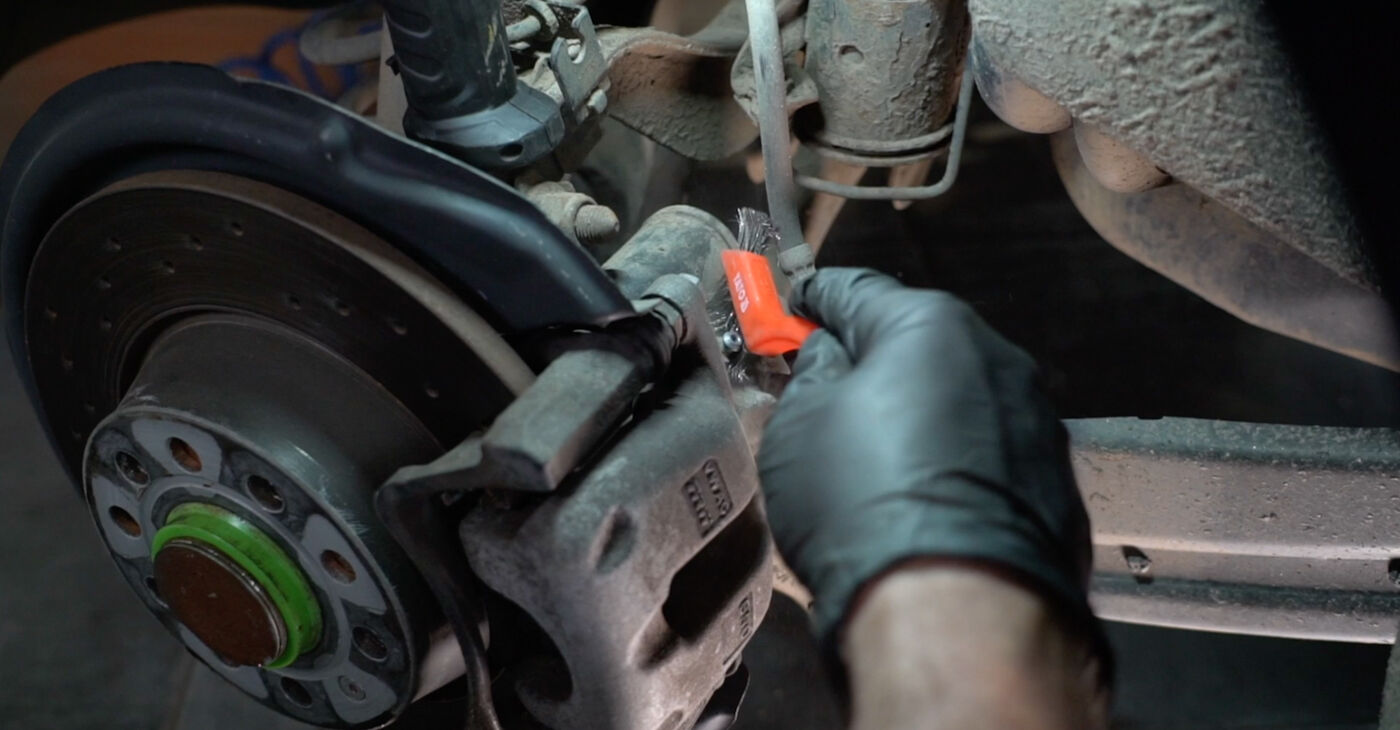
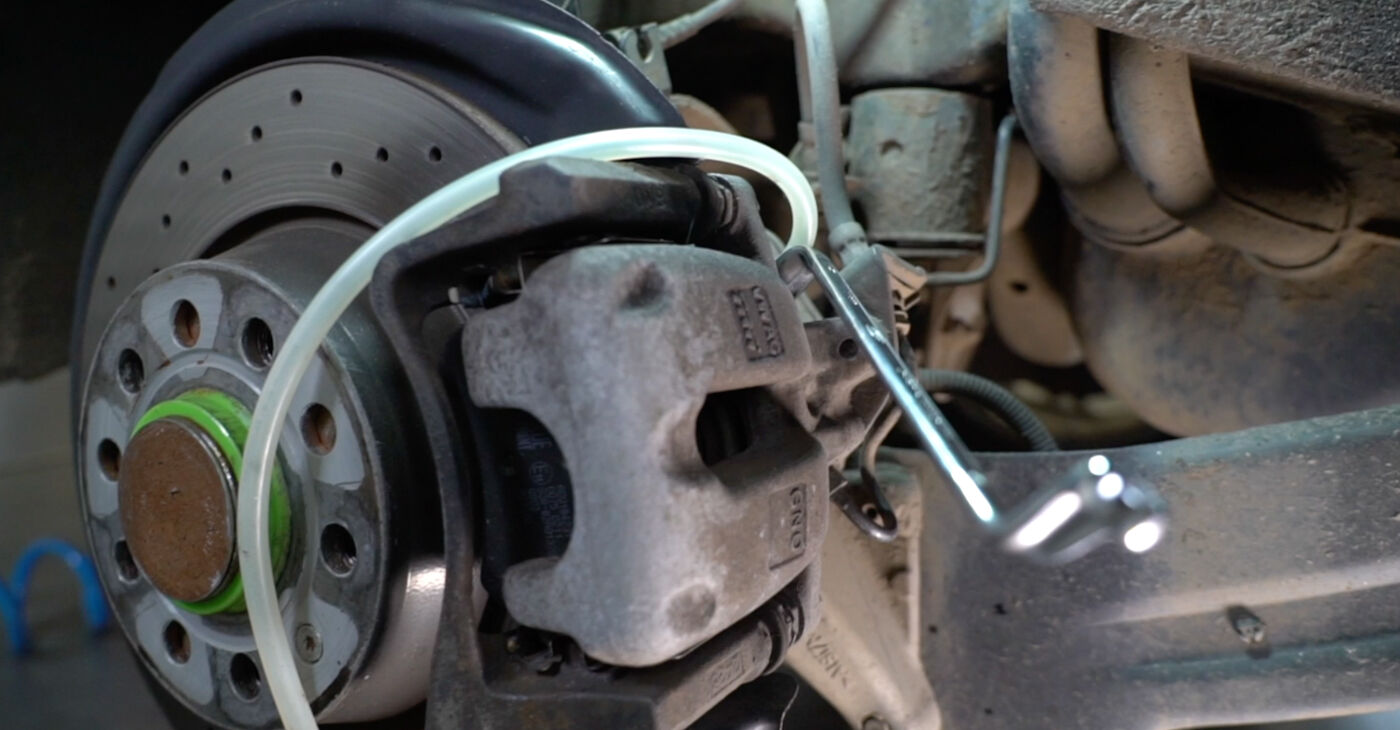
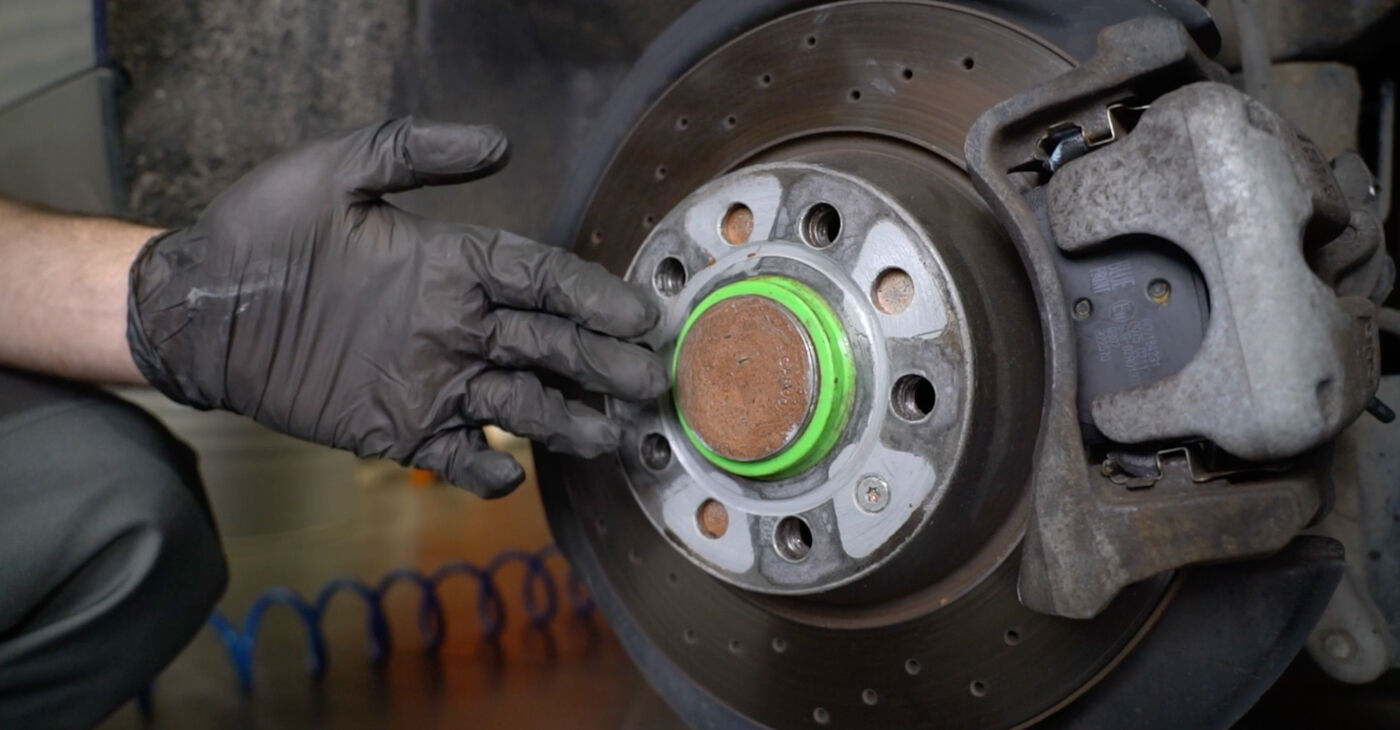
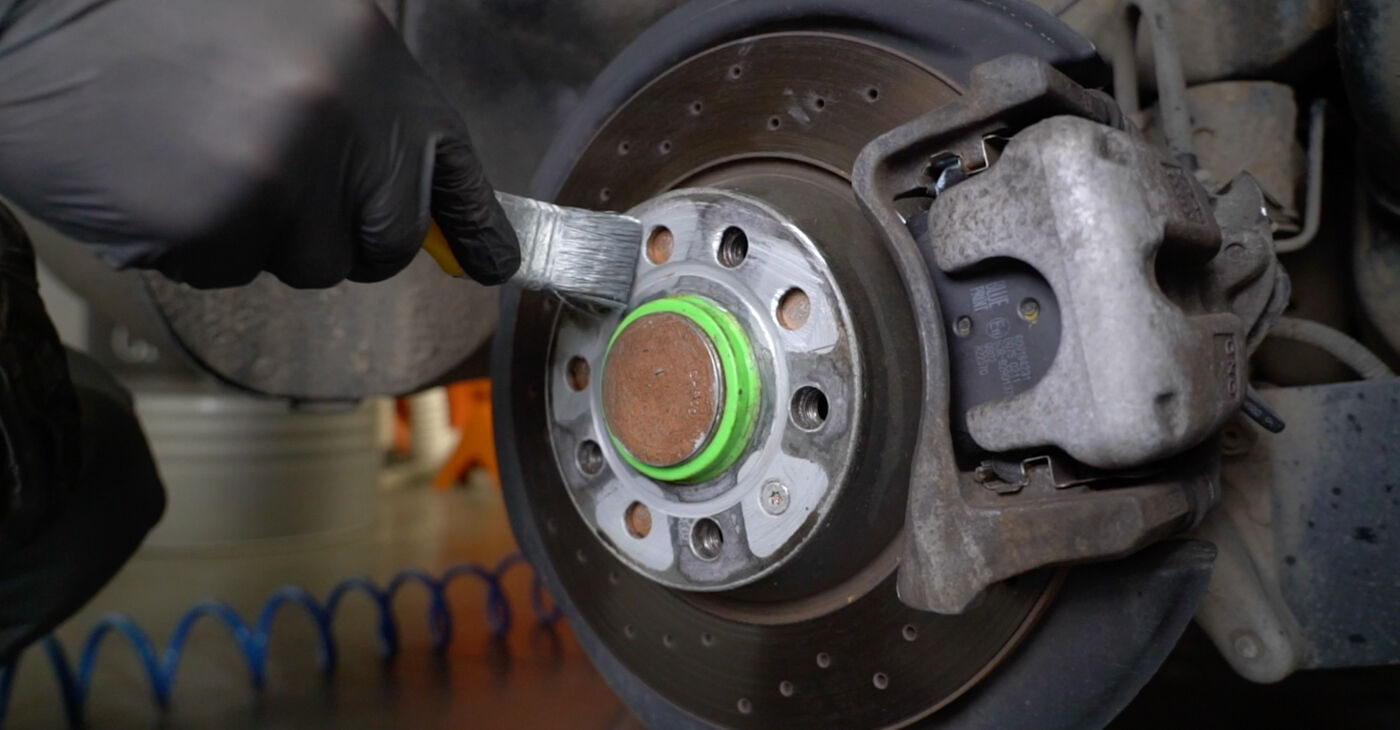
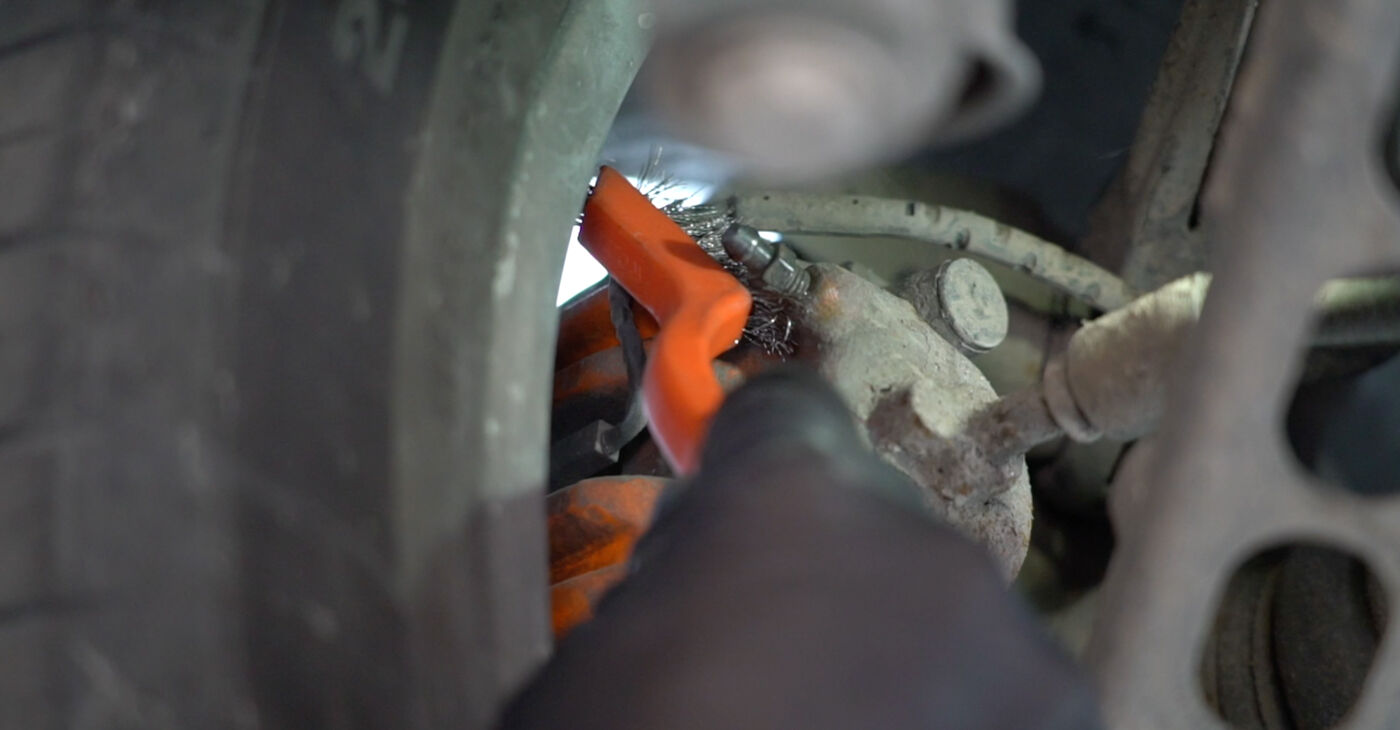 Access the bleeder screw on the right rear wheel and clean itPlease note!The procedure for brake system bleeding varies depending on whether you have someone to assist youWhen bleeding the brake system on your own, you will need a special tool. It has a check valve that prevents air from entering the system when the pedal is released
 - 10.
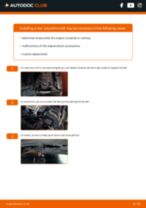
 Position the brake bleeder close to the caliper
 - 11.
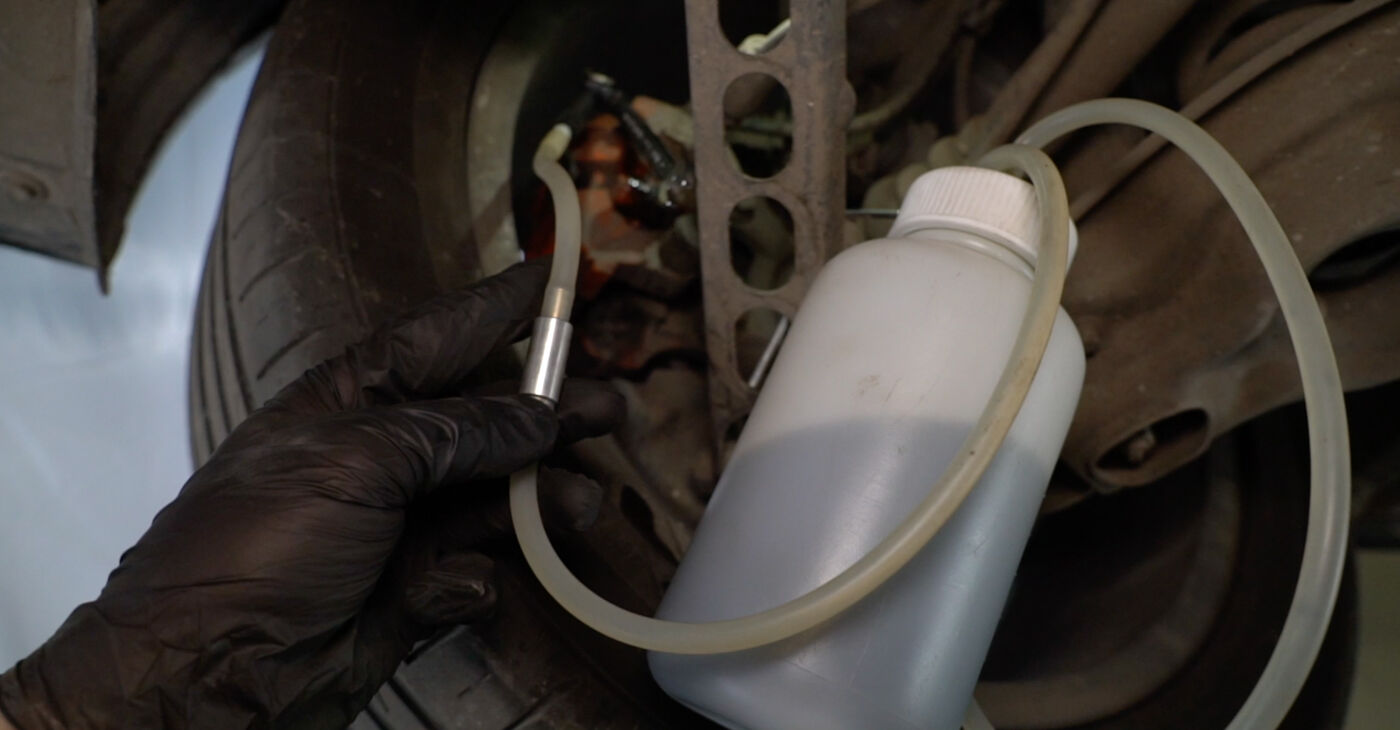
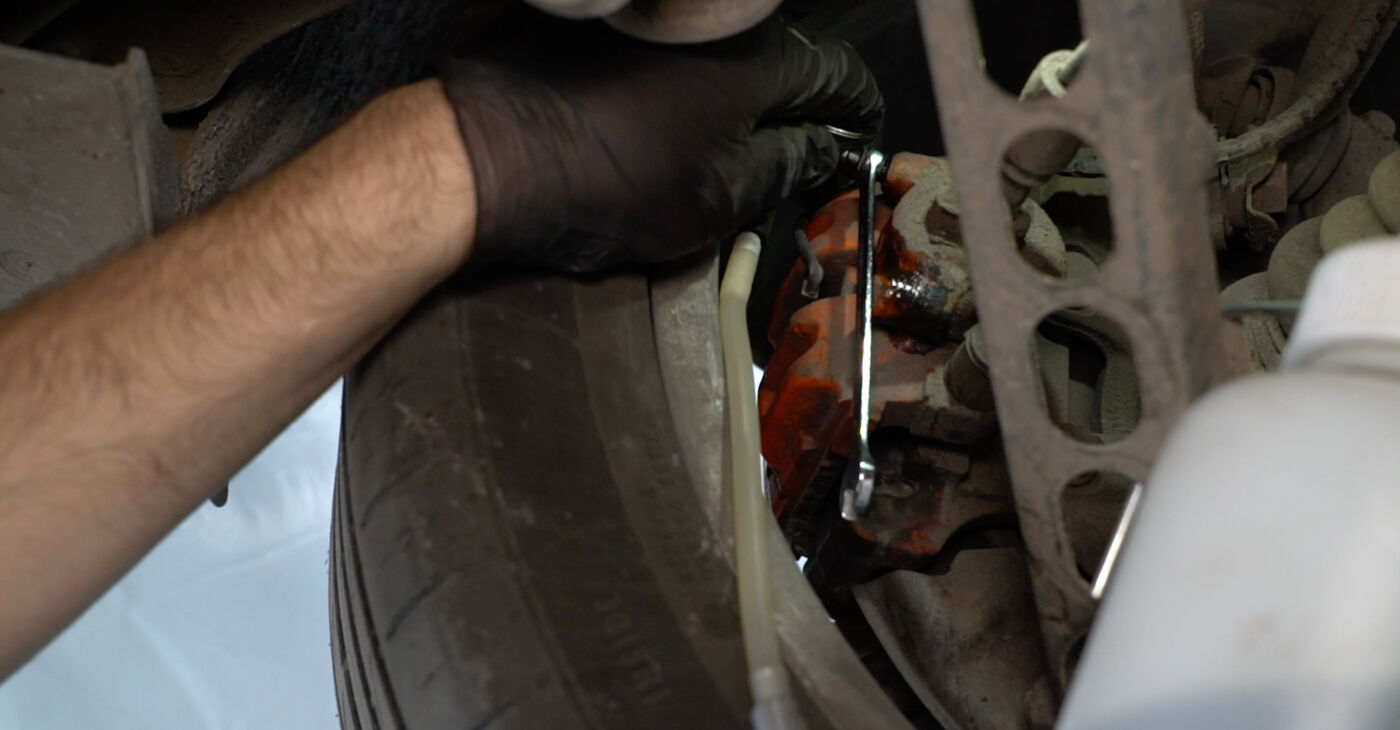
 Place a wrench on the bleeder screw and then connect the hose of the brake bleederThe brake bleeder includes:a tight rubber element, which is fitted over the bleeder screwa transparent hose for monitoring the fluid’s condition and the presence of air bubbles in ita check valve that only allows fluid to flow in one direction
 - 12.
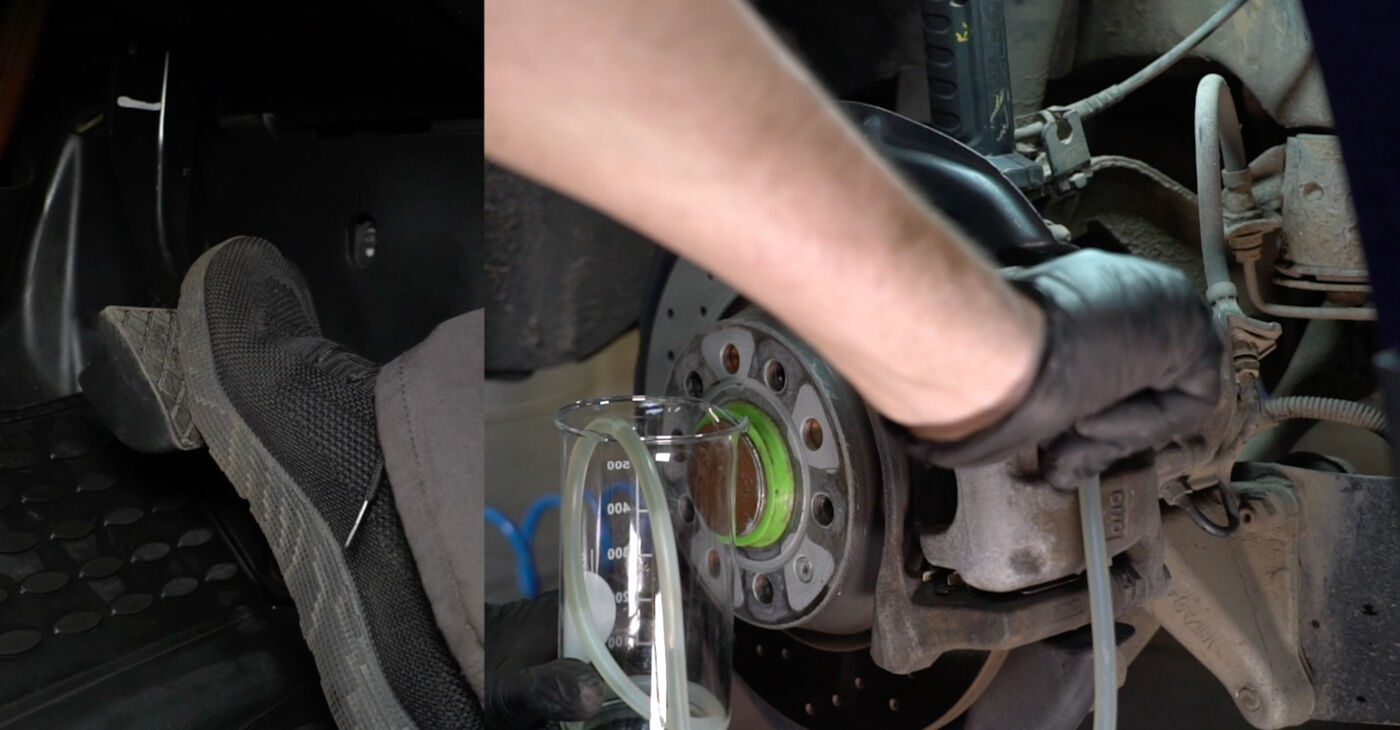
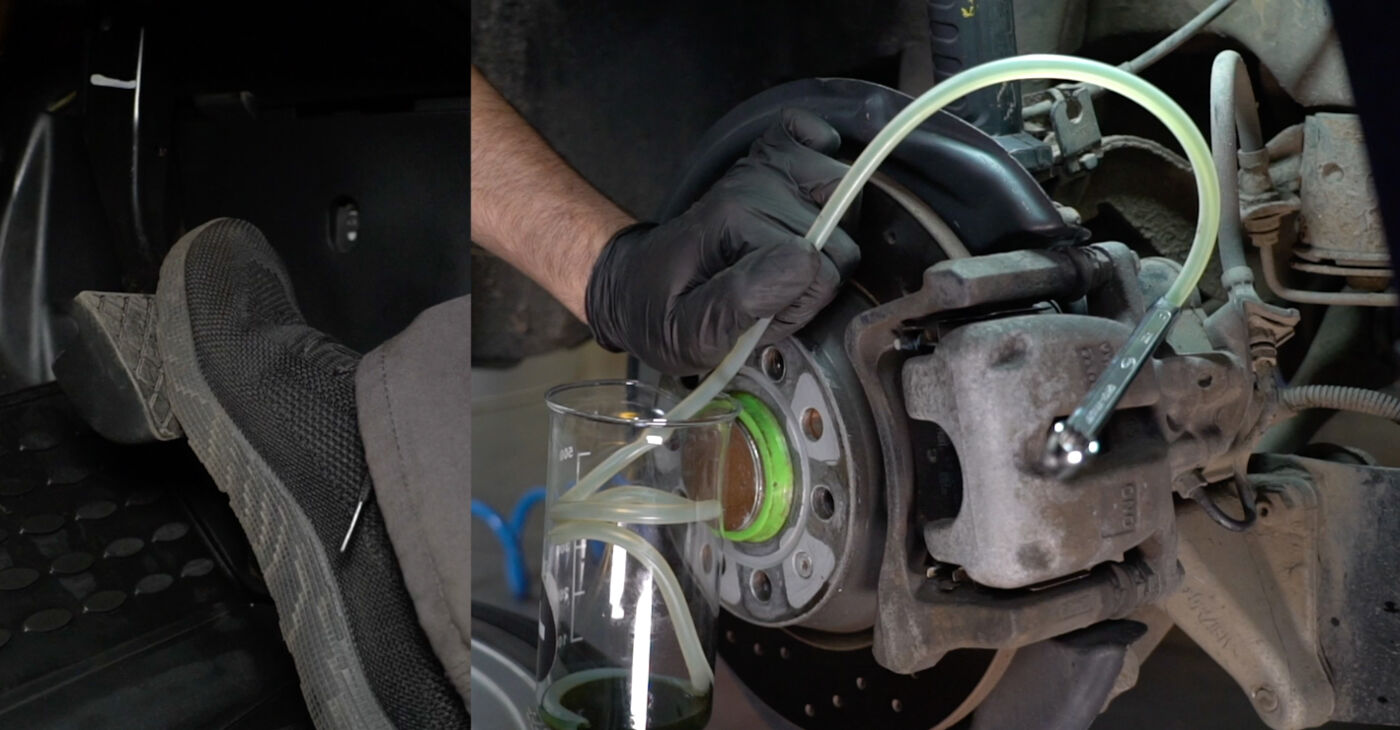
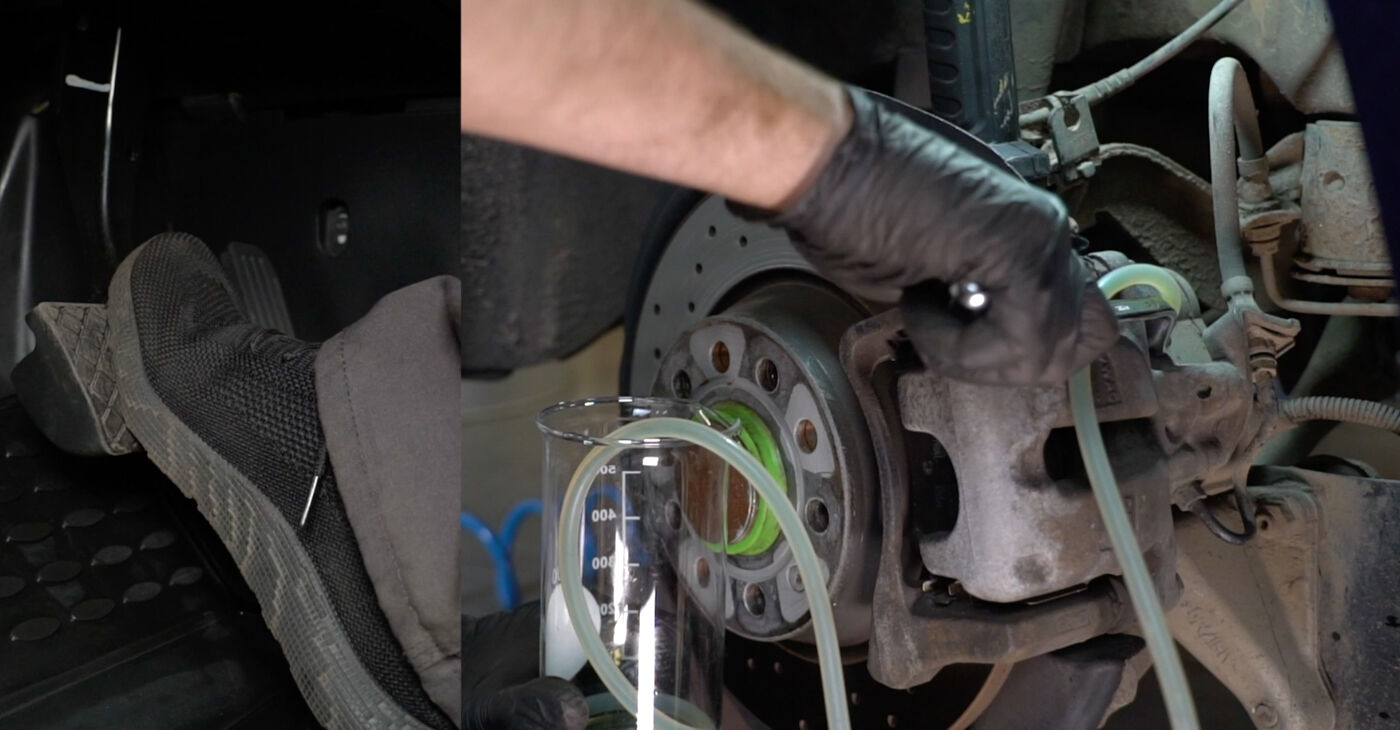
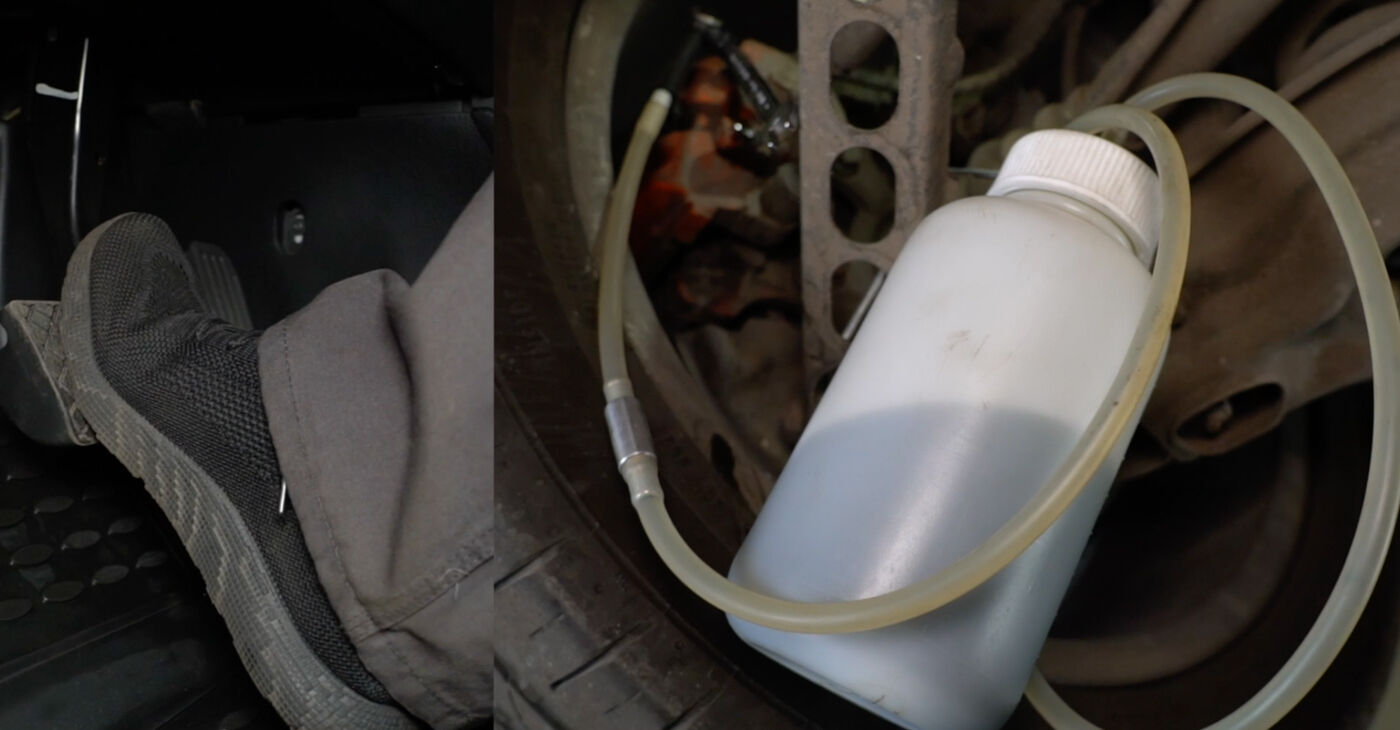 Slightly loosen the bleeder screw and press the brake pedal several timesImportant!When the brake pedal is pressed and the bleeder screw is loosened, brake fluid flows through the transparent hoseWhen the pedal is released, the check valve keeps the fluid in the brake bleeder and its level is compensated
 - 13.
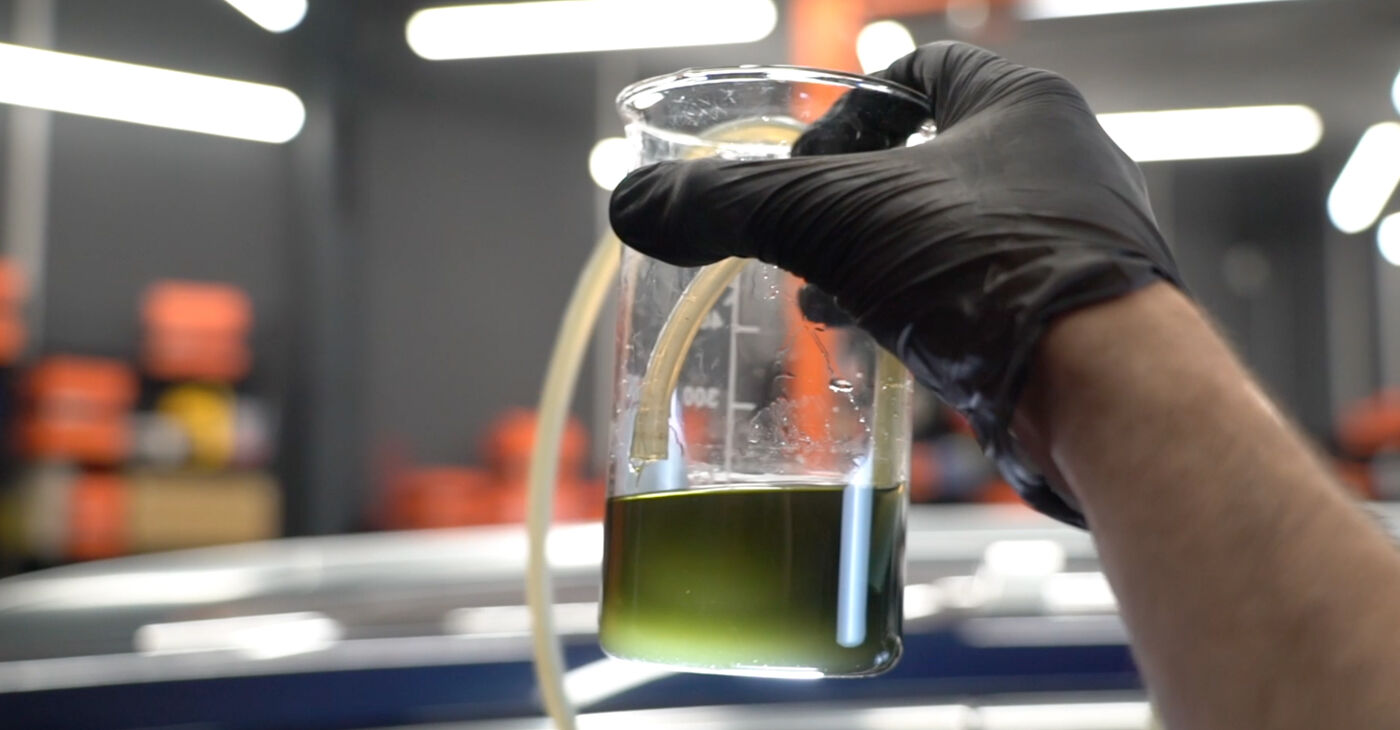
 Visually assess the condition of the brake fluid in the hose: new fluid is always lighter than old fluid
 - 14.
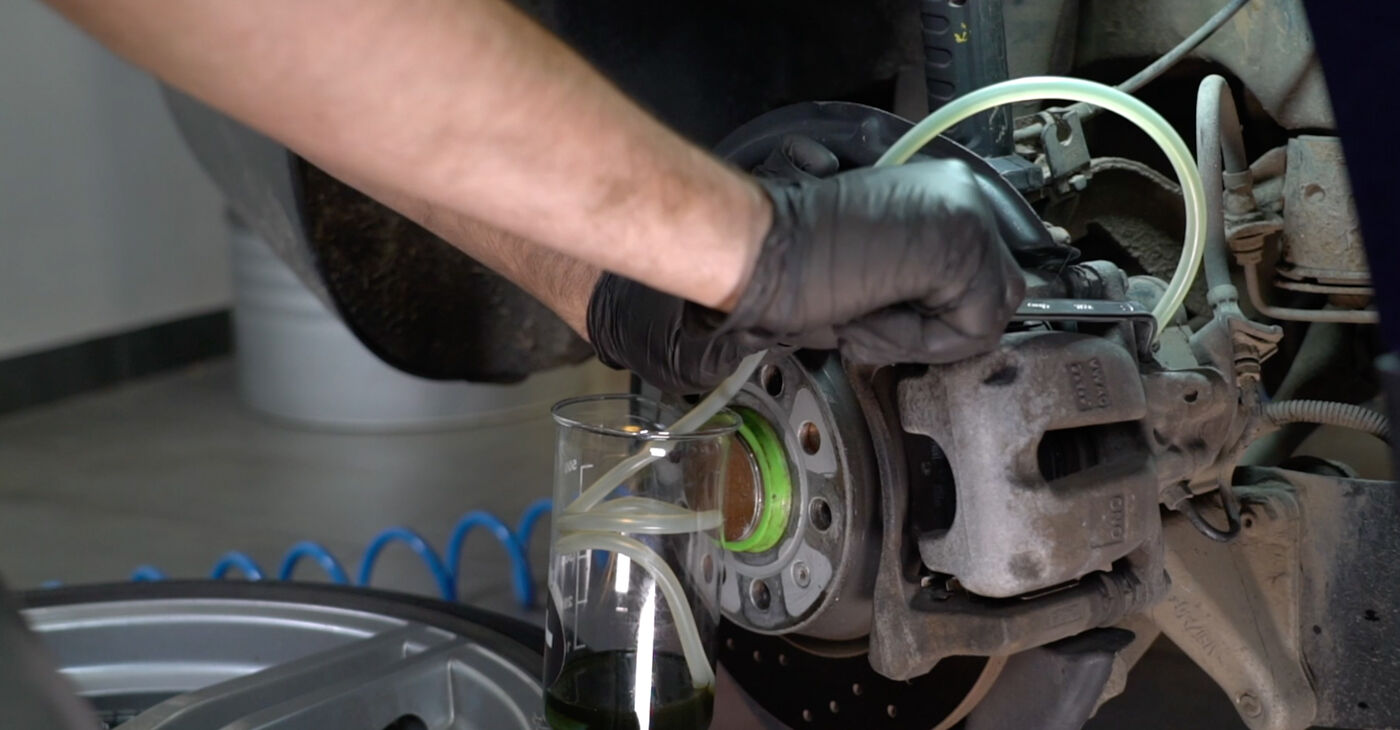
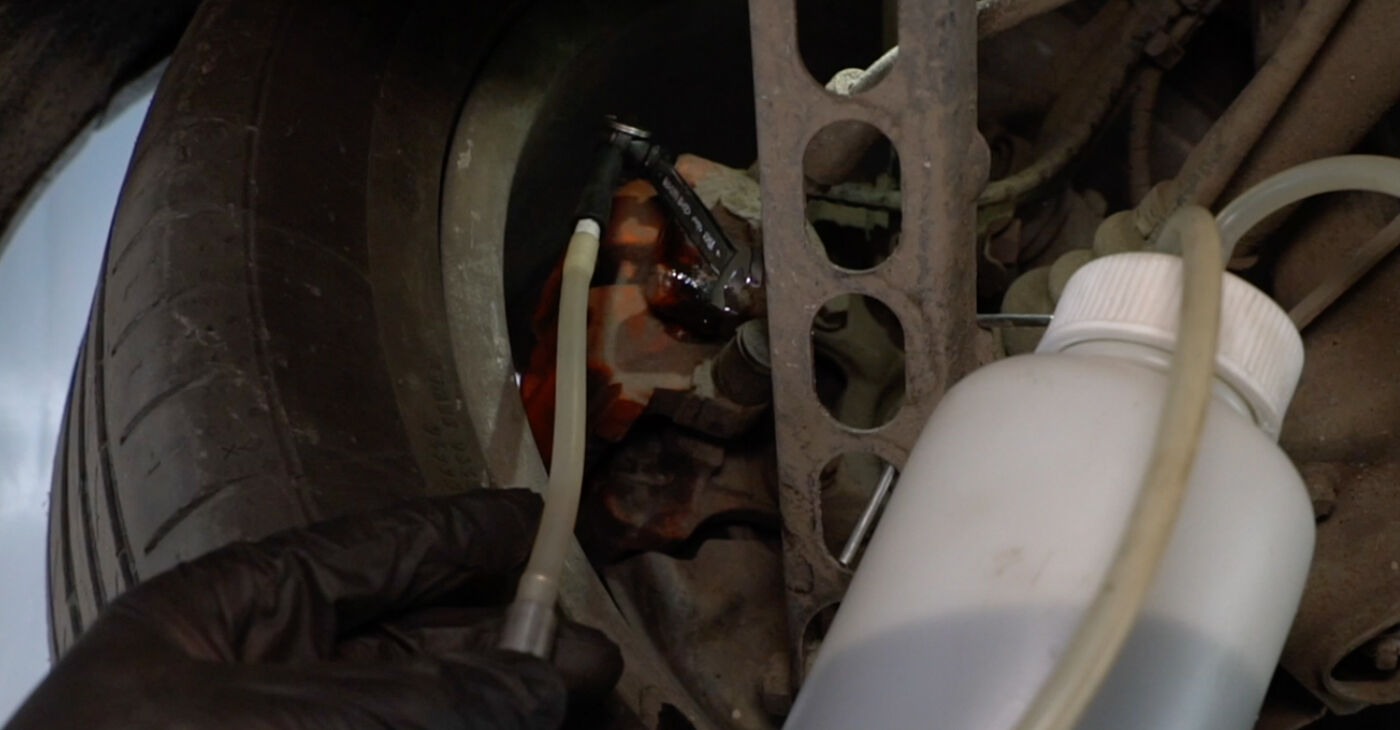 Check that there are no air bubbles and tighten the screw
 - 15.
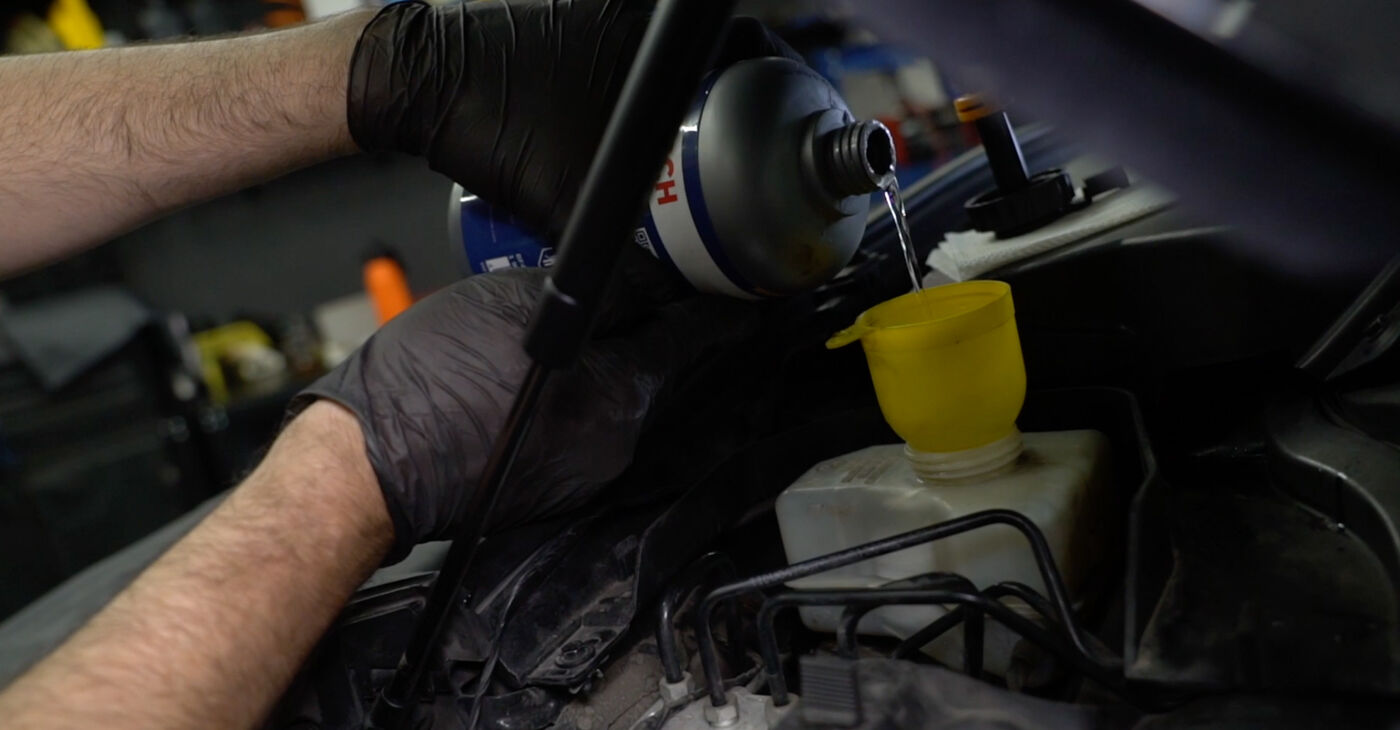 Check the brake fluid level in the expansion tank and top it up if necessary
 - 16.
 Disconnect the brake bleeder hose from the caliper, remove the tool, and clean the working area
 - 17.
 Tighten the fasteners to the manufacturer's specified torque
Was this manual helpful?
Please rate this manual on a scale from 1 to 5. If you have any questions, feel free to ask us.
Users voted – 0
Unlock your car maintenance assistant!
Track expenses, manage logs, schedule replacements, and more.
Popular Oils and Fluids maintenance tutorials
 Free download PDF
 2.82 MB
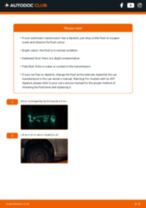 Free download PDF993.28 KB
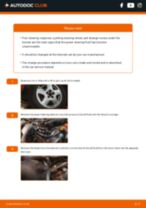 Free download PDF931.84 KB
Top auto repair manuals
 Free download PDF1.51 MB
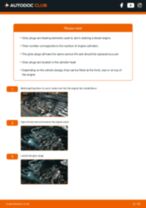 Free download PDF1.62 MB
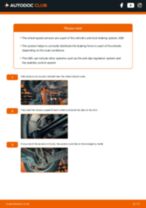 Free download PDF1.64 MB
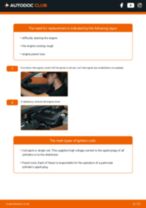 Free download PDF1.98 MB
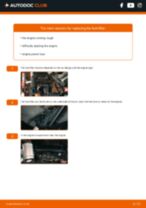 Free download PDF2 MB
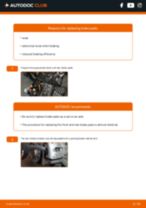 Free download PDF2.84 MB
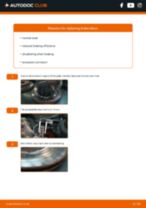 Free download PDF2.92 MB
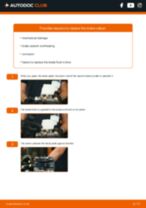 Free download PDF2.91 MB
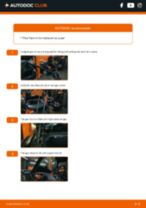 Free download PDF1.21 MB


Time to replace parts? Get even better deals in our Shop app.

SCAN ME