Disclaimer
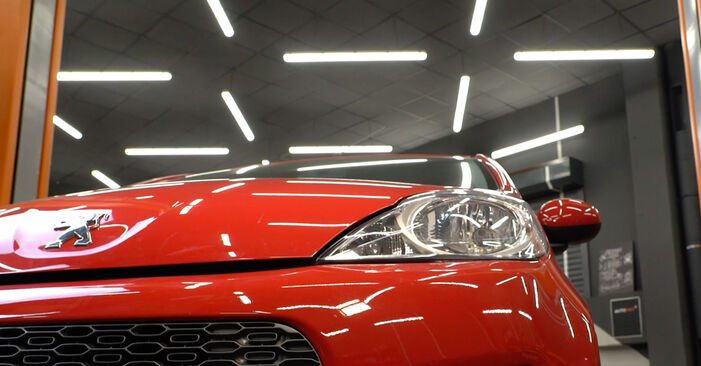
How to change front suspension strut on Peugeot 107 PM PN – replacement guide
downloads:
14
Views:
147
Important!
This replacement procedure can be used for:
PEUGEOT 107 Hatchback (PM_, PN_) 1.4 HDi … View more
The steps may slightly vary depending on the car design.
PEUGEOT 107 Hatchback (PM_, PN_) 1.4 HDi … View more
The steps may slightly vary depending on the car design.
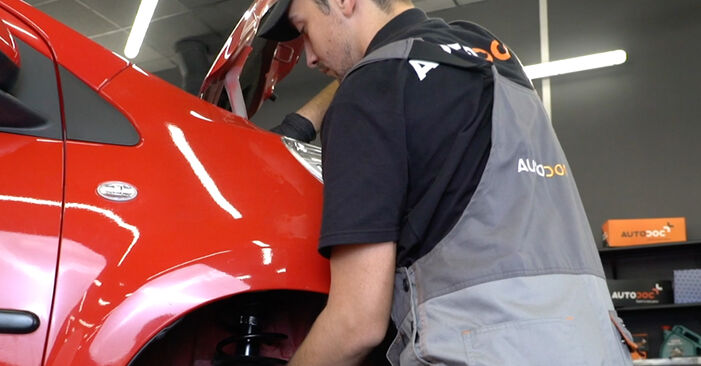
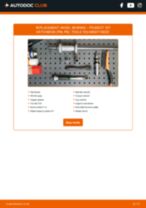
How to change a front shock strut on PEUGEOT 107 1 (PM, PN) [TUTORIAL AUTODOC]

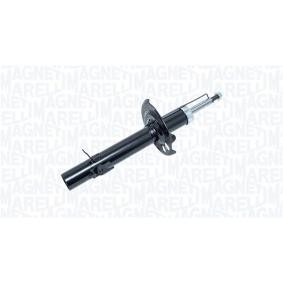
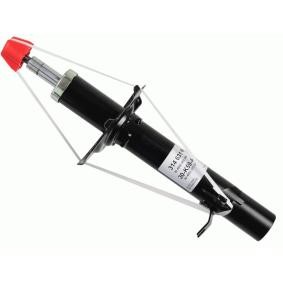
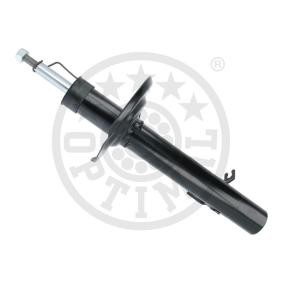
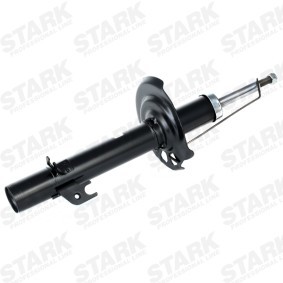
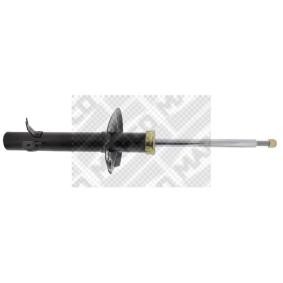
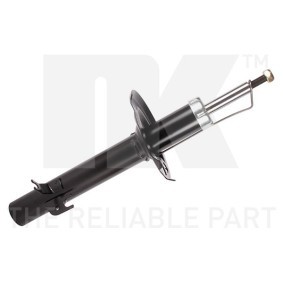
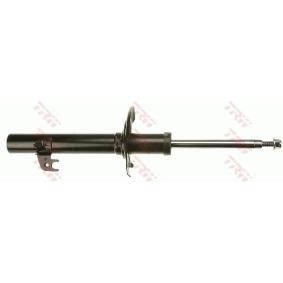
All the parts you need to replace – Shock Absorber for 107 Hatchback (PM_, PN_) and other PEUGEOT models
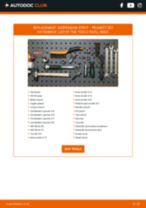
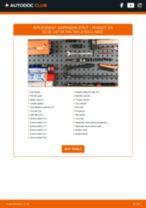
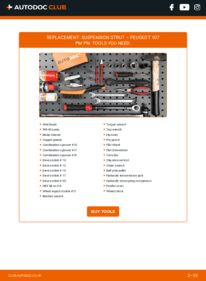
Alternative products

Wire brush
WD-40 spray
Brake cleaner
Copper grease
Combination spanner #10
Combination spanner #17
Combination spanner #19
Drive socket # 10
Drive socket # 12
Drive socket # 14
Drive socket # 17
Drive socket # 30
HEX bit no.H6.
Wheel impact socket #17
Ratchet wrench
Torque wrench
Tap wrench
Hammer
Pin punch
Flat chisel
Flat Screwdriver
Crow bar
Clip removal tool
Chain wrench
Ball joint puller
Hydraulic transmission jack
Hydraulic strut spring compressor
Fender cover
Wheel chock
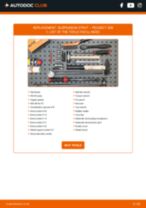
Replacement: suspension strut – Peugeot 107 PM PN. AUTODOC experts recommend:
- Both shock struts of the front suspension should be replaced simultaneously.
- The replacement procedure is identical for the left and right shock struts of the front suspension.
- All work should be done with the engine stopped.
Replacement: suspension strut – Peugeot 107 PM PN. Recommended sequence of steps:
- Step 1
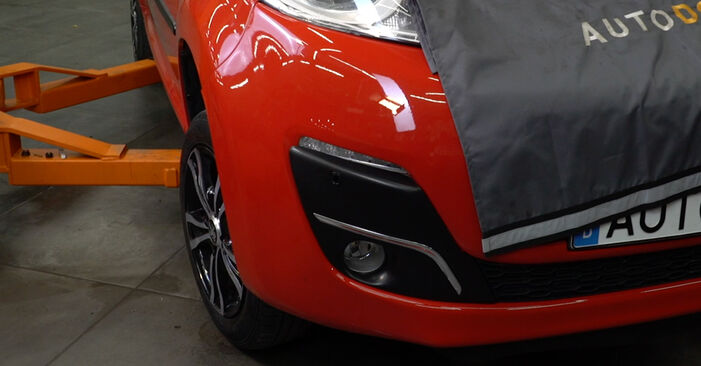
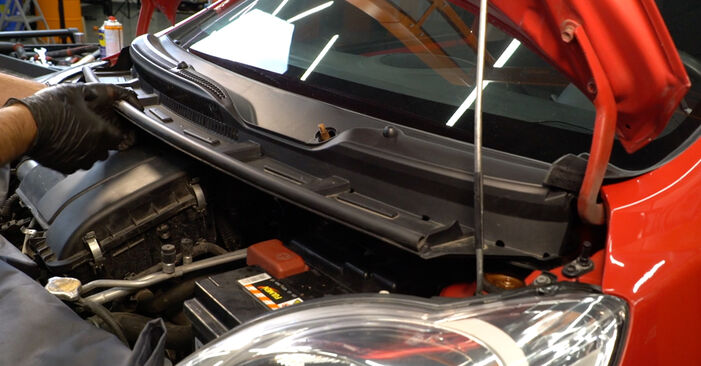
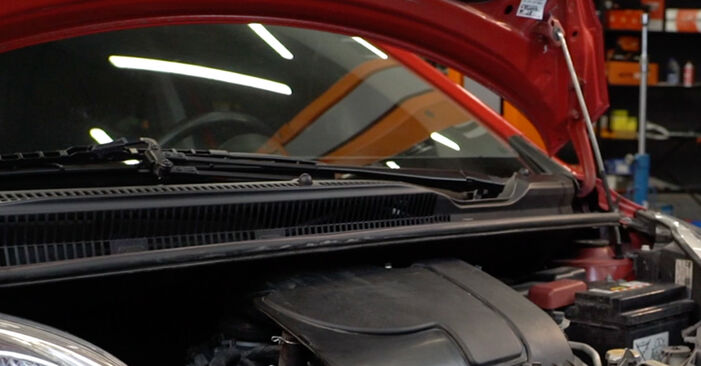
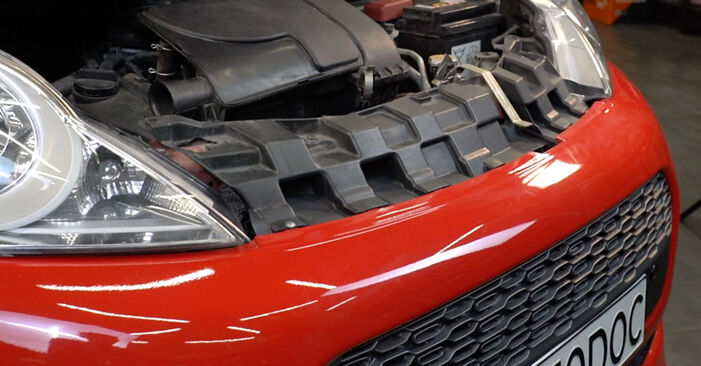
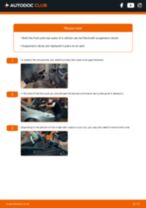
 Open the bonnet.
 - Step 2
 Use a fender protection cover to prevent damaging paintwork and plastic parts of the car.
 - Step 3
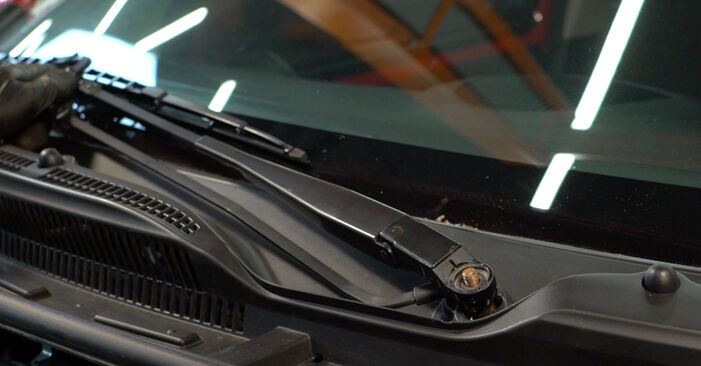
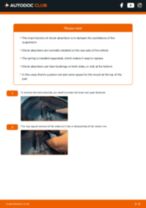
 Remove the windscreen wiper arm nut covers.
 - Step 4
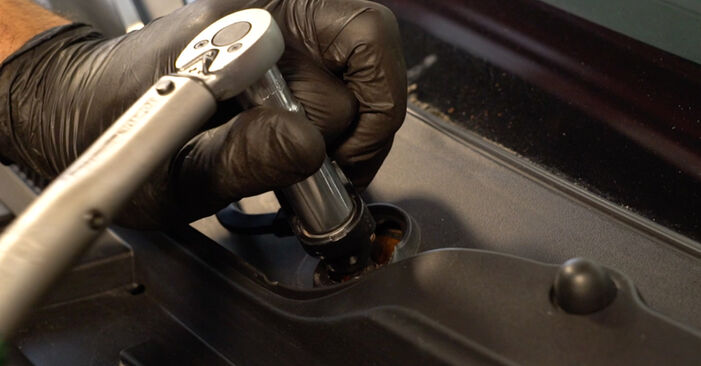
 Unscrew the fasteners of the windscreen wiper arms. Use a drive socket #12. Use a ratchet wrench.
 - Step 5
 Remove the wiper arms.
 - Step 6
 Remove the wiper cowl clips. Use a clip removal tool.
 - Step 7
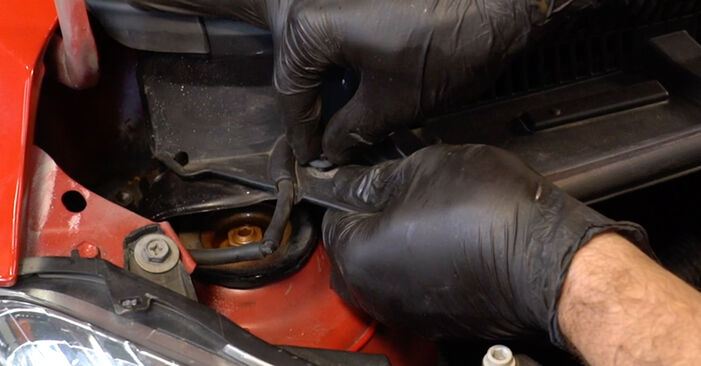
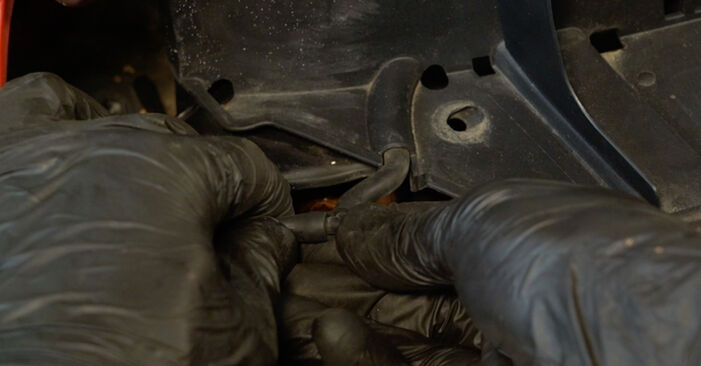
 Detach the windscreen washer nozzle hose.
 - Step 8
 Remove the wiper arm covers.
 - Step 9
 Treat the fasteners of the windscreen wiper linkage panel. Use WD-40 spray.
 - Step 10
 Unscrew the fasteners of the windscreen wiper linkage panel. Use a drive socket #10. Use a ratchet wrench.
 - Step 11
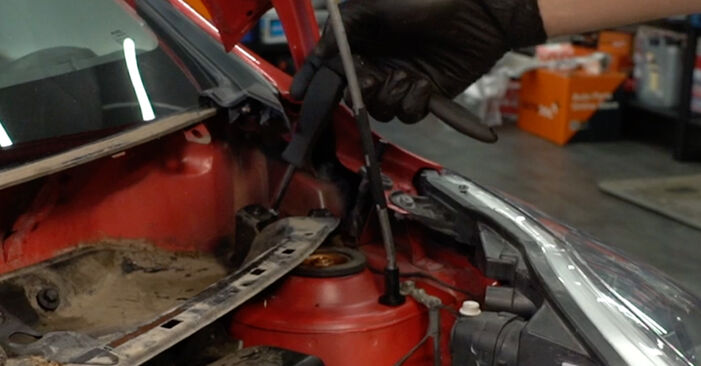
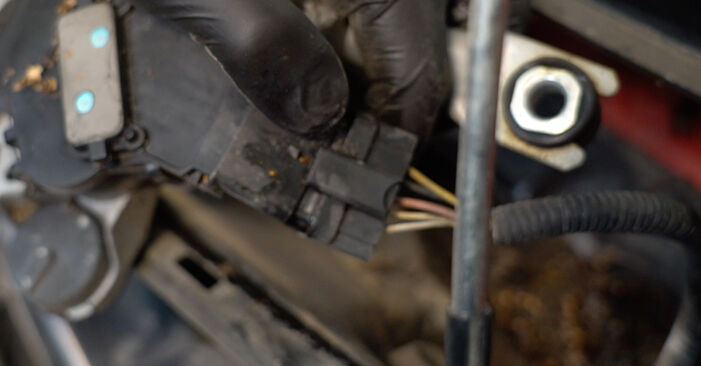
 Detach the windscreen wiper connector. Use a flat screwdriver.
 - Step 12
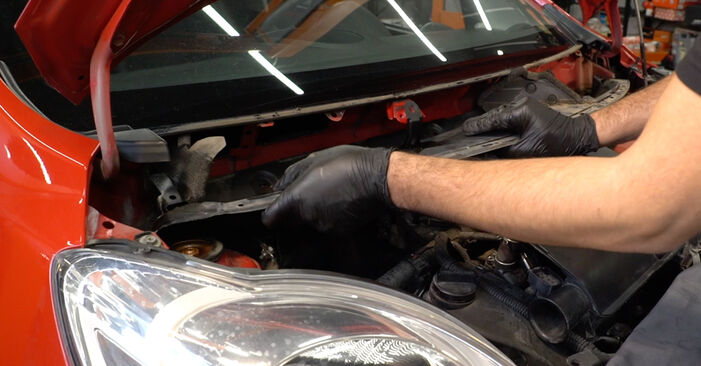
 Remove the panel assembled with the windscreen wiper linkage.
 - Step 13
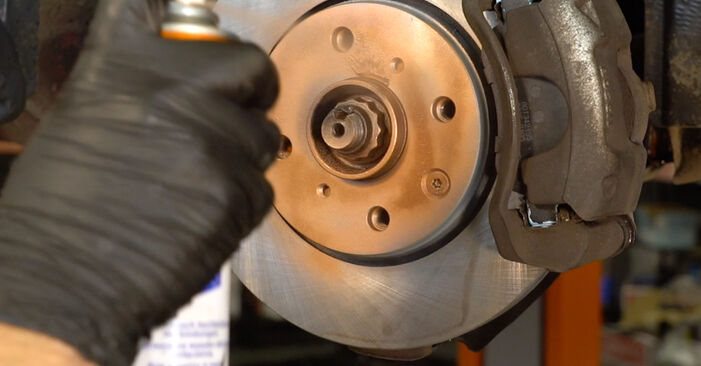
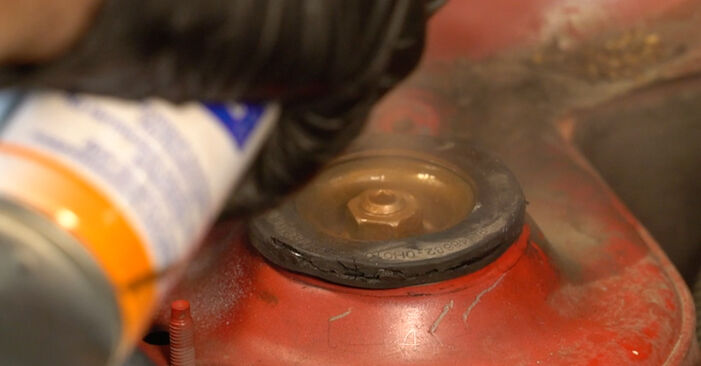
 Clean the fasteners of the shock strut upper mount. Use a wire brush. Use WD-40 spray.
 - Step 14
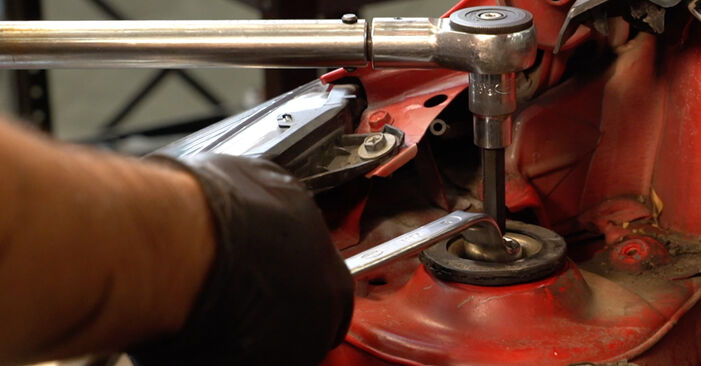
 Loosen the upper fastener of the shock strut mount. Use HEX No.H6. Use a drive socket #17. Use a ratchet wrench.
 - Step 15
 Secure the wheels with chocks.
 - Step 16
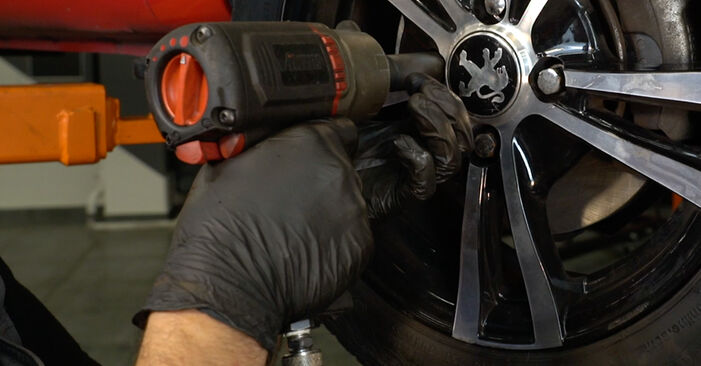
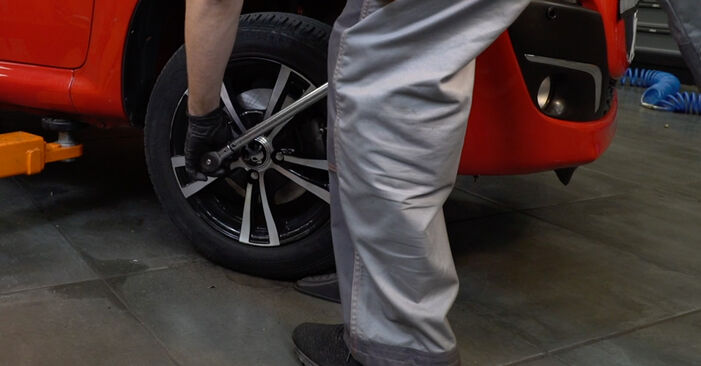
 Loosen the wheel mounting bolts. Use wheel impact socket #17.
 - Step 17
 Raise the front of the car and secure on supports.
 - Step 18
 Unscrew the wheel bolts.Replacement: suspension strut – Peugeot 107 PM PN. Tip:To avoid injury, hold up the wheel when unscrewing the bolts.
 - Step 19
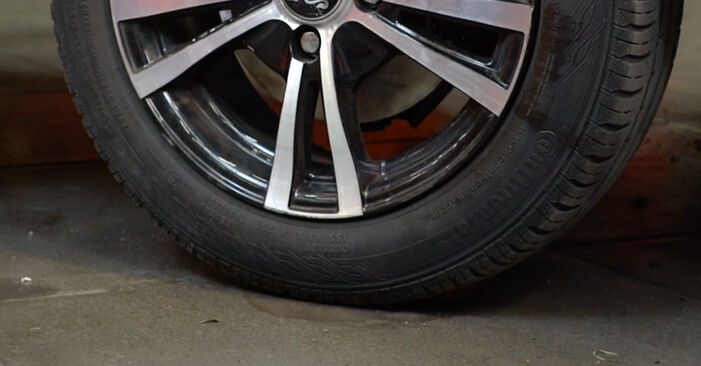
 Remove the wheel.
 - Step 20
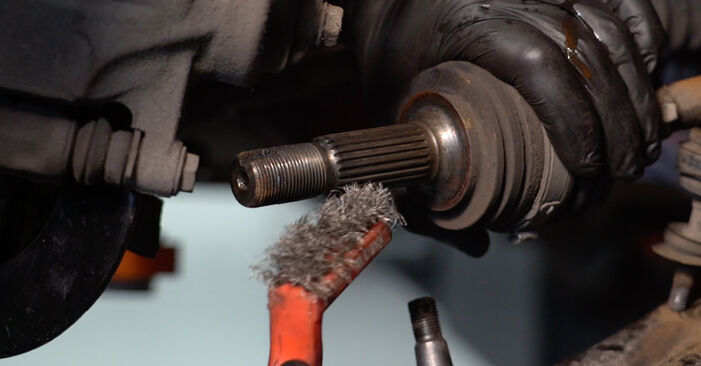
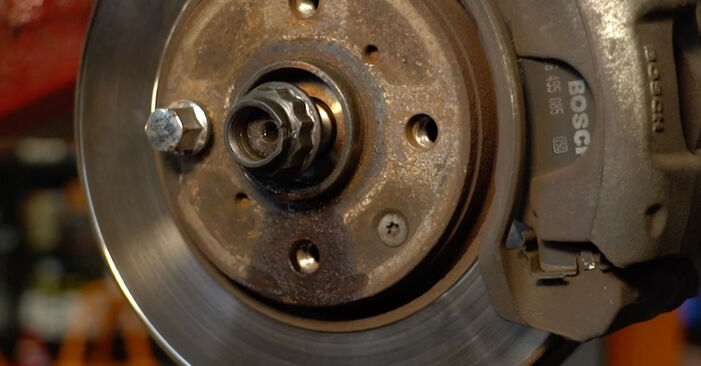
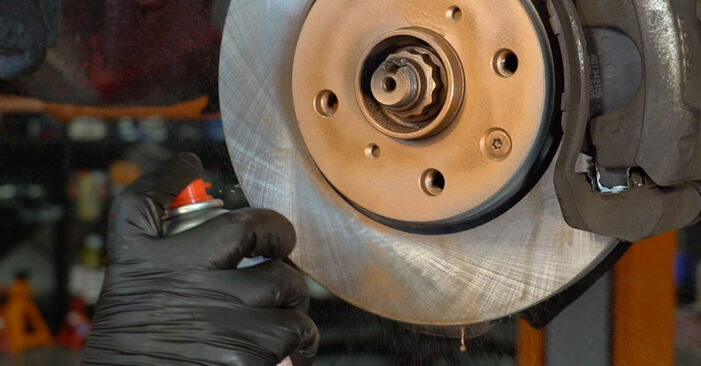
 Clean the fastener of the driveshaft. Use a wire brush. Use WD-40 spray.
 - Step 21
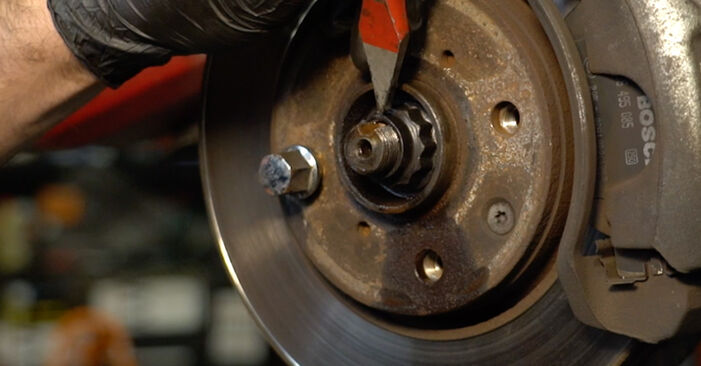
 Unstake the fastener of the driveshaft. Use a flat metal-working chisel. Use a hammer.
 - Step 22
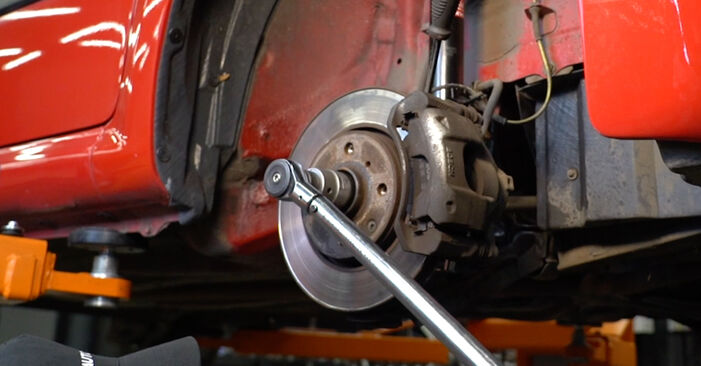
 Loosen the fastener of the driveshaft. Use a drive socket #30. Use a tap wrench.
 - Step 23
 Remove the fastening nut. Use a drive socket #30.
 - Step 24
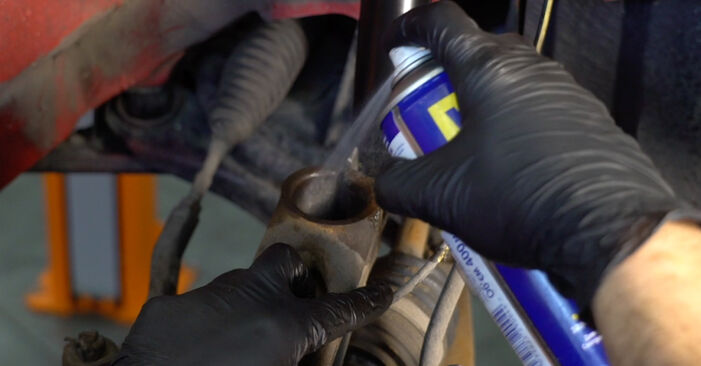
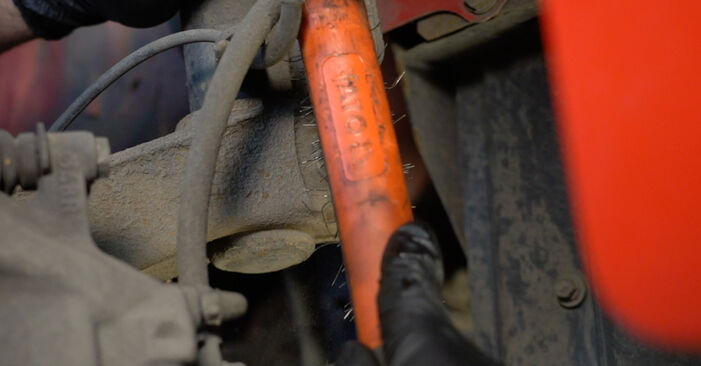 Clean the fasteners connecting the shock strut to the steering knuckle. Use a wire brush. Use WD-40 spray.
 - Step 25
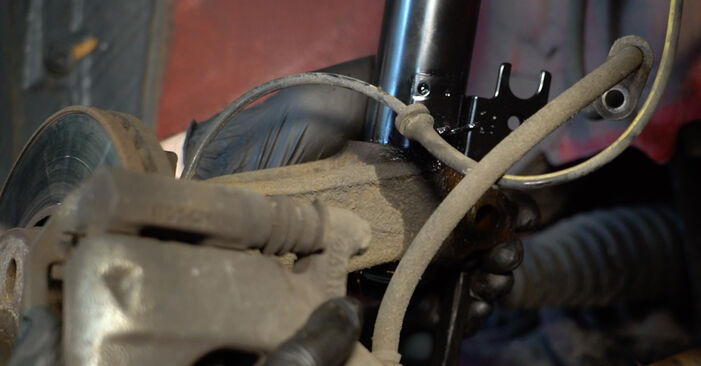
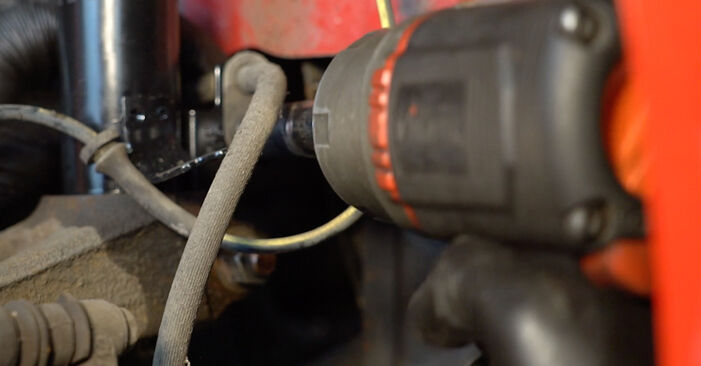
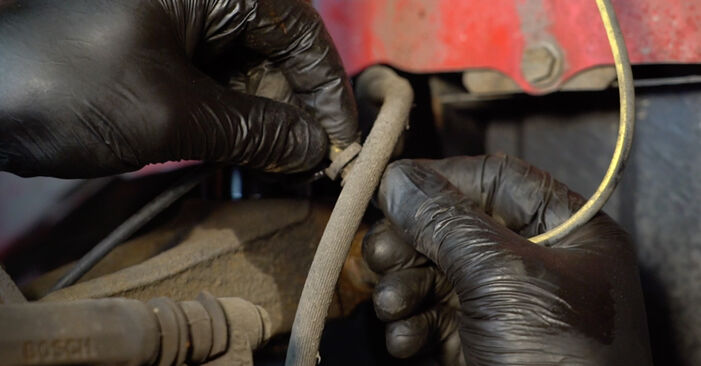
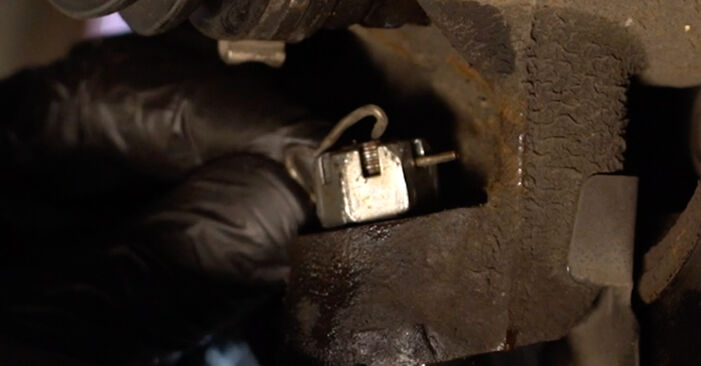
 Unscrew the brake hose fastening bracket from the shock strut. Use a drive socket #14. Use a ratchet wrench.
 - Step 26
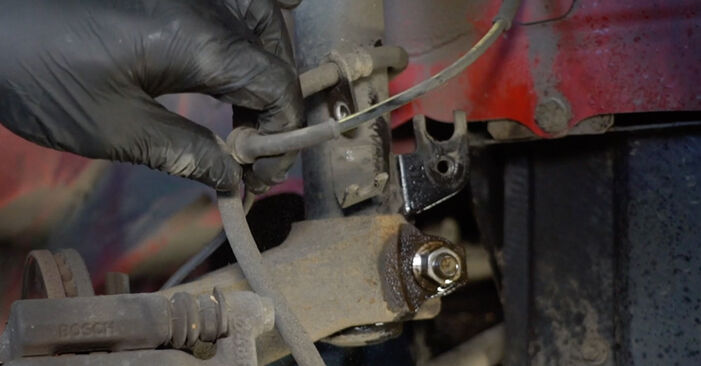 Disconnect the ABS sensor wiring.
 - Step 27
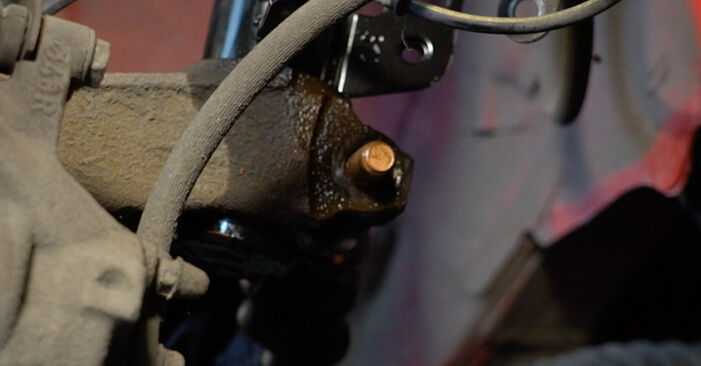
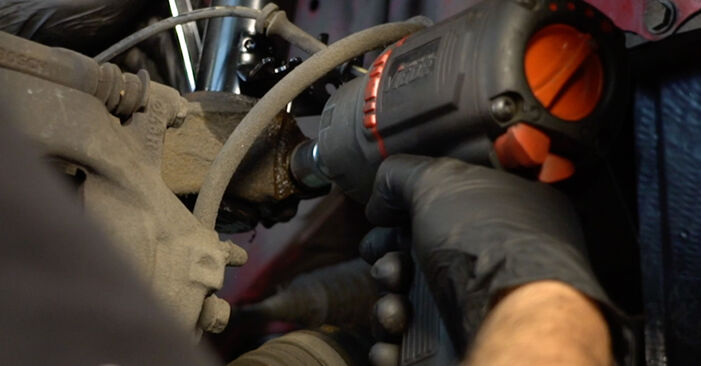
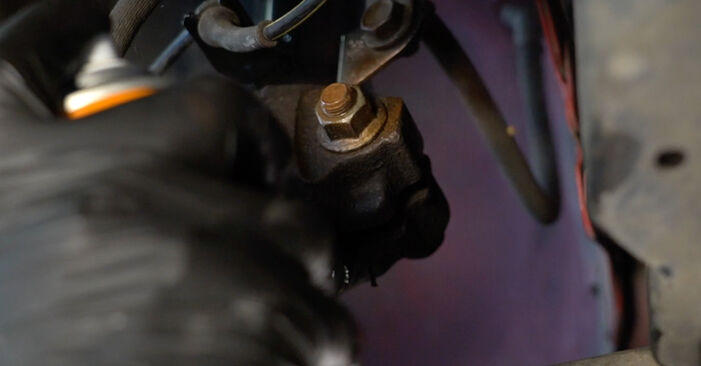
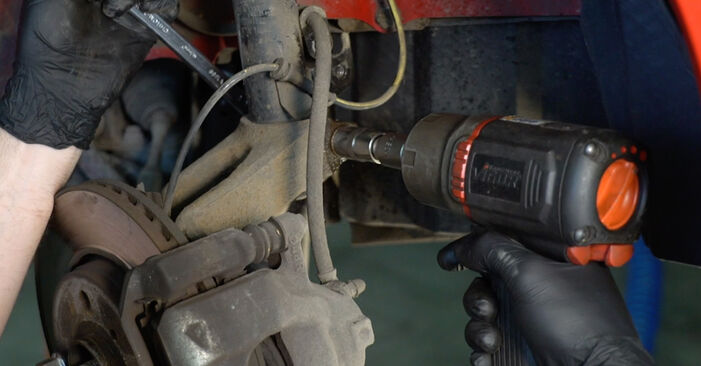 Unscrew the lower fastener connecting the shock strut to the steering knuckle. Use a combination spanner #17. Use a drive socket #17. Use a ratchet wrench.
 - Step 28
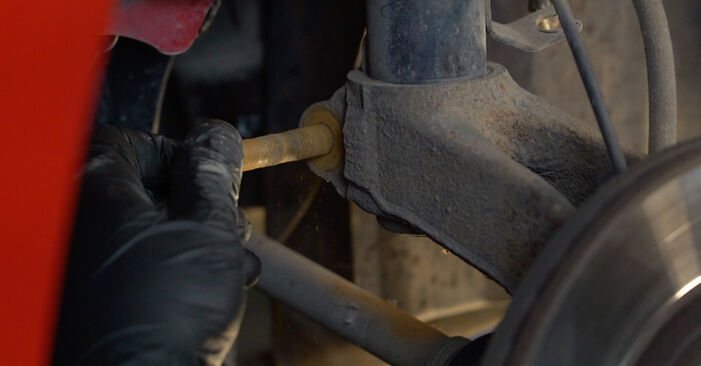 Remove the fastening bolt.
 - Step 29
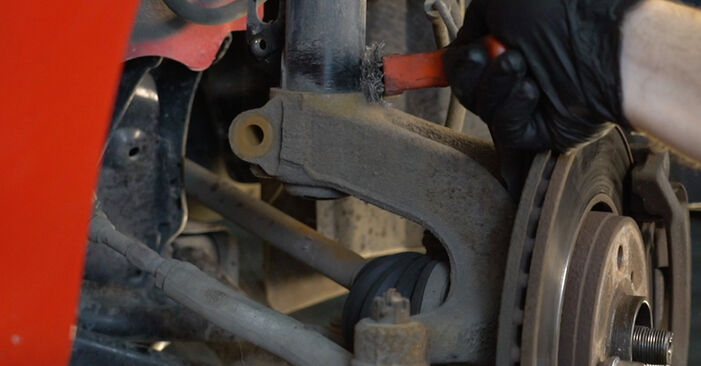 Clean the fasteners connecting the shock strut to the steering knuckle. Use a wire brush. Use WD-40 spray.
 - Step 30
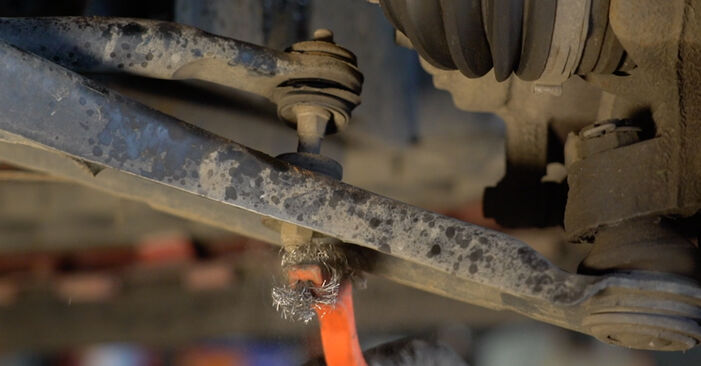 Clean the stabiliser link fasteners. Use a wire brush. Use WD-40 spray.
 - Step 31
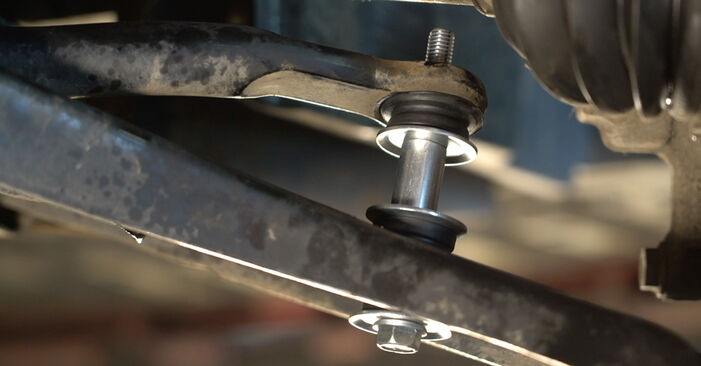
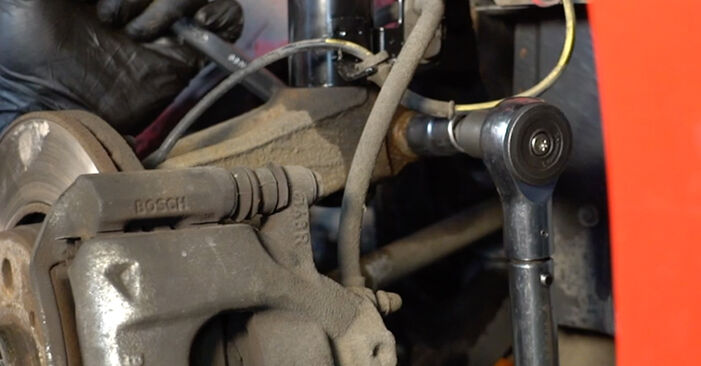
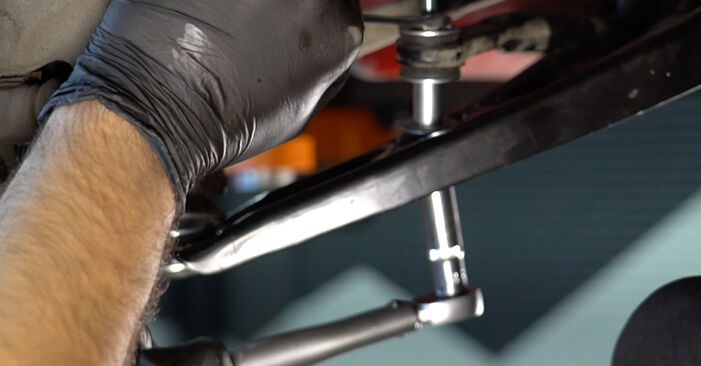
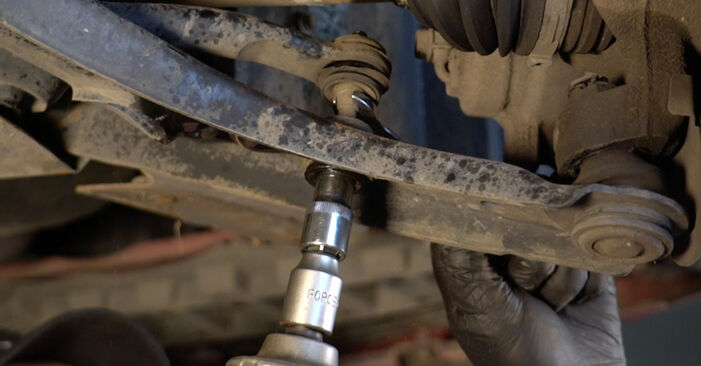 Unscrew the fastener connecting the stabilizer bar with the control arm. Use a combination spanner #10. Use a drive socket #12. Use a ratchet wrench.
 - Step 32
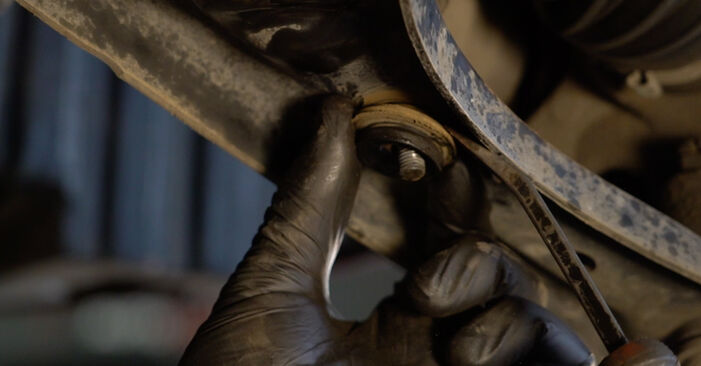 Remove the stabilizer rod.
 - Step 33
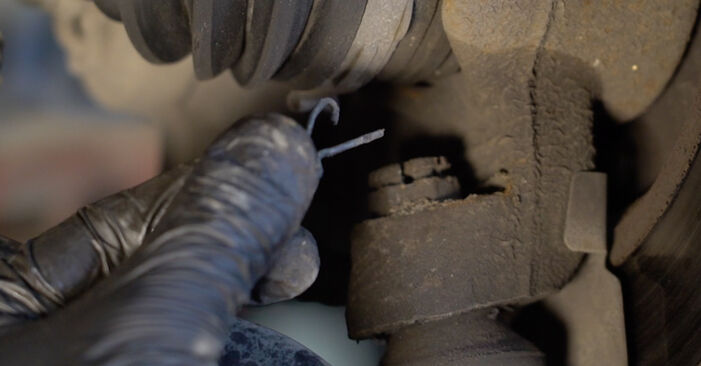 Remove the cotter pin. Use a crowbar.
 - Step 34
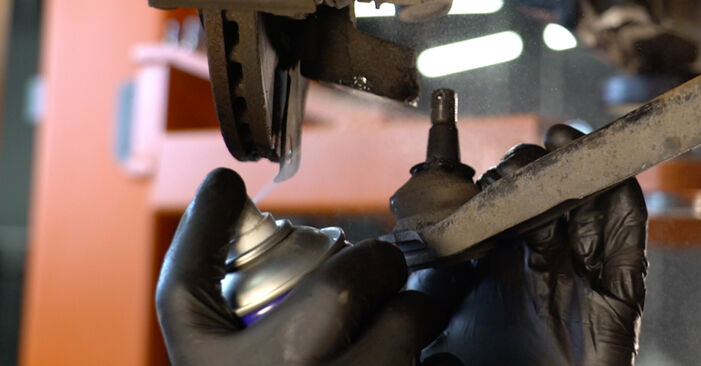
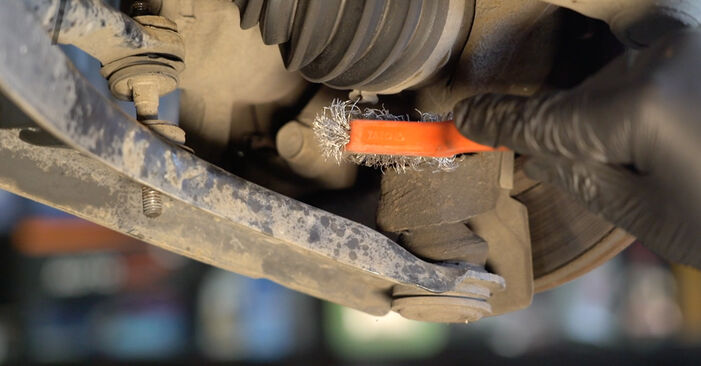 Clean the fastener connecting the ball joint to the steering knuckle. Use a wire brush. Use WD-40 spray.
 - Step 35
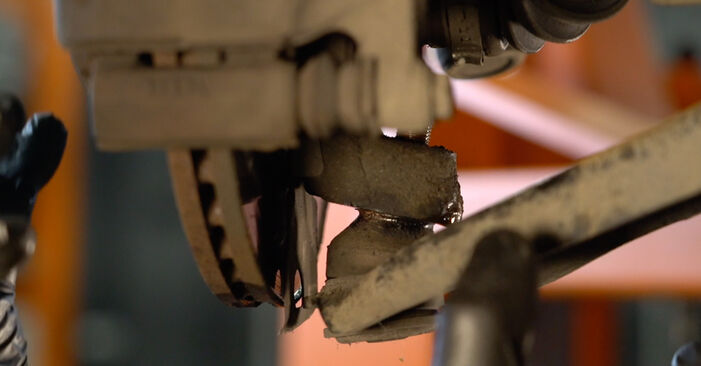
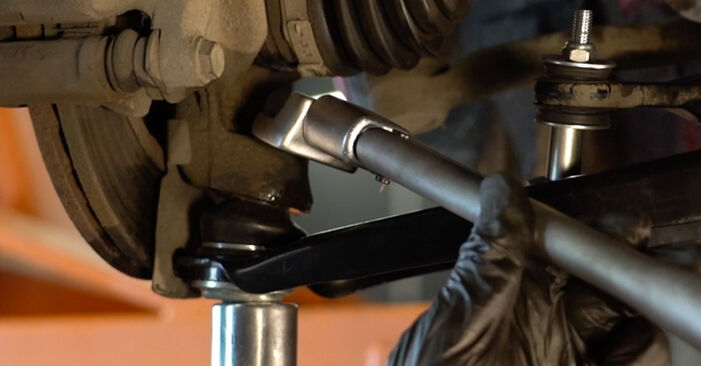
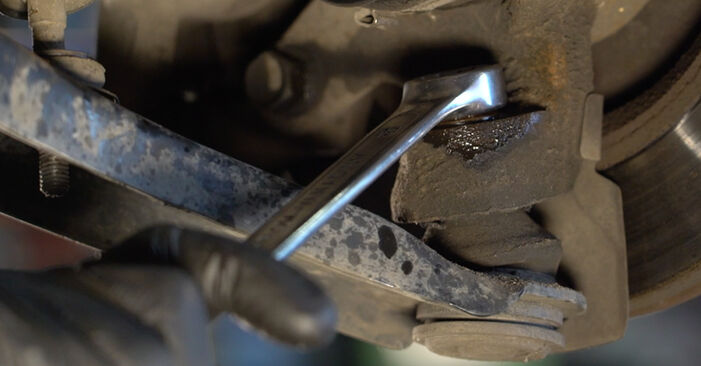 Unscrew the ball joint fastening to the steering knuckle. Use a combination spanner #19.
 - Step 36
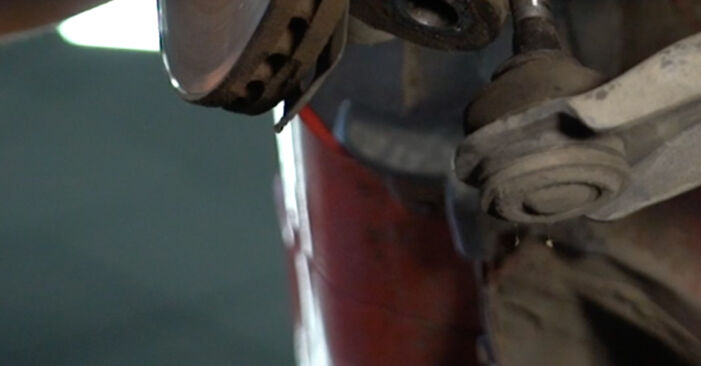
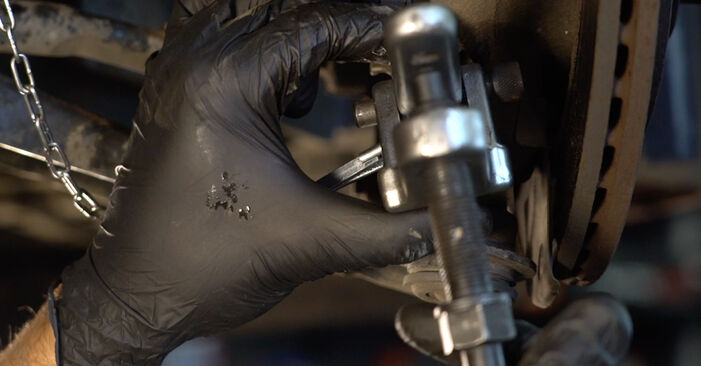 Disconnect the lower arm from the steering knuckle. Use a ball joint puller.
 - Step 37
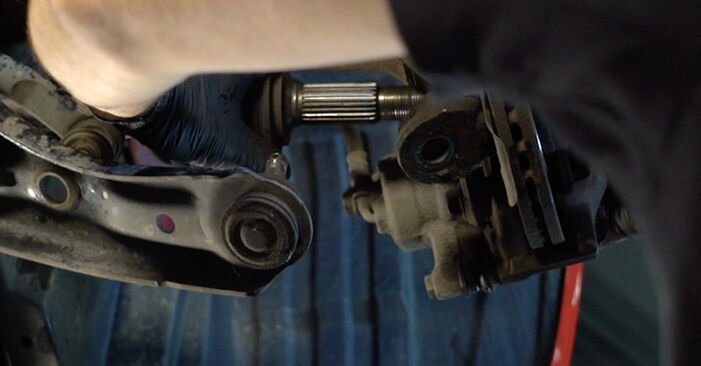 Remove the drive shaft. Use a pin punch. Use a hammer.Replacement: suspension strut – Peugeot 107 PM PN. AUTODOC recommends:Make sure that the drive shaft is not unloaded (when the car is jacked).
 - Step 38
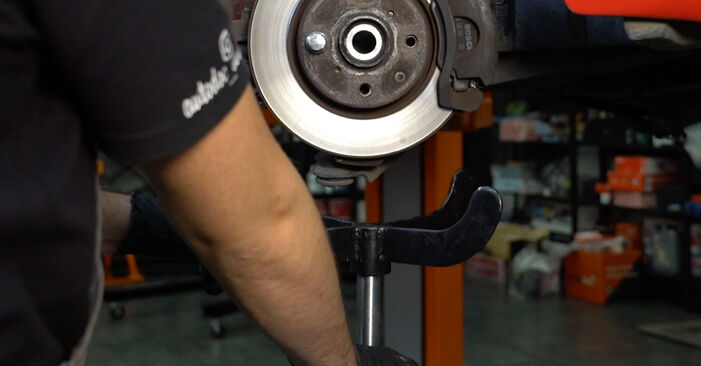 Prop up the steering knuckle. Use a hydraulic transmission jack.
 - Step 39
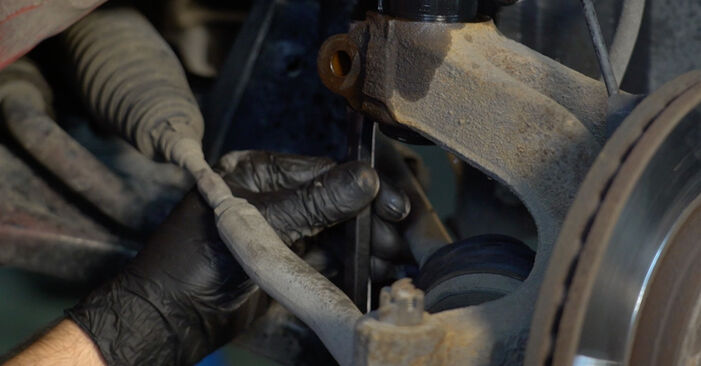 Release the lower fastener connecting the shock strut to the steering knuckle. Use a flat metal-working chisel. Use a hammer.
 - Step 40
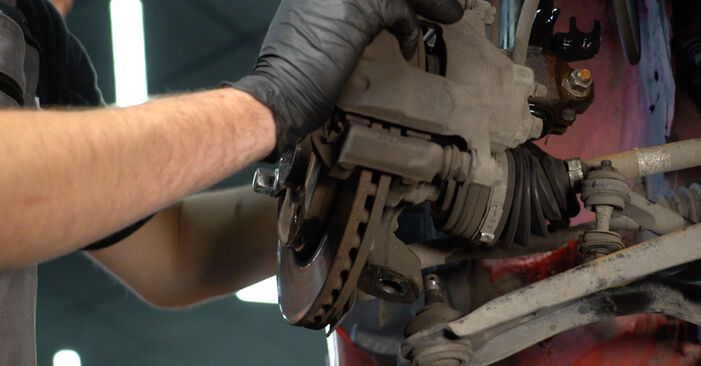
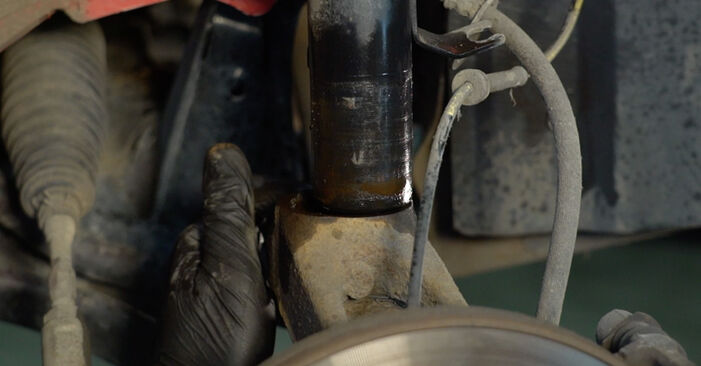 Disconnect the steering knuckle from the shock absorber strut.
 - Step 41
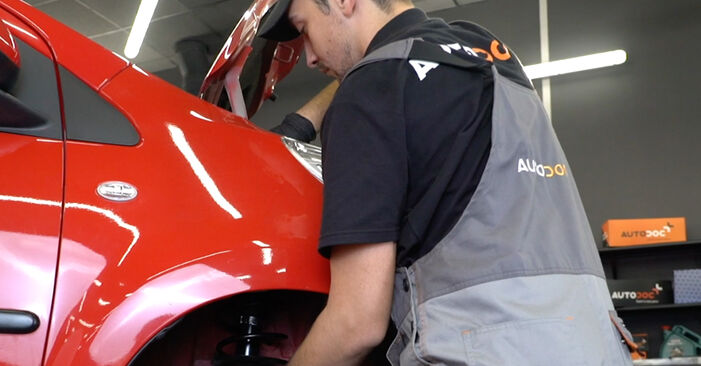 Unscrew the top fastening of the shock strut mount.AUTODOC recommends:Peugeot 107 PM PN – To avoid injury, hold the suspension strut while unscrewing the fastening bolts.
 - Step 42
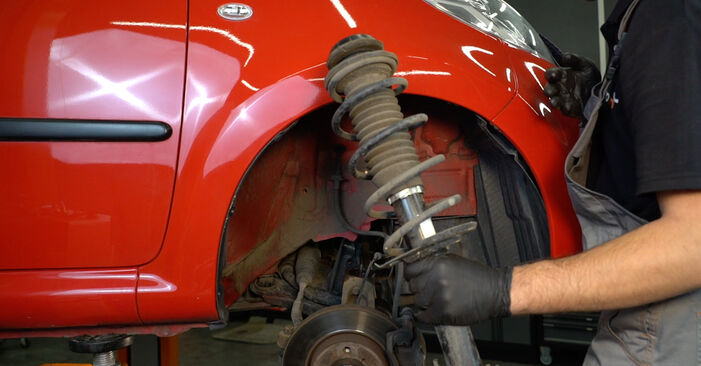 Remove the suspension strut.
 - Step 43
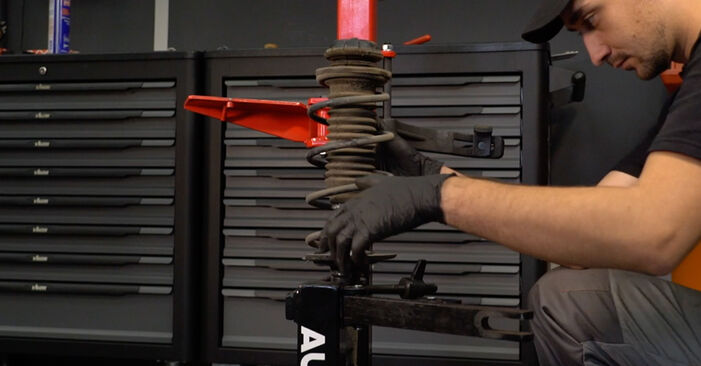 Set the shock absorber strut on the spring compressor tool.Replacement: suspension strut – Peugeot 107 PM PN. Tip from AUTODOC experts:Note that when using a spring compressor, spring coils need to be securely gripped, compressing the spring on the opposite sides.Ensure the correct position of the spring in the retainer.Make sure that the spring coils tightly entered the lock handles.
 - Step 44
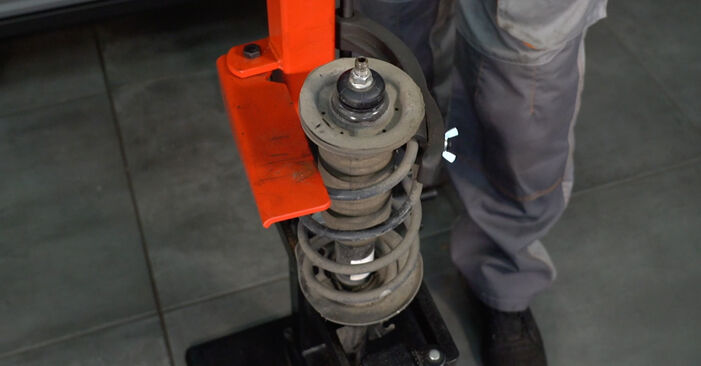 Compress the spring.
 - Step 45
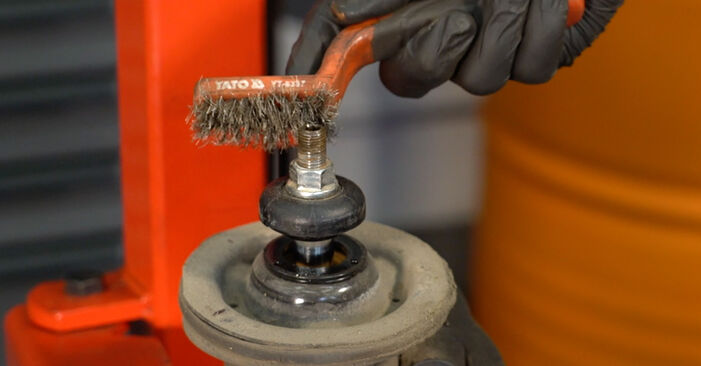 Treat the shock strut rod. Use a wire brush. Use WD-40 spray.
 - Step 46
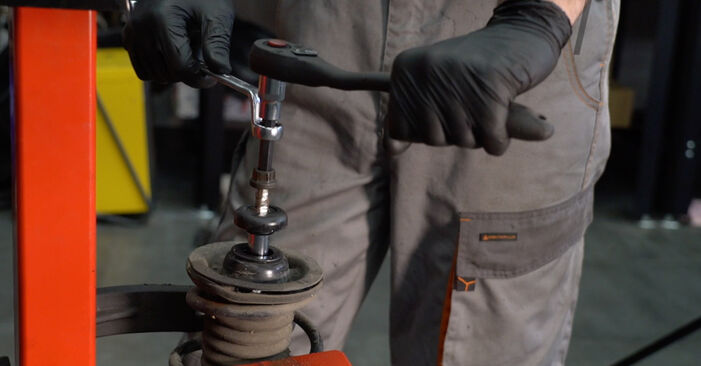 Remove the strut piston rod nut. Use HEX No.H6. Use a drive socket #17. Use a ratchet wrench.
 - Step 47
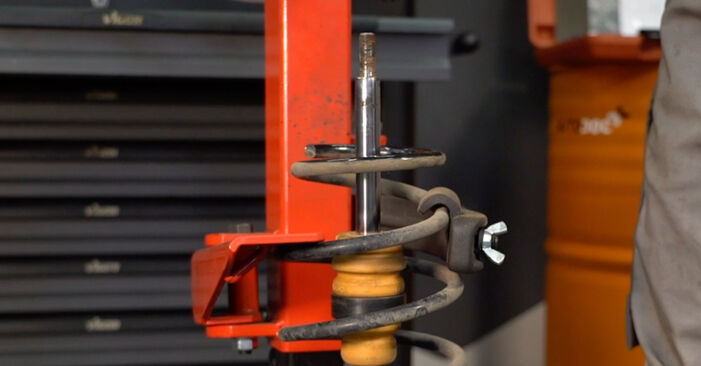 Remove the shock absorber mount, boot and bump stop.AUTODOC recommends:Τhoroughly examine the shock absorber mount, dust boot, bump stop. Replace them if necessary.
 - Step 48
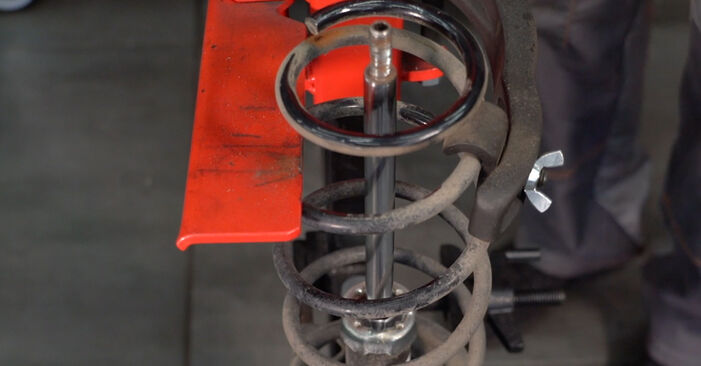 Release the coil spring.
 - Step 49
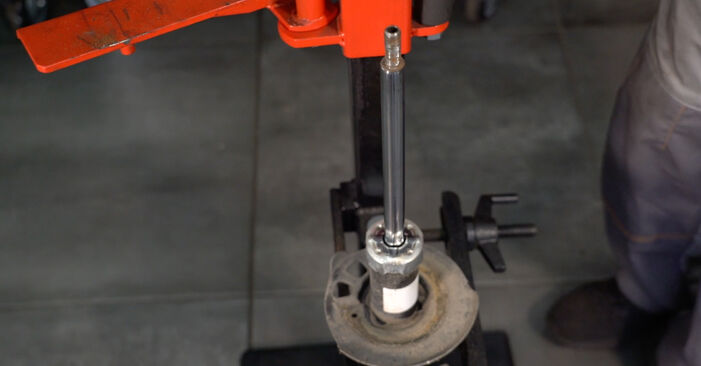 Remove the spring.
 - Step 50
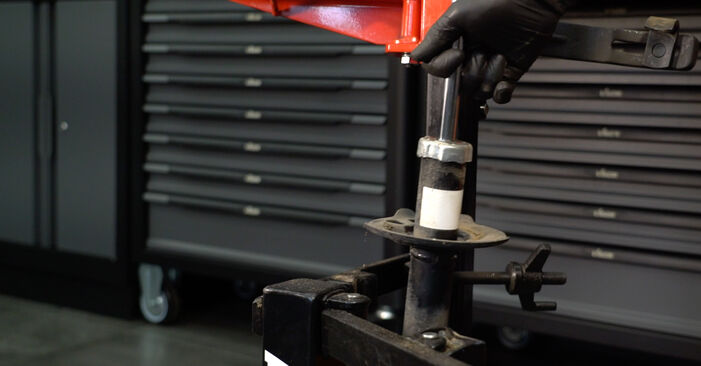 Remove the old shock absorber from the hydraulic coil spring compressor.Replacement: suspension strut – Peugeot 107 PM PN. AUTODOC experts recommend:Before installing a new shock absorber you should pump it manually 3-5 times.
 - Step 51
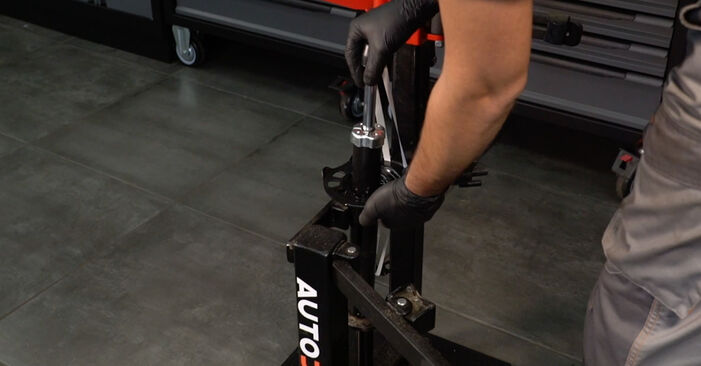 Install the new shock absorber on the hydraulic coil spring compressor.
 - Step 52
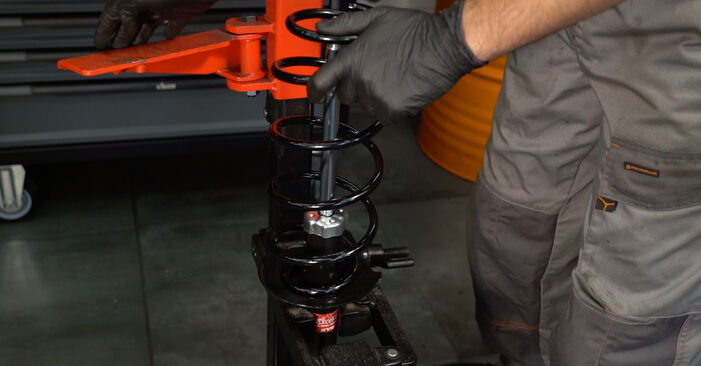 Install the spring on the shock absorber.
 - Step 53
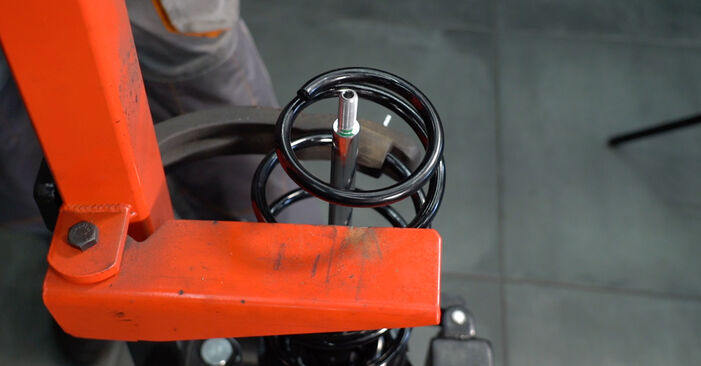 Compress the spring.
 - Step 54
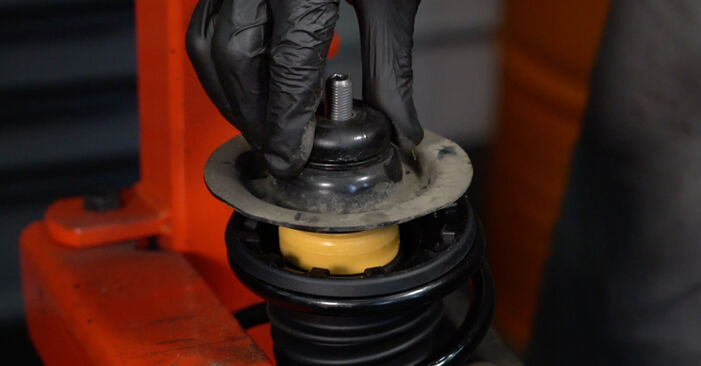 Install the mount, the boot and the bump stop on the shock absorber.
 - Step 55
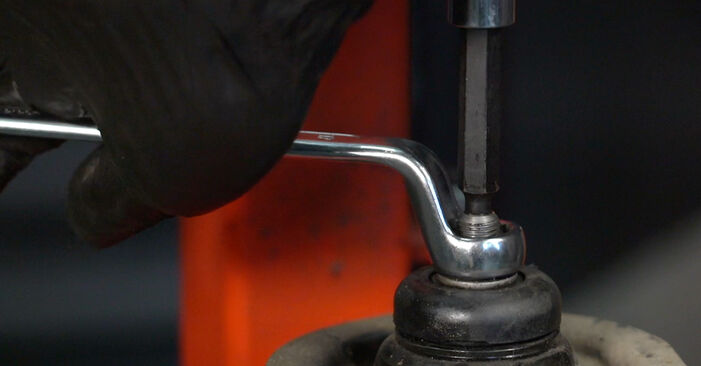 Tighten the shock strut piston rod nut. Use HEX No.H6. Use a drive socket #17. Use a chain wrench. Use a torque wrench. Tighten it to 55 Nm torque.Replacement: suspension strut – Peugeot 107 PM PN. Tip:Check to make sure the spring is positioned correctly. Avoid its misalignment.
 - Step 56
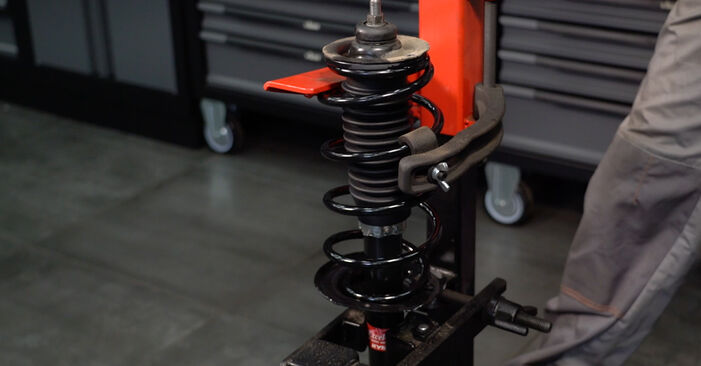 Decompress the spring.
 - Step 57
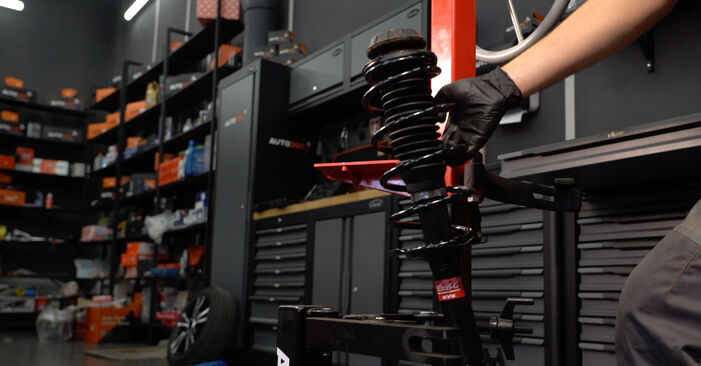 Remove the assembled shock strut.
 - Step 58
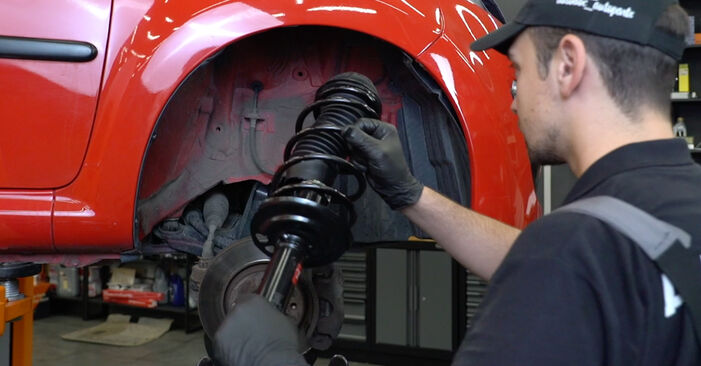 Install the shock strut into the wheel arch.
Was this manual helpful?
Please rate this manual on a scale from 1 to 5. If you have any questions, feel free to ask us.
Users voted – 0
Need New Tyres?
Find out which tyre and wheel sizes are compatible with the PEUGEOT 107 Hatchback (PM, PN) model

Popular maintenance tutorials for Peugeot 107 PN
Complete guides for changing the Shock absorbers on different PEUGEOT 107 models
Unlock your car maintenance assistant!
Track expenses, manage logs, schedule replacements, and more.
Tips & tricks for your PEUGEOT 107 Hatchback (PM_, PN_)
View more
 Deep interior cleaning | Car transformation by detailing
 #TPMS Explained: Why Your Light is On and How to Respond Safely
 5 Essential Tips for beginner drivers: Avoid Common Mistakes
 Fuse Replacement Made Simple: Step-by-Step Guide | AUTODOC
Most commonly replaced car parts on PEUGEOT 107
ОЕ number

Time to replace parts? Get even better deals in our Shop app.

SCAN ME


