Disclaimer
How to change front lower arm on PEUGEOT 206+ Hatchback (2L, 2M) – replacement guide
downloads:
0
Views:
19
Important!
This replacement procedure can be used for:
PEUGEOT 206+ Hatchback (2L_, 2M_) 1.1 LPG, PEUGEOT 206+ Hatchback (2L_, 2M_) 1.4 HDi eco, PEUGEOT 206+ Hatchback (2L_, 2M_) 1.4 i (2LKFWA, 2MKFWA), PEUGEOT 206+ Hatchback (2L_, 2M_) 1.1, PEUGEOT 206+ Hatchback (2L_, 2M_) 1.4 i … View more
The steps may slightly vary depending on the car design.
PEUGEOT 206+ Hatchback (2L_, 2M_) 1.1 LPG, PEUGEOT 206+ Hatchback (2L_, 2M_) 1.4 HDi eco, PEUGEOT 206+ Hatchback (2L_, 2M_) 1.4 i (2LKFWA, 2MKFWA), PEUGEOT 206+ Hatchback (2L_, 2M_) 1.1, PEUGEOT 206+ Hatchback (2L_, 2M_) 1.4 i … View more
The steps may slightly vary depending on the car design.
This video shows the replacement procedure of a similar car part on another vehicle
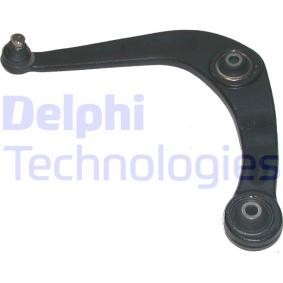
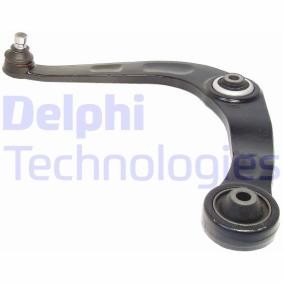
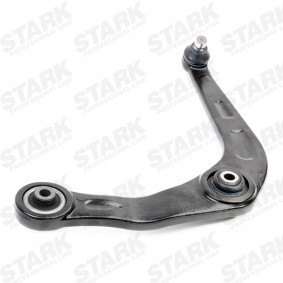
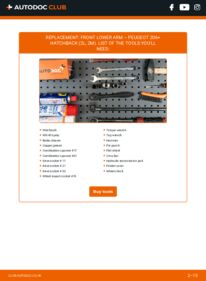
All the parts you need to replace – Control Arm for 206+ Hatchback (2L_, 2M_) and other PEUGEOT models
Alternative products

Wire brush
WD-40 spray
Brake cleaner
Copper grease
Combination spanner #17
Combination spanner #21
Drive socket # 17
Drive socket # 21
Drive socket # 32
Wheel impact socket #19
Torque wrench
Tap wrench
Hammer
Pin punch
Flat chisel
Crow bar
Hydraulic transmission jack
Fender cover
Wheel chock
Replacement: front lower arm – PEUGEOT 206+ (T3E). AUTODOC recommends:
- The replacement procedure is identical for the left and right lower control arms.
- Warning! Shut down the engine before starting any work – PEUGEOT 206+ (T3E).
Carry out replacement in the following order:
- Step 1Open the bonnet.Step 2Use a fender protection cover to prevent damaging paintwork and plastic parts of the car.Step 3
 Secure the wheels with chocks.
 - Step 4
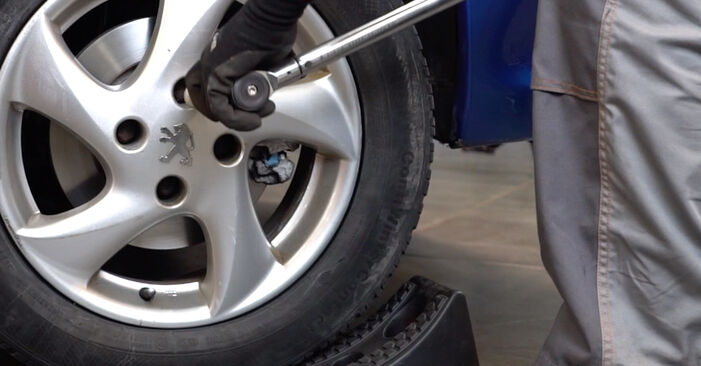
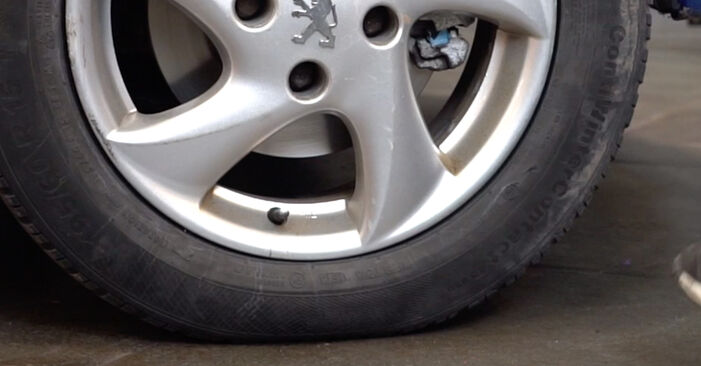
 Loosen the wheel mounting bolts. Use wheel impact socket #19.
 - Step 5Raise the front of the car and secure on supports.Step 6
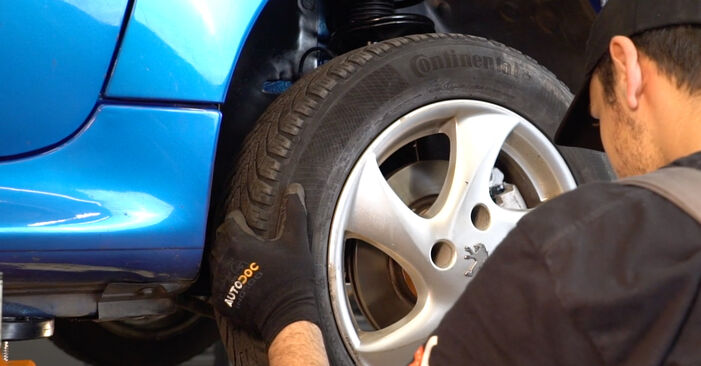
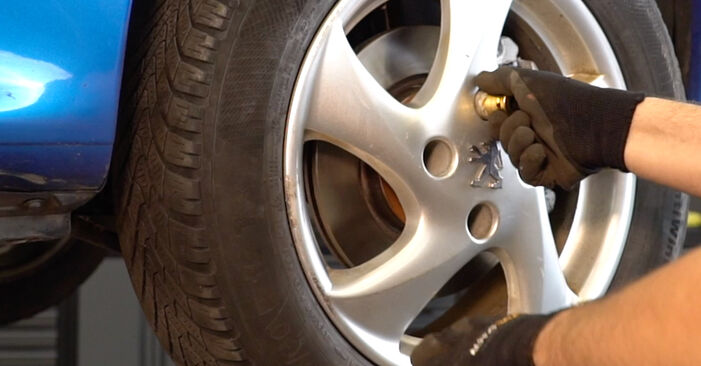
 Unscrew the wheel bolts.Replacement: front lower arm – PEUGEOT 206+ (T3E). Tip:To avoid injury, hold up the wheel when unscrewing the bolts.
 - Step 7
 Remove the wheel.
 - Step 8
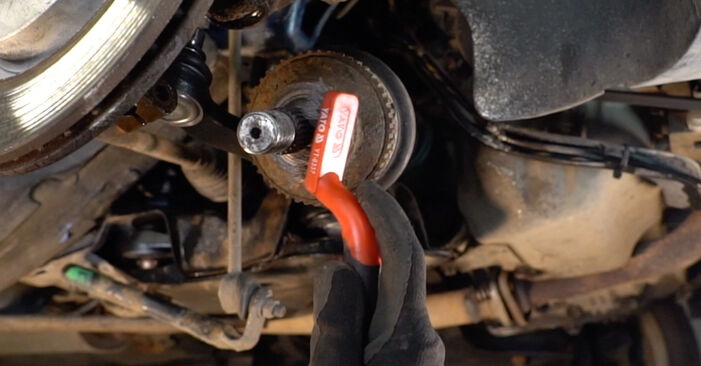
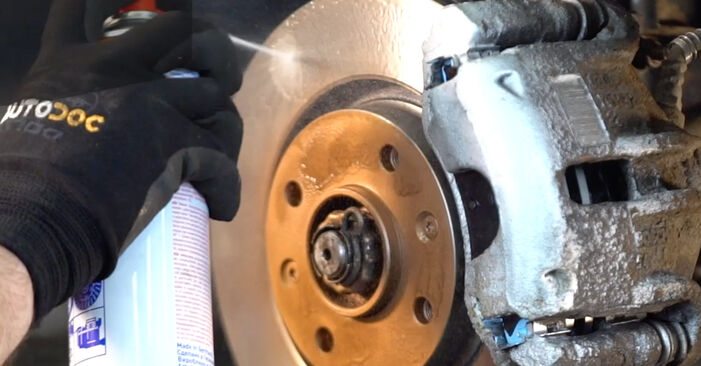
 Clean the fastener of the driveshaft. Use a wire brush.
 - Step 9
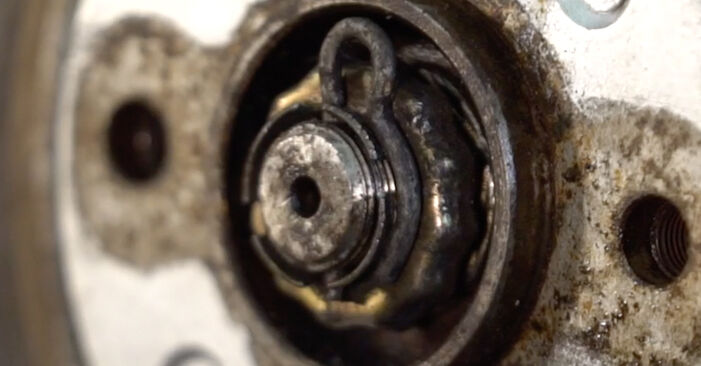
 Remove the cotter pin. Use a crowbar.
 - Step 10
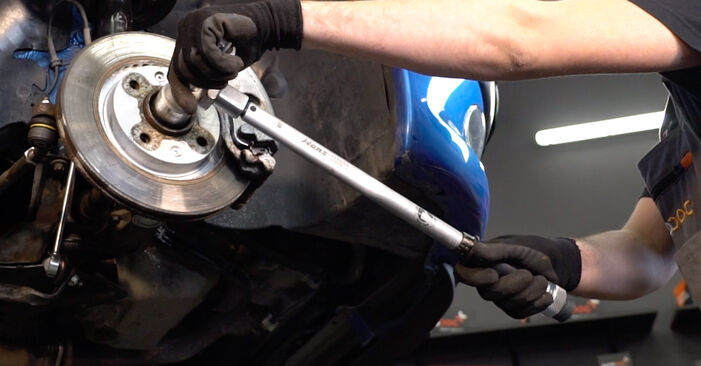
 Loosen the fastener of the driveshaft. Use a drive socket #32. Use a tap wrench. Use a crowbar.
 - Step 11
 Detach the driveshaft from the steering knuckle. Use a pin punch. Use a hammer.
 - Step 12
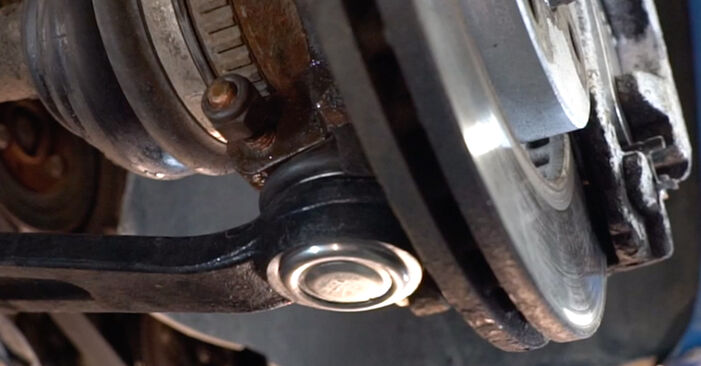
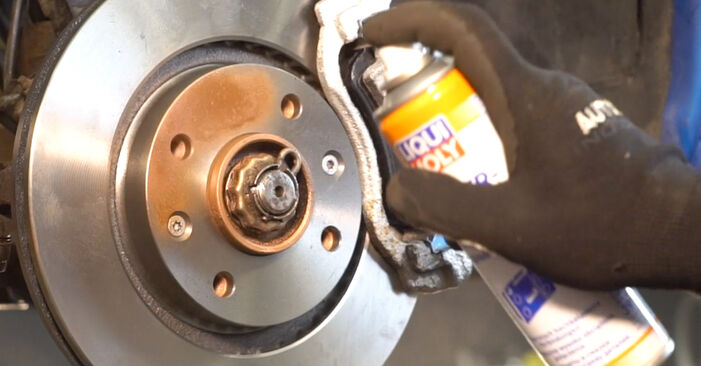
 Clean the fastener connecting the ball joint to the steering knuckle. Use a wire brush. Use WD-40 spray.
 - Step 13
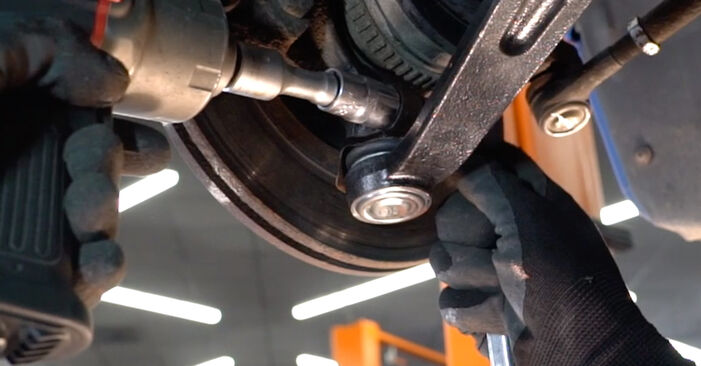
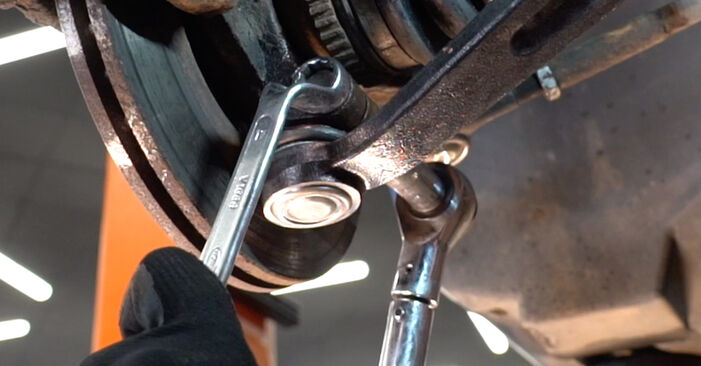
 Unscrew the ball joint fastening to the steering knuckle. Use a combination spanner #17. Use a drive socket #17.
 - Step 14
 Remove the fastening bolt.
 - Step 15
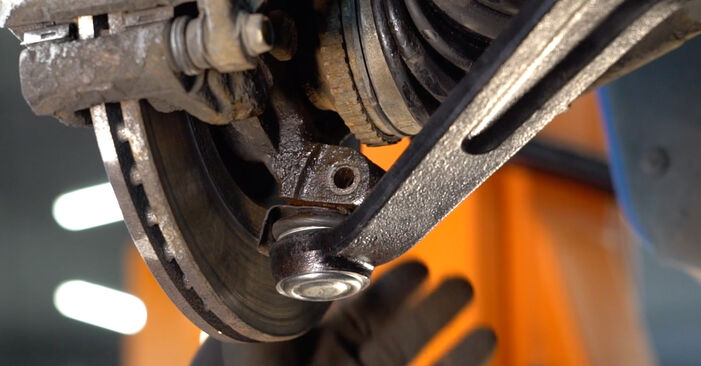
 Release the fastener that connects the control arm ball joint to the steering knuckle. Use a flat metal-working chisel. Use a hammer.
 - Step 16
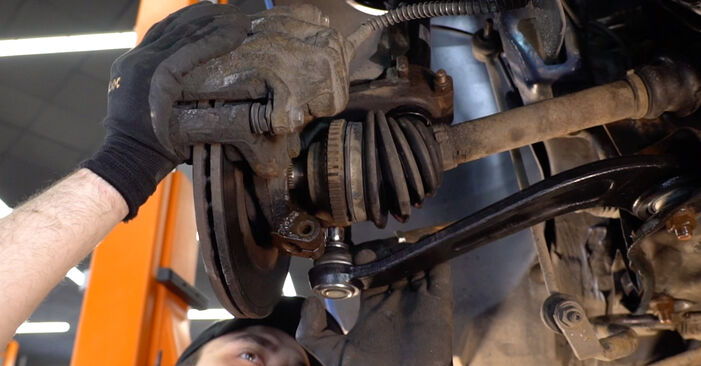
 Prop up the steering knuckle. Use a hydraulic transmission jack.
 - Step 17
 Disconnect the lower arm from the steering knuckle. Use a crowbar.
 - Step 18
 Remove the support from under the steering knuckle.AUTODOC recommends:Replacement: front lower arm – PEUGEOT 206+ (T3E). Lower the transmission jack smoothly, without jerks, to avoid damaging components and mechanisms.
 - Step 19
 Pull the drive shaft out of the steering knuckle and lifting it, tie to the body.Replacement: front lower arm – PEUGEOT 206+ (T3E). AUTODOC recommends:Make sure that the drive shaft is not unloaded (when the car is jacked).
 - Step 20
 Clean all joints of the arm. Use a wire brush. Use WD-40 spray.Replacement: front lower arm – PEUGEOT 206+ (T3E). Tip from AUTODOC:After applying the spray, wait a few minutes.
 - Step 21
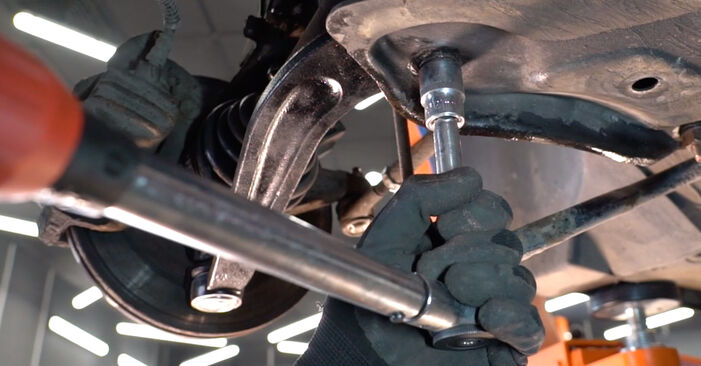
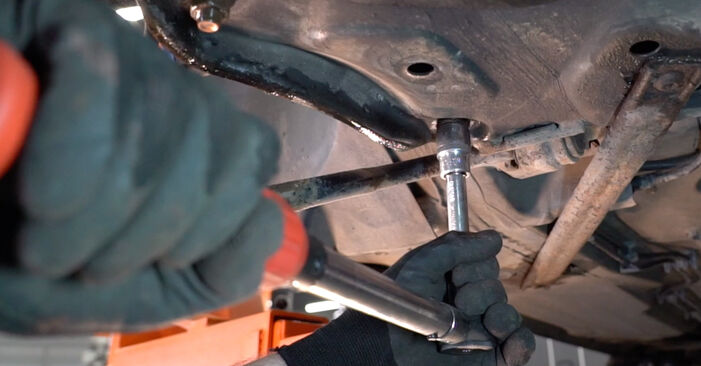
 Unscrew the front arm fastener. Use a drive socket #21. Use a tap wrench.
 - Step 22
 Unscrew the rear arm fastener. Use a drive socket #21. Use a tap wrench.
 - Step 23
 Remove the fastening bolts.
 - Step 24
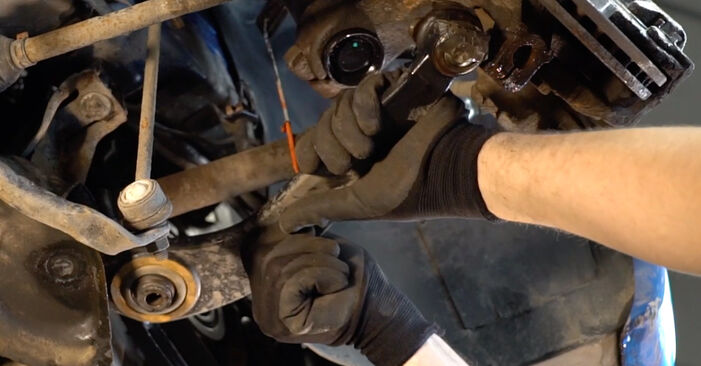 Remove the arm.
 - Step 25
 Clean the mounting seats and the thread of the suspension arm. Use a wire brush. Use WD-40 spray.
 - Step 26
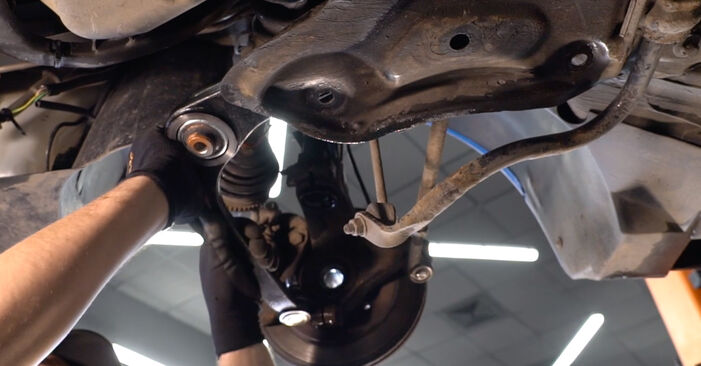 Install a new arm.Replacement: front lower arm – PEUGEOT 206+ (T3E). AUTODOC experts recommend:During the installation process, use only new bolts and nuts.Do not damage the ball joint cover.
 - Step 27
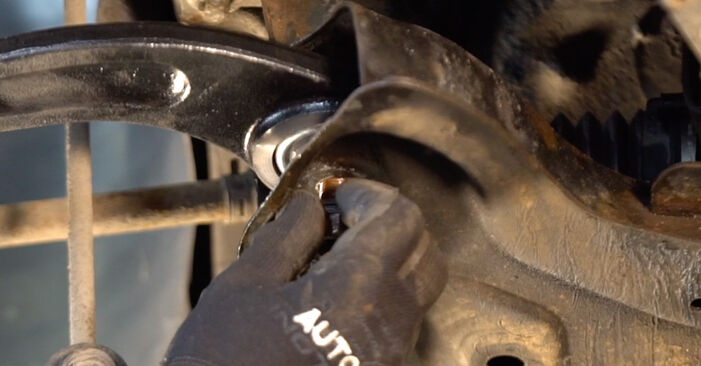 Install the control arm fasteners.
 - Step 28
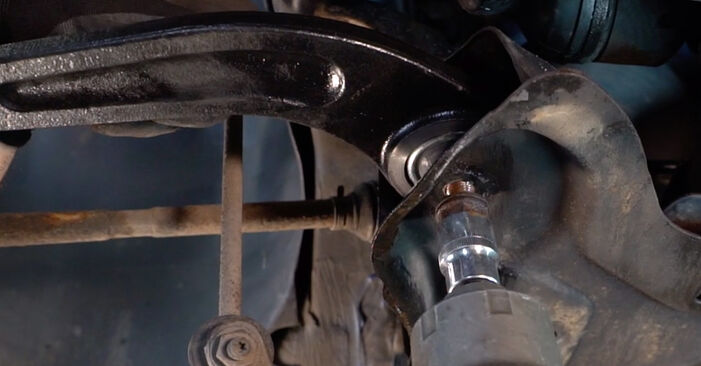 Screw the front arm fastener. Use a combination spanner #21. Use a drive socket #21.
Was this manual helpful?
Please rate this manual on a scale from 1 to 5. If you have any questions, feel free to ask us.
Users voted – 0
Need New Tyres?
Find out which tyre and wheel sizes are compatible with the PEUGEOT 206+ Hatchback (2L, 2M) model

Popular maintenance tutorials for Peugeot 206+
Complete guides for changing the Control arm on different PEUGEOT 206 models
Unlock your car maintenance assistant!
Track expenses, manage logs, schedule replacements, and more.
Tips & tricks for your PEUGEOT 206+ Hatchback (2L_, 2M_)
View more
 Fuse Replacement Made Simple: Step-by-Step Guide | AUTODOC
 Kolbenschmidt plastic gauge overview
 Top 10 most useful car life hacks
 How to Prevent Premature Wear on Your Car Boot Damper | AUTODOC
Most commonly replaced car parts on PEUGEOT 206
ОЕ number

Time to replace parts? Get even better deals in our Shop app.

SCAN ME


