Disclaimer
How to change front coil springs on Mercedes Vito W639 – replacement guide
downloads:
32
Views:
669
Important!
This replacement procedure can be used for:
MERCEDES-BENZ VITO Bus (W639) 111 CDI (639.701, 639.703, 639.705), MERCEDES-BENZ VITO Bus (W639) 111 CDI 4x4 (639.701, 639.703, 639.705), MERCEDES-BENZ VITO Bus (W639) 115 CDI 4x4 (639.701, 639.705), MERCEDES-BENZ VITO Bus (W639) 119 (639.701, 639.703, 639.705), MERCEDES-BENZ VITO Bus (W639) 122 (639.701, 639.703, 639.705), MERCEDES-BENZ VITO Bus (W639) 109 CDI (639.701), MERCEDES-BENZ VITO Bus (W639) 123 (639.701), MERCEDES-BENZ VITO Bus (W639) 109 CDI (639.701, 639.703), MERCEDES-BENZ VITO Bus (W639) 109 CDI 4x4 (639.701), MERCEDES-BENZ VITO Bus (W639) 126 (639.701, 639.703, 639.705), MERCEDES-BENZ VITO Bus (W639) 111 CDI (639.701, 639.703, 639.705), MERCEDES-BENZ VITO Bus (W639) 120 CDI (639.701, 639.703, 639.705) … View more
The steps may slightly vary depending on the car design.
How to change springs on MERCEDES VITO W639 [TUTORIAL AUTODOC]

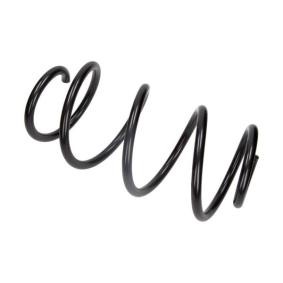
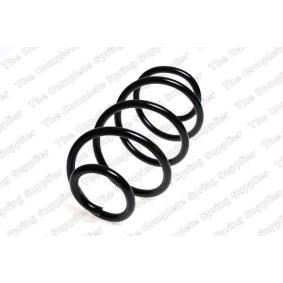
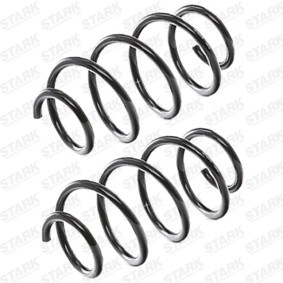
All the parts you need to replace – Springs for VITO Bus (W639) and other MERCEDES-BENZ models
Alternative products

Wire brush
WD-40 spray
Brake cleaner
Copper grease
Torque wrench
Torx bit T25
Combination spanner #21
Drive socket # 13
Drive socket # 20
Drive socket # 21
Wheel impact socket #17
Ratchet wrench
Flat Screwdriver
Ear clamp pliers
Crow bar
Hydraulic strut spring compressor
Fender cover
Wheel chock
Replacement: coil springs – Mercedes Vito W639. Tip from AUTODOC experts:
- Both coil springs of the front suspension should be replaced simultaneously.
- The replacement procedure is identical for the left and right coil springs of the front suspension.
- All work should be done with the engine stopped.
Replacement: coil springs – Mercedes Vito W639. Take the following steps:
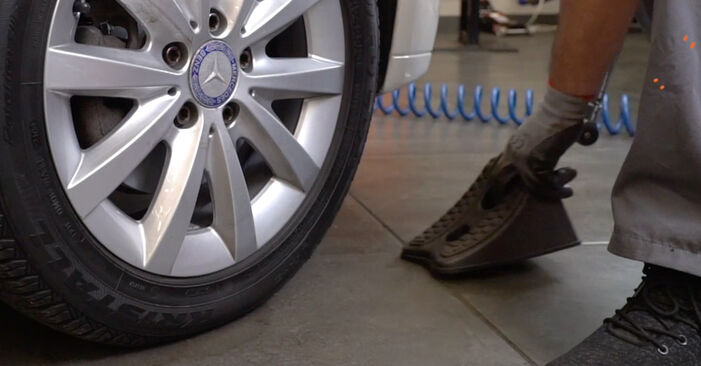
- Step 1
 Secure the wheels with chocks.
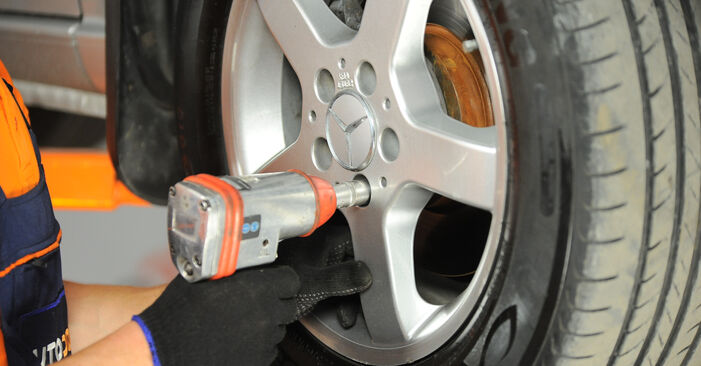
 - Step 2
 Loosen the wheel mounting bolts. Use wheel impact socket #17.
 - Step 3
 Raise the front of the car and secure on supports.
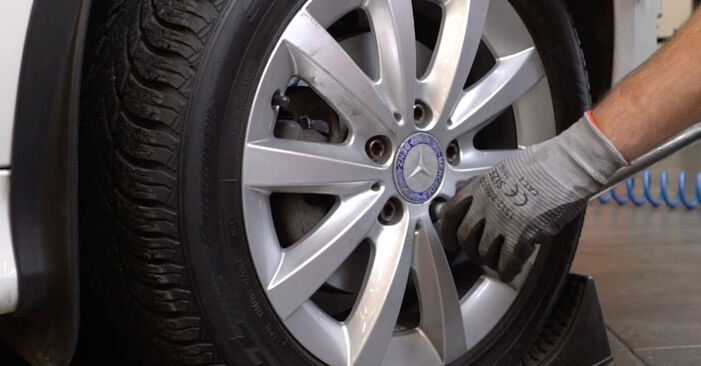
 - Step 4
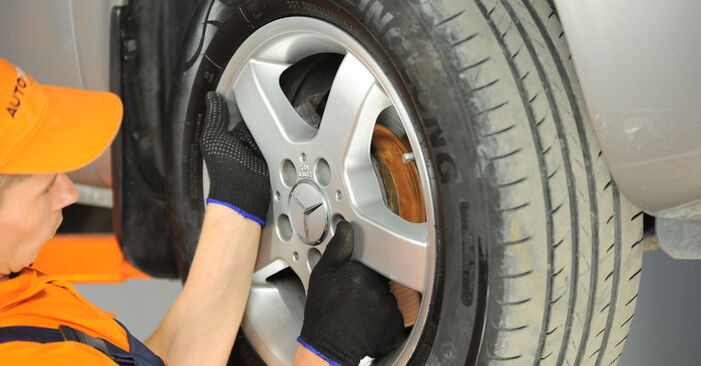
 Unscrew the wheel bolts.AUTODOC recommends:Warning! To avoid injury, hold the wheel while unscrewing the fastening bolts. Mercedes Vito W639
 - Step 5
 Remove the wheel.
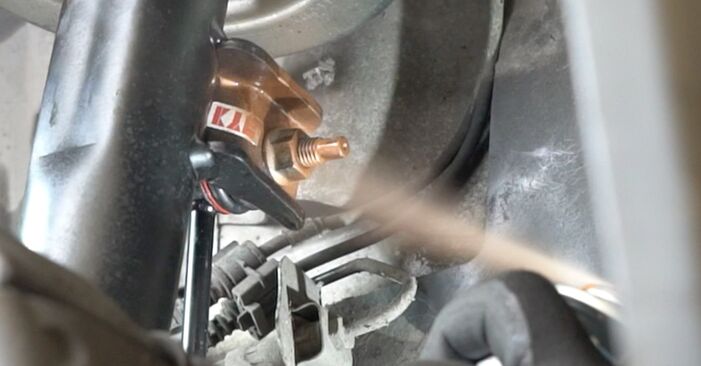
 - Step 6Clean the stabiliser link fasteners. Use a wire brush. Use WD-40 spray.Step 7
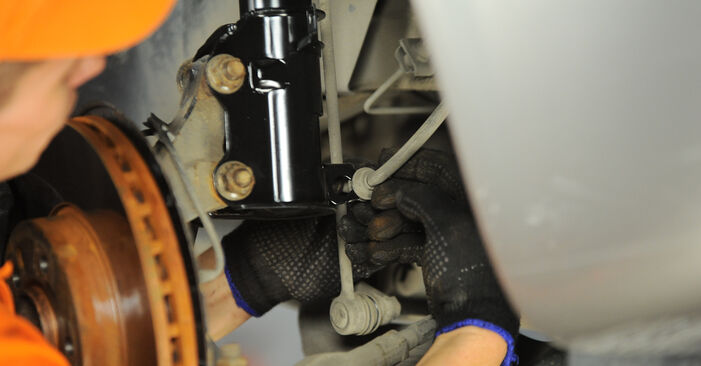
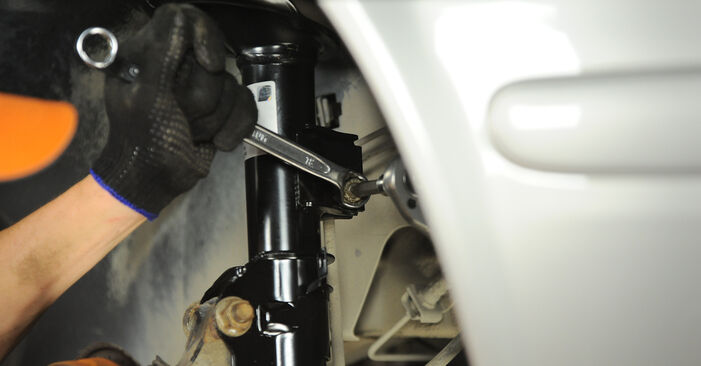
 Unscrew the fastener connecting the stabilizer link to the shock strut. Use a drive socket #18. Use a ratchet wrench.
 - Step 8
 Remove the stabilizer rod.
 - Step 9
 Detach the brake hose from the shock strut. Use a flat screwdriver.
 - Step 10
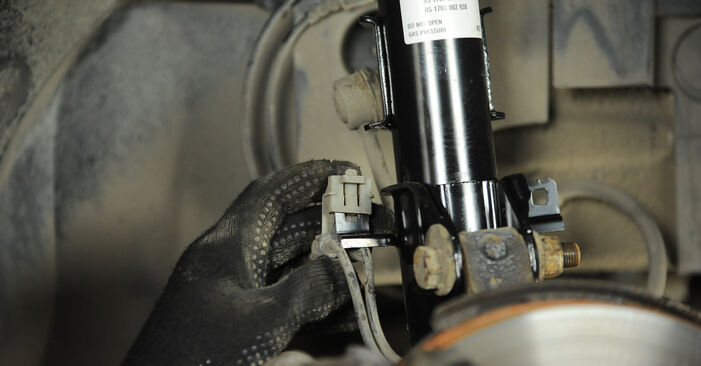
 Release the ABS sensor wiring harness from the holder on the shock absorber. Disconnect the fastener of the brake pad wear sensor wire from the suspension strut.
 - Step 11Disconnect the ABS sensor wiring.Step 12
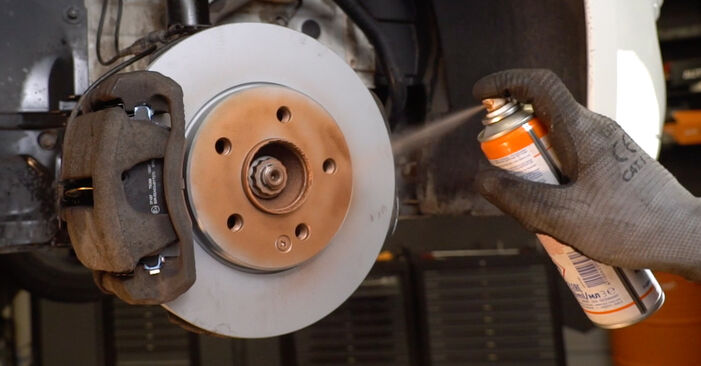
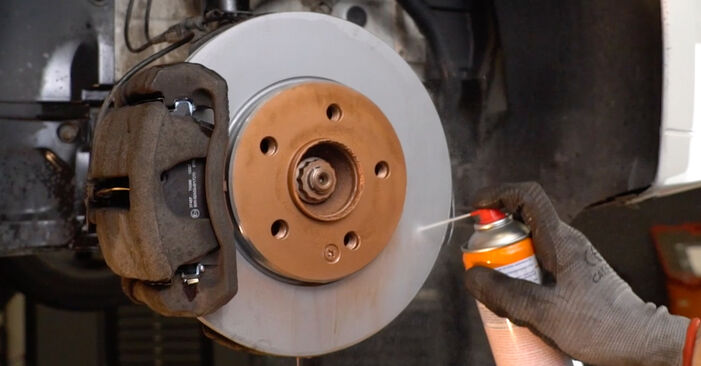
 Clean the fasteners connecting the shock strut to the steering knuckle. Use a wire brush. Use WD-40 spray.
 - Step 13
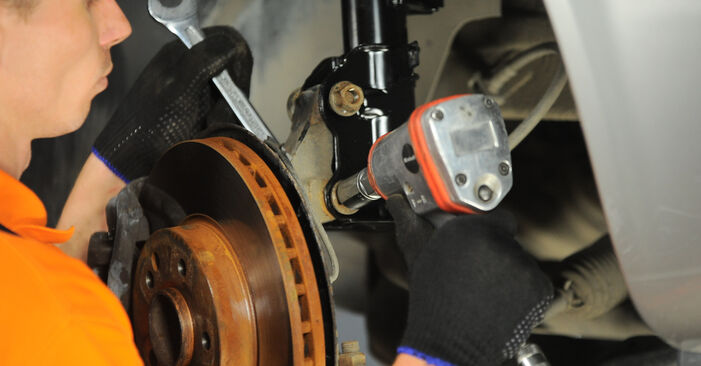
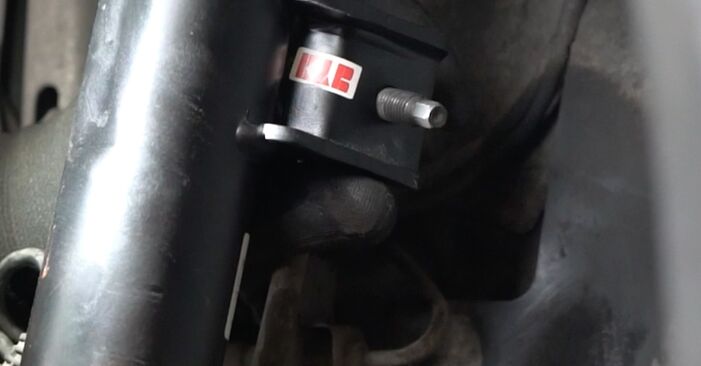
 Unscrew the fasteners connecting the suspension strut to the steering knuckle. Use a combination spanner #21. Use a drive socket #21. Use a ratchet wrench.
 - Step 14
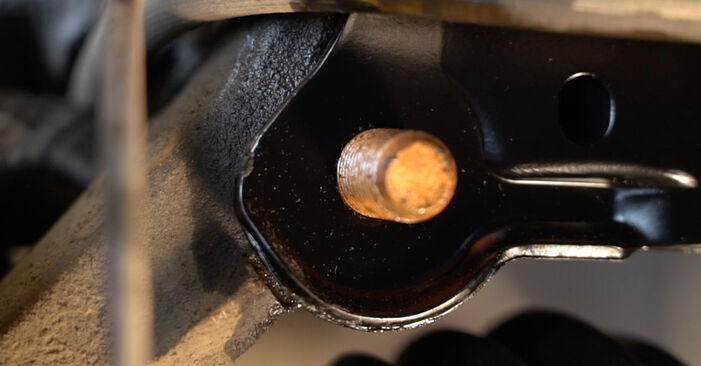
 Remove the fastening bolts.
 - Step 15
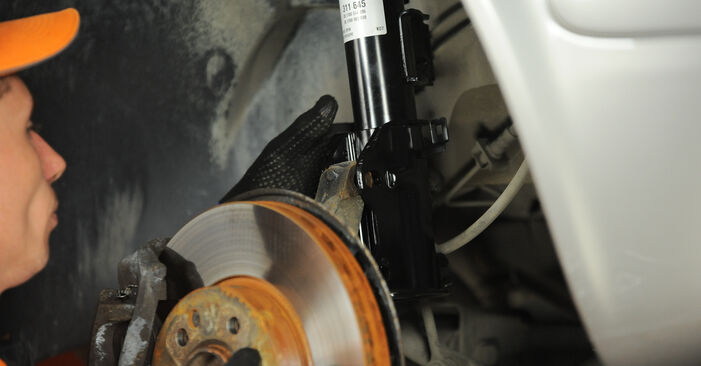
 Disconnect the steering knuckle from the shock absorber strut.
 - Step 16
 Lower the car.
 - Step 17
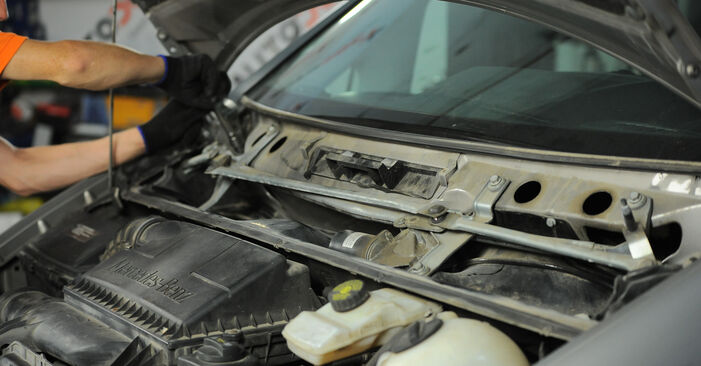
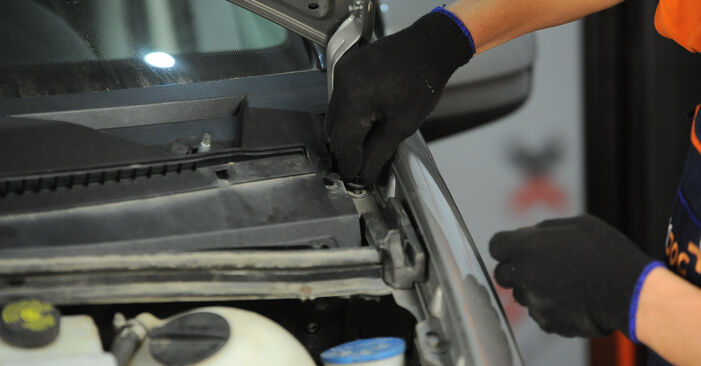
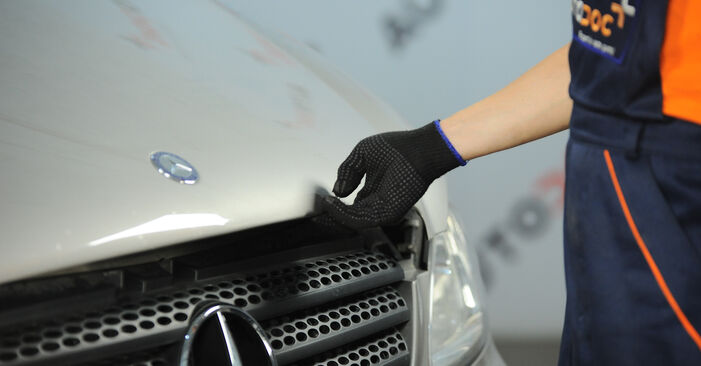
 Open the bonnet.
 - Step 18Use a fender protection cover to prevent damaging paintwork and plastic parts of the car.Step 19
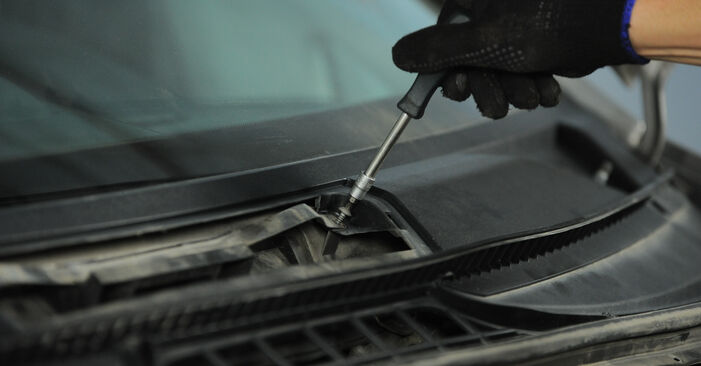
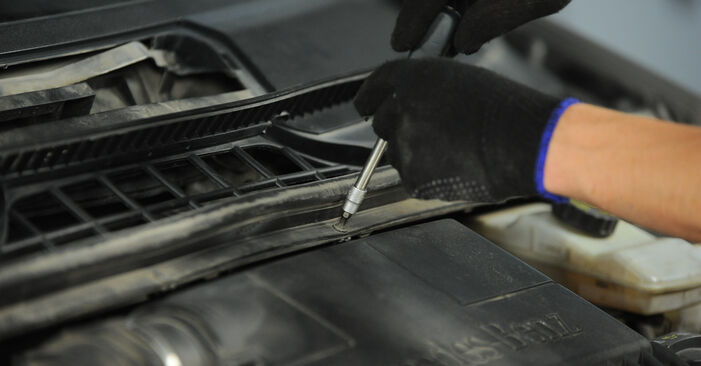
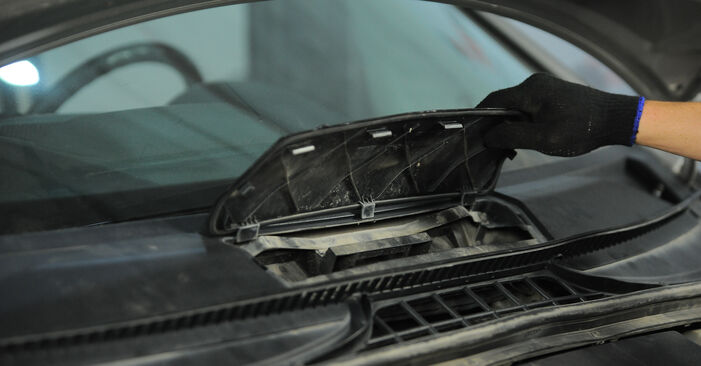
 Unscrew the fasteners of the cowl grille. Use Torx T25. Use a ratchet wrench.
 - Step 20
 Remove the clips of the plastic cowl grille. Use a flat screwdriver. Use ear clamp pliers.
 - Step 21
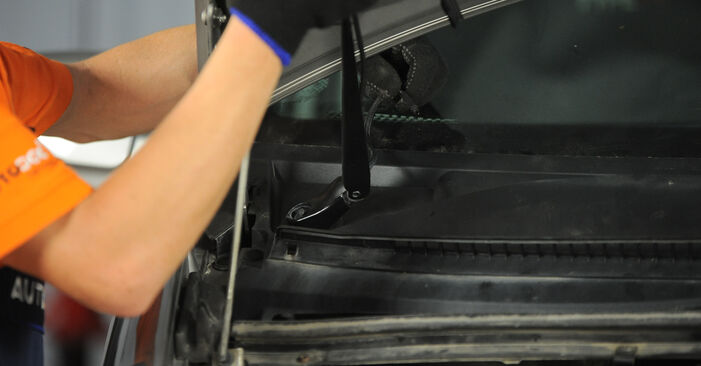
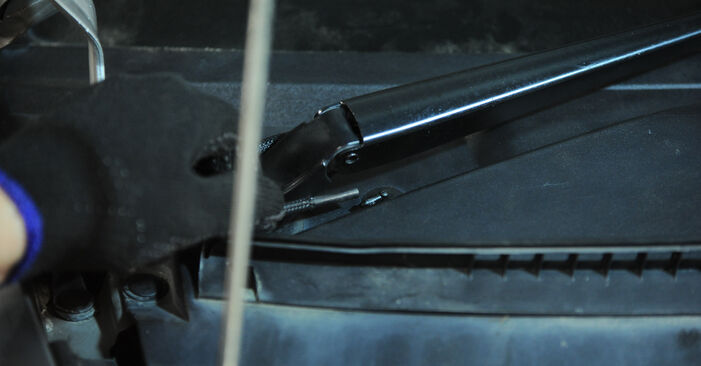
 Unscrew the fasteners of the windscreen wiper arms. Use a drive socket #13. Use a ratchet wrench.
 - Step 22
 Remove the wiper arms.
 - Step 23
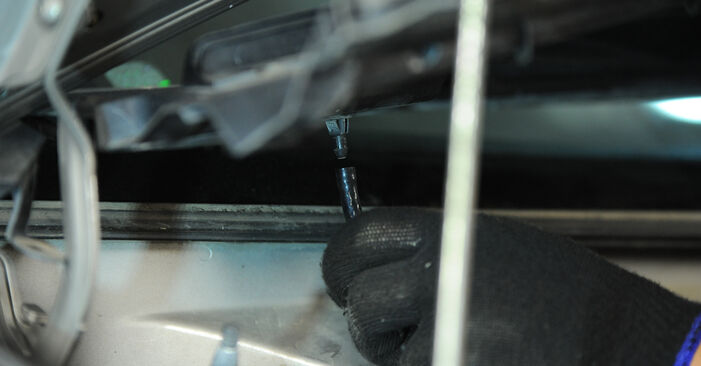
 Detach the windscreen washer nozzle hose.
 - Step 24
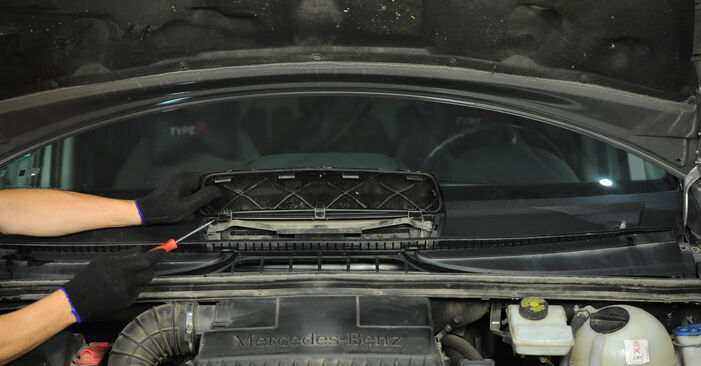 Raise up and remove the cowl grille. Use a flat screwdriver.
 - Step 25
 Take out the cabin filter bracket. Use Torx T25. Use a ratchet wrench.
 - Step 26
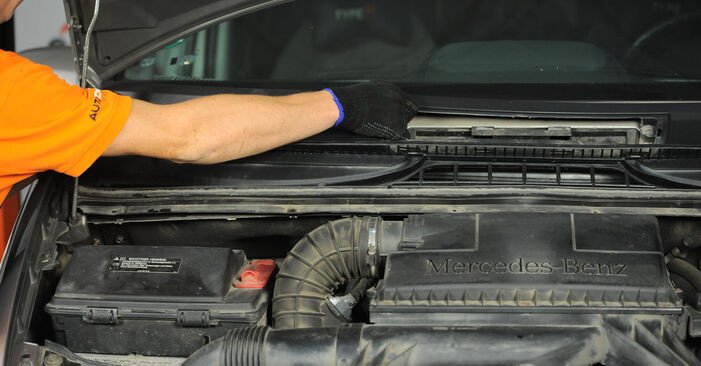 Remove the lower wiper plastic cowl grille.
 - Step 27
 Detach the windscreen washer nozzle hose.
 - Step 28
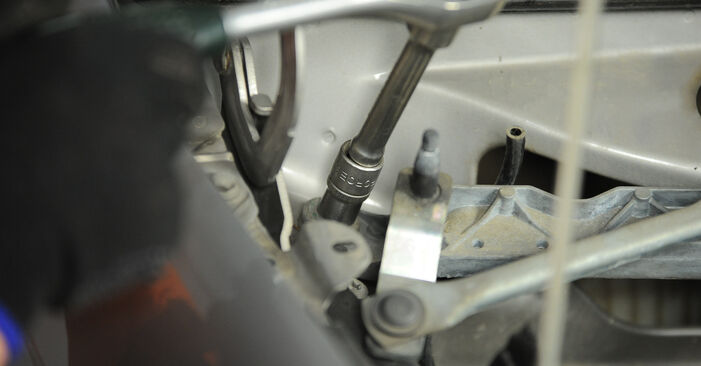 Unscrew the fasteners of the windscreen wiper linkage panel. Use a drive socket #13. Use a ratchet wrench.
 - Step 29
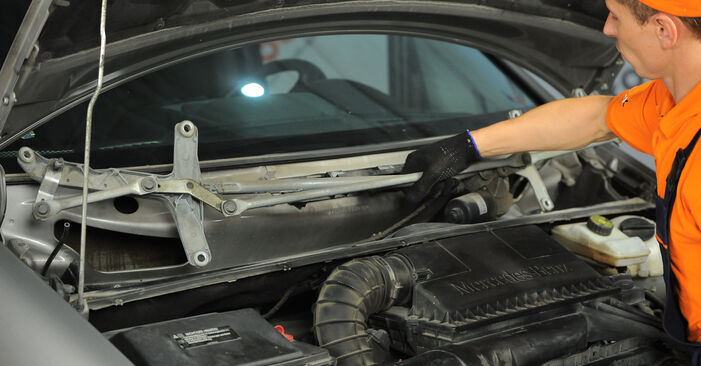 Remove the panel assembled with the windscreen wiper linkage.
 - Step 30
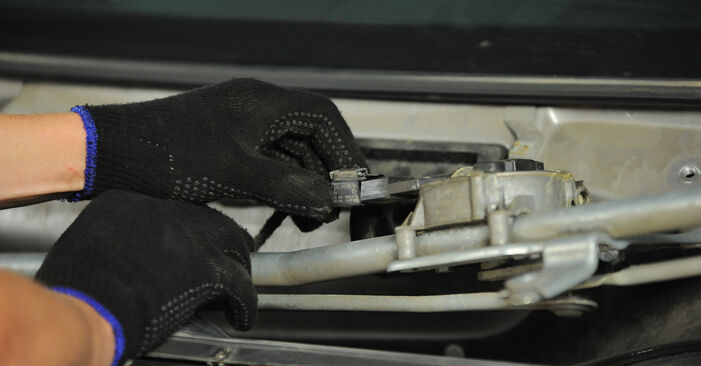
 Unplug the wiper motor connector. Use a flat screwdriver.
 - Step 31
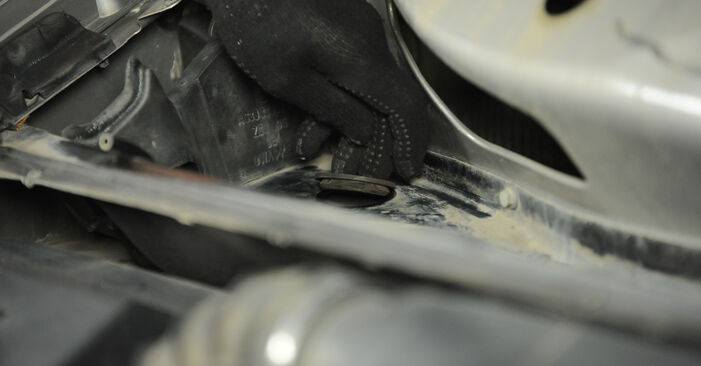
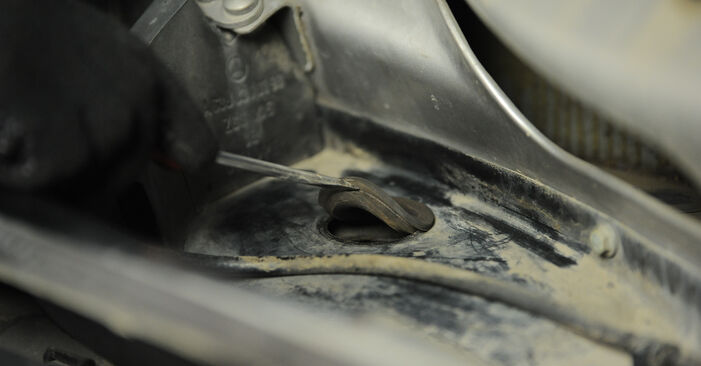 Remove the suspension strut mount cap. Use a flat screwdriver.
 - Step 32Clean the upper fastener of the suspension strut mount. Use a wire brush. Use WD-40 spray.Step 33
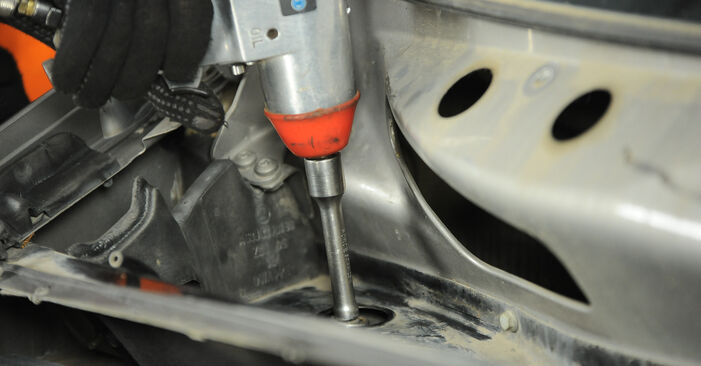
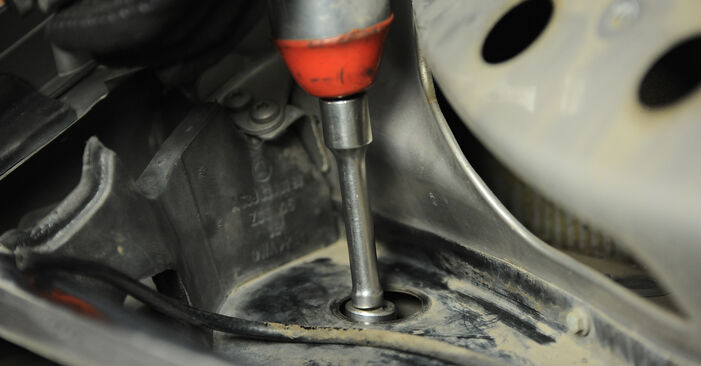 Unscrew the top fastening of the shock strut mount. Use a drive socket #21. Use a ratchet wrench.Replacement: coil springs – Mercedes Vito W639. AUTODOC recommends:To avoid injuries, hold the shock strut when undoing the fastening bolts.
 - Step 34
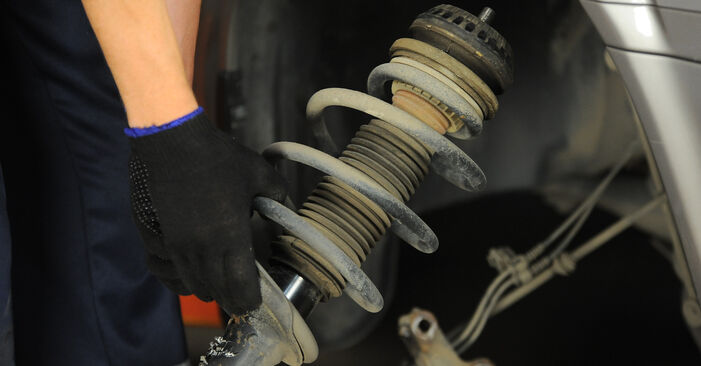 Remove the suspension strut.
 - Step 35
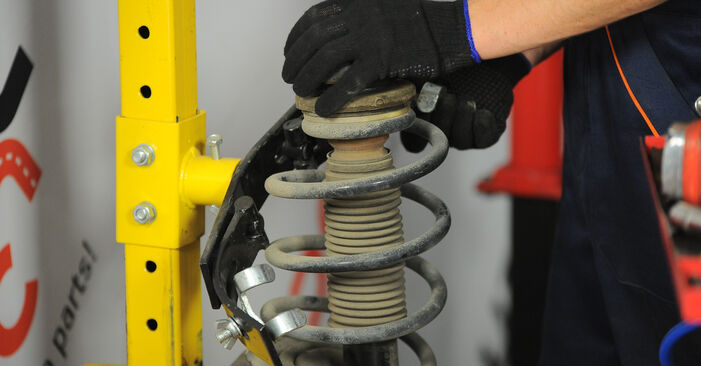 Set the shock absorber strut on the spring compressor tool.Replacement: coil springs – Mercedes Vito W639. Tip:Note that when using a spring compressor, spring coils need to be securely gripped, compressing the spring on the opposite sides.Ensure the correct position of the spring in the retainer.Make sure that the spring coils tightly entered the lock handles.
 - Step 36
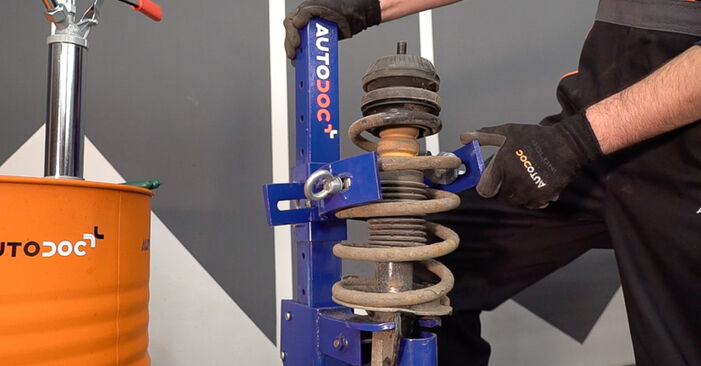 Compress the spring.
 - Step 37
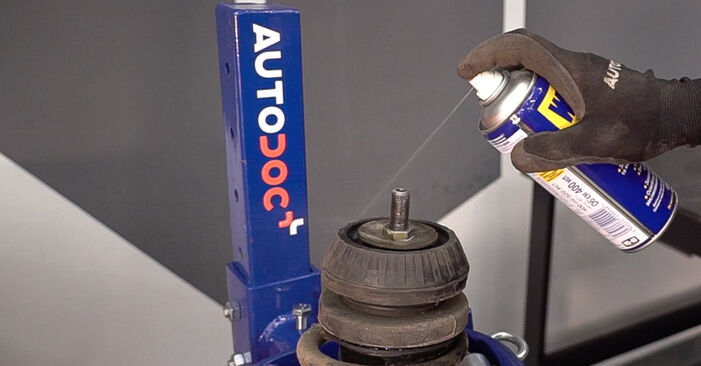 Treat the shock strut rod. Use WD-40 spray.
 - Step 38
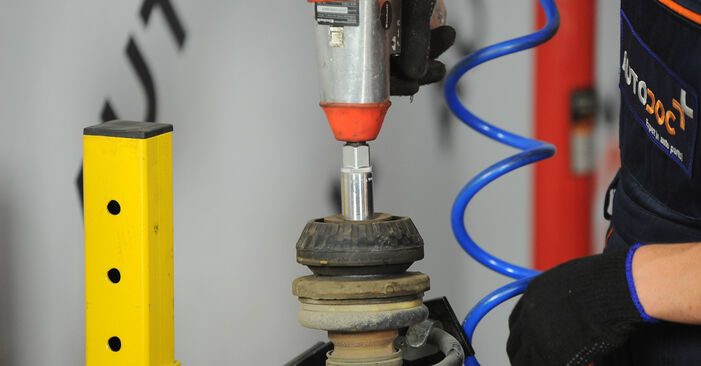 Remove the strut piston rod nut. Use a drive socket #20. Use a ratchet wrench.
 - Step 39
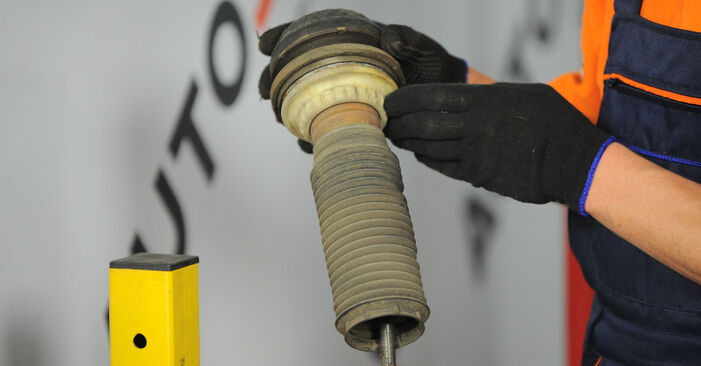 Remove the shock absorber mount, dust boot, and bump stop. Use a flat screwdriver.AUTODOC recommends:Replacement: coil springs – Mercedes Vito W639. Carefully inspect the mount, the boot, and the bump stop of the shock absorber. Replace if necessary.
 - Step 40Release the coil spring.Step 41
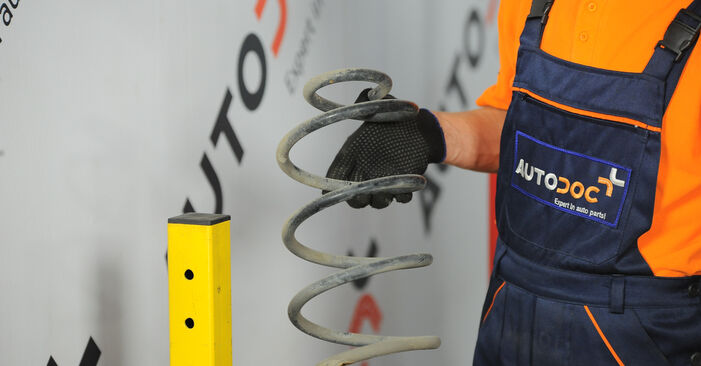 Remove the spring.
 - Step 42
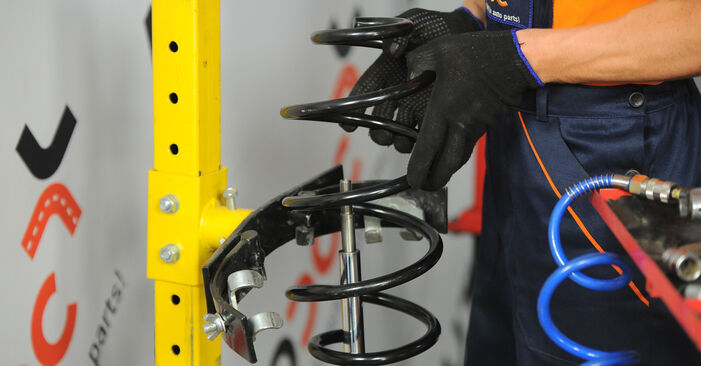 Install the spring on the shock absorber.
 - Step 43Compress the spring.Step 44
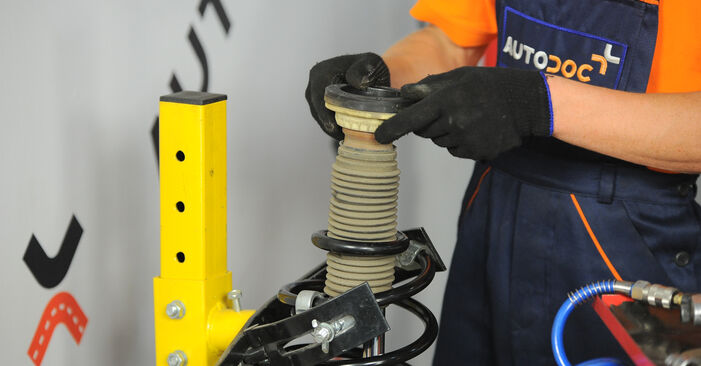 Install the mount, the boot and the bump stop on the shock absorber.
 - Step 45
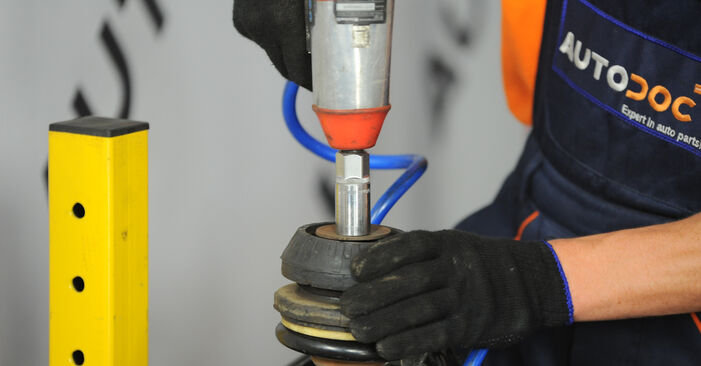 Tighten the shock strut piston rod nut. Use a drive socket #20. Use a torque wrench. Tighten it to 56 Nm torque.Replacement: coil springs – Mercedes Vito W639. Professionals recommend:Check to make sure the spring is positioned correctly. Avoid its misalignment.
 - Step 46Decompress the spring.Step 47Remove the assembled shock strut.Step 48
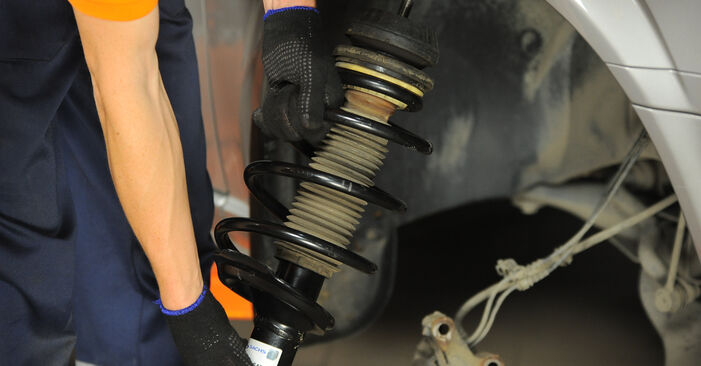 Install the shock strut into the wheel arch.
Was this manual helpful?
Please rate this manual on a scale from 1 to 5. If you have any questions, feel free to ask us.
Users voted – 0
Need New Tyres?
Find out which tyre and wheel sizes are compatible with the MERCEDES-BENZ Vito Minibus (W639) model

Popular maintenance tutorials for Mercedes Vito W639
Complete guides for changing the Springs on different MERCEDES-BENZ VITO models
Unlock your car maintenance assistant!
Track expenses, manage logs, schedule replacements, and more.
Tips & tricks for your MERCEDES-BENZ VITO Bus (W639)
View more
 2 ways to clean the EGR valve – which one is better?
 3 essential tips for choosing summer tyres | Get ready for warmer weather
 Don’t Replace, Just Polish! Headlight Restoration with AUTODOC
 TOP 8 mistakes car owners make | AUTODOC tips
Most commonly replaced car parts on MERCEDES-BENZ VITO

Time to replace parts? Get even better deals in our Shop app.

SCAN ME


