Disclaimer
How to change front anti roll bar links on TOYOTA Matrix II Hatchback (E140) – replacement guide
downloads:
1
Views:
13
Important!
This replacement procedure can be used for:
TOYOTA Matrix Hatchback (_E14_) 1.8 (ZRE142_) … View more
The steps may slightly vary depending on the car design.
TOYOTA Matrix Hatchback (_E14_) 1.8 (ZRE142_) … View more
The steps may slightly vary depending on the car design.
This video shows the replacement procedure of a similar car part on another vehicle
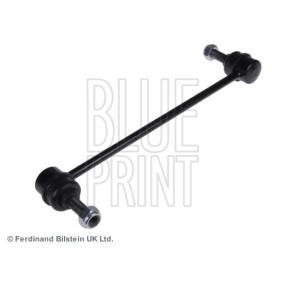
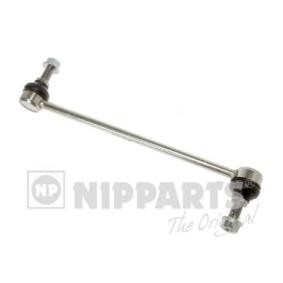
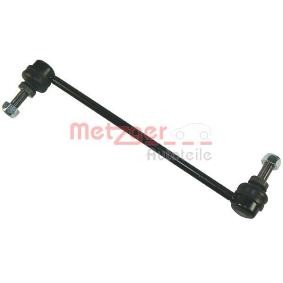
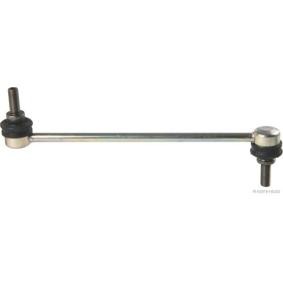
All the parts you need to replace – Anti Roll Bar Links for Matrix Hatchback (_E14_) and other TOYOTA models
Alternative products

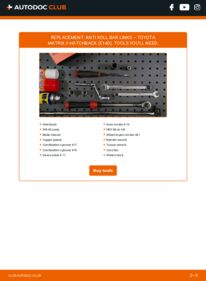
Wire brush
WD-40 spray
Brake cleaner
Copper grease
Combination spanner #17
Combination spanner #19
Drive socket # 17
Drive socket # 19
HEX bit no.H6
Wheel impact socket #21
Ratchet wrench
Torque wrench
Crow bar
Wheel chock
AUTODOC recommends:
- Replace the stabiliser links on TOYOTA MATRIX (ZRE14_, AZE14_) in pairs.
- The replacement procedure is identical for both stabiliser links on the same axle.
- All work should be done with the engine stopped.
Replacement: anti roll bar links – TOYOTA MATRIX (ZRE14_, AZE14_). Recommended sequence of steps:
- Step 1
 Secure the wheels with chocks.
 - Step 2
 Loosen the wheel mounting bolts. Use wheel impact socket #21.
 - Step 3Raise the front of the car and secure on supports.Step 4
 Unscrew the wheel bolts.Replacement: anti roll bar links – TOYOTA MATRIX (ZRE14_, AZE14_). Tip from AUTODOC experts:To avoid injury, hold up the wheel when unscrewing the bolts.
 - Step 5
 Remove the wheel.
 - Step 6
 Clean the stabiliser link fasteners. Use a wire brush. Use WD-40 spray.
 - Step 7
 Unscrew the fastener connecting the stabilizer link to the stabilizer bar. Use HEX No.H6. Use a combination spanner #17.
 - Step 8
 Unscrew the fastener connecting the stabilizer link to the shock strut. Use a combination spanner #17. Use a drive socket #17. Use a ratchet wrench.
 - Step 9
 Remove the stabilizer rod. Use a crowbar.Replacement: anti roll bar links – TOYOTA MATRIX (ZRE14_, AZE14_). Tip from AUTODOC experts:Examine stabiliser bushes. Replace them if needed.
 - Step 10Clean the mounting seats of the stabiliser link. Use a wire brush. Use WD-40 spray.Step 11
 Install a new rod, tighten the fasteners. Use a combination spanner #19. Use a drive socket #19. Use HEX No.H6. Use a ratchet wrench.
Was this manual helpful?
Please rate this manual on a scale from 1 to 5. If you have any questions, feel free to ask us.
Users voted – 0
Need New Tyres?
Find out which tyre and wheel sizes are compatible with the TOYOTA Matrix II Hatchback (E140) model

Popular maintenance tutorials for Matrix E140
Complete guides for changing the Drop links on different TOYOTA MATRIX models
Unlock your car maintenance assistant!
Track expenses, manage logs, schedule replacements, and more.
Tips & tricks for your TOYOTA Matrix Hatchback (_E14_)
View more
 2 ways to clean the EGR valve – which one is better?
 How to align the timing marks correctly on an EA888 engine
 What causes engine misfire? | AUTODOC
 How to make an injector test bench yourself
Most commonly replaced car parts on TOYOTA MATRIX

Time to replace parts? Get even better deals in our Shop app.

SCAN ME


