Disclaimer

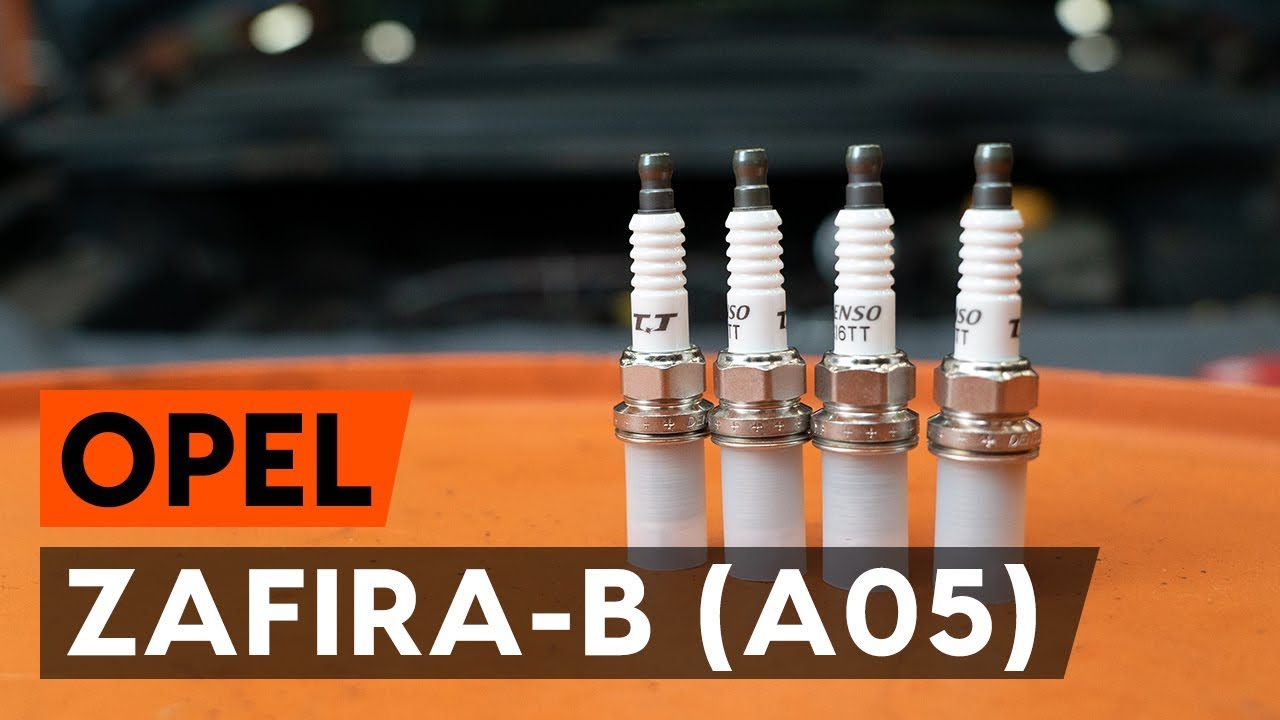
How to change spark plugs on Opel Zafira B A05 – replacement guide
downloads:
22
Views:
459
Recommended replacement interval for the part category Spark plug : 4 year / 60000 km
Important!
This replacement procedure can be used for:
OPEL ZAFIRA B (A05) 1.6 (M75), OPEL ZAFIRA B (A05) 2.0 (M75), OPEL ZAFIRA B (A05) 2.2 (M75), OPEL ZAFIRA B (A05) 1.6 (M75), OPEL ZAFIRA B (A05) 1.6 CNG Turbo (M75), OPEL ZAFIRA B (A05) 1.8 (M75), OPEL ZAFIRA B (A05) 1.8 LPG (M75), OPEL ZAFIRA B (A05) 1.6 FlexFuel (M75) … View more
The steps may slightly vary depending on the car design.
How to change spark plug on OPEL ZAFIRA-B 2 (A05) [TUTORIAL AUTODOC]
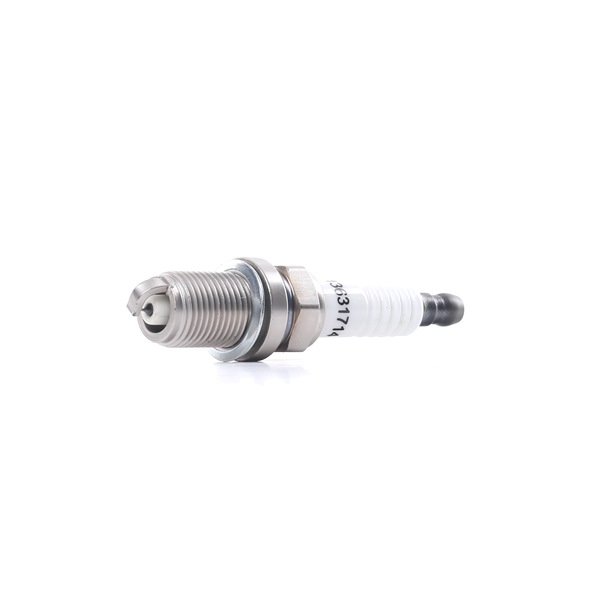
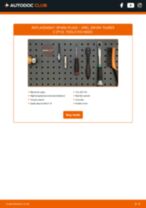
All the parts you need to replace – Spark Plug for ZAFIRA B (A05) and other OPEL models
Alternative products
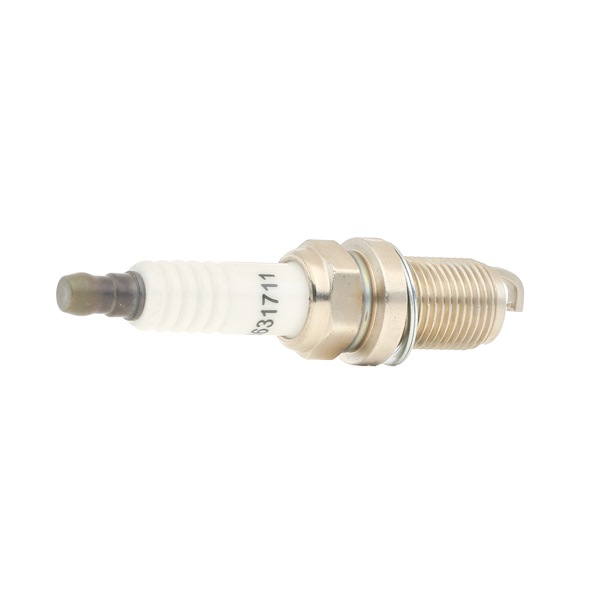
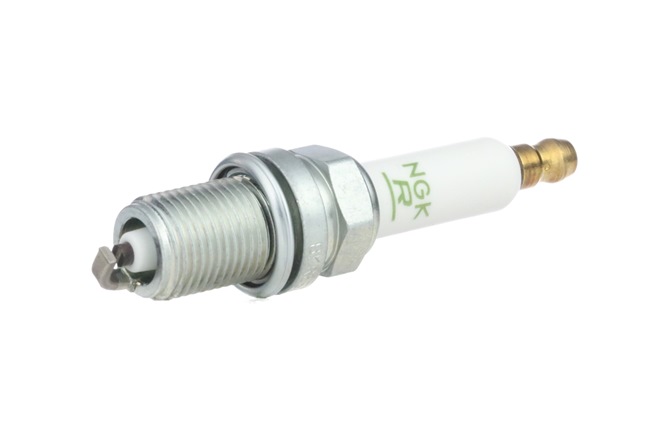
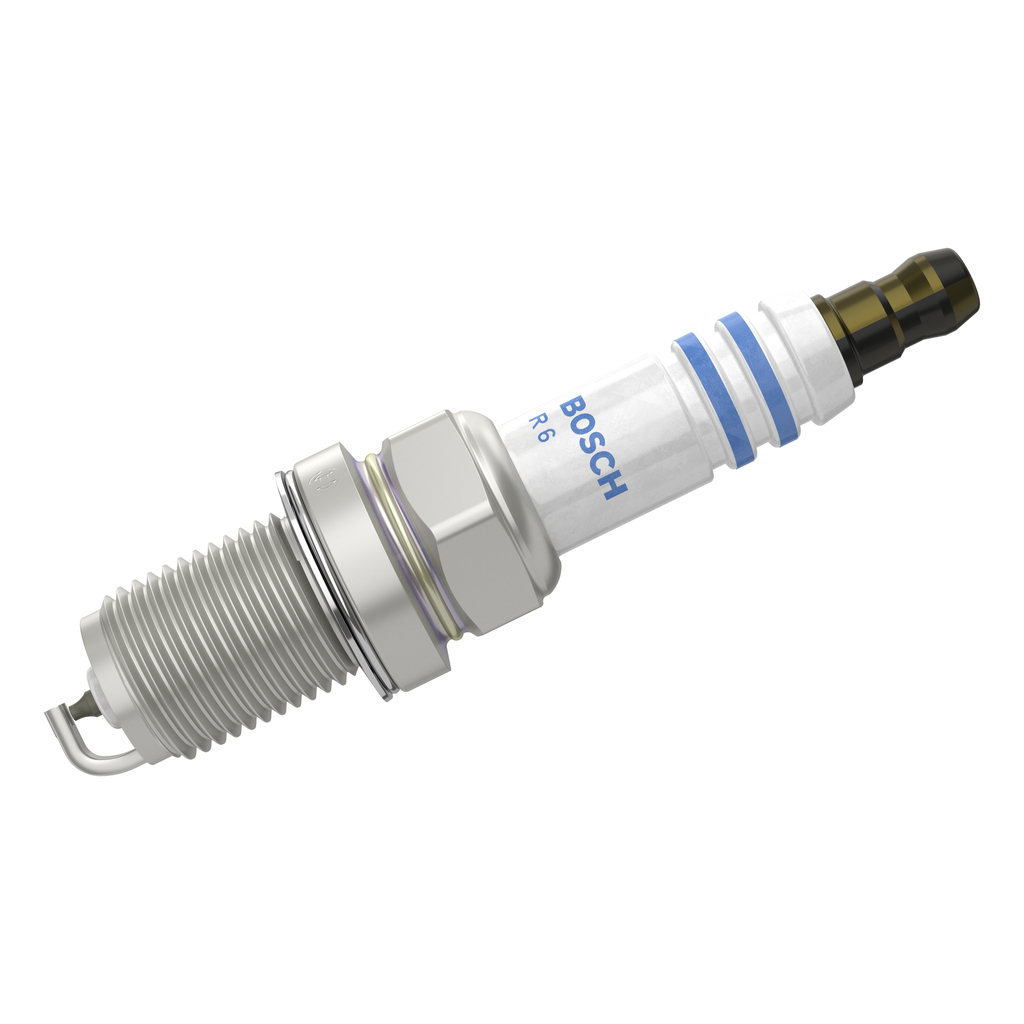
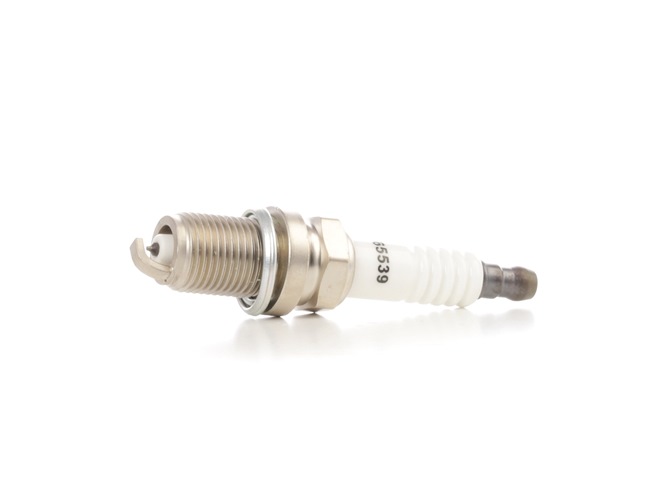
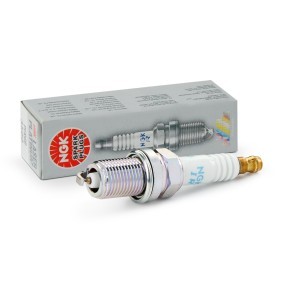
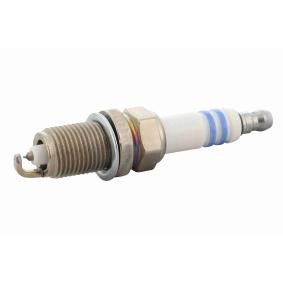
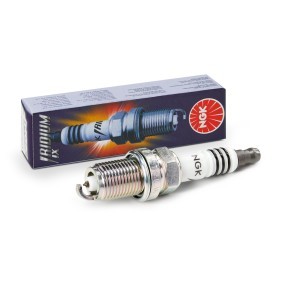
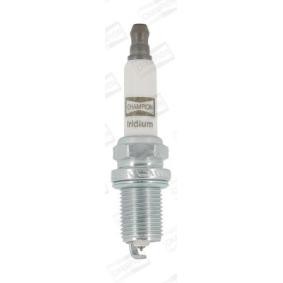
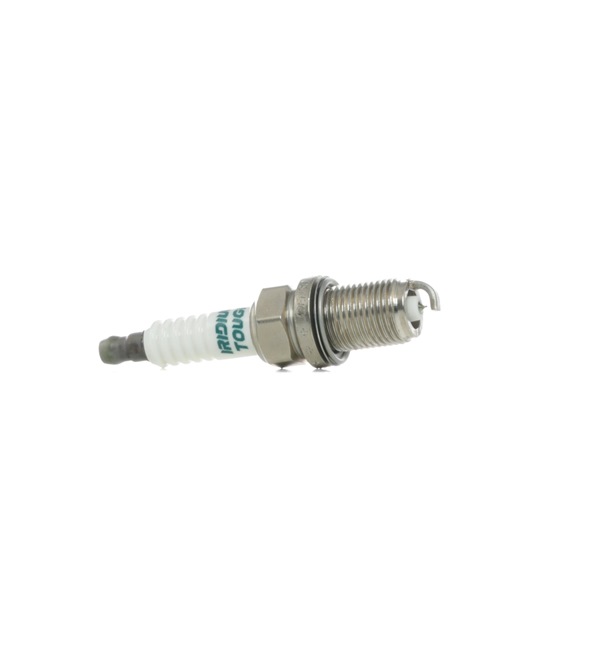
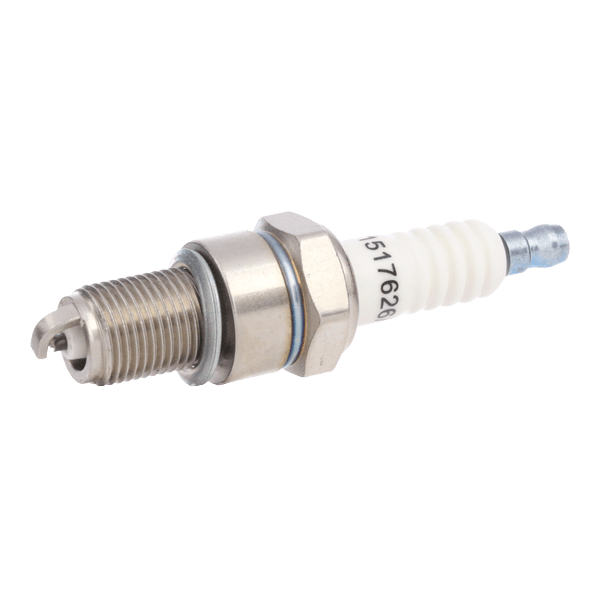 Spark plug

Electronic spray
High-temperature anti-seize lubricant
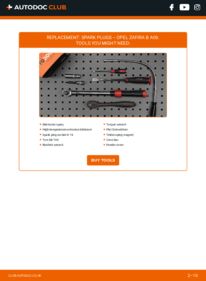
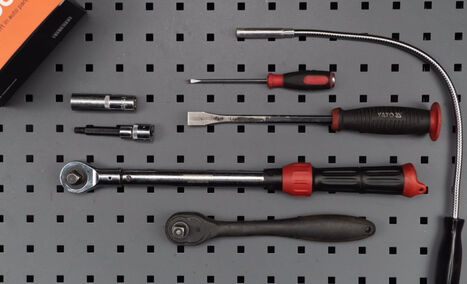
Spark plug socket # 16
Torx bit T40
Ratchet wrench
Torque wrench
Flat Screwdriver
Telescoping magnet
Crow bar
Fender cover

Replacement: spark plugs – Opel Zafira B A05. Tip from AUTODOC:
- The replacement procedure is the same for all spark plugs.
- All work should be done with the engine stopped.
Replacement: spark plugs – Opel Zafira B A05. Use the following procedure:
- Step 1
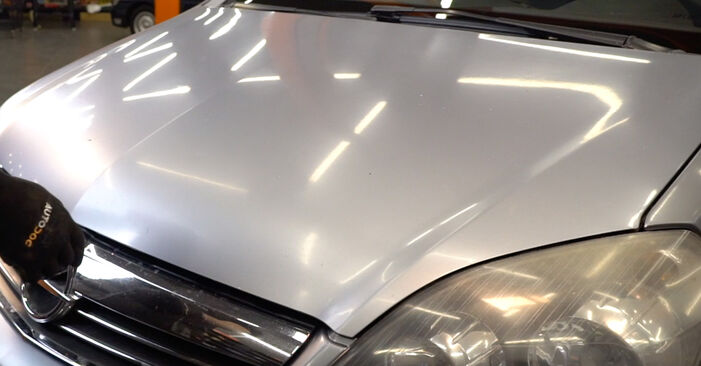
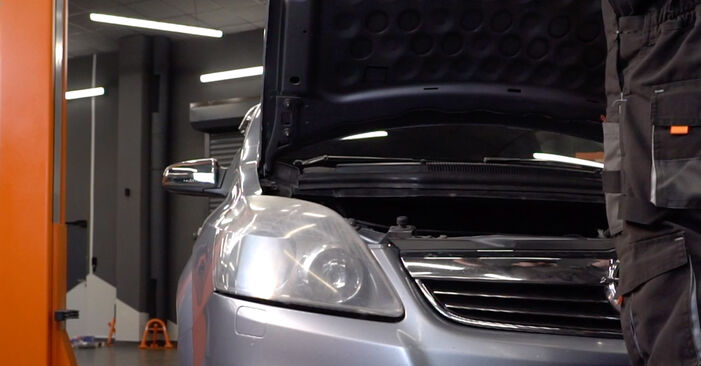 Open the hood.
 - Step 2
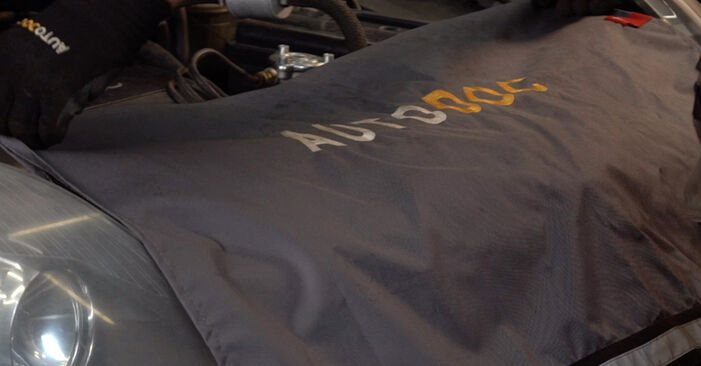 Use a fender protection cover to prevent damaging paintwork and plastic parts of the car.
 - Step 3
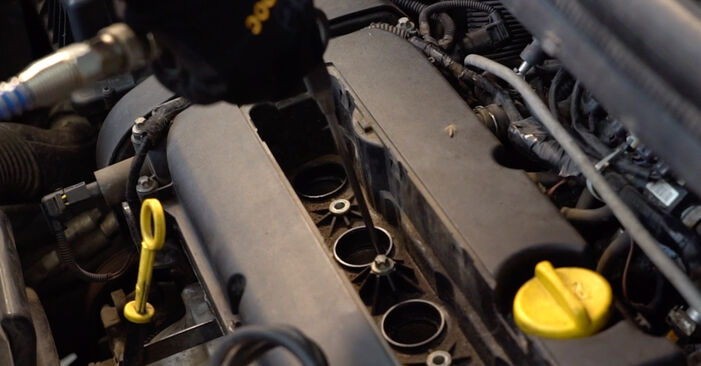
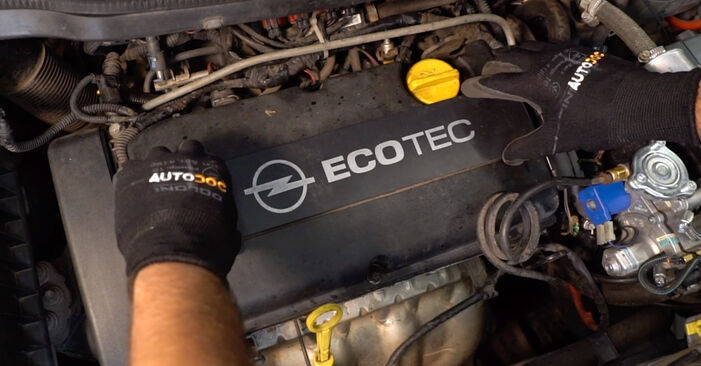
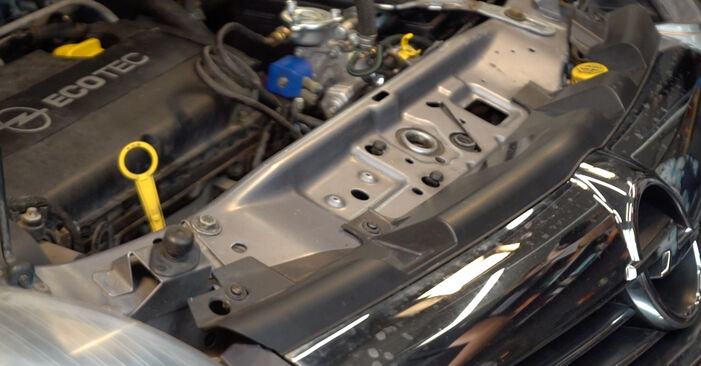
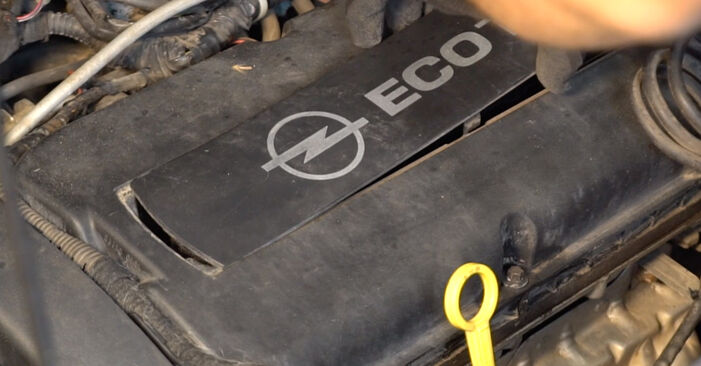 Remove the engine cover.Replacement: spark plugs – Opel Zafira B A05. Tip:Raise the engine cover, holding it on two sides simultaneously.
 - Step 4
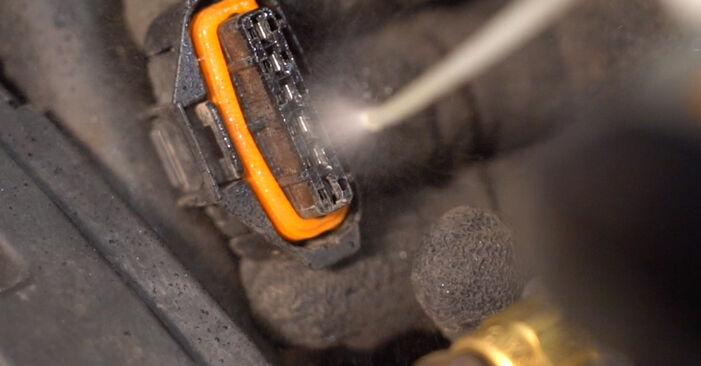
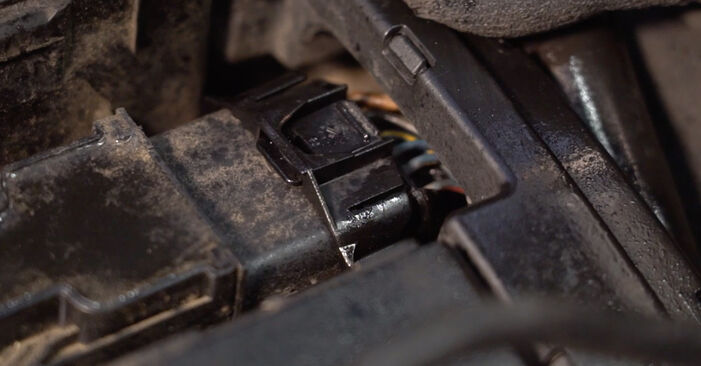
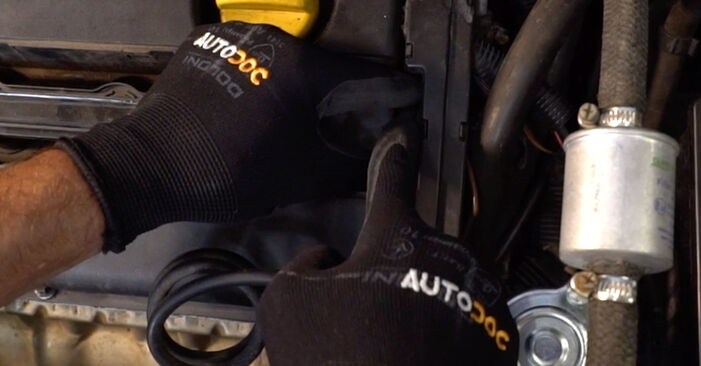 Detach the connector from the ignition coil.
 - Step 5
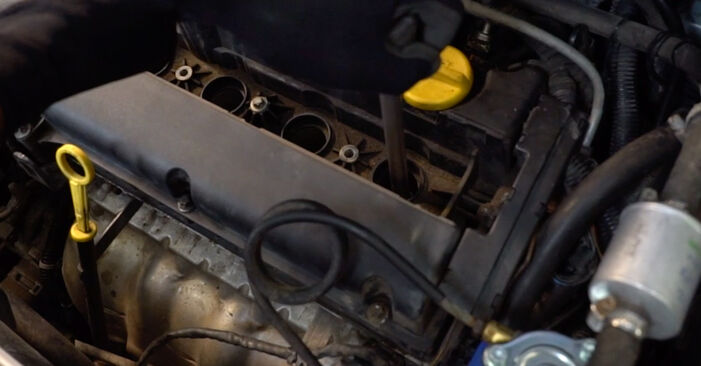
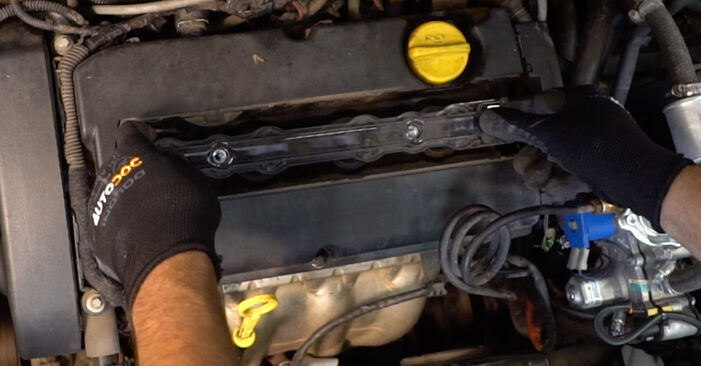
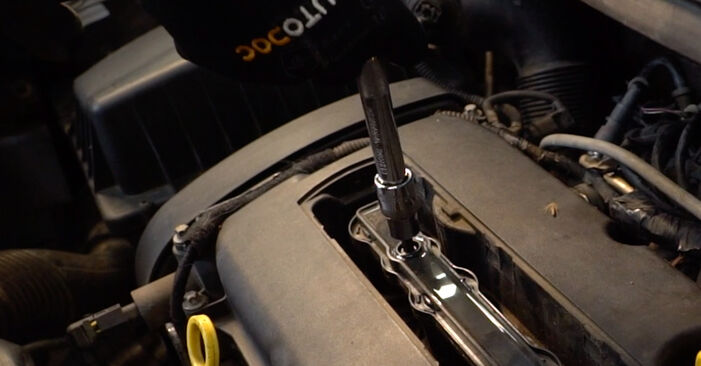 Unscrew the ignition coil bracket. Use Torx T40. Use a ratchet wrench.
 - Step 6
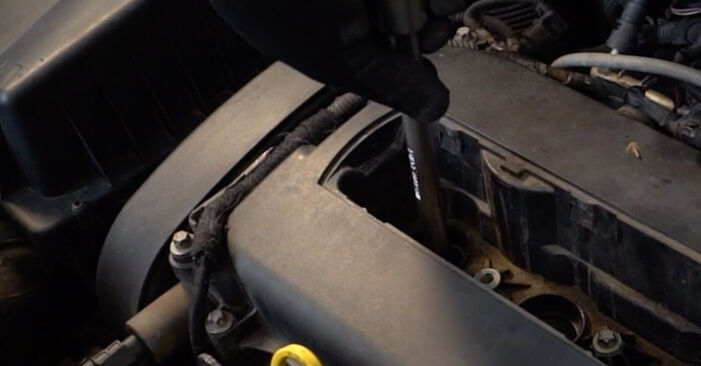
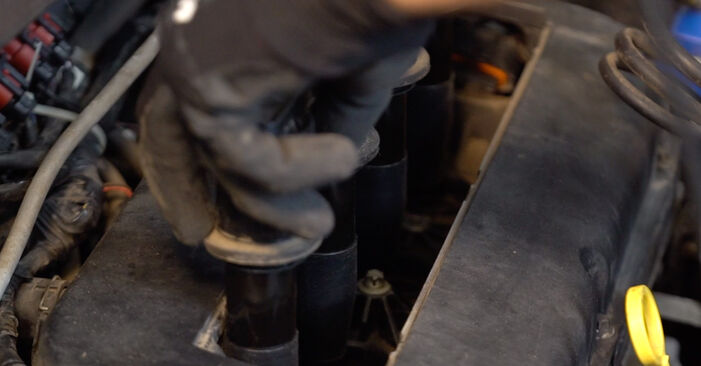 Pry up the ignition coil. Use a crowbar. Take out the ignition coil from the spark plug well.
 - Step 7
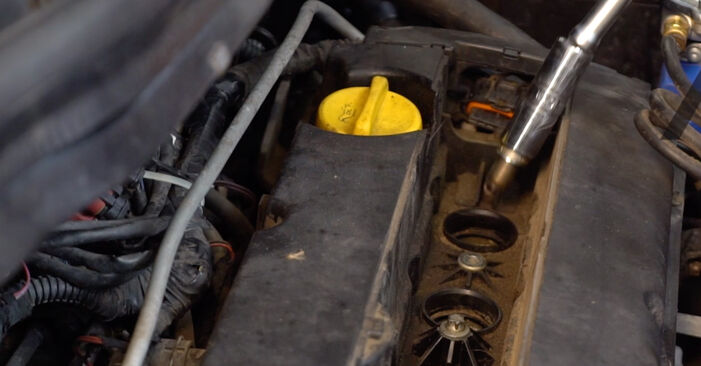
 Clean dirt, dust and debris from inside the spark plug wells.
 - Step 8
 Unscrew the spark plugs. Use the spark plug socket #16. Use a ratchet wrench.
 - Step 9
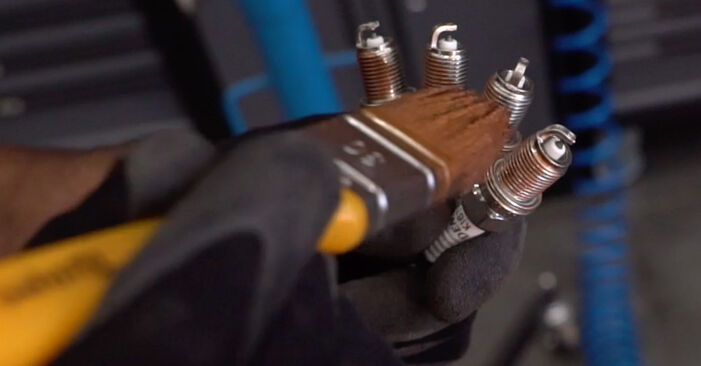
 Take out the spark plugs. Use a telescoping magnet.
 - Step 10
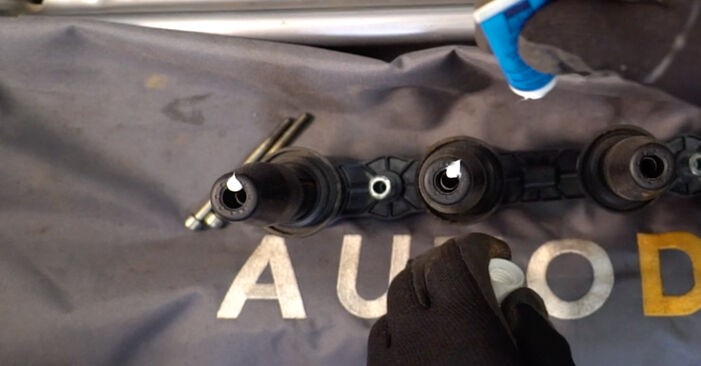
 Apply a thin layer of a special high temperature anti-seize lubricant to the threads of the new spark plugs.
 - Step 11
 Install the new spark plugs into their mounting seats. Use the spark plug socket #16.
 - Step 12
 Screw new spark plugs and tighten them. Use the spark plug socket #16. Use a torque wrench. Tighten it to 25 nm torque.Replacement: spark plugs – Opel Zafira B A05. AUTODOC experts recommend:Don't tighten the plugs with excessive force. Exceeding tightening torque can damage the thread connection. Be careful when working with a spark plug wrench. Its skewing can cause damage to the threaded connection.
 - Step 13
 Treat the ignition coil tips. Use high-temperature grease. Use a flat screwdriver.

Was this manual helpful?
Please rate this manual on a scale from 1 to 5. If you have any questions, feel free to ask us.
Users voted – 0
Need New Tyres?
Find out which tyre and wheel sizes are compatible with the OPEL Zafira B (A05) model

Popular maintenance tutorials for Opel Zafira B
 Free download PDF
 2.12 MB
 Free download PDF880.64 KB
 Free download PDF819.2 KB
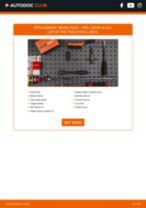 Free download PDF1.6 MB
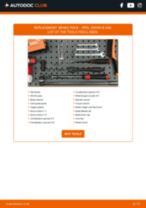 Free download PDF2.14 MB
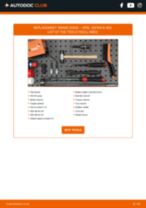 Free download PDF2.02 MB
Complete guides for changing the Engine spark plug on different OPEL ZAFIRA models
 Free download PDF1.08 MB
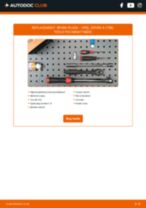 Free download PDF1.25 MB
 Free download PDF1.74 MB
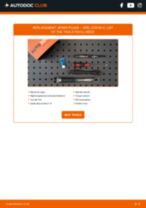 Free download PDF1.25 MB
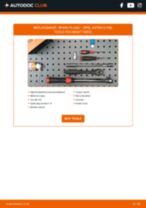 Free download PDF1.44 MB
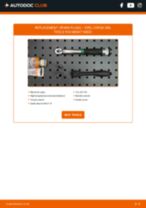 Free download PDF1.25 MB
Unlock your car maintenance assistant!
Track expenses, manage logs, schedule replacements, and more.
Tips & tricks for your OPEL ZAFIRA B (A05)
View more
 DIY manual gearbox restoration | Drivetrain restoration – Part 3
 How to tell if a tie rod is faulty
 5 Essential Tips to Prepare Your Car for Winter | AUTODOC tips
 Transform Your Car's Look: 6 Simple Accessories You Need to Try!
Most commonly replaced car parts on OPEL ZAFIRA


Time to replace parts? Get even better deals in our Shop app.

SCAN ME