
Disclaimer

How to change ignition coil on MINI Hatchback (R56) – replacement guide
downloads:
15
Views:
258
Important!
This replacement procedure can be used for:
MINI Hatchback (R56) Cooper, MINI Hatchback (R56) Cooper S, MINI Hatchback (R56) One, MINI Hatchback (R56) One, MINI Hatchback (R56) One, MINI Hatchback (R56) One, MINI Hatchback (R56) Cooper … View more
The steps may slightly vary depending on the car design.
MINI Hatchback (R56) Cooper, MINI Hatchback (R56) Cooper S, MINI Hatchback (R56) One, MINI Hatchback (R56) One, MINI Hatchback (R56) One, MINI Hatchback (R56) One, MINI Hatchback (R56) Cooper … View more
The steps may slightly vary depending on the car design.
This video shows the replacement procedure of a similar car part on another vehicle
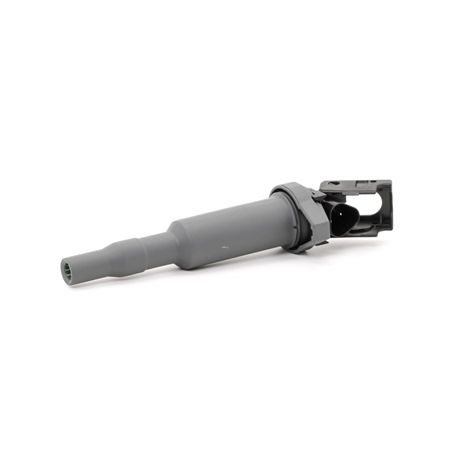
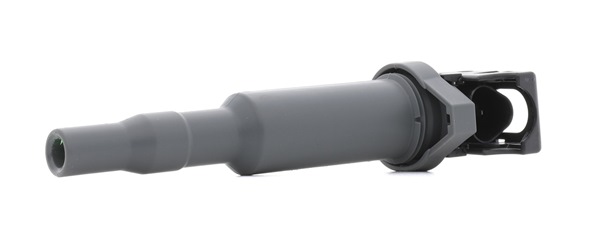
All the parts you need to replace – Ignition Coil for Hatchback (R56) and other MINI models
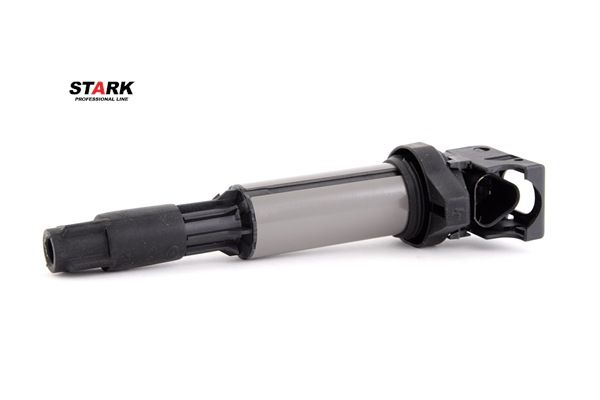
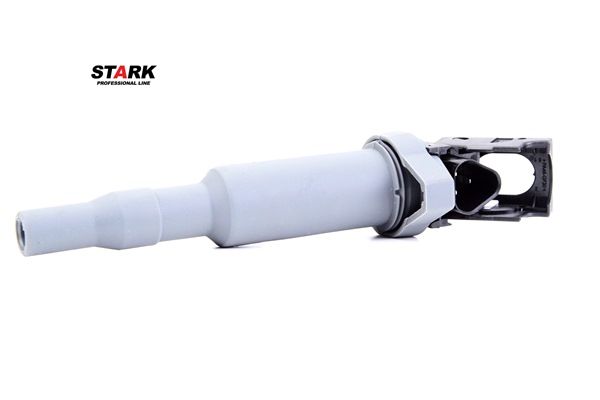
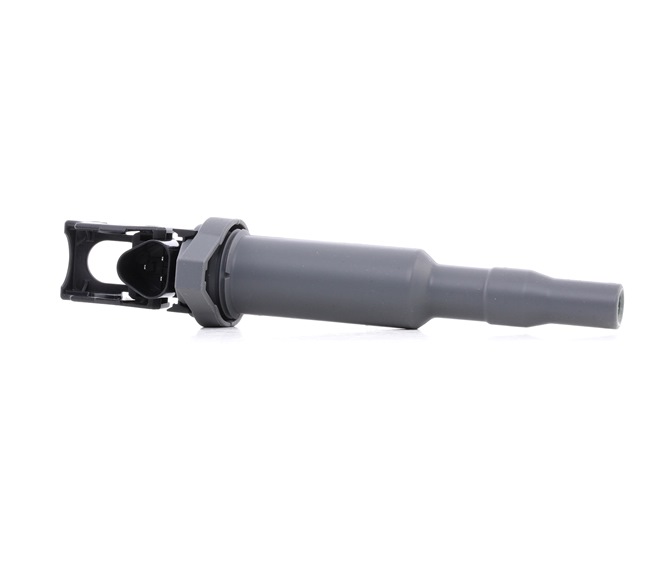
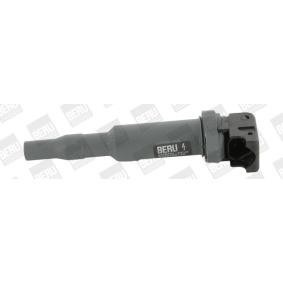
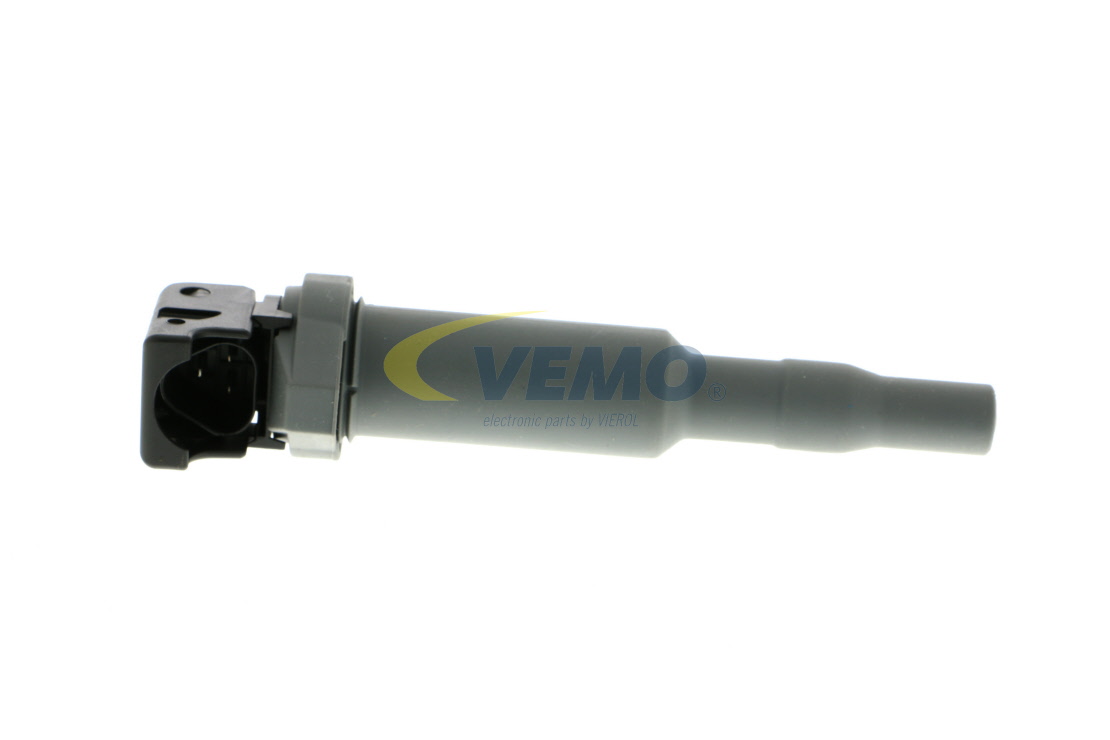
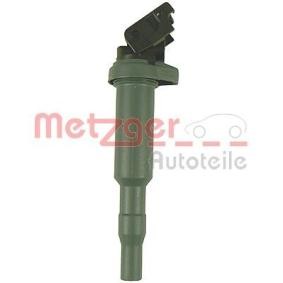
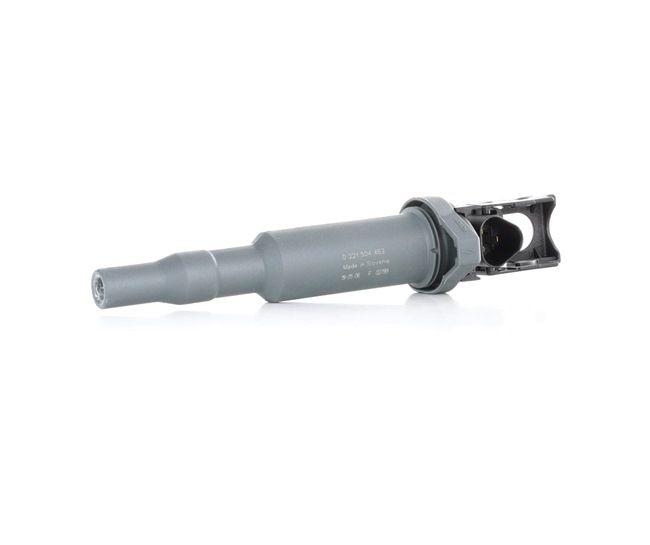
Alternative products
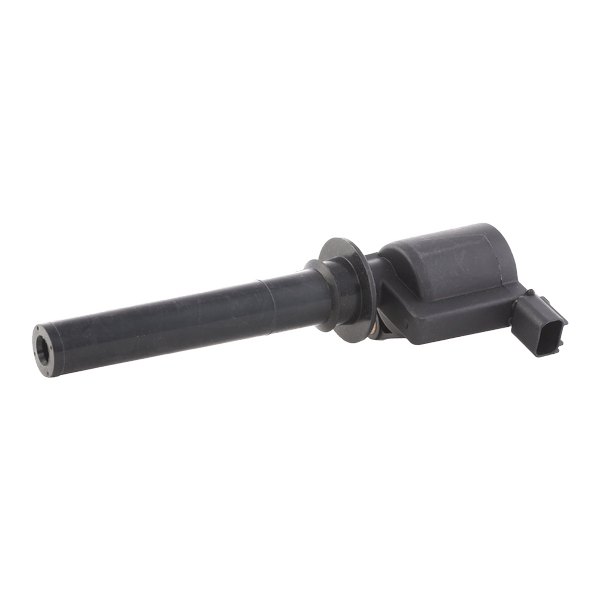 Ignition coil


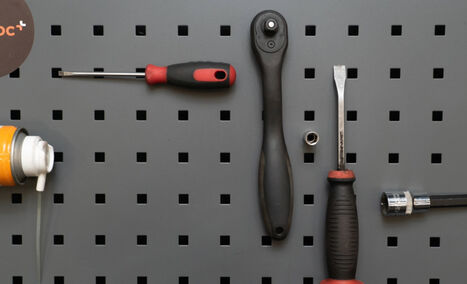
Electronic spray
High-temperature anti-seize lubricant
HEX bit no.H5.
Drive socket # 8
Ratchet wrench
Flat Screwdriver
Fender cover

Replacement: ignition coil – MINI MINI (R56). AUTODOC recommends:
- The replacement procedure is the same for the ignition coils of all cylinders.
- All work should be done with the engine stopped.
Replacement: ignition coil – MINI MINI (R56). Take the following steps:
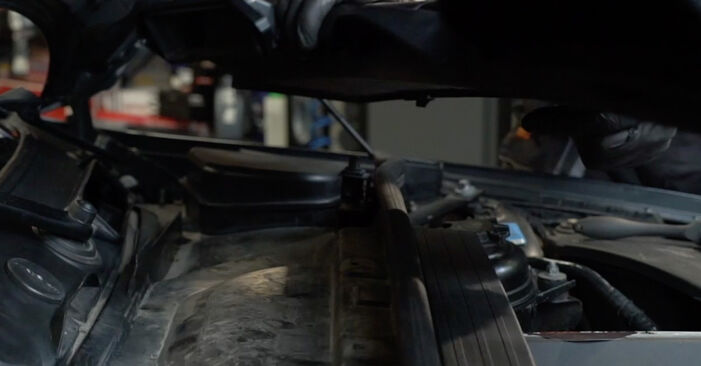
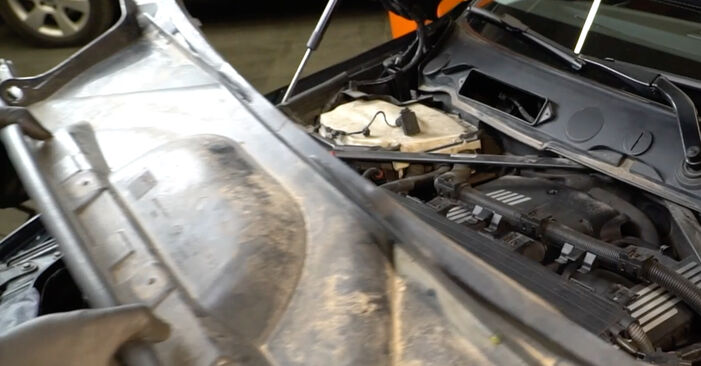
- Step 1Open the hood.Step 2Use a fender protection cover to prevent damaging paintwork and plastic parts of the car.Step 3
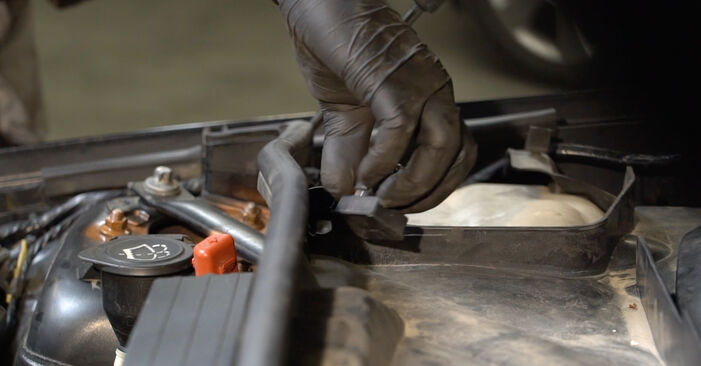
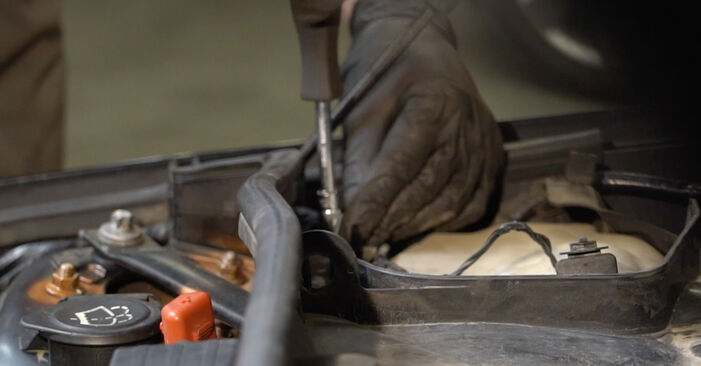
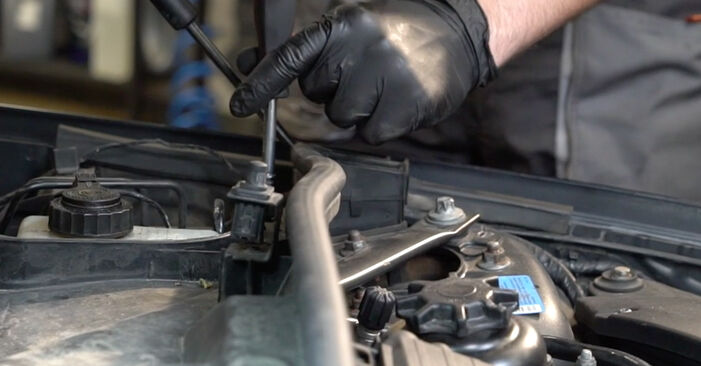
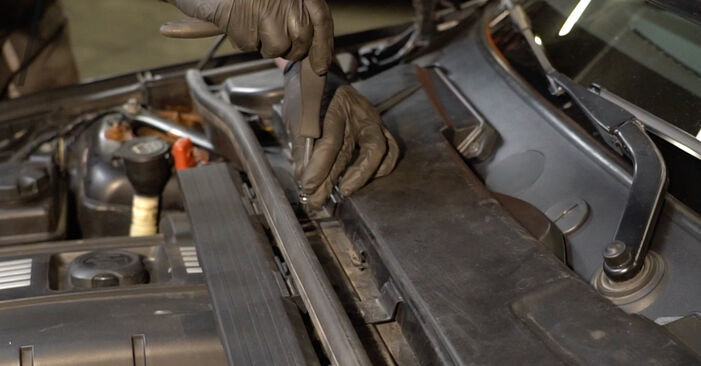 Unscrew the fasteners of the cabin filter housing cover. Use a drive socket #8. Use a ratchet wrench.
 - Step 4
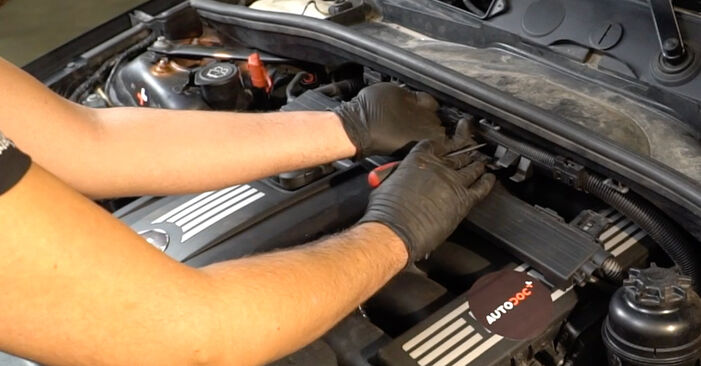
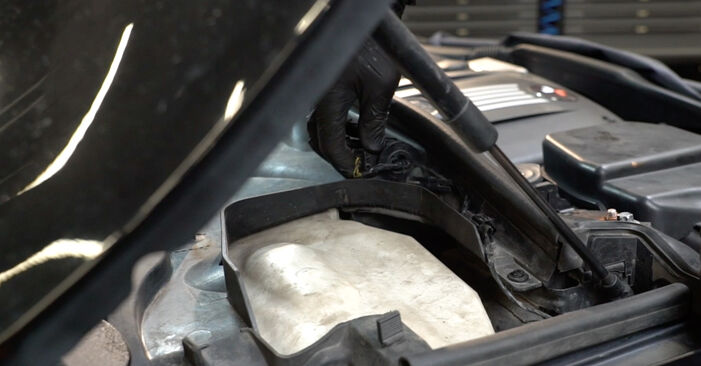
 Remove the cabin filter housing cover.AUTODOC recommends:Replacement: ignition coil – MINI MINI (R56). Do not use excessive force when removing the part as this may damage it.
 - Step 5
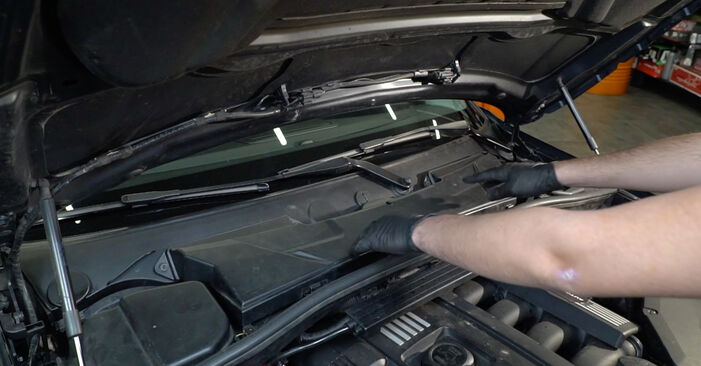
 Remove the wiper arm covers.
 - Step 6
 Detach the connectors from the climate control sensors.
 - Step 7Remove the climate control sensors.Step 8
 Unscrew the fasteners of the lower part of the scuttle panel. Use a drive socket #8. Use a ratchet wrench.
 - Step 9
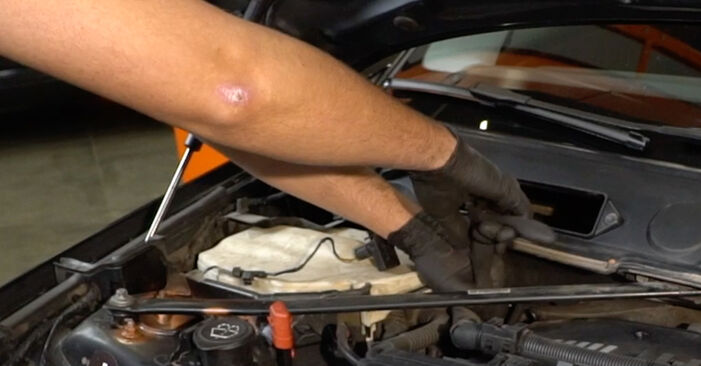
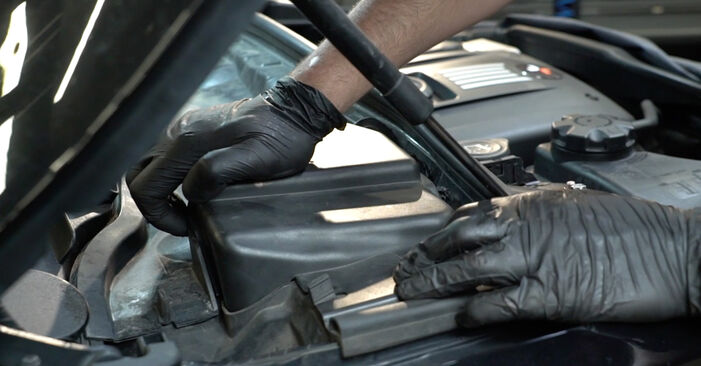
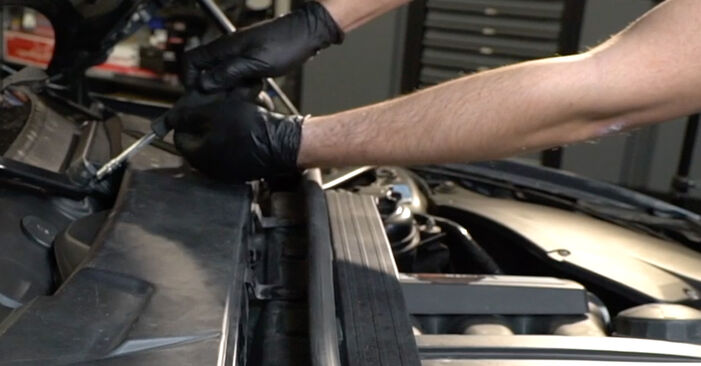
 Detach the cable duct from the upper part of the microfilter housing. Use a flat screwdriver.
 - Step 10
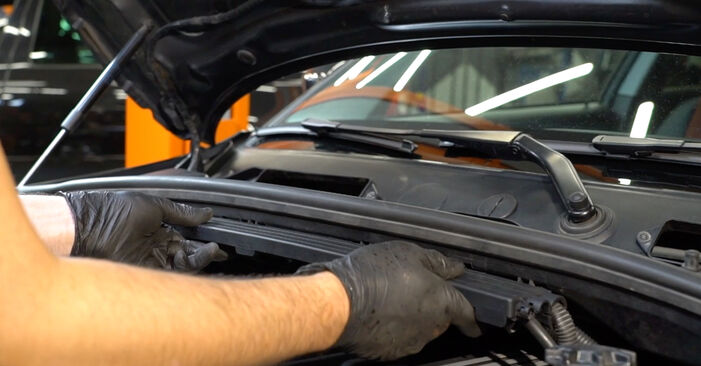
 Remove the lower part of the scuttle panel.
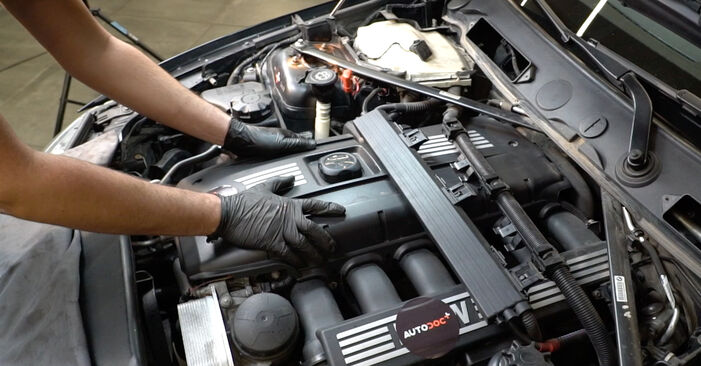
 - Step 11
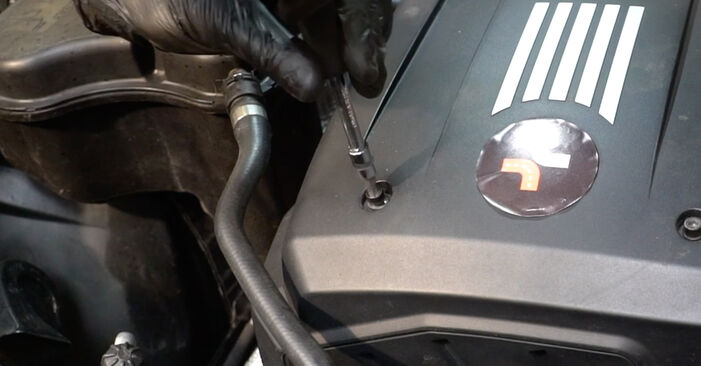
 Unscrew the engine cover fastener. Use HEX No.H5. Use a ratchet wrench.
 - Step 12
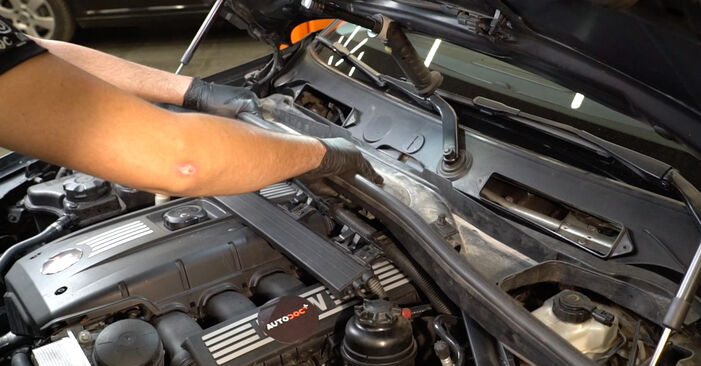
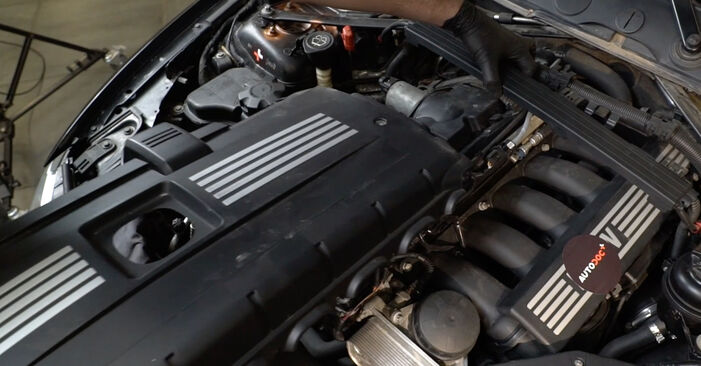 Remove the engine cover.Replacement: ignition coil – MINI MINI (R56). Tip:Do not apply excessive force when removing the part. Otherwise you may damage it.
 - Step 13
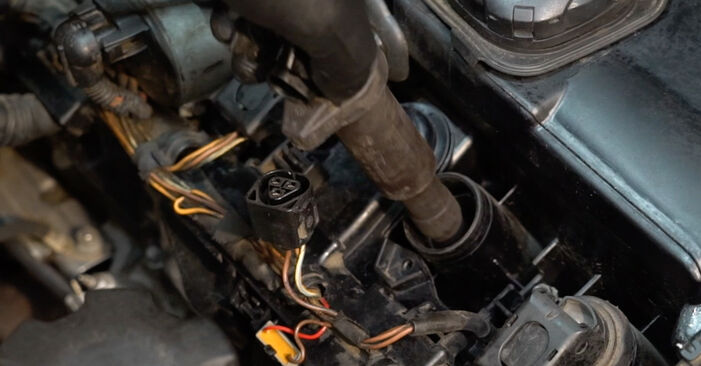
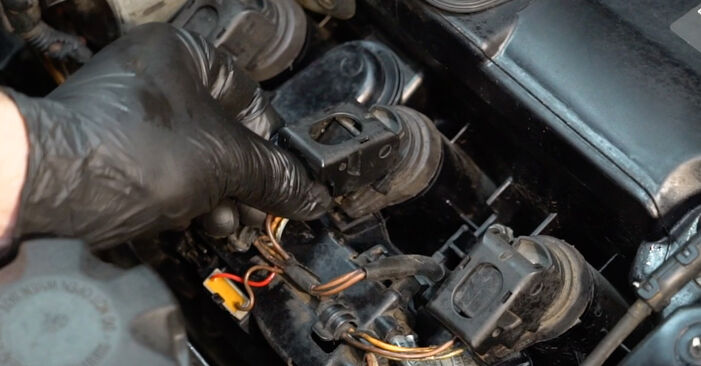 Detach the connector from the ignition coil.
 - Step 14
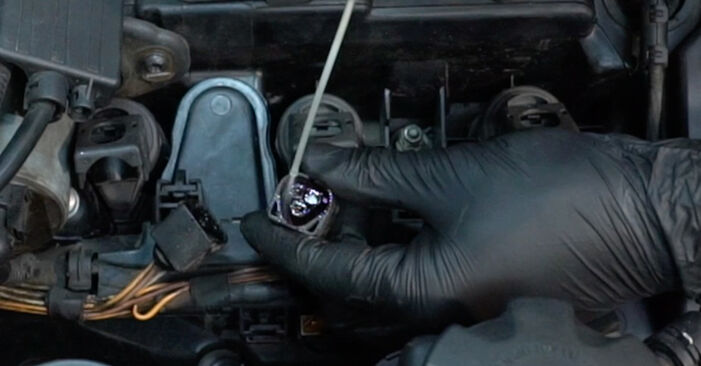 Treat the ignition coil connector with electronic spray. The spray will protect the electrical contacts from corrosion, oxidation, and will reduce the contact resistance.
 - Step 15
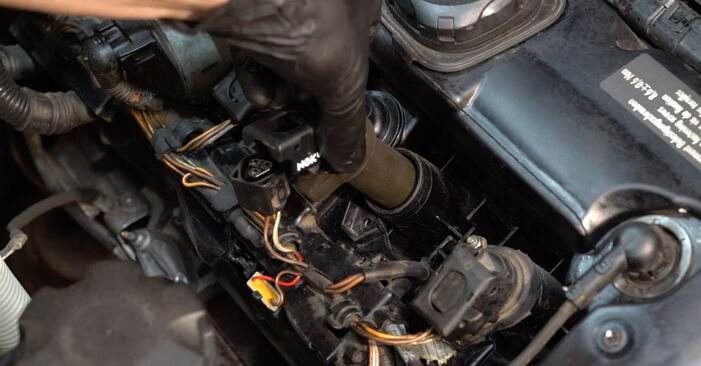
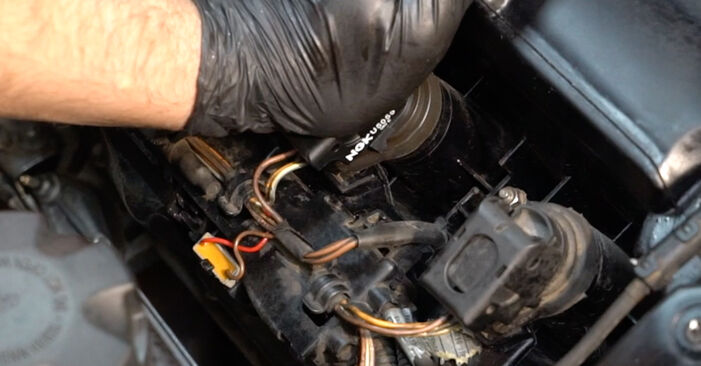
 Take out the ignition coil from the spark plug well.
 - Step 16
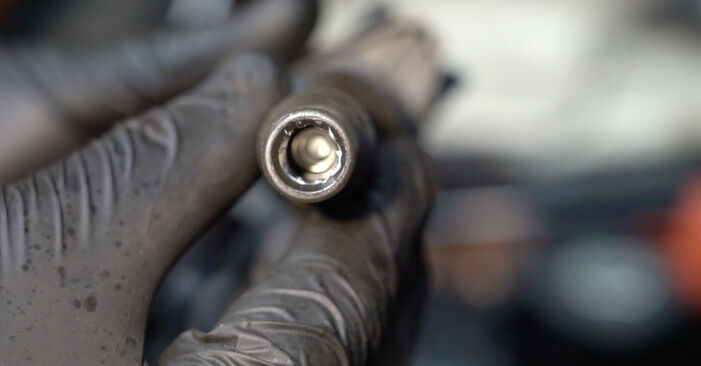 Treat the ignition coil tips. Use high-temperature grease. Use a flat screwdriver.
 - Step 17
 Install the new ignition coil to the spark plug well. Make sure you hear a click indicating that it is locked in place.
 - Step 18
 Plug in the ignition coil connector.
 - Step 19
 Install the engine cover and secure it.Replacement: ignition coil – MINI MINI (R56). AUTODOC experts recommend:Make sure the engine cover is properly seated. It should not be displaced with respect to the guiding fasteners.Do not apply excessive force when installing the part. Otherwise you may damage the fasteners.

Was this manual helpful?
Please rate this manual on a scale from 1 to 5. If you have any questions, feel free to ask us.
Users voted – 0
Need New Tyres?
Find out which tyre and wheel sizes are compatible with the MINI Hatchback (R56) model

Popular maintenance tutorials for Mini R56
 Free download PDF
 1.63 MB
 Free download PDF542.72 KB
 Free download PDF2.47 MB
 Free download PDF1.1 MB
 Free download PDF1.62 MB
 Free download PDF2.31 MB
Complete guides for changing the Coil pack on different MINI MINI models
 Free download PDF1.96 MB
 Free download PDF1.98 MB
 Free download PDF1.64 MB
 Free download PDF1.72 MB
 Free download PDF1.73 MB
 Free download PDF1.73 MB
Unlock your car maintenance assistant!
Track expenses, manage logs, schedule replacements, and more.
Tips & tricks for your MINI Hatchback (R56)
View more
 Kolbenschmidt plastic gauge overview
 5 possible reasons why your car heater isn't working
 The Ultimate Guide to Engine Bay Cleaning | AUTODOC
 Easy Steps to Fix Minor Scratches on Your Vehicle | AUTODOC tips
Most commonly replaced car parts on MINI MINI


Professional manuals for the most common MINI models


Time to replace parts? Get even better deals in our Shop app.

SCAN ME