Disclaimer

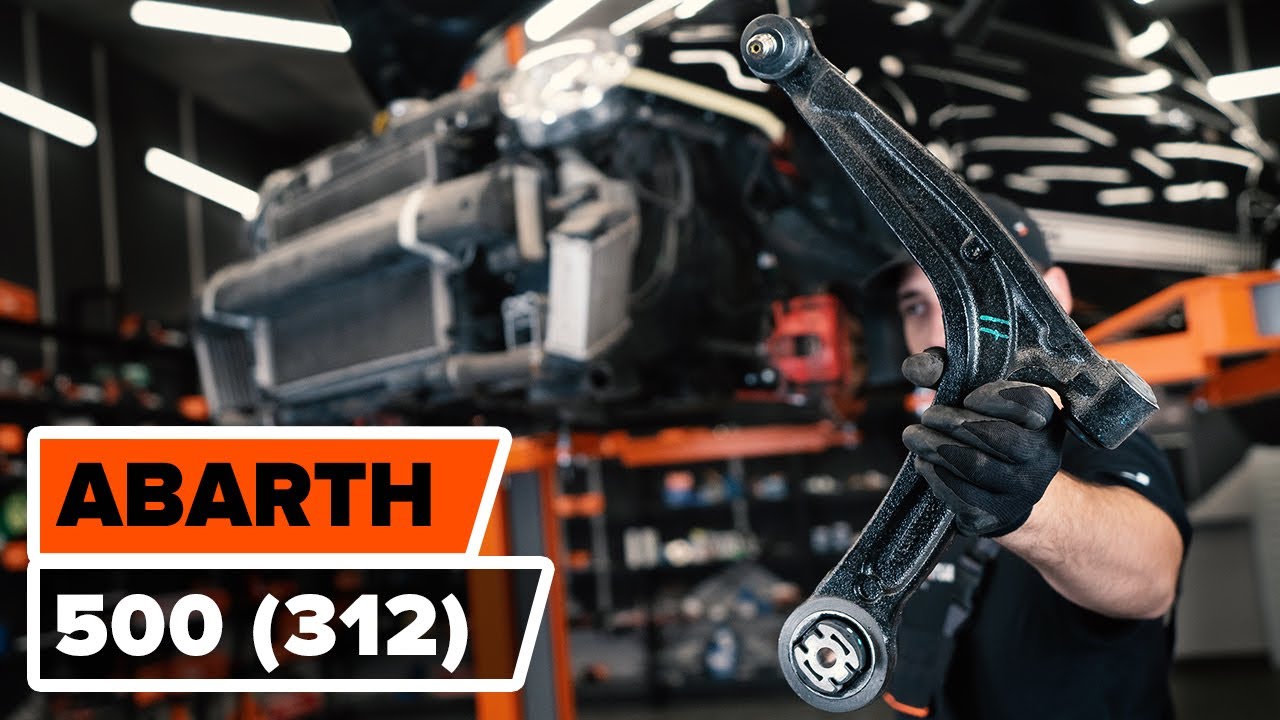
How to change front lower arm on Abarth 595 – replacement guide
downloads:
15
Views:
161
Important!
This replacement procedure can be used for:
ABARTH 500 / 595 / 695 Hatchback (312_) 1.4 (312.AXT1A), ABARTH 500 / 595 / 695 Hatchback (312_) 1.4 (312.AXD1A), ABARTH 500 / 595 / 695 Hatchback (312_) 1.4 (312.AXF11, 312.AXF1A, 312.AXD1A), ABARTH 500 / 595 / 695 Hatchback (312_) 1.4 (312.AXF11, 312.AXF1A), ABARTH 500 / 595 / 695 Hatchback (312_) 1.4 (312.AXF1A, 312.AXD1A), ABARTH 500 / 595 / 695 Hatchback (312_) 1.4 (312.AXY11, 312.AXY1A), ABARTH 500 / 595 / 695 Hatchback (312_) 1.4 (312.AXZ11), ABARTH 500 / 595 / 695 Hatchback (312_) 1.4 (312.AYB11, 312.AYB1A) … View more
The steps may slightly vary depending on the car design.
How to change front suspension arm / front control arm on ABARTH 500 (312) [TUTORIAL AUTODOC]
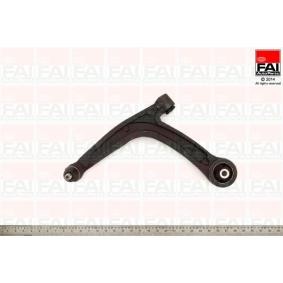
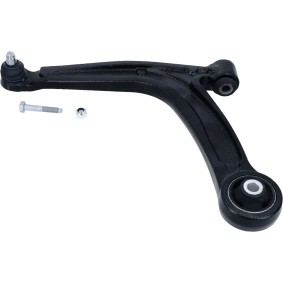
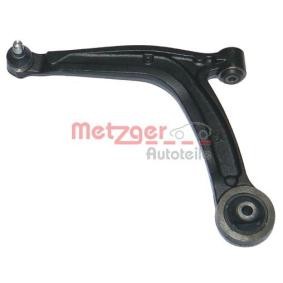
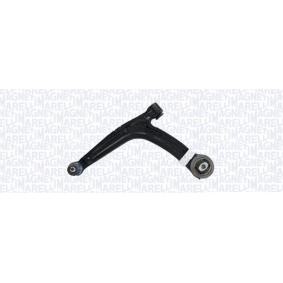
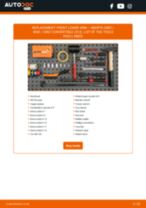
All the parts you need to replace – Control Arm for 500 / 595 / 695 Hatchback (312_) and other ABARTH models
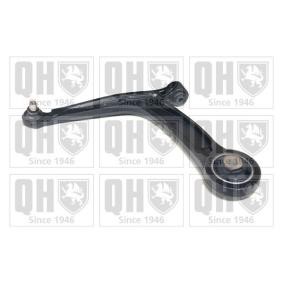
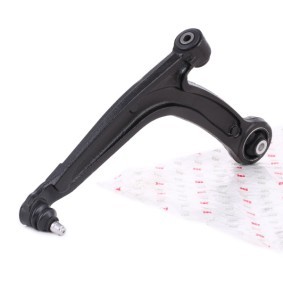
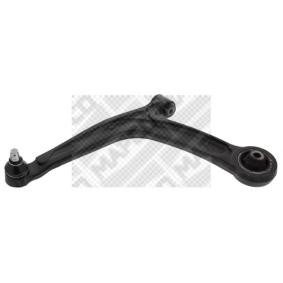
Alternative products
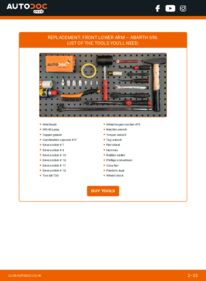
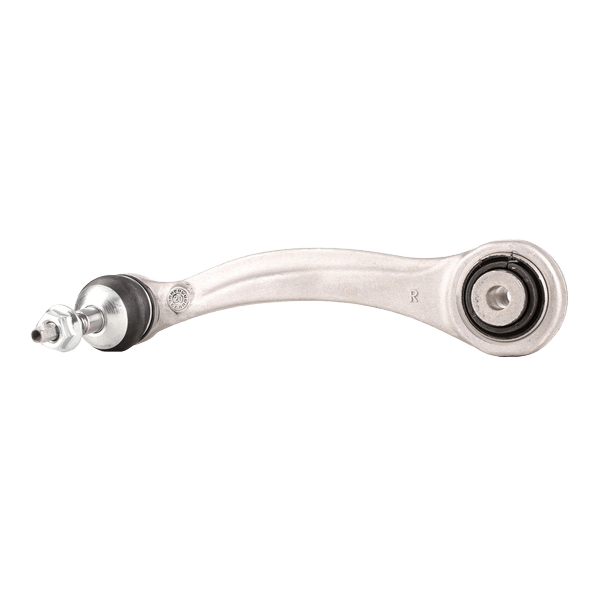 Suspension arm


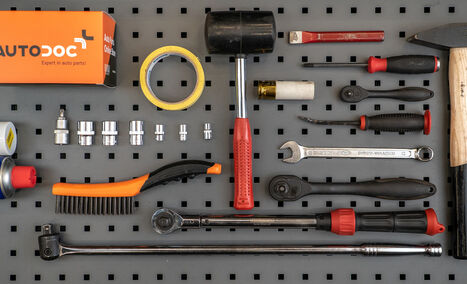
Wire brush
WD-40 spray
Copper grease
Combination spanner #17
Drive socket # 7
Drive socket # 8
Drive socket # 10
Drive socket # 16
Drive socket # 17
Drive socket # 18
Torx bit T30
Wheel impact socket #19
Ratchet wrench
Torque wrench
Tap wrench
Flat chisel
Hammer
Rubber mallet
Phillips screwdriver
Crow bar
Painter's tape
Wheel chock

Replacement: front lower arm – Abarth 595. AUTODOC experts recommend:
- The replacement procedure is identical for the left and right lower control arms.
- Replacement of the independent suspension lower arm in some cars requires a part of the outlet piping of the additional heater to be removed.
- Please note: all work on the car – Abarth 595 – should be done with the engine switched off.
Carry out replacement in the following order:
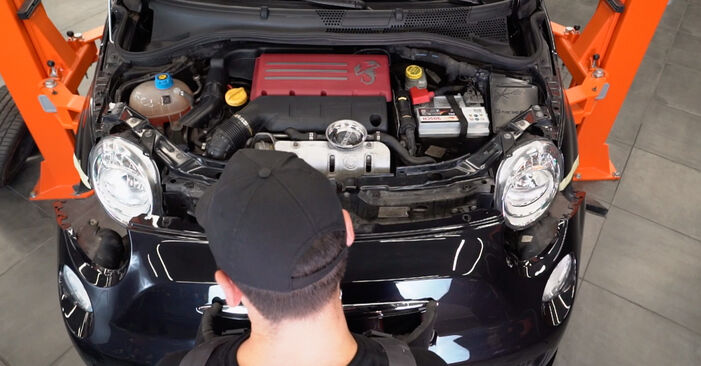
- Step 1
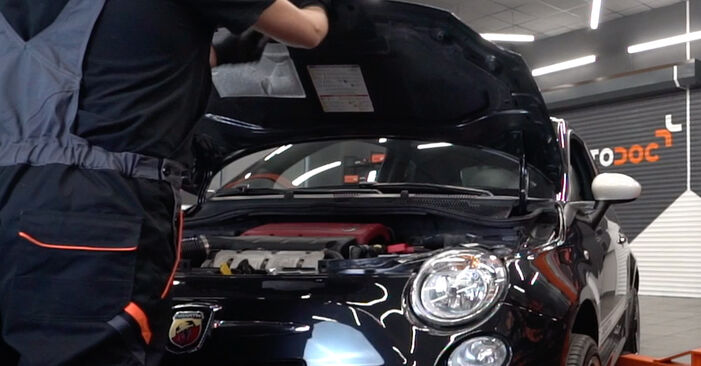 Open the bonnet.
 - Step 2
 Secure the wheels with chocks.
 - Step 3
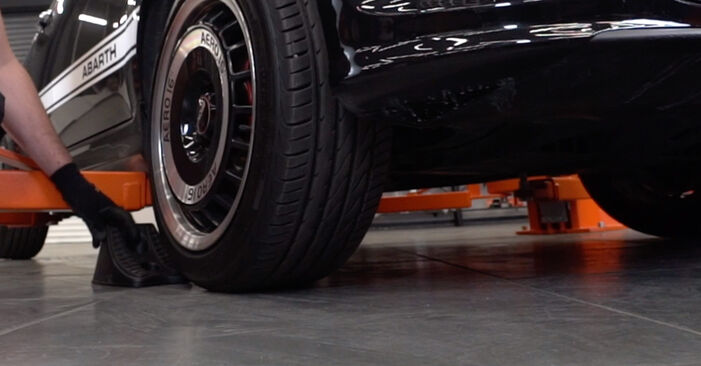
 Loosen the wheel mounting bolts. Use wheel impact socket #19.
 - Step 4
 Raise the front of the car and secure on supports.
 - Step 5
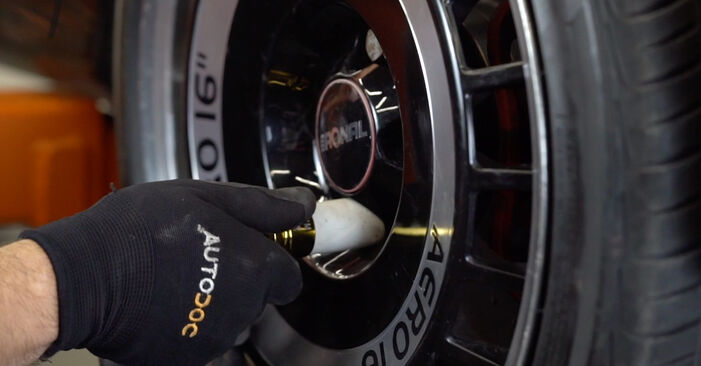
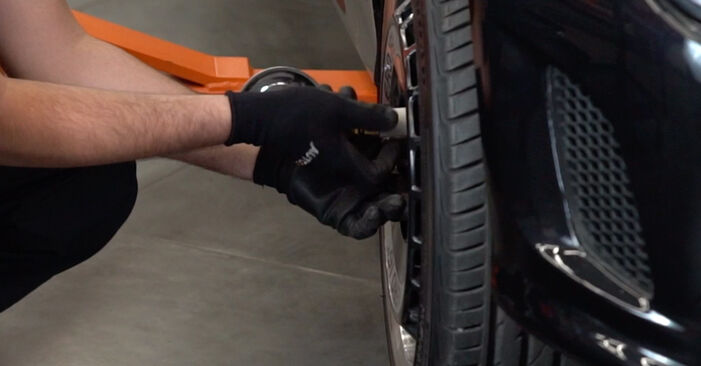 Unscrew the wheel bolts.Replacement: front lower arm – Abarth 595. AUTODOC recommends:To avoid injury, hold up the wheel when unscrewing the bolts.
 - Step 6
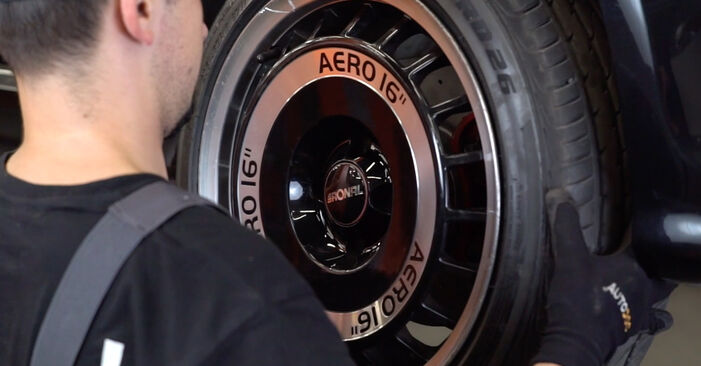
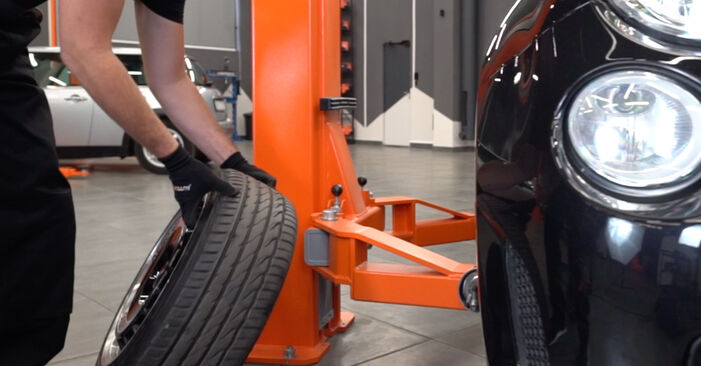 Remove the wheel.
 - Step 7
 Unscrew and remove the oil pan cover. Use a drive socket #8. Use a ratchet wrench.
 - Step 8
 Unscrew the lower fastener of the plastic bumper cover. Use a drive socket #8.
 - Step 9
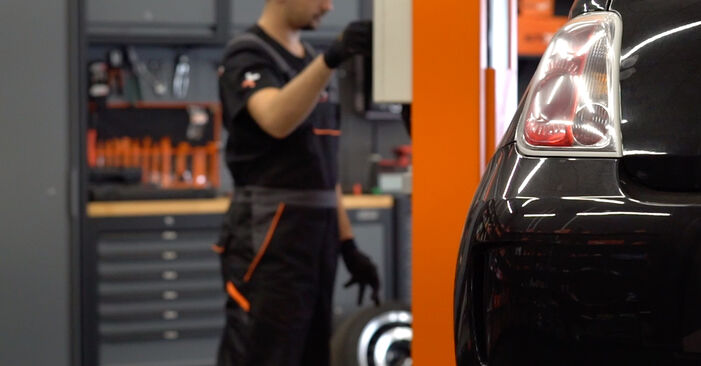
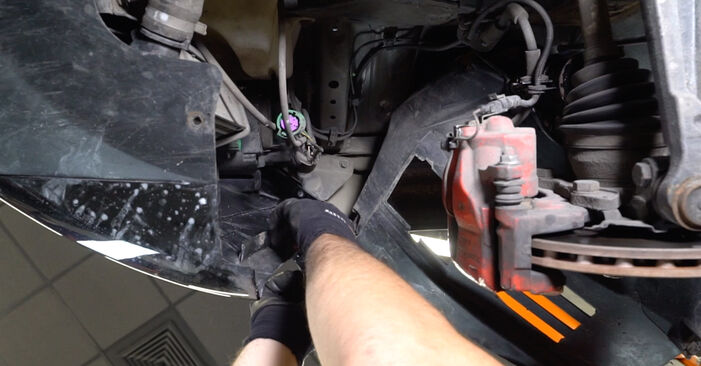
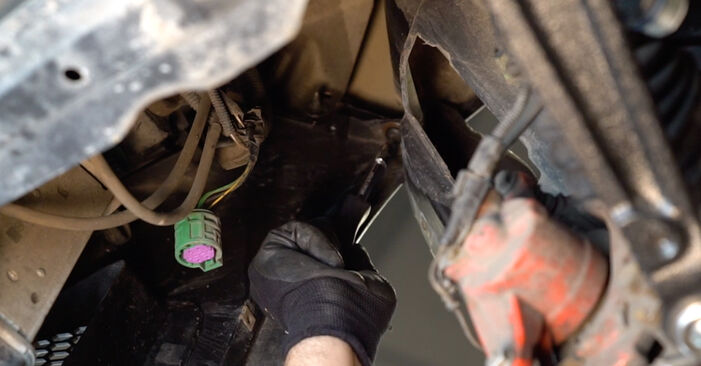
 Unscrew the wheel arch cover fasteners. Move the part aside. Use a ratchet wrench. Use a Phillips screwdriver.
 - Step 10
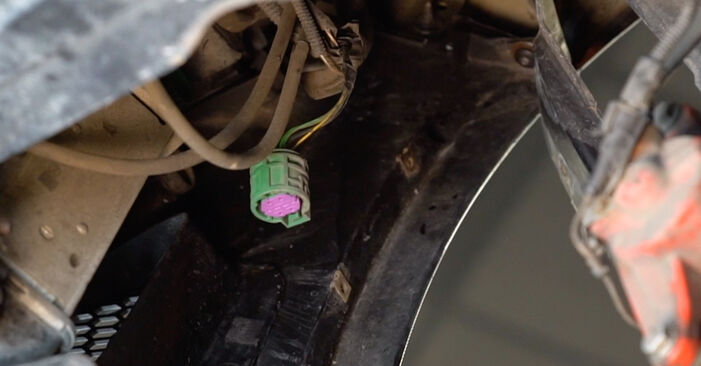
 Unplug the connectors of the headlights.
 - Step 11
 Unscrew the fastener connecting the bumper to the fenders. Use Torx T30. Use a ratchet wrench.
 - Step 12
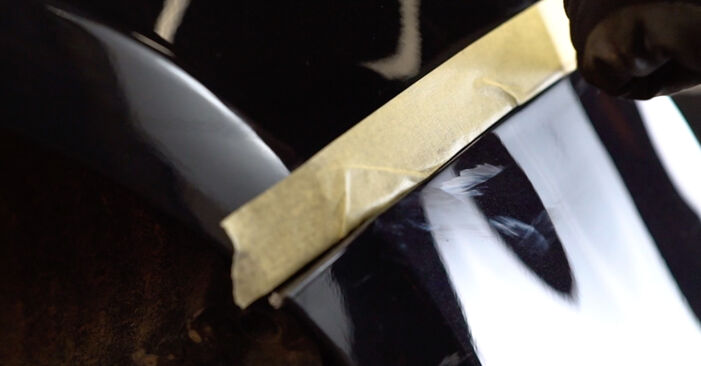
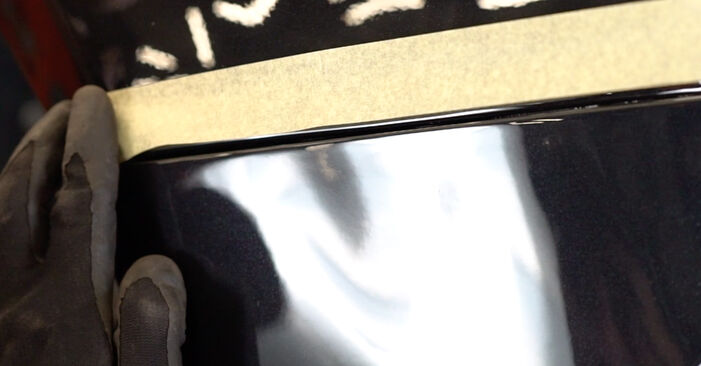 Stick painter's tape to the car fenders to protect the paintwork from damage when demounting the bumper.
 - Step 13
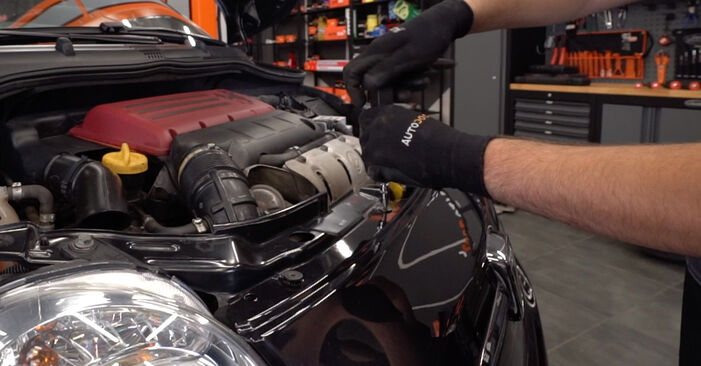 Loosen the bumper upper fasteners. Use Torx T30. Use a ratchet wrench.
 - Step 14
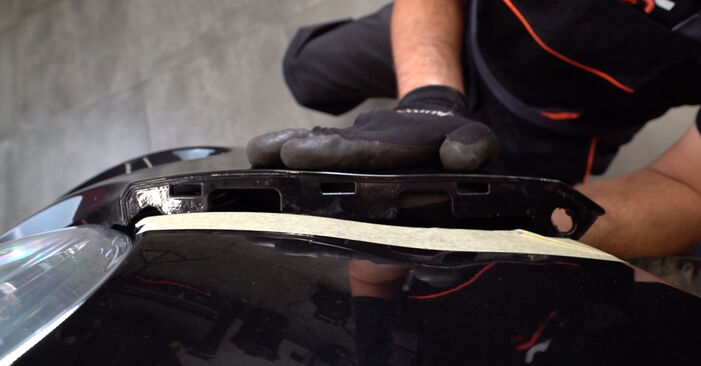 Carefully release the bumper from the fasteners.AUTODOC recommends:Replacement: front lower arm – Abarth 595. To avoid damaging the part when removing it, do not use excessive force.
 - Step 15
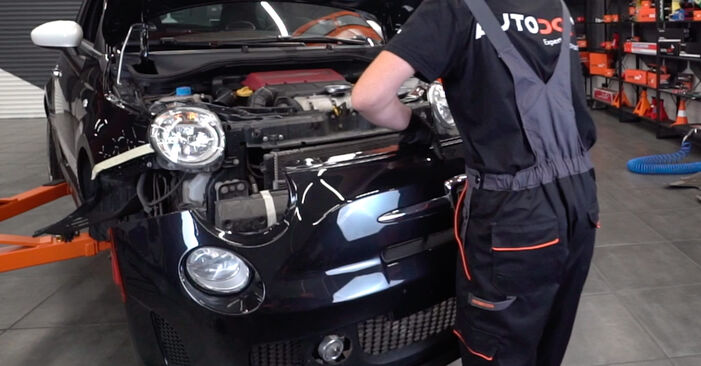 Unscrew the upper fasteners of the bumper and remove it.Replacement: front lower arm – Abarth 595. Tip:To prevent damage to the components, hold the bumper when unscrewing the upper fasteners.
 - Step 16
 Unscrew the fastener of the intercooler air guide. Use a drive socket #10. Use a ratchet wrench.
 - Step 17
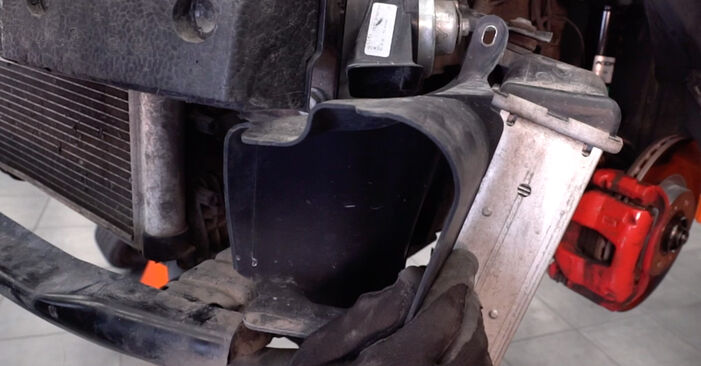
 Remove the intercooler air guide.
 - Step 18
 Unscrew the fastener of the spacer under the bumper reinforcement bar. Use a drive socket #10. Use a ratchet wrench.
 - Step 19
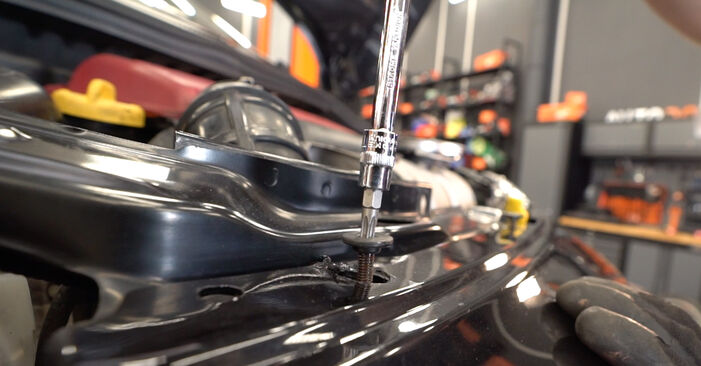
 Unscrew the fasteners of the bumper reinforcement bar. Use a drive socket #17. Use a ratchet wrench.
 - Step 20
 Remove the fasteners of the bumper reinforcement bar.
 - Step 21
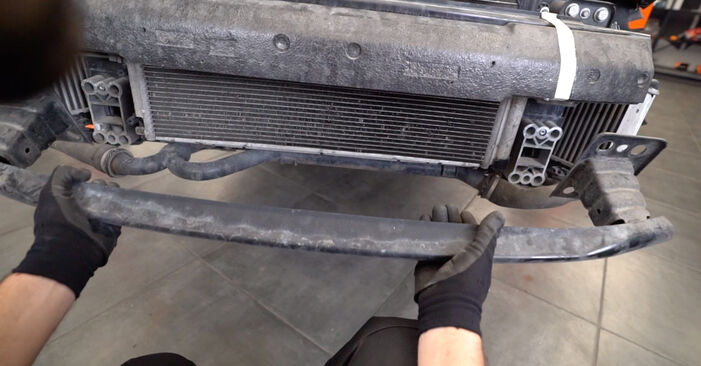 Remove the bumper reinforcement bar.
 - Step 22
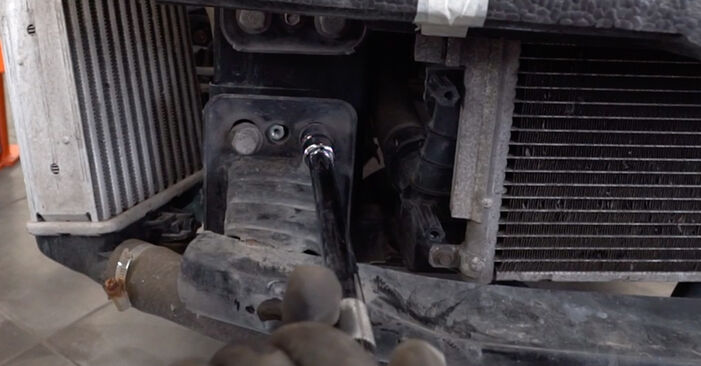
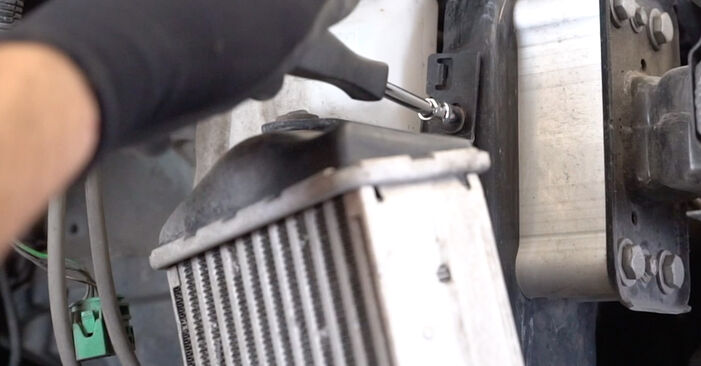 Unscrew the upper fastener of the intercooler. Use a drive socket #10. Use a ratchet wrench.
 - Step 23
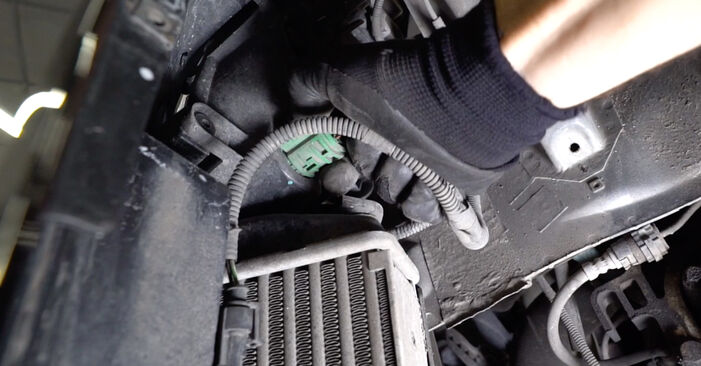
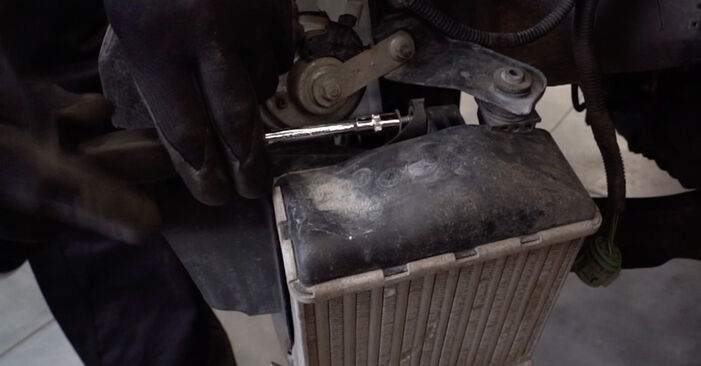
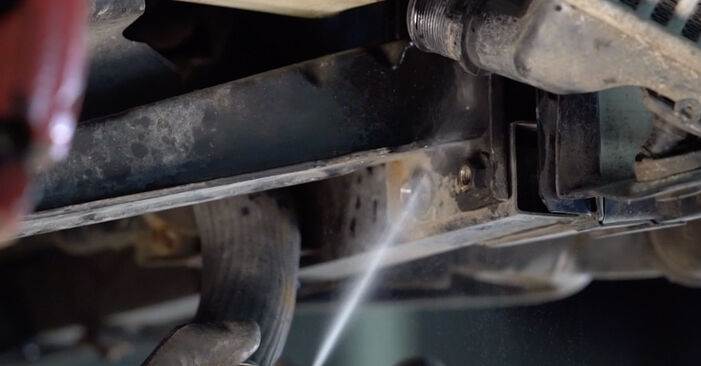
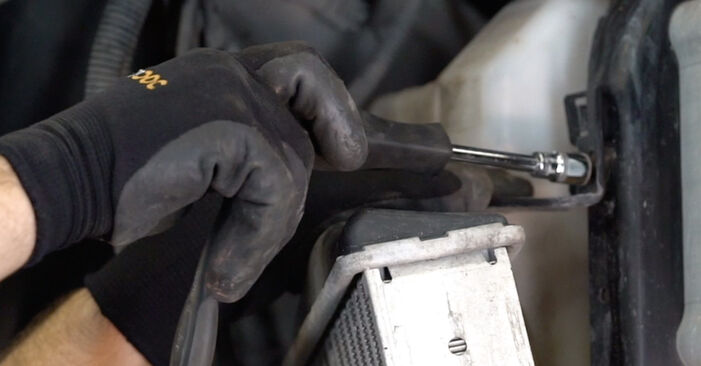
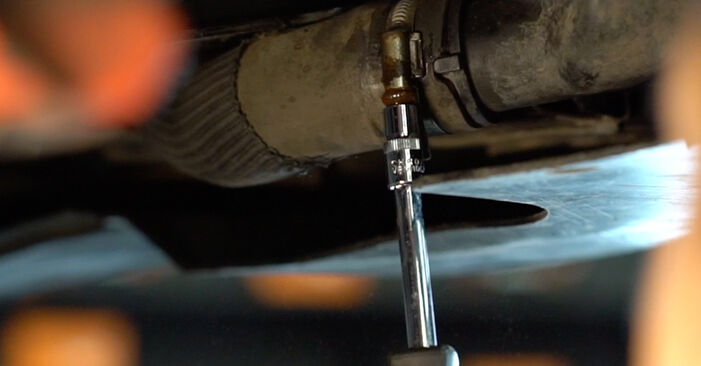
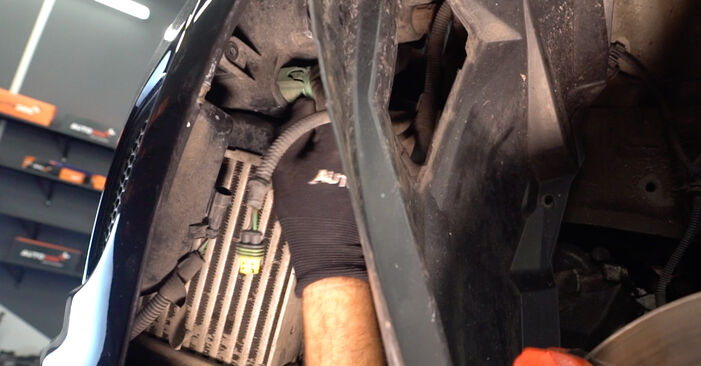
 Unscrew the intercooler pipe clamp. Use a drive socket #7. Use a ratchet wrench.
 - Step 24
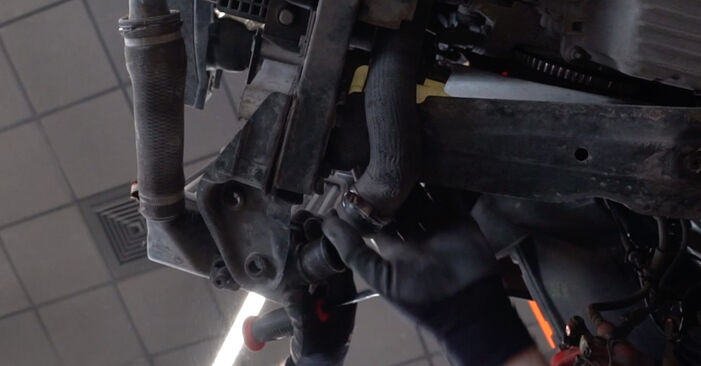 Pry up and detach the lower pipe from the intercooler. Use a crowbar.
 - Step 25
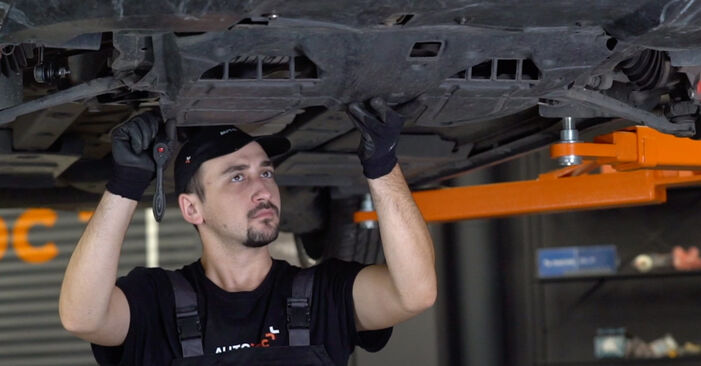
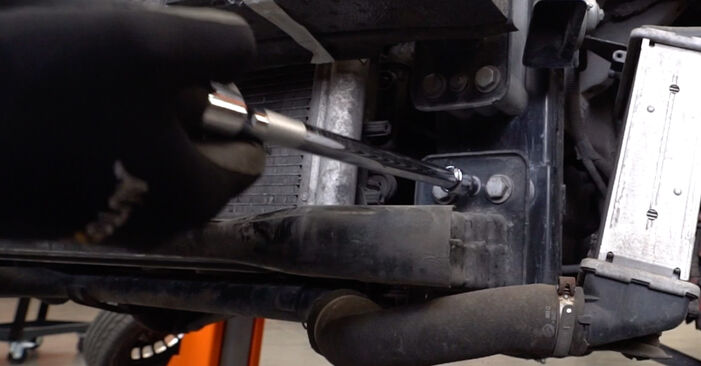
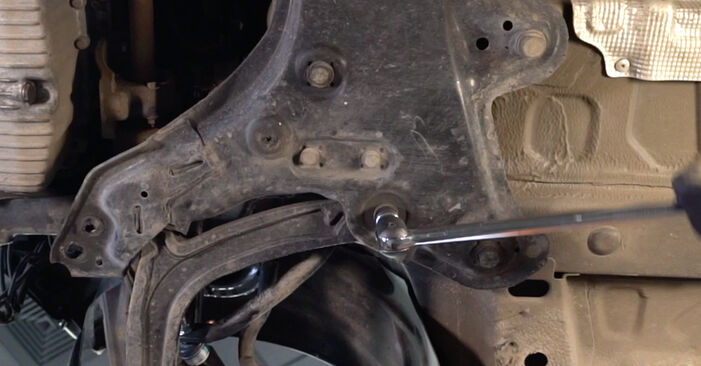
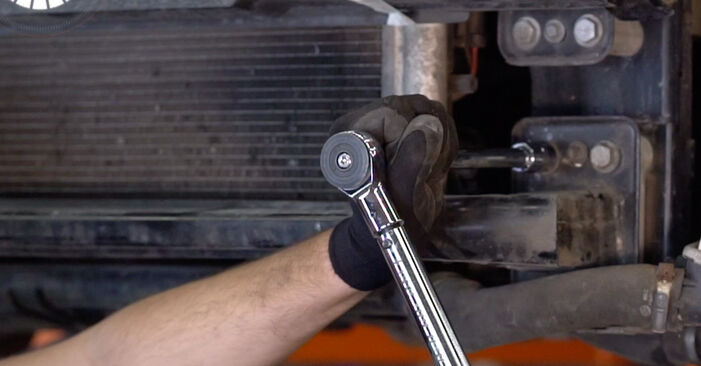
 Unscrew the fasteners of the side member from the subframe. Use a drive socket #16. Use a drive socket #18. Use a ratchet wrench.
 - Step 26
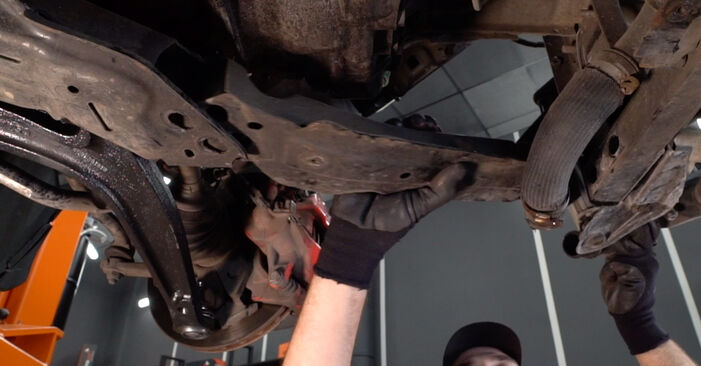
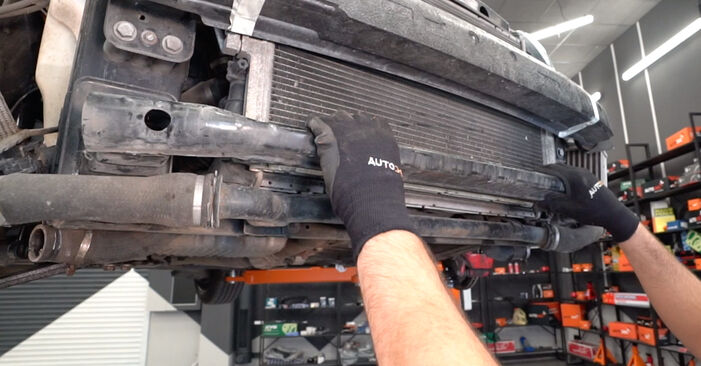
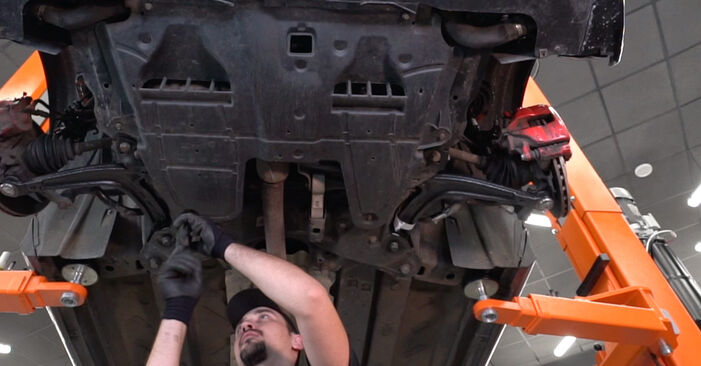
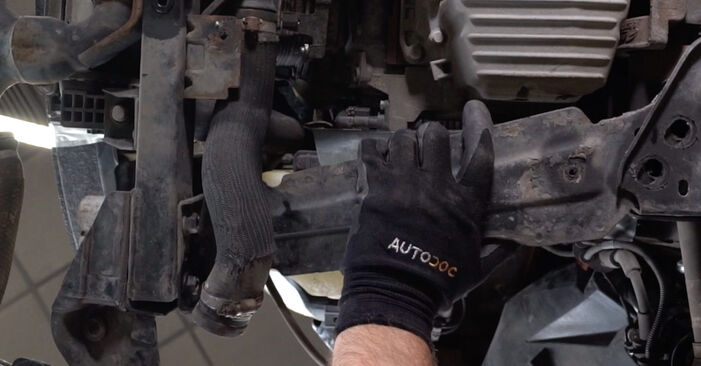 Move the intercooler aside and remove the side member.
 - Step 27
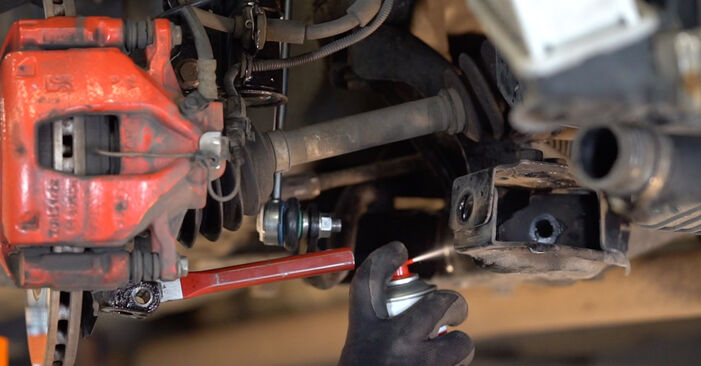
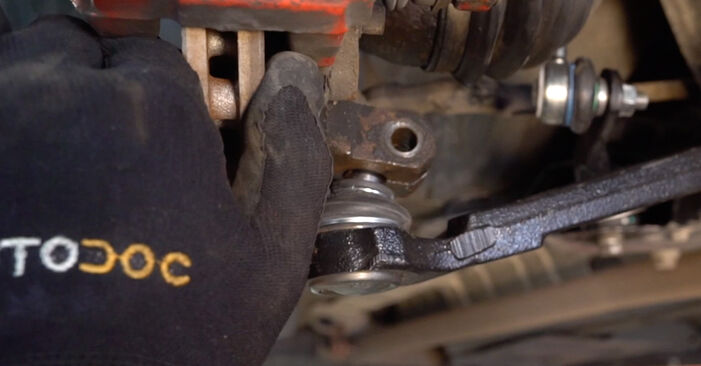
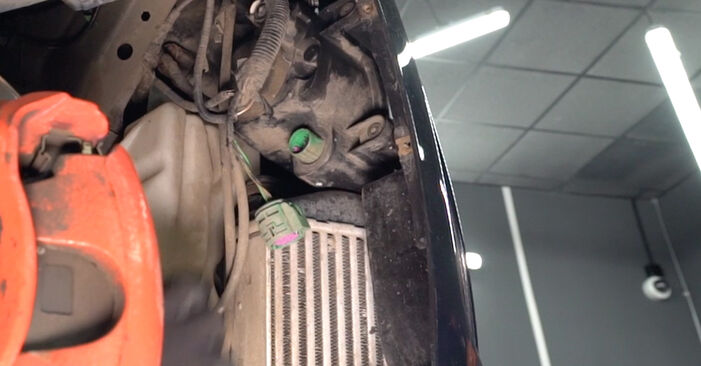
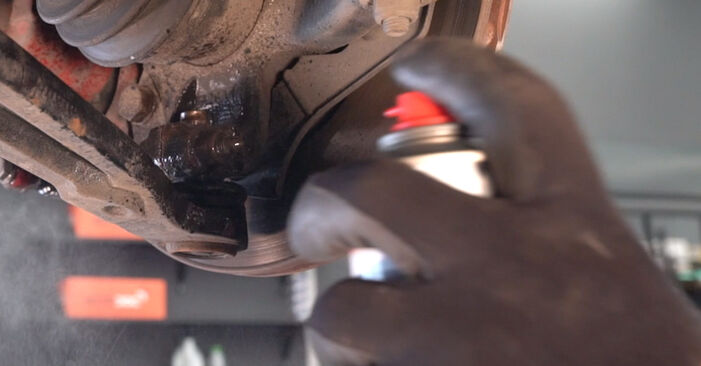 Clean the fastener connecting the ball joint to the steering knuckle. Use a wire brush. Use WD-40 spray.
 - Step 28
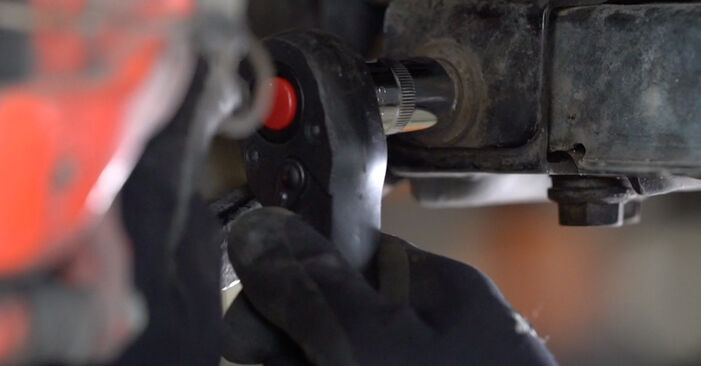
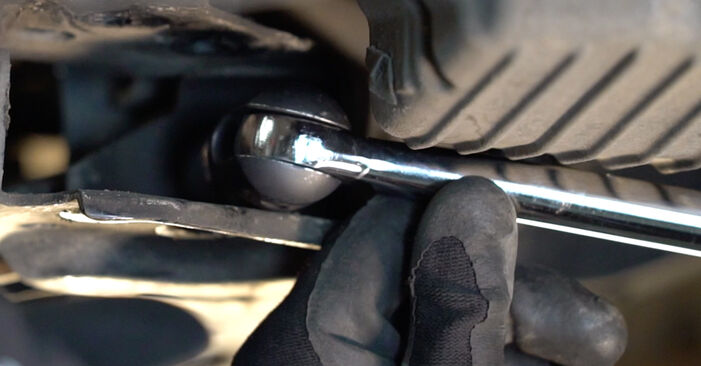
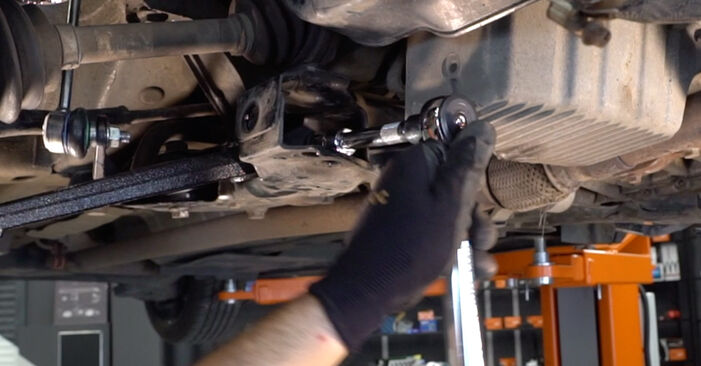
 Unscrew the ball joint fastening to the steering knuckle. Use a combination spanner #17. Use a drive socket #17. Use a ratchet wrench.
 - Step 29
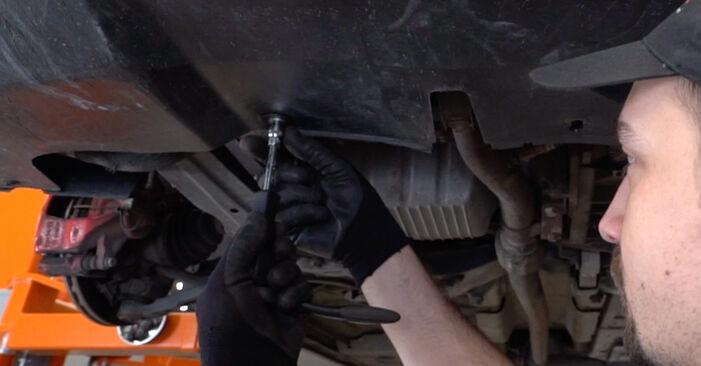
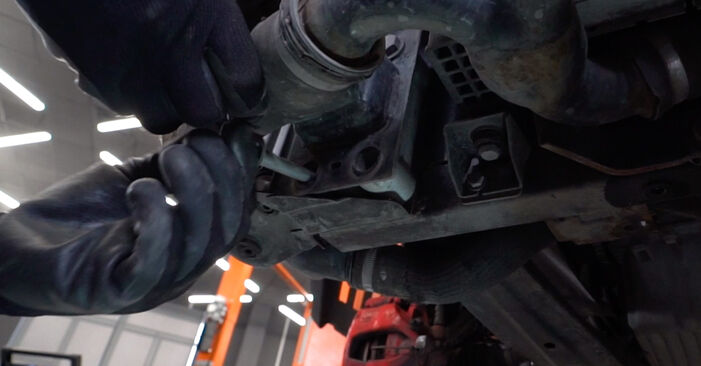
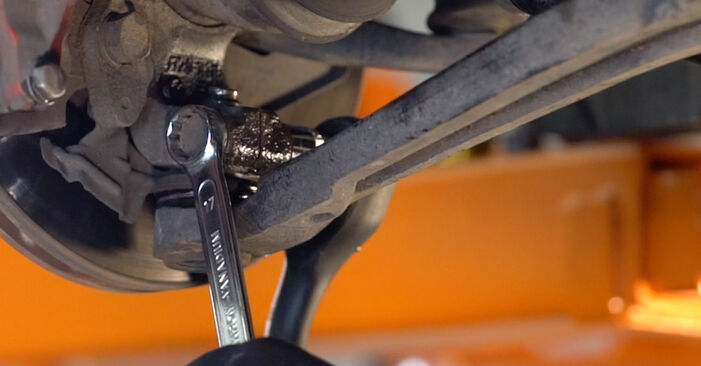
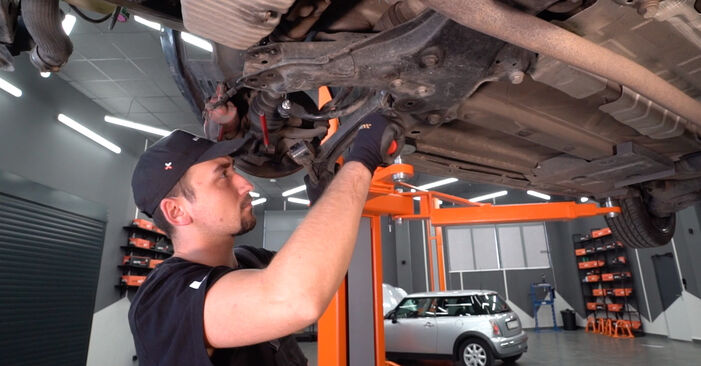
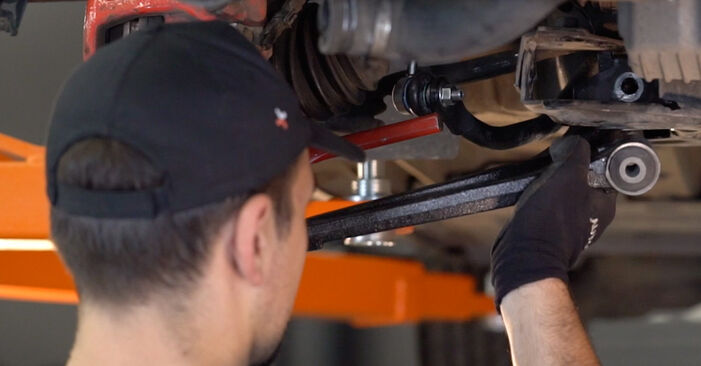
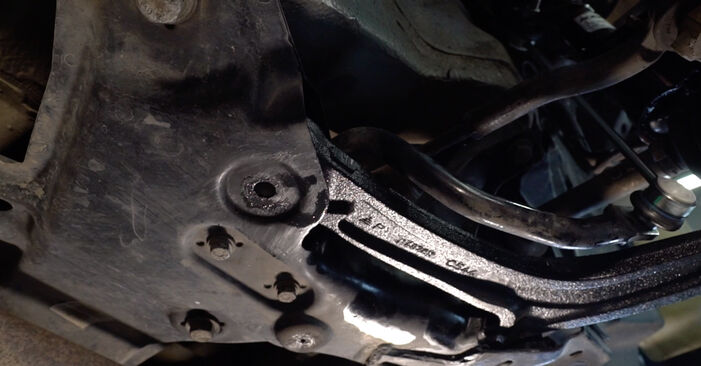
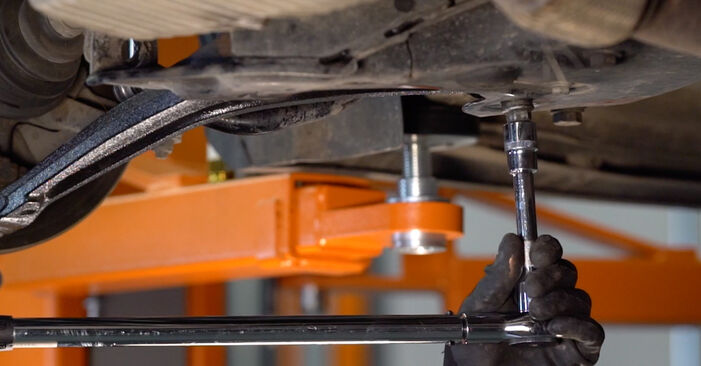
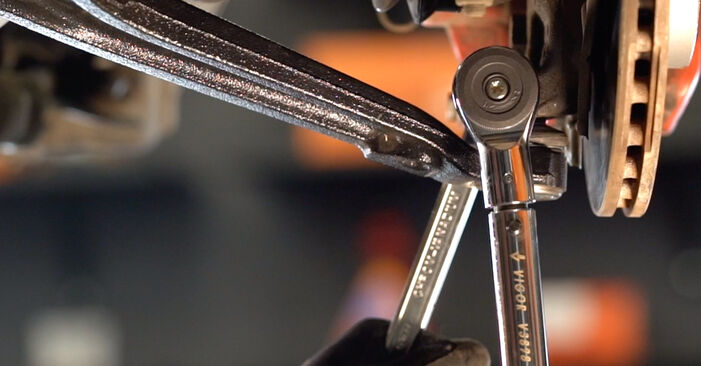
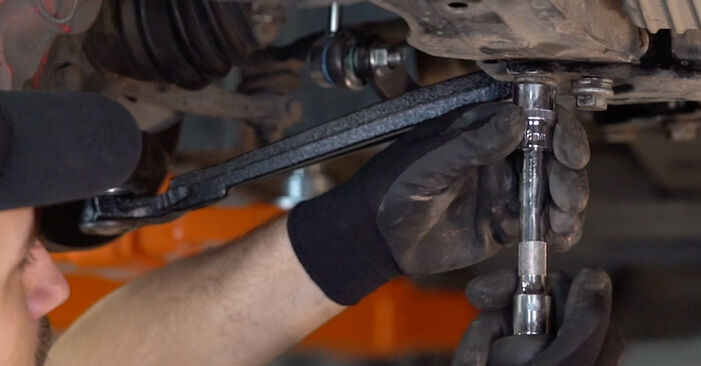
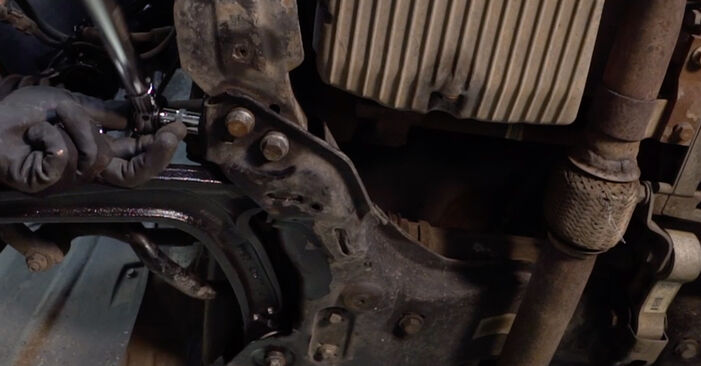
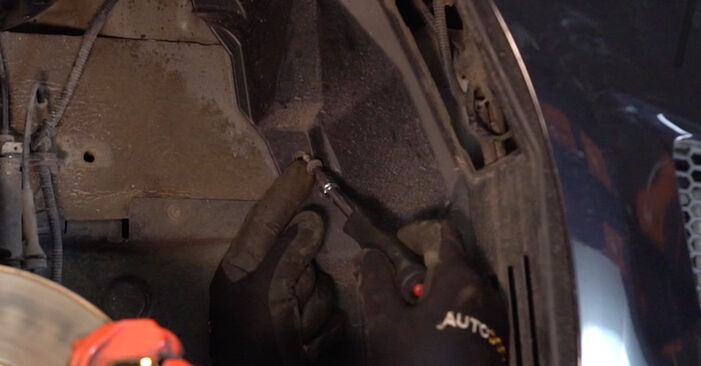
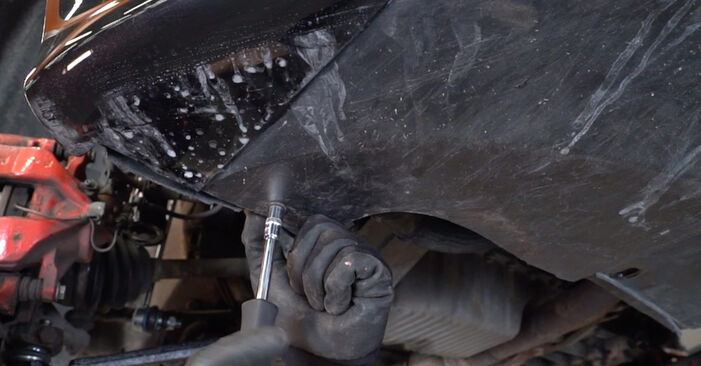
 Unscrew the front arm fastener. Use a drive socket #18. Use a tap wrench.
 - Step 30
 Unscrew the rear arm fastener. Use a drive socket #18. Use a tap wrench.
 - Step 31
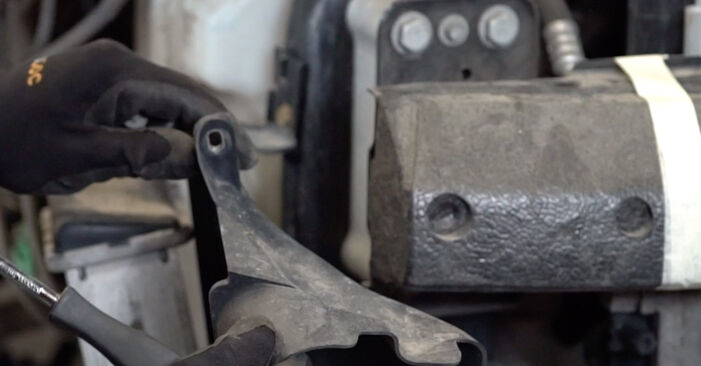
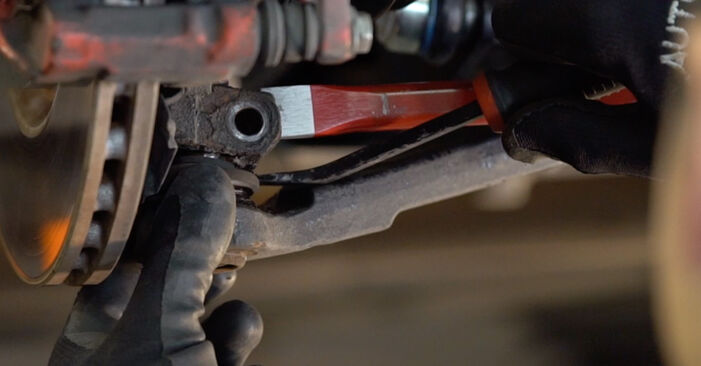 Release the fastener connecting the ball joint to the steering knuckle. Use a flat metal-working chisel. Use a hammer.
 - Step 32
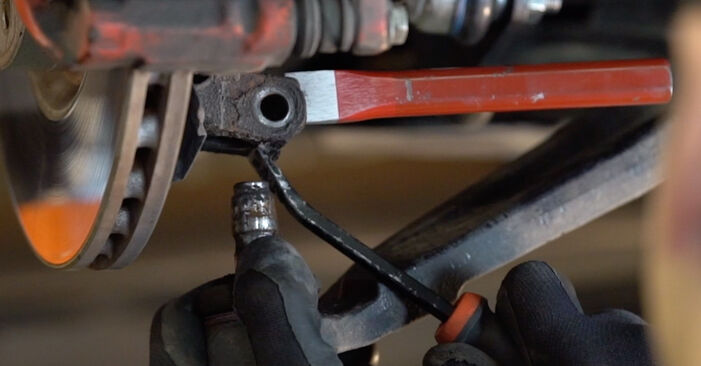 Disconnect the ball joint from the steering knuckle. Use a crowbar.
 - Step 33
 Remove the arm.
 - Step 34
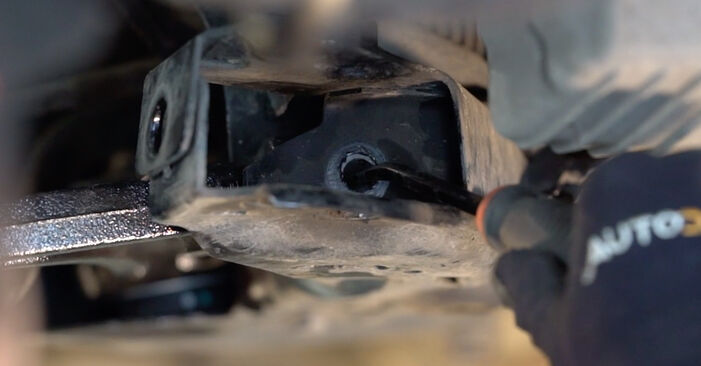
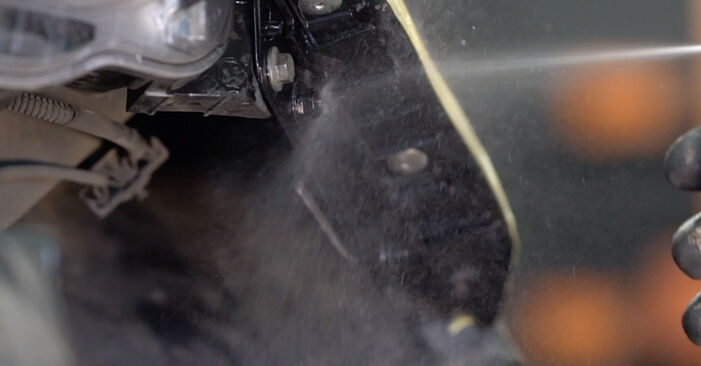
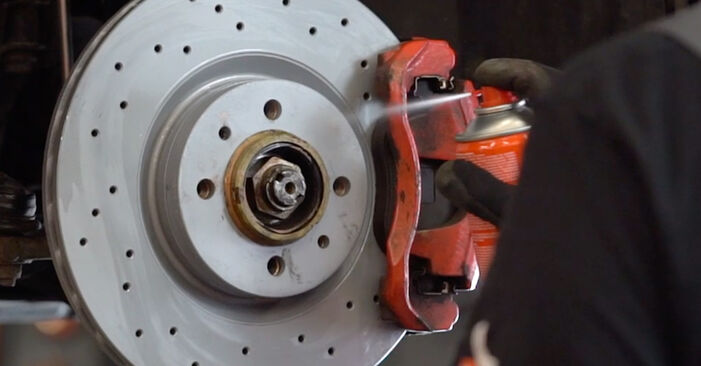
 Clean all joints of the arm. Use a wire brush. Treat all joints of the arm. Use WD-40 spray.AUTODOC recommends:Replacement: front lower arm – Abarth 595. After applying the spray, wait a few minutes.Wear protective goggles.
 - Step 35
 Install a new arm. Use a crowbar.
 - Step 36
 Install the front fastener of the arm. Do not tighten it.
 - Step 37
 Install the rear fastener of the arm. Do not tighten it.
 - Step 38
 Connect the ball joint to the steering knuckle. If necessary, use a rubber mallet.Replacement: front lower arm – Abarth 595. Tip from AUTODOC experts:Do not damage the ball joint cover.
 - Step 39
 Screw the rear arm fastener. Use a drive socket #18. Use a torque wrench. Tighten it to 115 nm torque.
 - Step 40
 Screw the front arm fastener. Use a drive socket #18. Use a torque wrench. Tighten it to 110 nm torque.
 - Step 41
 Tighten the ball joint fastener. Use a combination spanner #17. Use a drive socket #17. Use a torque wrench. Tighten it to 40 nm torque.
 - Step 42
 Move the intercooler aside and install the side member.


Was this manual helpful?
Please rate this manual on a scale from 1 to 5. If you have any questions, feel free to ask us.
Users voted – 0
Need New Tyres?
Find out which tyre and wheel sizes are compatible with the ABARTH 500 / 595 / 695 Hatchback (312) model

Popular maintenance tutorials for Abarth 595
 Free download PDF
 2.23 MB
 Free download PDF3.32 MB
 Free download PDF2.44 MB
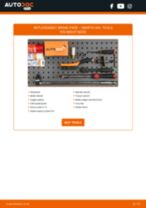 Free download PDF2.33 MB
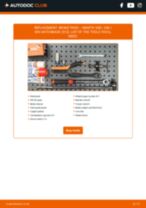 Free download PDF1.72 MB
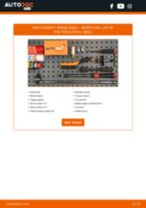 Free download PDF2.59 MB
Complete guides for changing the Control arm on different ABARTH 500 / 595 models
 Free download PDF4.92 MB
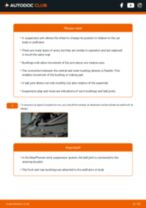 Free download PDF1.07 MB
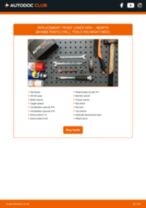 Free download PDF2 MB
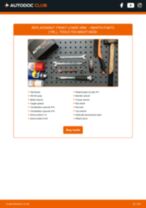 Free download PDF2 MB
 Free download PDF2.02 MB
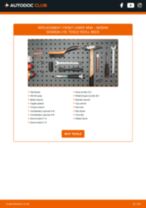 Free download PDF2.08 MB
Unlock your car maintenance assistant!
Track expenses, manage logs, schedule replacements, and more.
Tips & tricks for your ABARTH 500 / 595 / 695 Hatchback (312_)
View more
 Transform Your Engine Bay: Affordable Valve Cover Restoration with AUTODOC
 Cold starts | 5 mistakes that wreck your car
 5 signs of a faulty strut mount and how to fix it
 How to Get the Best Deals on Car Parts | Save Money with AUTODOC
Most commonly replaced car parts on ABARTH 500 / 595


Professional manuals for the most common ABARTH models


Time to replace parts? Get even better deals in our Shop app.

SCAN ME