Disclaimer
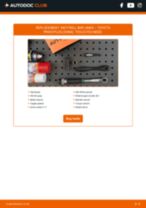
How to change front anti roll bar links on TOYOTA Prius I (XW10) – replacement guide
downloads:
0
Views:
14
Important!
This replacement procedure can be used for:
TOYOTA PRIUS Saloon (_W1_) 1.5 Hybrid (NHW10) … View more
The steps may slightly vary depending on the car design.
TOYOTA PRIUS Saloon (_W1_) 1.5 Hybrid (NHW10) … View more
The steps may slightly vary depending on the car design.
This video shows the replacement procedure of a similar car part on another vehicle
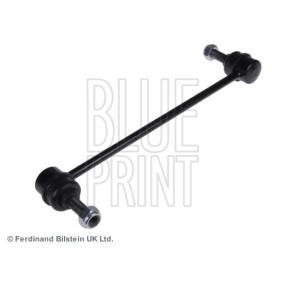
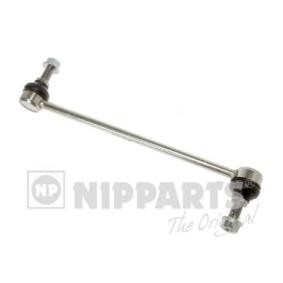
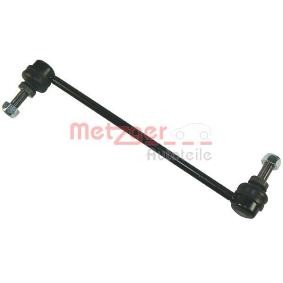
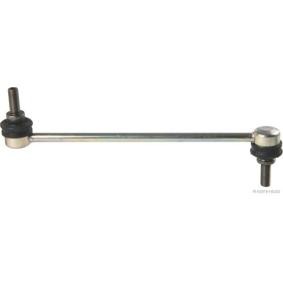
All the parts you need to replace – Anti Roll Bar Links for PRIUS Saloon (_W1_) and other TOYOTA models
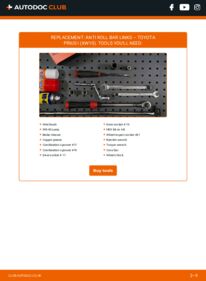
Alternative products

Wire brush
WD-40 spray
Brake cleaner
Copper grease
Combination spanner #17
Combination spanner #19
Drive socket # 17
Drive socket # 19
HEX bit no.H6
Wheel impact socket #21
Ratchet wrench
Torque wrench
Crow bar
Wheel chock
AUTODOC recommends:
- Replace the stabiliser links on TOYOTA PRIUS Saloon (_W1_) in pairs.
- The replacement procedure is identical for both stabiliser links on the same axle.
- All work should be done with the engine stopped.
Replacement: anti roll bar links – TOYOTA PRIUS Saloon (_W1_). Recommended sequence of steps:
- Step 1
 Secure the wheels with chocks.
 - Step 2
 Loosen the wheel mounting bolts. Use wheel impact socket #21.
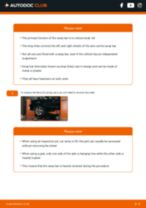
 - Step 3Raise the front of the car and secure on supports.Step 4
 Unscrew the wheel bolts.Replacement: anti roll bar links – TOYOTA PRIUS Saloon (_W1_). Tip from AUTODOC experts:To avoid injury, hold up the wheel when unscrewing the bolts.
 - Step 5
 Remove the wheel.
 - Step 6
 Clean the stabiliser link fasteners. Use a wire brush. Use WD-40 spray.
 - Step 7
 Unscrew the fastener connecting the stabilizer link to the stabilizer bar. Use HEX No.H6. Use a combination spanner #17.
 - Step 8
 Unscrew the fastener connecting the stabilizer link to the shock strut. Use a combination spanner #17. Use a drive socket #17. Use a ratchet wrench.
 - Step 9
 Remove the stabilizer rod. Use a crowbar.Replacement: anti roll bar links – TOYOTA PRIUS Saloon (_W1_). Tip from AUTODOC experts:Examine stabiliser bushes. Replace them if needed.
 - Step 10Clean the mounting seats of the stabiliser link. Use a wire brush. Use WD-40 spray.Step 11
 Install a new rod, tighten the fasteners. Use a combination spanner #19. Use a drive socket #19. Use HEX No.H6. Use a ratchet wrench.
Was this manual helpful?
Please rate this manual on a scale from 1 to 5. If you have any questions, feel free to ask us.
Users voted – 0
Need New Tyres?
Find out which tyre and wheel sizes are compatible with the TOYOTA Prius I (XW10) model

Popular maintenance tutorials for TOYOTA PRIUS Saloon (_W1_)
Complete guides for changing the Drop links on different TOYOTA PRIUS models
Unlock your car maintenance assistant!
Track expenses, manage logs, schedule replacements, and more.
Tips & tricks for your TOYOTA PRIUS Saloon (_W1_)
View more
 Easy Steps to Fix Minor Scratches on Your Vehicle | AUTODOC tips
 5 most common causes of oil leaks | AUTODOC tips
 Transform Your Old Engine Valve Cover: Quick Polishing Tips for a Shiny Finish | AUTODOC Tips
 DIY engine block coffee table
Most commonly replaced car parts on TOYOTA PRIUS

Time to replace parts? Get even better deals in our Shop app.

SCAN ME


