Disclaimer
How to change engine radiator on VW Golf 2 – replacement guide
downloads:
24
Views:
380
Important!
This replacement procedure can be used for:
VW GOLF II (19E, 1G1) 1.6, VW GOLF II (19E, 1G1) 1.6 … View more
The steps may slightly vary depending on the car design.
VW GOLF II (19E, 1G1) 1.6, VW GOLF II (19E, 1G1) 1.6 … View more
The steps may slightly vary depending on the car design.
How to change engine radiator on VW GOLF 2 [TUTORIAL AUTODOC]

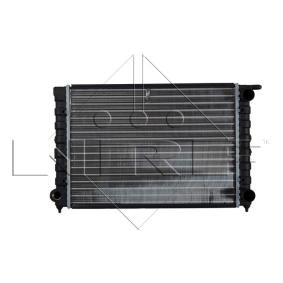
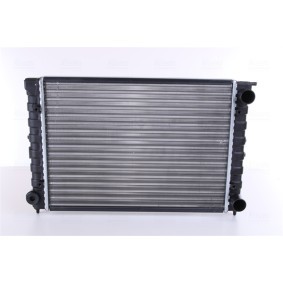
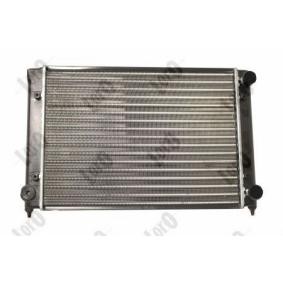
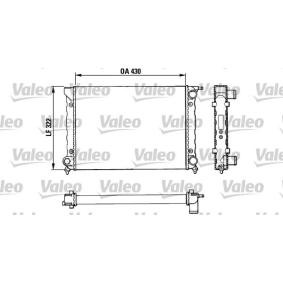
All the parts you need to replace – Engine Radiator for GOLF II (19E, 1G1) and other VW models
Alternative products

Torque wrench
Drive socket # 7
Drive socket # 10
Ratchet wrench
Adjustable wrench
Fluid container
Funnel
Fender cover
Replacement: engine radiator – VW Golf 2. Tip from AUTODOC experts:
- Follow the terms, recommendations and requirements of the part operation provided by the manufacturer.
- Check the coolant condition and replace it if necessary.
- Please note: all work on the car – VW Golf 2 – should be done with the engine switched off.
Carry out replacement in the following order:
- Step 1
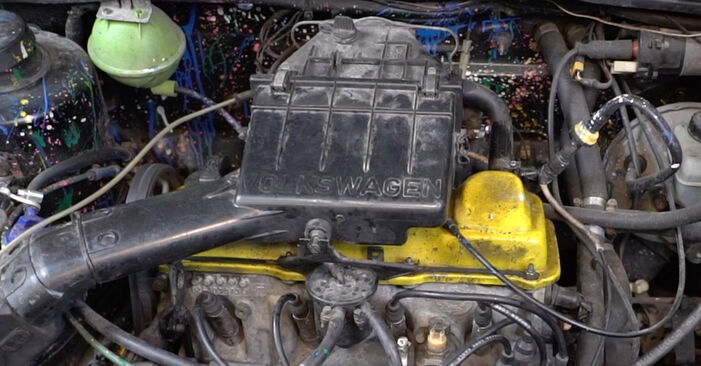
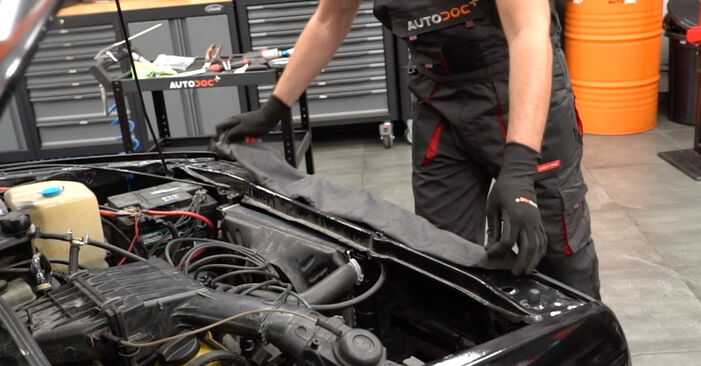
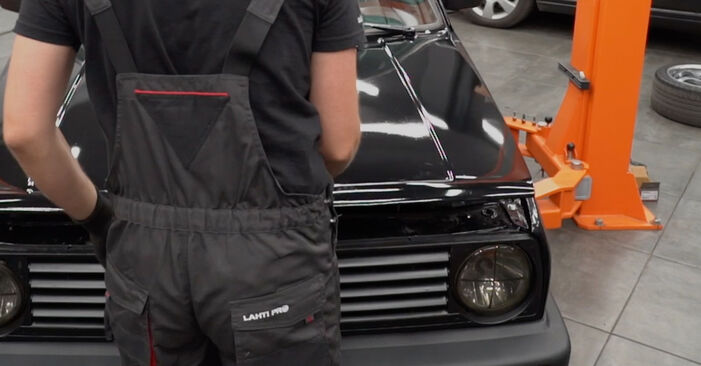
 Open the hood.
 - Step 2
 Use a fender protection cover to prevent damaging paintwork and plastic parts of the car.
 - Step 3
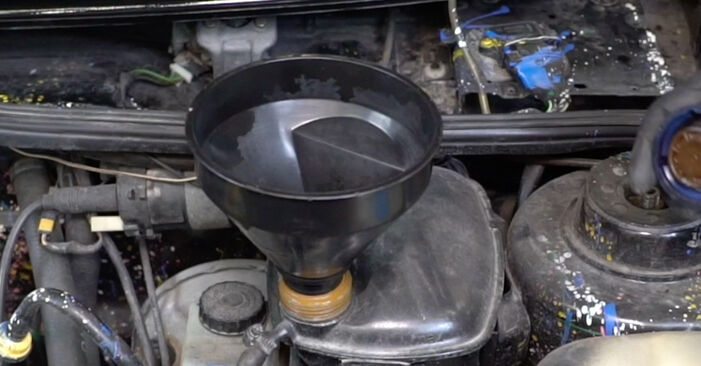
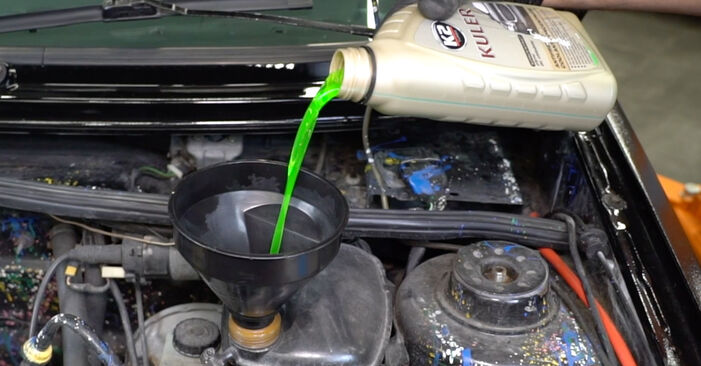
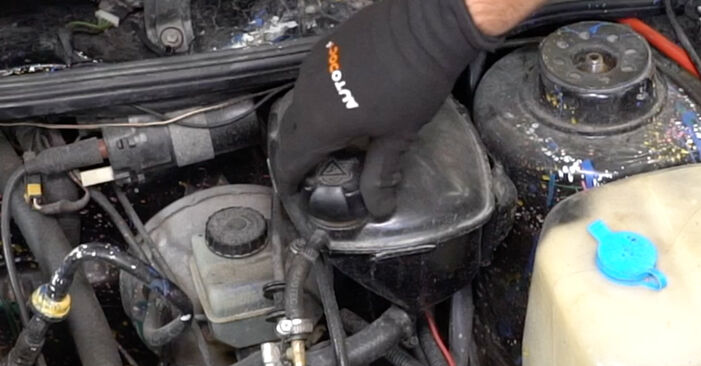
 Unscrew the coolant reservoir cap.
 - Step 4
 Prepare a container for fluids.
 - Step 5
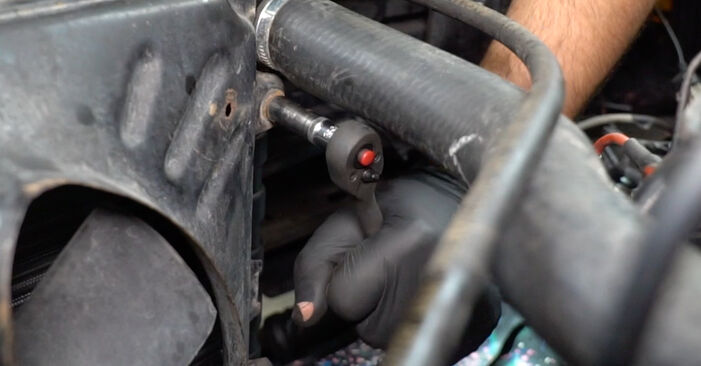
 Loosen the coolant hose clamp. Use a drive socket #7. Use a ratchet wrench.
 - Step 6
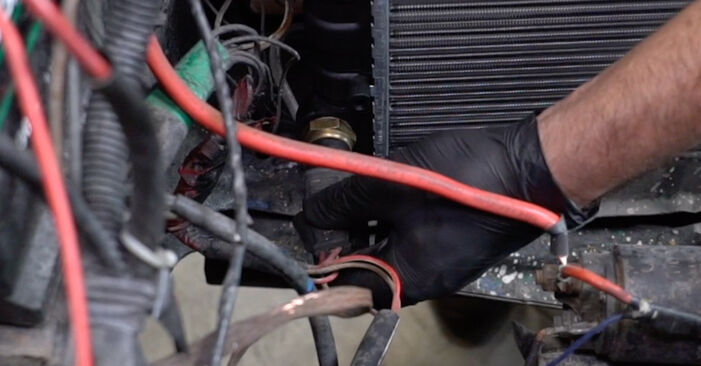
 Detach the coolant hose.Replacement: engine radiator – VW Golf 2. AUTODOC experts recommend:Caution! Coolant may come out from the water pump channels and body.
 - Step 7
 Drain the coolant from the engine.Replacement: engine radiator – VW Golf 2. Professionals recommend:Caution! The coolant can be very hot.Wear gloves to prevent contact with hot liquid.All work should be done with the engine stopped.Wait until the coolant has completely flowed out of the drain hole.
 - Step 8
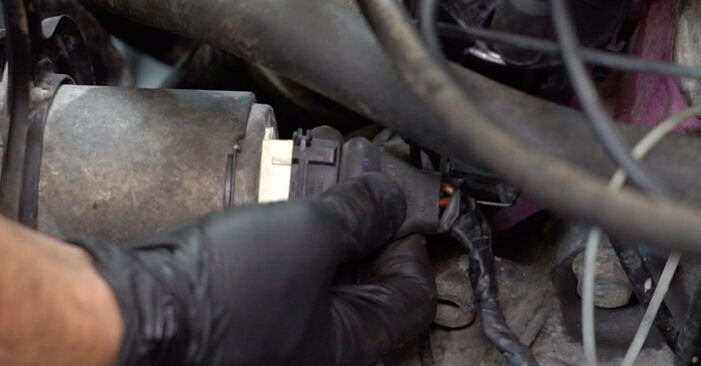
 Detach the engine cooling fan connector.
 - Step 9
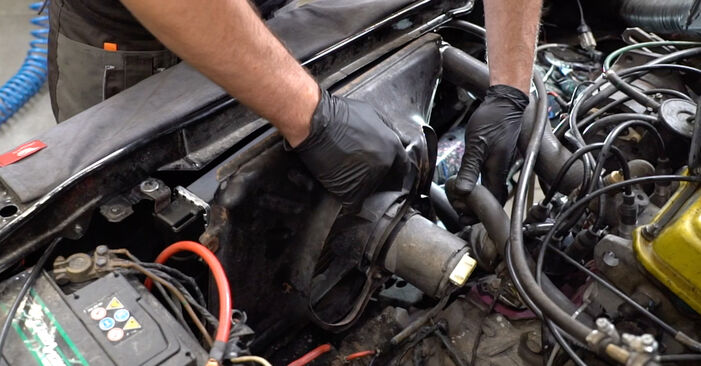
 Unscrew the fan housing fasteners. Use a drive socket #10. Use a ratchet wrench.
 - Step 10
 Remove the fan shroud.
 - Step 11
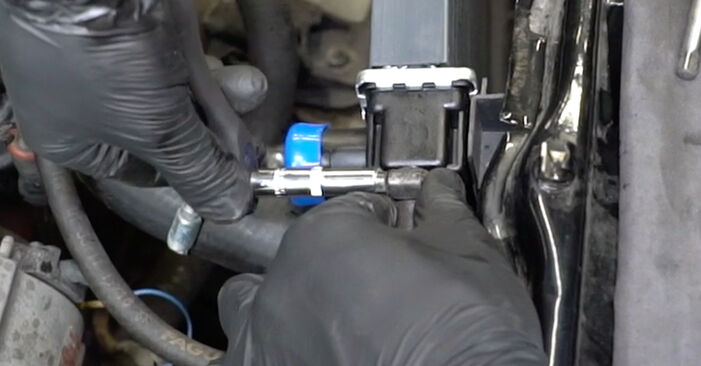
 Unplug the connector of the coolant temperature sensor.
 - Step 12
 Loosen the coolant hose clamp. Use a drive socket #7. Use a ratchet wrench.
 - Step 13
 Detach the coolant hose.
 - Step 14
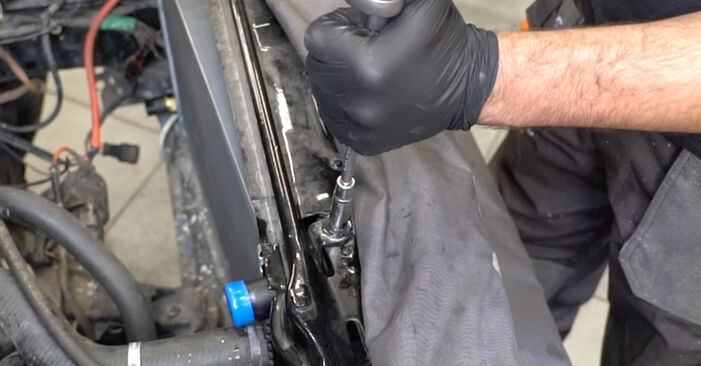
 Unscrew the radiator fasteners. Use a drive socket #10. Use a ratchet wrench.
 - Step 15
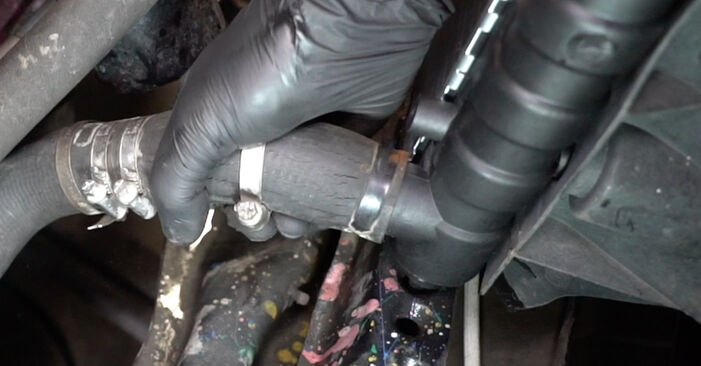
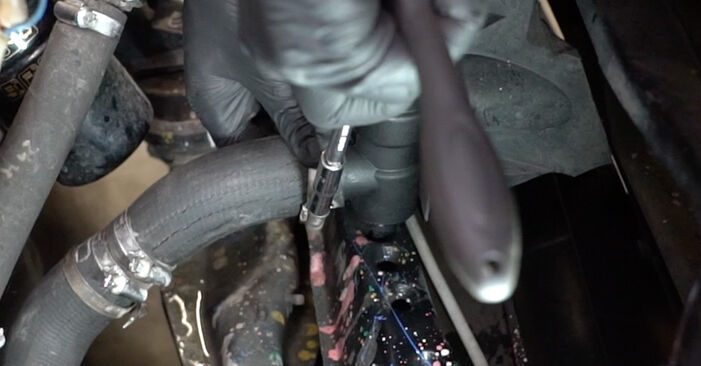
 Loosen the coolant hose clamp. Use a drive socket #7. Use a ratchet wrench.
 - Step 16
 Detach the coolant hose.
 - Step 17
 Remove the radiator.
 - Step 18
 Unscrew the fasteners of the radiator air guides. Use a drive socket #10. Use a ratchet wrench.
 - Step 19
 Remove the radiator air guides.
 - Step 20
 Unscrew the coolant temperature sensor. Use an adjustable wrench.
 - Step 21
 Screw in and tighten the coolant temperature sensor. Use an adjustable wrench. Use a torque wrench. Tighten it to 16 nm torque.
 - Step 22
 Install the radiator air guides.
 - Step 23
 Screw in the fasteners of the radiator air guides. Use a drive socket #10. Use a ratchet wrench.
 - Step 24
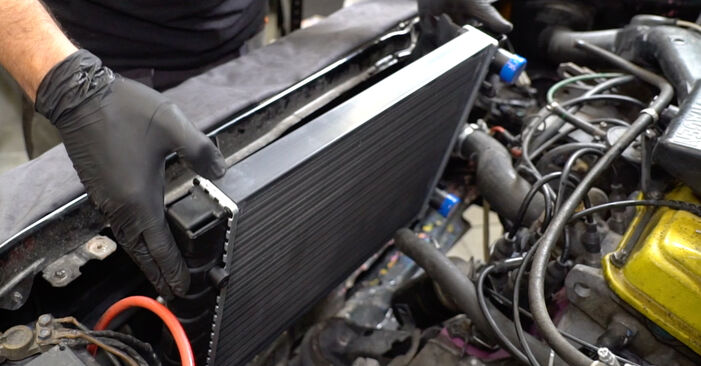 Install the new radiator.
 - Step 25
 Attach the coolant hose.
Was this manual helpful?
Please rate this manual on a scale from 1 to 5. If you have any questions, feel free to ask us.
Users voted – 0
Need New Tyres?
Find out which tyre and wheel sizes are compatible with the VW Golf II Hatchback (19E, 1G1) model

Popular maintenance tutorials for VW GOLF II (19E, 1G1)
Complete guides for changing the Radiators on different VW GOLF models
Unlock your car maintenance assistant!
Track expenses, manage logs, schedule replacements, and more.
Tips & tricks for your VW GOLF II (19E, 1G1)
View more
 Revive Your Tyres: Expert Tips for a Lasting Shine | AUTODOC Guide
 Motorcycle fuel tank restoration
 Don’t Replace, Just Polish! Headlight Restoration with AUTODOC
 Deep interior cleaning | Car transformation by detailing
Most commonly replaced car parts on VW GOLF

Time to replace parts? Get even better deals in our Shop app.

SCAN ME


