Disclaimer
How to change engine oil and filter on HONDA HR-V III (RV) – replacement guide
downloads:
2
Views:
23
Recommended replacement interval for the part category Oil filter : 12 month / 15000 km
Important!
This replacement procedure can be used for:
HONDA HR-V III (RV) 1.5 eHEV (RV5) … View more
The steps may slightly vary depending on the car design.
HONDA HR-V III (RV) 1.5 eHEV (RV5) … View more
The steps may slightly vary depending on the car design.
This video shows the replacement procedure of a similar car part on another vehicle
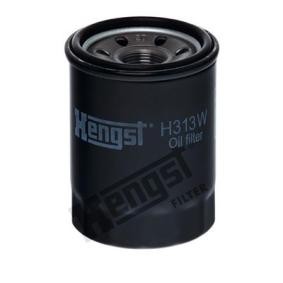
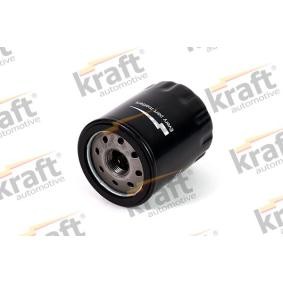
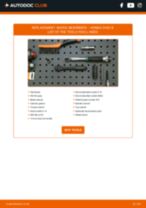
All the parts you need to replace – Oil Filter for HR-V III (RV) and other HONDA models
Alternative products

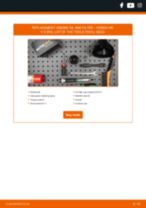
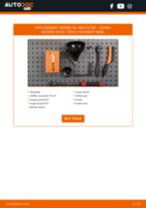
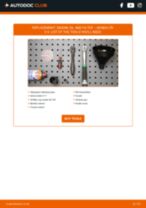
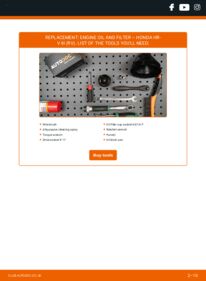
Wire brush
All-purpose cleaning spray
Torque wrench
Drive socket # 17
Oil filter cup socket 65/14-F
Ratchet wrench
Funnel
Oil drain pan
Replacement: engine oil and filter – HONDA HR-V III (RV). AUTODOC recommends:
- Replace the oil filter every time when changing motor oil.
- Wear gloves to prevent contact with hot liquid.
- Use only new O-rings during installation.
- Please note: all work on the car – HONDA HR-V III (RV) – should be done with the engine switched off.
Carry out replacement in the following order:
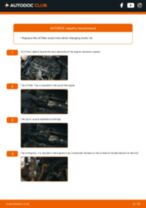
- Step 1Lift the car using a jack or place it over an inspection pit.Replacement: engine oil and filter – HONDA HR-V III (RV). AUTODOC experts recommend:The vehicle must be on even keel, and if it is at an angle, the drain plug must be at the lowest point.Unscrew the oil filler plug.Step 2
 Put a waste oil container with at least 4 l capacity under the drainage hole.
 - Step 3
 Clean the area of the oil pan drainage hole. Use a wire brush. Use all-purpose cleaning spray.
 - Step 4
 Unscrew the drain plug. Use a drive socket #17. Use a ratchet wrench.
 - Step 5
 Drain the used oil.AUTODOC recommends:Caution! The oil may be hot.Wait until the oil has completely drained from the drainage hole.
 - Step 6
 Clean the area of the oil pan drainage hole.
 - Step 7
 Screw in the new drainage plug and tighten it. Use a drive socket #17. Use a torque wrench. Tighten it to 39 nm torque.
 - Step 8
 Clean the area of the oil pan drainage hole. Use all-purpose cleaning spray.
 - Step 9
 Unscrew the oil filter. Use the 65/14-F socket. Use a ratchet wrench.
 - Step 10Put the old oil filter in the container.Step 11
 Clean the oil filter seat. Use all-purpose cleaning spray.
 - Step 12
 Screw the new filter into its place. Use the 65/14-F socket. Observe the recommended tightening torque.
Was this manual helpful?
Please rate this manual on a scale from 1 to 5. If you have any questions, feel free to ask us.
Users voted – 0
Need New Tyres?
Find out which tyre and wheel sizes are compatible with the HONDA HR-V III (RV) model

Popular maintenance tutorials for HONDA HR-V III (RV)
Complete guides for changing the Oil filters on different HONDA HR-V models
Unlock your car maintenance assistant!
Track expenses, manage logs, schedule replacements, and more.
Tips & tricks for your HONDA HR-V III (RV)
View more
 Reviving Your Car: How to Start After Extended Idle Time | AUTODOC Tips
 Transform Your Old Engine Valve Cover: Quick Polishing Tips for a Shiny Finish | AUTODOC Tips
 What to do if your car’s bonnet won’t open | AUTODOC tips
 TOP 6 WD-40 lifehacks | AUTODOC tips
Most commonly replaced car parts on HONDA HR-V

Time to replace parts? Get even better deals in our Shop app.

SCAN ME


