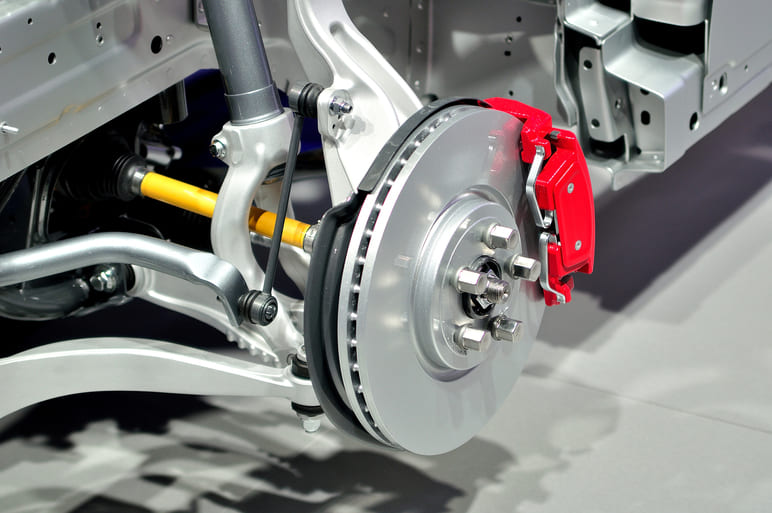
Adding a lick of paint to your brake calipers can be a great way to upgrade the appearance of your brakes without breaking the bank. Cleaning and painting dull or dirty brake calipers can give them a clean fresh look. This upgrade method became quite popular in the 90s, as brightly coloured calipers were associated with expensive, high-performance cars, such as the Ferrari 355. However, it is not all about the aesthetics, there are also practical reasons for painting these components. Once painted, they should be easier to clean and the paint can act as a protective layer against corrosion.
What will you need to consider when painting these car parts? What is the best way to do it? Keep reading to find out more.
Top tips
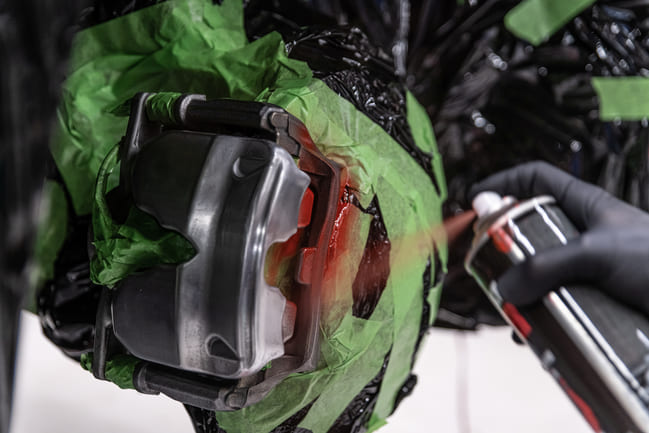
- i It might be better to remove the calipers completely before painting them as this will reduce the risk of paint getting onto the other brake components. However, removing the components and bleeding the system can be quite a tedious process. If you take the easier route, you will need to make sure that the discs and other parts are completely covered up. If there is paint on the pads or discs, this could seriously affect the braking performance of the vehicle.
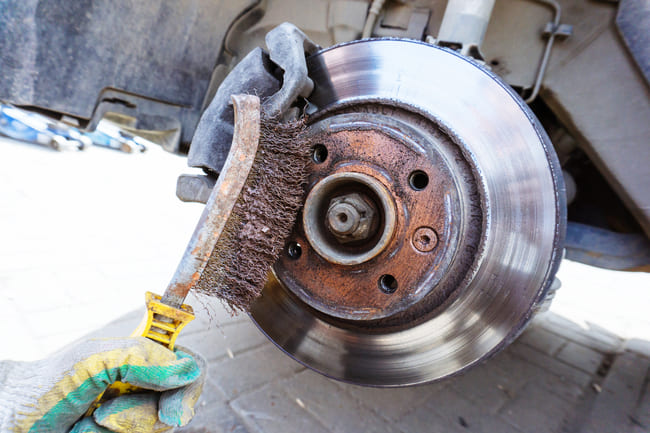
- i Clean the surfaces of the parts and remove rust before painting. The paint will fade and flake away very quickly if it is layered on top of rust. The end result could look even worse if you don’t prepare the parts properly. Use a wire brush and special cleaning agent to do this.
- i Don’t paint the bolts or rattle clips as this can look very unprofessional.
- i You may also want to replace the caliper clips and shims for a shiny, new, finished look.
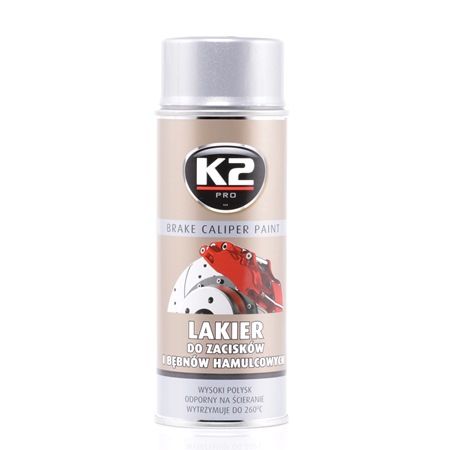
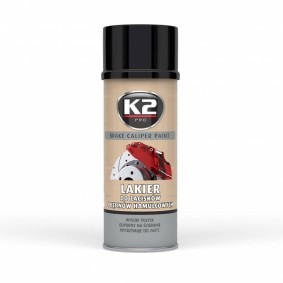
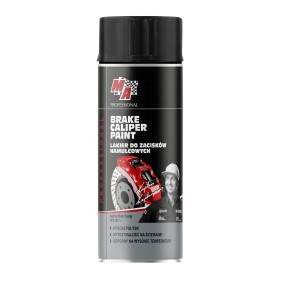
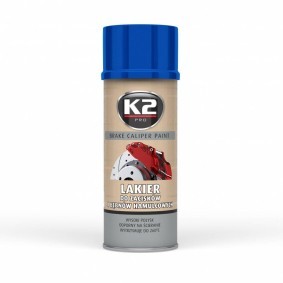
What equipment will you need to paint the brake calipers?


How to paint brake calipers
Once you have selected the right paint and tools for the job, you’re ready to start!
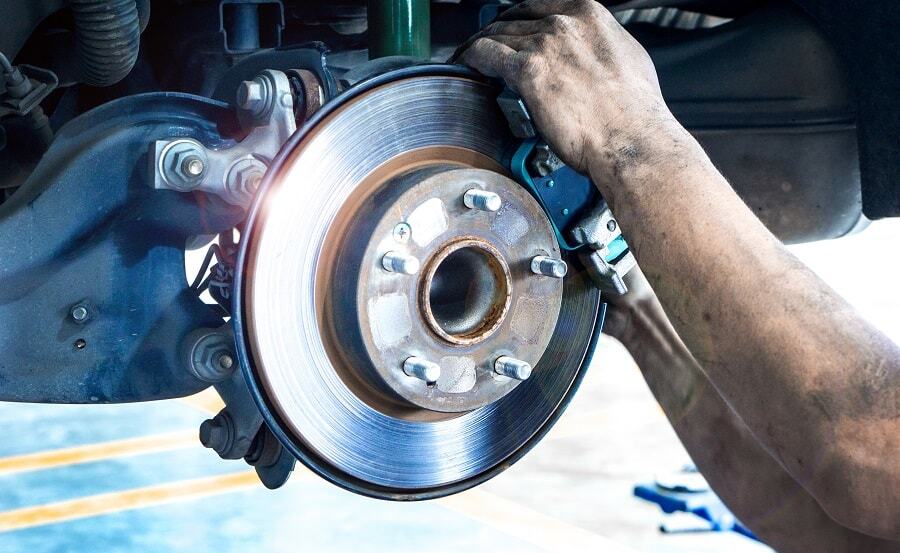
- Step 1 – Raise the vehicle with the jack and jack stands or a vehicle lift. Once the vehicle is secure, you can begin to remove the wheels, using the tyre iron to remove the wheel nuts.
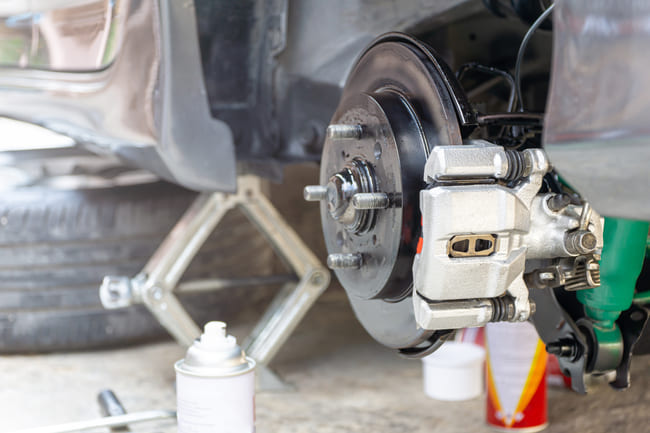
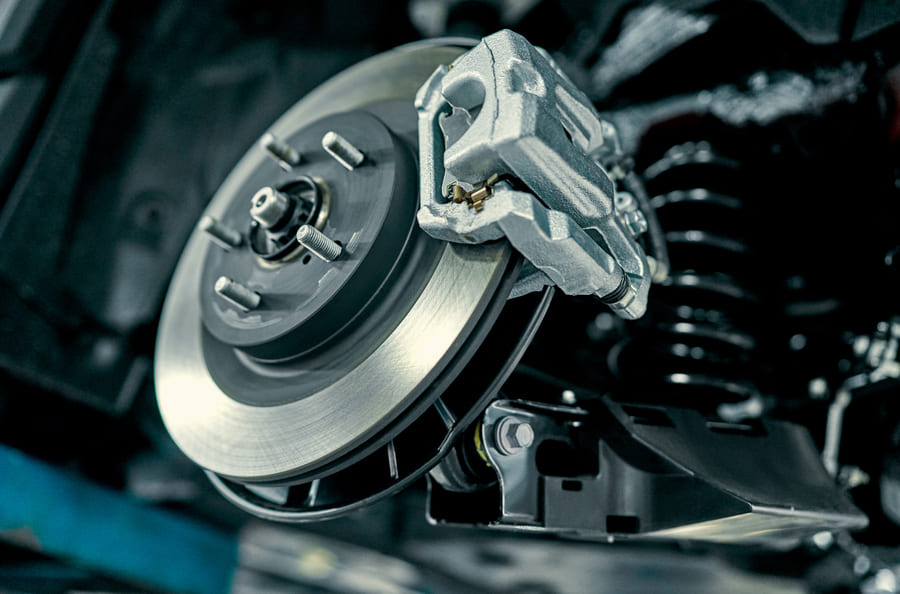
- Step 2 – Next, you will need to detach the calipers from the wheel assembly. You can do this without disconnecting them from the brake lines. Make sure they are properly supported and not hanging from the hoses by resting them on top of a large box or small, low table, for example.
- Step 3 – Cover up the rest of the wheel assembly with a plastic bag or masking film and secure the cover with tape.
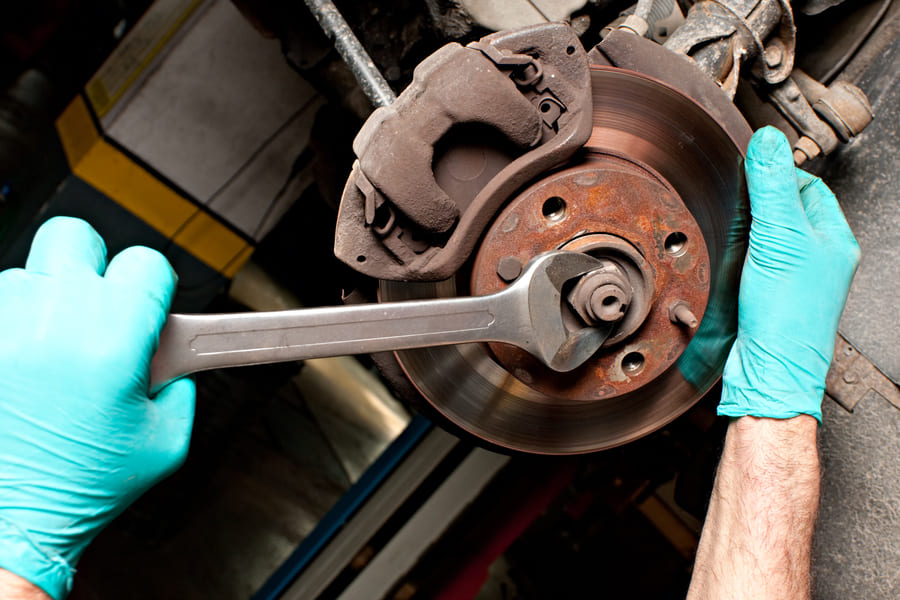
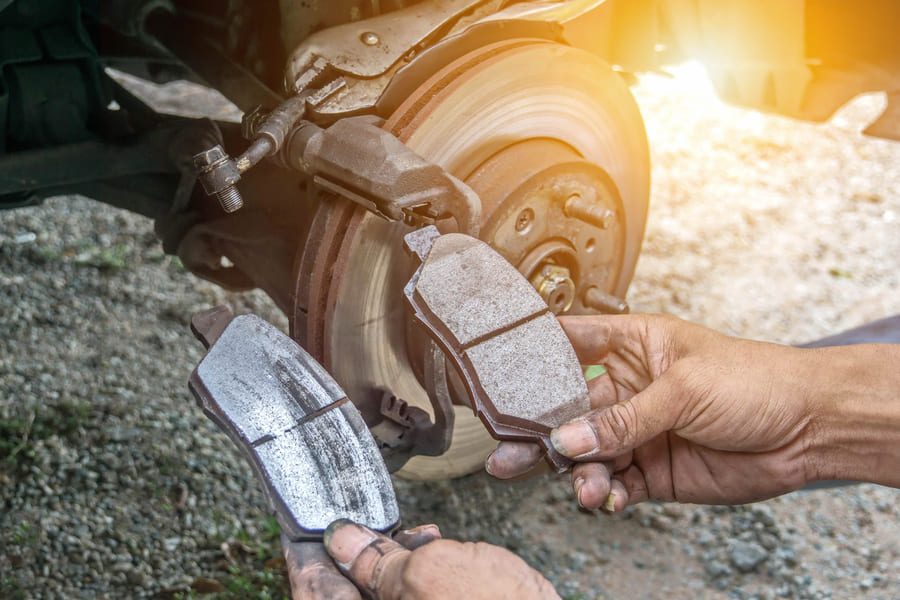
- Step 4 – Remove the brake pads and put them in a safe place.
- Step 5 – Remove any rust on the surfaces of the components. First, use a wire brush to scrape off as much rust as you can. Once you have done this, you can spray on some brake cleaner and wait for it to dry. Once dry, you can begin to sand down the surface. If there is still a lot of rust, you may want to use a coarse sandpaper to begin with. Next, use a fine sandpaper to smooth the surface. Use the brake cleaner one more time and let it dry.
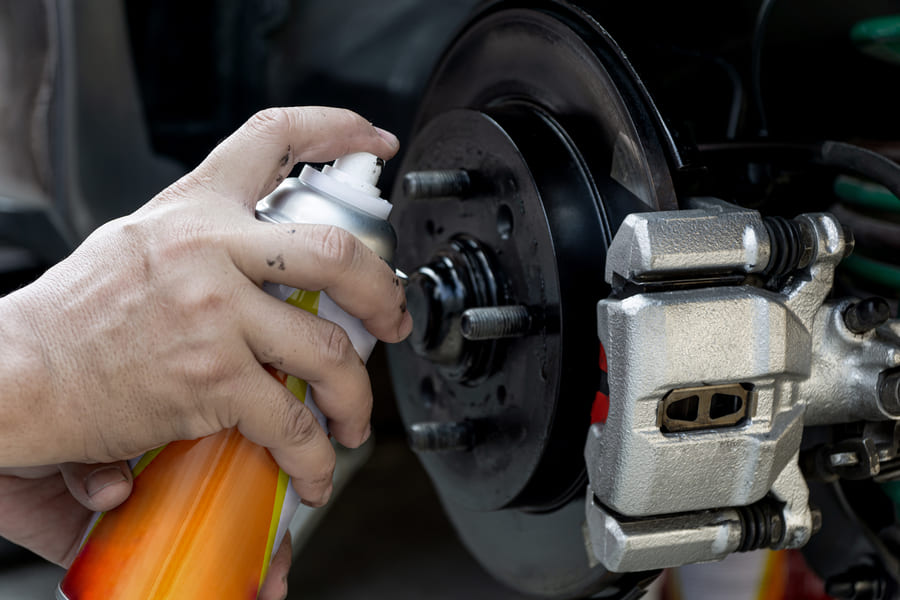
- Step 6 – Remove any dirt or grime using a small amount of rubbing alcohol and a lint-free cloth. Let the alcohol evaporate before moving on to the next step.
- Step 7 – Now you can start painting the calipers. Make sure to read through the paint product’s instructions carefully before painting. You may also want to cover up the seals and piston covers with masking tape, so that they don’t get painted. Spray 1-3 even coats of paint, depending on the product. Once the initial coats are dry, you may need to apply one or two final coats of paint.
- Step 8 – Let the paint dry fully and then reassemble all of the components.
How long does caliper paint take to dry?
The drying time may vary depending on the paint manufacturer. It usually takes between 2-4 hours for the paint to dry, but it is safer to wait for a full 24 hours before driving, just to be sure. The main reason for this is that the paint may not be heat-resistant before it has dried properly and the brakes reach very high temperatures quite quickly.
Did you find this guide helpful? Let us know! Check out our other articles for more tips on car restoration, such as our article on how to repair car seats yourself and our guide to restoring the intensity of headlights.

Comment