
Disclaimer

How to change lambda sensor on TOYOTA Tundra Pickup (_K5_, _K6_) – replacement guide
downloads:
0
Views:
2


Recommended replacement interval for the part category Lambda sensor : 100000 km
Important!
This replacement procedure can be used for:
TOYOTA Tundra Pickup (_K5_, _K6_) 5.7 4WD (USK56_, USK57_, USK55_, USK75_), TOYOTA Tundra Pickup (_K5_, _K6_) 5.7 (USK50_, USK51, USK52_, USK56_, USK57_) … View more
The steps may slightly vary depending on the car design.
TOYOTA Tundra Pickup (_K5_, _K6_) 5.7 4WD (USK56_, USK57_, USK55_, USK75_), TOYOTA Tundra Pickup (_K5_, _K6_) 5.7 (USK50_, USK51, USK52_, USK56_, USK57_) … View more
The steps may slightly vary depending on the car design.
This video shows the replacement procedure of a similar car part on another vehicle
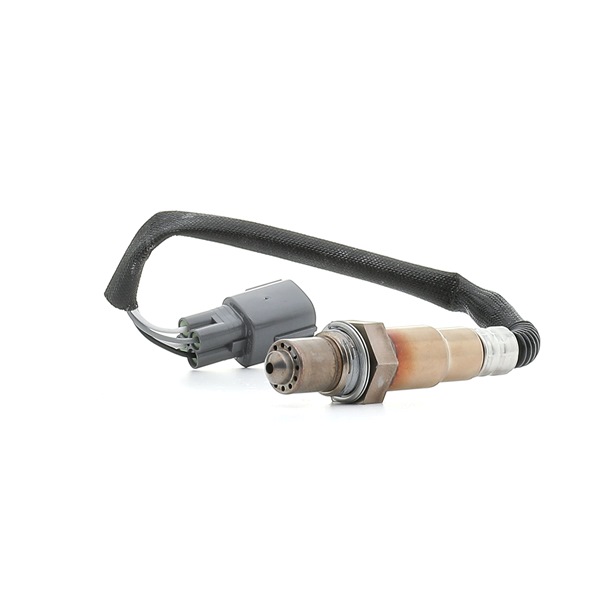
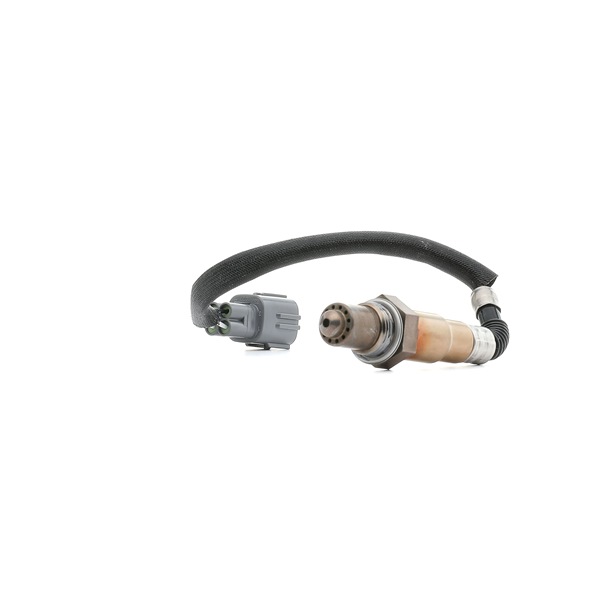
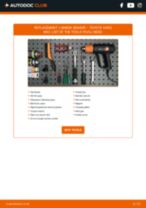
All the parts you need to replace – Lambda Sensor for Tundra Pickup (_K5_, _K6_) and other TOYOTA models
Alternative products
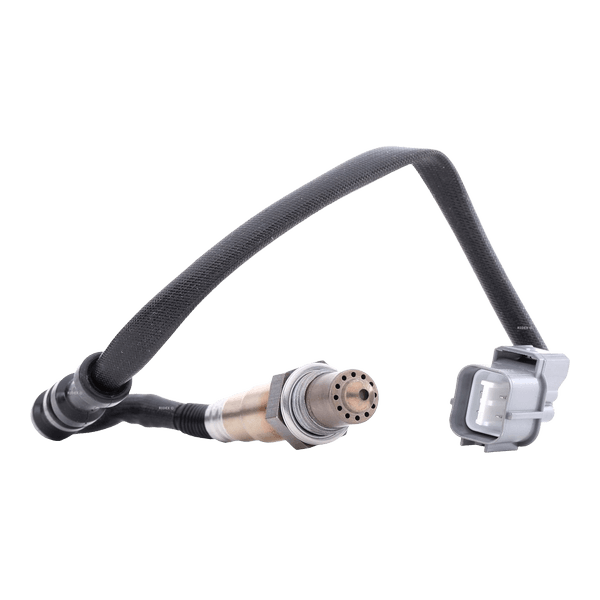 Lambda sensor


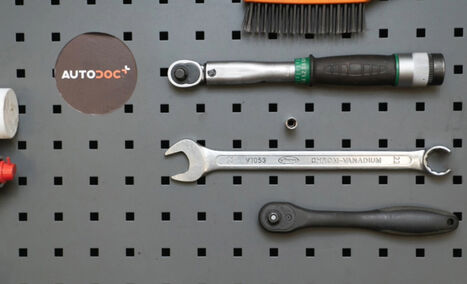
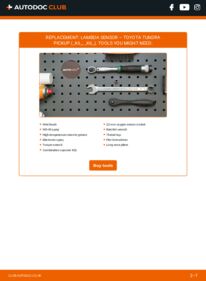
Wire brush
WD-40 spray
High-temperature ceramic grease
Electronic spray
Torque wrench
Combination spanner #22
22-mm oxygen sensor socket
Ratchet wrench
Thread tap
Flat Screwdriver
Long nose pliers

Replacement: lambda sensor – TOYOTA TUNDRA Pickup (_K5_). AUTODOC experts recommend:
- After replacing the oxygen sensor, clear the trouble code from the electronic control unit and let the ECU adapt itself to the new sensor.
- Before getting down to work, start the engine and let it warm up to operating temperature.
- Please note: all work on the car – TOYOTA TUNDRA Pickup (_K5_) – should be done with the engine switched off.
Carry out replacement in the following order:
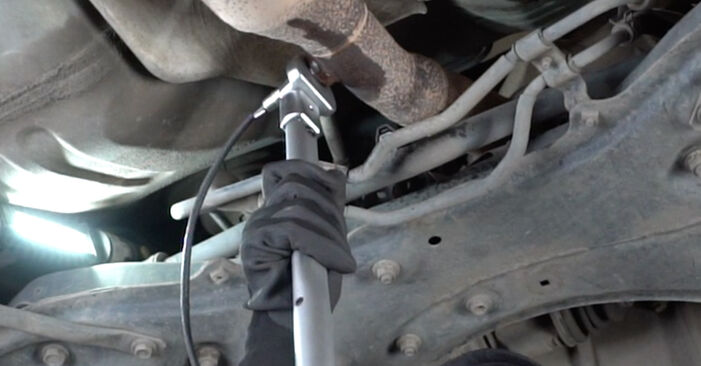
- Step 1Raise the front of the car and secure on supports.Step 2
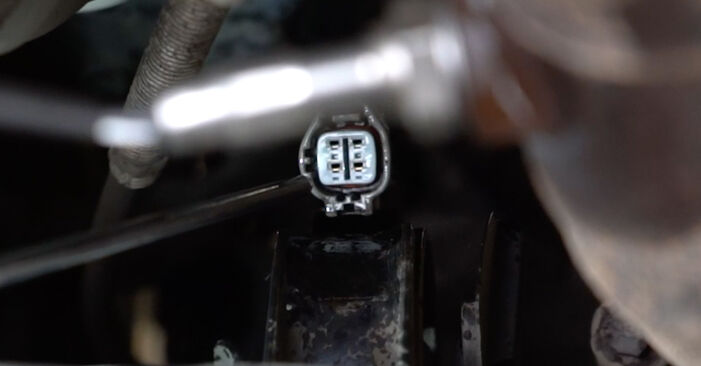
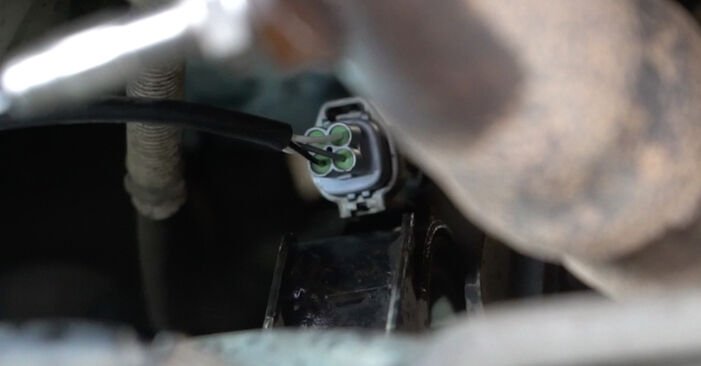
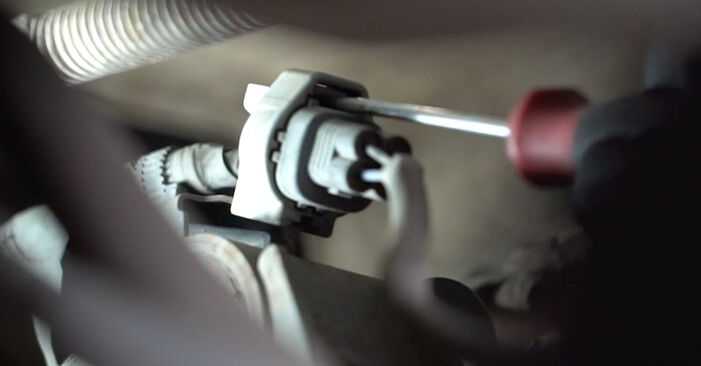 Detach the oxygen sensor connector. Use a flat screwdriver. Use long nose pliers.
 - Step 3
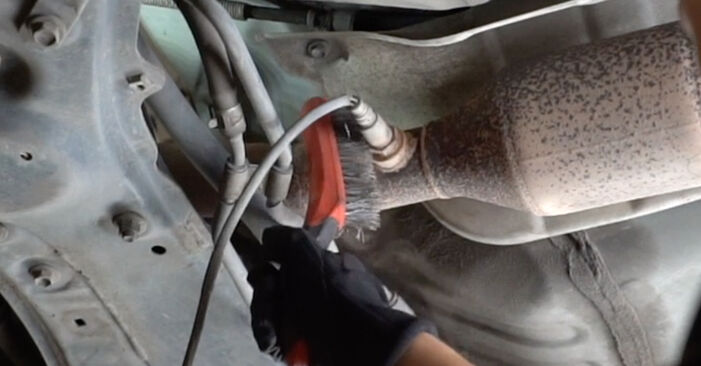 Clean the oxygen sensor fastener. Use a wire brush. Use WD-40 spray.
 - Step 4
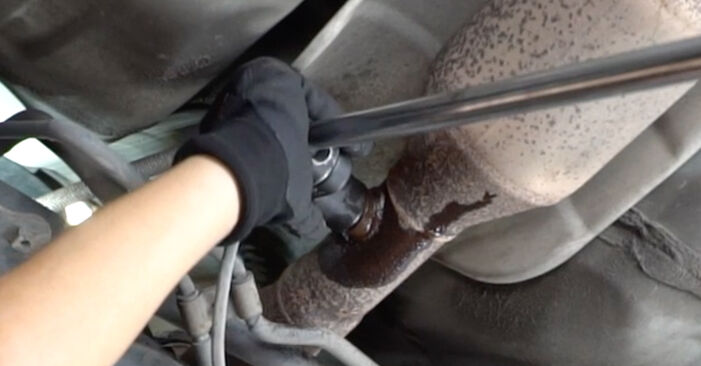 Unscrew the oxygen sensor fastener. Use a 22-mm oxygen sensor socket. Use a ratchet wrench.
 - Step 5
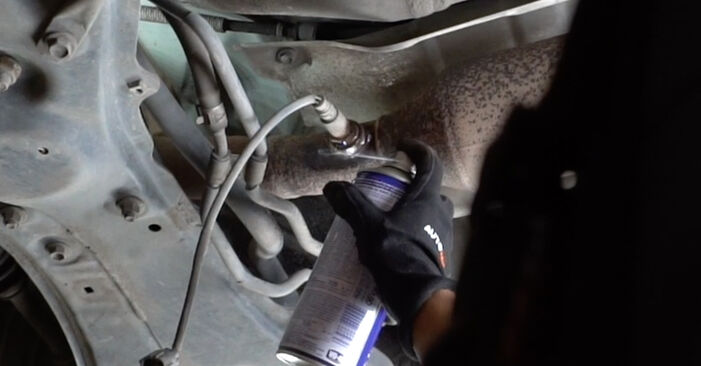 Clean the oxygen sensor mounting seat. Use WD-40 spray.
 - Step 6
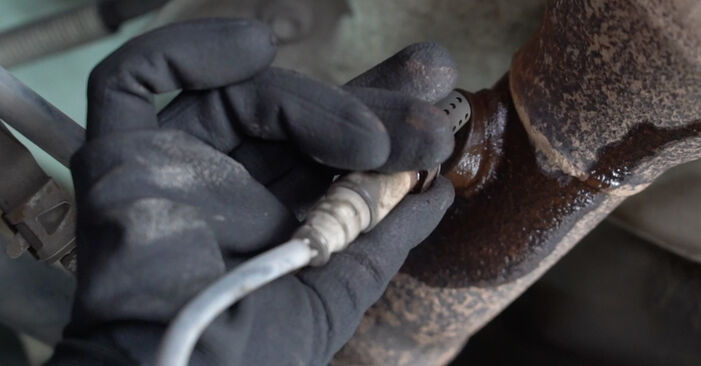 Remove the oxygen sensor.
 - Step 7
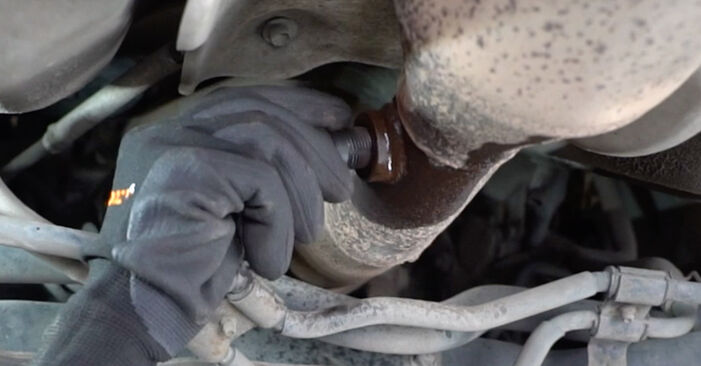 Cut the thread for the new oxygen sensor. Use a thread tap. Use a ratchet wrench.
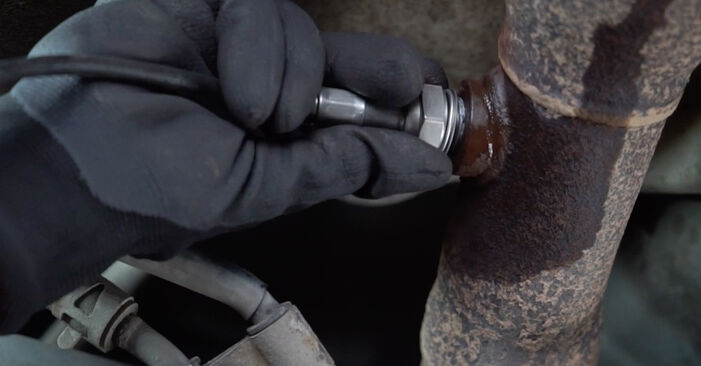
Was this manual helpful?
Please rate this manual on a scale from 1 to 5. If you have any questions, feel free to ask us.
Users voted – 0
Need New Tyres?
Find out which tyre and wheel sizes are compatible with the TOYOTA Tundra II Pickup (XK50, XK60) model


Popular maintenance tutorials for Toyota Pickup Tundra
 Free download PDF
 1.37 MB
 Free download PDF675.84 KB
 Free download PDF2.32 MB
 Free download PDF2.23 MB
 Free download PDF2.08 MB
 Free download PDF2.32 MB
Complete guides for changing the Oxygen sensor on different TOYOTA TUNDRA models
- Free download PDF1.37 MB
 Free download PDF1 MB
 Free download PDF952.32 KB
 Free download PDF1.56 MB
 Free download PDF808.96 KB
 Free download PDF839.68 KB

Unlock your car maintenance assistant!
Track expenses, manage logs, schedule replacements, and more.

Tips & tricks for your TOYOTA Tundra Pickup (_K5_, _K6_)
View more
 DIY car soundproofing | AUTODOC tips
 How to choose the right engine oil for your car | AUTODOC
 Understanding Car Tools: The Key Differences You Need to Know | AUTODOC tips
 5 tools that make car repair incredibly simple | AUTODOC tips
Most commonly replaced car parts on TOYOTA TUNDRA















Time to replace parts? Get even better deals in our Shop app.

SCAN ME