Disclaimer
How to change lambda sensor on TOYOTA Celica VI Convertible (T200) – replacement guide
downloads:
1
Views:
53
Recommended replacement interval for the part category Lambda sensor : 100000 km
Important!
This replacement procedure can be used for:
TOYOTA CELICA Convertible (AT20_, ST20_) 2.0 GTi (ST202), TOYOTA CELICA Convertible (AT20_, ST20_) 2.0 i 16V (ST202) … View more
The steps may slightly vary depending on the car design.
TOYOTA CELICA Convertible (AT20_, ST20_) 2.0 GTi (ST202), TOYOTA CELICA Convertible (AT20_, ST20_) 2.0 i 16V (ST202) … View more
The steps may slightly vary depending on the car design.
This video shows the replacement procedure of a similar car part on another vehicle
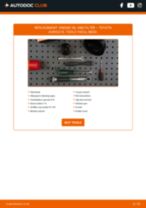
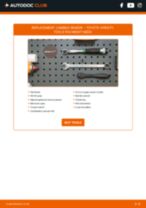
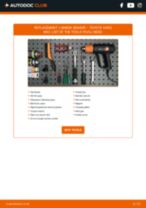
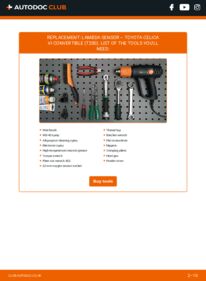
All the parts you need to replace – Lambda Sensor for CELICA Convertible (AT20_, ST20_) and other TOYOTA models

Wire brush
WD-40 spray
All-purpose cleaning spray
Electronic spray
High-temperature ceramic grease
Torque wrench
Flare nut wrench #22
22-mm oxygen sensor socket
Thread tap
Ratchet wrench
Flat screwdriver
Nippers
Crimping pliers
Heat gun
Fender cover
Replacement: lambda sensor – TOYOTA CELICA Convertible (AT20_, ST20_). AUTODOC experts recommend:
- After replacing the oxygen sensor, clear the trouble code from the electronic control unit and let the ECU adapt itself to the new sensor.
- All work should be done with the engine stopped.
- Please note: all work on the car – TOYOTA CELICA Convertible (AT20_, ST20_) – should be done with the engine switched off.
Carry out replacement in the following order:
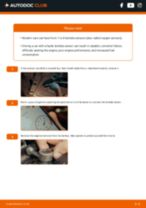
- Step 1Open the hood.Step 2Use a fender protection cover to prevent damaging paintwork and plastic parts of the car.Step 3
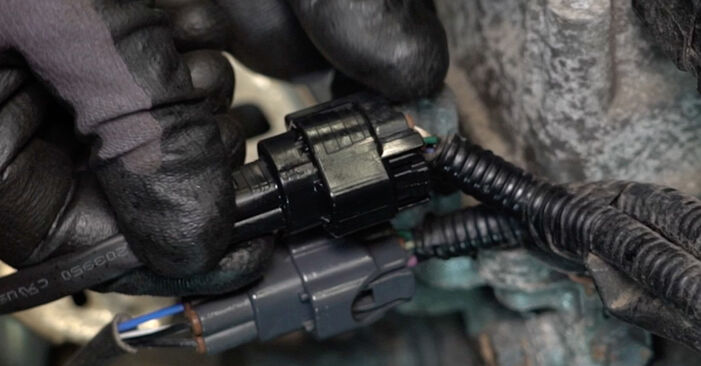
 Detach the oxygen sensor connector.
 - Step 4
 Unfasten the clamp to release the oxygen sensor wiring harness. Use a flat screwdriver.
 - Step 5
 Clean the oxygen sensor fastener. Use a wire brush. Use WD-40 spray.
 - Step 6
 Unscrew the oxygen sensor fastener. Use a flare nut spanner #22. Use a ratchet wrench.
 - Step 7
 Remove the oxygen sensor.
 - Step 8
 Cut the thread for the new oxygen sensor. Use a thread tap. Use a ratchet wrench.
 - Step 9
 Clean the oxygen sensor mounting seat. Use all-purpose cleaning spray.Replacement: lambda sensor – TOYOTA CELICA Convertible (AT20_, ST20_). Professionals recommend:In this case, the connector needs to be removed from the old oxygen sensor and installed on a new one.
 - Step 10
 Cut off the connector from the old oxygen sensor. Use nippers.
 - Step 11
 Shorten the wires of the old oxygen sensor connector in such a way that each successive wire is shorter than the previous one. Use nippers.
 - Step 12
 Shorten the wires of the new oxygen sensor in a corresponding way. Use nippers.Replacement: lambda sensor – TOYOTA CELICA Convertible (AT20_, ST20_). AUTODOC experts recommend:Follow the colour coding of the wires. If it does not match, see the manufacturer's instructions for the correct connection order.
 - Step 13
 Strip the wires of the connector and the new sensor. Use nippers.
 - Step 14
 Place the heat shrink tubing on the oxygen sensor wiring.
 - Step 15
 Using solder sleeves, splice the oxygen sensor wires with the connector wires according to the colour coding.
 - Step 16
 Crimp the solder sleeves. Use crimping pliers.
 - Step 17
 Shrink the heat shrink tubes of the solder sleeves. Use a heat gun.
 - Step 18
 Slide the heat shrink tubing you put in place earlier over the wire connection.
Was this manual helpful?
Please rate this manual on a scale from 1 to 5. If you have any questions, feel free to ask us.
Users voted – 0
Need New Tyres?
Find out which tyre and wheel sizes are compatible with the TOYOTA Celica VI Convertible (T200) model

Popular maintenance tutorials for Celica 6
Complete guides for changing the Oxygen sensor on different TOYOTA CELICA models
Unlock your car maintenance assistant!
Track expenses, manage logs, schedule replacements, and more.
Tips & tricks for your TOYOTA CELICA Convertible (AT20_, ST20_)
View more
 5 Essential Tips to Prepare Your Car for Winter | AUTODOC tips
 Stop Rust Before It Starts: Top 5 Tips for Car Body Protection | AUTODOC Insights
 Drive with Care: 8 Common Bad Driving Habits Explained | AUTODOC
 Top 5 reasons why your car squeals | AUTODOC Tips
Most commonly replaced car parts on TOYOTA CELICA

Time to replace parts? Get even better deals in our Shop app.

SCAN ME


