
Disclaimer

How to change engine radiator on RENAULT Master II Platform/Chassis – replacement guide
downloads:
0
Views:
0
Important!
This replacement procedure can be used for:
RENAULT MASTER II Platform/Chassis (ED/HD/UD) 2.5 dCi, RENAULT MASTER II Platform/Chassis (ED/HD/UD) 2.2 dCI, RENAULT MASTER II Platform/Chassis (ED/HD/UD) 2.8 dTI … View more
The steps may slightly vary depending on the car design.
RENAULT MASTER II Platform/Chassis (ED/HD/UD) 2.5 dCi, RENAULT MASTER II Platform/Chassis (ED/HD/UD) 2.2 dCI, RENAULT MASTER II Platform/Chassis (ED/HD/UD) 2.8 dTI … View more
The steps may slightly vary depending on the car design.
This video shows the replacement procedure of a similar car part on another vehicle
All the parts you need to replace – Engine Radiator for MASTER II Platform/Chassis (ED/HD/UD) and other RENAULT models
Alternative products
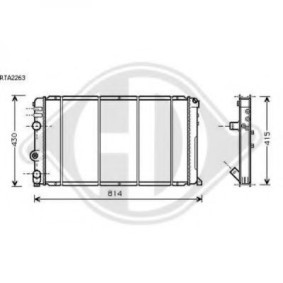
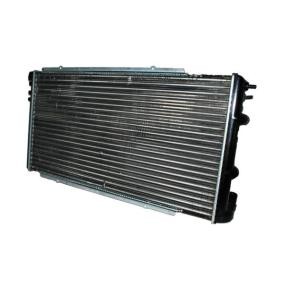
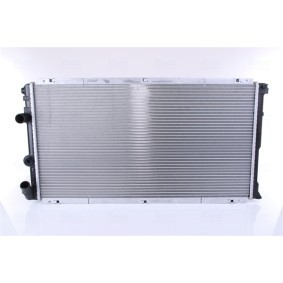
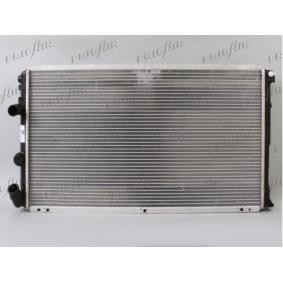
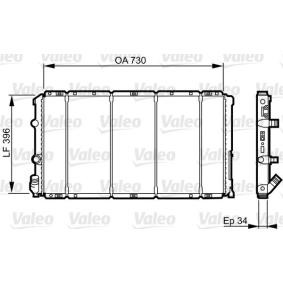
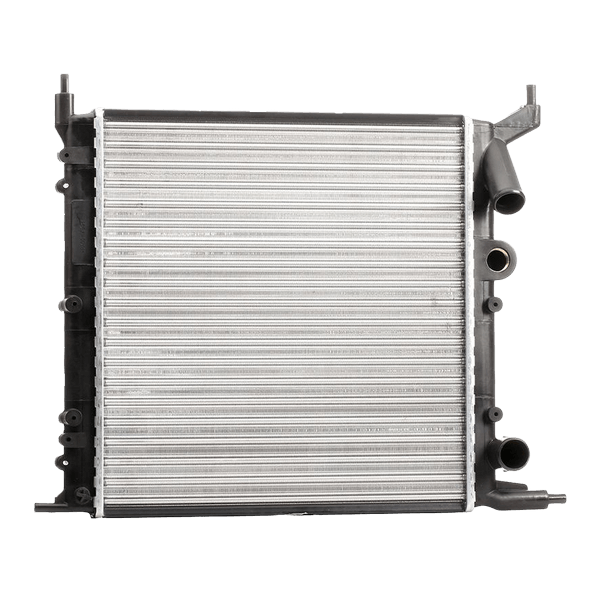 Engine radiator


Electronic spray
Wire brush
Nylon brush
All-purpose cleaning spray
Paper towels
Torque wrench
13 mm combination spanner
7 mm socket
10 mm socket
12 mm socket
13 mm socket
T20 Torx bit
T30 Torx bit
T40 Torx bit
Ratchet wrench or power tool for removal/installation of threaded fasteners
Ratchet screwdriver
Combination pliers
Slotted screwdriver
Hose clamp pliers
Hose removal pliers
Funnel
Fluid drain pan
Cable ties

Replacement: engine radiator – RENAULT MASTER II Platform/Chassis (ED/HD/UD). AUTODOC experts recommend:
- Follow the recommendations and requirements for part operation provided by the manufacturer.
- All the work should be carried out with the engine cooled down and ignition switched off.
Replacement: engine radiator – RENAULT MASTER II Platform/Chassis (ED/HD/UD). Recommended sequence of steps:
- Step 1
 Open the bonnet.
 - Step 2Use a fender protection cover to avoid damaging the paintwork and plastic parts of the car.Step 3
 Lift the vehicle using a vehicle lift or place it over an inspection pit.
 - Step 4
 Prepare a fluid drain pan.
 - Step 5
 Clean the area where the hose is connected to the oil cooler. Use a nylon brush. Use an all-purpose cleaning spray.
 - Step 6
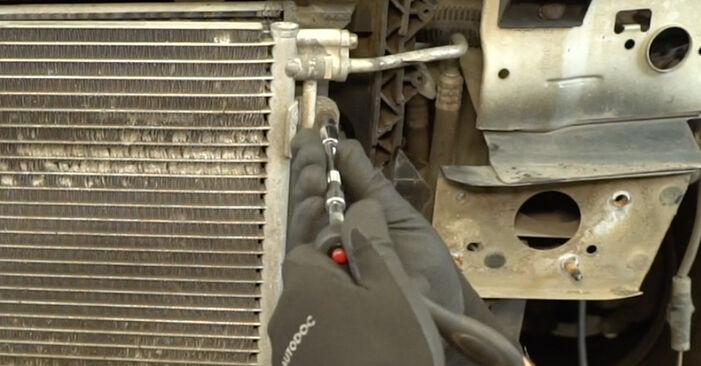
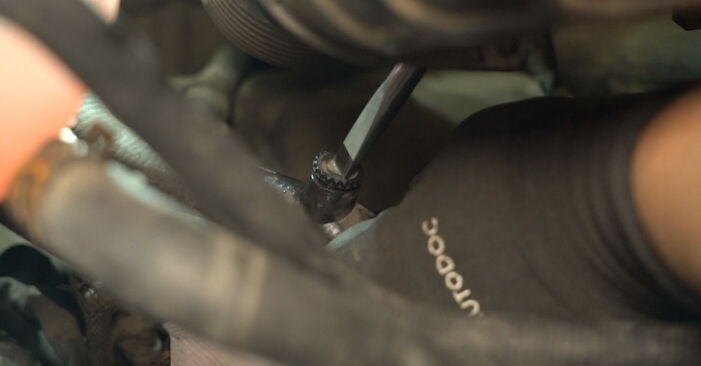
 Disconnect the hose from the oil cooler after releasing the hose clamp. Use combination pliers.
 - Step 7
 Unscrew the coolant expansion tank cap.Important!Wait until the coolant has completely flowed out of the hose.
 - Step 8
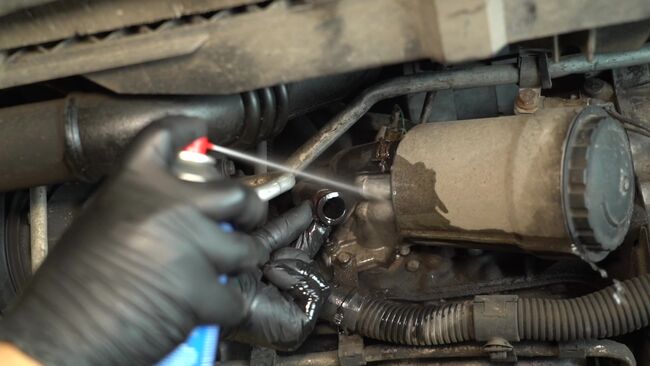 Clean the tip of the oil cooler where the hose attaches. Use an all-purpose cleaning spray.
 - Step 9
 Connect the hose to the oil cooler. Use combination pliers.
 - Step 10
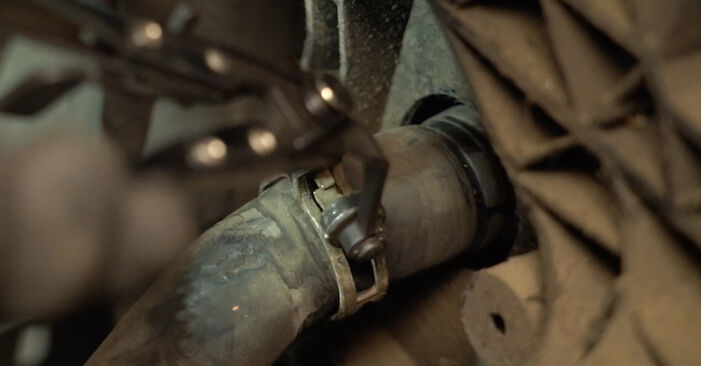
 Detach the lower coolant hose. Use hose clamp pliers.Caution!Coolant may leak from the radiator openings.Protect the coolant hose from contaminants by blocking it up.Use a paper towel.
 - Step 11Lower the vehicle.Step 12
 Loosen the clamp that connects the air intake hose to the mass air flow sensor. Use a 7 mm socket. Use a ratchet wrench.
 - Step 13
 Detach the air intake hose from the MAF sensor.Replacement: engine radiator – RENAULT MASTER II Platform/Chassis (ED/HD/UD). AUTODOC recommends:Protect the MAF sensor and other air intake system components from contaminants getting in.
 - Step 14
 Remove the air filter housing together with the air intake hose.
 - Step 15
 Release the clamp of the upper coolant hose. Use hose clamp pliers.
 - Step 16
 Detach the upper coolant hose.Caution!Coolant may leak from the radiator openings.Protect the coolant hose from contaminants by blocking it up.Use a paper towel.
 - Step 17
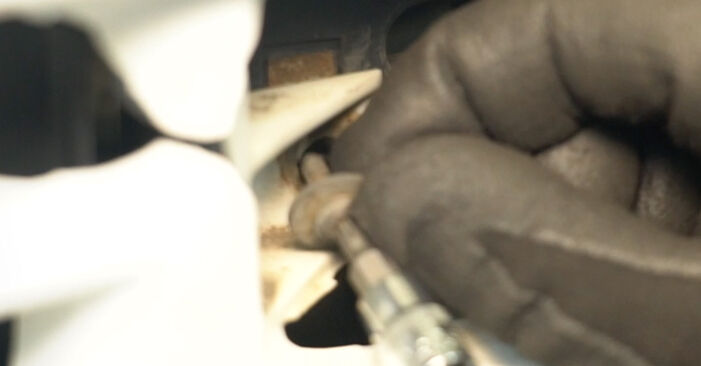
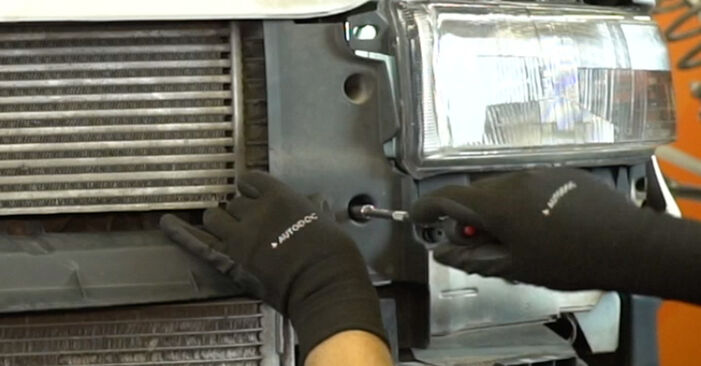
 Unscrew the upper fasteners of the radiator grille. Use a T20 Torx bit. Use a ratchet screwdriver.
 - Step 18Remove the fastening bolts.Step 19
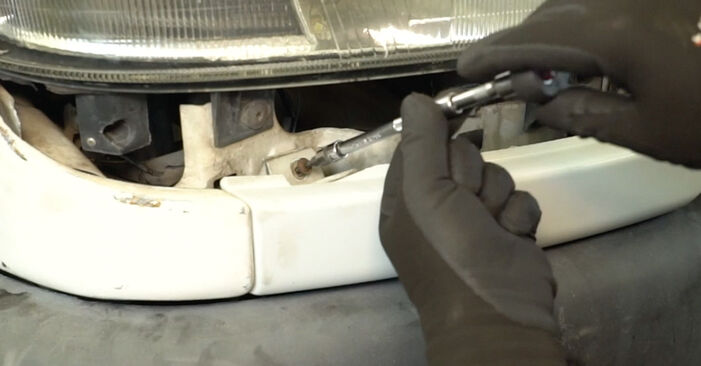
 Release the spring retainers of the indicator lights.
 - Step 20
 Unplug the connectors and remove both indicator lights.
 - Step 21
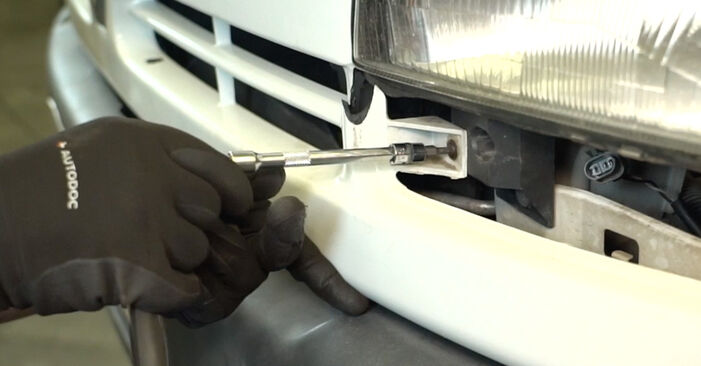
 Unscrew the lower fasteners of the radiator grille. Use a T20 Torx bit. Use a ratchet screwdriver.
 - Step 22
 Remove the fastening bolts.
 - Step 23
 Remove the radiator grille.
 - Step 24
 Unscrew the fasteners of the side intercooler deflectors. Use a 7 mm socket. Use a ratchet wrench.
 - Step 25Remove the fastening bolts.Step 26
 Remove the side intercooler deflectors.
 - Step 27
 Unscrew the fasteners of the central intercooler deflector. Use a 7 mm socket. Use a ratchet wrench.
 - Step 28
 Remove the fastening bolts.
 - Step 29
 Remove the central intercooler deflector.
 - Step 30
 Disconnect the fog light connectors.
 - Step 31
 Unscrew the bumper fasteners. Use a 13 mm combination spanner. Use a 12 mm socket. Use a 10 mm socket. Use a T40 Torx bit. Use a ratchet screwdriver.
 - Step 32
 Remove the fastening bolts.
 - Step 33
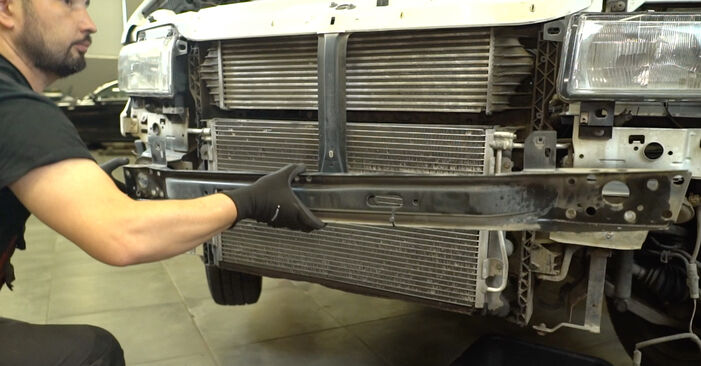
 Remove the bumper.
 - Step 34
 Unscrew the fasteners of the bumper absorbers. Use a 7 mm socket. Use a ratchet wrench.
 - Step 35
 Remove the fastening bolts.
 - Step 36Remove the bumper absorbers.Step 37
 Remove the wiring harness.
 - Step 38Clean the bumper reinforcement bar fasteners. Use a wire brush. Use an all-purpose cleaning spray.Step 39
 Unscrew the bumper reinforcement bar fasteners. Use a 10 mm socket. Use a 13 mm socket. Use a ratchet wrench.
 - Step 40
 Remove the fastening bolts.
 - Step 41
 Remove the bumper reinforcement bar.
 - Step 42
 Unscrew the A/C condenser fasteners. Use a 7 mm socket. Use a ratchet wrench.
 - Step 43
 Remove the fastening bolts.
 - Step 44
 Secure each side of the A/C condenser with cable ties immediately after removing the fasteners.
 - Step 45
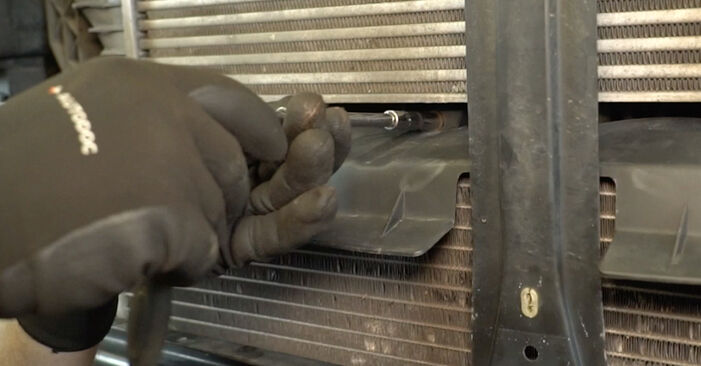
 Unscrew the engine cooling radiator fasteners. Use a T30 Torx bit. Use a ratchet screwdriver.
 - Step 46Remove the fastening bolts.Step 47
 Remove the radiator.
 - Step 48
 Install the new radiator.
 - Step 49
 Install the fastening bolts.
 - Step 50
 Screw in the engine cooling radiator fasteners. Use a T30 Torx bit. Use a ratchet screwdriver.
 - Step 51
 Install the fastening bolts.
 - Step 52
 As you install the A/C condenser fasteners, remove the cable ties that were used to secure it.
 - Step 53
 Tighten the A/C condenser fasteners. Use a 7 mm socket. Use a ratchet wrench.
 - Step 54
 Clean the mounting seats of the bumper reinforcement bar. Use a wire brush. Use an all-purpose cleaning spray.
 - Step 55
 Install the bumper reinforcement bar.
 - Step 56
 Install the fastening bolts.
 - Step 57
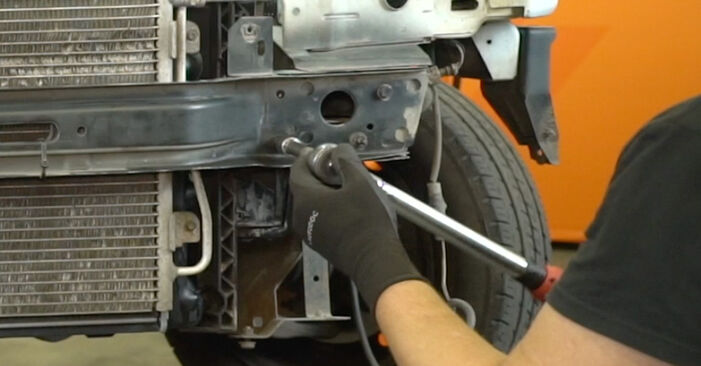 Tighten the bumper reinforcement bar fasteners. Use a 10 mm socket. Use a 13 mm socket. Use a torque wrench. Tightening torque: 35 N·m.
 - Step 58
 Install the wiring harness.
 - Step 59
 Install the bumper absorbers.
 - Step 60
 Install the fastening bolts.


Was this manual helpful?
Please rate this manual on a scale from 1 to 5. If you have any questions, feel free to ask us.
Users voted – 0
Need New Tyres?
Find out which tyre and wheel sizes are compatible with the RENAULT Master II Platform/Chassis model

Popular maintenance tutorials for Renault Master 2 Platform
 Free download PDF
 983.04 KB
 Free download PDF1.08 MB
 Free download PDF1.32 MB
 Free download PDF2.07 MB
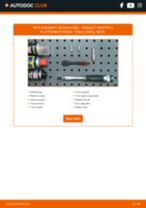 Free download PDF1.67 MB
 Free download PDF2.44 MB
Complete guides for changing the Radiators on different RENAULT MASTER models
 Free download PDF6.41 MB
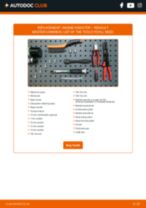 Free download PDF6.41 MB
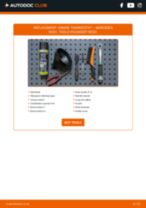 Free download PDF1.66 MB
 Free download PDF2.59 MB
 Free download PDF2.21 MB
 Free download PDF1.93 MB
Unlock your car maintenance assistant!
Track expenses, manage logs, schedule replacements, and more.
Tips & tricks for your RENAULT MASTER II Platform/Chassis (ED/HD/UD)
View more
 Top 5 reasons why the suspension knocks | AUTODOC tips
 Top 5 mistakes when replacing spark plugs | AUTODOC tips
 What to do if your check engine light is on | AUTODOC tips
 Top 5 car noises you shouldn't ignore
Most commonly replaced car parts on RENAULT MASTER


Time to replace parts? Get even better deals in our Shop app.

SCAN ME