
DIY paint jobs are always a risk, especially when it comes to your car. It’s not as easy as painting a wall or covering up marks on a piece of furniture. Painting a car is a complex multi-step process requiring skill, patience and a wide range of prepping products. However, most automotive professionals agree that the real key to a great car paint job is preparation. If you rush through the prep, the finish will look sloppy.
These industry tricks and tips should help you learn how to prep and paint your car like a pro. If you still want to weigh up the pros and cons of doing this yourself before getting started, you can check out our informative article on the costs of painting your vehicle: How much does it cost to paint a car? You can learn more money-saving tips and tricks from the AUTODOC Club blog, such as in this article on how to polish your car at home.
Types of paint jobs
- Whole body
If you want to get a completely new look, then you may want to paint the car all over. However, a full body paint job can be quite expensive and will take a much longer time than covering up a spot. Someone might choose to do this if there are multiple spots of rust or peeling, or the body has previously been damaged.
- Spot painting
You may just want to touch up a small section where the paintwork has faded, peeled away or been scratched. If so, you’ll need to find a shade of paint that closely matches the colour of the body. On the bulkhead of the vehicle, you should see a plate with the body number and paint code on it. You can use the codes to find the right paint quickly. For spot repair, you’ll need to de-rust and sand the area carefully before cleaning, priming and painting the surface.
- Clear coat
This top layer of clear paint is what keeps the car body looking shiny and new. It also provides protection against UV rays and rusting. When the clear coat starts to break down, you may see some peeling and discolouration. Applying a new clear coat should help the base coat last longer.
Prime before you paint
Why do we use primers? Primer is what’s known as a bonding agent which means it essentially acts as a glue, creating a solid bond between the bare metal surface and the base coat of paint. Without a good primer, the metal won’t bond with the paint well, eventually leading to peeling, flaking and rust. Using it will also help you to achieve a smoother finish as the bonding agent can easily be sanded and can fill in old sanding or grinding marks on the surface.
However, you could argue that in some cases, adding a layer or two of primer is unnecessary. For example, if you are dealing with a very minor repair that doesn’t require the surface to be stripped down to the metal, such as a tiny dent. In this case, covering a small area with the agent could make it more difficult to blend out and conceal the edges.

A simple step-by-step guide to painting your car at home
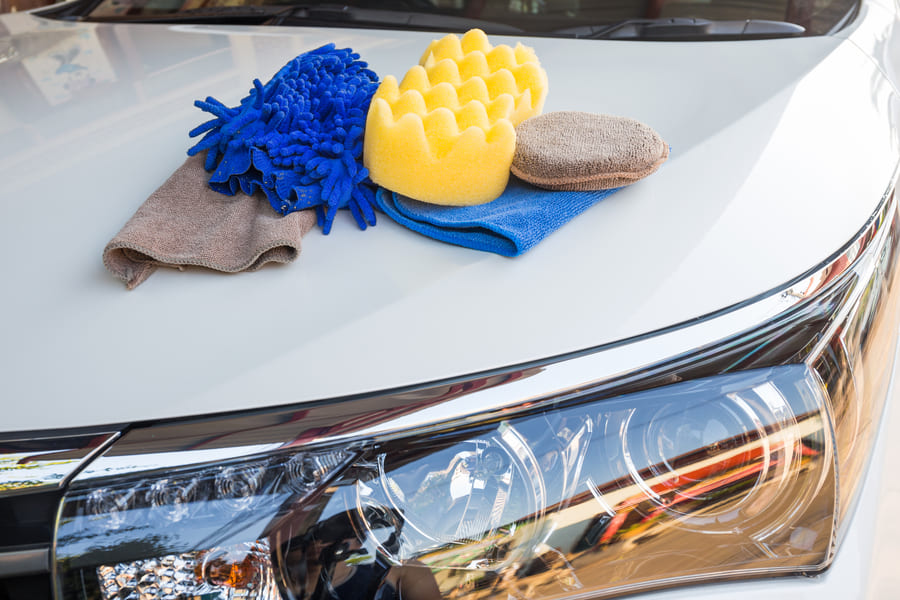
Step 1: Wash the body thoroughly
It is important to remove all dirt, dust, grease and other contaminants from the vehicle’s exterior. Otherwise, these contaminants could cause scratches or burns during the sanding process. Start by washing with a solution of mild car wash like you would with a normal wash. Make sure to get into all the nooks and crannies as dust and dirt can blow out of the crevices when spraying on the paint. Wait for the surfaces to dry completely before moving on to the next step.
Step 2: Remove wax and grease
Use a wax and grease remover to get rid of the last traces of wax and grime. Make sure to use a product that is suitable for the paintwork and wax, silicone and oil free.
Step 3: Assess the condition of the surface
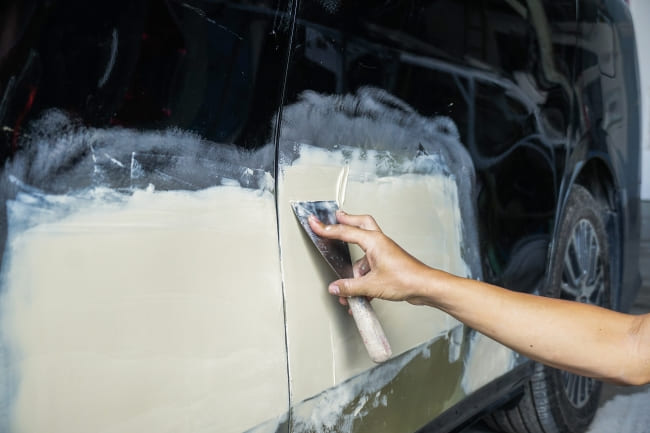
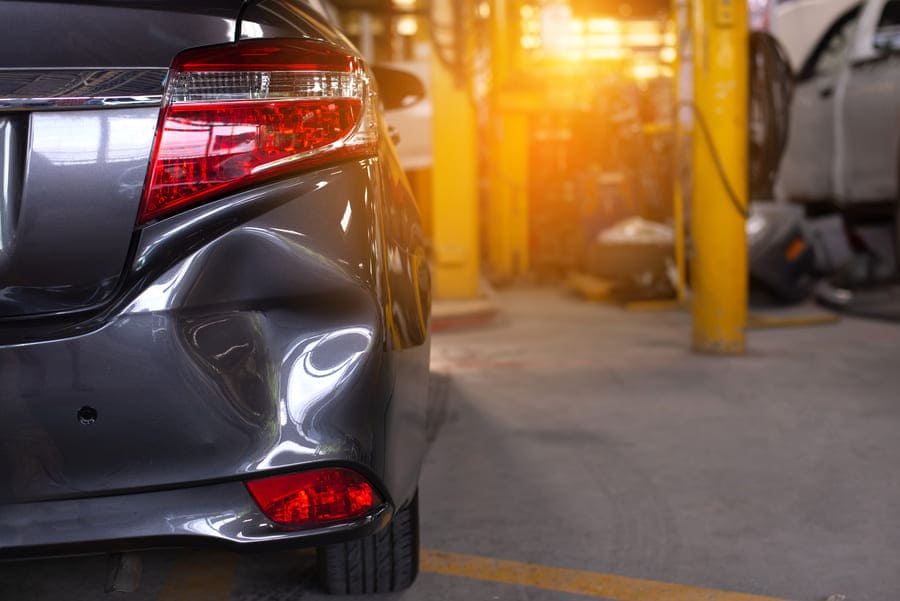
Paint is not a one-step solution to all of the exterior’s flaws. Covering scratches, dents or chips with paint can make them stand out even more. Moreover, it is critical to remove any rust before applying primer or paint to prevent it from spreading further. Minor imperfections can normally be removed through sanding or using a filler or rust remover, however, more serious cases may require welding. Carry out repairs before painting.
Step 4: Sand the area
Important: make sure to wear a respirator or dust mask to protect you from metal and dust particles.
Start by sanding the area in circular motions either by hand or using a sander to remove the layers of paint and primer to remove the layers of paint and primer. How much you remove will depend on your aim, but it is normally recommended to sand down to the primer or metal surface. You can use 400 – 600 grit sandpaper to prep the surface.
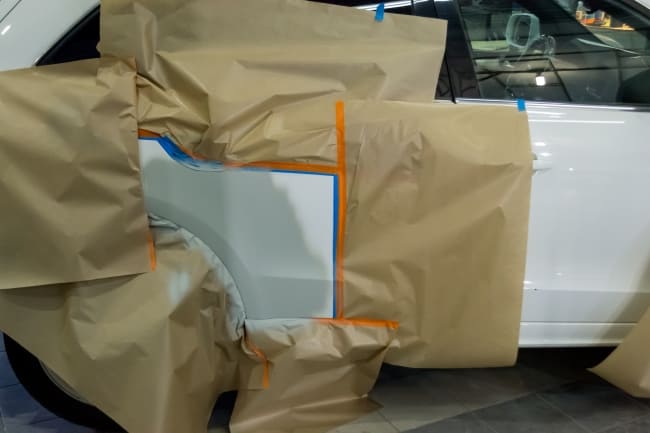
Step 5: Section off the area to be treated
You’ll need to cover up the parts of the car that won’t be painted using masking tape and masking paper or plastic film. Masking tape is recommended as other types may leave marks on the car glass and body components.
Step 6: Apply the primer
Make sure to use a high-quality primer that is suitable for metal surfaces and to apply it in a well ventilated space. You may need to apply two or three coats of the product to ensure that the area is properly covered. Following the instructions, apply the primer evenly and leave it to dry. Once dry, check the surface for bumps and other imperfections. These can be removed by sanding out the spot until it is smooth. Clean the car part and reapply the primer if necessary.
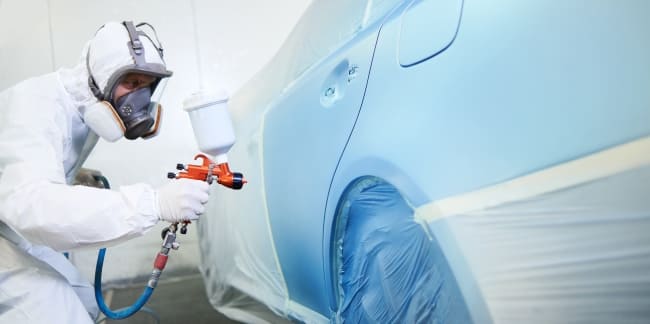
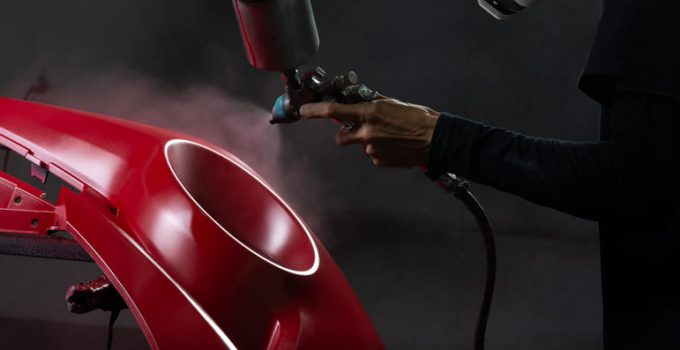
Step 7: Time to paint
Now you’re finally ready to mix and apply the paint. Spray it on or apply it with a brush or roller, working inward from the edges. It is better to start with thin layers. The paint shouldn’t be thicker than the rest of the paintwork otherwise it will be detectable and could bubble up or peel off. Wait a few days for it to dry completely. To blend the paint on the car, you may want to finish with a polish and wax.
Frequently Asked Questions (FAQs)
⚠ Do I need to sand the primer before painting the car?
It is standard practice to sand the dried primer with a fine grit sandpaper after each application for a smoother finish. This is because it is common for dips and bumps to appear after applying it.
⚠ Can you paint over old paint?
It may be possible to paint over the old paint if there is not too much damage. E.g. The paint is slightly faded. In some cases, stripping it down to the bare metal doesn’t make sense. You can just sand the paint and repaint over it.

Comment