
Disclaimer

How to change glow plugs on Renault Clio 3 – replacement guide
downloads:
39
Views:
930
Recommended replacement interval for the part category Glow plug : 30000 km
Important!
This replacement procedure can be used for:
RENAULT Clio III Hatchback (BR0/1, CR0/1) 1.5 dCi, RENAULT Clio III Hatchback (BR0/1, CR0/1) 1.5 dCi (BR0H, CR0H, CR1S, BR1S) … View more
The steps may slightly vary depending on the car design.
RENAULT Clio III Hatchback (BR0/1, CR0/1) 1.5 dCi, RENAULT Clio III Hatchback (BR0/1, CR0/1) 1.5 dCi (BR0H, CR0H, CR1S, BR1S) … View more
The steps may slightly vary depending on the car design.
How to change glow plugs on RENAULT CLIO 3 [TUTORIAL AUTODOC]

All the parts you need to replace – Glow Plugs for Clio III Hatchback (BR0/1, CR0/1) and other RENAULT models
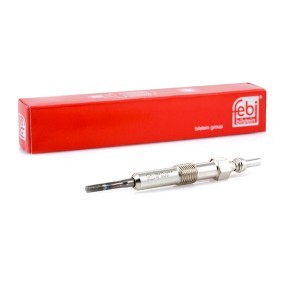
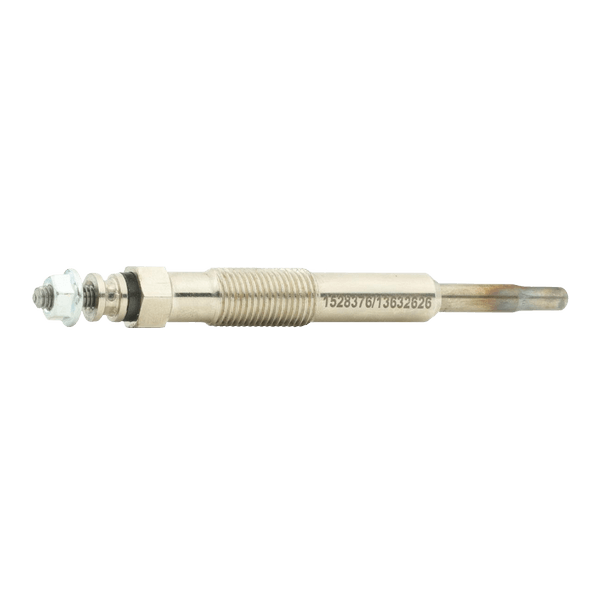 Glow plug
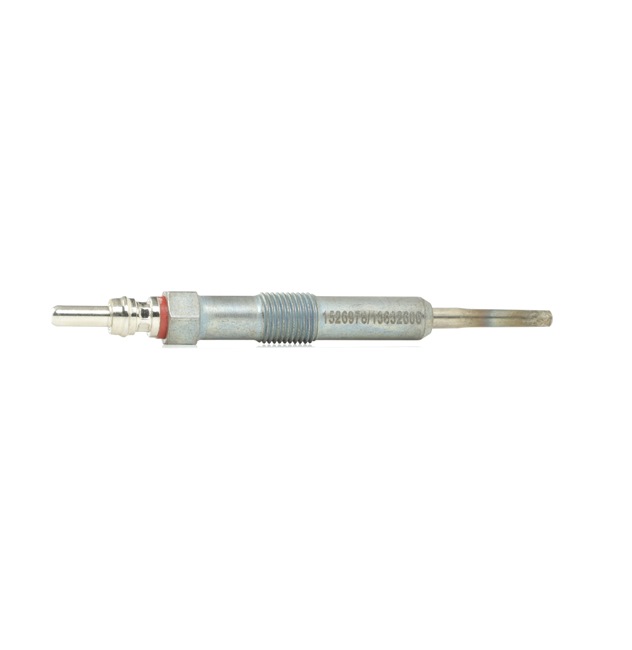
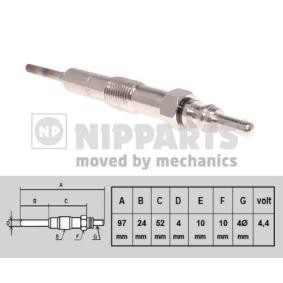
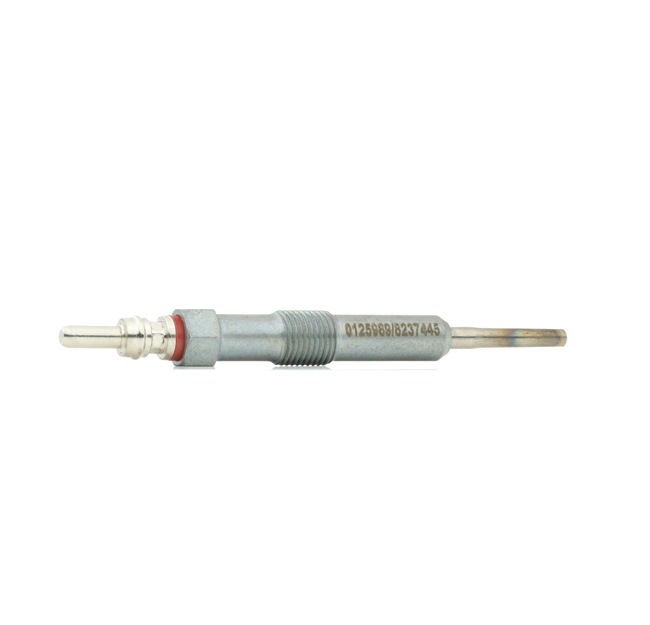
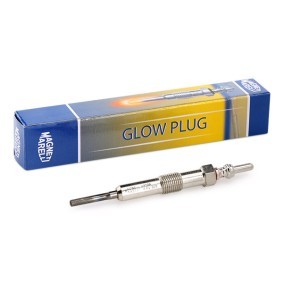
Alternative products
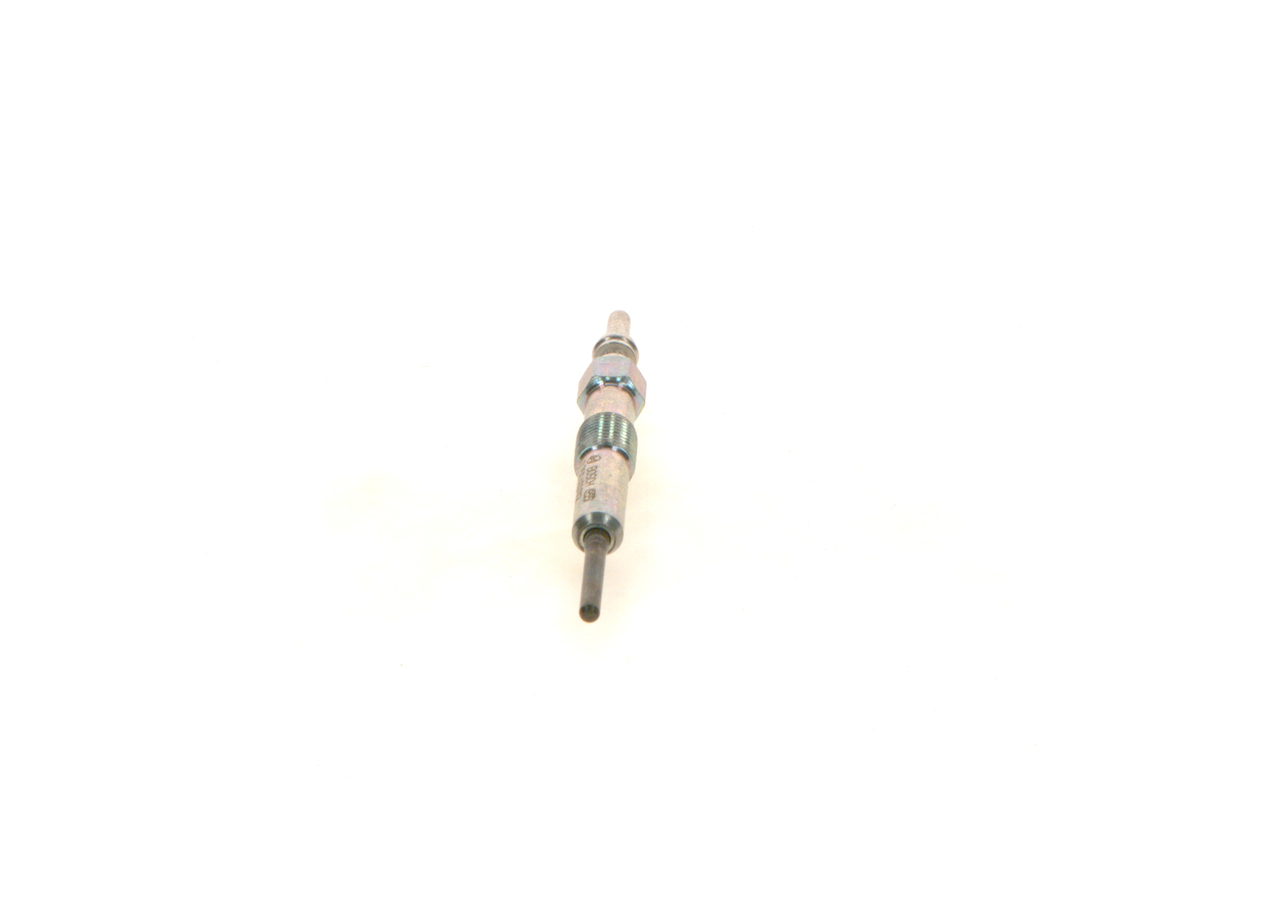
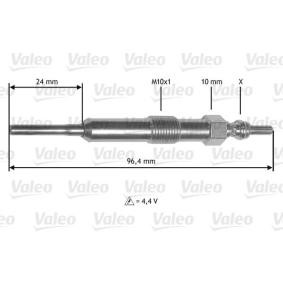
Glow plug


Injector & glow plug grease
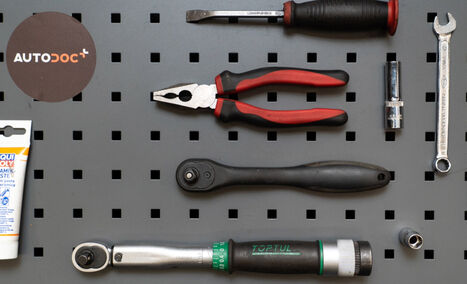
Torque wrench
Drive socket # 10
Spark plug socket # 10
Ratchet wrench
Flat Screwdriver
Combination pliers
Crow bar
Microfibre towel
Fender cover

Replacement: glow plugs – Renault Clio 3. AUTODOC recommends:
- The replacement procedure is identical for all glow plugs.
- Before getting down to work, start the engine and let it warm up to operating temperature.
- Wear gloves to protect your hands from hot surfaces.
- All work should be done with the engine stopped.
Replacement: glow plugs – Renault Clio 3. Take the following steps:
- Step 1
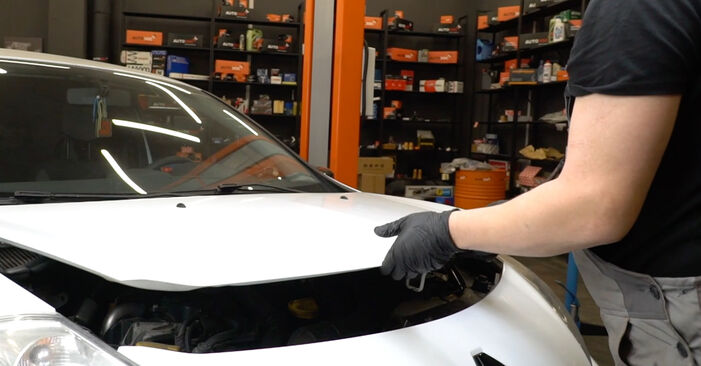
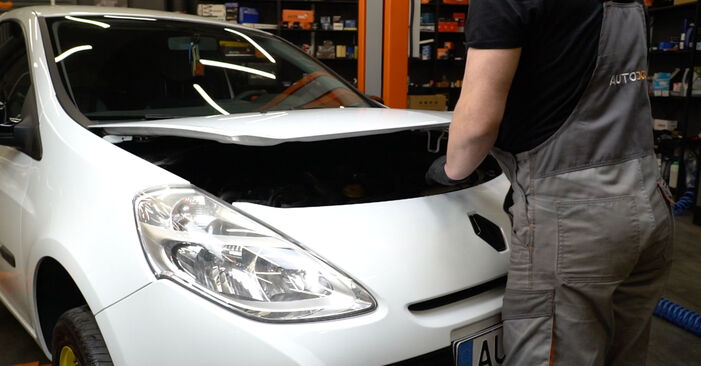 Open the bonnet.
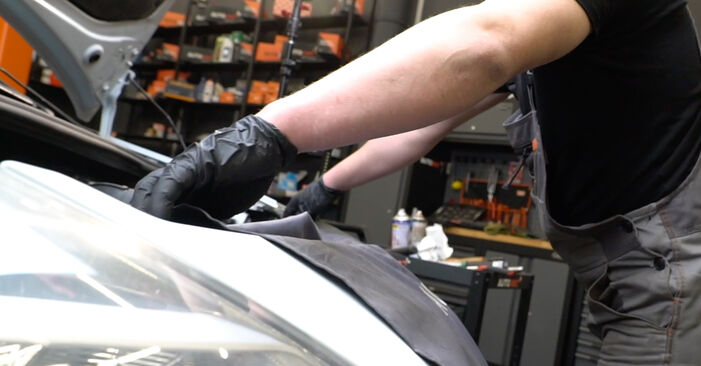
 - Step 2
 Use a fender protection cover to prevent damaging paintwork and plastic parts of the car.
 - Step 3
 Disconnect the air intake pipe fastening. Use a drive socket #10. Use a ratchet wrench.
 - Step 4
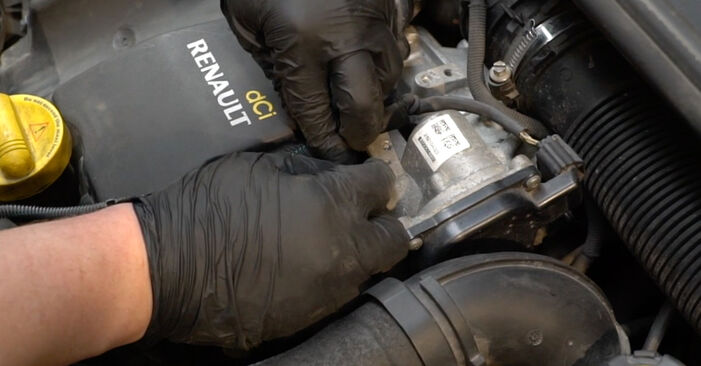
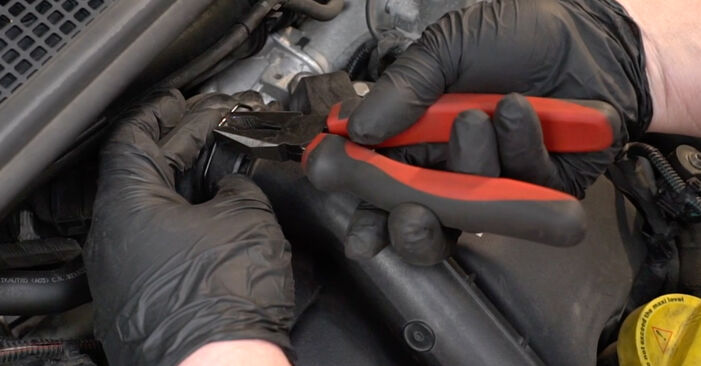
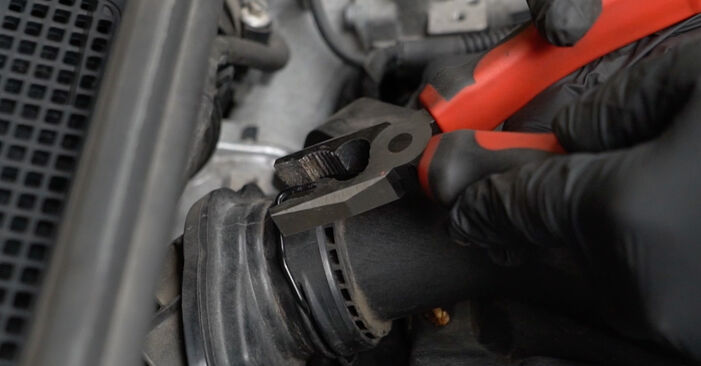 Detach the air intake hose clamp. Use combination pliers. Use a crowbar.
 - Step 5
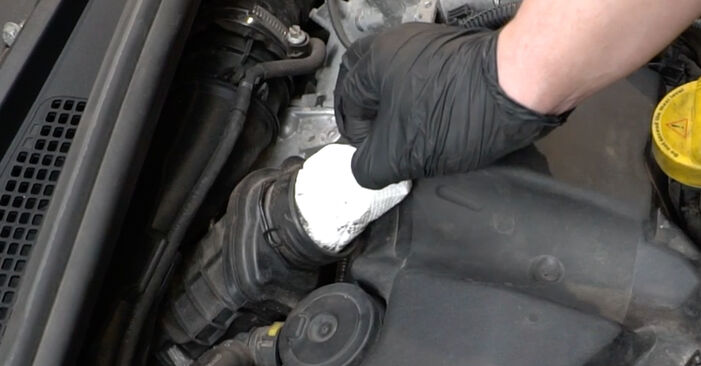
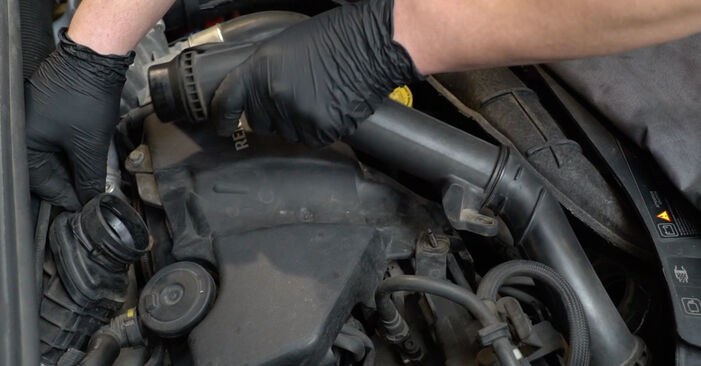 Remove the air intake pipe.
 - Step 6
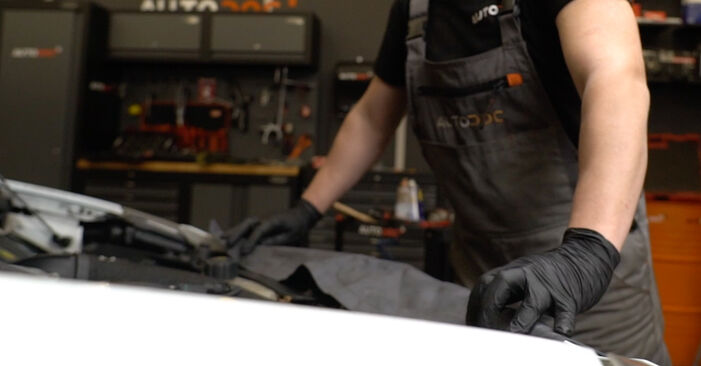
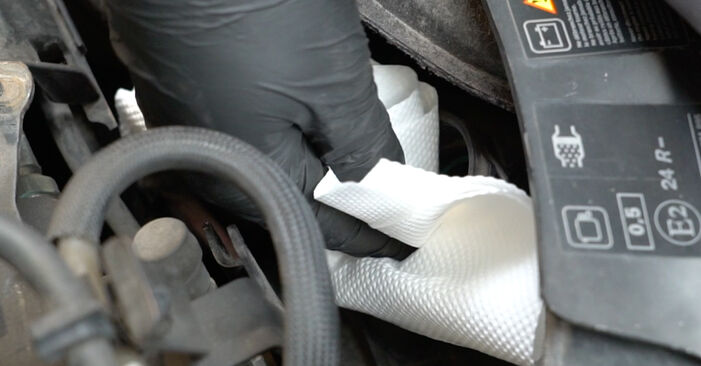 Cover the air intake hose with a microfibre towel to prevent dust and dirt from getting into the system.
 - Step 7
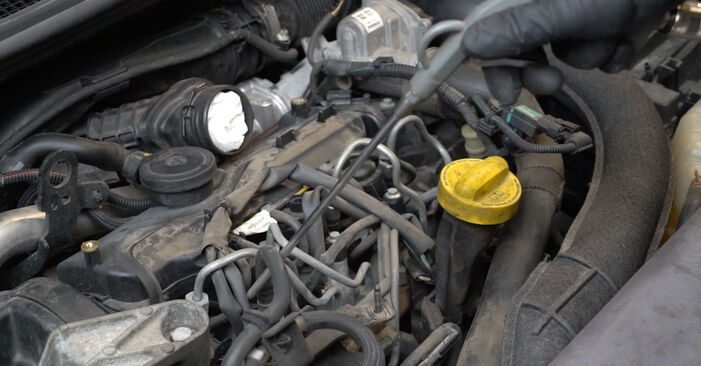
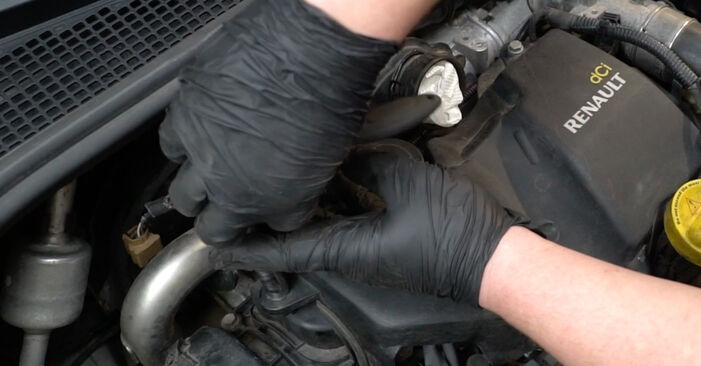
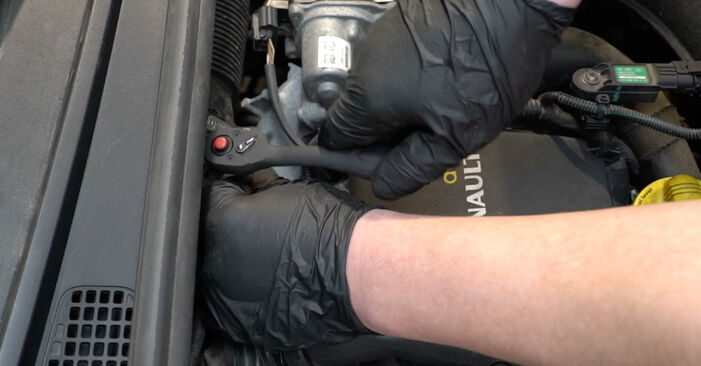
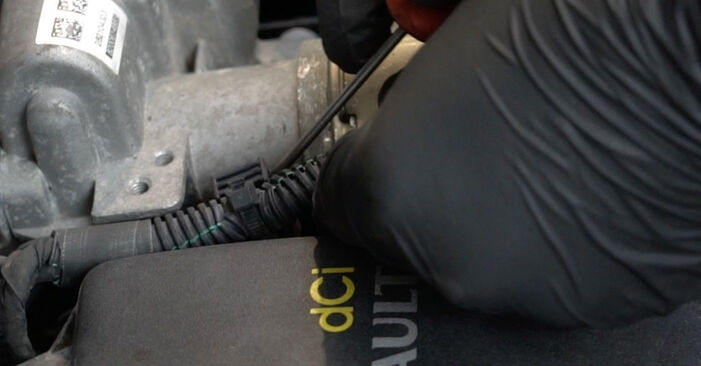 Detach the engine wiring harness. Use a flat screwdriver.
 - Step 8
 Unscrew the engine cover fastener. Use a drive socket #10. Use a ratchet wrench.
 - Step 9
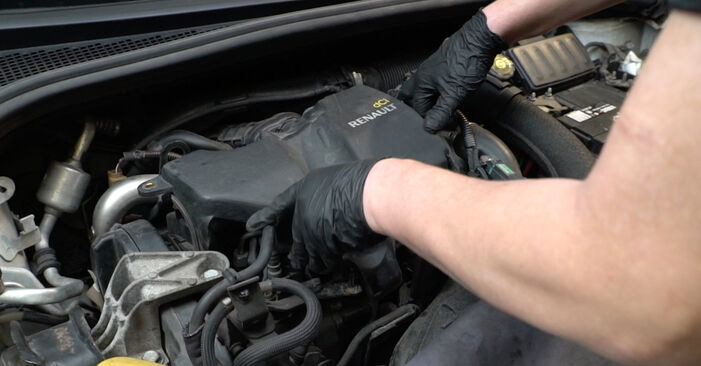
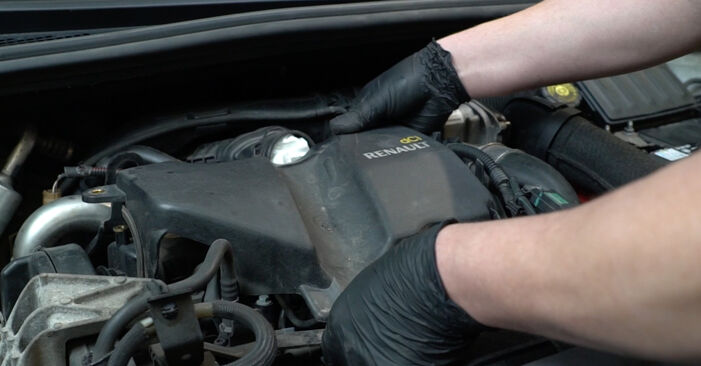 Remove the engine cover.Replacement: glow plugs – Renault Clio 3. Tip from AUTODOC experts:Do not apply excessive force when removing the part. Otherwise you may damage it.
 - Step 10
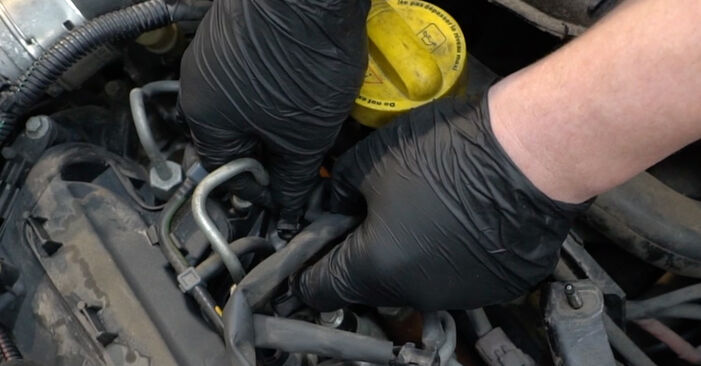
 Clean dirt, dust and debris from inside the spark plug wells.
 - Step 11
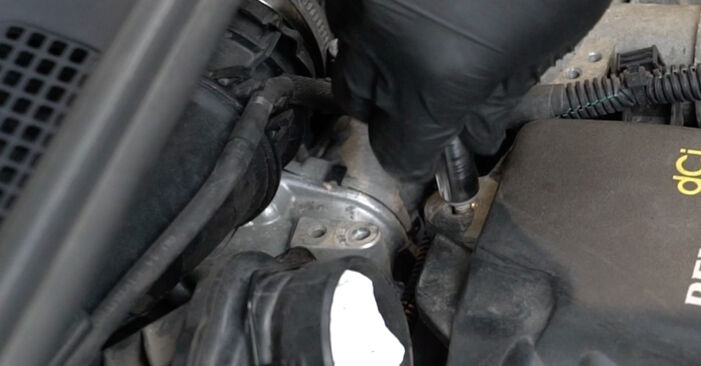
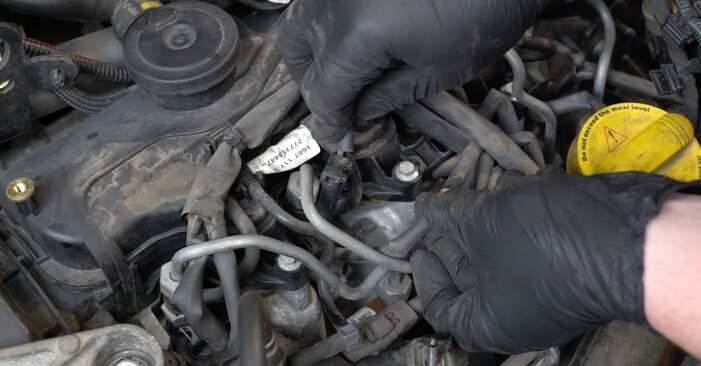 Detach the glow plug wiring connectors.
 - Step 12
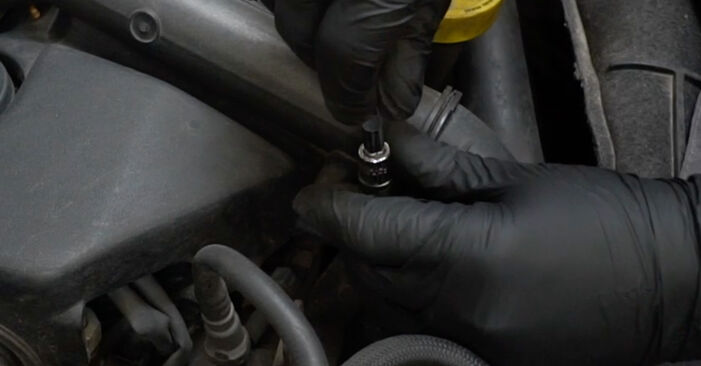
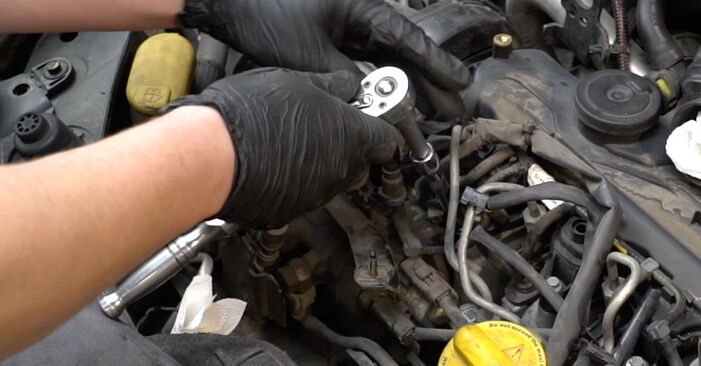 Unscrew the glow plugs. Use the spark plug socket #10. Use a ratchet wrench.
 - Step 13
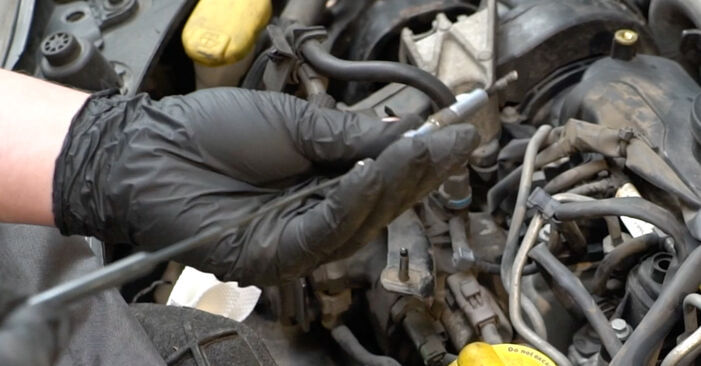 Remove the glow plugs.
 - Step 14
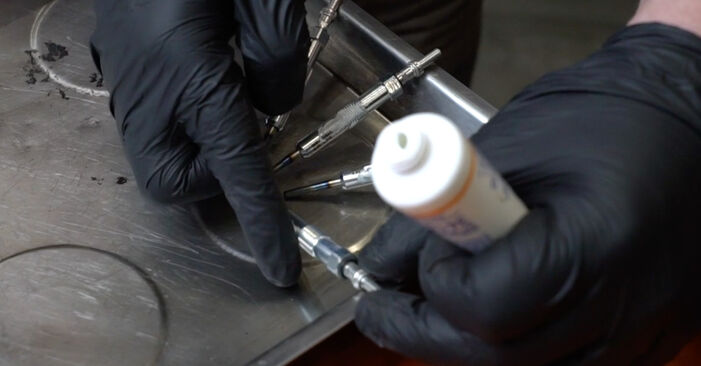 Treat the glow plugs. Use the injector & glow plug grease.Please note!Do not touch the heating element as fingerprints may cause malfunction.
 - Step 15
 Install new glow plugs to their mounting seats.
 - Step 16
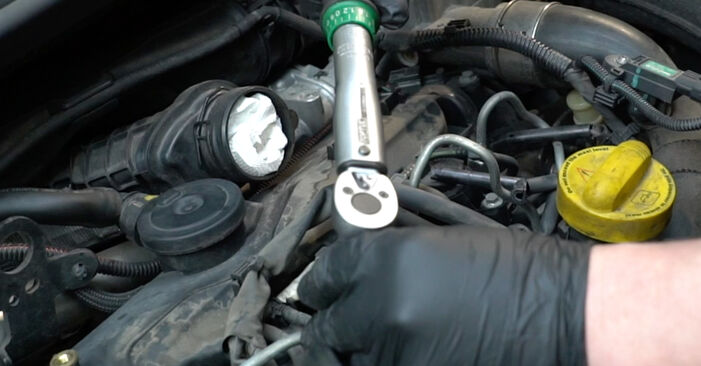 Tighten the glow plugs. Use the spark plug socket #10. Use a torque wrench. Tighten it to 15 nm torque.Replacement: glow plugs – Renault Clio 3. Tip from AUTODOC:Don't tighten the plugs with excessive force. Exceeding tightening torque can damage the thread connection. Be careful when working with a spark plug wrench. Its skewing can cause damage to the threaded connection.

Was this manual helpful?
Please rate this manual on a scale from 1 to 5. If you have any questions, feel free to ask us.
Users voted – 0
Need New Tyres?
Find out which tyre and wheel sizes are compatible with the RENAULT Clio III Hatchback (BR0/1, CR0/1) model

Popular maintenance tutorials for Renault Clio 3
 Free download PDF
 5.68 MB
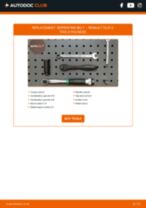 Free download PDF1.84 MB
 Free download PDF1.1 MB
 Free download PDF1.64 MB
 Free download PDF1.5 MB
 Free download PDF2.15 MB
Complete guides for changing the Glow plug on different RENAULT CLIO models
 Free download PDF1.56 MB
 Free download PDF1.55 MB
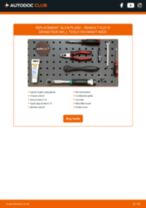 Free download PDF1.56 MB
 Free download PDF1.55 MB
 Free download PDF1.56 MB
 Free download PDF1.55 MB
Unlock your car maintenance assistant!
Track expenses, manage logs, schedule replacements, and more.
Tips & tricks for your RENAULT Clio III Hatchback (BR0/1, CR0/1)
View more
 How to Polish Your Car Yourself and Save Money on Garage Services | AUTODOC tips
 Transform Your Old Engine Valve Cover: Quick Polishing Tips for a Shiny Finish | AUTODOC Tips
 Understanding Airbag Light Warnings | Essential Tips for Car Safety
 How to remove scratches from car plastic | AUTODOC tips
Most commonly replaced car parts on RENAULT CLIO


Time to replace parts? Get even better deals in our Shop app.

SCAN ME