Disclaimer
How to change rear suspension lower trailing arm on VW Golf 6 – replacement guide
downloads:
33
Views:
545
Important!
This replacement procedure can be used for:
VW GOLF VI (5K1) 1.6 MultiFuel, VW GOLF VI (5K1) 2.0 R 4motion, VW GOLF VI (5K1) 1.2 TSI, VW GOLF VI (5K1) 2.0 GTi, VW GOLF VI (5K1) 1.4, VW GOLF VI (5K1) 1.6, VW GOLF VI (5K1) 1.4 TSI, VW GOLF VI (5K1) 1.4 TSI, VW GOLF VI (5K1) 2.0 TDI, VW GOLF VI (5K1) 2.0 TDI, VW GOLF VI (5K1) 2.0 TDI, VW GOLF VI (5K1) 1.6 BiFuel, VW GOLF VI (5K1) 2.0 GTi, VW GOLF VI (5K1) 1.6 TDI, VW GOLF VI (5K1) 2.0 TDI 4motion, VW GOLF VI (5K1) 2.0 TDI, VW GOLF VI (5K1) 1.2 TSI, VW GOLF VI (5K1) 2.0 R 4motion, VW GOLF VI (5K1) 1.6 TDI, VW GOLF VI (5K1) 1.8 TSI … View more
The steps may slightly vary depending on the car design.
How to change rear suspension arm / rear control arm on VW GOLF 6 (5K1) [TUTORIAL AUTODOC]

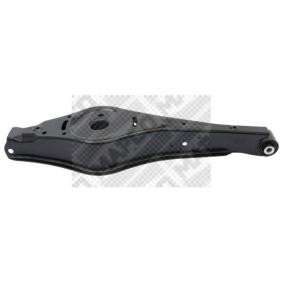
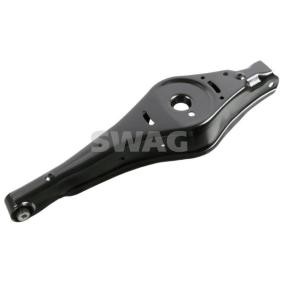
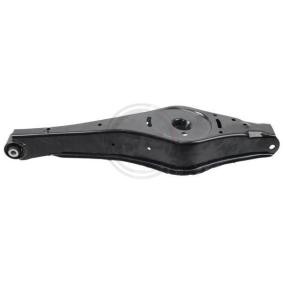
All the parts you need to replace – Control Arm for GOLF VI (5K1) and other VW models
Alternative products

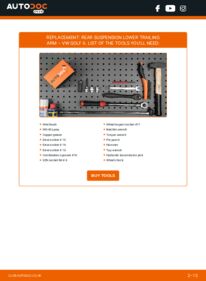
Wire brush
WD-40 spray
Copper grease
Drive socket # 15
Drive socket # 16
Drive socket # 18
Combination spanner #16
XZN socket bit # 6
Wheel impact socket #17
Ratchet wrench
Torque wrench
Pin punch
Hammer
Tap wrench
Hydraulic transmission jack
Wheel chock
Replacement: rear suspension lower trailing arm – VW Golf 6. Tip from AUTODOC experts:
- The replacement procedure is identical for the left and right lower control arms.
- All work should be done with the engine stopped.
Replacement: rear suspension lower trailing arm – VW Golf 6. Recommended sequence of steps:
- Step 1
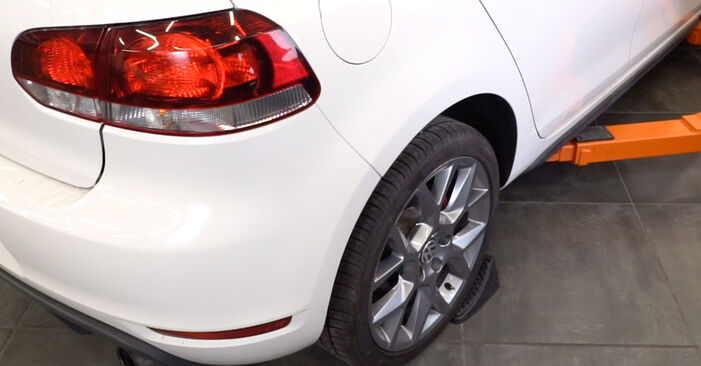
 Secure the wheels with chocks.
 - Step 2
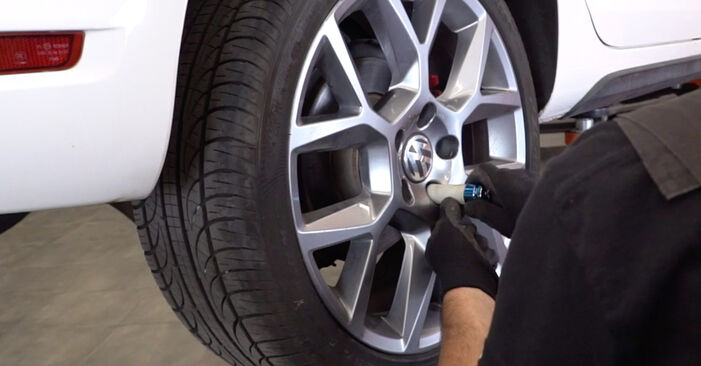
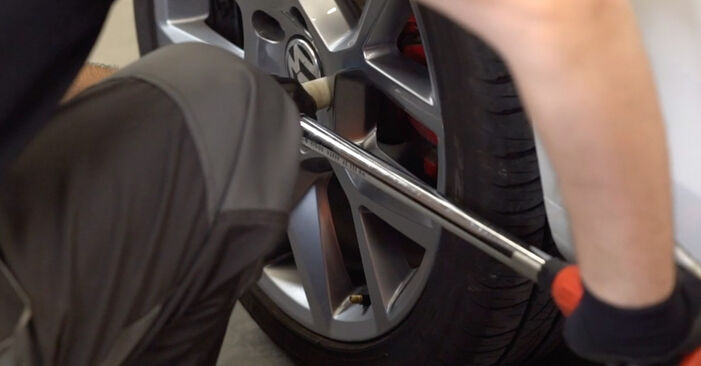
 Loosen the wheel mounting bolts. Use wheel impact socket #17.
 - Step 3
 Raise the rear of the car and secure on supports.
 - Step 4
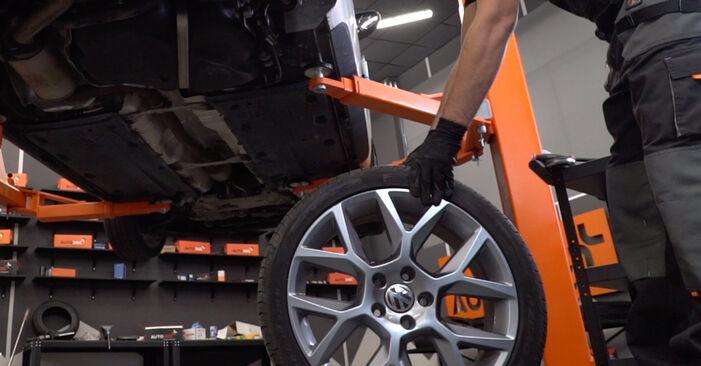
 Unscrew the wheel bolts.Replacement: rear suspension lower trailing arm – VW Golf 6. AUTODOC recommends:To avoid injury, hold up the wheel when unscrewing the bolts.
 - Step 5
 Remove the wheel.
 - Step 6
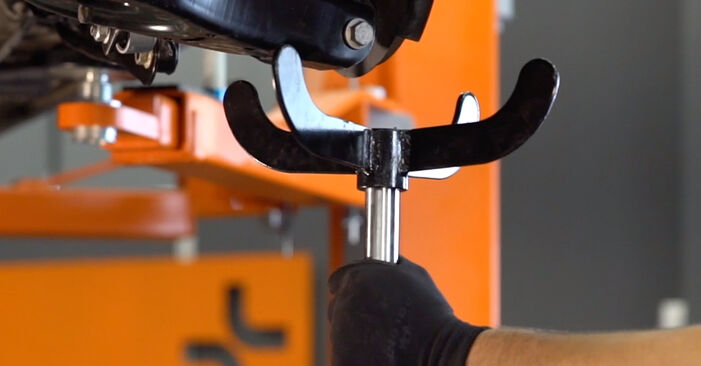
 Support the arm. Use a hydraulic transmission jack.
 - Step 7
 Clean the control arm fasteners. Use a wire brush. Use WD-40 spray.
 - Step 8
 Disconnect the transverse stabilizer fastener from the link. Use a combination spanner #16. Use XZN #6. Use a ratchet wrench.
 - Step 9
 Remove the retaining clip of the parking brake cable. Use a pin punch. Use a hammer.
 - Step 10
 Undo the bracket attaching the parking brake cable to the trailing arm.
 - Step 11
 Unscrew the fastener connecting the control arm to the rear knuckle. Use a drive socket #18. Use a tap wrench.
 - Step 12
 Unscrew the fastener connecting the trailing arm to the car body. Use a drive socket #15. Use a ratchet wrench.
 - Step 13
 Remove the arm.
 - Step 14
 Unscrew the bracket fastening to the arm. Use a drive socket #18. Use a ratchet wrench.
 - Step 15
 Remove the bracket from the arm.
 - Step 16
 Fit the new suspension trailing arm into the bracket. Use a drive socket #18. Use a torque wrench. Tighten it to 90 Nm torque.+90°AUTODOC recommends:Important! Be sure to use new fasteners.
 - Step 17
 Install a new arm.
Was this manual helpful?
Please rate this manual on a scale from 1 to 5. If you have any questions, feel free to ask us.
Users voted – 0
Need New Tyres?
Find out which tyre and wheel sizes are compatible with the VW Golf VI Hatchback (5K1) model

Popular maintenance tutorials for Golf Mk6
Complete guides for changing the Control arm on different VW GOLF models
Unlock your car maintenance assistant!
Track expenses, manage logs, schedule replacements, and more.
Tips & tricks for your VW GOLF VI (5K1)
View more
 #DIY Wheel Rim Restoration: Revive Scratches and Chips Easily!
 How to remove rust | AUTODOC tips
 TOP 8 mistakes car owners make | AUTODOC tips
 5 Essential Tips for beginner drivers: Avoid Common Mistakes
Most commonly replaced car parts on VW GOLF

Time to replace parts? Get even better deals in our Shop app.

SCAN ME


