Disclaimer
How to change rear coil springs on Mercedes W124 – replacement guide
downloads:
3
Views:
48
Important!
This replacement procedure can be used for:
MERCEDES-BENZ E-Class Saloon (W124) E 250 D (124.126, 124.129), MERCEDES-BENZ E-Class Saloon (W124) E 300 D (124.131), MERCEDES-BENZ E-Class Saloon (W124) E 200 (124.019), MERCEDES-BENZ E-Class Saloon (W124) E 220 (124.022), MERCEDES-BENZ E-Class Saloon (W124) E 280 (124.028), MERCEDES-BENZ E-Class Saloon (W124) E 320 (124.032), MERCEDES-BENZ E-Class Saloon (W124) E 200 D (124.120), MERCEDES-BENZ E-Class Saloon (W124) E 250 Turbo-D (124.128), MERCEDES-BENZ E-Class Saloon (W124) E 300 Turbo-D (124.133) … View more
The steps may slightly vary depending on the car design.
How to change rear shock absorber and coil springs on MERCEDES W124 [TUTORIAL AUTODOC]

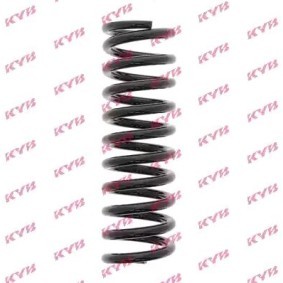
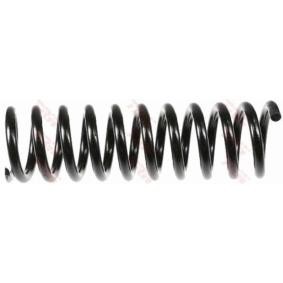
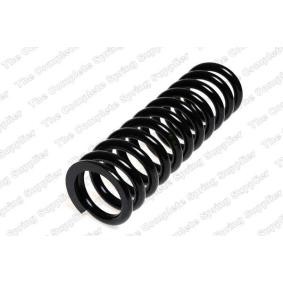
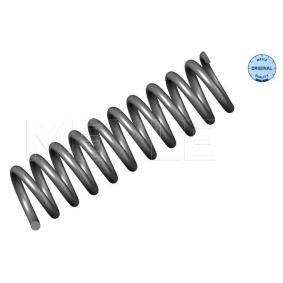
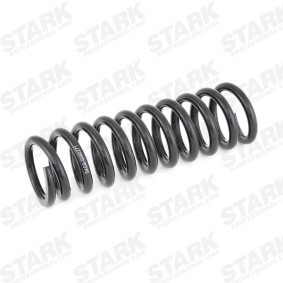
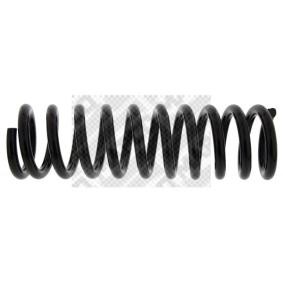
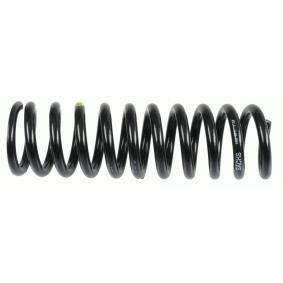
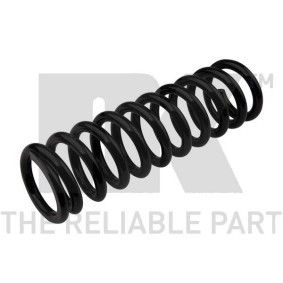
All the parts you need to replace – Springs for E-Class Saloon (W124) and other MERCEDES-BENZ models
Alternative products

Wire brush
WD-40 spray
All-purpose cleaning spray
Ceramic grease
Torque wrench
Combination spanner #13
Combination spanner #17
Combination spanner #19
Combination spanner #22
Drive socket # 13
Drive socket # 17
Drive socket # 19
Drive socket # 22
Shock absorber socket # 16
Shock absorber socket #DD5.2
Shock absorber socket #DD6
Wheel impact socket #17
Ratchet wrench
Tap wrench
Hammer
Pin punch
Crow bar
Hydraulic transmission jack
Wheel chock
Replacement: coil springs – Mercedes W124. Tip from AUTODOC experts:
- Both coil springs of the rear suspension should be replaced simultaneously.
- The replacement procedure is identical for the left and right coil springs of the rear suspension.
- Warning! Shut down the engine before starting any work – Mercedes W124.
Carry out replacement in the following order:
- Step 1
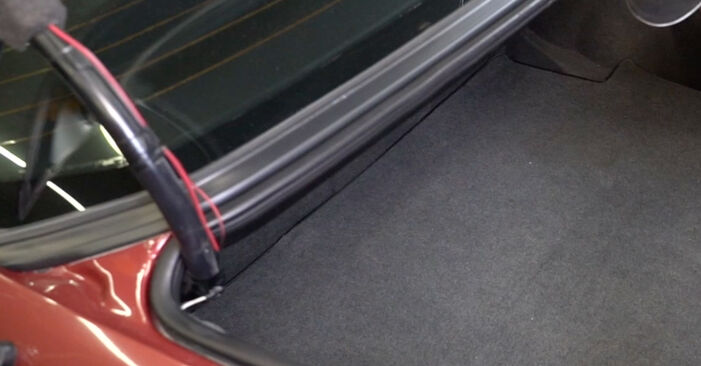
 Open the luggage compartment.
 - Step 2
 Remove the luggage compartment trim.
 - Step 3
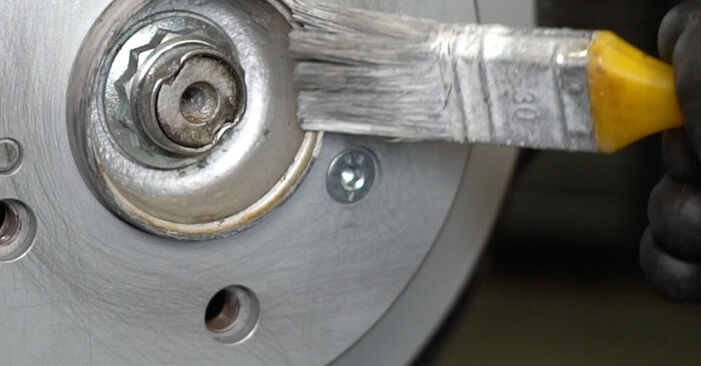
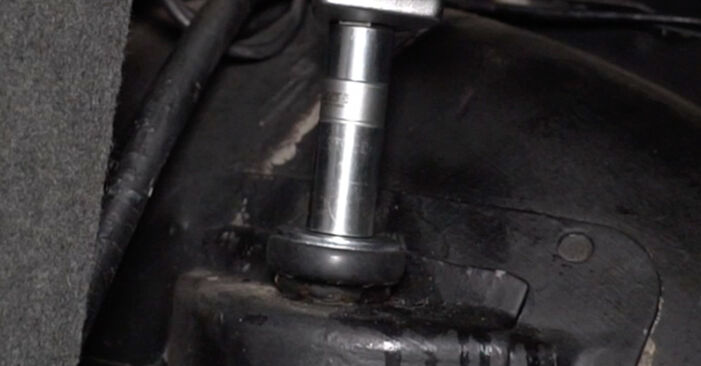
 Clean the upper fastener of the shock absorber. Use a wire brush. Use WD-40 spray.
 - Step 4
 Loosen the upper fastener of the shock absorber. Use a combination spanner #17. Use a shock absorber socket #DD5.2. Use a ratchet wrench.
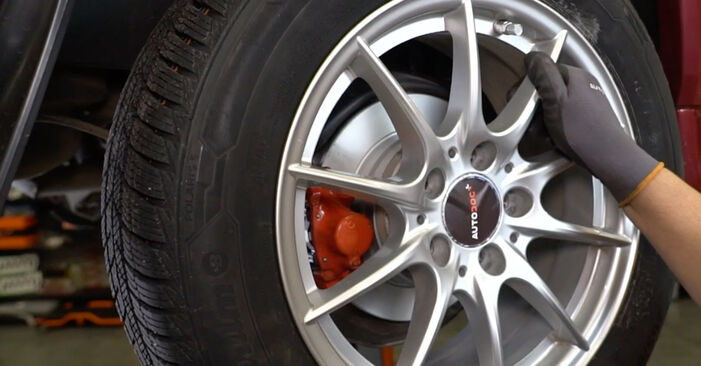
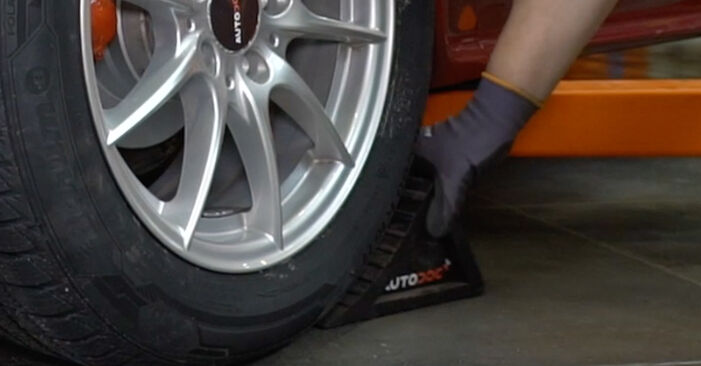
 - Step 5Secure the wheels with chocks.Step 6
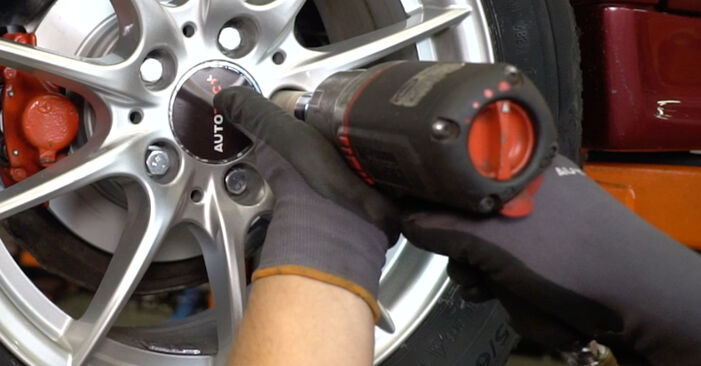
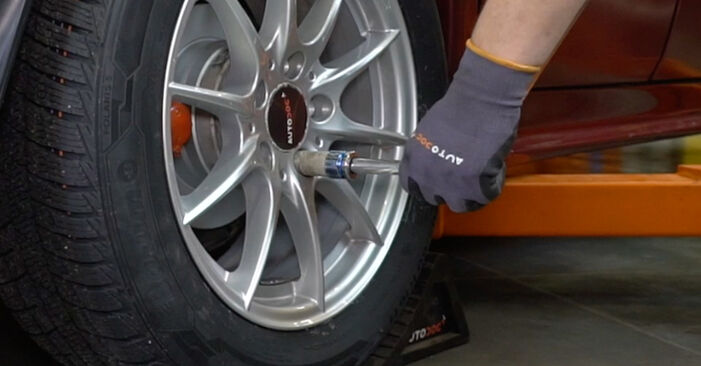
 Loosen the wheel bolts. Use wheel impact socket #17. Use a tap wrench.
 - Step 7
 Raise the car.Replacement: coil springs – Mercedes W124. Tip:If you are using a jack, make sure it rests on a flat surface without any unevenness.Be sure to additionally secure the car with jack stands.
 - Step 8
 Unscrew the wheel bolts.AUTODOC recommends:To avoid injury, hold up the wheel when unscrewing the bolts.
 - Step 9
 Remove the wheel.
 - Step 10
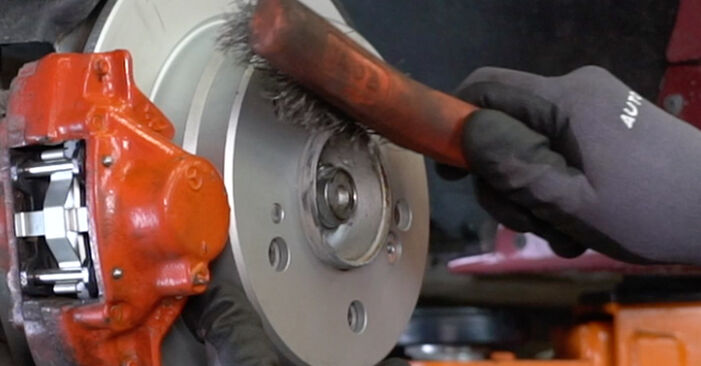
 Clean the lower shock absorber fastener. Use a wire brush. Use WD-40 spray.
 - Step 11Support the rear control arm. Use a hydraulic transmission jack.Step 12
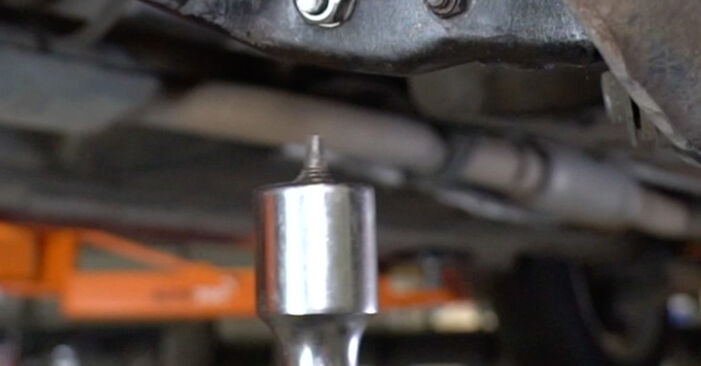
 Unscrew the lower fasteners of the shock absorber. Use a combination spanner #17. Use a drive socket #17. Use a ratchet wrench.
 - Step 13
 Unscrew the upper fastener of the shock absorber.
 - Step 14
 Remove the elements of the shock absorber upper mount.
 - Step 15
 Remove the fastening bolt.
 - Step 16
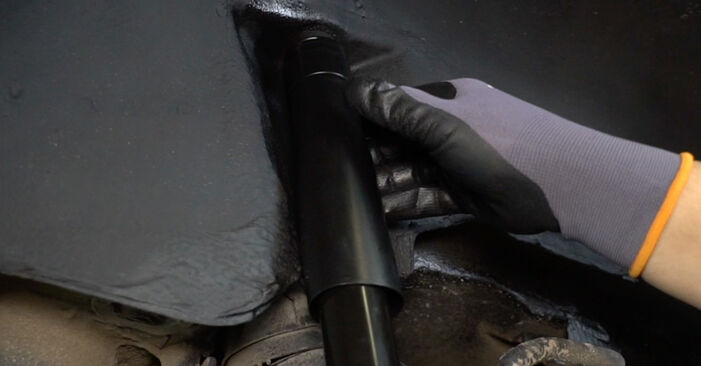
 Remove the shock absorber.
 - Step 17
 Clean the shock absorber mounting seats. Use a wire brush. Use all-purpose cleaning spray.
 - Step 18
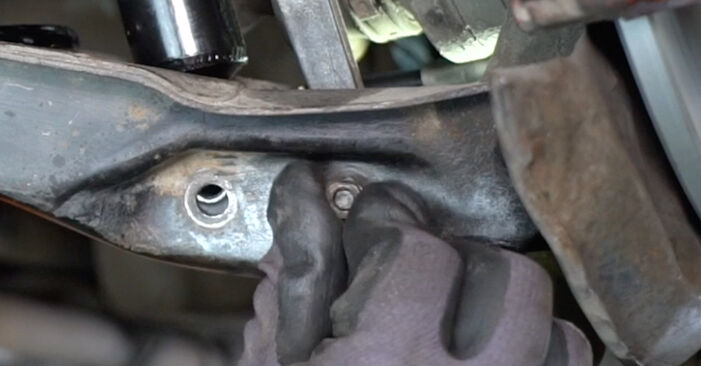
 Clean the control arm fasteners. Use a wire brush. Use WD-40 spray.
 - Step 19
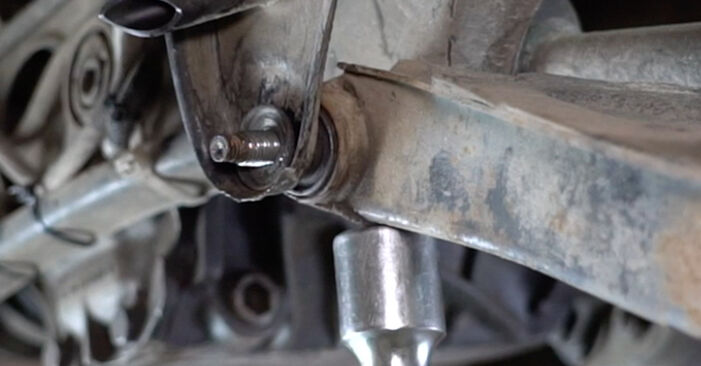
 Clean the fastener connecting the sway bar link to the suspension arm. Use a wire brush. Use WD-40 spray.
 - Step 20
 Unscrew the fastener connecting the stabilizer link to the control arm. Use a combination spanner #13. Use a drive socket #13. Use a ratchet wrench.
 - Step 21
 Remove the fastening bolt.
 - Step 22Detach the sway bar link from the suspension arm.Step 23
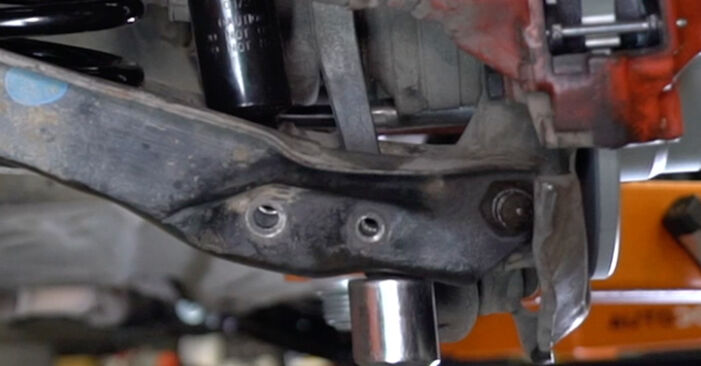
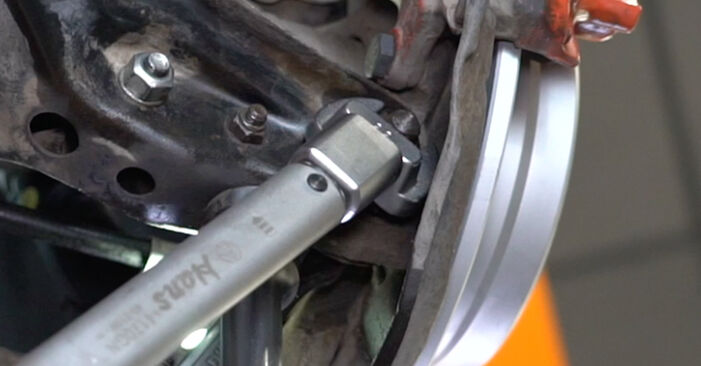
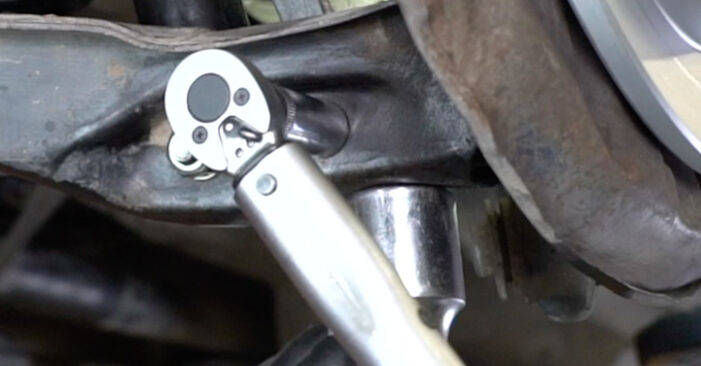
 Loosen the fastener that connects the control arm to the rear knuckle. Use a combination spanner #22. Use a drive socket #22. Use a ratchet wrench.
 - Step 24
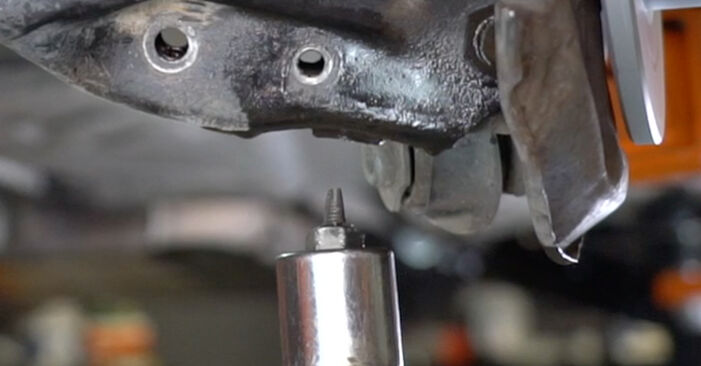 Remove the support from under the rear control arm.AUTODOC recommends:Replacement: coil springs – Mercedes W124. Lower the transmission jack smoothly, without jerks, to avoid damaging components and mechanisms.
 - Step 25
 Support the rear control arm where it is attached to the subframe. Use a hydraulic transmission jack.
 - Step 26
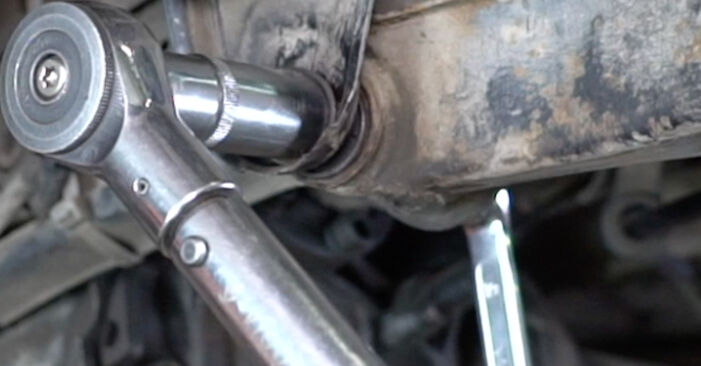
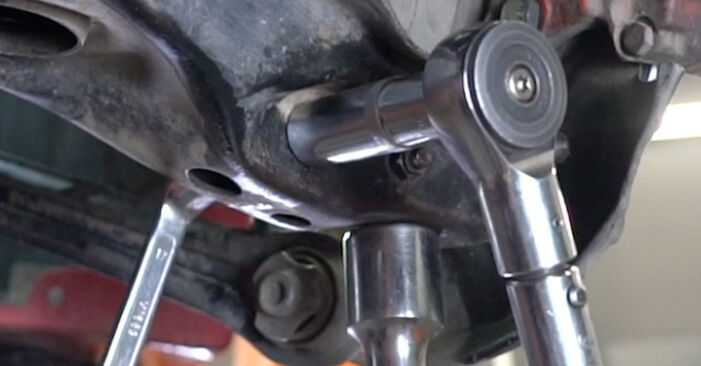
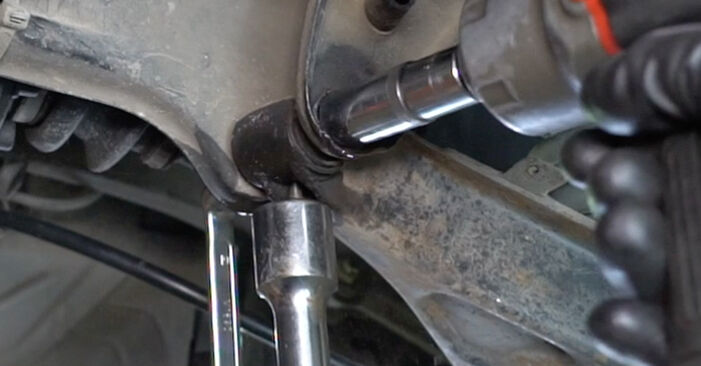 Unscrew the fastener connecting the control arm to the subframe. Use a combination spanner #19. Use a drive socket #19. Use a ratchet wrench.
 - Step 27
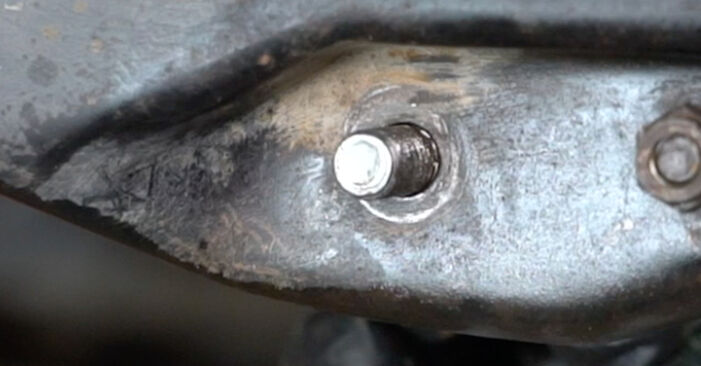
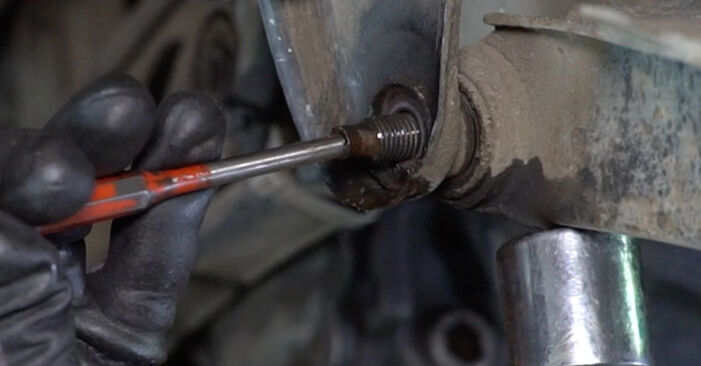 Remove the fastening bolt. Use a pin punch. Use a hammer.
 - Step 28
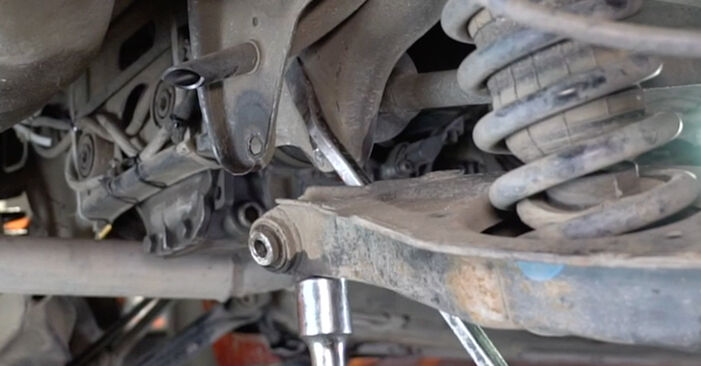 Detach the control arm from the subframe and lower the hydraulic transmission jack. If necessary, use a crowbar.AUTODOC recommends:As the control arm is spring loaded, the hydraulic transmission jack should be lowered strictly vertically to prevent the arm from slipping off abruptly and being displaced.
 - Step 29
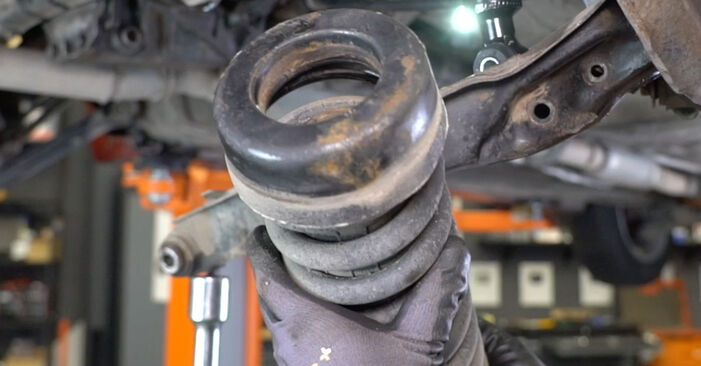 Remove the spring.
 - Step 30
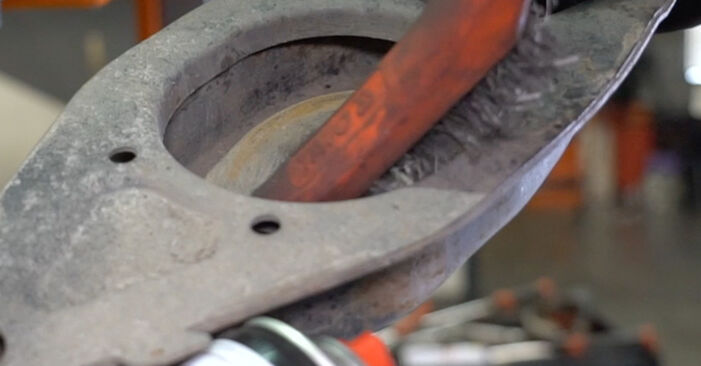 Clean the coil spring mounting seats. Use a wire brush. Use all-purpose cleaning spray.
 - Step 31
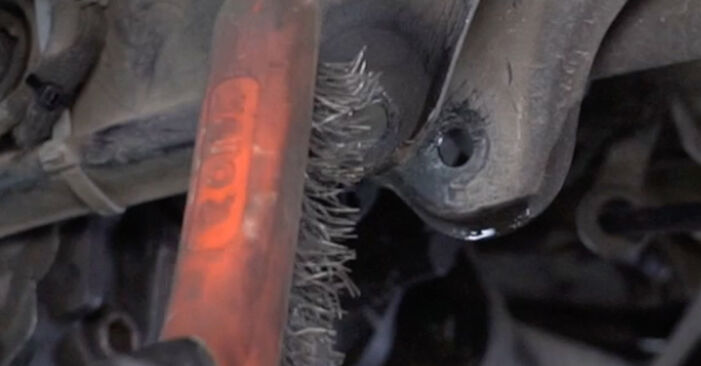 Clean the suspension arm mounting seats. Use a wire brush. Use all-purpose cleaning spray.
 - Step 32
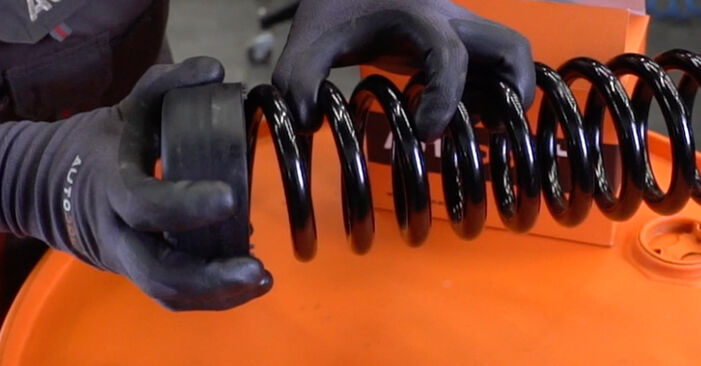 Install the rubber spacer on the new coil spring.
 - Step 33
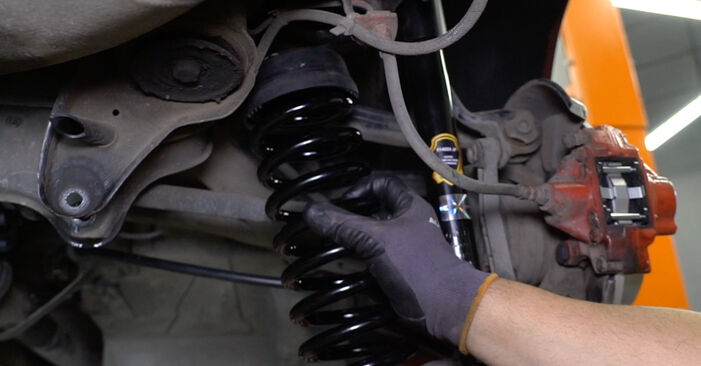 Install the spring.Replacement: coil springs – Mercedes W124. AUTODOC recommends:Make sure that the coil spring is correctly positioned in its mounting seats.
 - Step 34
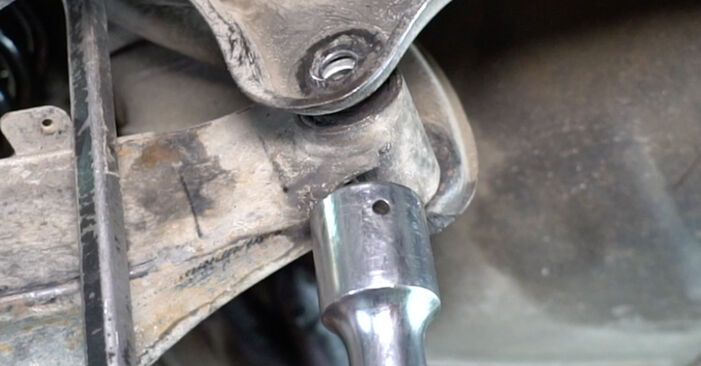 Install the control arm on the subframe. Use a hydraulic transmission jack. Use a crowbar.
Was this manual helpful?
Please rate this manual on a scale from 1 to 5. If you have any questions, feel free to ask us.
Users voted – 0
Need New Tyres?
Find out which tyre and wheel sizes are compatible with the MERCEDES-BENZ E-Class Saloon (W124) model

Popular maintenance tutorials for Mercedes E Class W124
Complete guides for changing the Springs on different MERCEDES-BENZ E-CLASS models
Unlock your car maintenance assistant!
Track expenses, manage logs, schedule replacements, and more.
Tips & tricks for your MERCEDES-BENZ E-Class Saloon (W124)
View more
 CHECK ENGINE light turned on – step-by-step guide on what to do
 DIY vehicle AC compressor restoration
 Transform Your Car's Look: 6 Simple Accessories You Need to Try!
 5 mistakes made when washing the engine | AUTODOC tips
Most commonly replaced car parts on MERCEDES-BENZ E-CLASS

Time to replace parts? Get even better deals in our Shop app.

SCAN ME


