Disclaimer
How to change lambda sensor on VW Golf 5 – replacement guide
downloads:
31
Views:
892
Recommended replacement interval for the part category Lambda sensor : 100000 km
Important!
This replacement procedure can be used for:
VW Golf V Hatchback (1K1) 1.4 16V … View more
The steps may slightly vary depending on the car design.
VW Golf V Hatchback (1K1) 1.4 16V … View more
The steps may slightly vary depending on the car design.
How to change lambda sensor on VW GOLF 5 [TUTORIAL AUTODOC]

All the parts you need to replace – Lambda Sensor for Golf V Hatchback (1K1) and other VW models
Alternative products

Wire brush
WD-40 spray
Electronic spray
High-temperature ceramic grease
Torque wrench
Drive socket # 10
Flare nut wrench #22
Clip removal tool
Ratchet wrench
Thread tap
Fender cover
Replacement: lambda sensor – VW Golf 5. AUTODOC experts recommend:
- After replacing the oxygen sensor, clear the trouble code from the electronic control unit and let the ECU adapt itself to the new sensor.
- Before getting down to work, start the engine and let it warm up to operating temperature.
- Please note: all work on the car – VW Golf 5 – should be done with the engine switched off.
Carry out replacement in the following order:
- Step 1
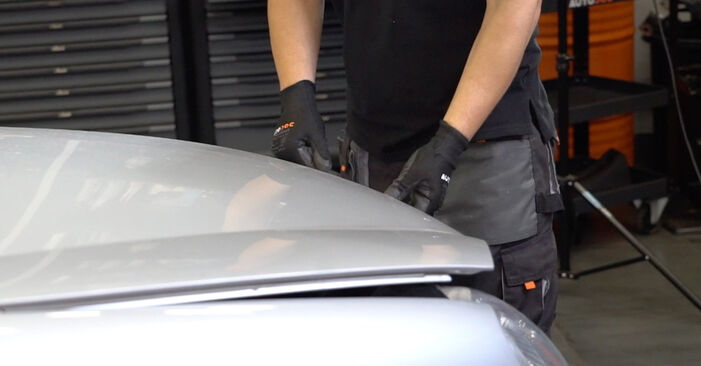
 Open the hood.
 - Step 2Use a fender protection cover to prevent damaging paintwork and plastic parts of the car.Step 3
 Lift the car using a jack or place it over an inspection pit.
 - Step 4
 Undo the fasteners of the oil pan lower cover. Use a drive socket #10. Use a ratchet wrench.
 - Step 5
 Remove the oil pan cover.
 - Step 6
 Disconnect the oxygen sensor wiring. Use a clip removal tool.
 - Step 7
 Detach the oxygen sensor connector. Use a clip removal tool.
 - Step 8
 Clean the oxygen sensor fastener. Use a wire brush. Use WD-40 spray.
 - Step 9
 Unscrew the oxygen sensor fastener. Use a flare nut spanner #22.
 - Step 10
 Remove the oxygen sensor.
 - Step 11
 Cut the thread for the new oxygen sensor. Use a thread tap. Use a ratchet wrench.
 - Step 12Treat the oxygen sensor. Use high-temperature ceramic grease.Step 13
 Install the new oxygen sensor.
 - Step 14
 Tighten the oxygen sensor fastener. Use a flare nut spanner #22. Use a torque wrench. Tighten it to 37 Nm torque.
Was this manual helpful?
Please rate this manual on a scale from 1 to 5. If you have any questions, feel free to ask us.
Users voted – 0
Need New Tyres?
Find out which tyre and wheel sizes are compatible with the VW Golf V Hatchback (1K1) model

Popular maintenance tutorials for Golf 5
Complete guides for changing the Oxygen sensor on different VW GOLF models
Unlock your car maintenance assistant!
Track expenses, manage logs, schedule replacements, and more.
Tips & tricks for your VW Golf V Hatchback (1K1)
View more
 When, why, and how to change engine oil | AUTODOC tips
 The most common problems when buying a used car | AUTODOC
 5 easy car repairs you can do without a garage visit
 Motorcycle fuel tank restoration
Most commonly replaced car parts on VW GOLF

Time to replace parts? Get even better deals in our Shop app.

SCAN ME


