Disclaimer
How to change fuel filter on TOYOTA Granvia (_H2_, _H1_) – replacement guide
downloads:
15
Views:
285
Recommended replacement interval for the part category Fuel filter : 12 month / 15000 km
Important!
This replacement procedure can be used for:
TOYOTA Granvia (_H2_, _H1_) 3.0 TDi (KCH10) … View more
The steps may slightly vary depending on the car design.
TOYOTA Granvia (_H2_, _H1_) 3.0 TDi (KCH10) … View more
The steps may slightly vary depending on the car design.
This video shows the replacement procedure of a similar car part on another vehicle
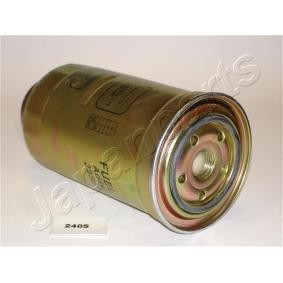
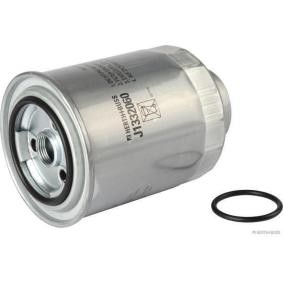
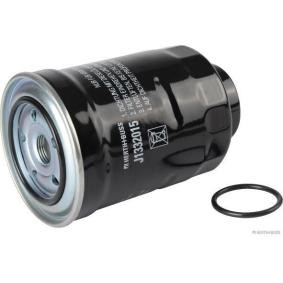
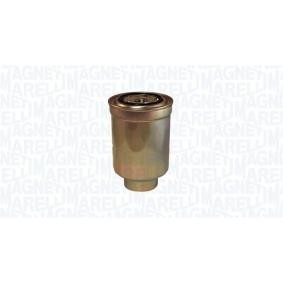
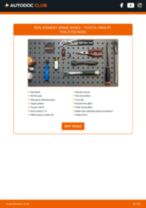
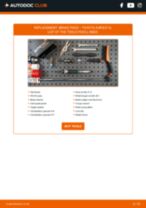
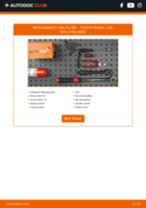
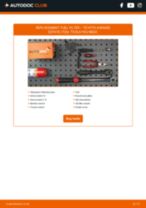
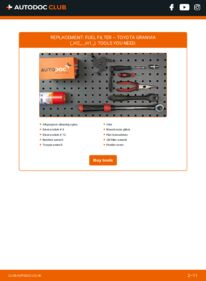
All the parts you need to replace – Fuel Filter for Granvia (_H2_, _H1_) and other TOYOTA models
Alternative products

All-purpose cleaning spray
Drive socket # 8
Drive socket # 12
Ratchet wrench
Torque wrench
Vice
Round-nose pliers
Flat Screwdriver
Oil filter wrench
Fender cover
Replacement: fuel filter – TOYOTA Granvia (_H2_, _H1_). AUTODOC experts recommend:
- Ensure adequate ventilation of the workplace. Fuel vapors are poisonous.
- All work should be done with the engine stopped.
Replacement: fuel filter – TOYOTA Granvia (_H2_, _H1_). Recommended sequence of steps:
- Step 1Open the bonnet.Step 2Use a fender protection cover to prevent damaging paintwork and plastic parts of the car.Step 3
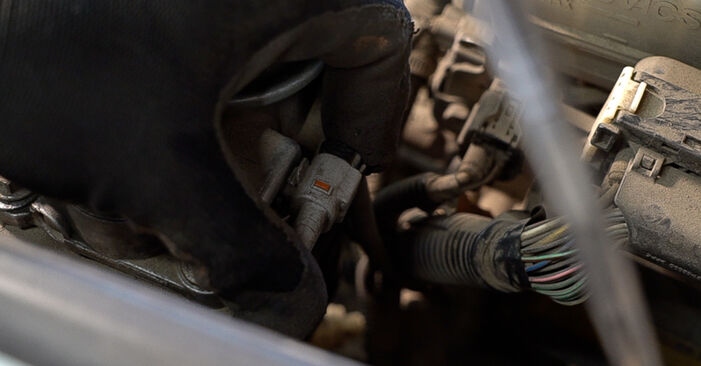
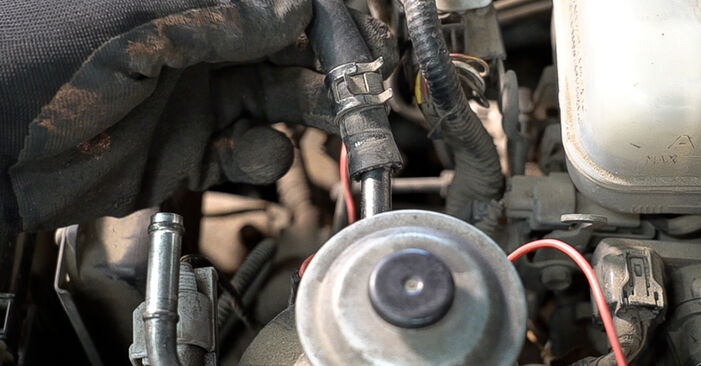
 Detach the connector of the water-in-fuel sensor.
 - Step 4
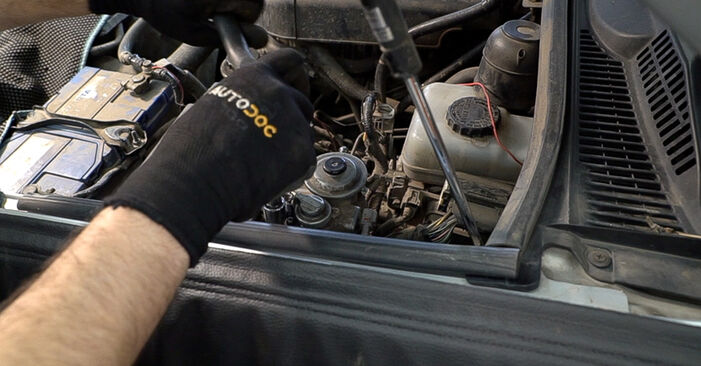
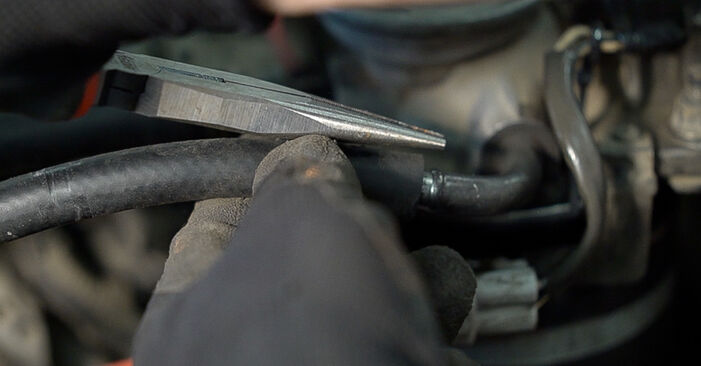
 Loosen the fastening clamps of the fuel filter pipes. Use round-nose pliers.
 - Step 5
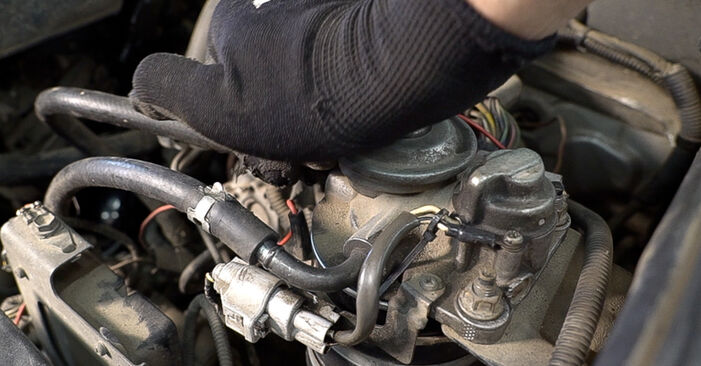
 Detach the tubes from the fuel filter.Replacement: fuel filter – TOYOTA Granvia (_H2_, _H1_). Tip:Be careful! Fuel may leak from the filter housing and hoses.
 - Step 6
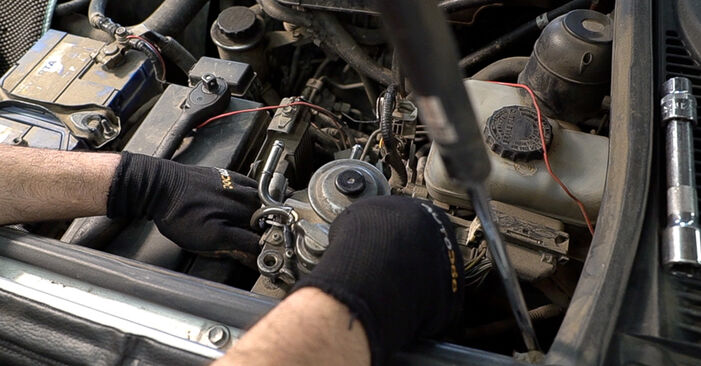
 Loosen the fuel filter mounting. Use a drive socket #12. Use a ratchet wrench.
 - Step 7
 Remove the fuel filter. Put the old filter cartridge in the container.
 - Step 8
 Unscrew the bracket of the water-in-fuel sensor. Use a drive socket #8.
 - Step 9
 Remove the rubber strip.
 - Step 10
 Unscrew the water-in-fuel sensor.
 - Step 11
 Wait until the fuel is completely drained from the fuel filter.
 - Step 12
 Unscrew the clamps of the fuel filter protective case. Use a drive socket #8.
 - Step 13
 Remove the protective case of the fuel filter.
 - Step 14
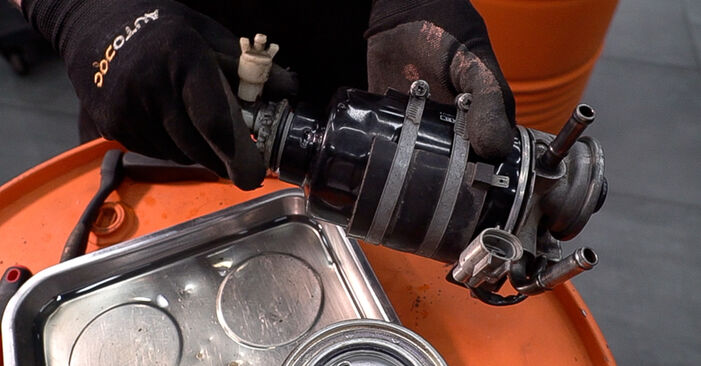
 Grip the fuel filter cover with the old cartridge in a vice.
 - Step 15
 Unscrew the cartridge.
 - Step 16
 Clean the mounting seat of the cartridge.
 - Step 17
 Screw in the new cartridge. Use an oil filter wrench. Use a torque wrench. Tighten it to 14 Nm torque.AUTODOC recommends:Take care to only use quality filters.During installation, take care to prevent dust and dirt from getting into the fuel filter housing.
 - Step 18
 Loosen the vice and take out the fuel filter assembly.
 - Step 19
 Install the fuel filter protective case.
 - Step 20
 Tighten the clamps of the fuel filter protective case. Use a drive socket #8.
 - Step 21
 Remove the O-ring of the water-in-fuel sensor. Use a flat screwdriver.
Was this manual helpful?
Please rate this manual on a scale from 1 to 5. If you have any questions, feel free to ask us.
Users voted – 0
Need New Tyres?
Find out which tyre and wheel sizes are compatible with the TOYOTA Granvia (_H2_, _H1_) model

Popular maintenance tutorials for TOYOTA Granvia (_H2_, _H1_)
Complete guides for changing the Fuel filters on different TOYOTA GRANVIA models
Unlock your car maintenance assistant!
Track expenses, manage logs, schedule replacements, and more.
Tips & tricks for your TOYOTA Granvia (_H2_, _H1_)
View more
 How to align the timing marks correctly on an EA888 engine
 Don’t Replace, Restore: Fixing Damaged Threads at Home
 DIY restoration of an old impact wrench
 How to restore a steering wheel | AUTODOC tips
Most commonly replaced car parts on TOYOTA GRANVIA

Time to replace parts? Get even better deals in our Shop app.

SCAN ME


