Disclaimer
How to change front wheel bearing on SEAT Alhambra (7V8, 7V9) – replacement guide
downloads:
2
Views:
31
Important!
This replacement procedure can be used for:
SEAT Alhambra (7V8, 7V9) 2.0 i, SEAT Alhambra (7V8, 7V9) 1.9 TDI, SEAT Alhambra (7V8, 7V9) 1.9 TDI, SEAT Alhambra (7V8, 7V9) 1.8 T 20V, SEAT Alhambra (7V8, 7V9) 2.8 V6, SEAT Alhambra (7V8, 7V9) 1.9 TDI, SEAT Alhambra (7V8, 7V9) 2.8 V6 4motion, SEAT Alhambra (7V8, 7V9) 1.9 TDI 4motion, SEAT Alhambra (7V8, 7V9) 1.9 TDI … View more
The steps may slightly vary depending on the car design.
This video shows the replacement procedure of a similar car part on another vehicle
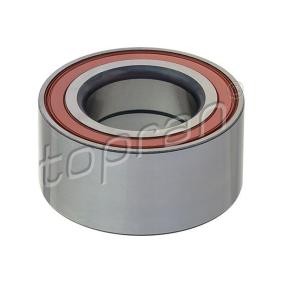
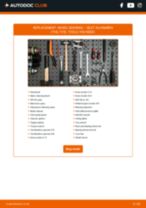
All the parts you need to replace – Wheel Bearing for Alhambra (7V8, 7V9) and other SEAT models
Alternative products

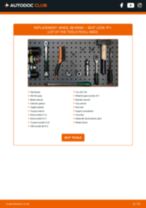
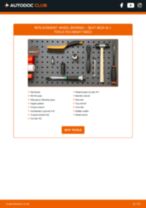
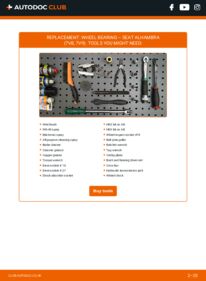
Wire brush
WD-40 spray
Electronic spray
All-purpose cleaning spray
Brake cleaner
Ceramic grease
Copper grease
Torque wrench
Drive socket # 18
Drive socket # 27
Shock absorber socket
HEX bit no.H6
HEX bit no.H8
Wheel impact socket #19
Ball joint puller
Ratchet wrench
Tap wrench
Circlip pliers
Bush and bearing driver set
Crow bar
Hydraulic transmission jack
Wheel chock
AUTODOC recommends:
- Do not re-use the bearing assembly of your SEAT ALHAMBRA (7V8, 7V9) car.
- The wheel hub bearing replacement procedure is identical for both wheels on the same axle.
- Please note: all work on the car – SEAT ALHAMBRA (7V8, 7V9) – should be done with the engine switched off.
Carry out replacement in the following order:
- Step 1
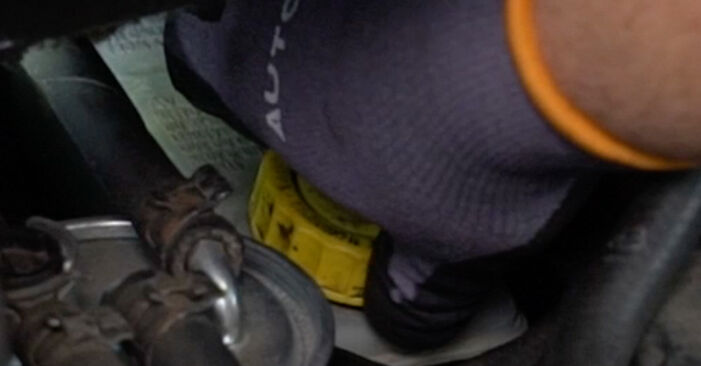
 Open the bonnet. Unscrew the brake fluid reservoir cap.
 - Step 2Secure the wheels with chocks.Step 3
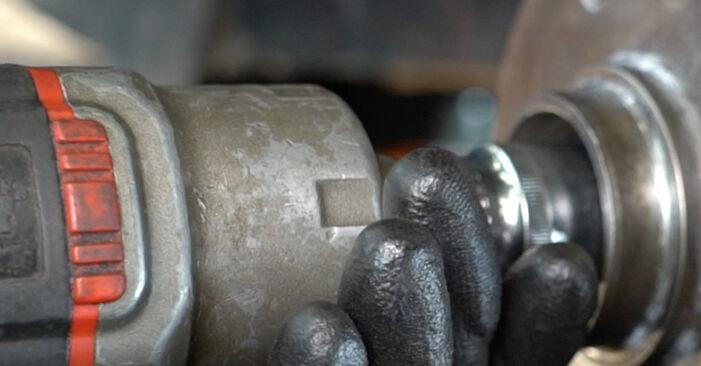
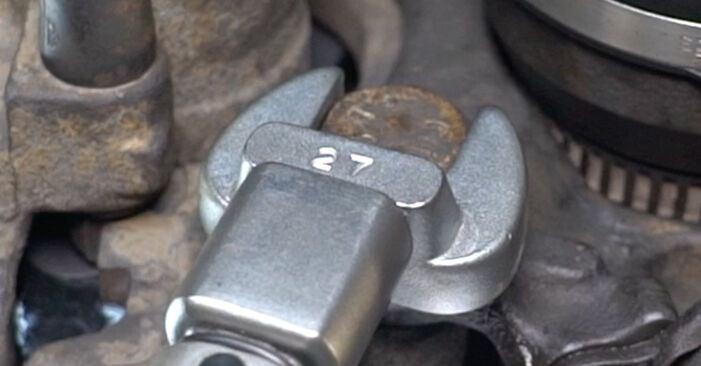
 Loosen the fastener of the driveshaft. Use a drive socket #27. Use a tap wrench.
 - Step 4
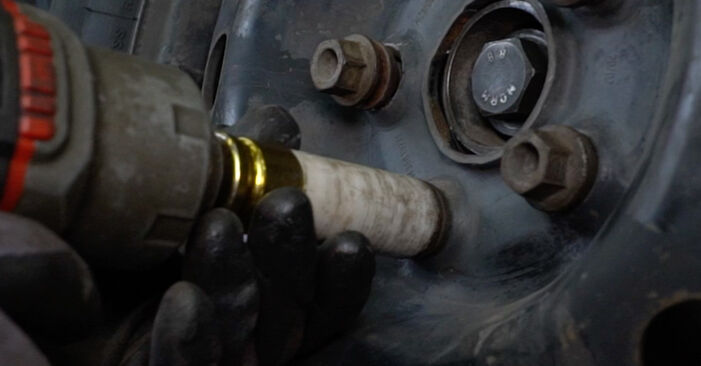
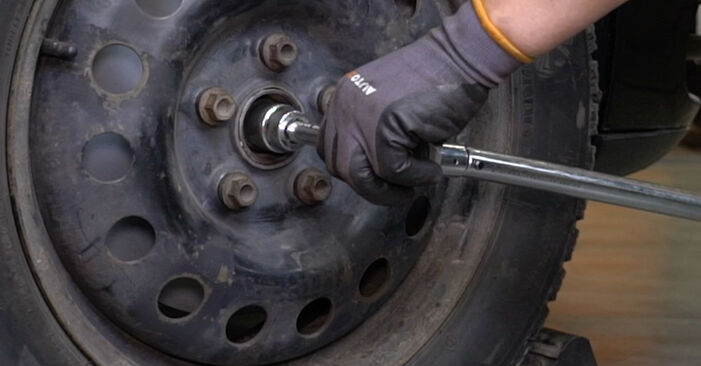
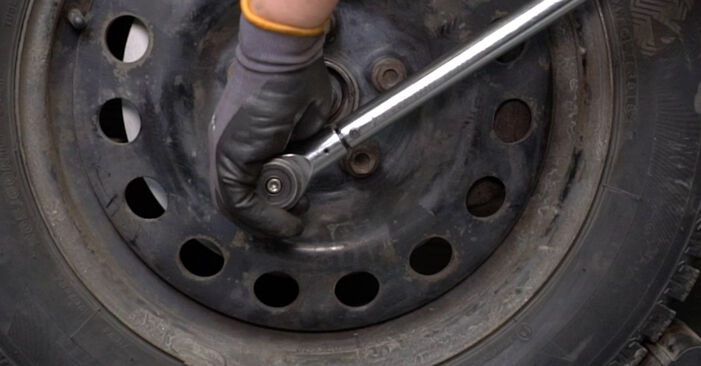
 Loosen the wheel mounting bolts. Use wheel impact socket #19.
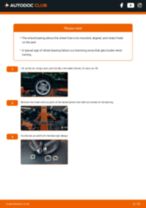
 - Step 5Raise the car.Replacement: wheel bearing – SEAT ALHAMBRA (7V8, 7V9). Tip:If you are using a jack, make sure it rests on a flat surface without any unevenness.Be sure to additionally secure the car with jack stands.Step 6
 Unscrew the wheel bolts.AUTODOC recommends:Warning! To avoid injury, hold the wheel while unscrewing the fastening bolts. SEAT ALHAMBRA (7V8, 7V9)
 - Step 7
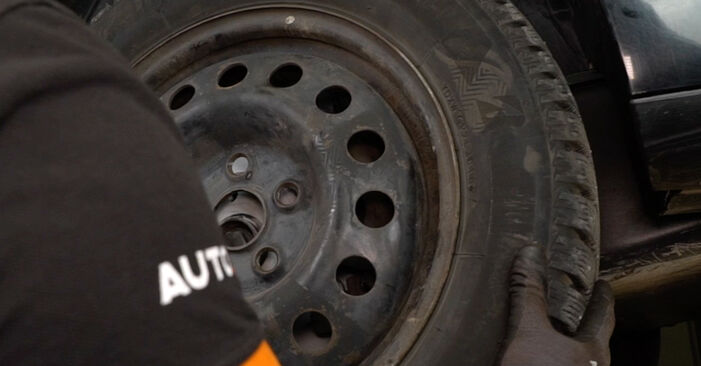
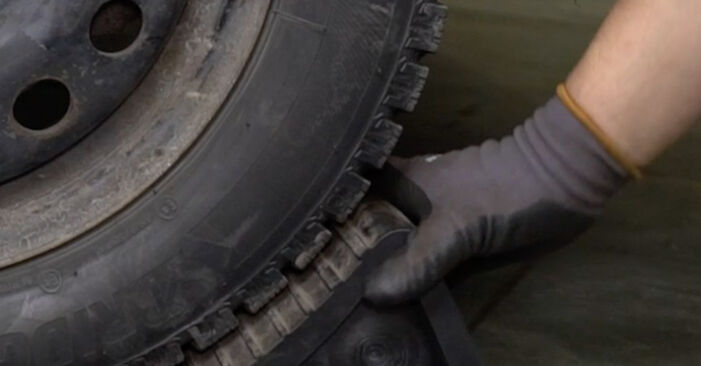
 Remove the wheel.
 - Step 8
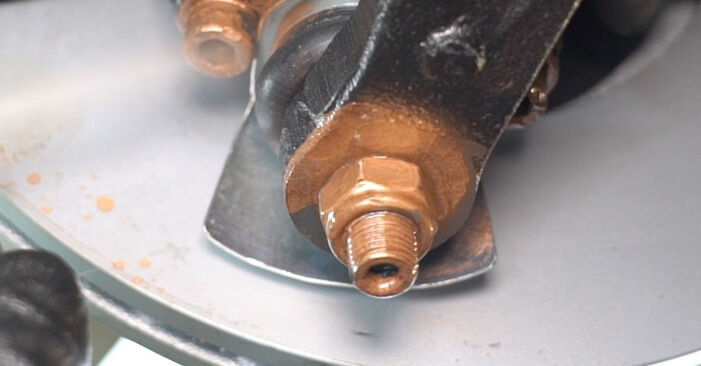
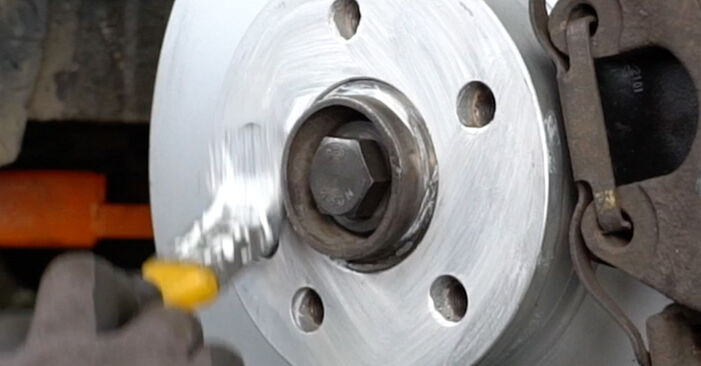
 Clean the fastener connecting the tie rod end to the steering knuckle. Use a wire brush. Use WD-40 spray.
 - Step 9
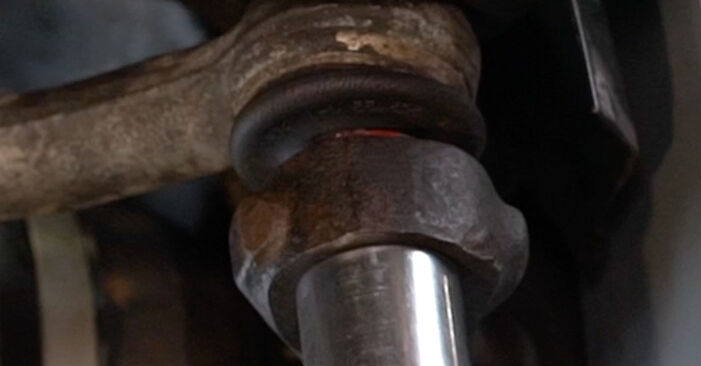
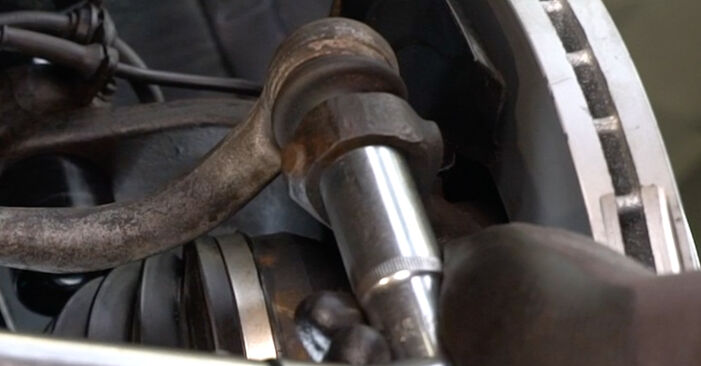
 Unscrew the end fastening nut to the steering knuckle. Use a drive socket #18. Use a ratchet wrench.
 - Step 10
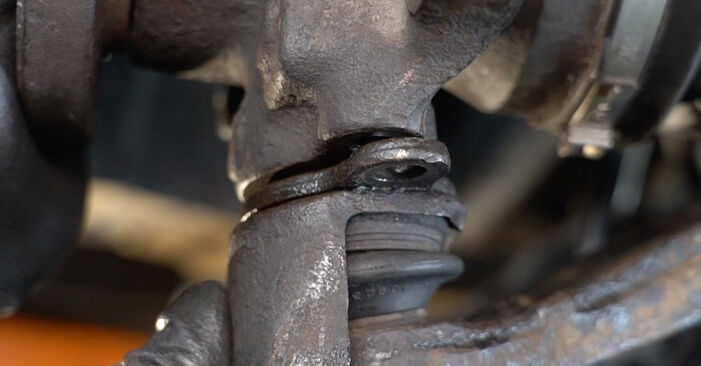
 Disconnect the tie rod end from the steering knuckle. Use a ball joint puller.
 - Step 11
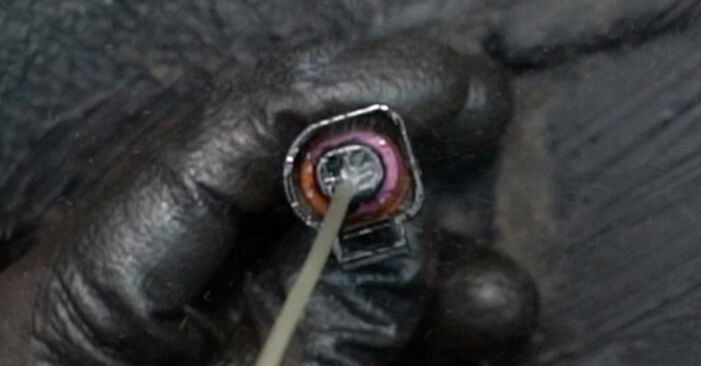
 Disconnect the ABS sensor wiring.
 - Step 12
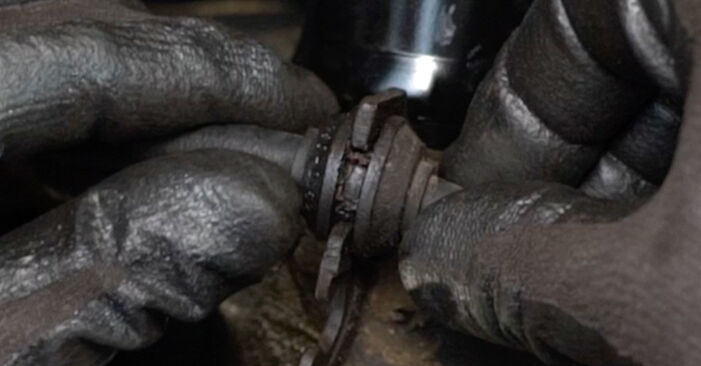
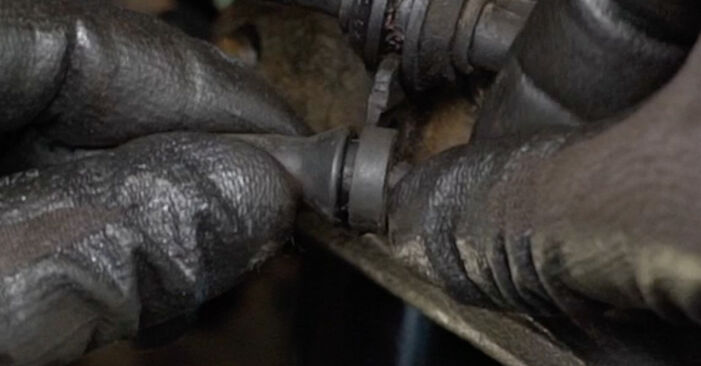
 Detach the brake hose from the shock strut.
 - Step 13
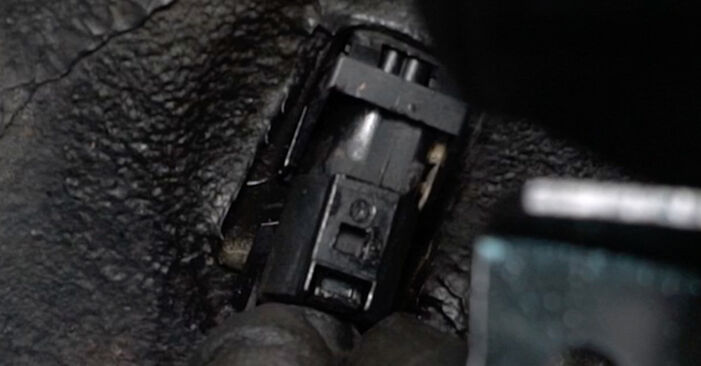
 Detach the ABS sensor connector.
 - Step 14
 Spread the brake pads. Use a crowbar.
 - Step 15
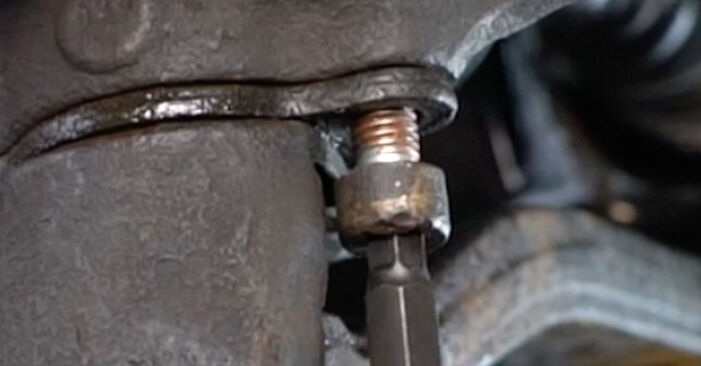
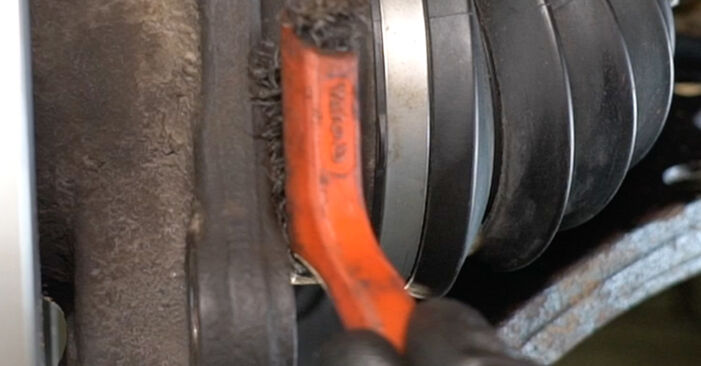
 Clean the brake caliper bracket fasteners. Use a wire brush. Use WD-40 spray.
 - Step 16
 Unscrew the caliper bracket fastening. Use a drive socket #27. Use a ratchet wrench.
 - Step 17
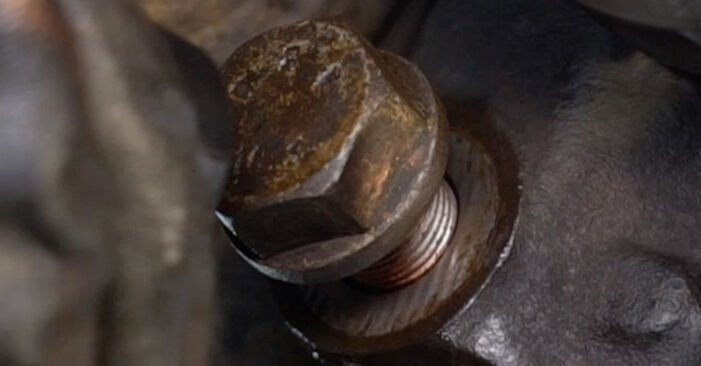
 Remove the fastening bolts.
 - Step 18
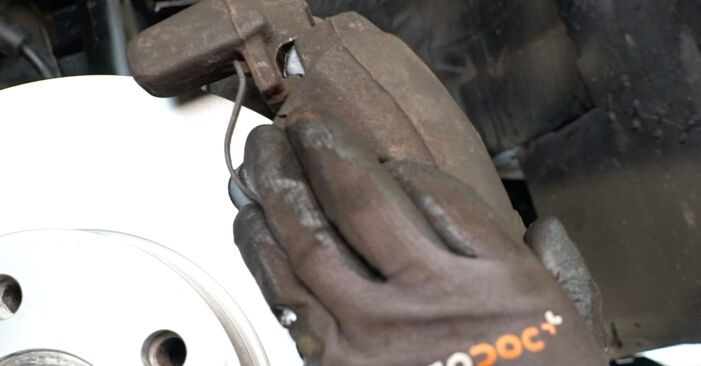
 Remove the brake caliper together with its bracket.Replacement: wheel bearing – SEAT ALHAMBRA (7V8, 7V9). Tip from AUTODOC experts:Tie the caliper to the suspension or to the body with a wire without disconnecting from the brake hose to prevent depressurization of the brake system.Make sure that the brake caliper is not hanging on the brake hose.Don't press the brake pedal after the brake caliper has been removed. As a result, the piston can fall out from the brake cylinder, and brake fluid leakage and depressurization of the system may occur.
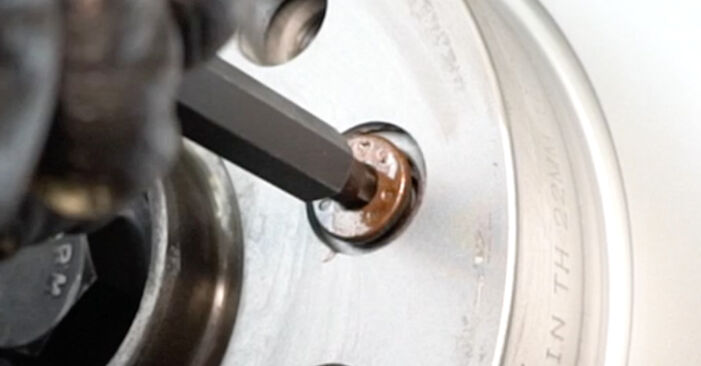
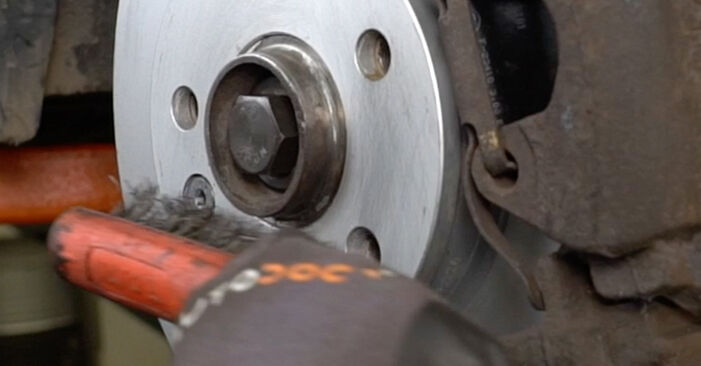
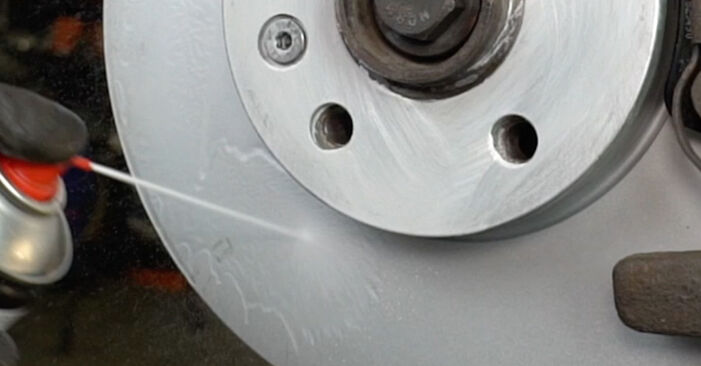
 - Step 19Clean the brake disc fastener. Use a wire brush. Use WD-40 spray.Step 20
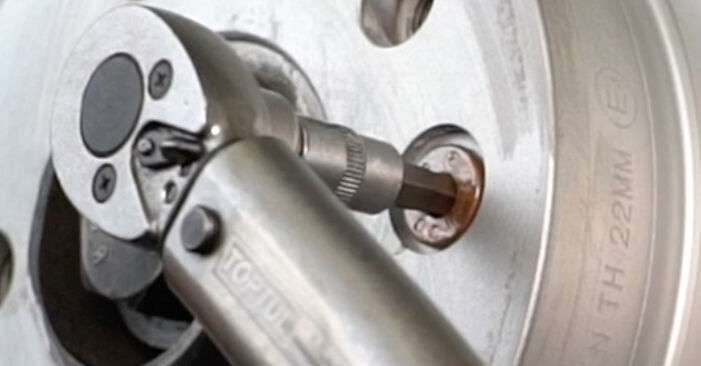
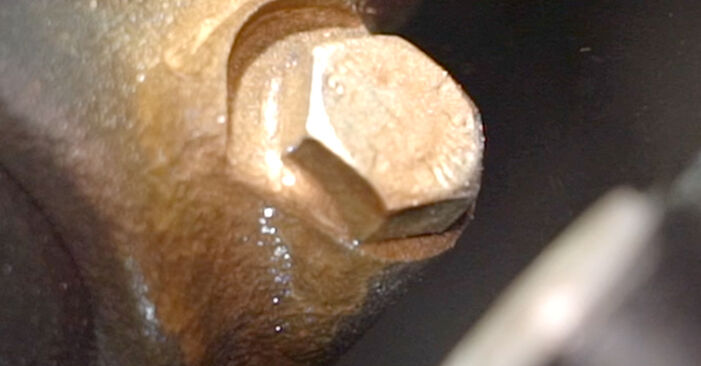
 Unscrew the brake disc fastening. Use HEX No.H6. Use a ratchet wrench.
 - Step 21
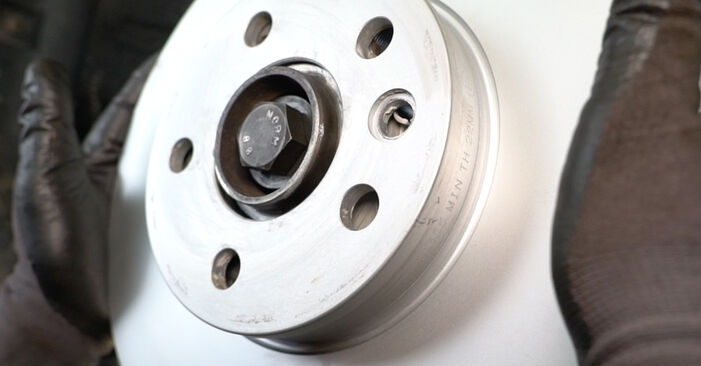
 Remove the fastening bolt.
 - Step 22
 Remove the brake disc.
 - Step 23
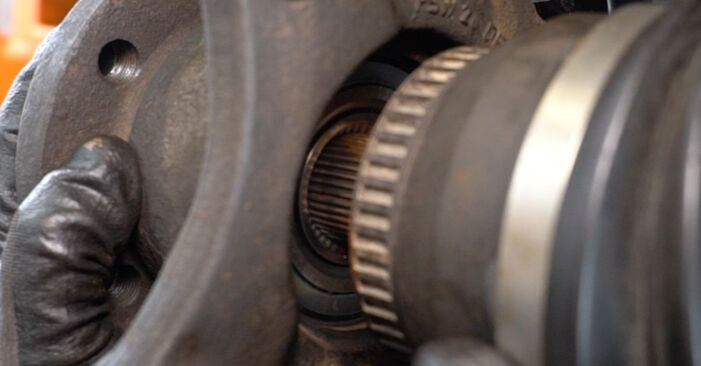
 Unscrew the fastener connecting the drive shaft to the wheel hub. Use a drive socket #27. Use a ratchet wrench.
 - Step 24
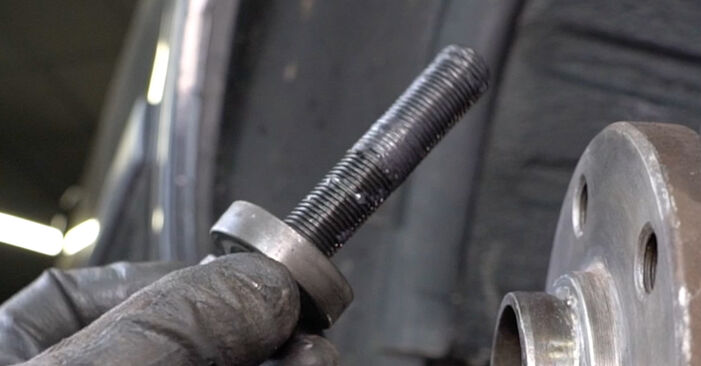 Remove the fastening bolt.
 - Step 25
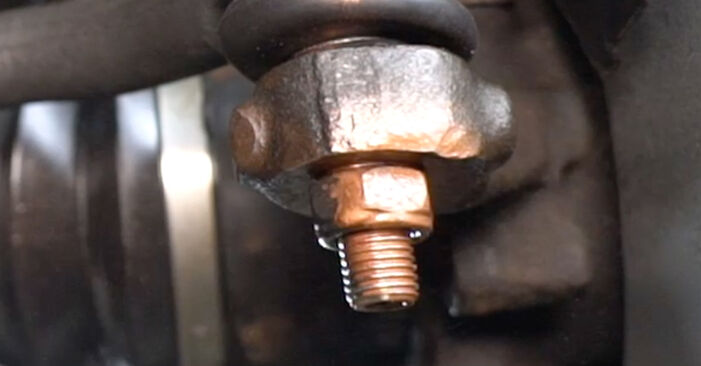
 Clean the fasteners that connect the ball joint to the steering knuckle. Use a wire brush. Use WD-40 spray.
 - Step 26
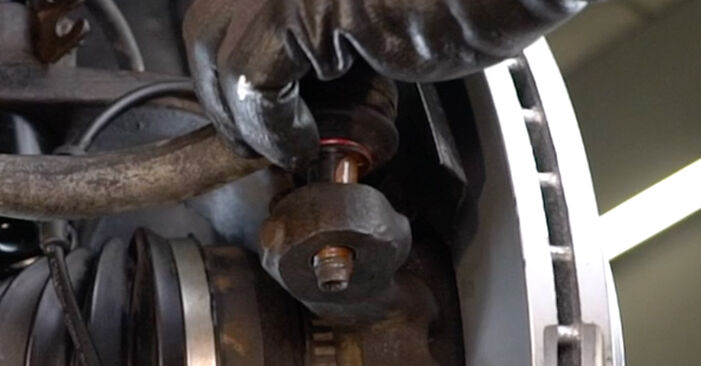
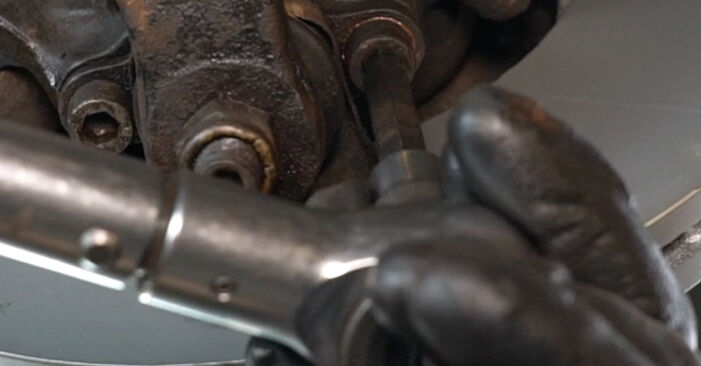
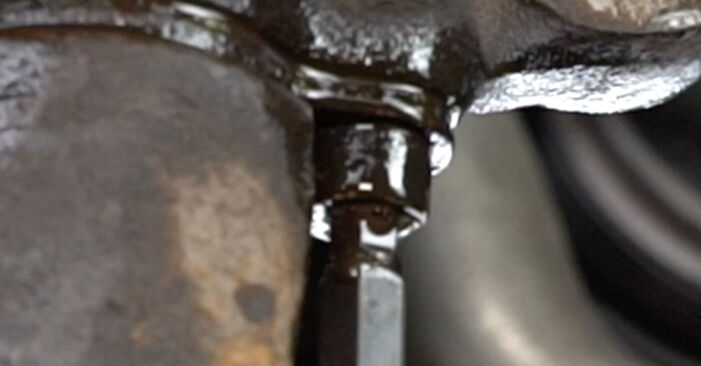 Unscrew the ball joint fasteners from the steering knuckle. Use HEX No.H8. Use a ratchet wrench.
 - Step 27
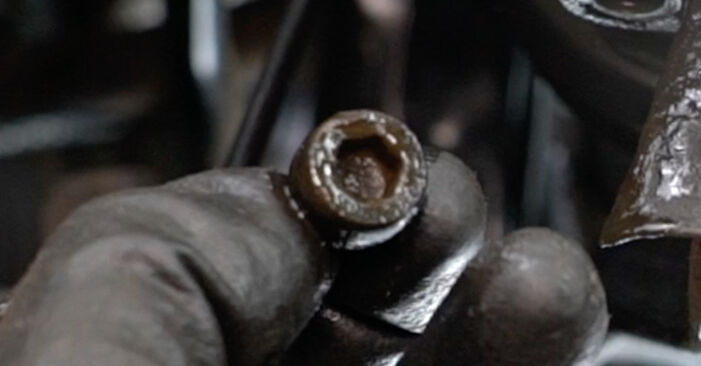 Remove the fastening bolts.
 - Step 28
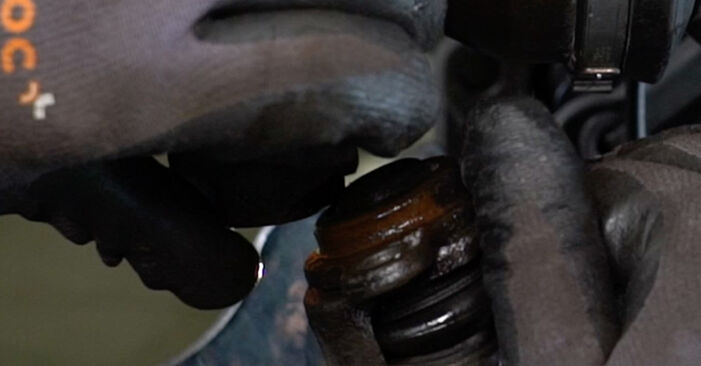 Disconnect the ball joint from the steering knuckle.
 - Step 29
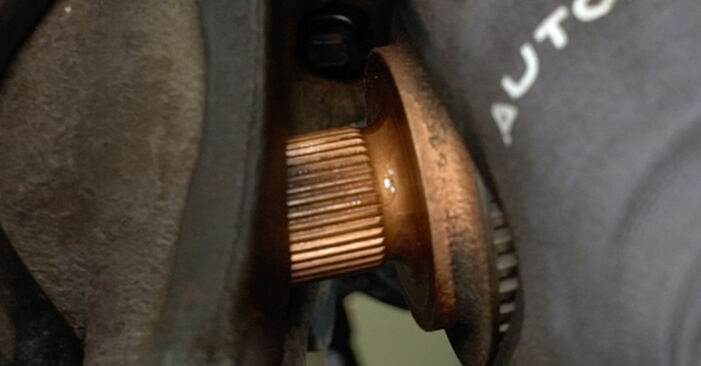 Detach the driveshaft from the steering knuckle.Replacement: wheel bearing – SEAT ALHAMBRA (7V8, 7V9). AUTODOC recommends:Make sure that the drive shaft is not unloaded (when the car is jacked).
 - Step 30
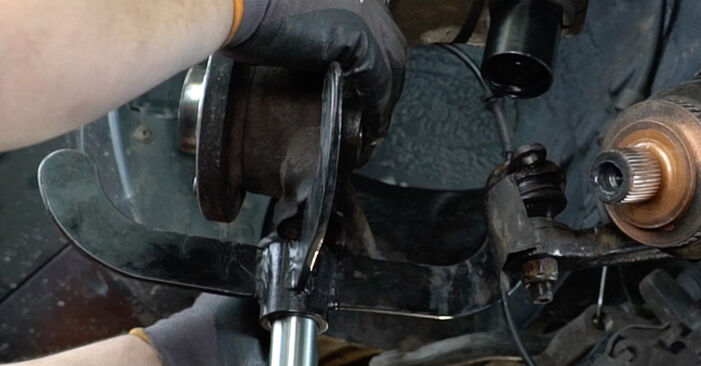 Prop up the steering knuckle. Use a hydraulic transmission jack.
 - Step 31
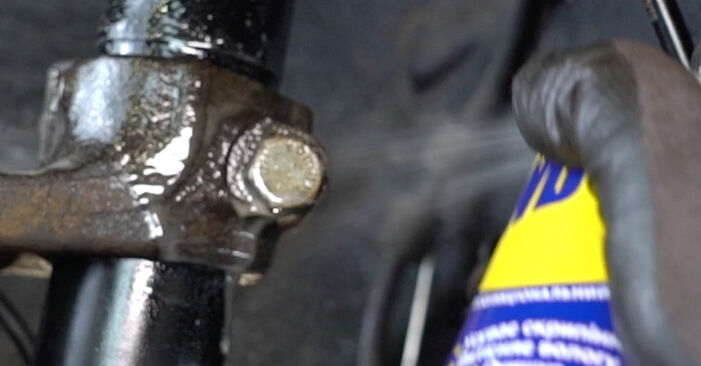 Clean the lower fastener connecting the suspension strut to the steering knuckle. Use a wire brush. Use WD-40 spray.
 - Step 32
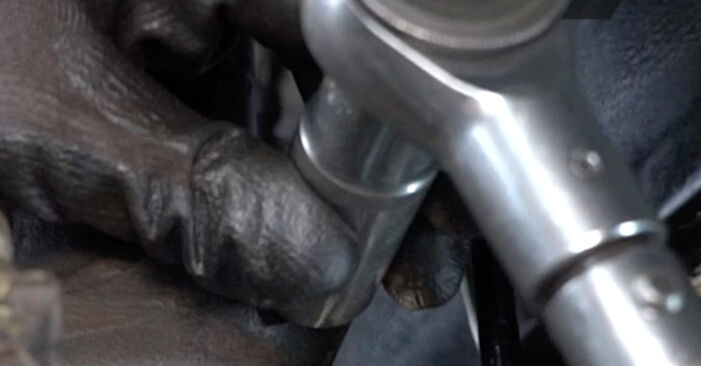
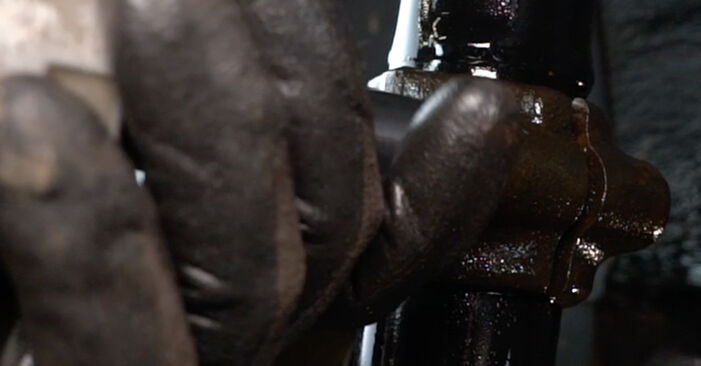 Unscrew the lower fastener connecting the shock strut to the steering knuckle. Use a drive socket #18. Use a ratchet wrench.
 - Step 33
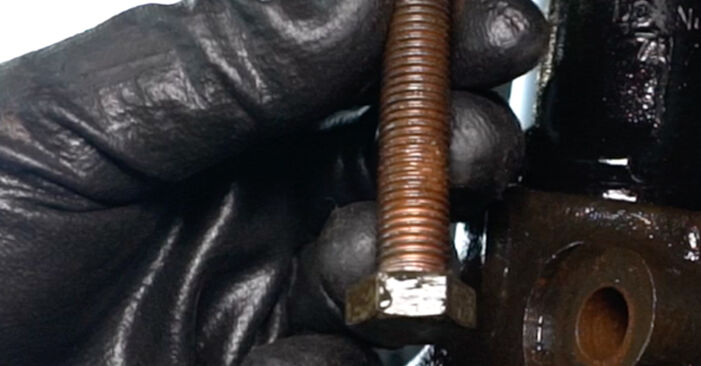 Remove the fastening bolt.
 - Step 34
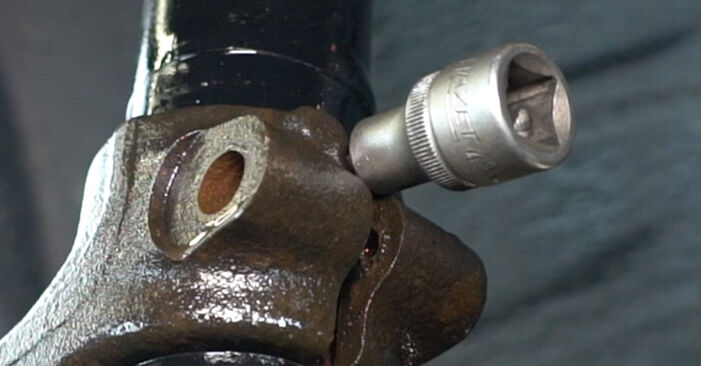 Release the lower fastener connecting the shock strut to the steering knuckle. Use a special drive socket to remove the shock absorber.
 - Step 35
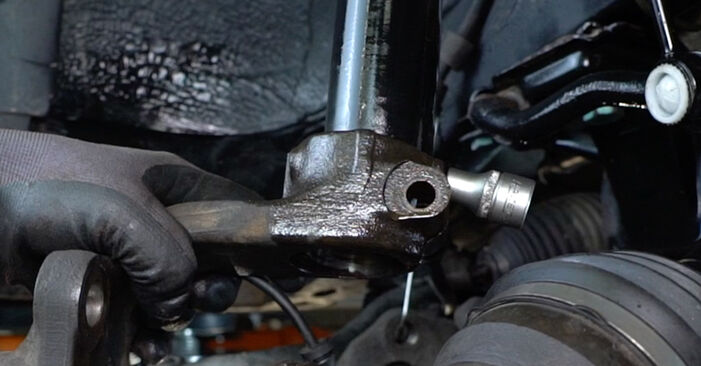 Disconnect the steering knuckle from the shock absorber strut.
 - Step 36
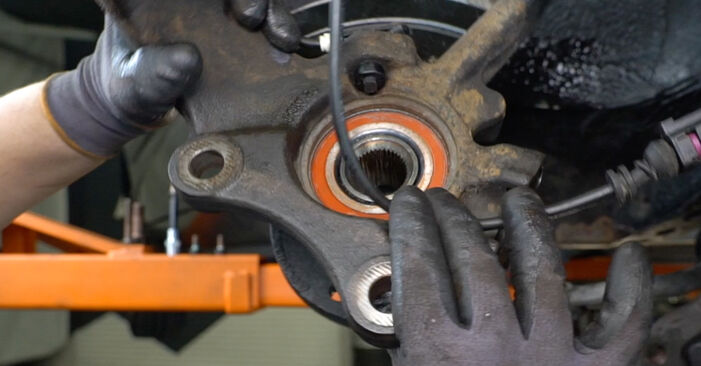 Remove the steering knuckle together with the wheel hub.
 - Step 37
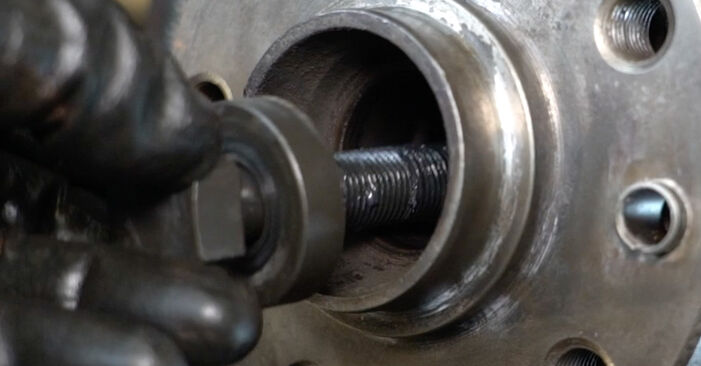
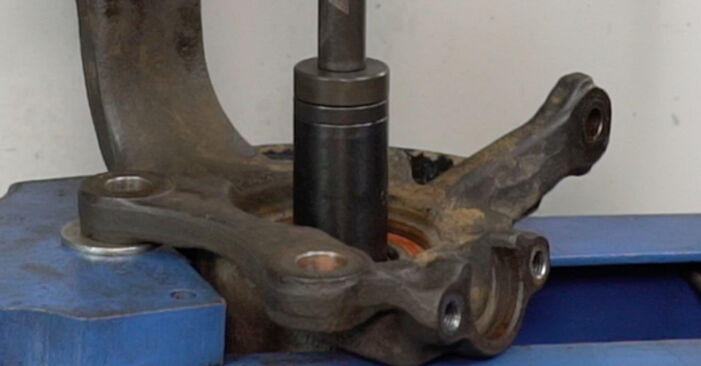 Remove the wheel hub from the steering knuckle. Use a bush and bearing driver set.
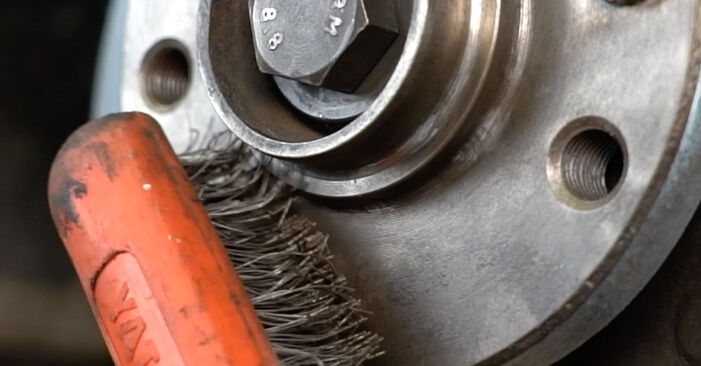
 - Step 38Clean the wheel hub bearing retaining ring. Use a wire brush. Use WD-40 spray.Step 39
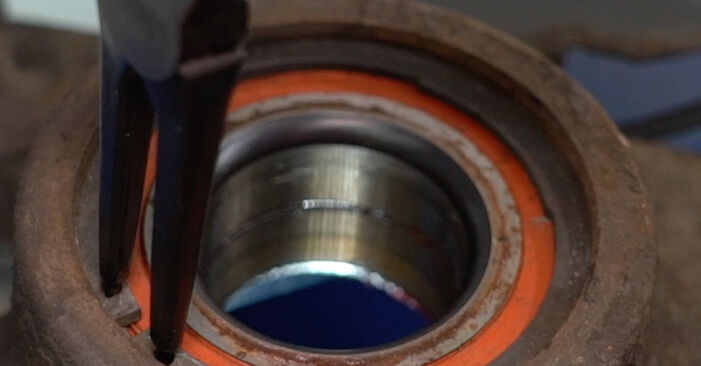 Remove the wheel hub bearing retaining ring. Use circlip pliers.
 - Step 40
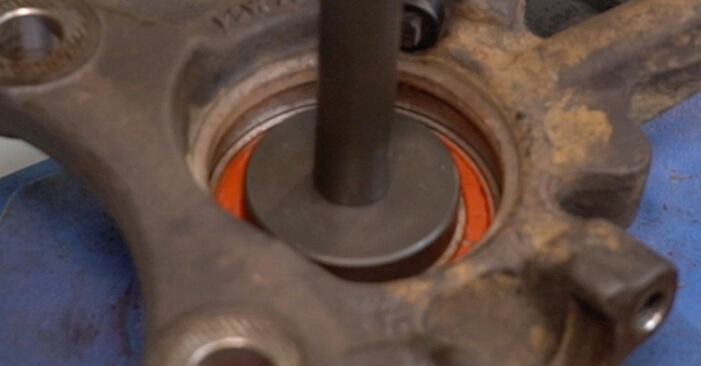 Press out the wheel hub bearing. Use a bush and bearing driver set.
 - Step 41
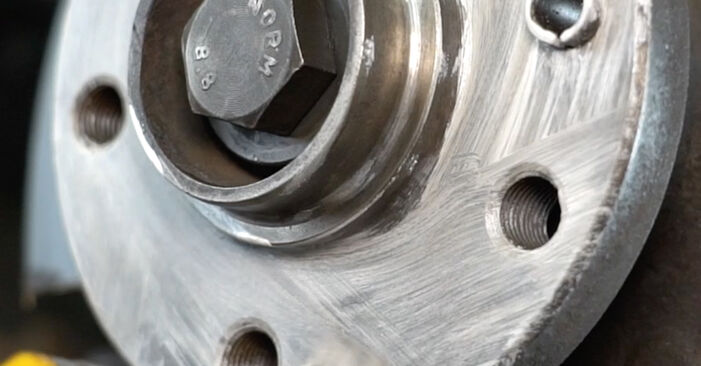
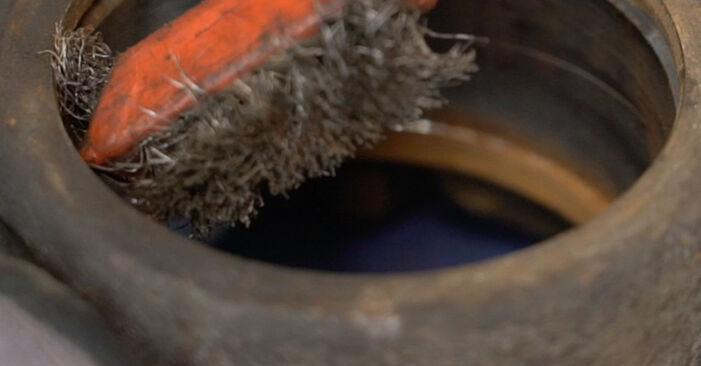 Clean the hub bearing mounting seat. Use a wire brush. Use WD-40 spray.
 - Step 42
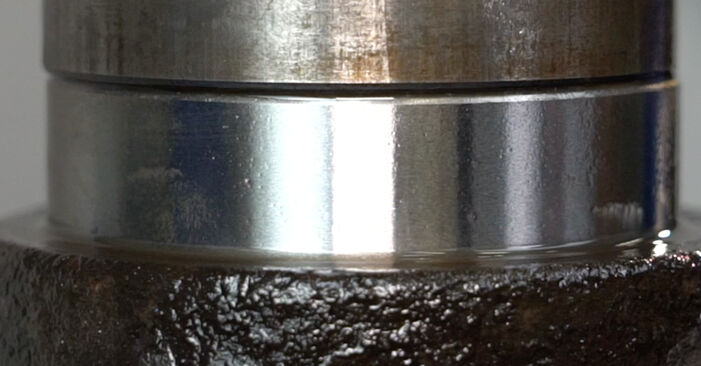 Press-fit the new bearing into the steering knuckle. Use a bush and bearing driver set.Replacement: wheel bearing – SEAT ALHAMBRA (7V8, 7V9). Professionals recommend:Check to make sure the wheel hub bearing is positioned correctly. Avoid its misalignment. Stop pressing on the surface of the bearing immediately after it has been fitted into its mounting seat.
 - Step 43
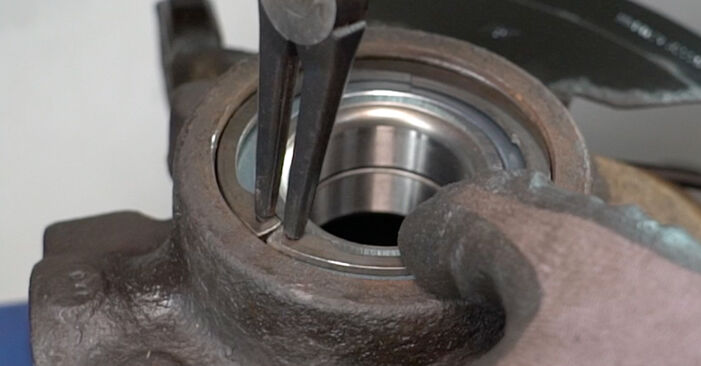 Install the wheel hub bearing retaining ring. Use circlip pliers.
 - Step 44
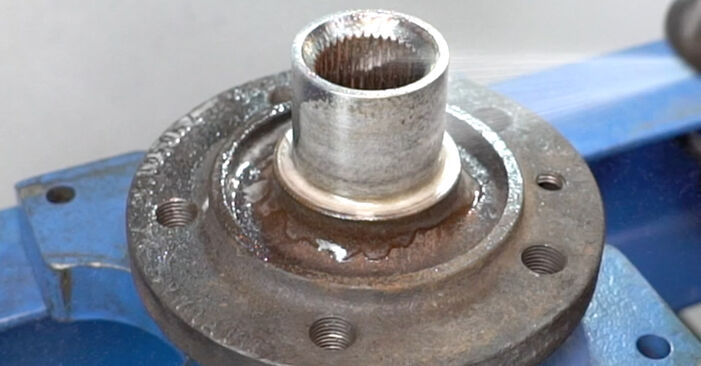 Clean the hub bearing mounting seat. Use a wire brush. Use WD-40 spray.
 - Step 45
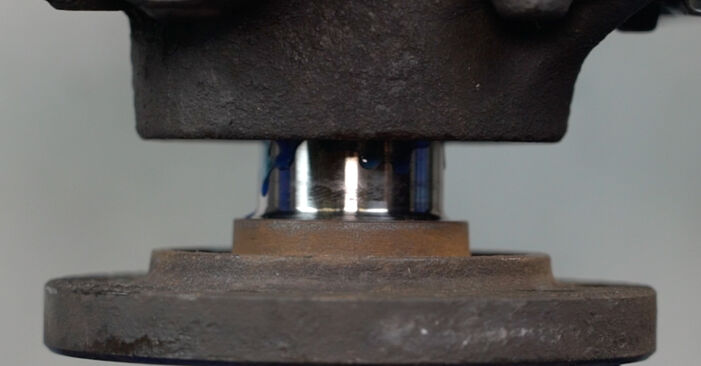 Install the wheel hub on the steering knuckle. Use a bush and bearing driver set.
 - Step 46
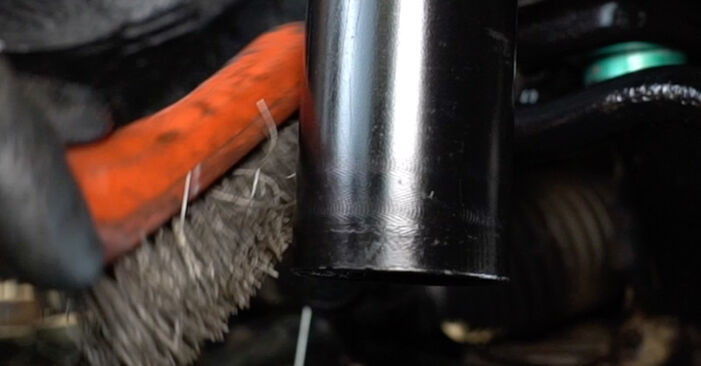 Clean the mounting seats of the shock strut. Use a wire brush. Use WD-40 spray.
 - Step 47
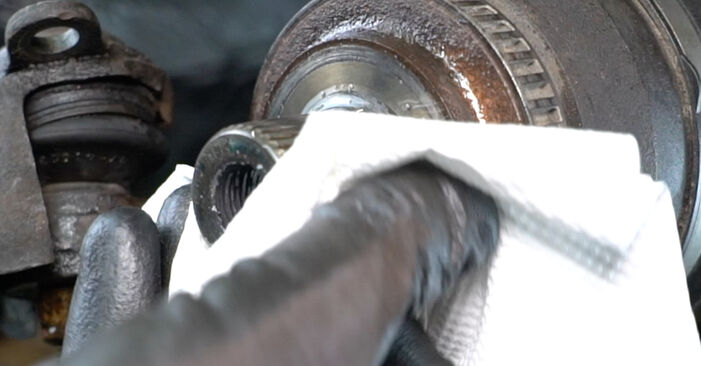 Clean the splines of the drive shaft CV joint. Use a wire brush. Use WD-40 spray.
 - Step 48
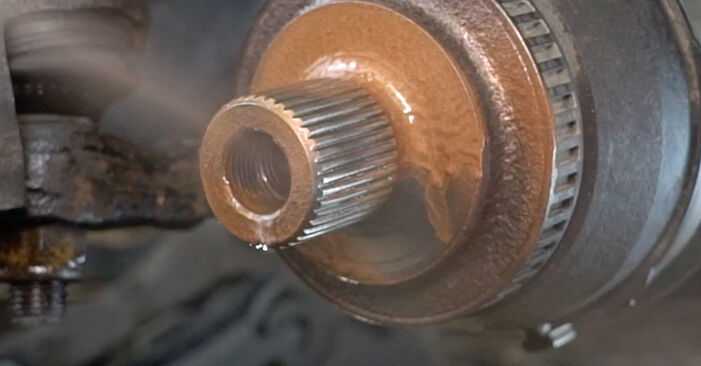 Treat the splines of the driveshaft CV joint. Use copper grease.
 - Step 49
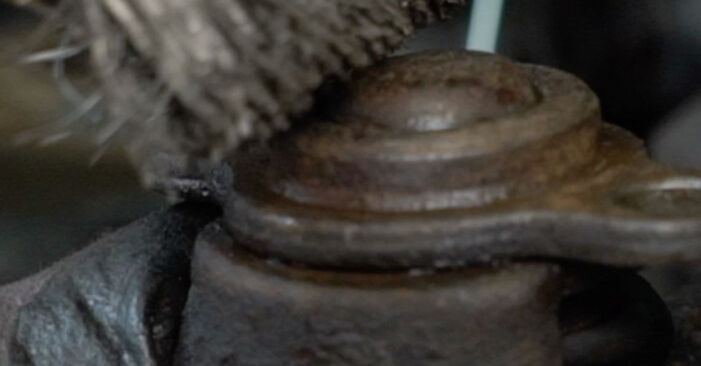 Clean the fasteners that connect the ball joint to the steering knuckle. Use a wire brush. Use WD-40 spray.
 - Step 50
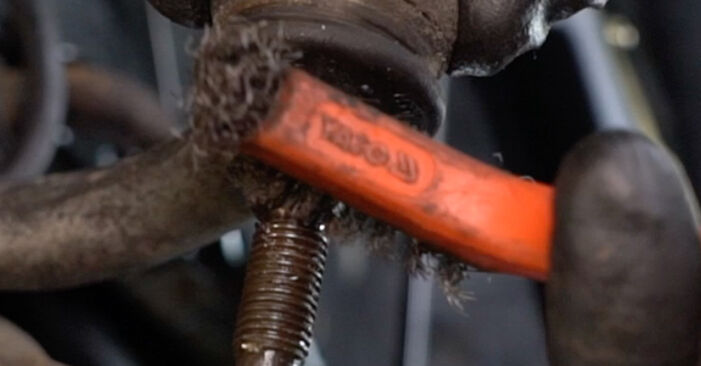 Clean the fastener connecting the tie rod end to the steering knuckle. Use a wire brush. Use WD-40 spray.
 - Step 51
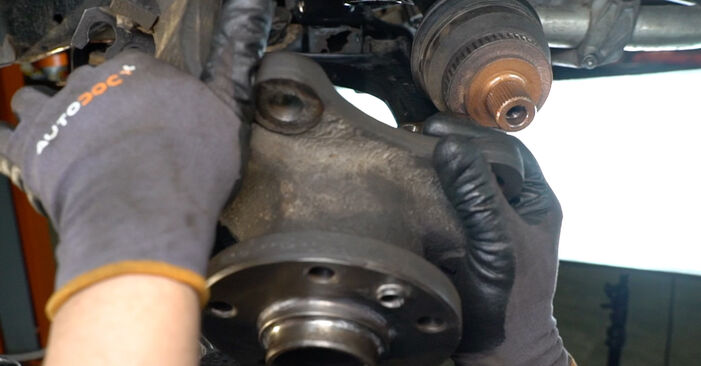 Install the steering knuckle assembled with the wheel hub.
 - Step 52
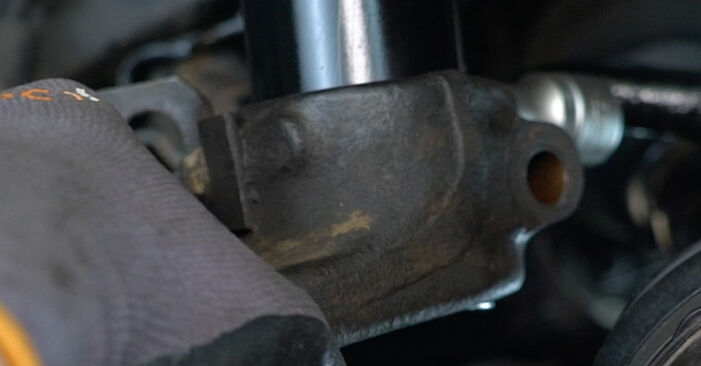 Fix the shock absorber strut on the steering knuckle.
 - Step 53
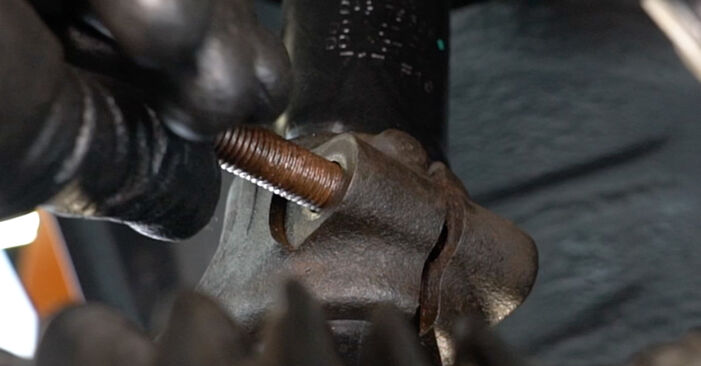 Install the fastening bolt.
Was this manual helpful?
Please rate this manual on a scale from 1 to 5. If you have any questions, feel free to ask us.
Users voted – 0
Need New Tyres?
Find out which tyre and wheel sizes are compatible with the SEAT Alhambra I (7V8, 7V9) model

Popular maintenance tutorials for SEAT Alhambra 7M
Complete guides for changing the Wheel bearings on different SEAT ALHAMBRA models
Unlock your car maintenance assistant!
Track expenses, manage logs, schedule replacements, and more.
Tips & tricks for your SEAT Alhambra (7V8, 7V9)
View more
 DIY manual gearbox restoration | Drivetrain restoration – Part 3
 Easy Steps to Fix Minor Scratches on Your Vehicle | AUTODOC tips
 Don’t Replace, Restore: Fixing Damaged Threads at Home
 Can You Hear Your Brakes Squeaking? Learn the Causes and DIY Solutions! | AUTODOC Tips
Most commonly replaced car parts on SEAT ALHAMBRA

Time to replace parts? Get even better deals in our Shop app.

SCAN ME


