
Disclaimer

How to change front lower arm on SEAT Alhambra (7V8, 7V9) – replacement guide
downloads:
4
Views:
38


Important!
This replacement procedure can be used for:
SEAT Alhambra (7V8, 7V9) 2.0 i, SEAT Alhambra (7V8, 7V9) 1.9 TDI, SEAT Alhambra (7V8, 7V9) 1.9 TDI, SEAT Alhambra (7V8, 7V9) 1.8 T 20V, SEAT Alhambra (7V8, 7V9) 2.8 V6, SEAT Alhambra (7V8, 7V9) 1.9 TDI, SEAT Alhambra (7V8, 7V9) 2.8 V6 4motion, SEAT Alhambra (7V8, 7V9) 1.9 TDI 4motion, SEAT Alhambra (7V8, 7V9) 1.9 TDI, SEAT Alhambra (7V8, 7V9) 1.9 TDI, SEAT Alhambra (7V8, 7V9) 2.0 TDI … View more
The steps may slightly vary depending on the car design.
SEAT Alhambra (7V8, 7V9) 2.0 i, SEAT Alhambra (7V8, 7V9) 1.9 TDI, SEAT Alhambra (7V8, 7V9) 1.9 TDI, SEAT Alhambra (7V8, 7V9) 1.8 T 20V, SEAT Alhambra (7V8, 7V9) 2.8 V6, SEAT Alhambra (7V8, 7V9) 1.9 TDI, SEAT Alhambra (7V8, 7V9) 2.8 V6 4motion, SEAT Alhambra (7V8, 7V9) 1.9 TDI 4motion, SEAT Alhambra (7V8, 7V9) 1.9 TDI, SEAT Alhambra (7V8, 7V9) 1.9 TDI, SEAT Alhambra (7V8, 7V9) 2.0 TDI … View more
The steps may slightly vary depending on the car design.
This video shows the replacement procedure of a similar car part on another vehicle
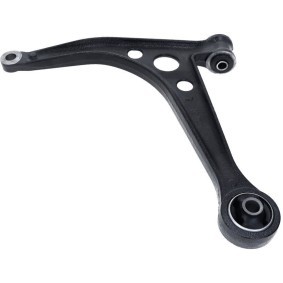
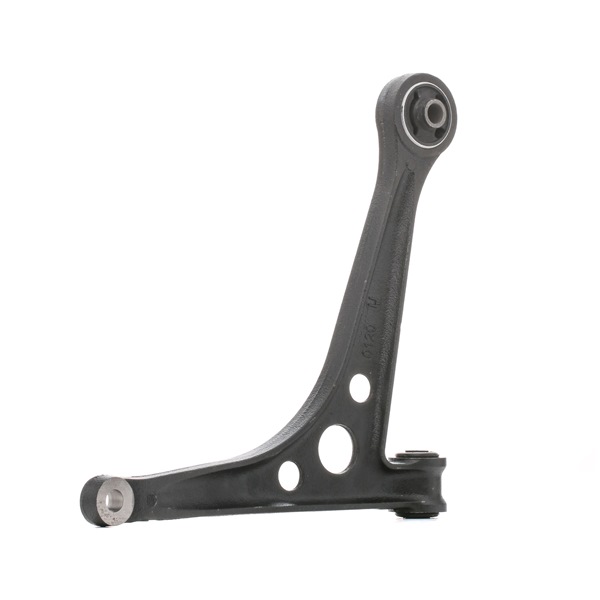
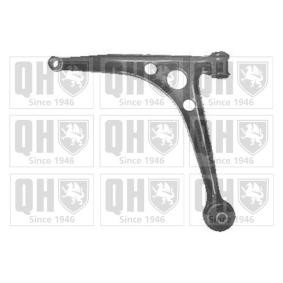
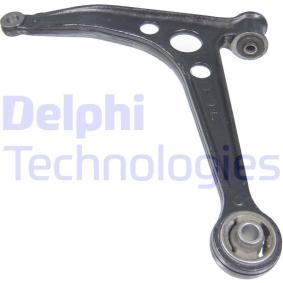
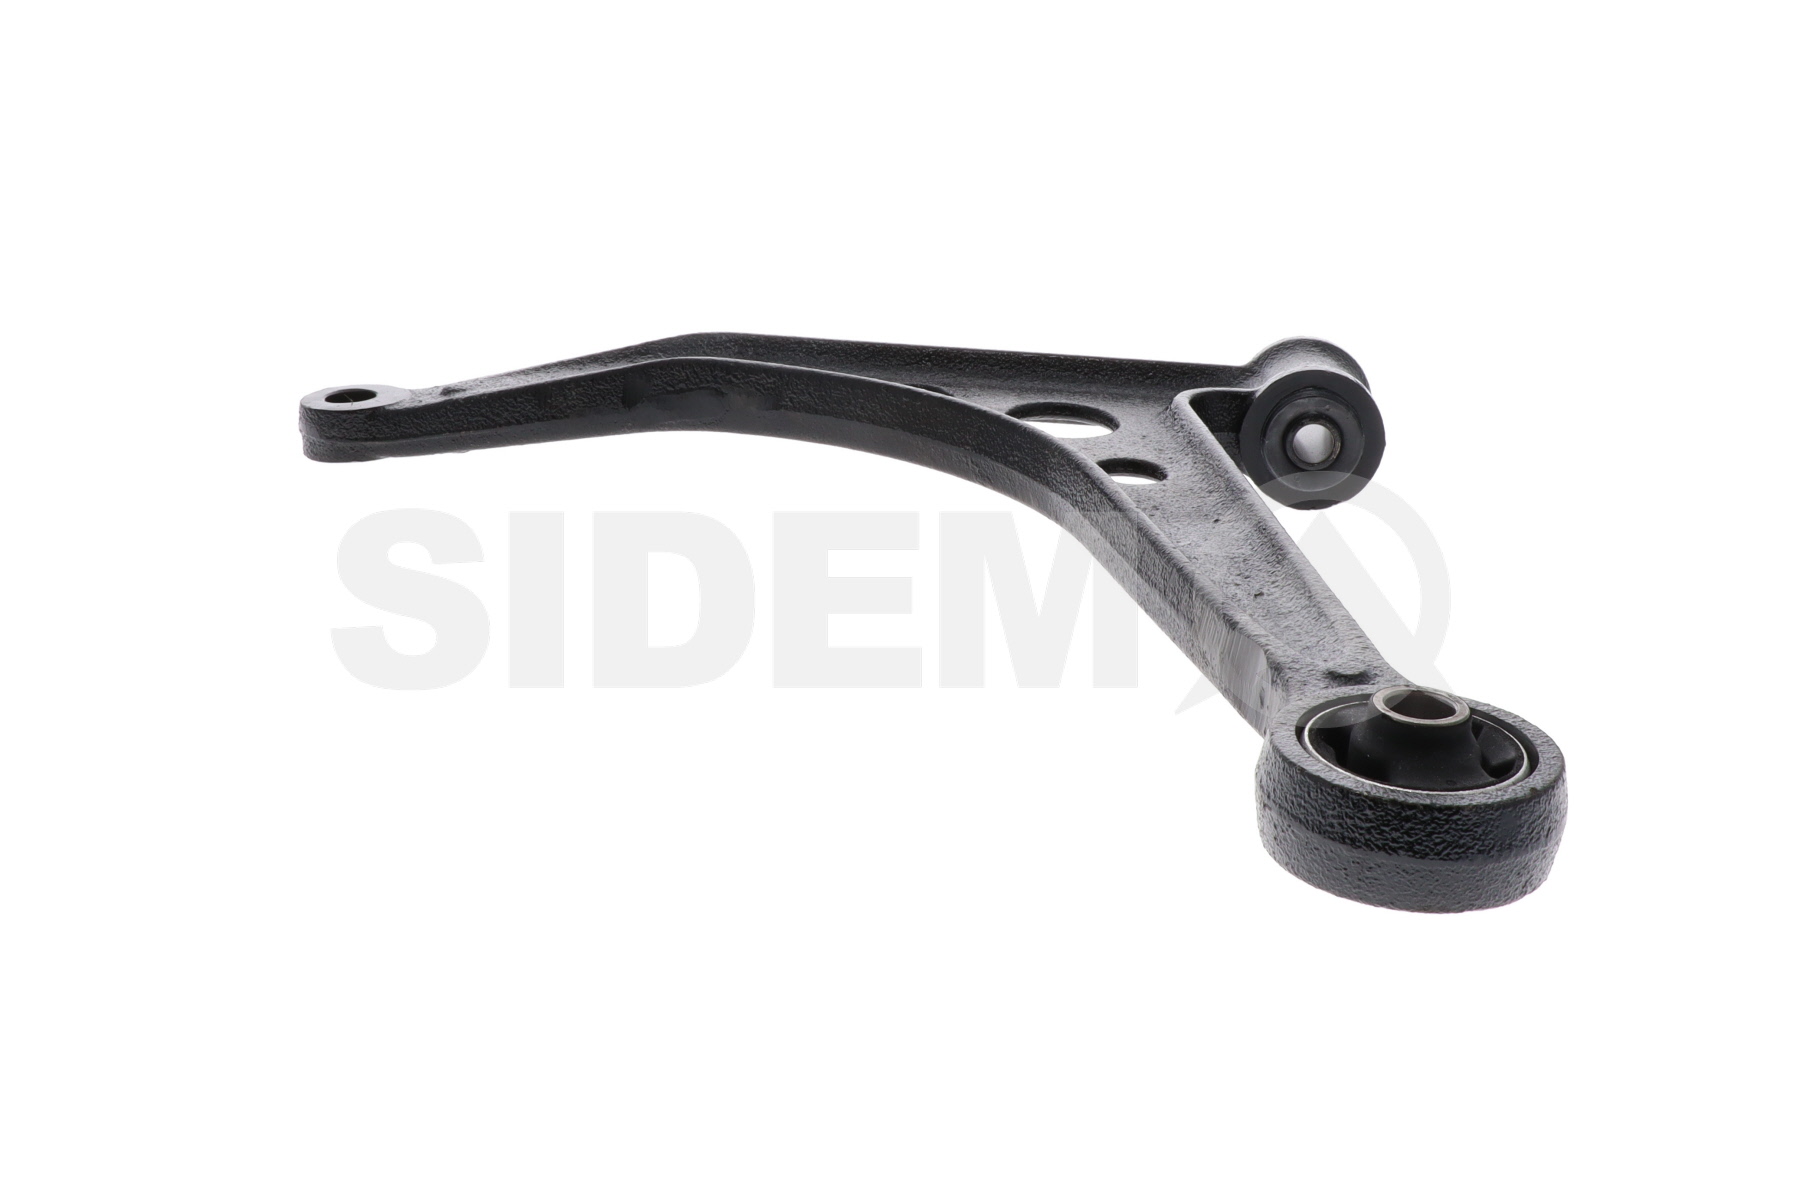
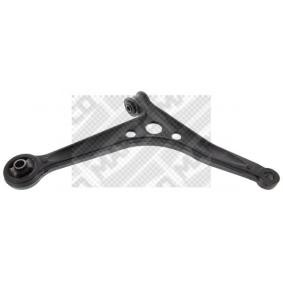
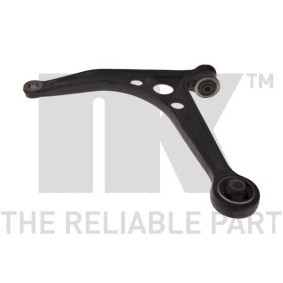
All the parts you need to replace – Control Arm for Alhambra (7V8, 7V9) and other SEAT models
Alternative products
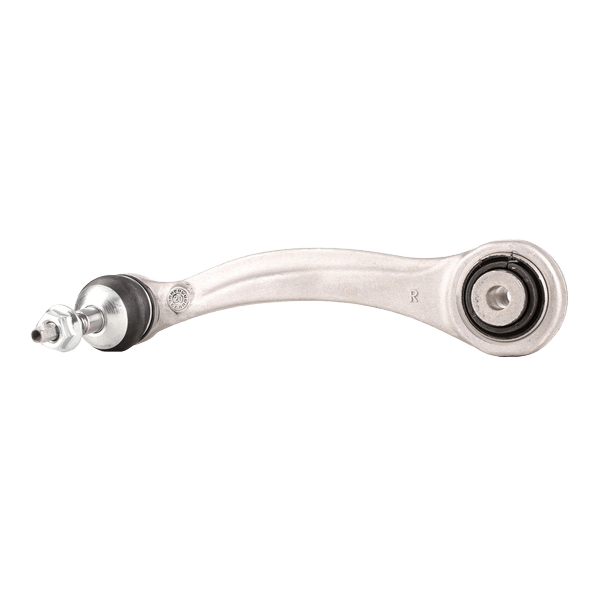 Suspension arm



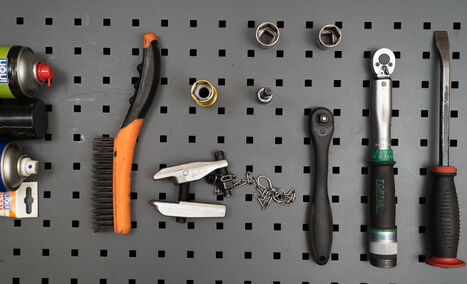
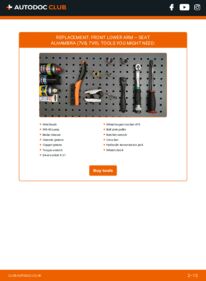
Wire brush
WD-40 spray
Brake cleaner
Ceramic grease
Copper grease
Torque wrench
Drive socket # 21
Wheel impact socket #19
Ball joint puller
Ratchet wrench
Crow bar
Hydraulic transmission jack
Wheel chock

Replacement: front lower arm – SEAT ALHAMBRA (7V8, 7V9). Professionals recommend:
- The replacement procedure is identical for the left and right lower control arms.
- Please note: all work on the car – SEAT ALHAMBRA (7V8, 7V9) – should be done with the engine switched off.
Carry out replacement in the following order:
- Step 1Secure the wheels with chocks.Step 2
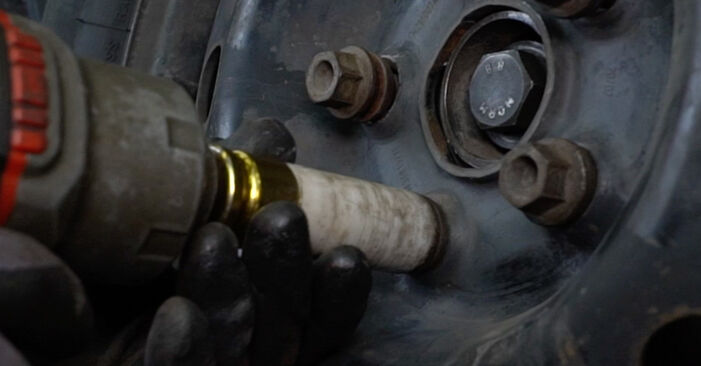
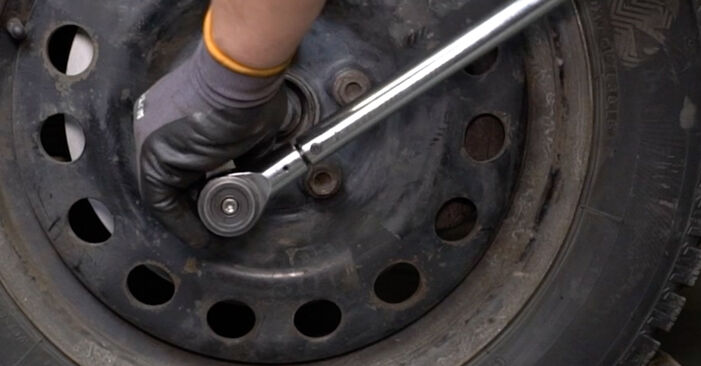
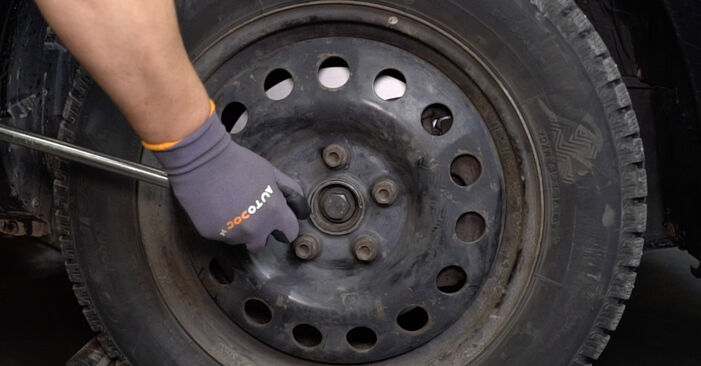 Loosen the wheel mounting bolts. Use wheel impact socket #19.
 - Step 3Raise the car.Replacement: front lower arm – SEAT ALHAMBRA (7V8, 7V9). AUTODOC recommends:If you are using a jack, make sure it rests on a flat surface without any unevenness.Be sure to additionally secure the car with jack stands.Step 4
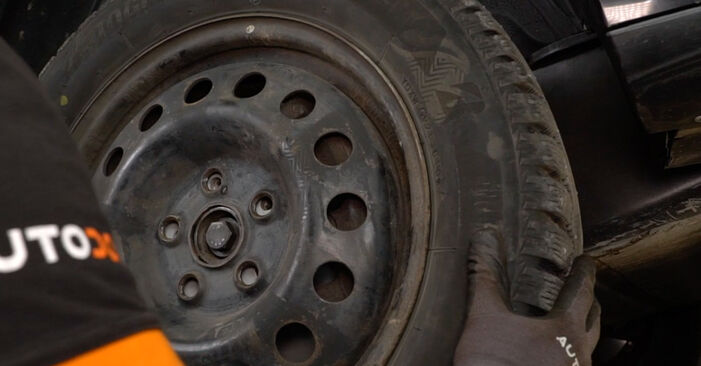
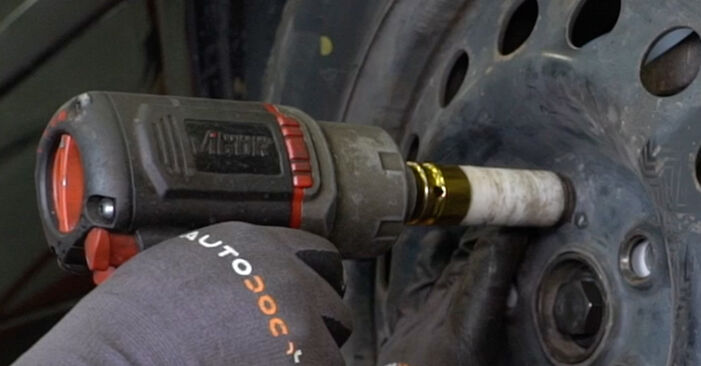 Unscrew the wheel bolts.AUTODOC recommends:Warning! To avoid injury, hold the wheel while unscrewing the fastening bolts. SEAT ALHAMBRA (7V8, 7V9)
 - Step 5
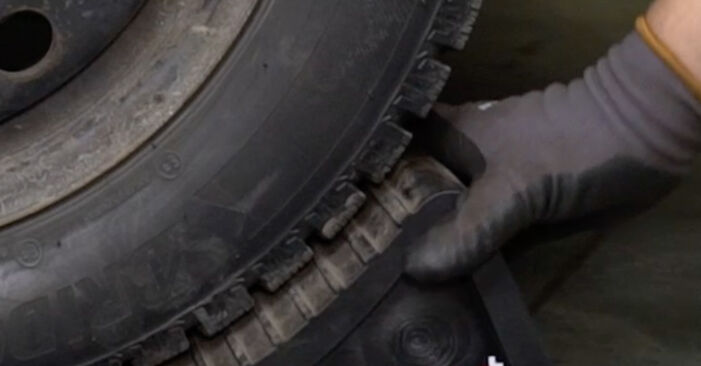
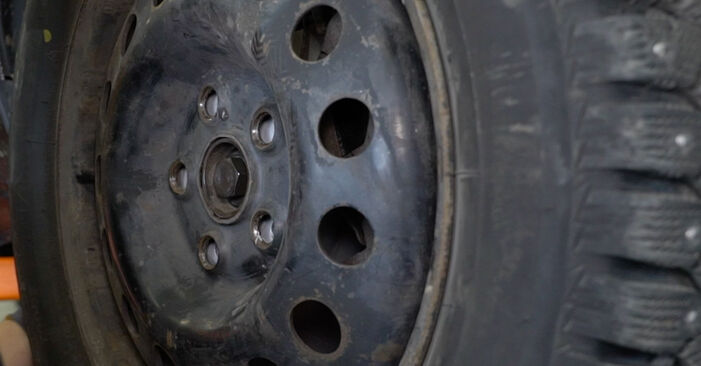 Remove the wheel.
 - Step 6
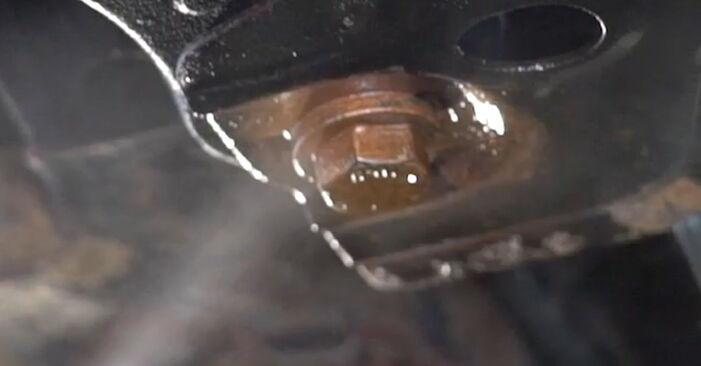
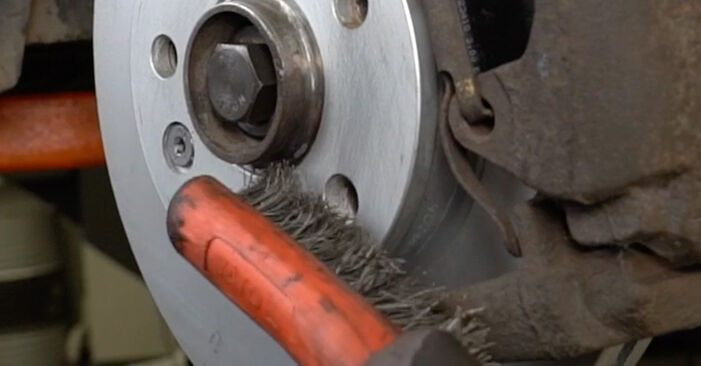
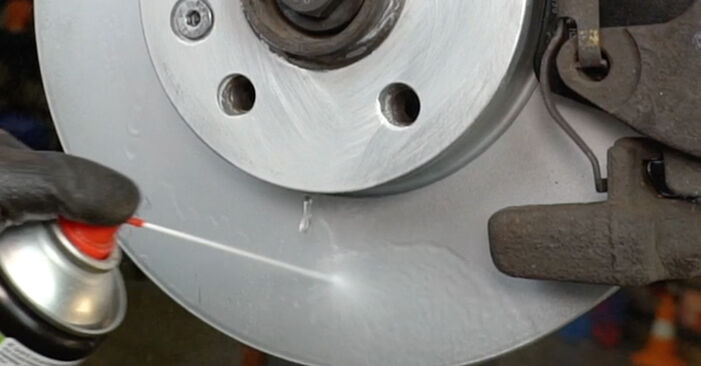
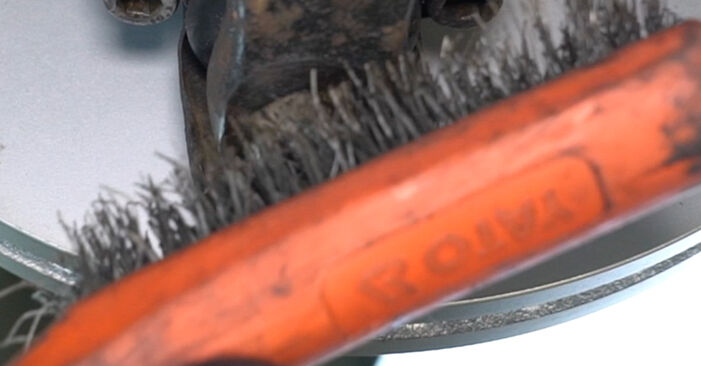 Clean the fastener that connects the suspension arm to the ball joint. Use a wire brush. Use WD-40 spray.
 - Step 7
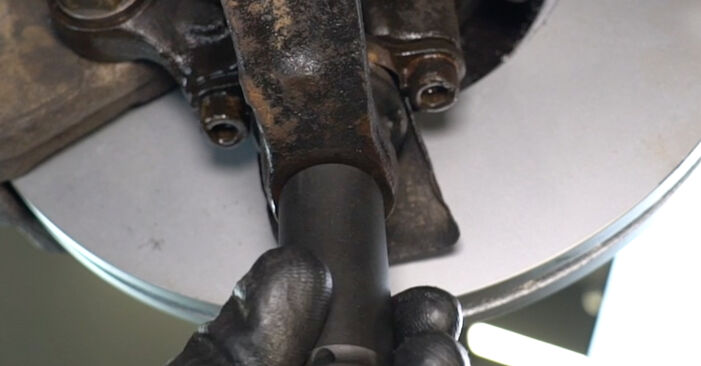 Unscrew the fastener that connects the suspension arm to the ball joint. Use a drive socket #21. Use a ratchet wrench.
 - Step 8
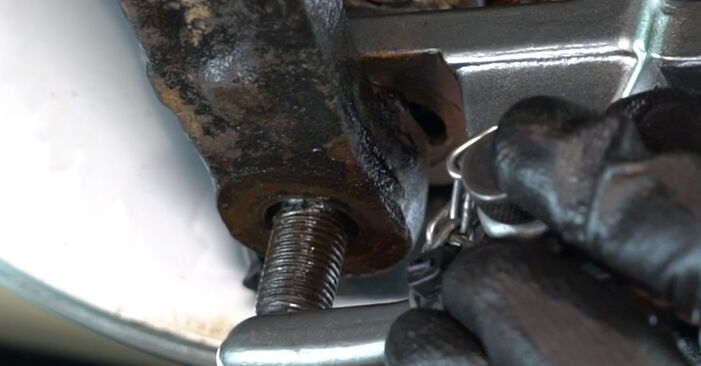 Detach the suspension arm from the ball joint. Use a ball joint puller.
 - Step 9
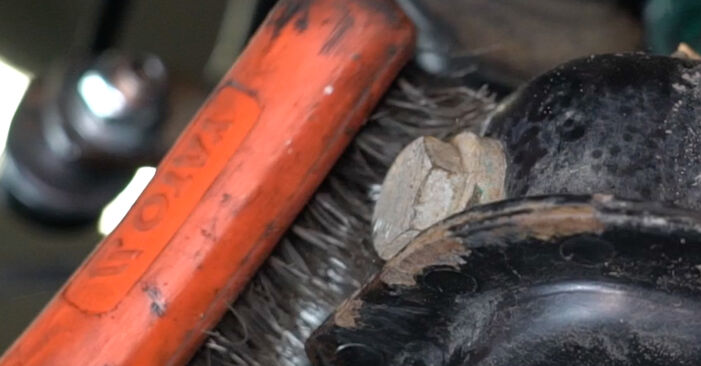 Clean the fasteners that connect the suspension arm to the subframe. Use a wire brush. Use WD-40 spray.
 - Step 10
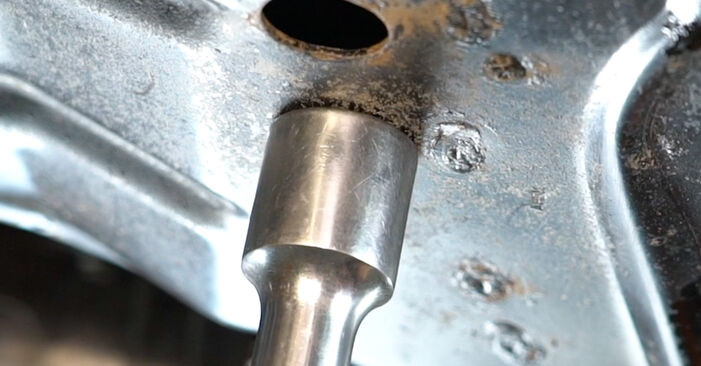 Support the subframe. Use a hydraulic transmission jack.
 - Step 11
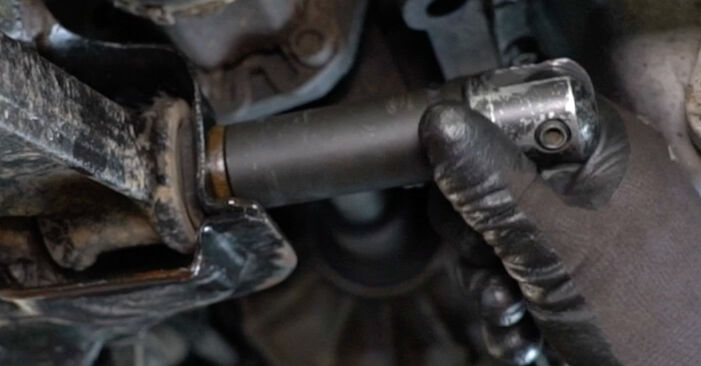 Unscrew the rear fastener of the control arm. Use a drive socket #21. Use a ratchet wrench.
 - Step 12
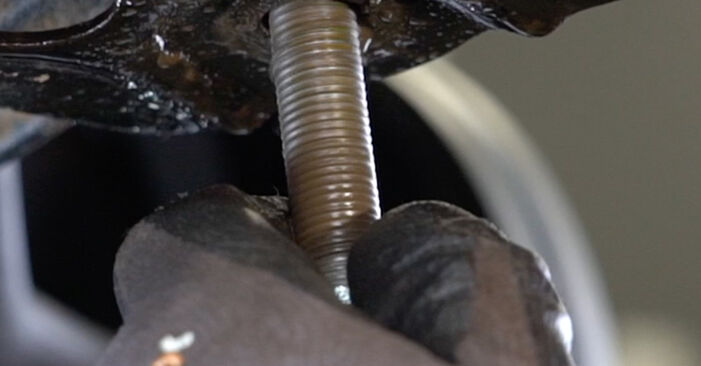 Remove the fastening bolt.
 - Step 13
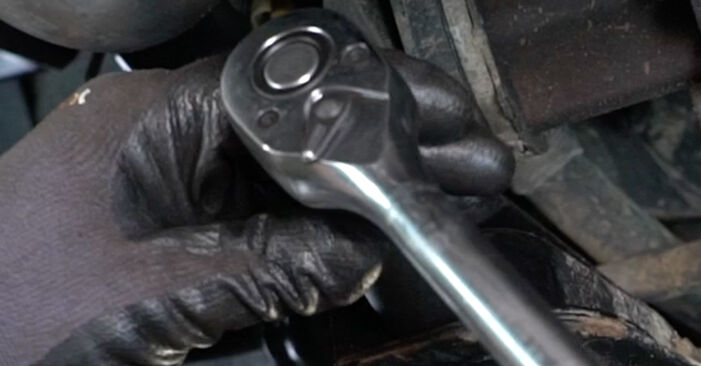 Unscrew the front fastener of the control arm. Use a drive socket #21. Use a ratchet wrench.
 - Step 14
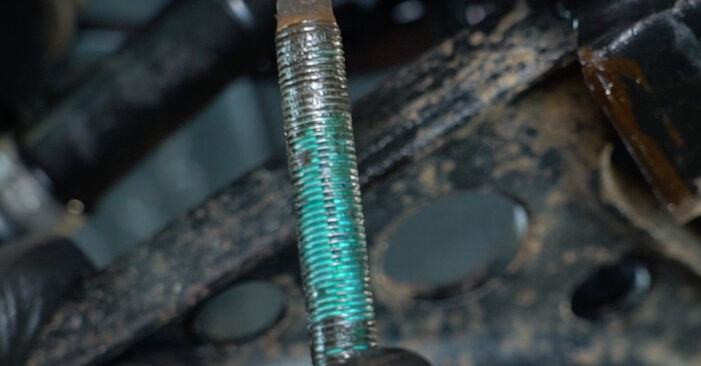 Remove the fastening bolt.
 - Step 15
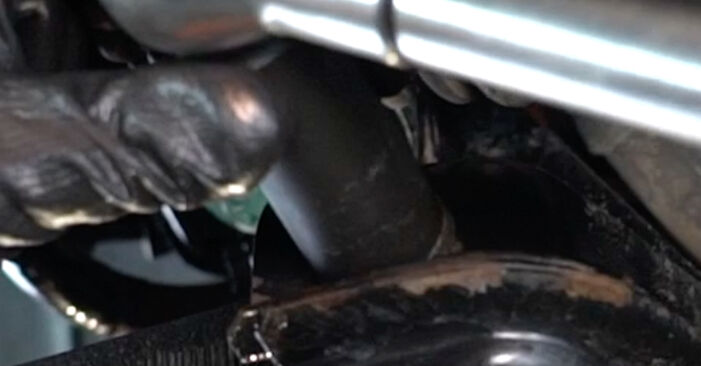
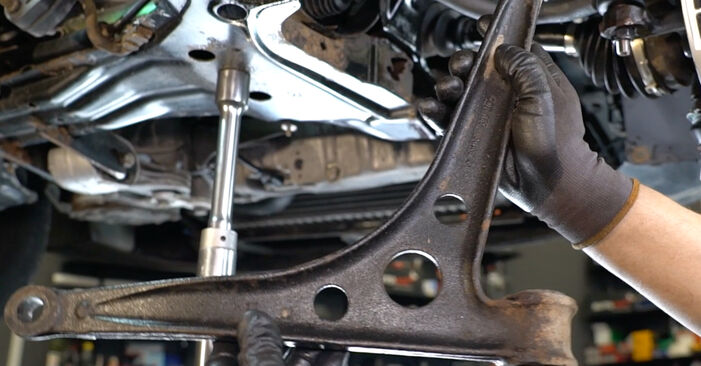 Remove the arm.
 - Step 16
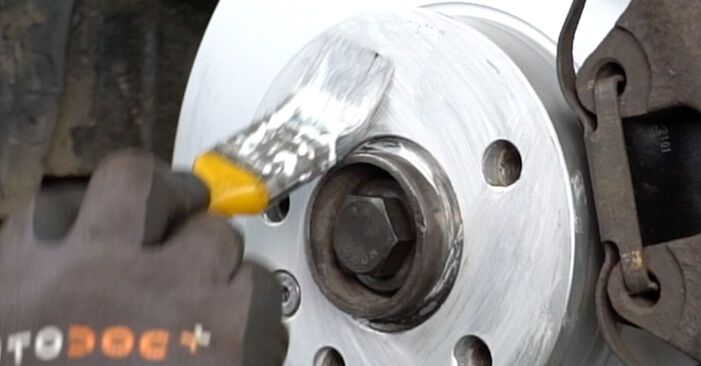
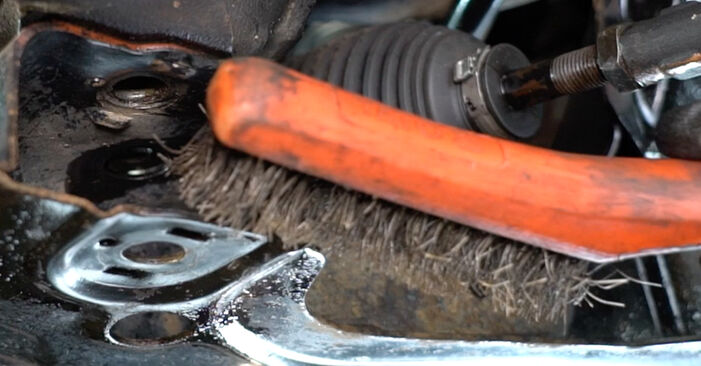 Clean the suspension arm mounting seats. Use a wire brush. Use WD-40 spray.
 - Step 17
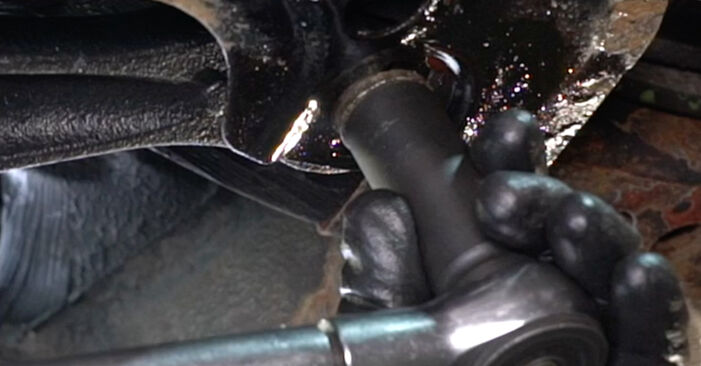
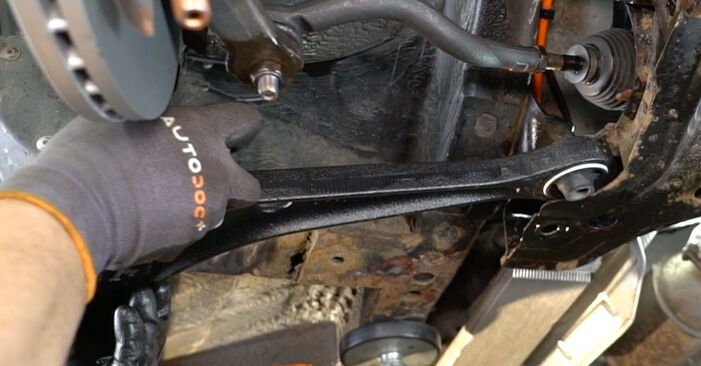 Install a new arm. Use a crowbar.Replacement: front lower arm – SEAT ALHAMBRA (7V8, 7V9). AUTODOC experts recommend:During the installation process, use only new bolts and nuts.Do not damage the ball joint cover.
 - Step 18
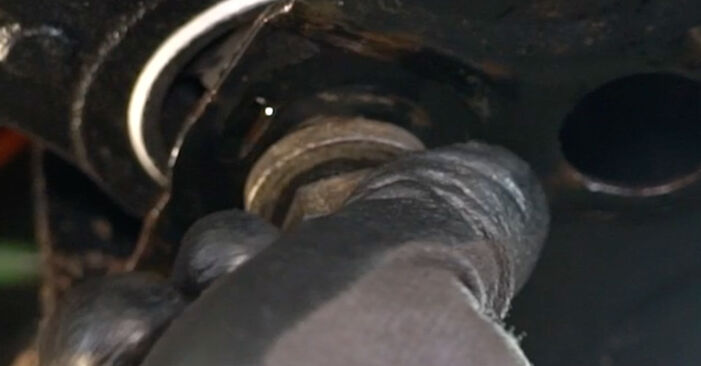 Install the fastening bolts.
 - Step 19
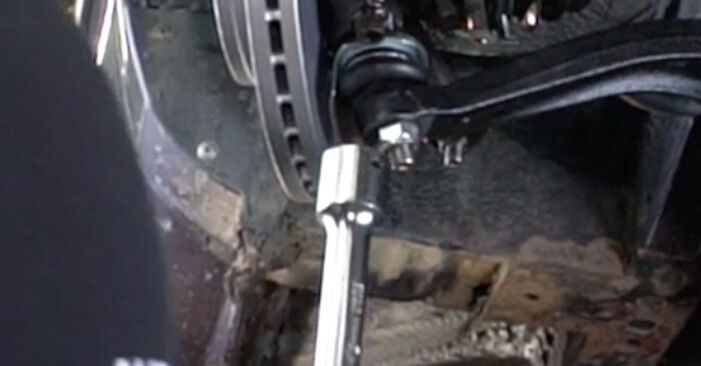
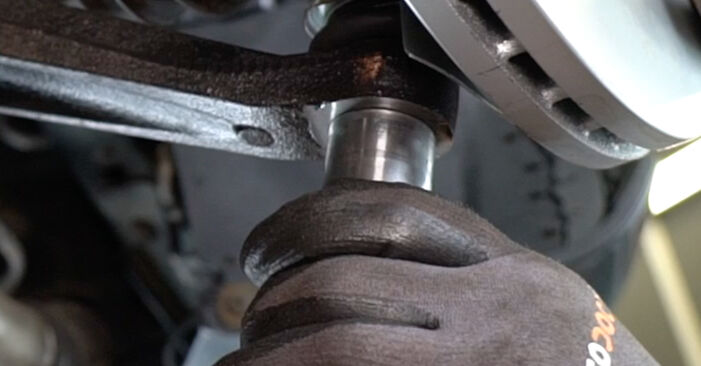
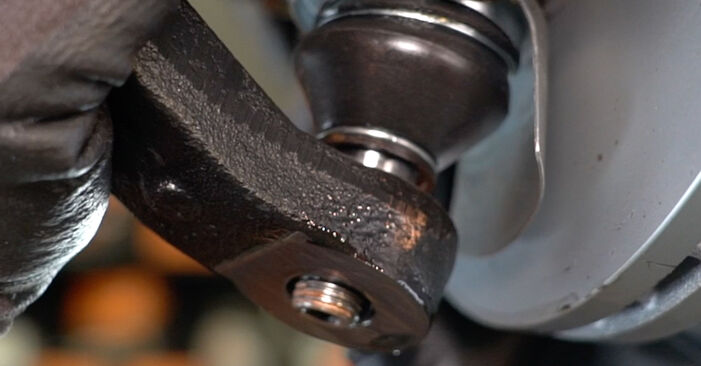 Connect the control arm to the ball joint.
 - Step 20
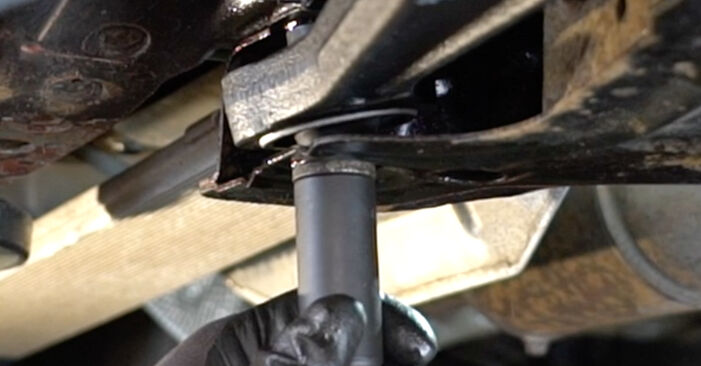
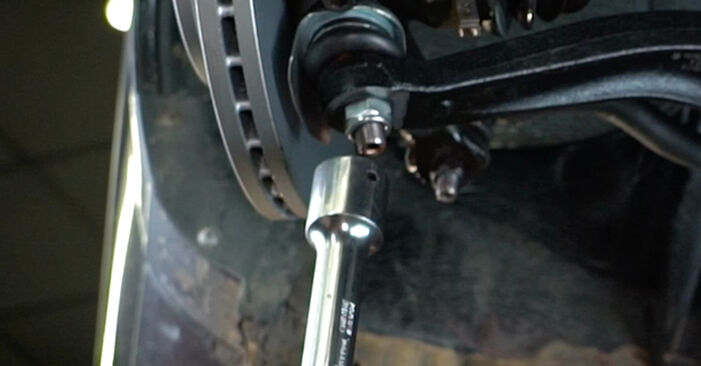
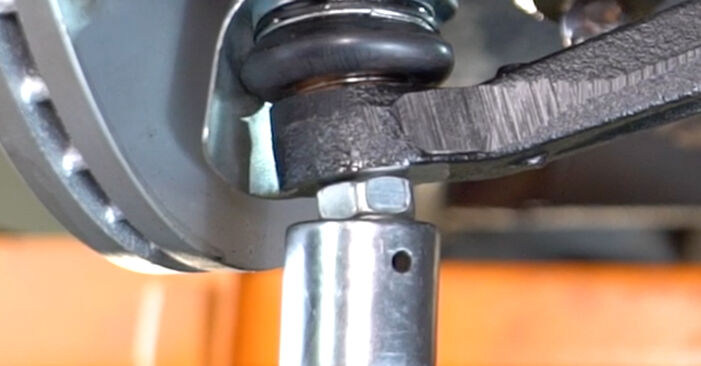
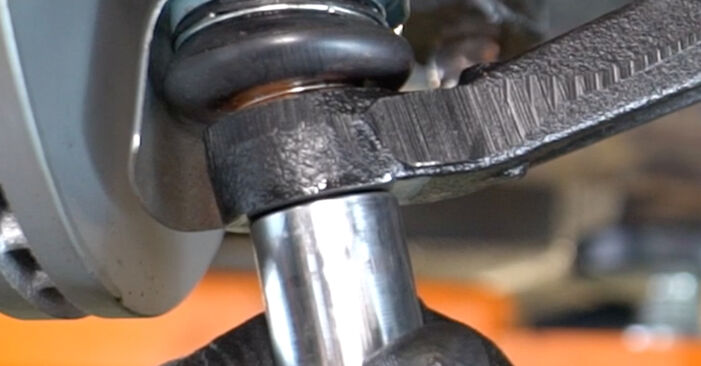 Screw in the fastener connecting the suspension arm to the ball joint. Use a drive socket #21. Use a ratchet wrench.
Was this manual helpful?
Please rate this manual on a scale from 1 to 5. If you have any questions, feel free to ask us.
Users voted – 0
Need New Tyres?
Find out which tyre and wheel sizes are compatible with the SEAT Alhambra I (7V8, 7V9) model


Popular maintenance tutorials for SEAT Alhambra 7M
 Free download PDF
 849.92 KB
 Free download PDF2.51 MB
 Free download PDF1.39 MB
 Free download PDF1.27 MB
 Free download PDF1.46 MB
 Free download PDF3.92 MB
Complete guides for changing the Control arm on different SEAT ALHAMBRA models
 Free download PDF2.13 MB
 Free download PDF1.66 MB
 Free download PDF1.07 MB
 Free download PDF1.91 MB
 Free download PDF1.67 MB
 Free download PDF1.67 MB

Unlock your car maintenance assistant!
Track expenses, manage logs, schedule replacements, and more.

Tips & tricks for your SEAT Alhambra (7V8, 7V9)
View more
 DIY car soundproofing | AUTODOC tips
 Why Checking Your Oil is Crucial for Engine Performance
 5 most common causes of oil leaks | AUTODOC tips
 5 Ways You’re Scrubbing Your Car Wrong | AUTODOC Tips
Most commonly replaced car parts on SEAT ALHAMBRA















Time to replace parts? Get even better deals in our Shop app.

SCAN ME