Disclaimer
How to change engine thermostat on Opel Meriva X03 – replacement guide
downloads:
44
Views:
948
Recommended replacement interval for the part category Thermostat : 50000 km
Important!
This replacement procedure can be used for:
OPEL Corsa C Hatchback (X01) 1.4 (F08, F68), OPEL ZAFIRA B (A05) 1.6 CNG (M75), OPEL Vectra C Saloon (Z02) 1.6 16V (F69), OPEL Zafira A (T98) 1.6 16V (F75), OPEL Zafira A (T98) 1.6 CNG (F75), OPEL VECTRA B (36_) 1.6 i 16V (F19), OPEL Vectra C CC (Z02) 1.6 (F68), OPEL Astra G Caravan (T98) 1.4 16V (F35), OPEL Astra G Caravan (T98) 1.6 16V (F35), OPEL Astra G Caravan (T98) 1.4 (F35), OPEL Astra G Caravan (T98) 1.6 CNG (F35), OPEL Astra G Saloon (T98) 1.4 (F69), OPEL Astra G Saloon (T98) 1.6 16V (F69), OPEL Astra G Saloon (T98) 1.4 16V (F69), OPEL Astra G CC (T98) 1.6 16V (F08, F48), OPEL Astra G CC (T98) 1.4 (F08, F48), OPEL Astra G CC (T98) 1.4 16V (F08, F48), OPEL Vectra C Caravan (Z02) 1.6 16V (F35), OPEL Astra G Coupe (T98) 1.6 16V (F07), OPEL ASTRA G Convertible (F67) 1.6 16V (F67), OPEL ASTRA G Box (F70) 1.4 (F70), OPEL ASTRA G Box (F70) 1.6 (F70), OPEL VECTRA B Estate (31_) 1.6 i 16V (F35), OPEL VECTRA B Hatchback (38_) 1.6 i 16V (F68), OPEL COMBO Box Body / Estate 1.6 CNG 16V, OPEL COMBO Box Body / Estate 1.6 CNG 16V, OPEL COMBO Tour 1.6 CNG, OPEL COMBO Tour 1.6 CNG, OPEL Astra G Classic Caravan (F35) 1.6, OPEL Astra G Classic Hatchback (T98) 1.6 16V (F08, F48), OPEL Astra G Classic Hatchback (T98) 1.6 (F08, F48), OPEL Astra G Classic Caravan (F35) 1.4 16V … View more
The steps may slightly vary depending on the car design.
How to change engine thermostat on OPEL MERIVA A [TUTORIAL AUTODOC]

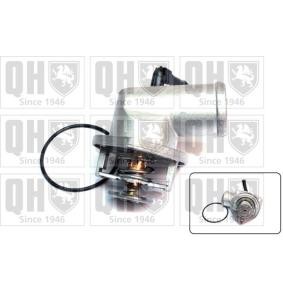
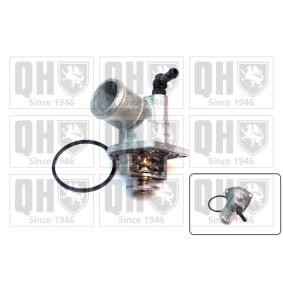
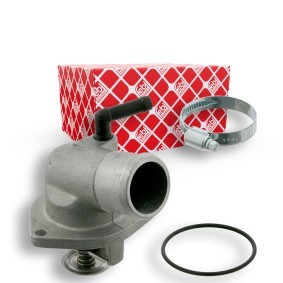
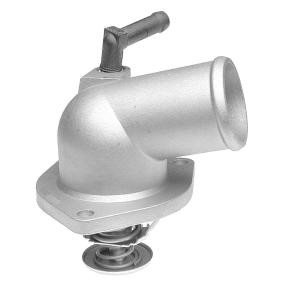
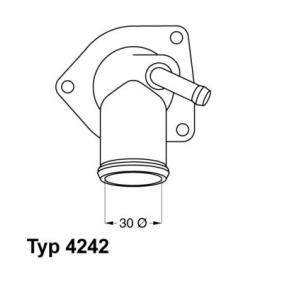
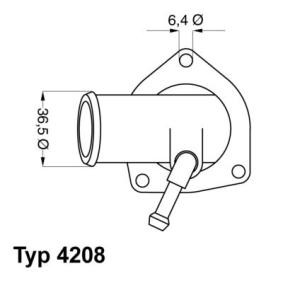
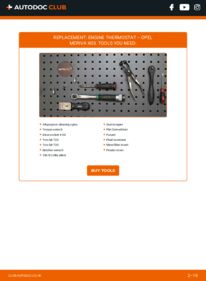
All the parts you need to replace – Thermostat for Meriva A (X03) and other OPEL models
Alternative products

All-purpose cleaning spray
Torque wrench
Drive socket # E8
Torx bit T20
Torx bit T30
Ratchet wrench
Clic-R collar pliers
Seal scraper
Flat Screwdriver
Funnel
Fluid container
Microfibre towel
Fender cover
Replacement: engine thermostat – Opel Meriva X03. AUTODOC recommends:
- Check the condition of the coolant every time you replace the thermostat. Change the coolant if necessary.
- Please note: all work on the car – Opel Meriva X03 – should be done with the engine switched off.
Carry out replacement in the following order:
- Step 1
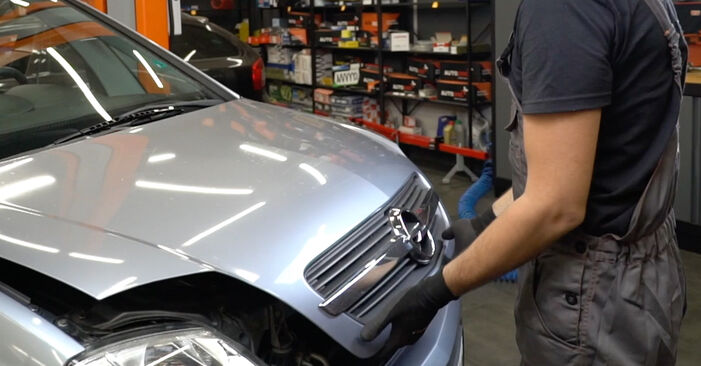
 Open the bonnet.
 - Step 2
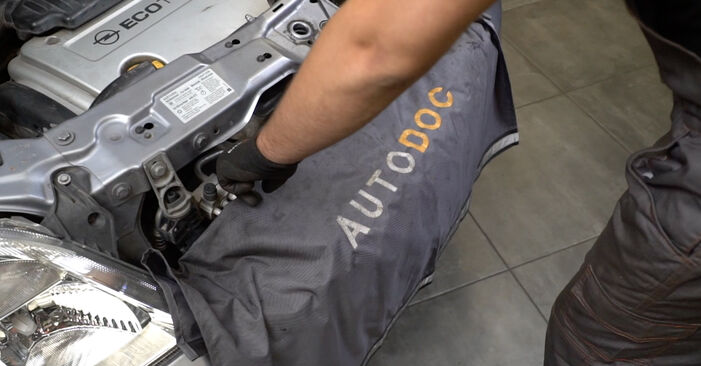
 Use a fender protection cover to prevent damaging paintwork and plastic parts of the car.
 - Step 3
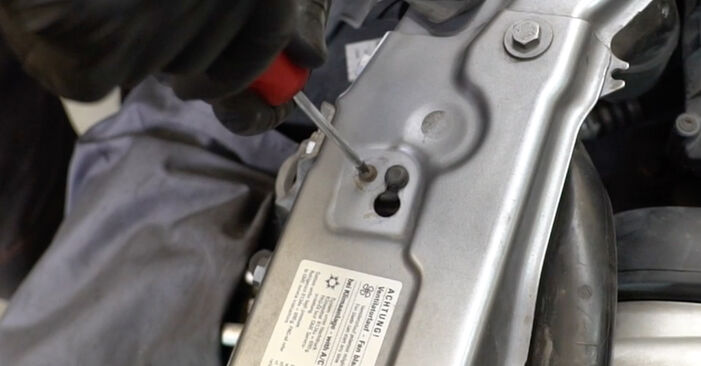
 Unscrew the fasteners of the air distribution housing assembly. Use Torx T20.
 - Step 4
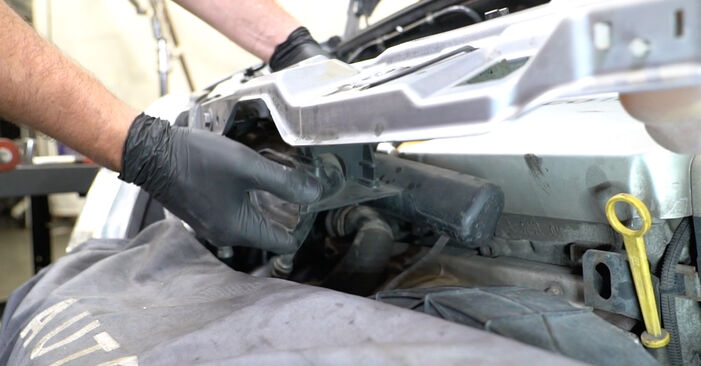
 Remove the air distribution housing assembly.
 - Step 5
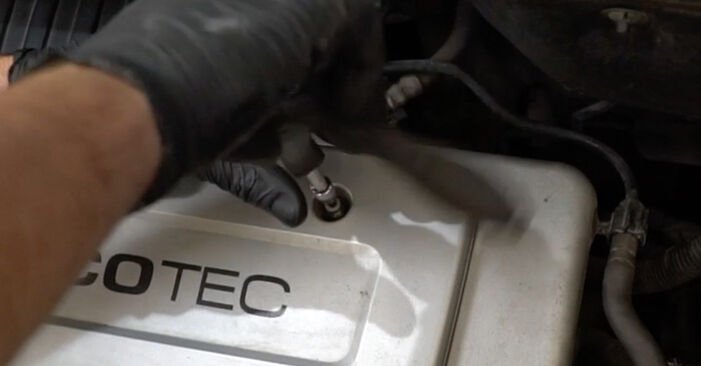
 Unscrew the engine cover fastener. Use Torx T30. Use a ratchet wrench.
 - Step 6
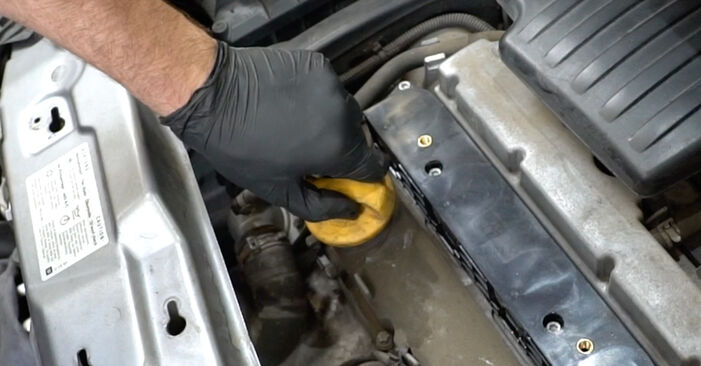
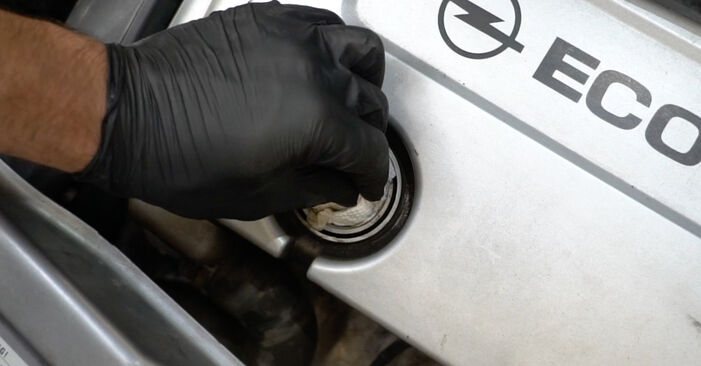
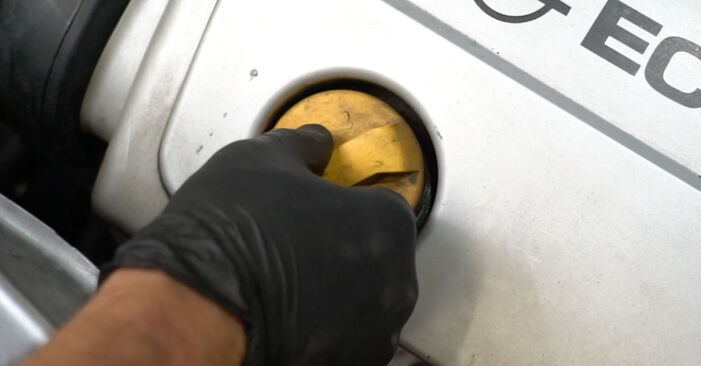
 Unscrew the oil filler plug.
 - Step 7Remove the oil filler cap.Step 8
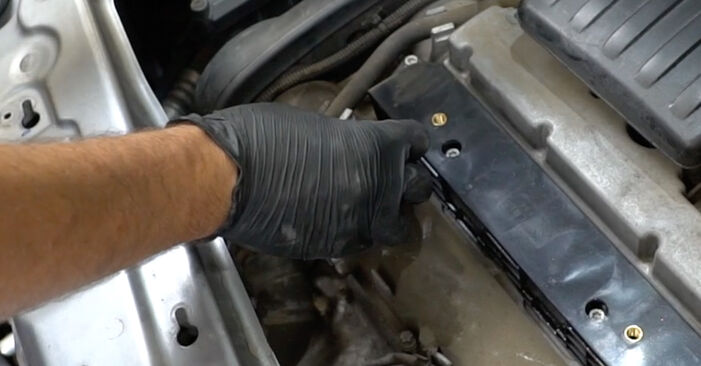
 Cover the oil filler opening with a microfibre towel to prevent dirt and foreign objects from getting into the system.
 - Step 9
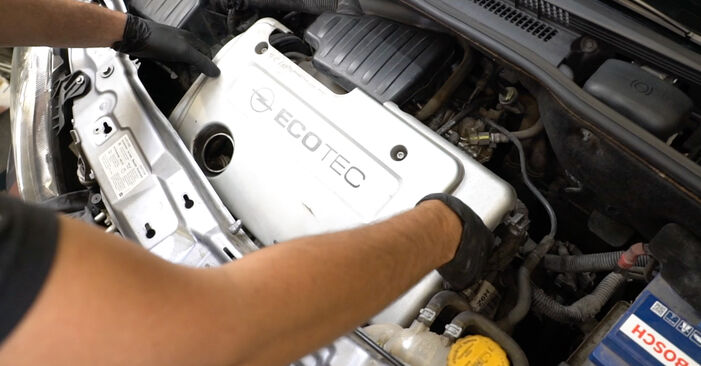
 Remove the engine cover.AUTODOC recommends:Replacement: engine thermostat – Opel Meriva X03. Do not use excessive force when removing the part as this may damage it.
 - Step 10
 Remove the microfibre towel from the oil filler opening.
 - Step 11
 Install the oil filler cap.
 - Step 12
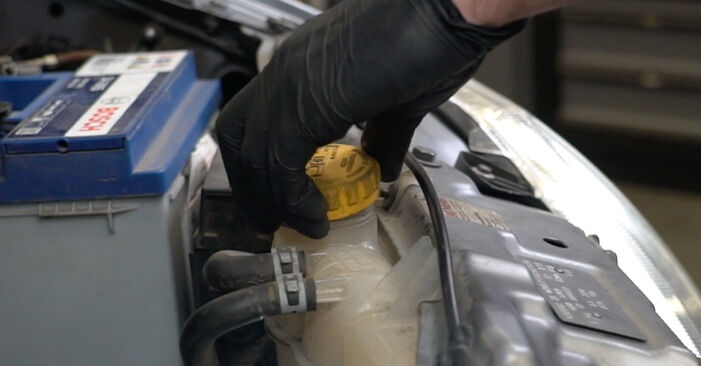
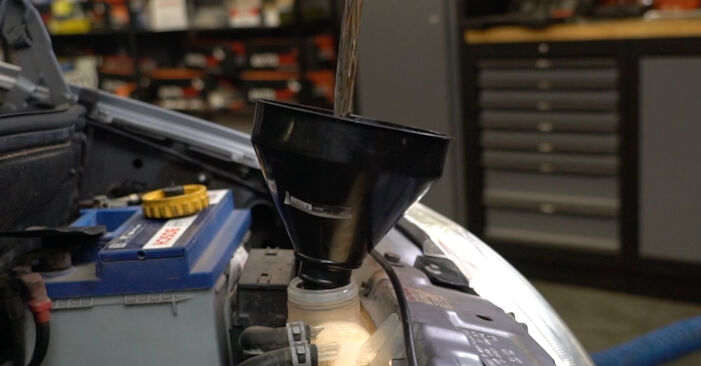
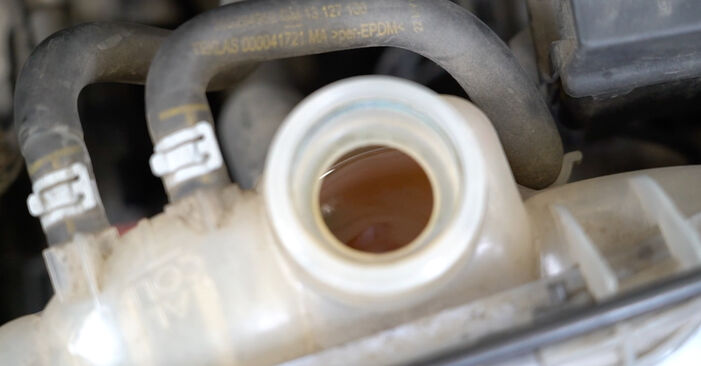
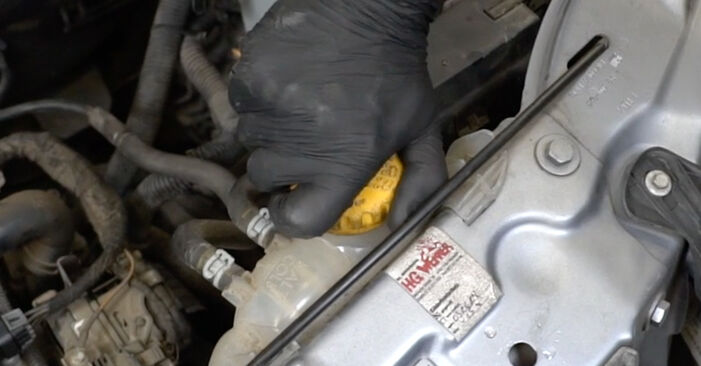
 Unscrew the coolant reservoir cap.
 - Step 13
 Lift the car using a jack or place it over an inspection pit.
 - Step 14
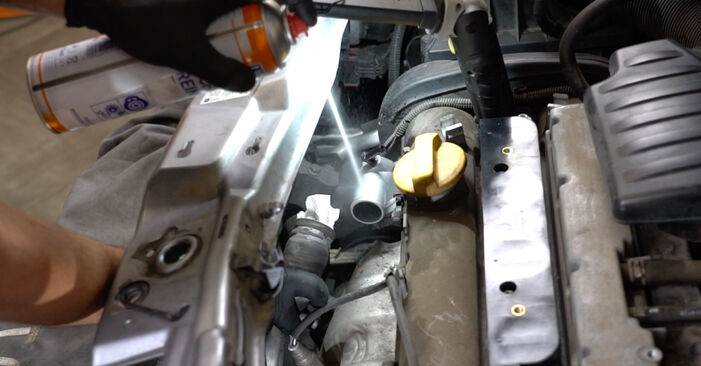
 Clean the coolant drain plug. Use all-purpose cleaning spray.
 - Step 15
 Prepare a container for fluids.
 - Step 16
 Open the coolant drain tap. Use a flat screwdriver.
 - Step 17
 Drain the coolant from the engine.Replacement: engine thermostat – Opel Meriva X03. Tip from AUTODOC experts:Caution! The coolant can be very hot.Wear gloves to prevent contact with hot liquid.All work should be done with the engine stopped.
 - Step 18Wait until the coolant has completely flowed out of the drain hole.Step 19
 Close the coolant drain tap. Use a flat screwdriver.
 - Step 20
 Lower the car.
 - Step 21
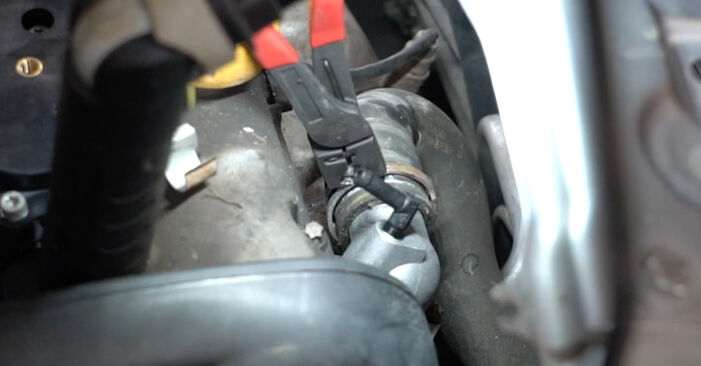
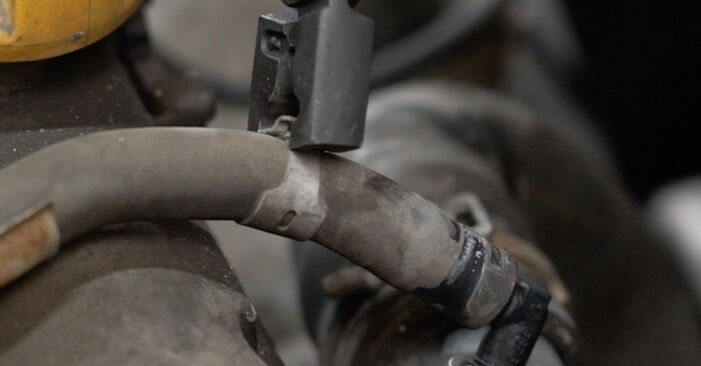
 Loosen the coolant hose clamp. Use clic-R collar pliers.
 - Step 22
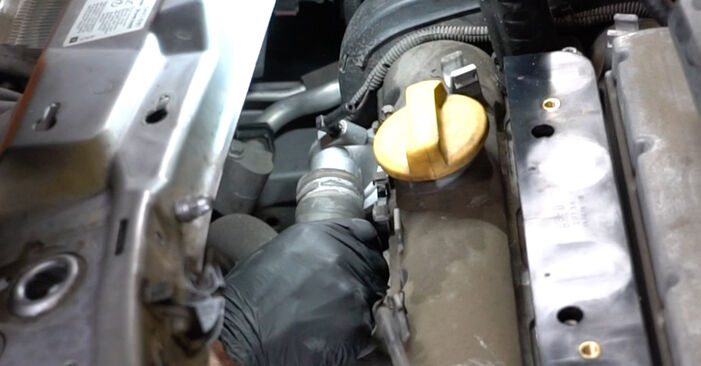
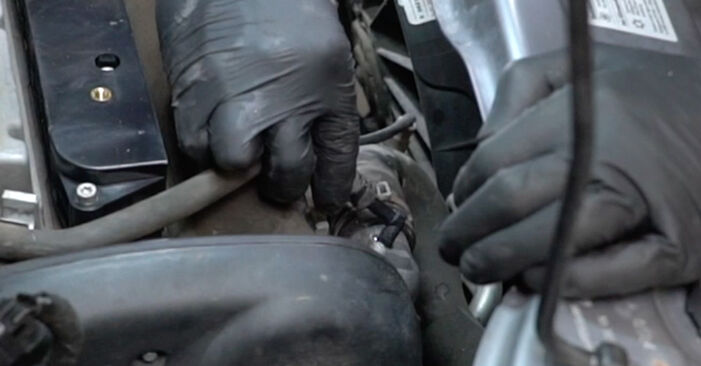
 Detach the coolant hose. Use a flat screwdriver.Replacement: engine thermostat – Opel Meriva X03. Tip from AUTODOC:Caution! Coolant may leak out of the coolant lines and thermostat housing.
 - Step 23
 Loosen the coolant hose clamp. Use clic-R collar pliers.
 - Step 24
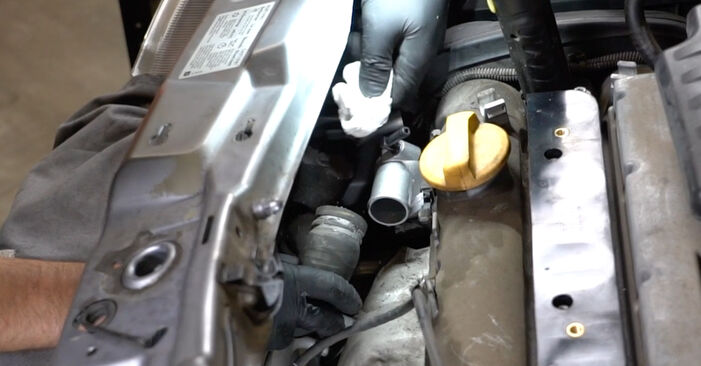
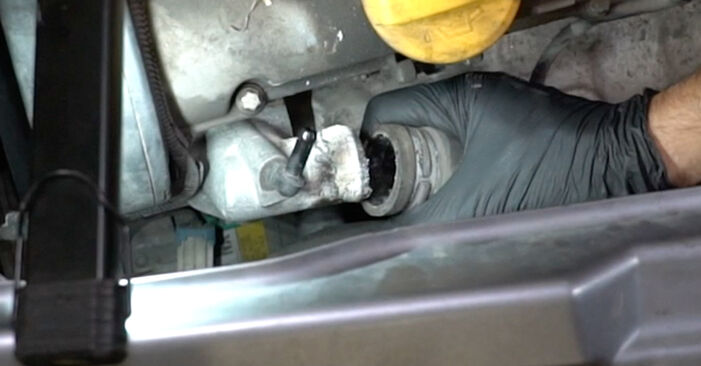 Detach the coolant hose.Replacement: engine thermostat – Opel Meriva X03. AUTODOC recommends:Caution! Coolant may leak out of the coolant lines and thermostat housing.
 - Step 25
 Cover the open end of the coolant hose with a microfibre cloth to prevent dirt and foreign objects from entering the system.
 - Step 26
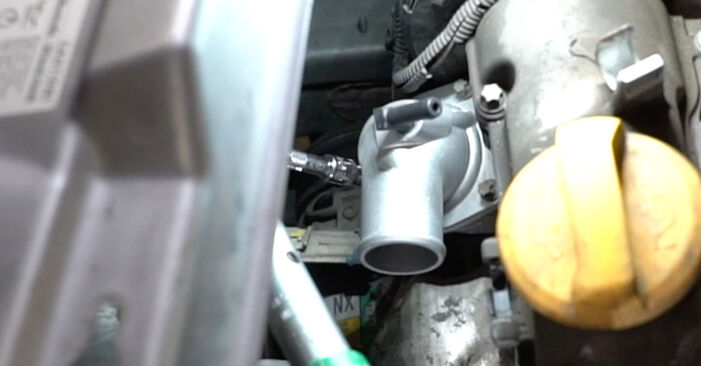
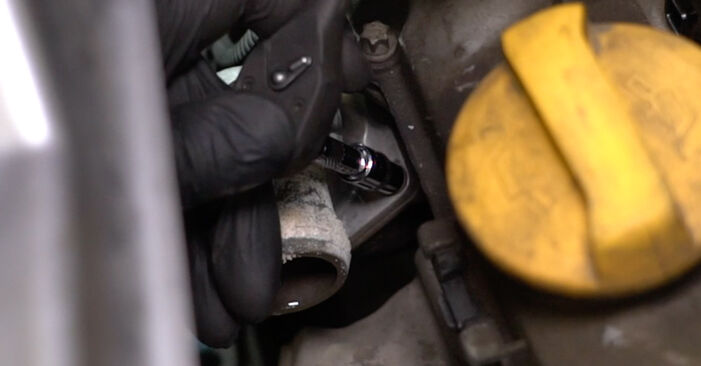 Unscrew the thermostat housing fasteners. Use a drive socket #Е8. Use a ratchet wrench.
 - Step 27
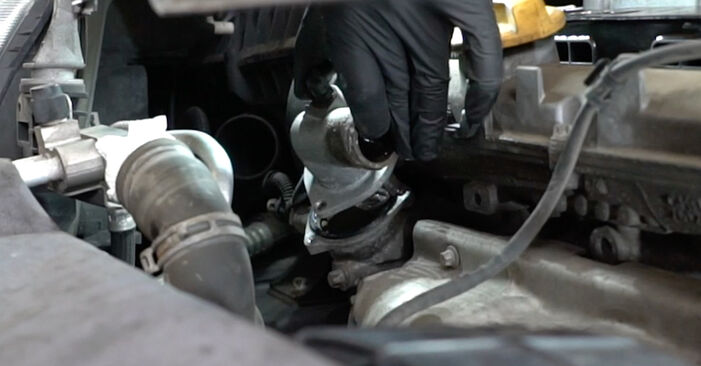 Remove the thermostat housing.
 - Step 28
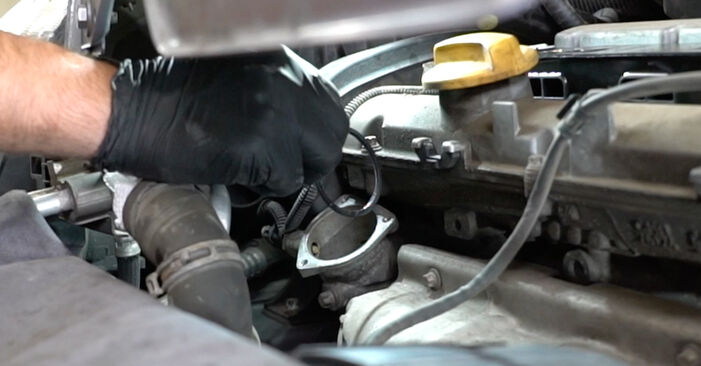 Remove the rubber strip.
 - Step 29
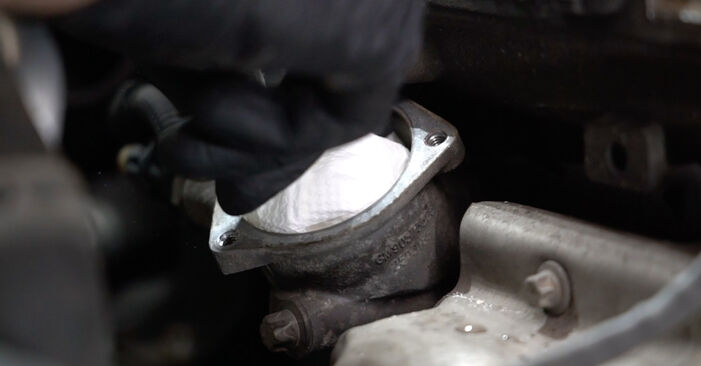 Cover the mounting seat of the thermostat housing with a microfibre cloth to prevent dirt and foreign objects from entering the system.
 - Step 30
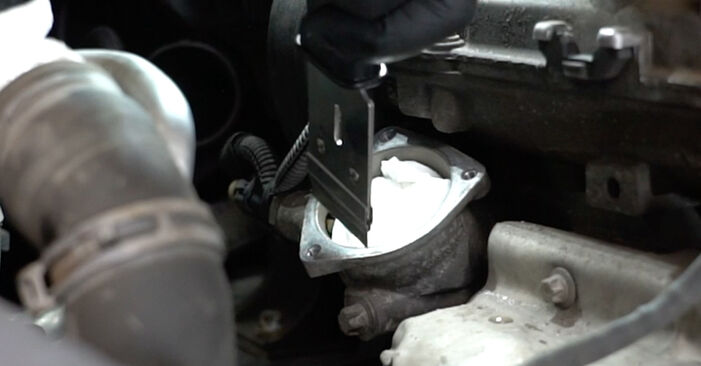 Clean the mounting seats of the thermostat housing. Use a seal scraper. Use all-purpose cleaning spray.
 - Step 31
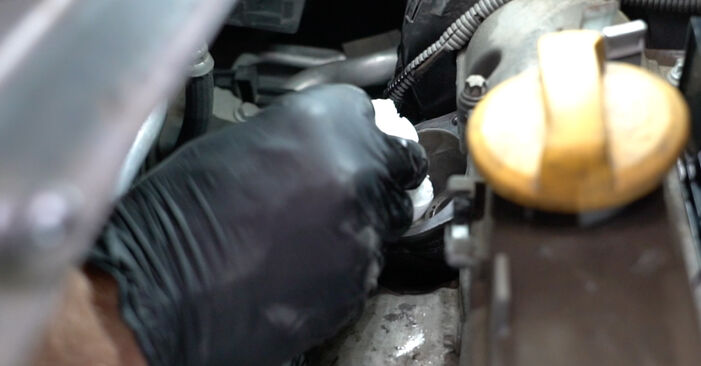 Remove the microfibre cloth from the mounting seat of the thermostat housing.
 - Step 32
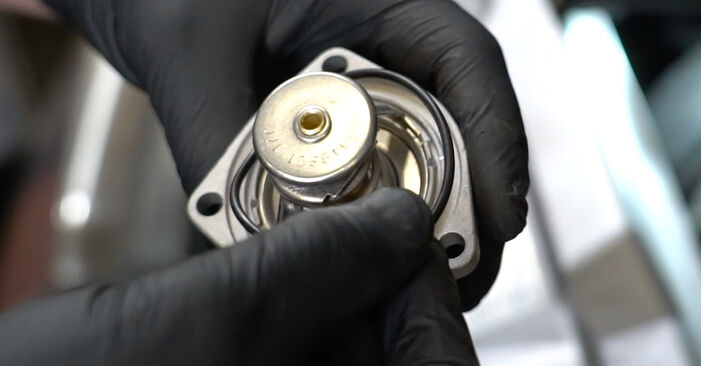 Install the rubber strip.
 - Step 33
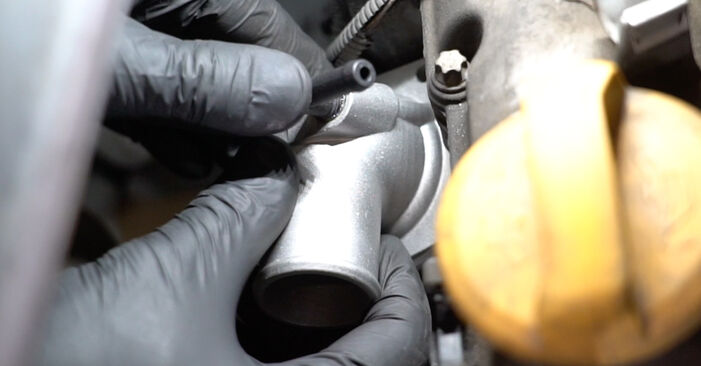 Install a new thermostat housing.
 - Step 34
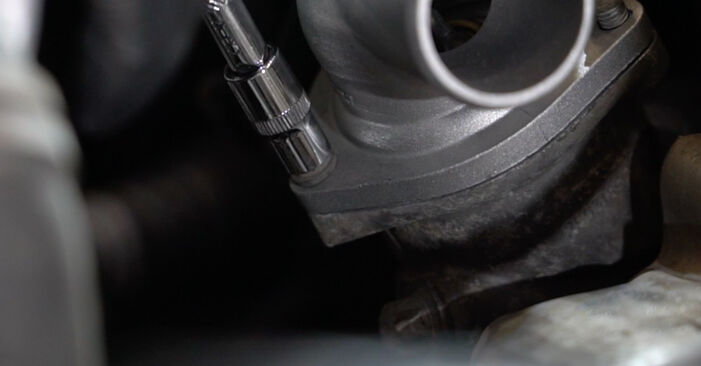 Screw in the thermostat housing fasteners. Use a drive socket #Е8. Use a ratchet wrench.
Was this manual helpful?
Please rate this manual on a scale from 1 to 5. If you have any questions, feel free to ask us.
Users voted – 0
Need New Tyres?
Find out which tyre and wheel sizes are compatible with the OPEL Meriva A (X03) model

Popular maintenance tutorials for Opel Meriva x03
Complete guides for changing the Thermostat housing on different OPEL MERIVA models
Unlock your car maintenance assistant!
Track expenses, manage logs, schedule replacements, and more.
Tips & tricks for your OPEL Meriva A (X03)
View more
 How I started restoring a driveshaft | Drivetrain restoration – Part 1
 TOP 5 mistakes during DIY oil change | AUTODOC tips
 How to Get the Best Deals on Car Parts | Save Money with AUTODOC
 5 signs of a faulty strut mount and how to fix it
Most commonly replaced car parts on OPEL MERIVA

Time to replace parts? Get even better deals in our Shop app.

SCAN ME


