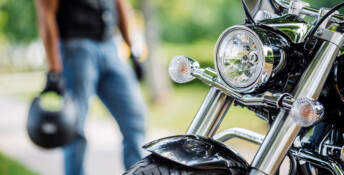
The motorcycle – it’s more than just transport, it’s a way of life. For riders, it represents an attitude that transcends the ordinary. Embodying values such as freedom, independence, and a touch of wildness, the motorcycle becomes a symbol of individuality. From the brand to the model chosen, it becomes an extension of your unique personality, making every ride an expression of your true self.
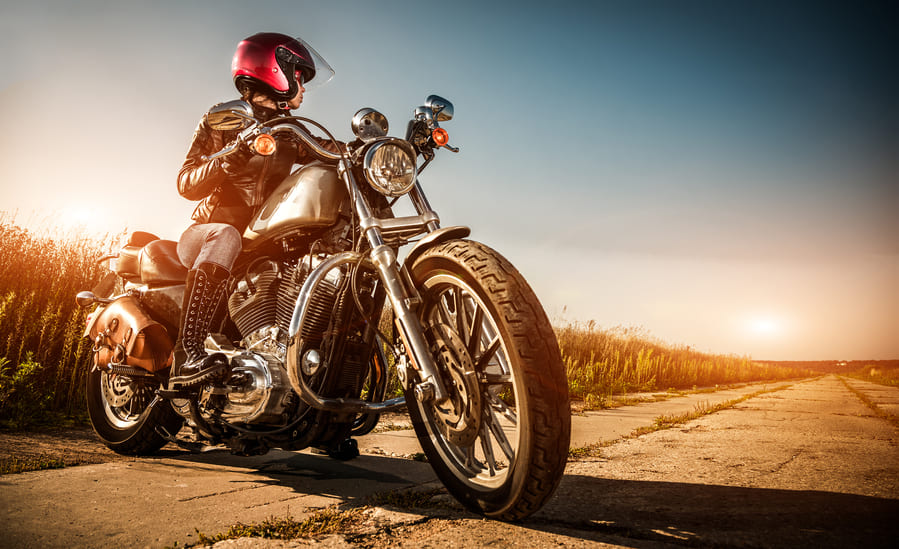
When it comes to the riding experience, there’s one aspect that shines as bright as the midday sun – the importance of headlights and headlight bulbs for motorcycles. The motorcycle daytime running light law in the UK makes it a legal requirement for motorcycles to have their headlights on at all times, including daytime. This improves visibility and increases the chances of motorcycles being seen by other road users, thereby improving road safety.
Keeping headlights on during the day makes motorcycles more conspicuous, especially in adverse weather conditions, low-light situations, or areas with heavy traffic. This practice can help reduce the risk of accidents and improve overall road safety for motorcyclists and other road users.

How to install daytime running lights on a motorcycle
Installing the best Daytime Running Lights (DRLs) on a motorcycle can improve your visibility and safety on the road. Here’s a general guide on how to do it:
Choose the location: Decide where you want to mount the DRLs on your bike. Common locations include the front fork, handlebars, or near the headlights.
Prepare the wiring: Disconnect the motorcycle’s battery for safety during installation.
Plan the routing of the wires from the lights to the battery and switch location. Make sure that the wires are concealed and secured to prevent damage.
Install the DRLs: Depending on your chosen location, follow the manufacturer’s instructions to securely mount the lights using screws, brackets, or adhesive.
Wiring connection: Connect the positive (red) lead to the motorcycle’s switched power source. This source should receive power when the ignition is switched on.
Connect the negative (black) lead to the motorcycle’s frame or a suitable earth point.
Control module connection: If you have a kit that includes a control module, connect it according to the manufacturer’s instructions. This module may offer features such as automatic on/off and brightness adjustment.
Switch installation (optional): If you want manual control of the lights, install a switch. Connect the switch to the positive (red) and ground (black) wires. Place the switch in a convenient and accessible location on your motorcycle.
Wiring protection: Once all the wires have been connected, insulate the connections with electrical tape or heat-shrink tubing. This will prevent short circuits and ensure a clean installation.
Test: Reconnect the motorcycle battery.
Switch on the ignition to test the lights. Check that they illuminate correctly and adjust the position if necessary. Test the control module (if fitted) and switch (if fitted) to ensure that they operate as intended.
Final adjustments: Make sure that the DRLs are securely mounted and all wires are neatly routed and secured with cable ties or clips.
Important
Remember that electrical work can be complex and if you’re unsure about any step, it’s advisable to seek professional assistance or guidance. Following the manufacturer’s instructions and putting safety first will help ensure a successful and safe installation on your motorcycle.


Comment