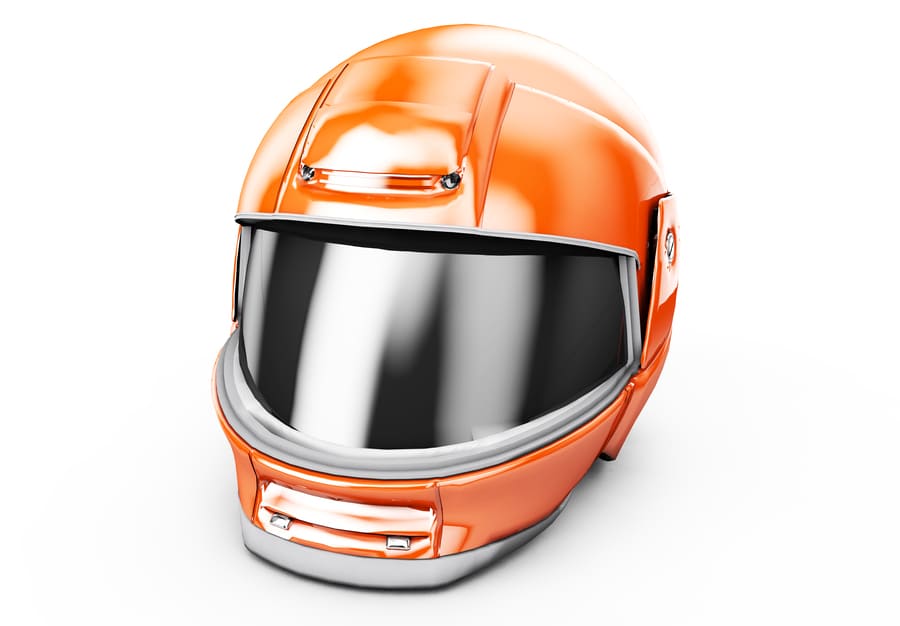
Quite often, the first question people ask when you mention that you want to paint your motorcycle helmet is this: is it legal to do that? The answer is yes – as long as the helmet has been checked for safety and quality before you purchased it. However, keep in mind that not all paints and lacquers are suitable for painting your head protection.
It is possible that the combination of different paints and lacquers can corrode the structure of the helmet and make it unusable for protection. Make sure that you read the description of the paint carefully before you begin.
How to paint the helmet
To give the helmet the finest and most beautiful paint job possible, you should work with an airbrush or spray paint. Before you begin, you need to do some prep work. Remove the visor of and tape the inside with newspapers and adhesive tape. You should get something that makes it easier for you to work on the headgear. The perfect object would be a wig head or wig stand, which you can borrow from your favourite hairdresser or buy at your local wig shop.
When you have positioned the helmet on the stand or head, you can remove the top layer of clear lacquer with very fine sandpaper. This should be done with water sandpaper with a constant addition of water. Do this carefully so that no water gets into the inside. Now you can let it dry.
After making sure that it is completely free of any moisture, you can apply a primer. You should apply this in several thin layers. In order to make sure that the new varnish will “stick”, it’s helpful to roughen-up the surface with some sandpaper. You can now apply the new paint by moving the spray gun or spray can over the helmet in even strokes at a distance of about 30 centimetres. If you notice that there are some uneven spots, go ahead and sand them down and repaint. Lastly, apply clear varnish to seal and protect the colour and then reassemble the helmet.


Wrap instead of paint
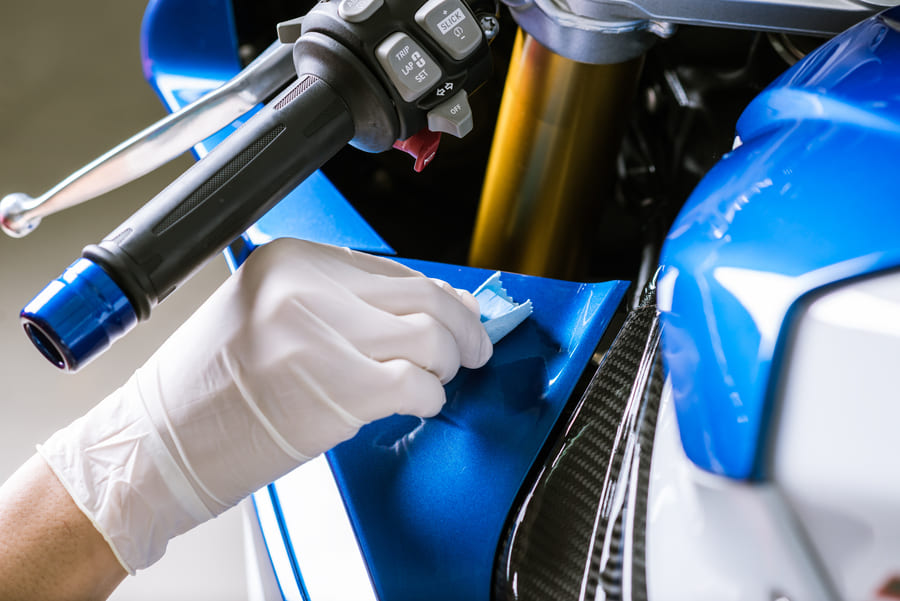
If you want to change the colour of your motorbike helmet, you can choose between different shades and countless effects. Wrapping not only changes the colour but also provides additional protection for the paintwork. This means that scratches or bird droppings cannot penetrate down to the actual paint layer. The vinyl also withstands minor stone damage. However, paint protection is only one aspect of why you should consider wrapping instead of painting if you want to change the colour or design.
The real reason why wrapping a motorbike helmet is often chosen is the ease of applying the vinyl to the helmet. If after a while you grow tired of the colour, the vinyl can be removed again at any time. There are almost no limits to the design wishes or your imagination when you decide to wrap your motorbike helmet. Thanks to modern technology, it is possible to create any design on the computer using software and to print the vinyl with this pattern. Animal prints, but also unusual embossing or whimsical symbols, can be printed on the vinyl. During the wrapping itself, however, you should make sure that no bubbles form. This could cause the whole beautiful effect to disappear very quickly.
How much does it cost?
The prices can be very different depending on whether you choose to do it yourself or have it done professionally. Doing it yourself will always cost less in terms of money but more in terms of time. It is worth considering, though, since a professional paint job can vary from £300 to £750 depending on the design. Professional wrapping prices also range from around £90 for a simple colour charge, to as much as £250 and upwards. No matter which option you decide on, always make sure that the material you pick is safe to use for your helmet. You don’t want to choose style over safety.

Comment