Disclaimer
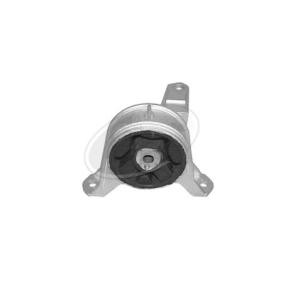
How to change right engine mounts on Opel Astra G F48 – replacement guide
downloads:
25
Views:
453
Important!
This replacement procedure can be used for:
OPEL Astra G CC (T98) 1.2 16V (F08, F48), OPEL Astra G CC (T98) 1.6 (F08, F48), OPEL Astra G CC (T98) 1.8 16V (F08, F48), OPEL Astra G CC (T98) 1.6 (F08, F48), OPEL Astra G CC (T98) 1.8 16V (F08, F48), OPEL Astra G CC (T98) 1.6 (F08, F48), OPEL Astra G CC (T98) 1.4 (F08, F48), OPEL Astra G CC (T98) 1.6 LPG (F08, F48) … View more
The steps may slightly vary depending on the car design.
How to change engine mount / motor mount on OPEL ASTRA-G CC 1 (F48_,F08_) [TUTORIAL AUTODOC]

All the parts you need to replace – Engine Mount for Astra G CC (T98) and other OPEL models
Alternative products

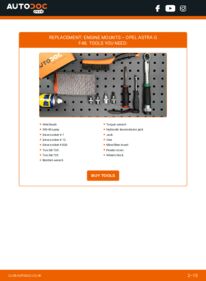
Wire brush
WD-40 spray
Drive socket # 7
Drive socket # 12
Drive socket # E20
Torx bit T30
Torx bit T55
Ratchet wrench
Torque wrench
Hydraulic transmission jack
Jack
Vice
Microfibre towel
Fender cover
Wheel chock
Replacement: engine mounts – Opel Astra G F48. AUTODOC recommends:
- All work should be done with the engine stopped.
Replacement: engine mounts – Opel Astra G F48. Use the following procedure:
- Step 1
 Open the bonnet.
 - Step 2
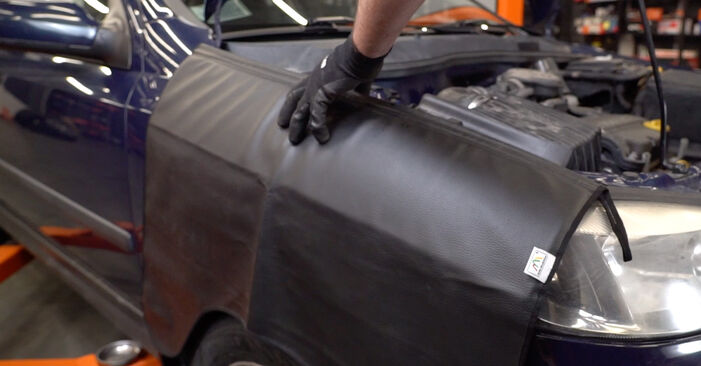
 Use a fender protection cover to prevent damaging paintwork and plastic parts of the car.
 - Step 3
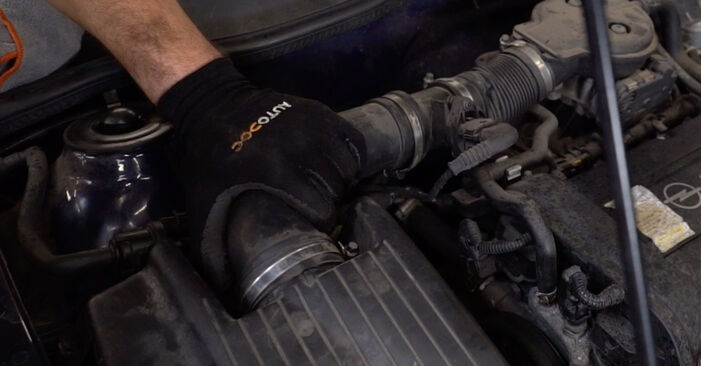
 Detach the air intake hose clamp. Use a drive socket #7. Use a ratchet wrench.
 - Step 4
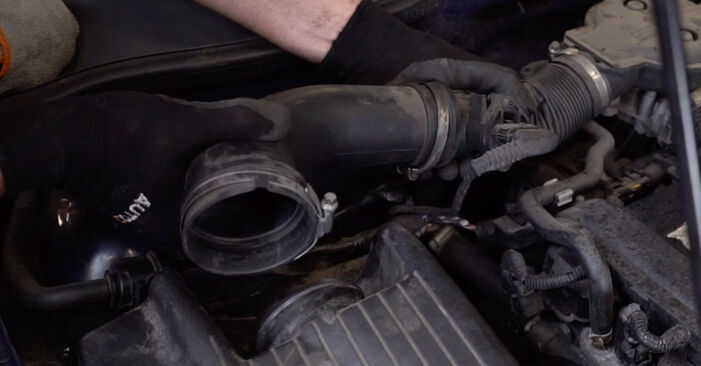
 Disconnect the air intake pipe from the air filter housing.
 - Step 5
 Cover the air intake hose with a microfibre towel to prevent dust and dirt from getting into the system.
 - Step 6
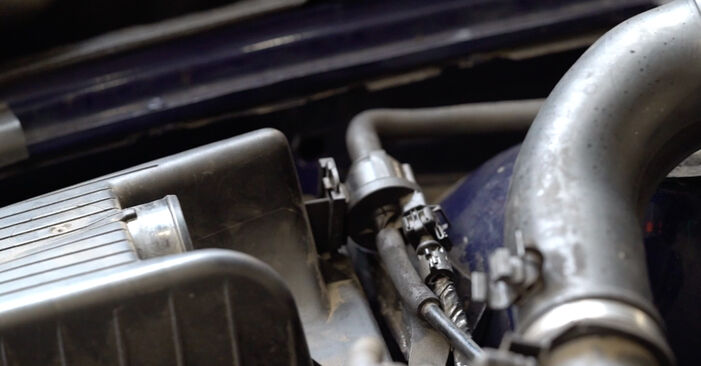
 Detach the fasteners connecting the air pipe and the wiring harness to the air filter housing.
 - Step 7
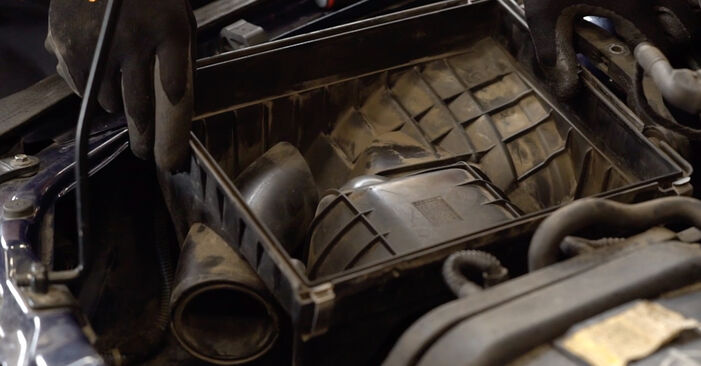
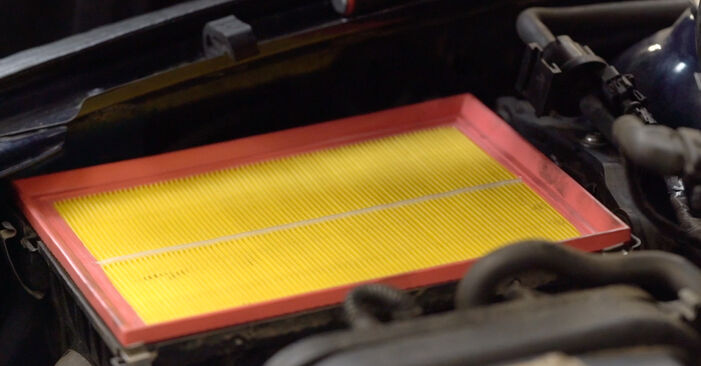
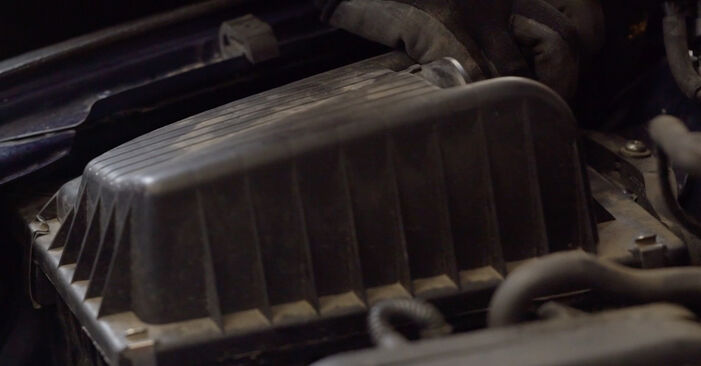
 Take off the filter lid. Remove the filter element from the filter housing.
 - Step 8
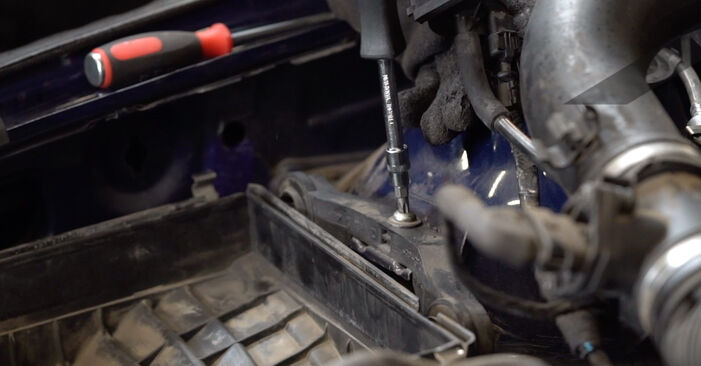
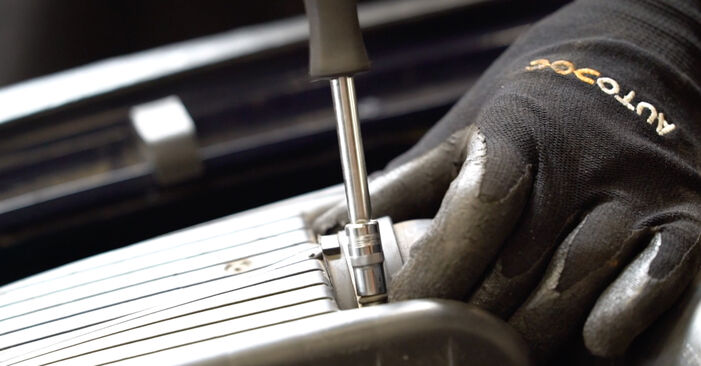
 Unscrew the filter housing fastening bolts. Use Torx T30. Use a ratchet wrench.
 - Step 9
 Remove the air filter housing.
 - Step 10
 Lift the car using a jack or place it over an inspection pit.
 - Step 11
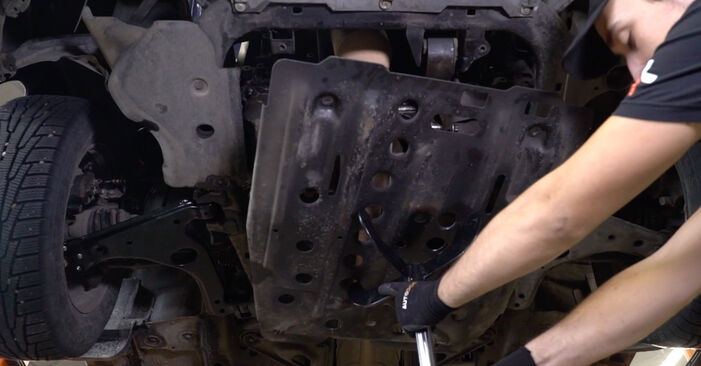
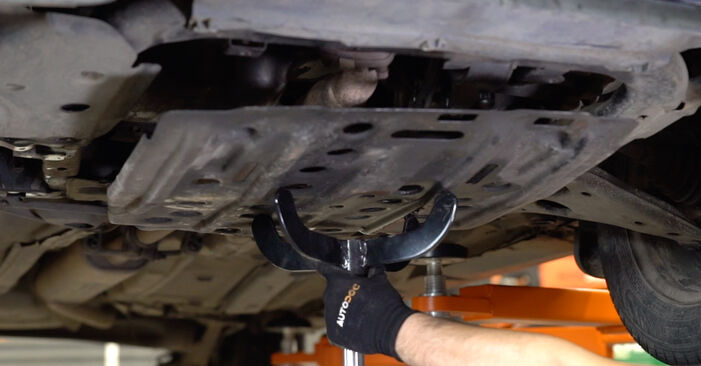
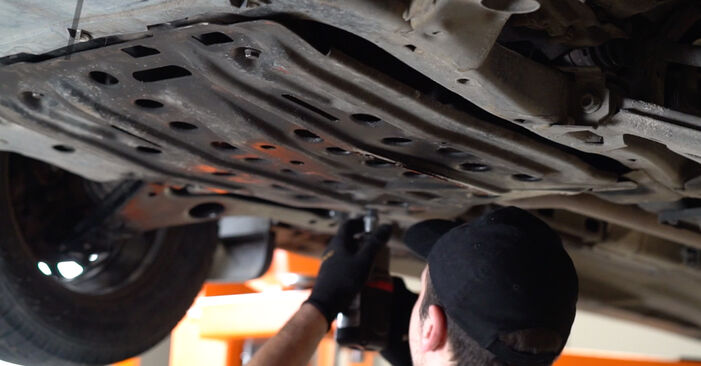
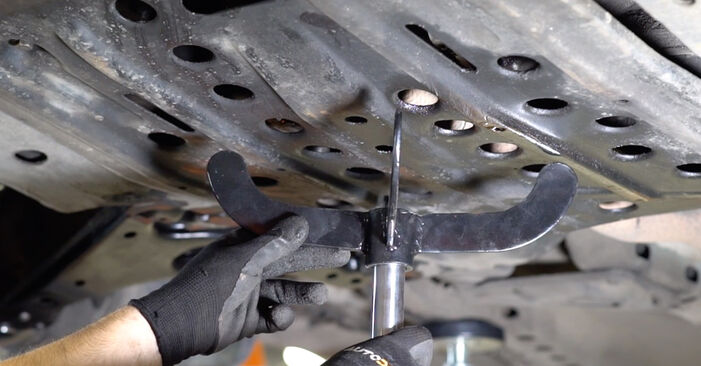
 Support the engine skid plate. Use a hydraulic transmission jack.
 - Step 12
 Undo the fasteners of the oil pan lower cover. Use a drive socket #12.Replacement: engine mounts – Opel Astra G F48. Tip from AUTODOC experts:To avoid injury, hold the engine skid plate cautiously tight when unscrewing the fasteners and when lowering the hydraulic transmission jack.
 - Step 13
 Remove the hydraulic transmission jack. Remove the oil pan cover.AUTODOC recommends:Replacement: engine mounts – Opel Astra G F48. Lower the transmission jack smoothly, without jerks, to avoid damaging components and mechanisms.
 - Step 14
 Lower the car.
 - Step 15
 Support the engine in the oil pan area. Use a jack.Replacement: engine mounts – Opel Astra G F48. AUTODOC experts recommend:Make sure that the engine is supported.
 - Step 16
 Unscrew the engine mount fasteners (6 pieces). Use a drive socket #E20. Use a ratchet wrench.
 - Step 17
 Remove the engine mount.Replacement: engine mounts – Opel Astra G F48. Tip:Carefully check the other engine mounts and replace them if necessary.
 - Step 18
 Grip the bracket with the engine mount in a vice.
 - Step 19
 Unscrew the engine mount from the bracket. Use Torx T55. Use a ratchet wrench.
 - Step 20
 Screw the new engine mount to the bracket. Use Torx T55. Use a ratchet wrench.
 - Step 21
 Remove the bracket with the engine mount from the vice.
 - Step 22
 Clean the mounting seat of the engine mount. Use WD-40 spray.
 - Step 23
 Install the engine mount to its mounting seat.
 - Step 24
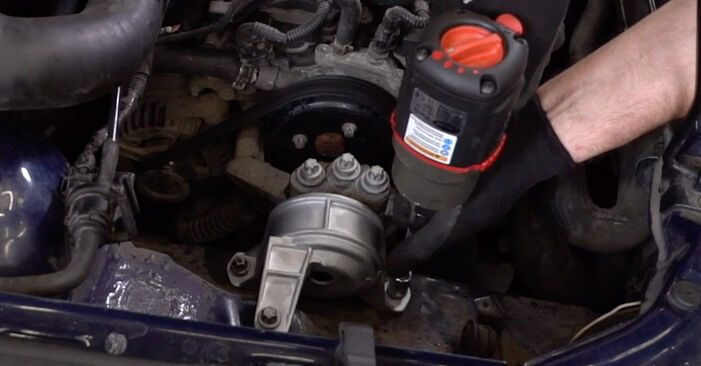 Screw in the engine mount fasteners (6 pieces). Use a drive socket #E20. Use a torque wrench. Tighten it to 55 Nm torque.
Was this manual helpful?
Please rate this manual on a scale from 1 to 5. If you have any questions, feel free to ask us.
Users voted – 1
Need New Tyres?
Find out which tyre and wheel sizes are compatible with the OPEL Astra G CC (T98) model

Popular maintenance tutorials for Opel Astra g f48
Complete guides for changing the Engine mounts on different OPEL ASTRA models
Unlock your car maintenance assistant!
Track expenses, manage logs, schedule replacements, and more.
Tips & tricks for your OPEL Astra G CC (T98)
View more
 Save Money on Fuel with These Easy Tips | AUTODOC
 How to Fix P0401 ✅ error code Insufficient EGR flow
 Why Checking Your Oil is Crucial for Engine Performance
 DIY vehicle AC compressor restoration
Most commonly replaced car parts on OPEL ASTRA

Time to replace parts? Get even better deals in our Shop app.

SCAN ME


