Disclaimer

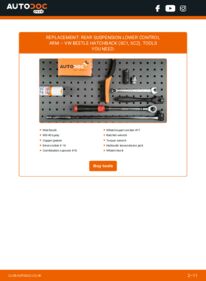
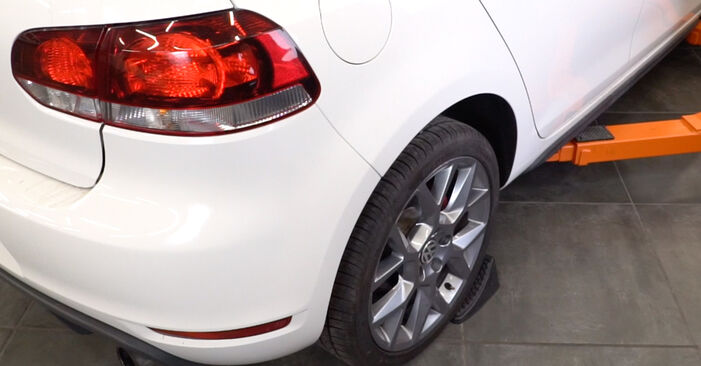
How to change rear suspension lower control arm on VW Beetle Hatchback (5C1, 5C2) – replacement guide
downloads:
4
Views:
57
Important!
This replacement procedure can be used for:
VW Beetle Hatchback (5C1, 5C2) 1.2 TSI, VW Beetle Hatchback (5C1, 5C2) 2.0 TFSI, VW Beetle Hatchback (5C1, 5C2) 1.4 TSI, VW Beetle Hatchback (5C1, 5C2) 1.6 TDI, VW Beetle Hatchback (5C1, 5C2) 2.0 TDI, VW Beetle Hatchback (5C1, 5C2) 2.5, VW Beetle Hatchback (5C1, 5C2) 2.0 TSI, VW Beetle Hatchback (5C1, 5C2) 2.0 TDI, VW Beetle Hatchback (5C1, 5C2) 1.4 TSI, VW Beetle Hatchback (5C1, 5C2) 2.0 TDI, VW Beetle Hatchback (5C1, 5C2) 2.0 TSI, VW Beetle Hatchback (5C1, 5C2) 1.2 TSI 16V … View more
The steps may slightly vary depending on the car design.
This video shows the replacement procedure of a similar car part on another vehicle
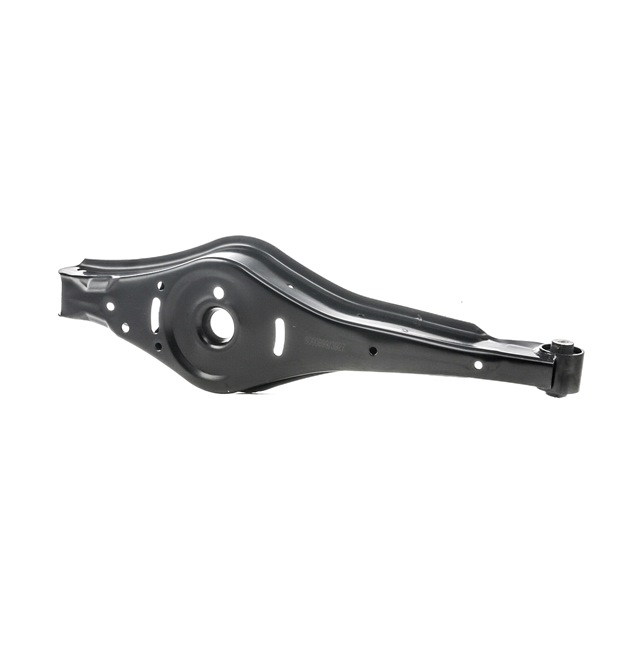
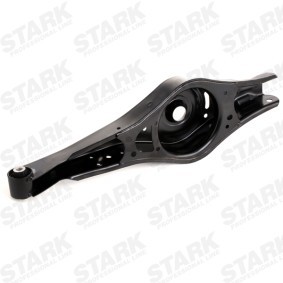
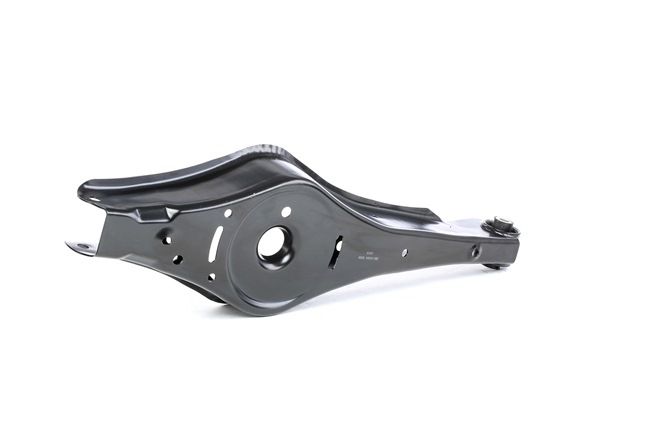
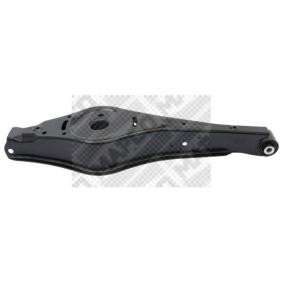
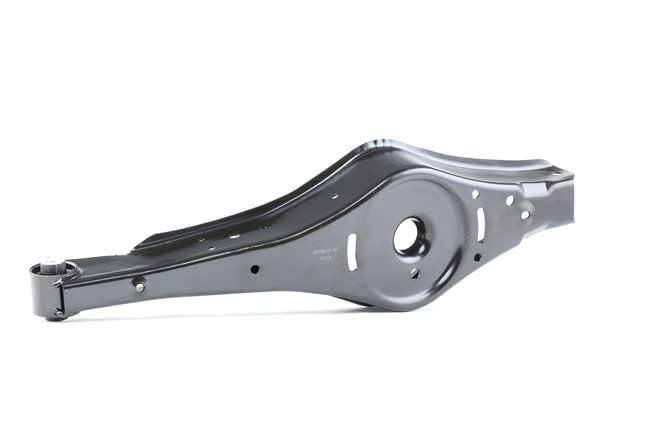
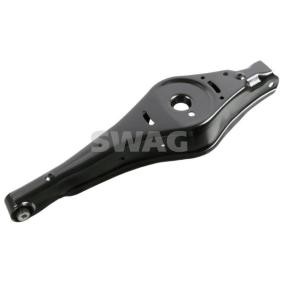
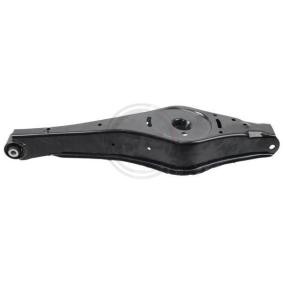
All the parts you need to replace – Control Arm for Beetle Hatchback (5C1, 5C2) and other VW models
Alternative products
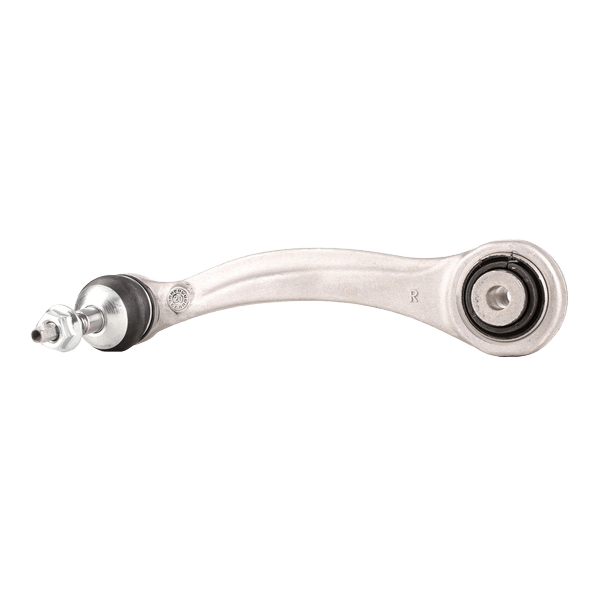 Suspension arm


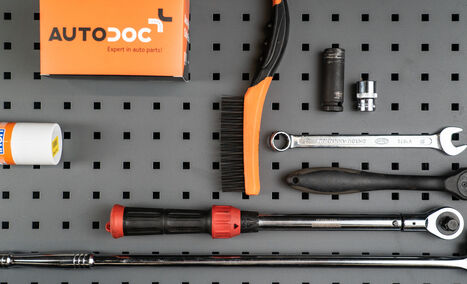
Wire brush
WD-40 spray
Copper grease
Drive socket # 18
Combination spanner #18
Wheel impact socket #17
Ratchet wrench
Torque wrench
Hydraulic transmission jack
Wheel chock

Replacement: rear suspension lower control arm – VW BEETLE (5C1). AUTODOC experts recommend:
- The replacement procedure is identical for the left and right lower control arms.
- All work should be done with the engine stopped.
Replacement: rear suspension lower control arm – VW BEETLE (5C1). Take the following steps:
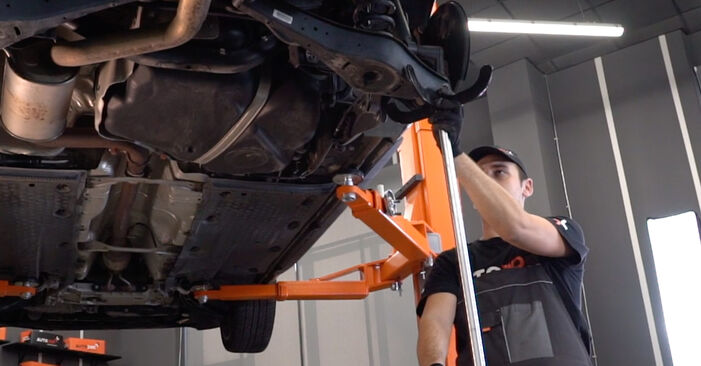
- Step 1
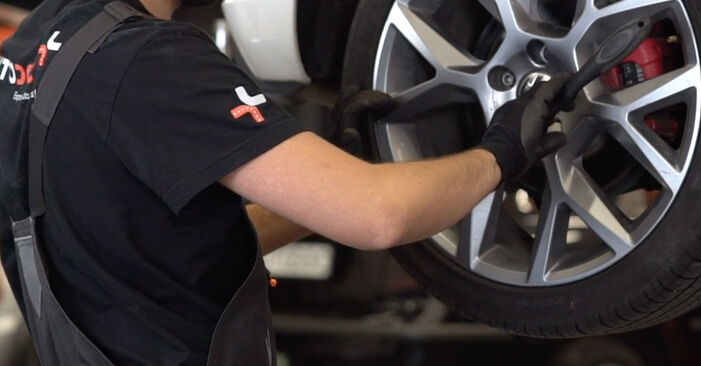
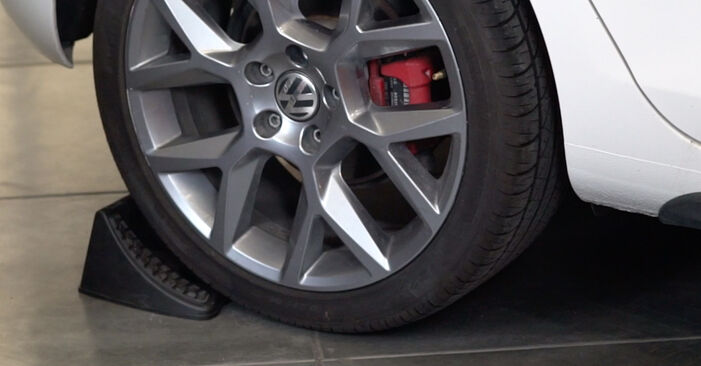 Secure the wheels with chocks.
 - Step 2
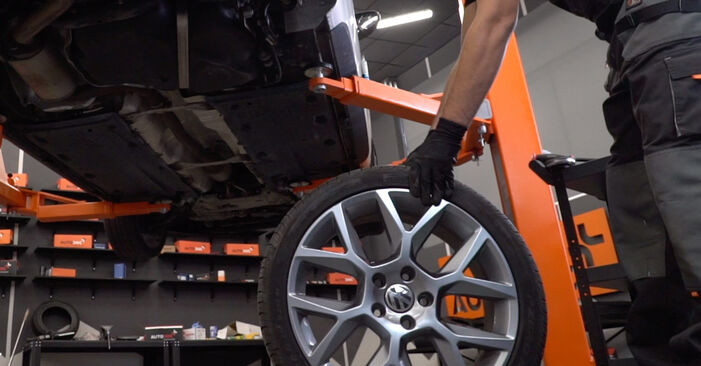
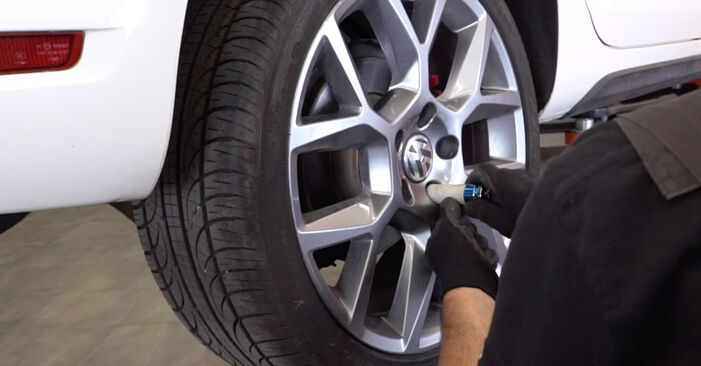
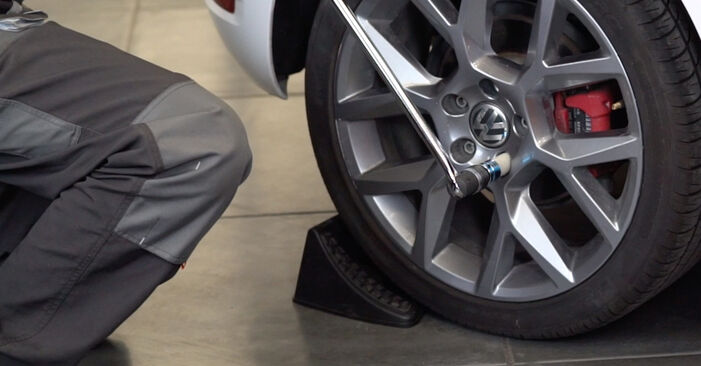 Loosen the wheel mounting bolts. Use wheel impact socket #17.
 - Step 3Raise the rear of the car and secure on supports.Step 4
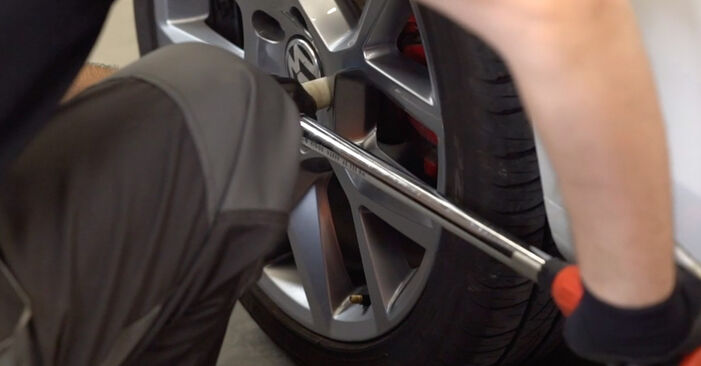
 Unscrew the wheel bolts.Replacement: rear suspension lower control arm – VW BEETLE (5C1). Tip:To avoid injury, hold up the wheel when unscrewing the bolts.
 - Step 5
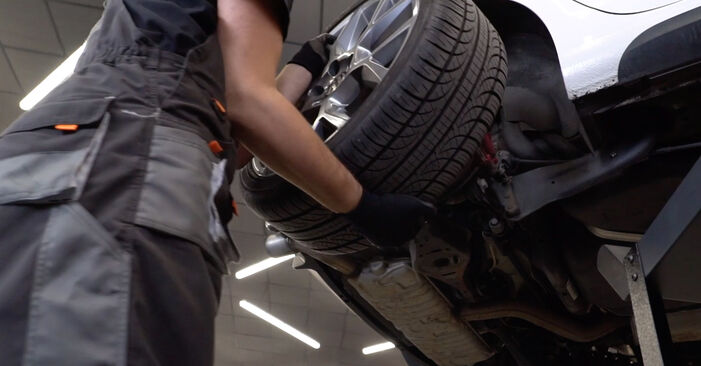 Remove the wheel.
 - Step 6
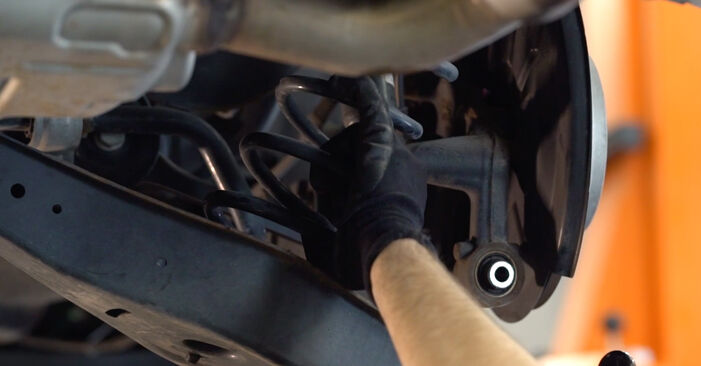
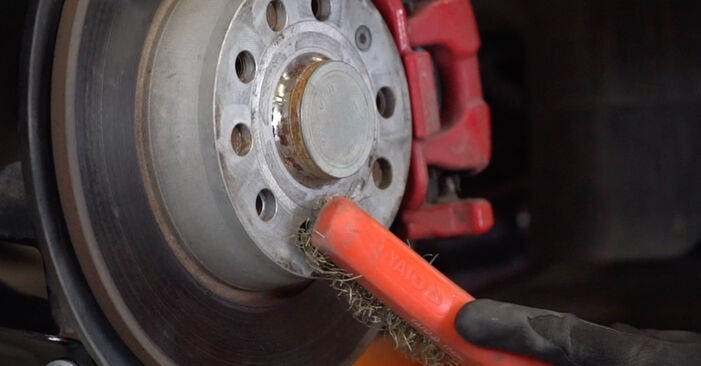
 Clean the control arm fasteners. Use a wire brush. Use WD-40 spray.
 - Step 7
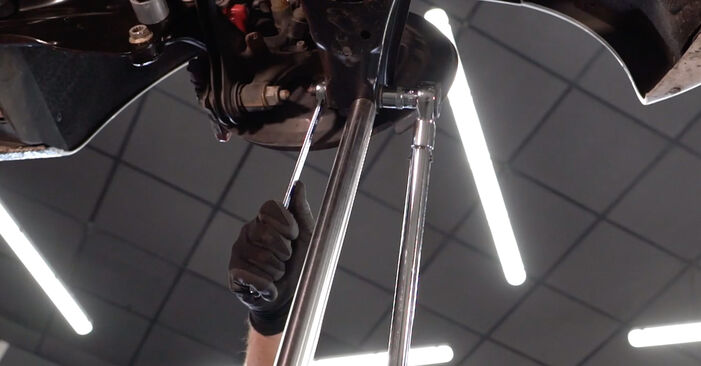
 Unscrew the fastener connecting the control arm to the rear knuckle. Use a combination spanner #18. Use a drive socket #18. Use a ratchet wrench.
 - Step 8
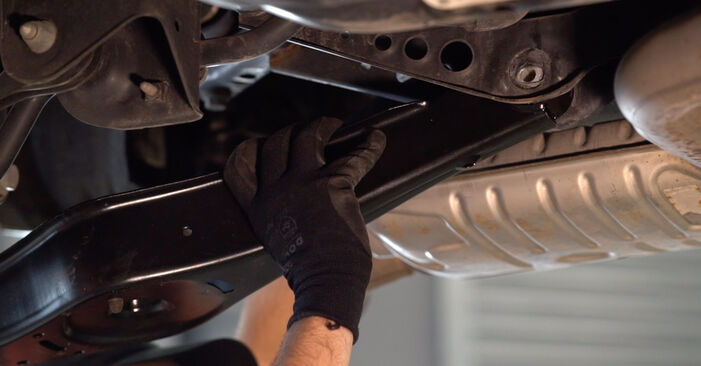
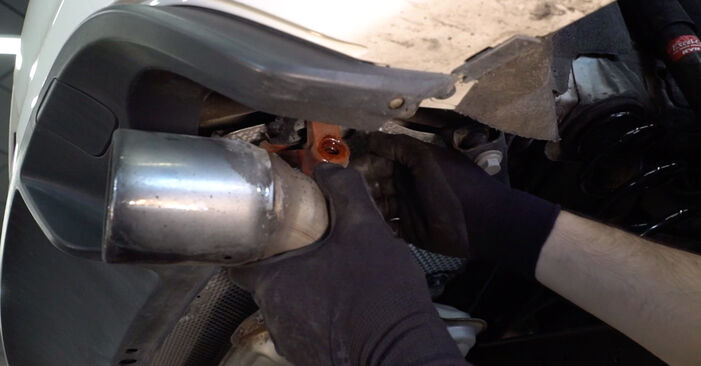
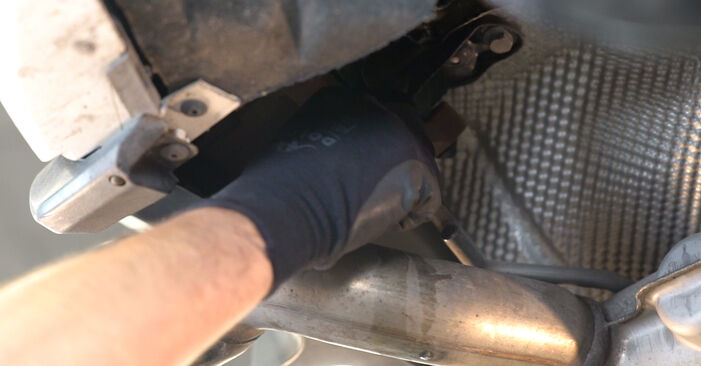 Remove the exhaust system fastener.
 - Step 9
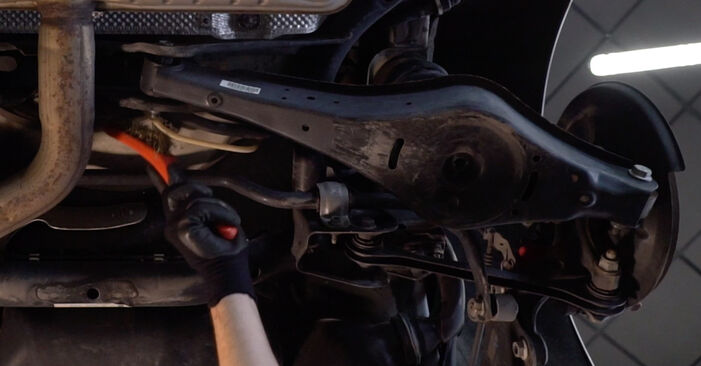
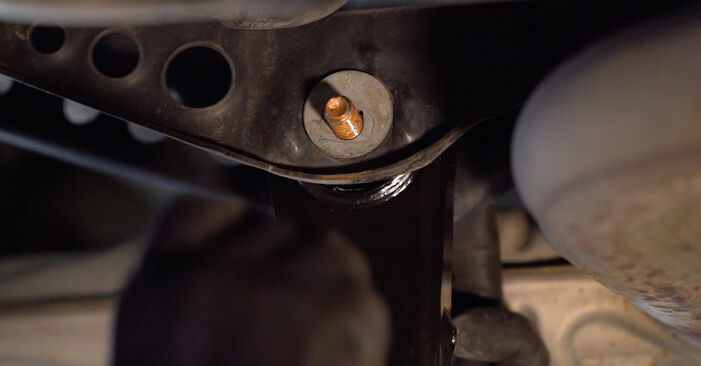
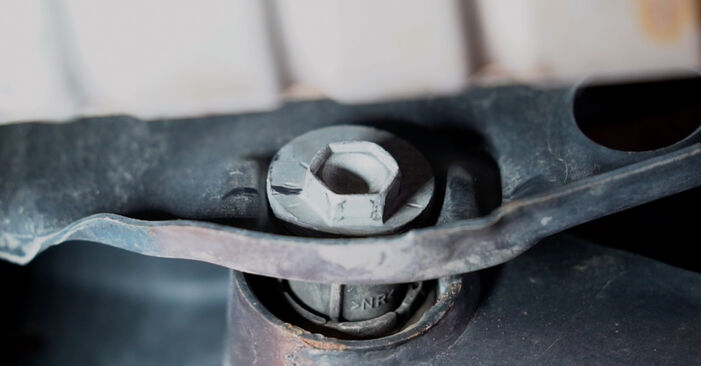 Make a mark on the crossmember and on the camber adjustment bolt.
 - Step 10
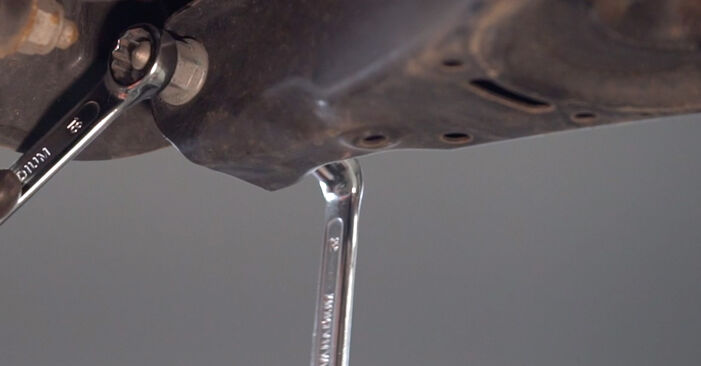
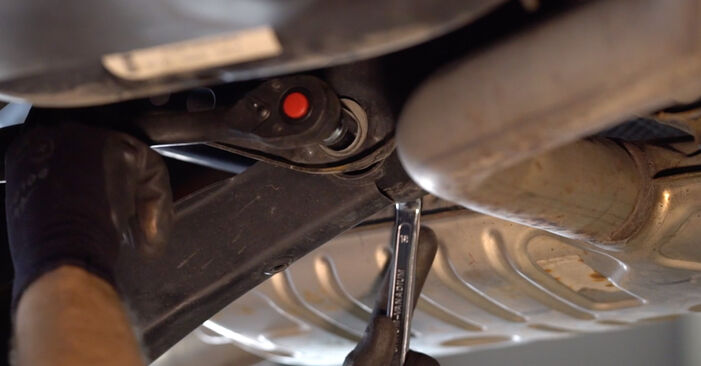
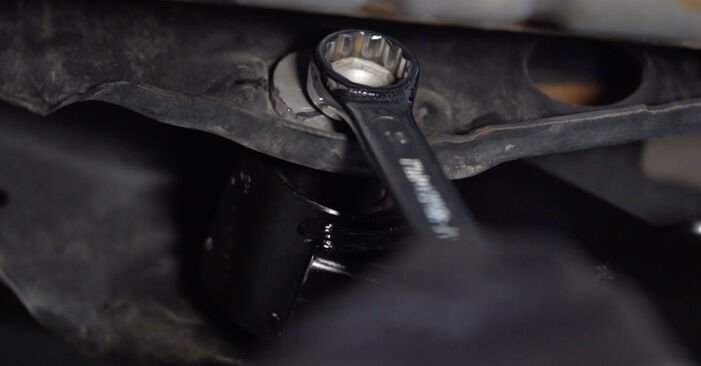
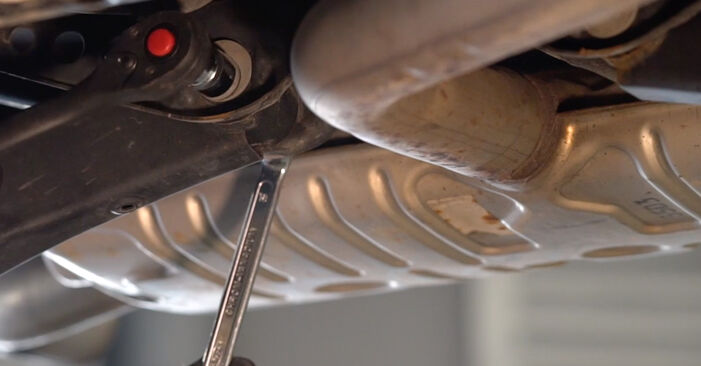 Unscrew the arm fastening to the beam. Use a combination spanner #18. Use a drive socket #18. Use a ratchet wrench.
 - Step 11
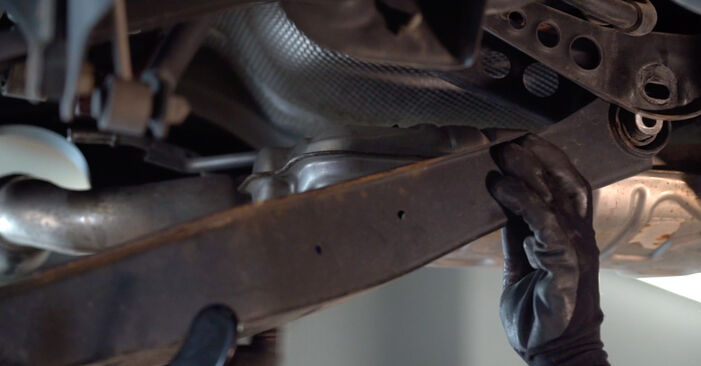
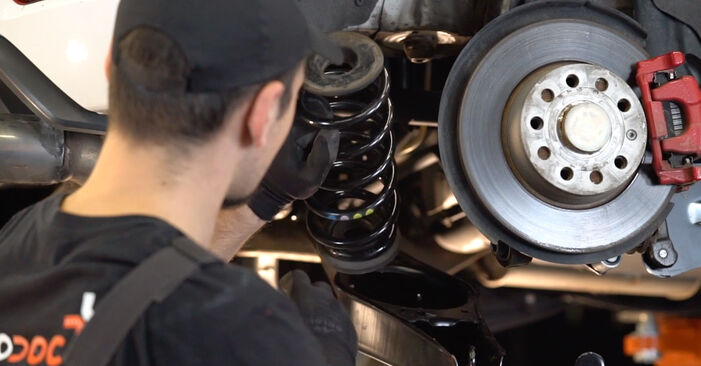
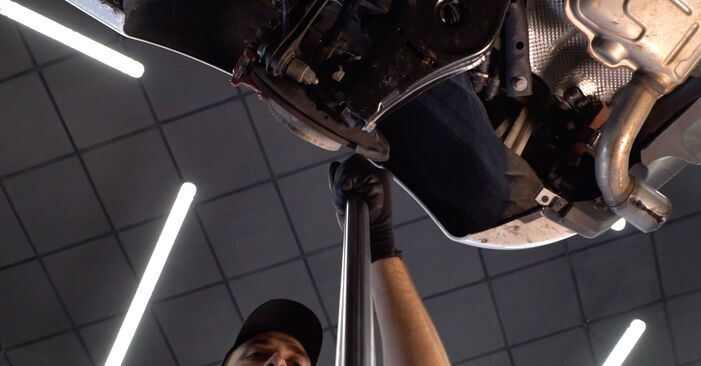
 Support the arm. Use a hydraulic transmission jack.
 - Step 12
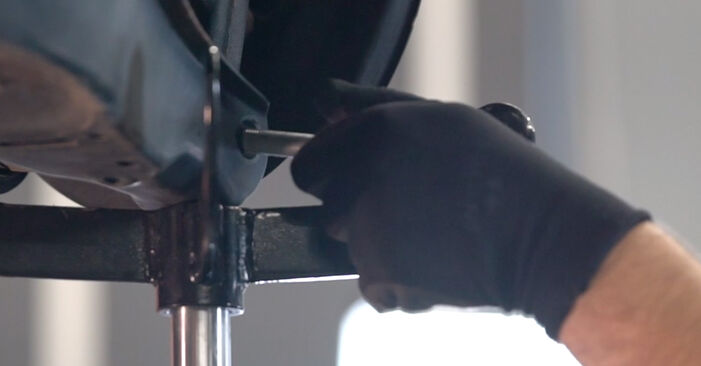 Remove the fastening bolt.
 - Step 13
 Lower the hydraulic transmission jack by 10-15 cm.AUTODOC recommends:Replacement: rear suspension lower control arm – VW BEETLE (5C1). Lower the transmission jack smoothly, without jerks, to avoid damaging components and mechanisms.
 - Step 14
 Take out the spring.
 - Step 15
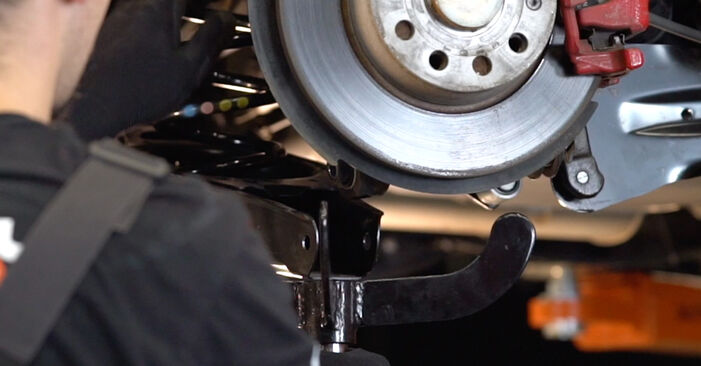
 Remove the fastening bolt.
 - Step 16
 Remove the arm.
 - Step 17
 Install a new suspension arm.
Was this manual helpful?
Please rate this manual on a scale from 1 to 5. If you have any questions, feel free to ask us.
Users voted – 0
Need New Tyres?
Find out which tyre and wheel sizes are compatible with the VW Beetle Hatchback (5C1, 5C2) model

Popular maintenance tutorials for VW Beetle 5c
 Free download PDF
 4.14 MB
 Free download PDF2.59 MB
 Free download PDF2.22 MB
 Free download PDF2.22 MB
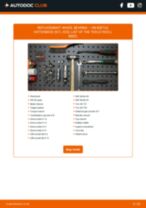 Free download PDF3.56 MB
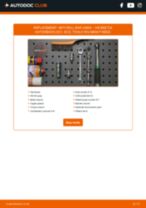 Free download PDF1.48 MB
Complete guides for changing the Control arm on different VW BEETLE models
- Free download PDF2.59 MB
 Free download PDF2.86 MB
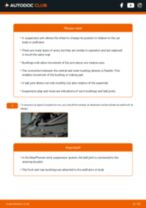 Free download PDF1.07 MB
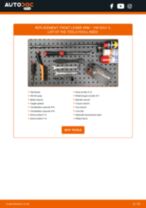 Free download PDF2.89 MB
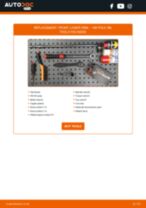 Free download PDF2.45 MB
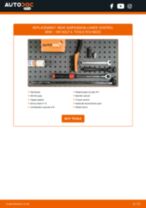 Free download PDF2.47 MB
Unlock your car maintenance assistant!
Track expenses, manage logs, schedule replacements, and more.
Tips & tricks for your VW Beetle Hatchback (5C1, 5C2)
View more
 Understanding Airbag Light Warnings | Essential Tips for Car Safety
 Motorcycle fuel tank restoration
 Save Money on Fuel with These Easy Tips | AUTODOC
 CHECK ENGINE light turned on – step-by-step guide on what to do
Most commonly replaced car parts on VW BEETLE


Time to replace parts? Get even better deals in our Shop app.

SCAN ME