Disclaimer

How to change pollen filter on FORD TOURNEO CONNECT – replacement guide
downloads:
10
Views:
318
Recommended replacement interval for the part category Pollen filter : 2 year / 50000 km
Important!
This replacement procedure can be used for:
FORD Tourneo Connect Mk1 1.8 TDCi, FORD Tourneo Connect Mk1 1.8 16V, FORD Tourneo Connect Mk1 1.8 TDCi, FORD Tourneo Connect Mk1 1.8 TDCi /TDDi /DI … View more
The steps may slightly vary depending on the car design.
FORD Tourneo Connect Mk1 1.8 TDCi, FORD Tourneo Connect Mk1 1.8 16V, FORD Tourneo Connect Mk1 1.8 TDCi, FORD Tourneo Connect Mk1 1.8 TDCi /TDDi /DI … View more
The steps may slightly vary depending on the car design.
This video shows the replacement procedure of a similar car part on another vehicle
All the parts you need to replace – Pollen Filter for Tourneo Connect Mk1 and other FORD models
Alternative products
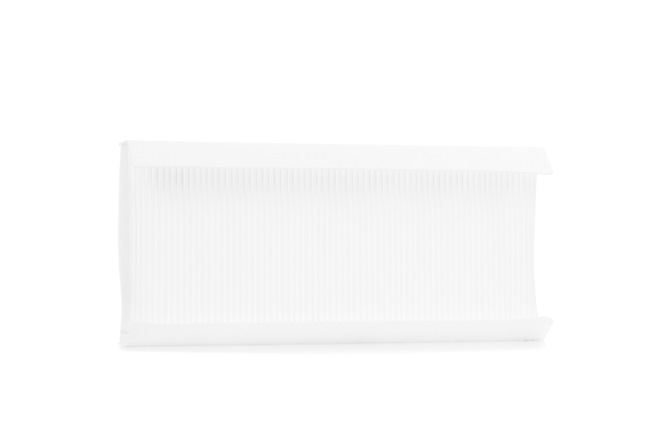
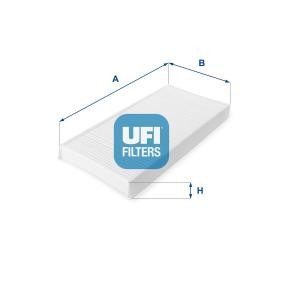
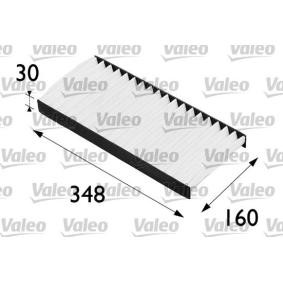
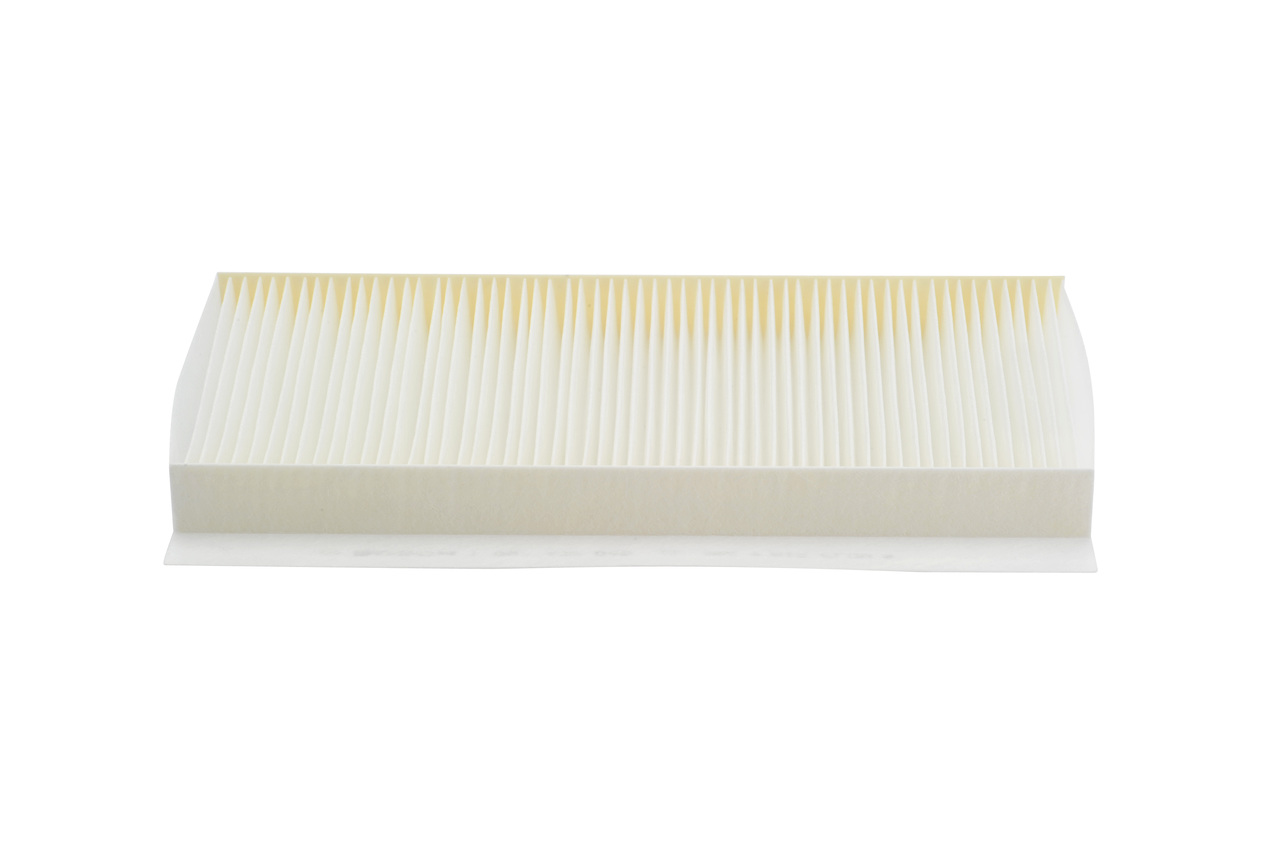
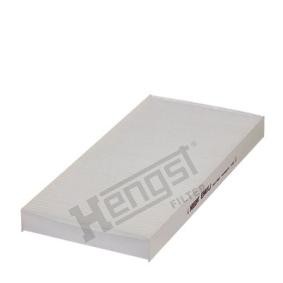
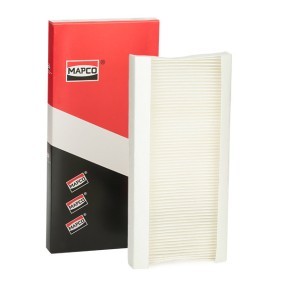
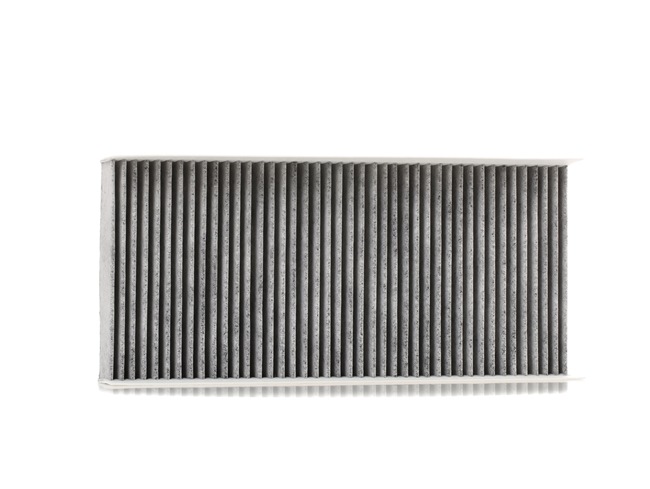
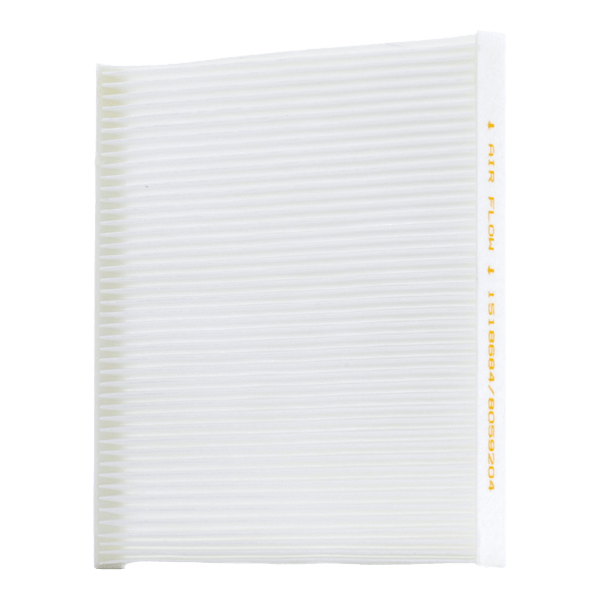 Pollen filter


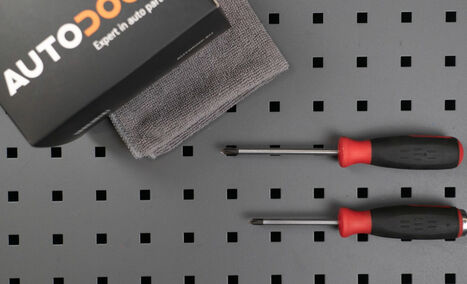
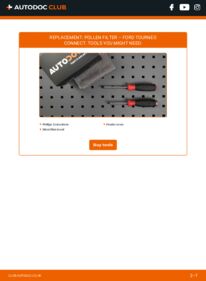
Phillips Screwdriver
Microfibre towel
Fender cover

Replacement: pollen filter – FORD TOURNEO CONNECT. AUTODOC experts recommend:
- Replace the cabin filter at least once every six months, in early spring and autumn seasons.
- Follow the terms, recommendations and requirements of the part operation provided by the manufacturer.
- If the air flow into the cabin has sharply reduced, replace the filter before a scheduled maintenance.
- Please note: all work on the car – FORD TOURNEO CONNECT – should be done with the engine switched off.
Carry out replacement in the following order:
- Step 1Open the bonnet.Step 2Use a fender protection cover to prevent damaging paintwork and plastic parts of the car.Step 3
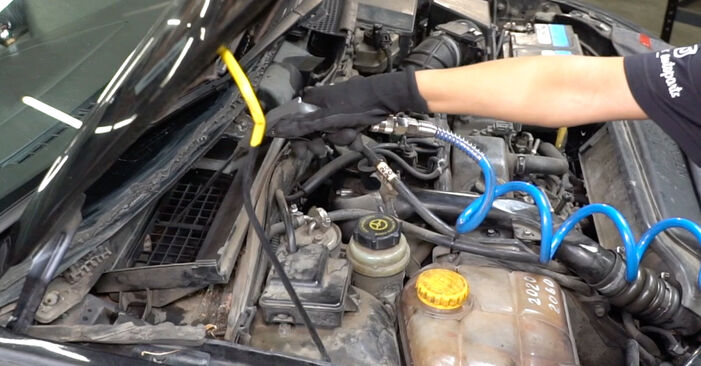
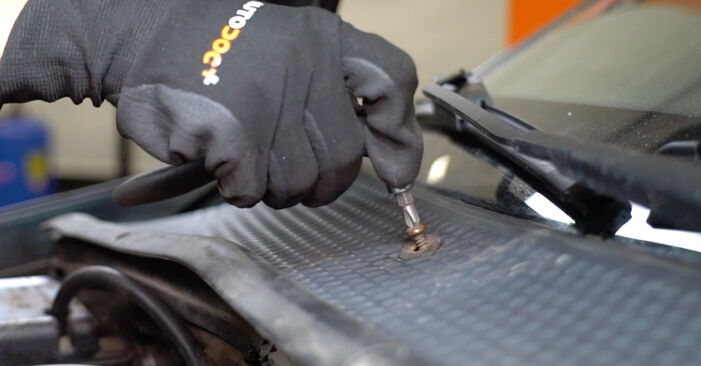
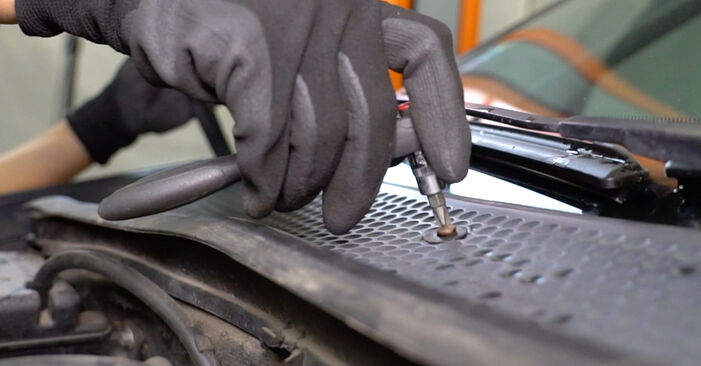 Unscrew the fastener of the wiper cowl grille located on the right side. Use a Phillips screwdriver.
 - Step 4
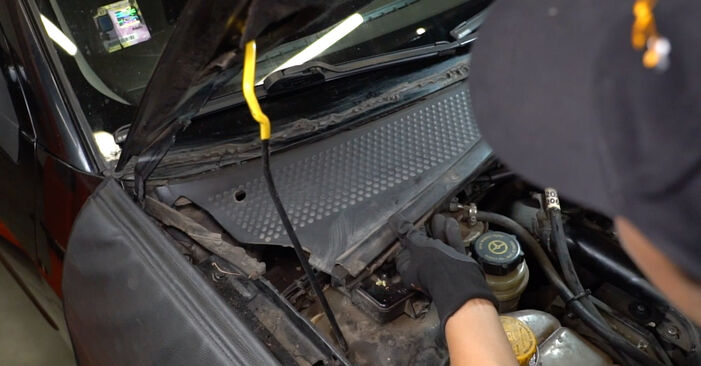
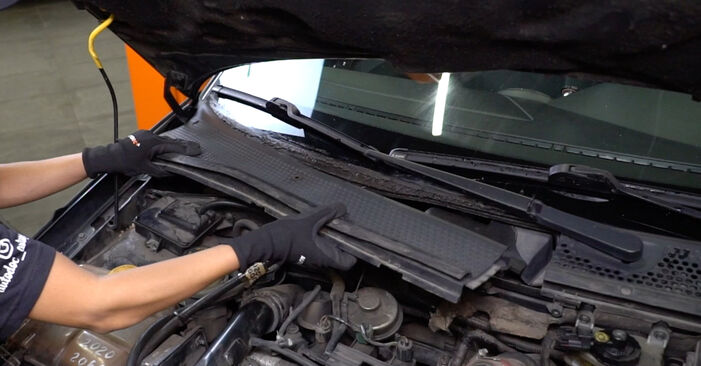 Remove the wiper cowl grille located on the right side.
 - Step 5
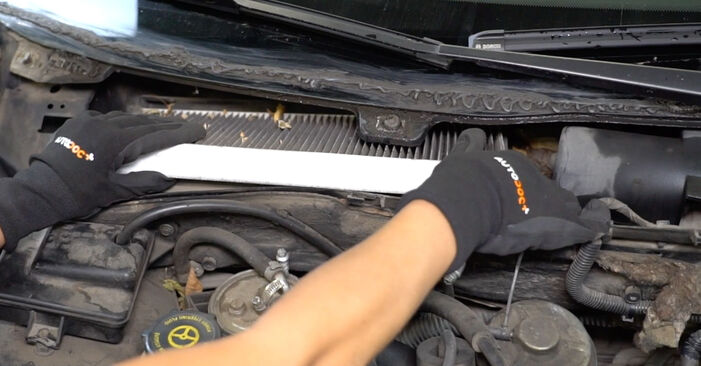 Remove the cabin filter.Replacement: pollen filter – FORD TOURNEO CONNECT. Tip:Do not attempt to clean and reuse the filter - it will affect the quality of air cleaning inside the car.
 - Step 6Switch on the ignition.Step 7Close the heater flap.Step 8Switch off the ignition.Step 9
 Clean the cabin filter housing and cover.Replacement: pollen filter – FORD TOURNEO CONNECT. Professionals recommend:Remove any debris from the cabin filter housing carefully to prevent contamination of the ventilation duct.
 - Step 10
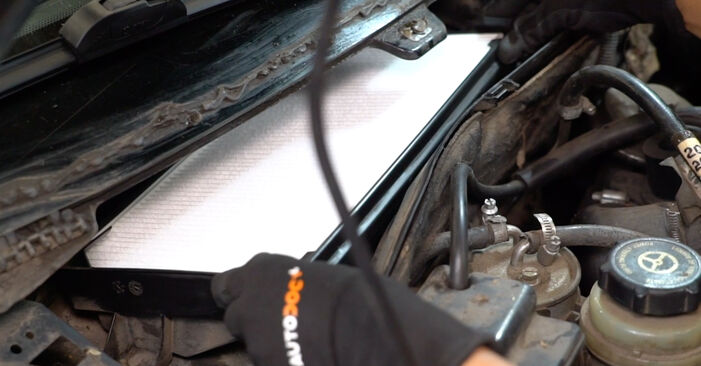 Install the cabin filter to its mounting seat.Replacement: pollen filter – FORD TOURNEO CONNECT. AUTODOC experts recommend:Follow the air flow direction arrow on the filter.Check out the correct location of the filter element. Do not skew.Attention! Use quality filters – FORD TOURNEO CONNECT.
Was this manual helpful?
Please rate this manual on a scale from 1 to 5. If you have any questions, feel free to ask us.
Users voted – 0
Need New Tyres?
Find out which tyre and wheel sizes are compatible with the FORD Tourneo Connect Mk1 model

Popular maintenance tutorials for FORD TOURNEO CONNECT
 Free download PDF
 1.42 MB
 Free download PDF788.48 KB
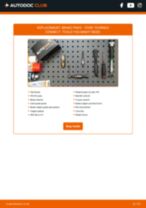 Free download PDF1.71 MB
 Free download PDF1.45 MB
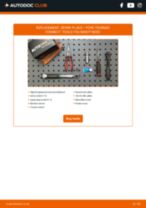 Free download PDF1.48 MB
 Free download PDF593.92 KB
Complete guides for changing the Pollen filter on different FORD TOURNEO CONNECT models
 Free download PDF1.19 MB
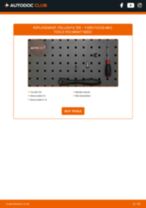 Free download PDF1.2 MB
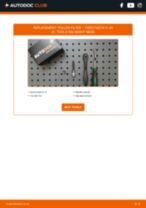 Free download PDF931.84 KB
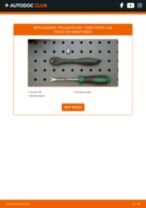 Free download PDF1.21 MB
 Free download PDF1.18 MB
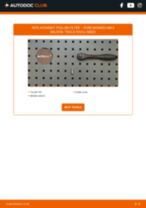 Free download PDF1.09 MB
Unlock your car maintenance assistant!
Track expenses, manage logs, schedule replacements, and more.
Tips & tricks for your FORD Tourneo Connect Mk1
View more
 How to Fix a Squealing Belt: Causes & Solutions | AUTODOC Expert Tips
 Kolbenschmidt plastic gauge overview
 How to replace a timing chain yourself
 Don’t Replace, Just Polish! Headlight Restoration with AUTODOC
Most commonly replaced car parts on FORD TOURNEO CONNECT


Time to replace parts? Get even better deals in our Shop app.

SCAN ME