Disclaimer

How to change fuel filter on Nissan Micra K12 – replacement guide
downloads:
42
Views:
2306
Recommended replacement interval for the part category Fuel Filter : 30000 km
Important!
This replacement procedure can be used for:
NISSAN MICRA III (K12) 1.2 16V, NISSAN MICRA III (K12) 1.2 16V, NISSAN MICRA III (K12) 1.0 16V, NISSAN MICRA III (K12) 160 SR, NISSAN MICRA III (K12) 1.2 LPG … View more
The steps may slightly vary depending on the car design.
NISSAN MICRA III (K12) 1.2 16V, NISSAN MICRA III (K12) 1.2 16V, NISSAN MICRA III (K12) 1.0 16V, NISSAN MICRA III (K12) 160 SR, NISSAN MICRA III (K12) 1.2 LPG … View more
The steps may slightly vary depending on the car design.
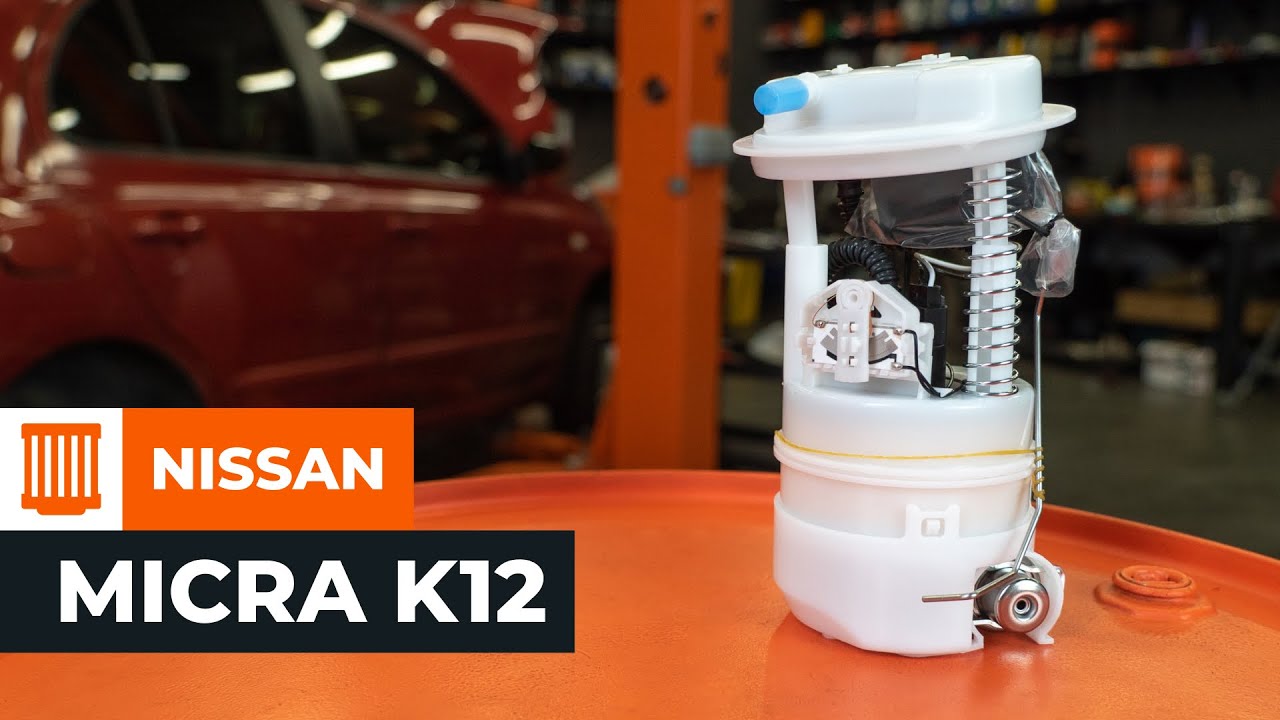
How to change fuel filter NISSAN MICRA K12 [TUTORIAL AUTODOC]
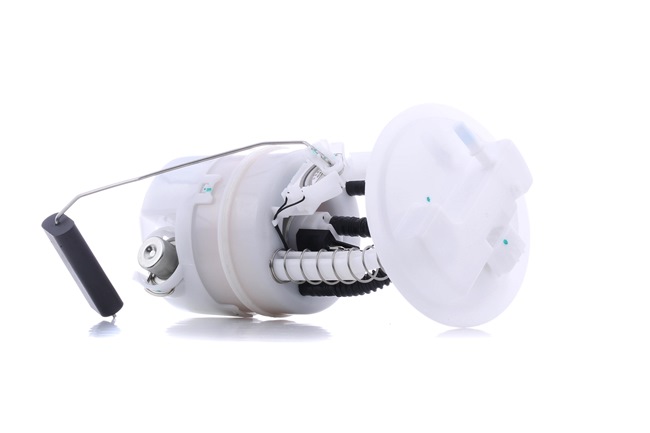
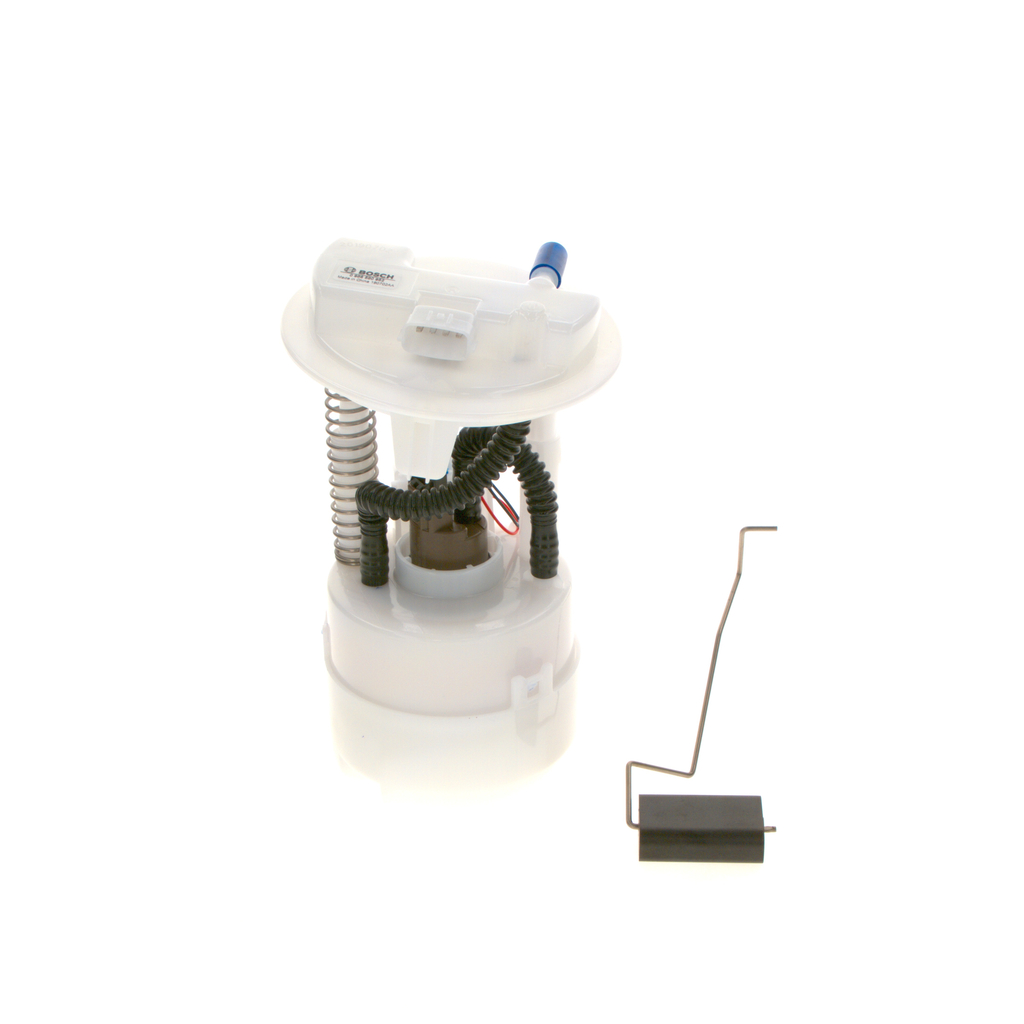
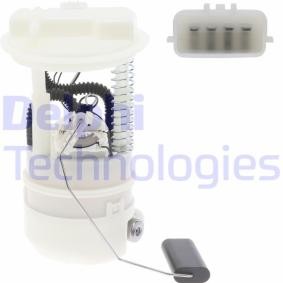
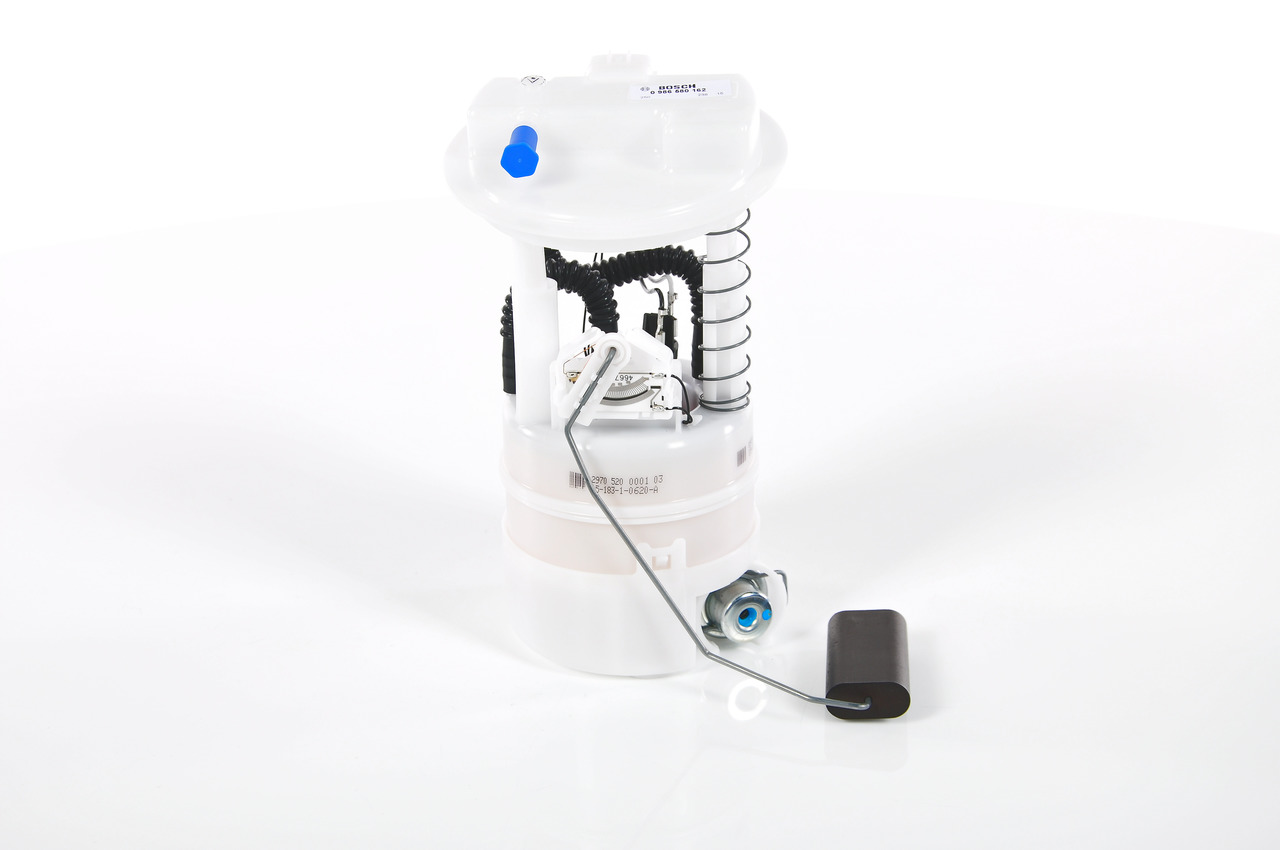
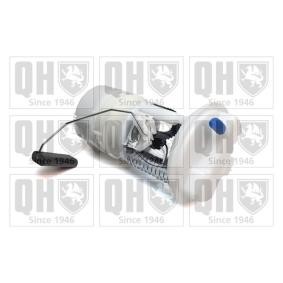
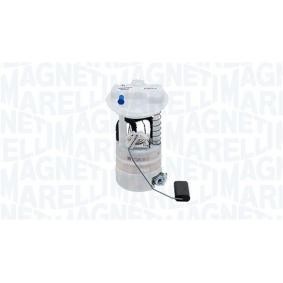
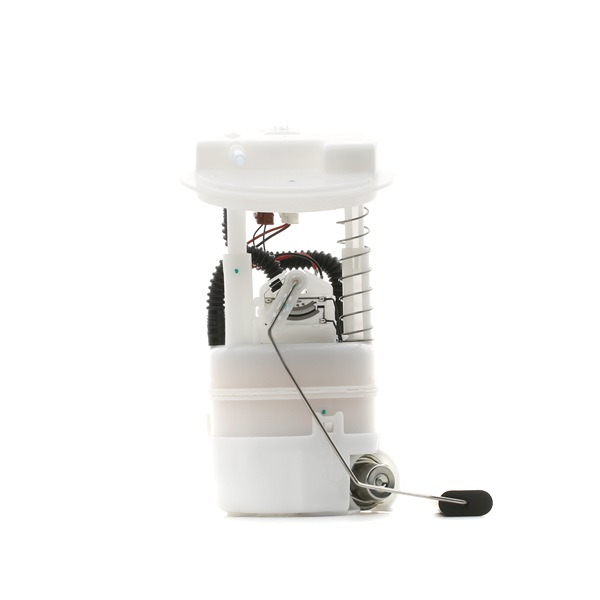
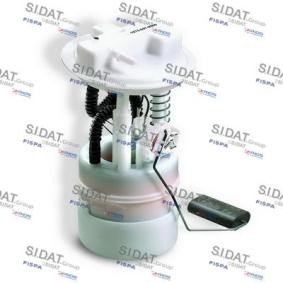
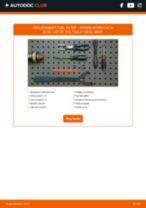
All the parts you need to replace – Fuel Filter for MICRA III (K12) and other NISSAN models
Alternative products


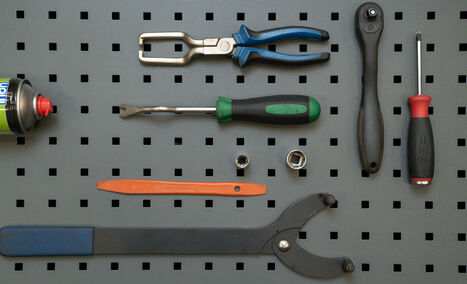
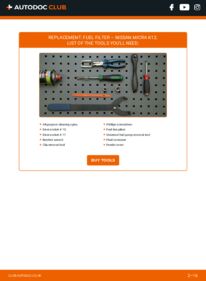
All-purpose cleaning spray
Drive socket # 10
Drive socket # 17
Ratchet wrench
Clip removal tool
Phillips screwdriver
Fuel line pliers
Universal fuel pump removal tool
Fluid container
Fender cover

Replacement: fuel filter – Nissan Micra K12. AUTODOC experts recommend:
- Ensure adequate ventilation of the workplace. Fuel vapors are poisonous.
- All work should be done with the engine stopped.
Replacement: fuel filter – Nissan Micra K12. Take the following steps:
- Step 1
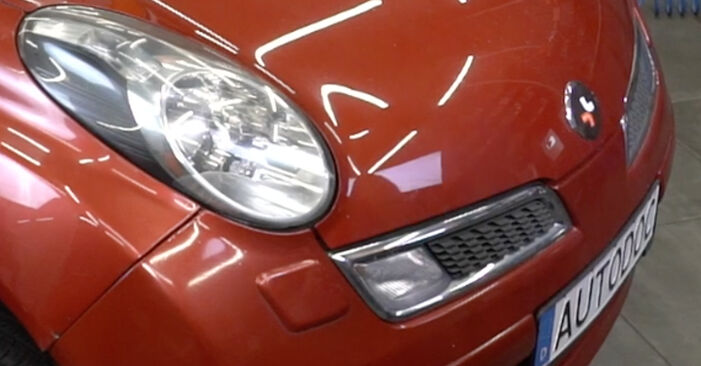
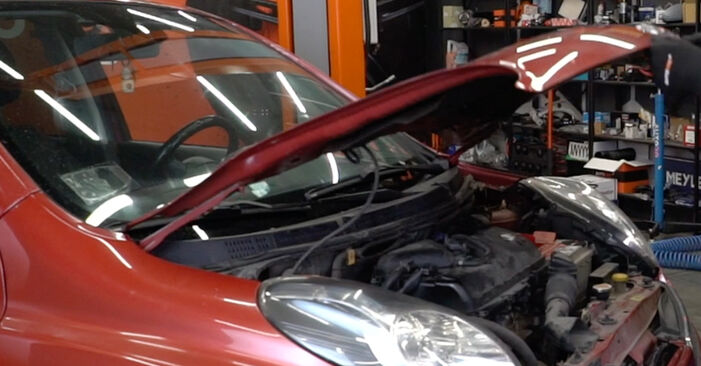 Open the bonnet.
 - Step 2
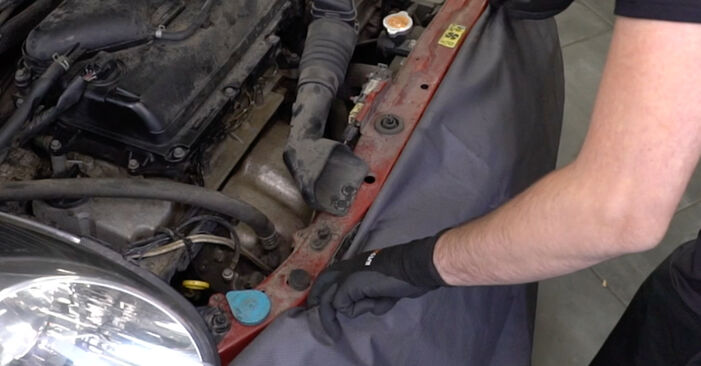 Use a fender protection cover to prevent damaging paintwork and plastic parts of the car.
 - Step 3
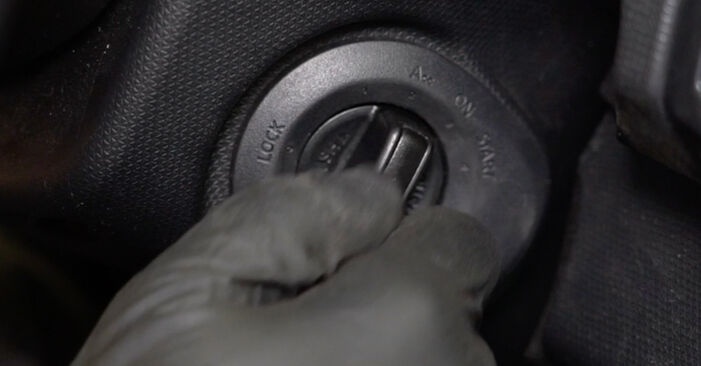
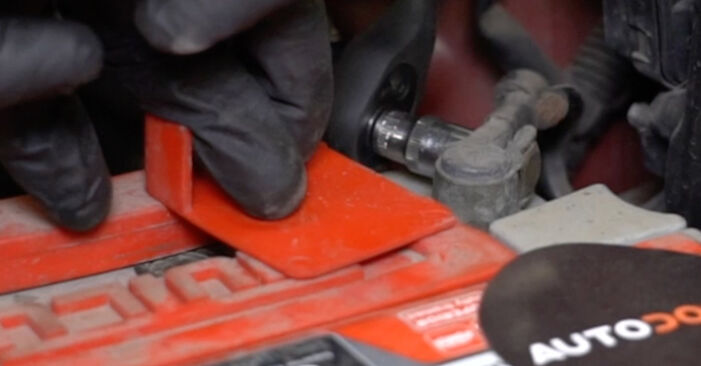 Disconnect the earth cable terminal from the battery. Use a drive socket #10. Use a ratchet wrench.
 - Step 4
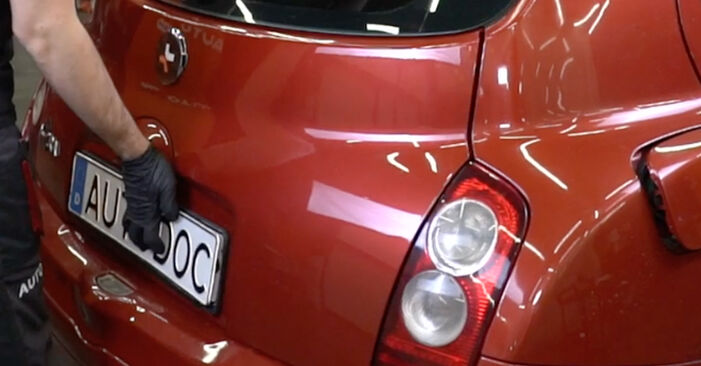
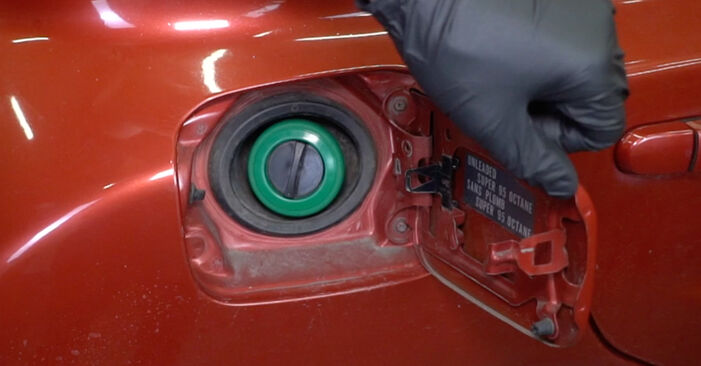 Open the fuel door.
 - Step 5
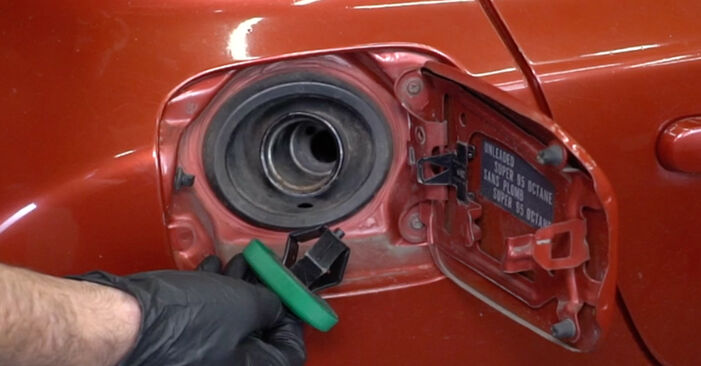 Unscrew the fuel filler cap.
 - Step 6
 Open the boot lid.
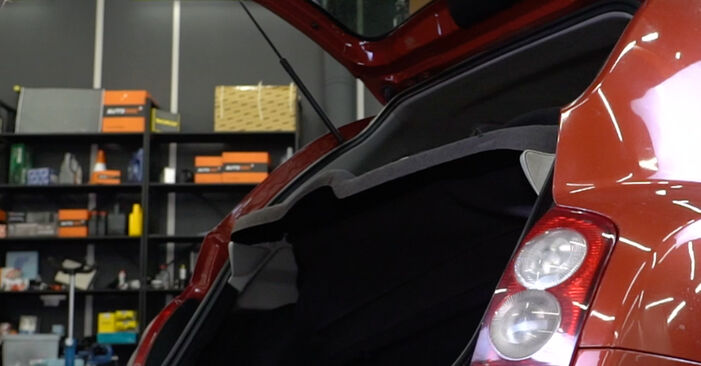
 - Step 7
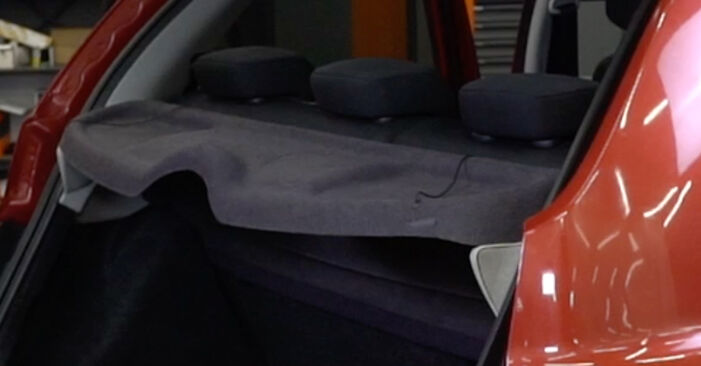
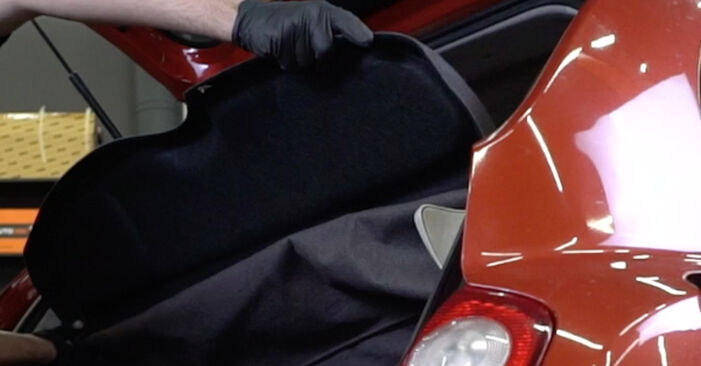 Detach the parcel shelf.
 - Step 8
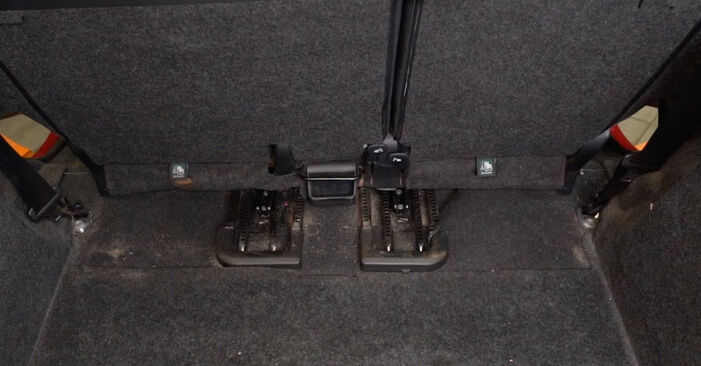
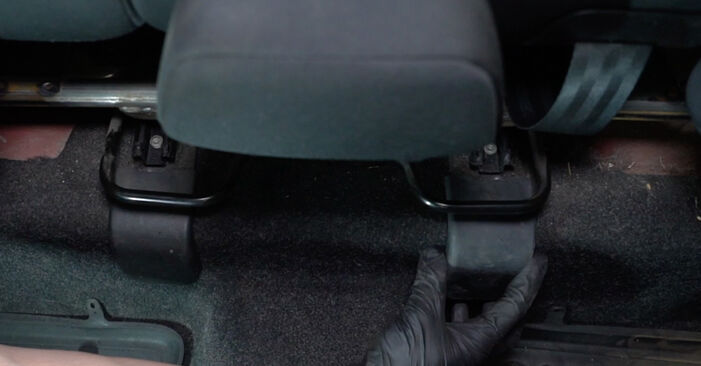
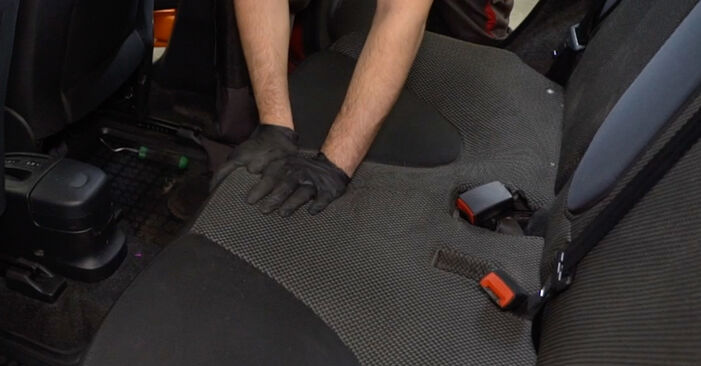
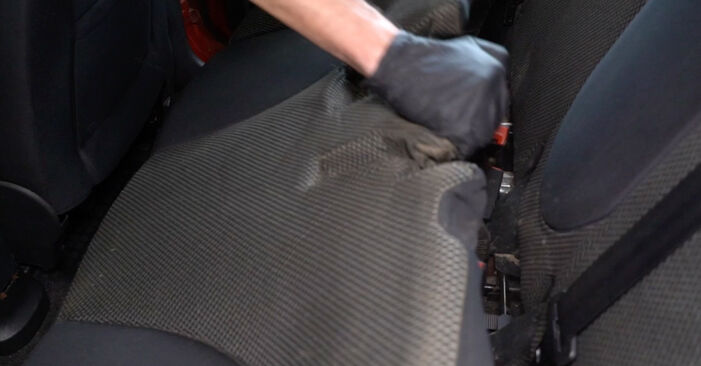 Remove the lower part of the rear seat.
 - Step 9
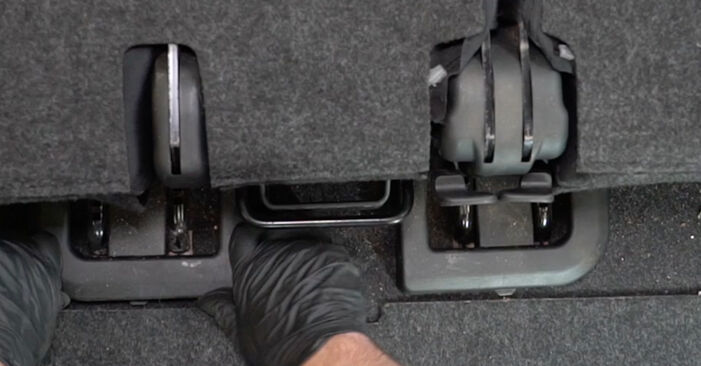
 Remove the plastic covers of the rear seat rails. Use a clip removal tool.
 - Step 10
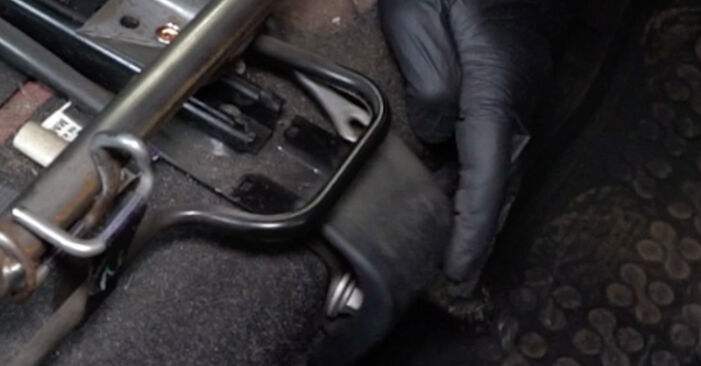
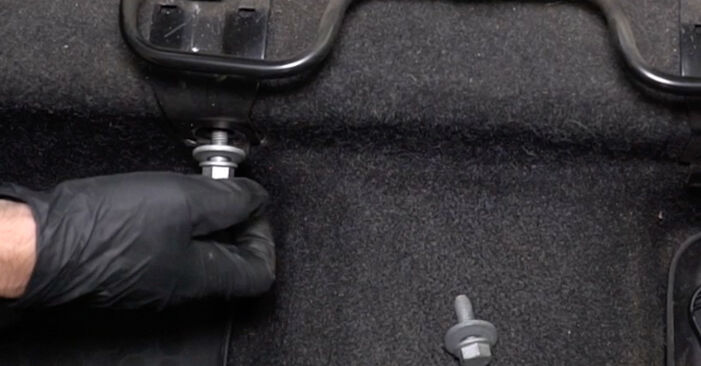
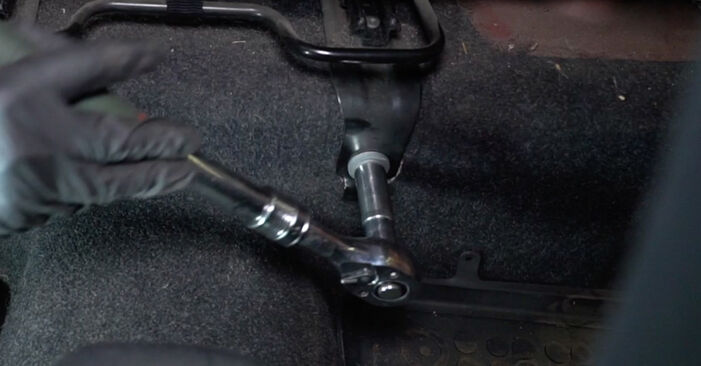
 Unscrew the front fasteners of the rear seat rails. Use a drive socket #17. Use a ratchet wrench.
 - Step 11
 Remove the fastening bolts.
 - Step 12
 Slide the rear seat forward as far as it will go.
 - Step 13
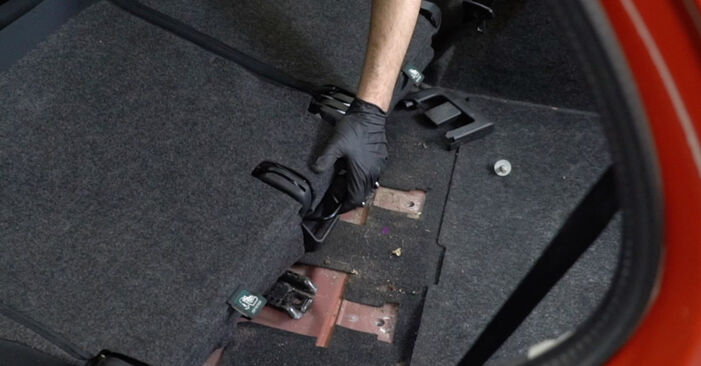
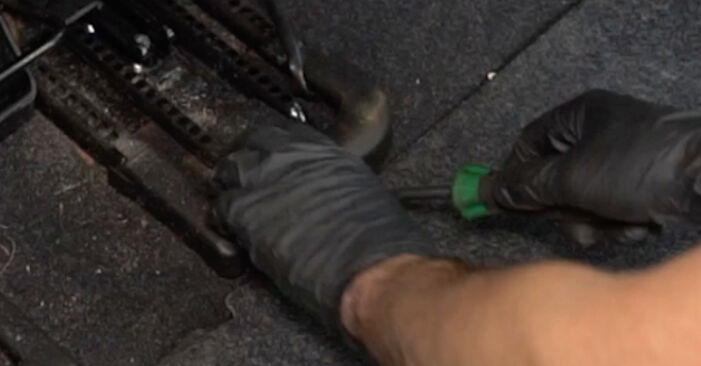 Remove the plastic covers of the rear seat rails. Use a clip removal tool.
 - Step 14
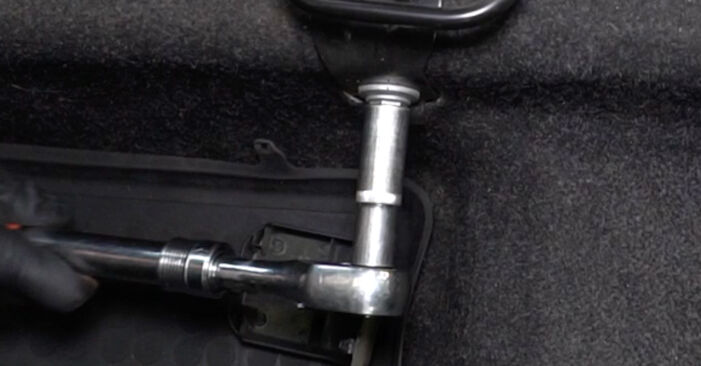
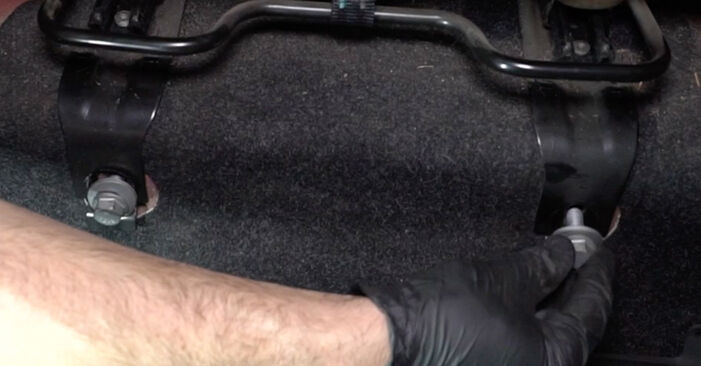
 Unscrew the rear fasteners of the rear seat rails. Use a drive socket #17. Use a ratchet wrench.
 - Step 15Remove the fastening bolts.Step 16
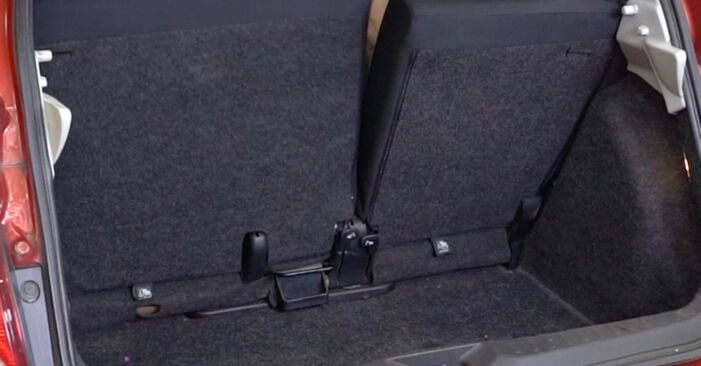
 Lower the rear seat backrest.
 - Step 17
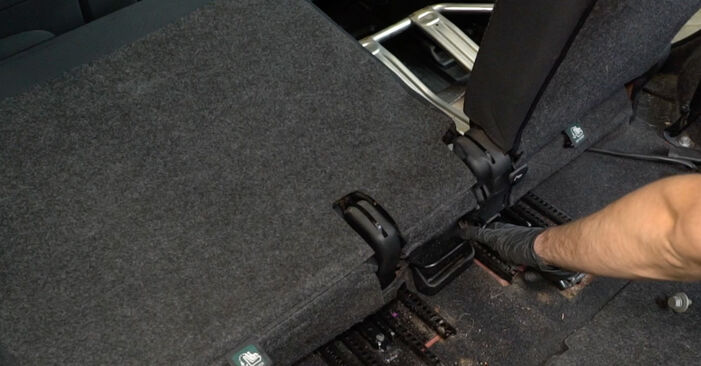
 Move the rear seat rails to the side along with the backrest.
 - Step 18
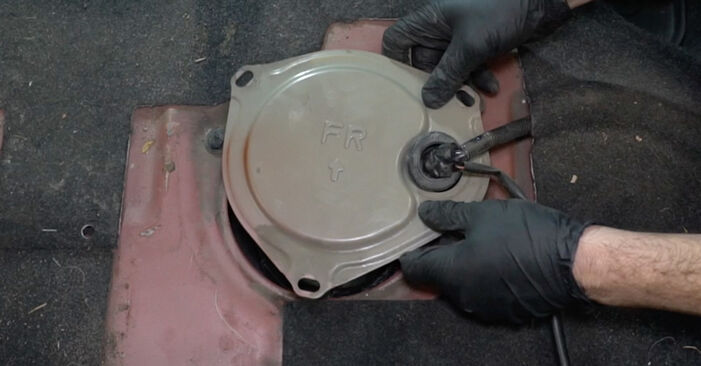
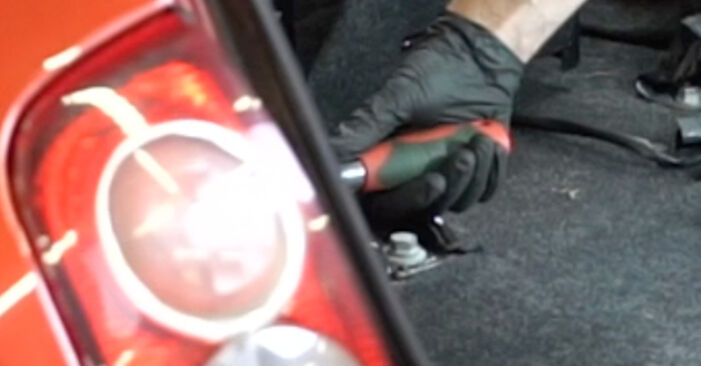
 Release the retainers on the fuel pump module access cover. Use a Phillips screwdriver.
 - Step 19
 Remove the fuel pump module access cover. Use a clip removal tool.
 - Step 20
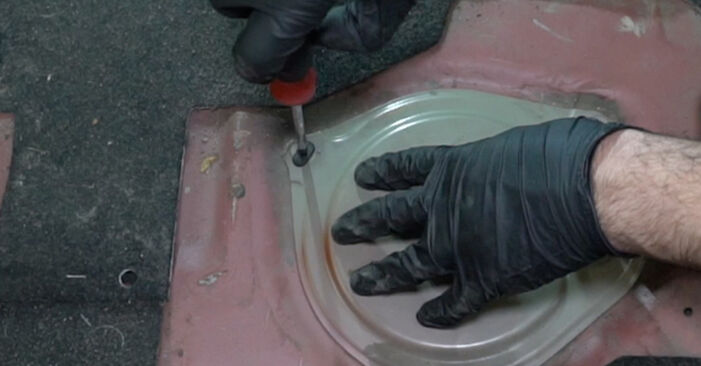
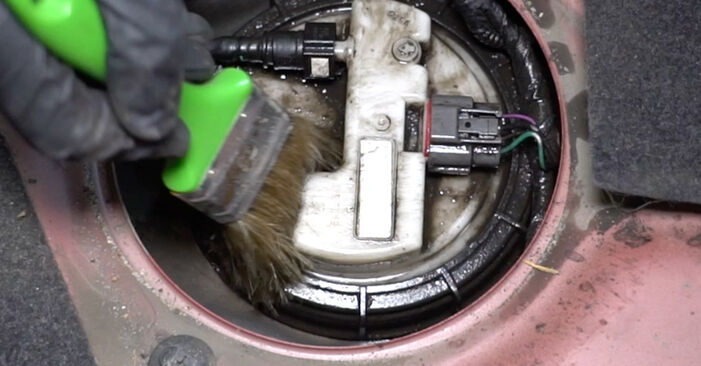 Clean the fuel pump module's mounting seat. Use all-purpose cleaning spray.
 - Step 21
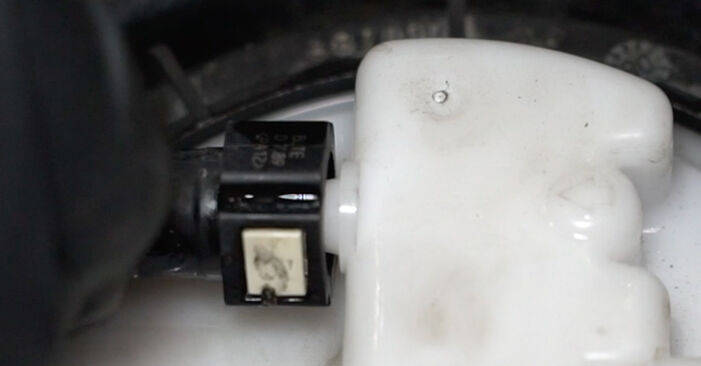
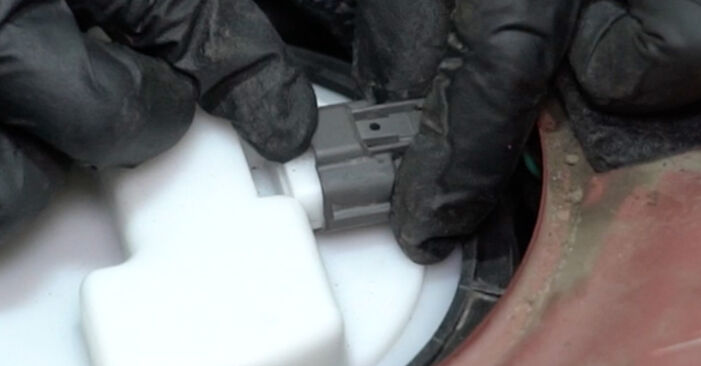
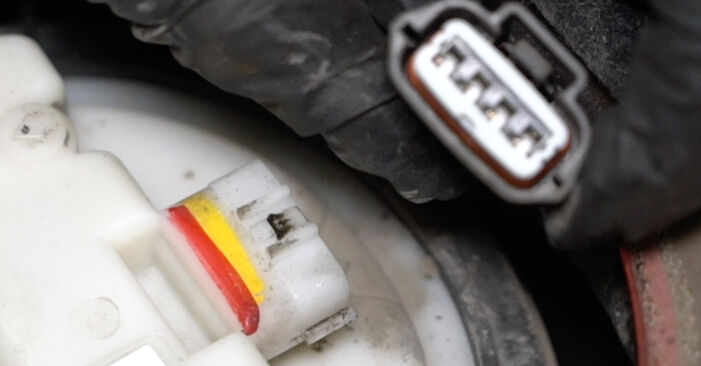 Detach the fuel pump module connector.
 - Step 22
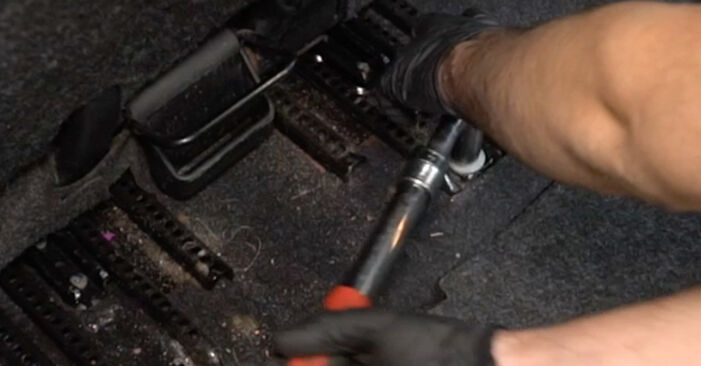
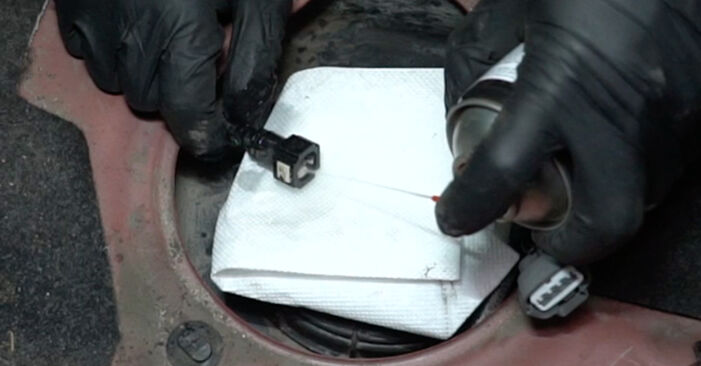
 Detach the fuel line from the fuel pump module. Use fuel line pliers.Replacement: fuel filter – Nissan Micra K12. AUTODOC recommends:Caution! The line is under pressure. Use safety glasses when disconnecting it.Warning: when detaching the fuel line some fuel may leak out.
 - Step 23
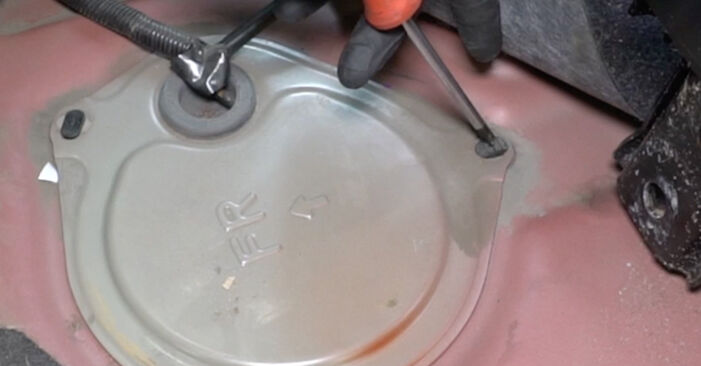
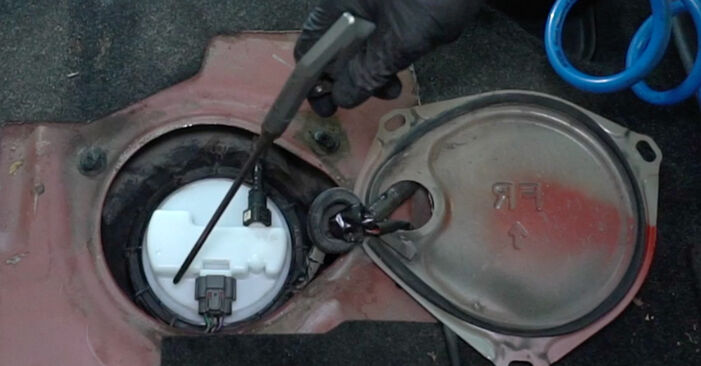
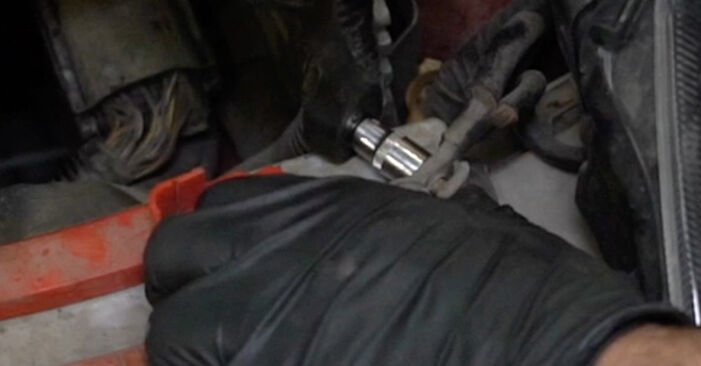
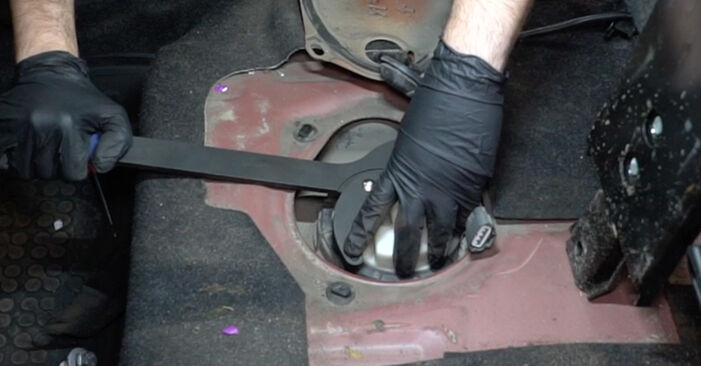 Unscrew the fuel pump module lock nut. Use a universal fuel pump removal tool.
 - Step 24
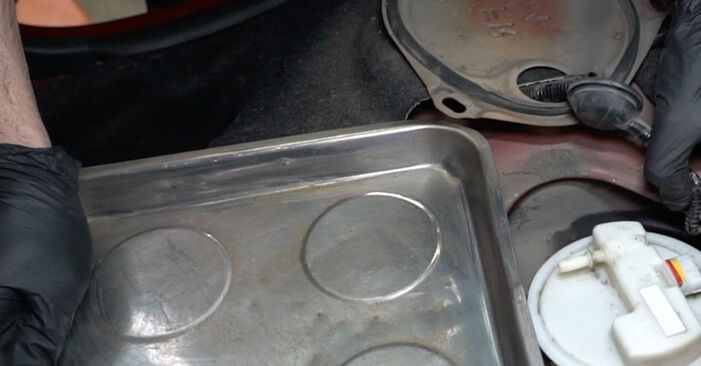 Prepare a container for fluids.
 - Step 25
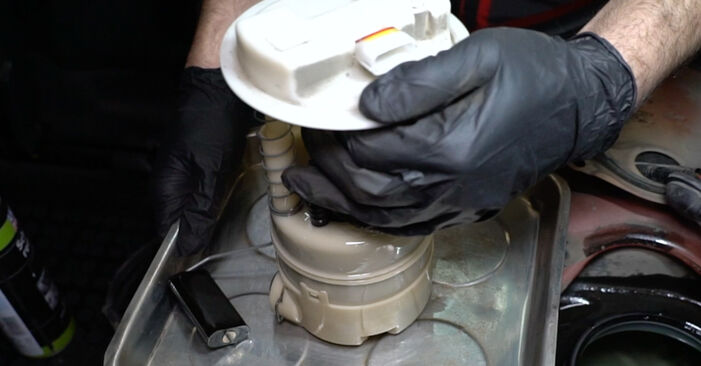 Take out the fuel pump module.
 - Step 26
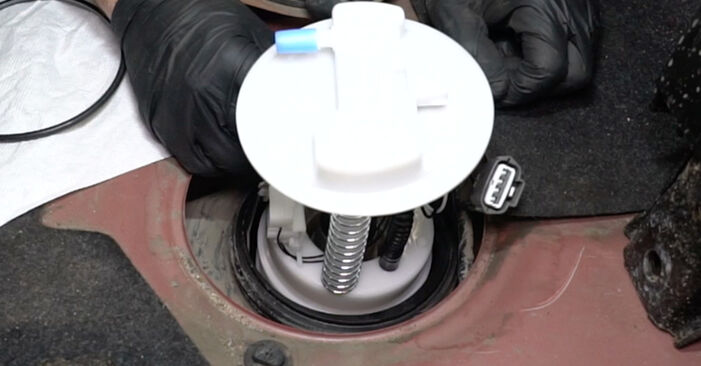 Install a new fuel pump module.Replacement: fuel filter – Nissan Micra K12. Tip:In this case, the fuel filter is built into the fuel pump module and cannot be removed and replaced separately.Use only new O-rings during installation.If necessary, attach the float arm to the fuel pump module.
 - Step 27
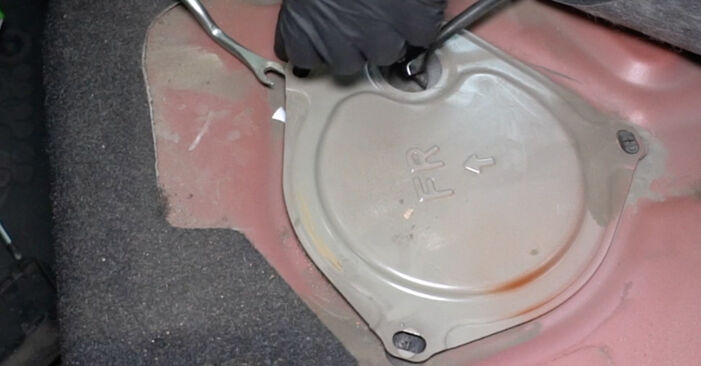
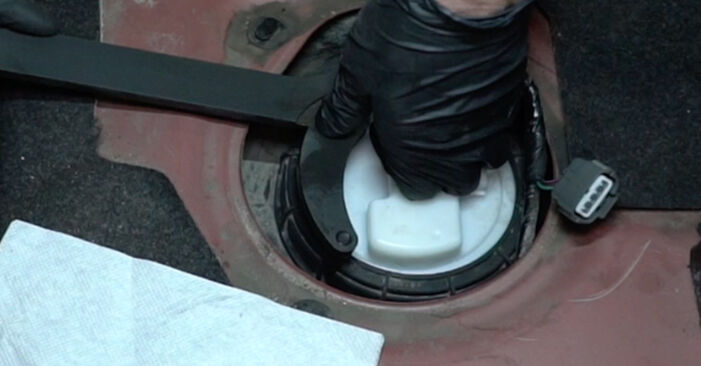 Install and screw on the fuel pump module lock nut. Use a universal fuel pump removal tool.
 - Step 28
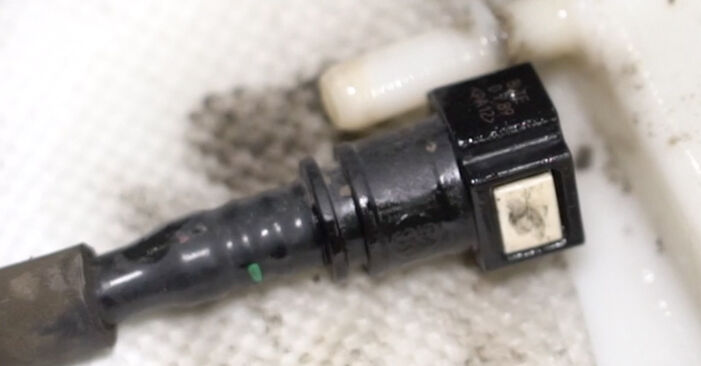
 Clean the fuel line connector. Use all-purpose cleaning spray.
 - Step 29
 Connect the fuel line to the fuel pump module.
 - Step 30
 Attach the fuel pump module connector.
Was this manual helpful?
Please rate this manual on a scale from 1 to 5. If you have any questions, feel free to ask us.
Users voted – 3
Need New Tyres?
Find out which tyre and wheel sizes are compatible with the NISSAN Micra III Hatchback (K12) model

Popular maintenance tutorials for Nissan Micra Mk3
 Free download PDF
 1.6 MB
 Free download PDF1.01 MB
 Free download PDF901.12 KB
 Free download PDF2.13 MB
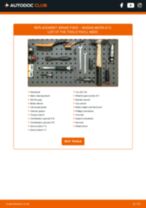 Free download PDF1.56 MB
 Free download PDF1.49 MB
Complete guides for changing the Fuel filters on different NISSAN MICRA models
 Free download PDF2.2 MB
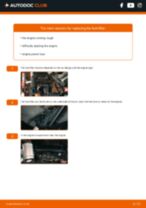 Free download PDF2 MB
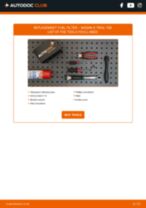 Free download PDF1.86 MB
 Free download PDF1.75 MB
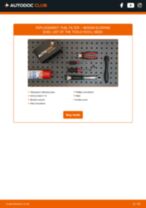 Free download PDF1.75 MB
 Free download PDF1.75 MB
Unlock your car maintenance assistant!
Track expenses, manage logs, schedule replacements, and more.
Tips & tricks for your NISSAN MICRA III (K12)
View more
 Revive Your Tyres: Expert Tips for a Lasting Shine | AUTODOC Guide
 7 signs of faulty fuel injectors | AUTODOC tips
 Top 7 Manual Transmission Mistakes to Avoid | AUTODOC Tips
 What causes engine misfire? | AUTODOC
Most commonly replaced car parts on NISSAN MICRA


Time to replace parts? Get even better deals in our Shop app.

SCAN ME