
Disclaimer

How to change lambda sensor on VW Golf IV Convertible (1E) – replacement guide
downloads:
6
Views:
35


Recommended replacement interval for the part category Lambda sensor : 100000 km
Important!
This replacement procedure can be used for:
VW Golf IV Convertible (1E) 2.0 … View more
The steps may slightly vary depending on the car design.
VW Golf IV Convertible (1E) 2.0 … View more
The steps may slightly vary depending on the car design.
This video shows the replacement procedure of a similar car part on another vehicle
All the parts you need to replace – Lambda Sensor for Golf IV Convertible (1E) and other VW models
Alternative products
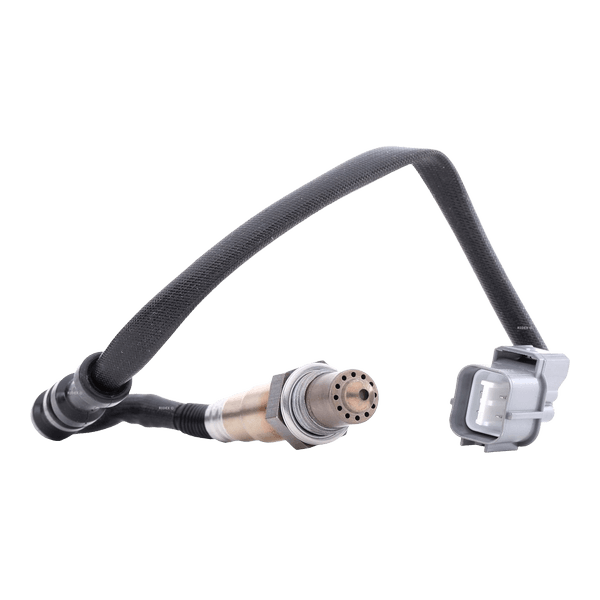 Lambda sensor


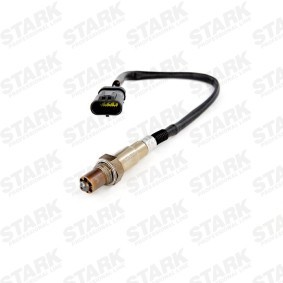
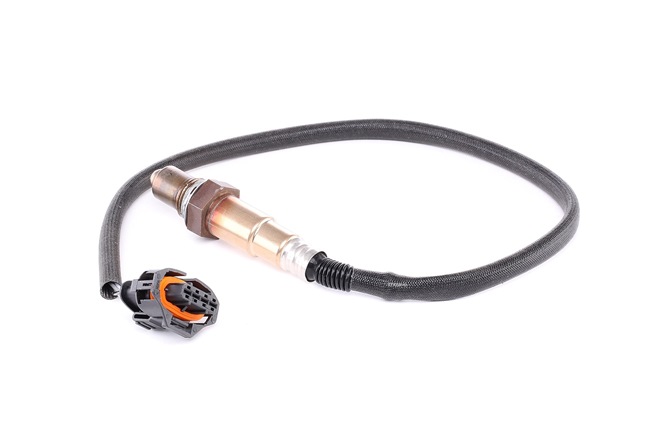
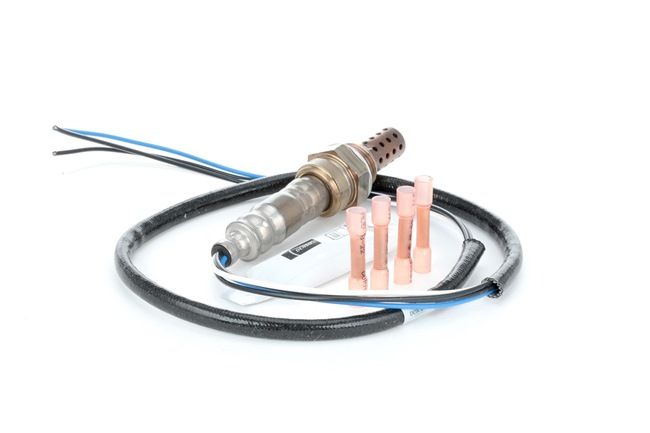
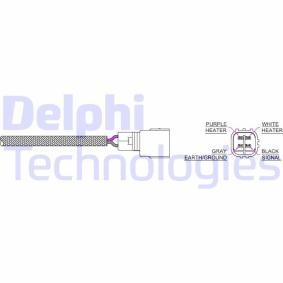
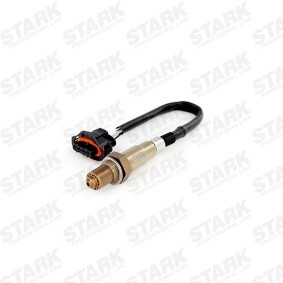

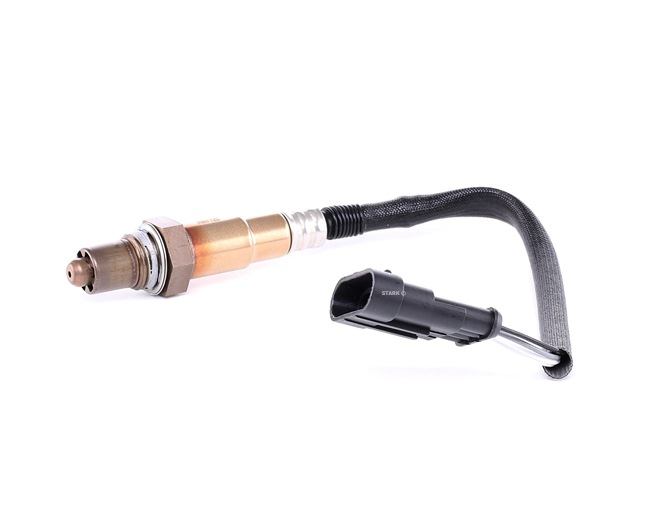

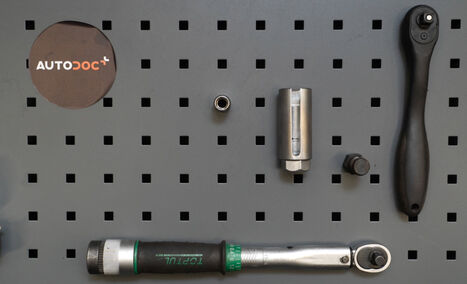
Electronic spray
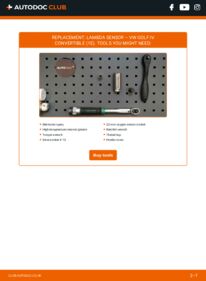
High-temperature ceramic grease
Torque wrench
Drive socket # 10
22-mm oxygen sensor socket
Ratchet wrench
Thread tap
Fender cover

Replacement: lambda sensor – VW GOLF Mk III Convertible (1E7). AUTODOC experts recommend:
- After replacing the oxygen sensor, clear the trouble code from the electronic control unit and let the ECU adapt itself to the new sensor.
- Before getting down to work, start the engine and let it warm up to operating temperature.
- Please note: all work on the car – VW GOLF Mk III Convertible (1E7) – should be done with the engine switched off.
Carry out replacement in the following order:
- Step 1Open the bonnet.Step 2Use a fender protection cover to prevent damaging paintwork and plastic parts of the car.Step 3Lift the car using a jack or place it over an inspection pit.Step 4
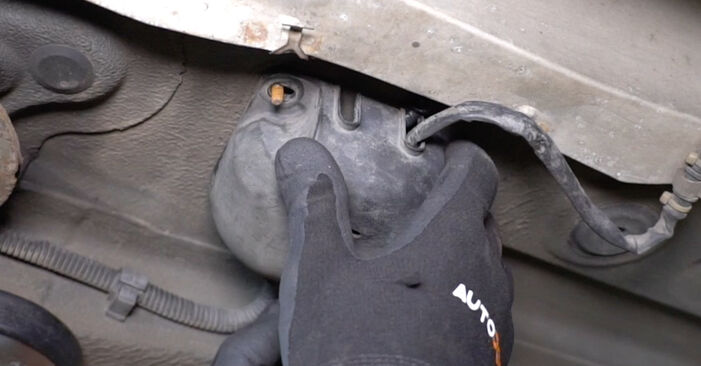
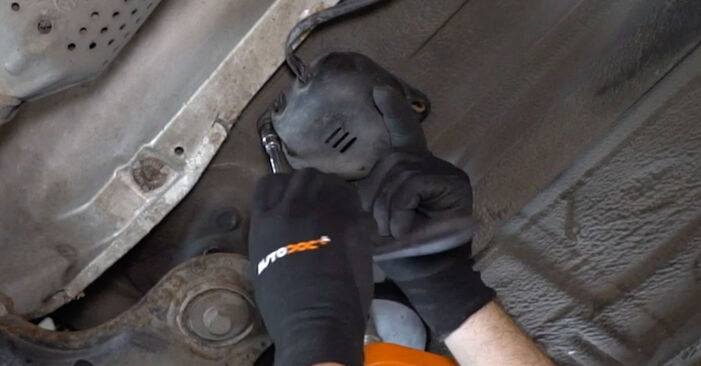
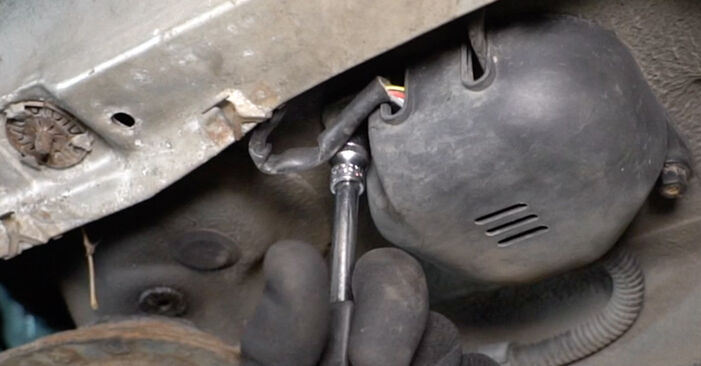 Unscrew the fasteners of the oxygen sensor housing cover. Use a drive socket #10. Use a ratchet wrench.
 - Step 5
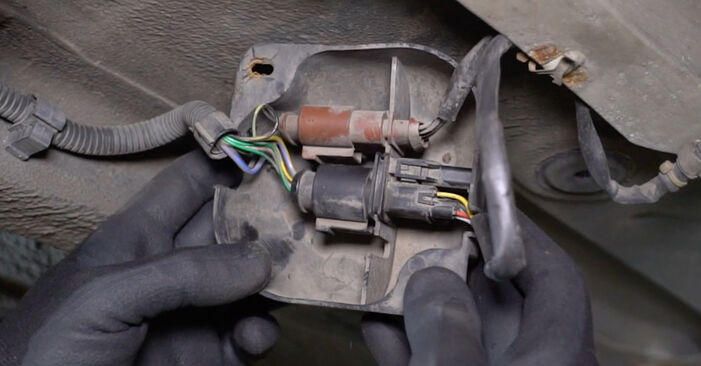 Remove the oxygen sensor housing cover.
 - Step 6
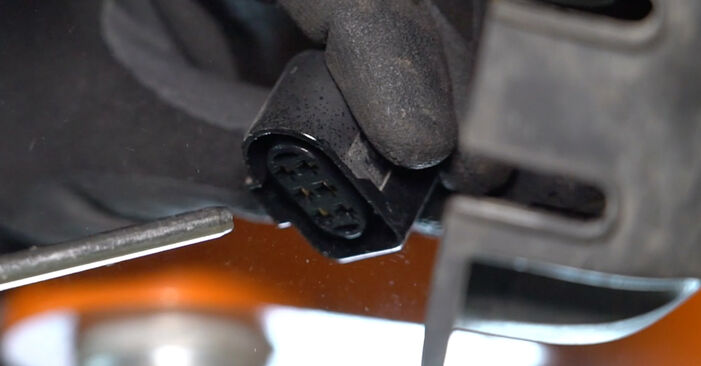
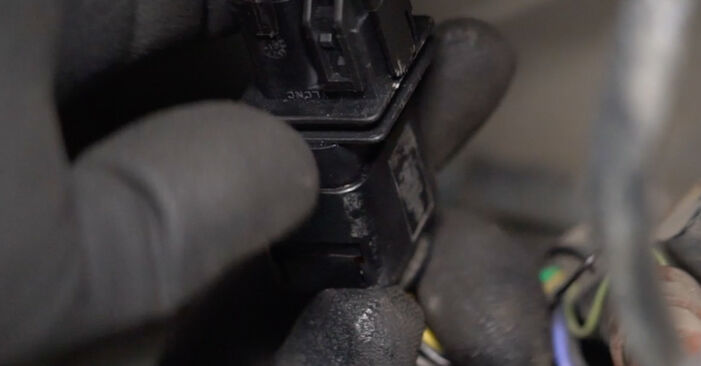
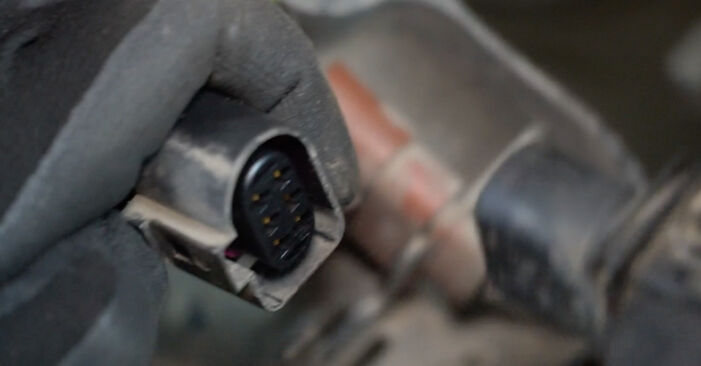 Detach the oxygen sensor connector.
 - Step 7
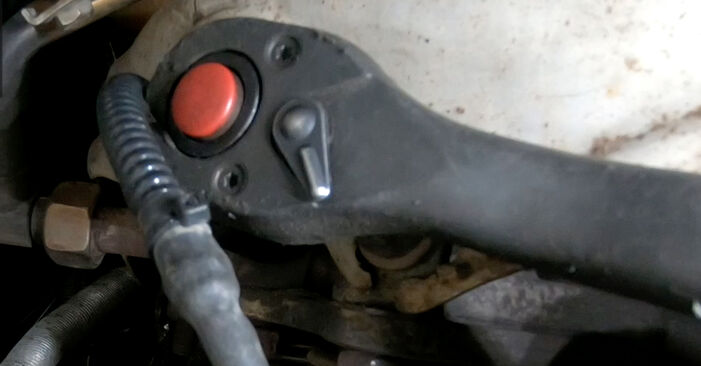 Unscrew the oxygen sensor fastener. Use a 22-mm oxygen sensor socket. Use a ratchet wrench.
 - Step 8
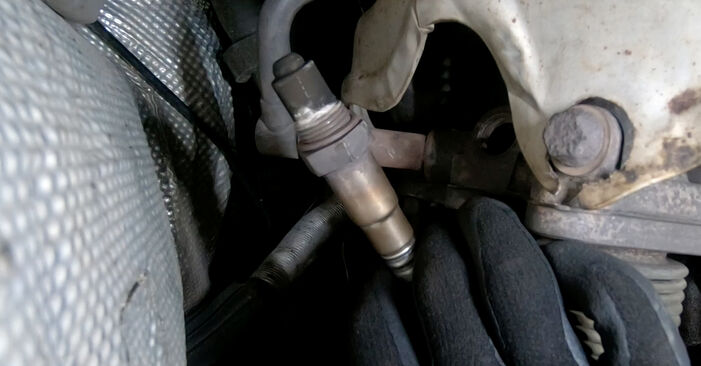 Remove the oxygen sensor.
 - Step 9
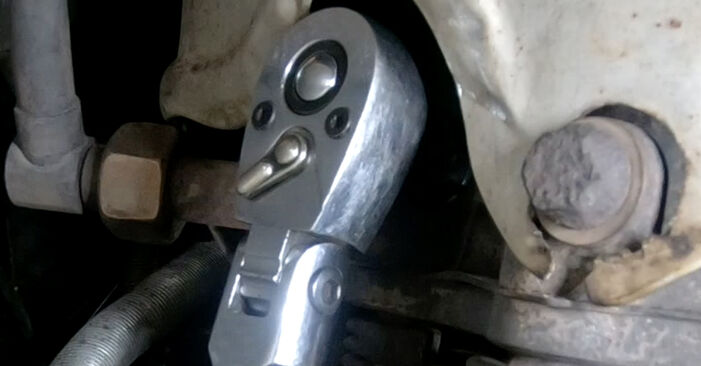 Cut the thread for the new oxygen sensor. Use a thread tap. Use a ratchet wrench.
 - Step 10Treat the oxygen sensor. Use high-temperature ceramic grease.Step 11
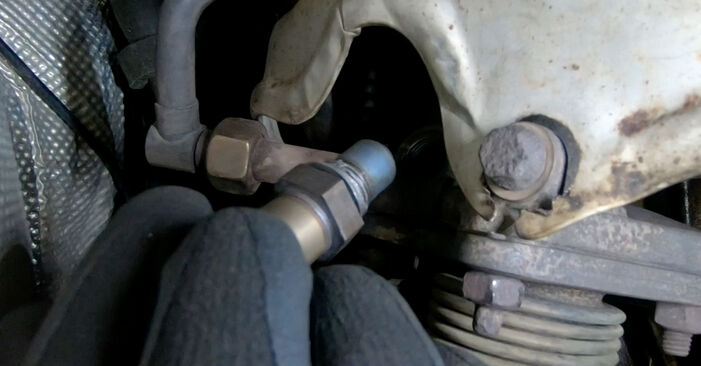 Install the new oxygen sensor.
 - Step 12
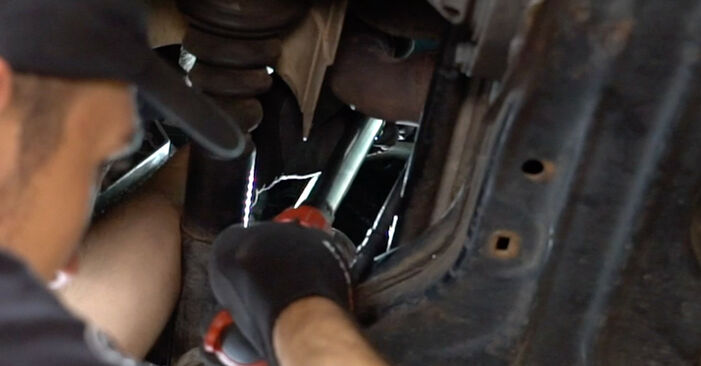 Tighten the oxygen sensor fastener. Use a 22-mm oxygen sensor socket. Use a torque wrench. Tighten it to 37 Nm torque.
Was this manual helpful?
Please rate this manual on a scale from 1 to 5. If you have any questions, feel free to ask us.
Users voted – 0
Need New Tyres?
Find out which tyre and wheel sizes are compatible with the VW Golf IV Convertible (1E) model


Popular maintenance tutorials for Golf 4 Cabrio
 Free download PDF
 1.72 MB
 Free download PDF1.2 MB
 Free download PDF1.62 MB
 Free download PDF737.28 KB
 Free download PDF2.48 MB
 Free download PDF1003.52 KB
Complete guides for changing the Oxygen sensor on different VW GOLF models
 Free download PDF1.36 MB
 Free download PDF890.88 KB
 Free download PDF1.29 MB
 Free download PDF890.88 KB
 Free download PDF890.88 KB
 Free download PDF890.88 KB

Unlock your car maintenance assistant!
Track expenses, manage logs, schedule replacements, and more.

Tips & tricks for your VW Golf IV Convertible (1E)
View more
 Top 5 reasons why the suspension knocks | AUTODOC tips
 #DIY guide: Changing your car's color with a spray can | AUTODOC tips
 Regain Your Confidence on the Road: Easy Headlight Restoration Tips
 DIY rear axle restoration | Drivetrain restoration – Part 2
Most commonly replaced car parts on VW GOLF















Time to replace parts? Get even better deals in our Shop app.

SCAN ME