
Disclaimer

How to change CV joint on AUDI A3 Sportback (8VA, 8VF) – replacement guide
downloads:
37
Views:
452


Important!
This replacement procedure can be used for:
AUDI A3 Sportback (8VA, 8VF) 1.6 TDI, AUDI A3 Sportback (8VA, 8VF) 1.4 TFSI, AUDI A3 Sportback (8VA, 8VF) 1.2 TFSI, AUDI A3 Sportback (8VA, 8VF) 1.6 TDI, AUDI A3 Sportback (8VA, 8VF) 1.4 TFSI g-tron, AUDI A3 Sportback (8VA, 8VF) 1.2 TFSI, AUDI A3 Sportback (8VA, 8VF) RS3 quattro, AUDI A3 Sportback (8VA, 8VF) RS3 quattro … View more
The steps may slightly vary depending on the car design.
AUDI A3 Sportback (8VA, 8VF) 1.6 TDI, AUDI A3 Sportback (8VA, 8VF) 1.4 TFSI, AUDI A3 Sportback (8VA, 8VF) 1.2 TFSI, AUDI A3 Sportback (8VA, 8VF) 1.6 TDI, AUDI A3 Sportback (8VA, 8VF) 1.4 TFSI g-tron, AUDI A3 Sportback (8VA, 8VF) 1.2 TFSI, AUDI A3 Sportback (8VA, 8VF) RS3 quattro, AUDI A3 Sportback (8VA, 8VF) RS3 quattro … View more
The steps may slightly vary depending on the car design.
This video shows the replacement procedure of a similar car part on another vehicle
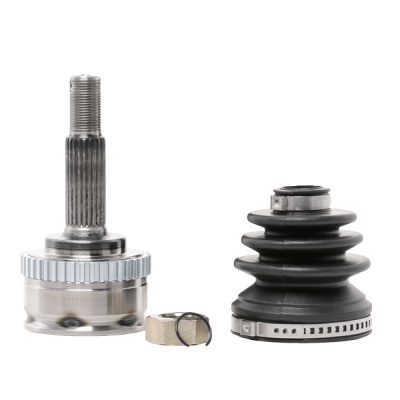
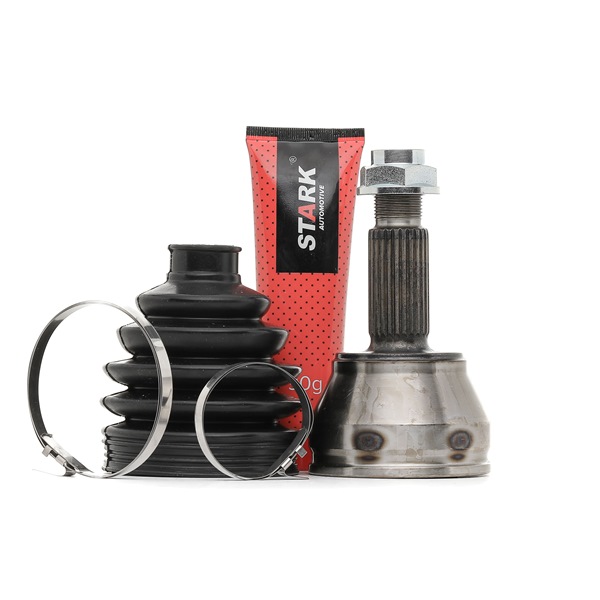
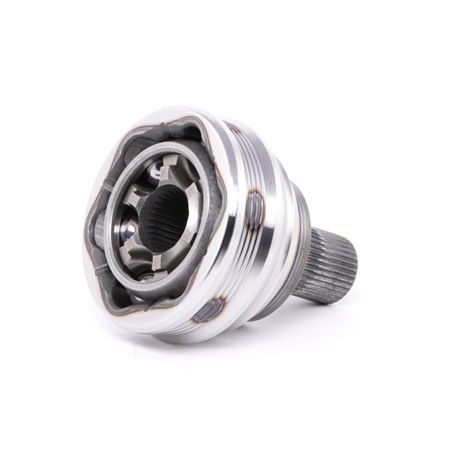
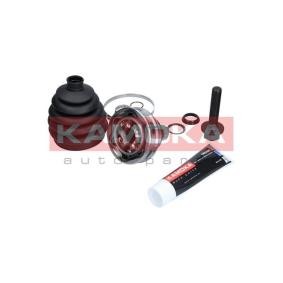
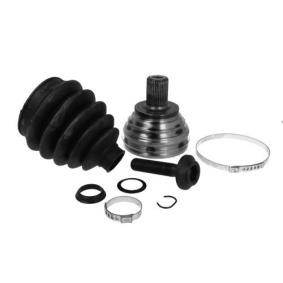
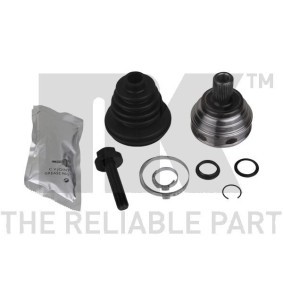
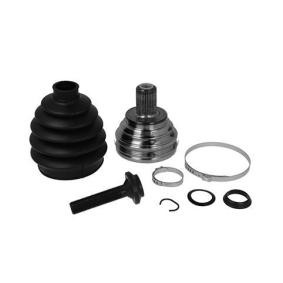
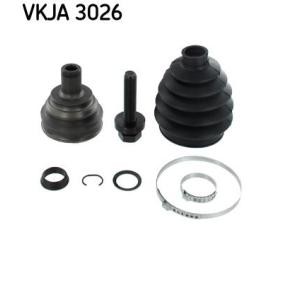
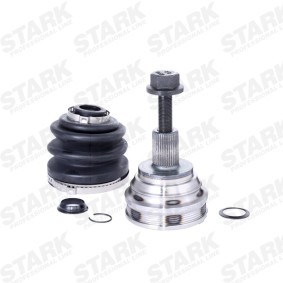
All the parts you need to replace – CV Joint for A3 Sportback (8VA, 8VF) and other AUDI models
Alternative products
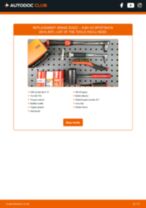
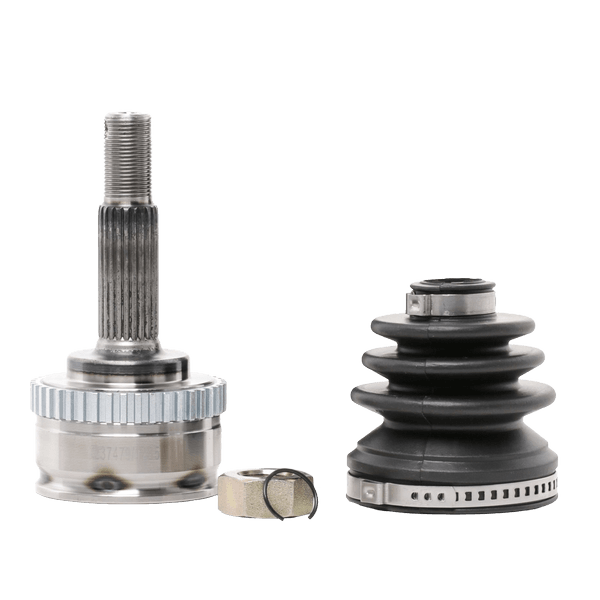 Joint kit, drive shaft


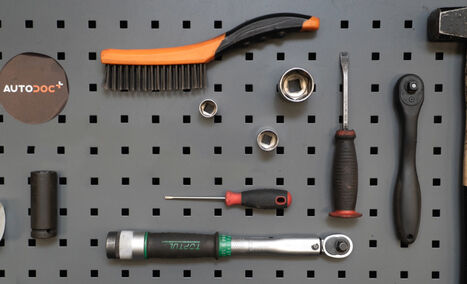
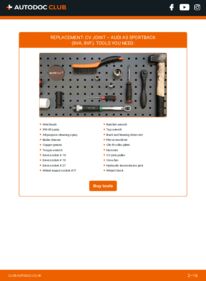
Wire brush
WD-40 spray
All-purpose cleaning spray
Brake cleaner
Copper grease
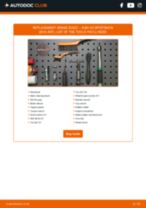
Torque wrench
Drive socket # 16
Drive socket # 19
Drive socket # 27
Wheel impact socket #17
Ratchet wrench
Tap wrench
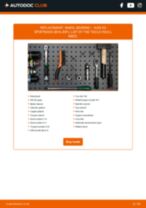
Bush and bearing driver set
Flat screwdriver
Clic-R collar pliers
Hammer
CV joint puller
Crow bar
Hydraulic transmission jack
Wheel chock

Replacement: CV joint – AUDI A3 Sportback (8VA). Tip from AUTODOC:
- The CV joint replacement procedure is identical for the left and right CV axles.
- Replace the CV joints of CV axles in pairs.
- Please note: all work on the car – AUDI A3 Sportback (8VA) – should be done with the engine switched off.
Carry out replacement in the following order:
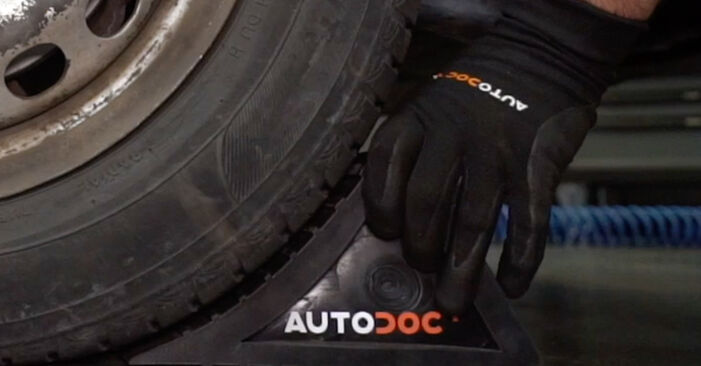
- Step 1Secure the wheels with chocks.Step 2
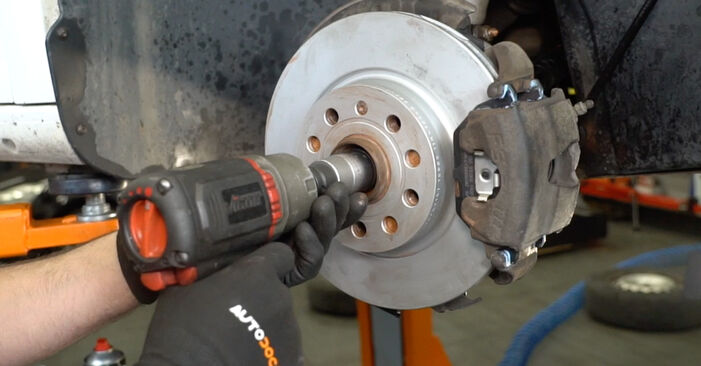
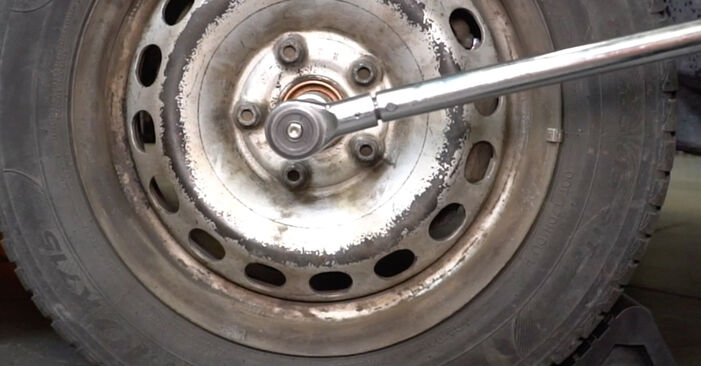
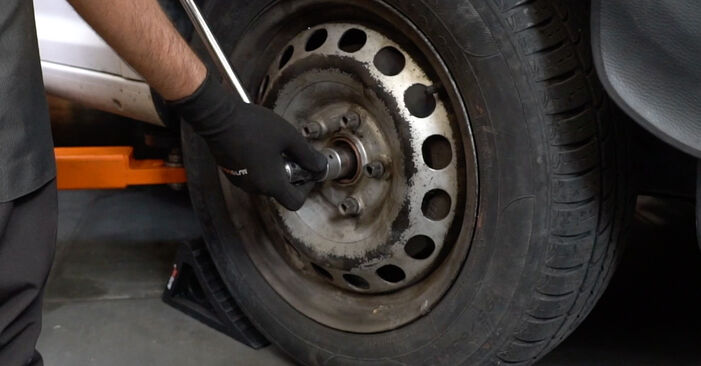 Loosen the fastener of the driveshaft. Use a drive socket #27. Use a tap wrench.
 - Step 3
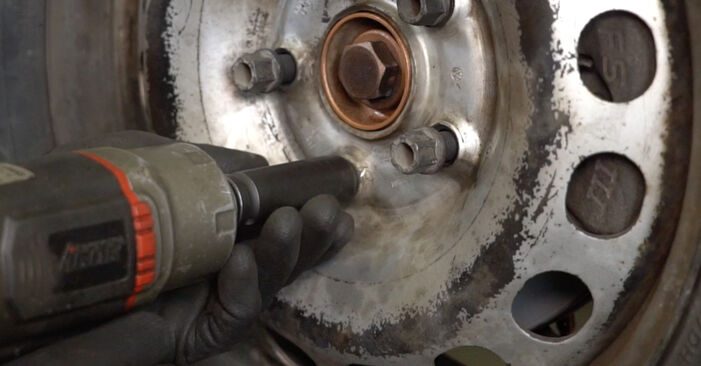
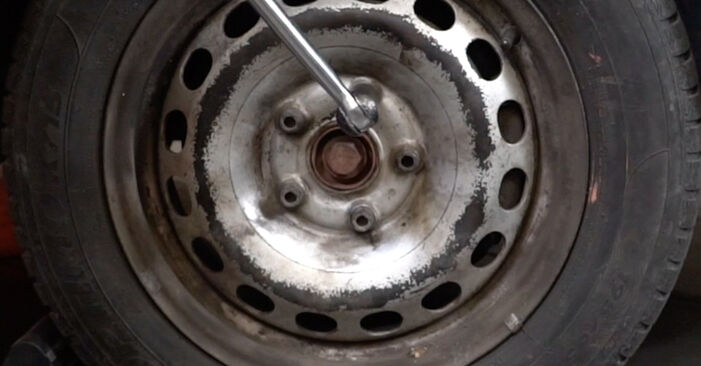 Loosen the wheel mounting bolts. Use wheel impact socket #17.
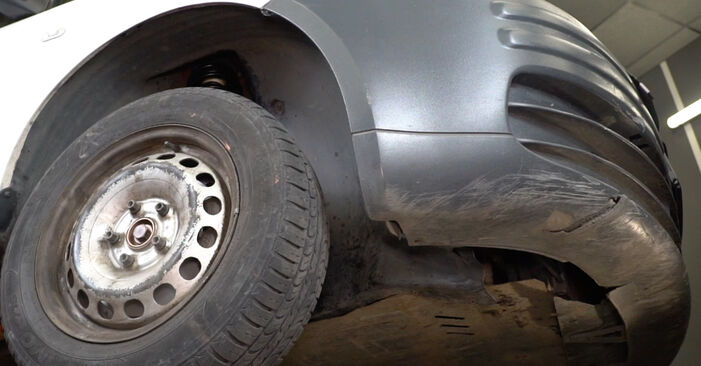
 - Step 4Raise the front of the car and secure on supports.Step 5
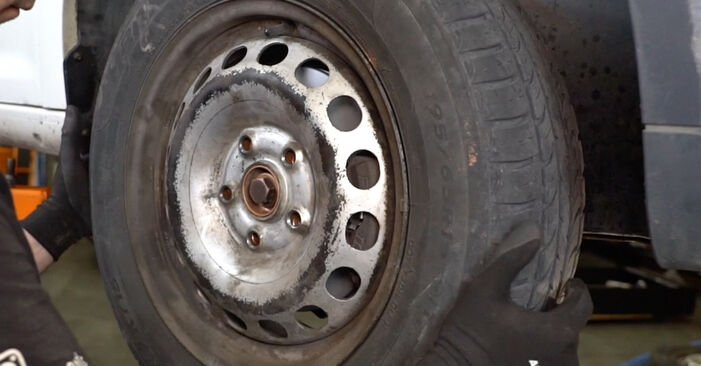
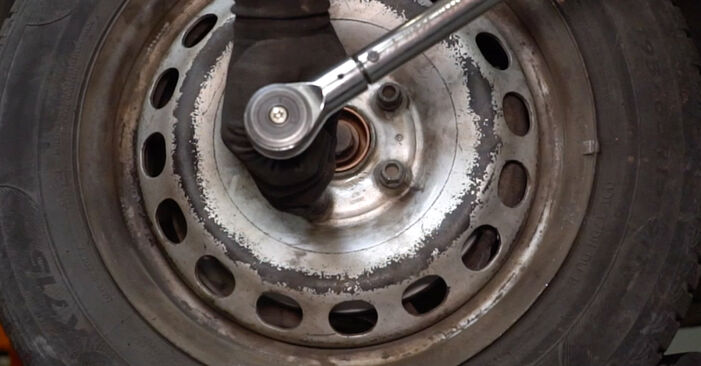
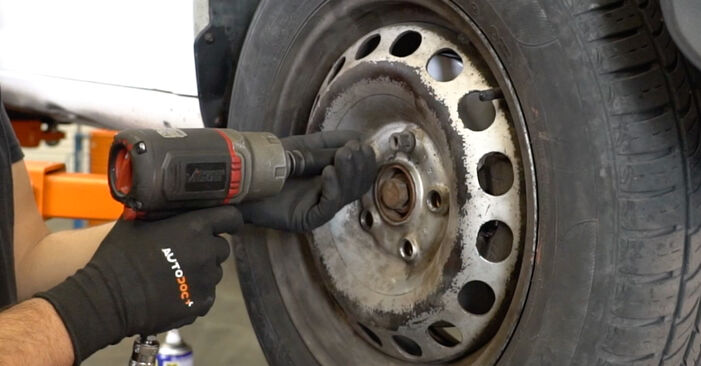 Unscrew the wheel bolts.AUTODOC recommends:Important! Hold the wheel while unscrewing the fastening bolts. AUDI A3 Sportback (8VA)
 - Step 6
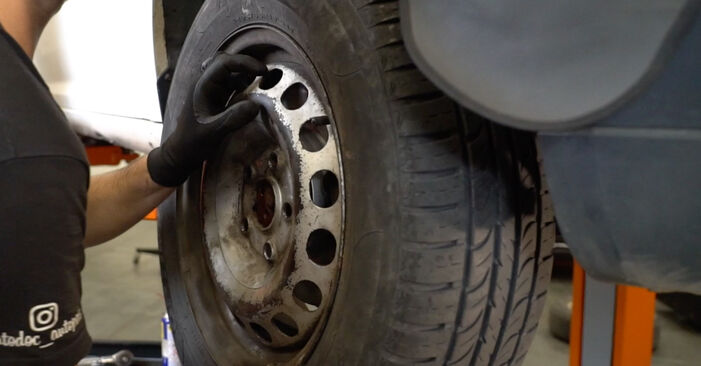 Remove the wheel.
 - Step 7
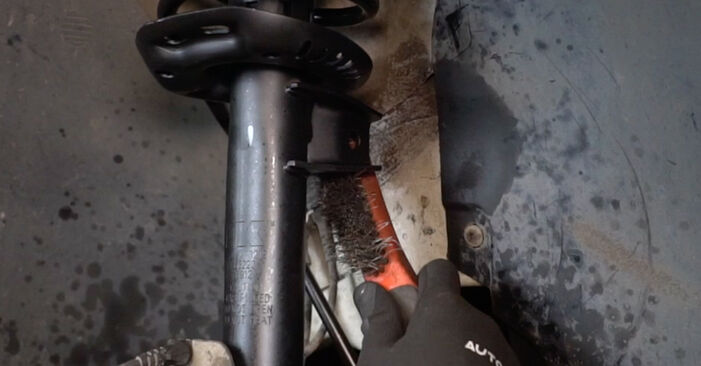
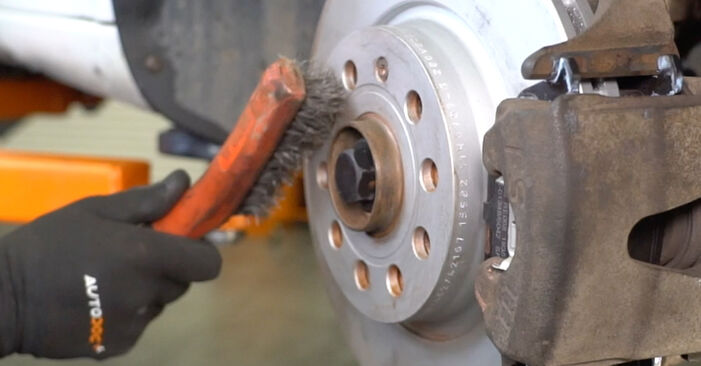
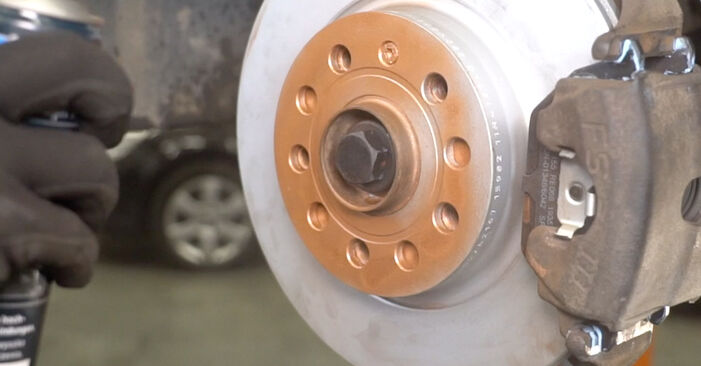
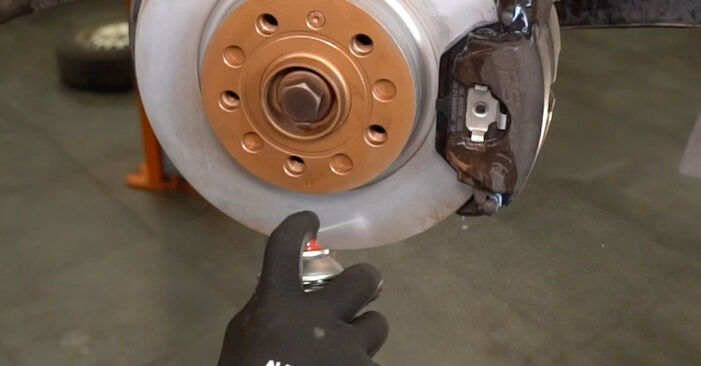
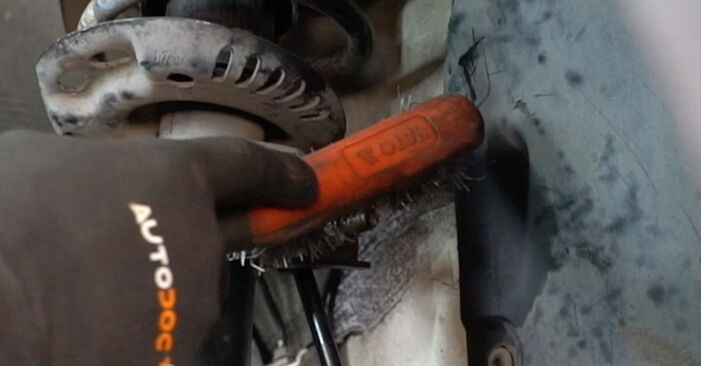 Clean the stabiliser link fasteners. Use a wire brush. Use WD-40 spray.
 - Step 8
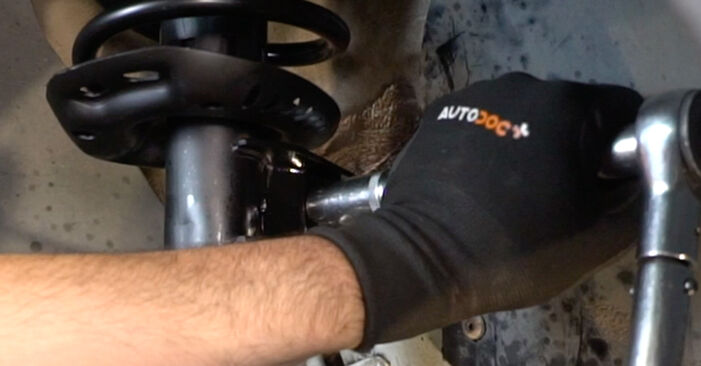
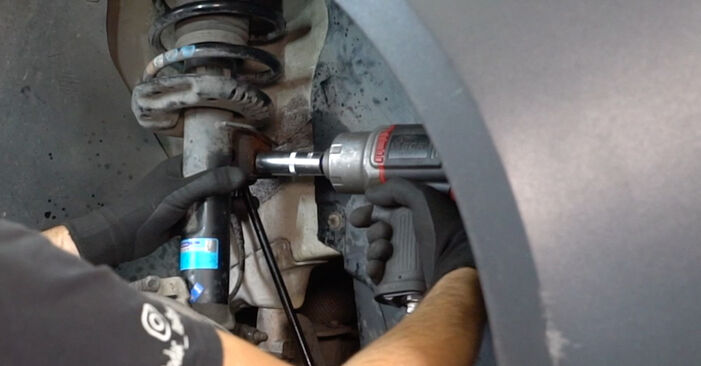 Unscrew the fastener connecting the stabilizer link to the shock strut. Use a drive socket #19. Use a ratchet wrench.
 - Step 9
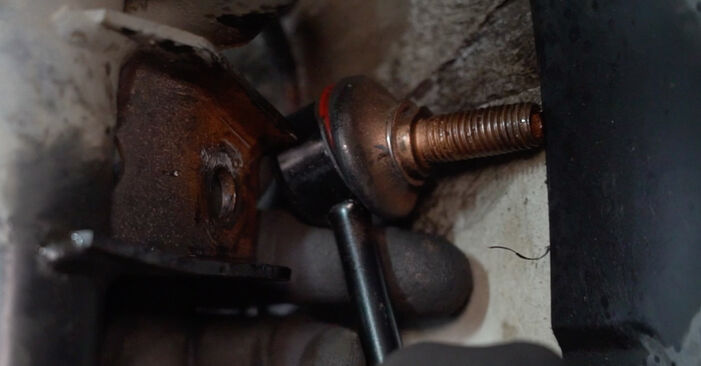 Remove the stabilizer rod.
 - Step 10Remove the fastening bolt.Step 11
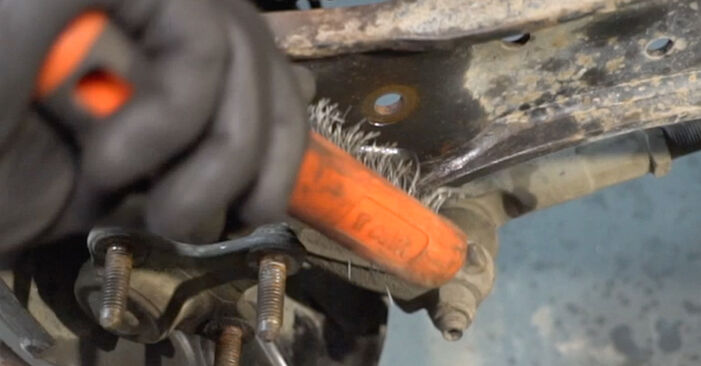
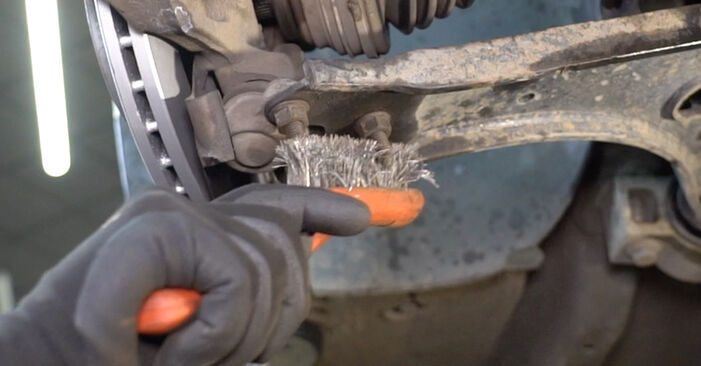 Clean the fasteners connecting the ball joint to the suspension control arm. Use a wire brush. Use WD-40 spray.
 - Step 12
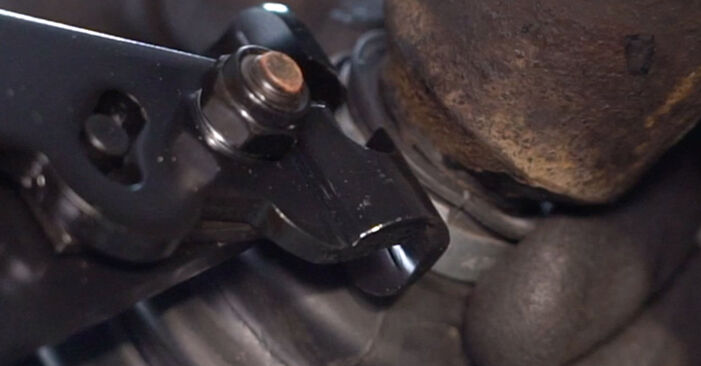
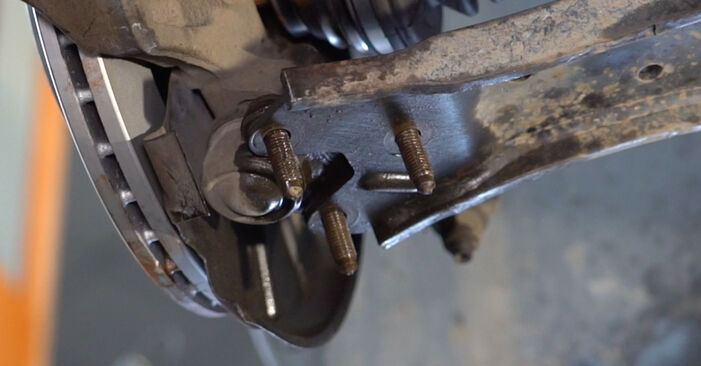
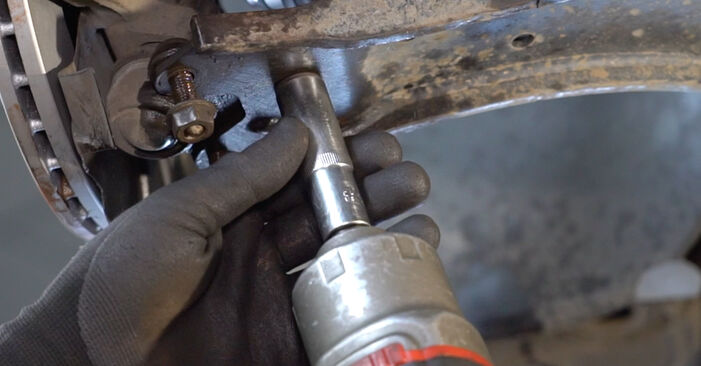
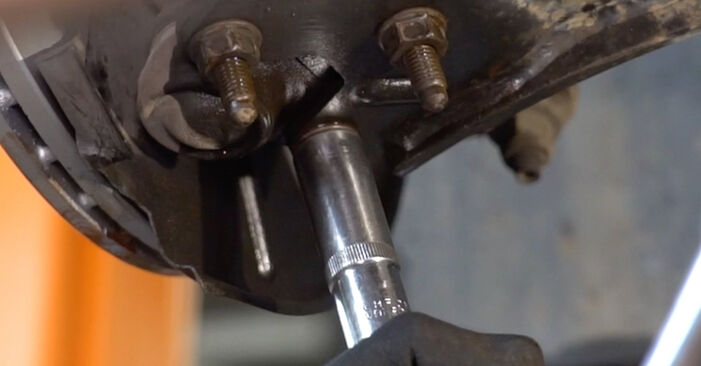
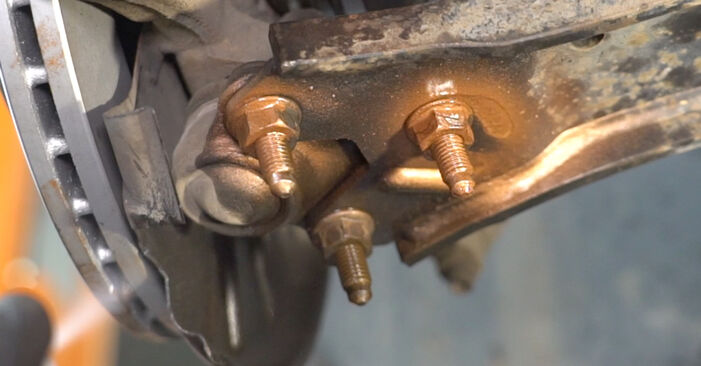
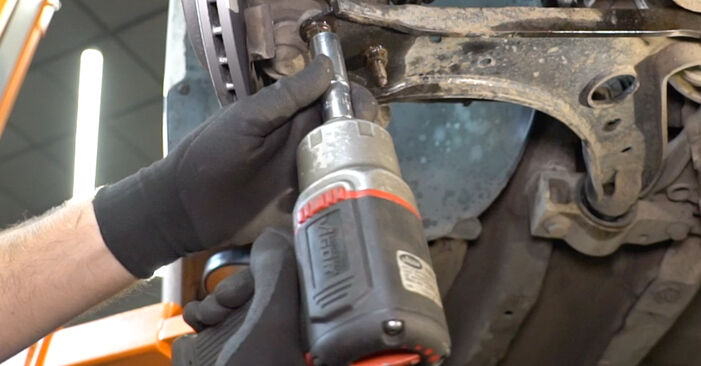 Unscrew the fastener connecting the ball joint to the suspension control arm. Use a drive socket #16. Use a ratchet wrench.
 - Step 13
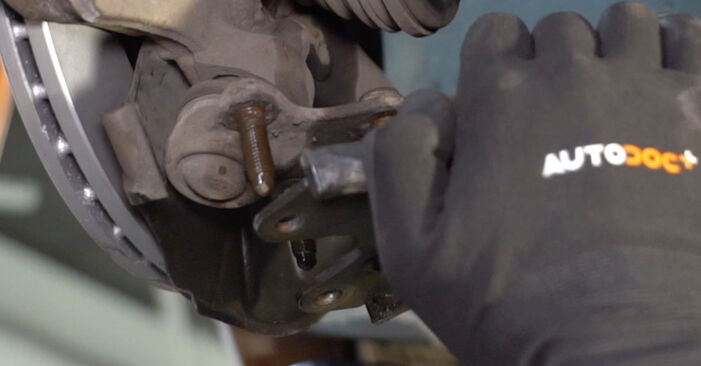 Disconnect the spherical joint from the arm.
 - Step 14
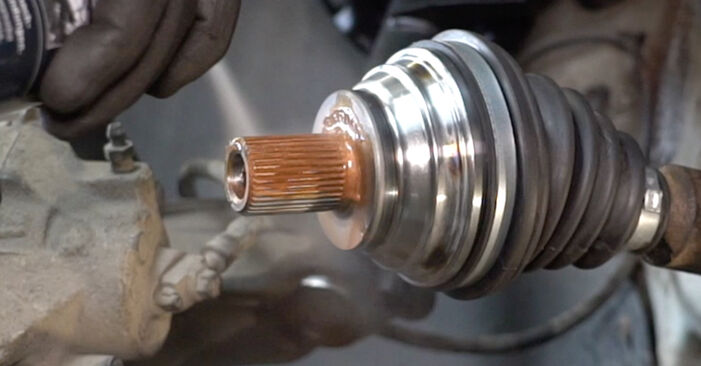
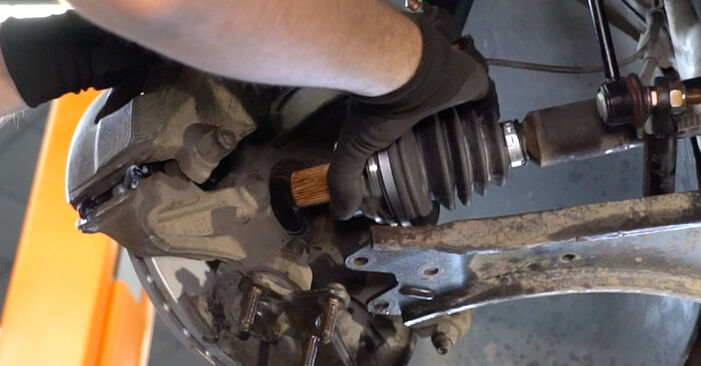
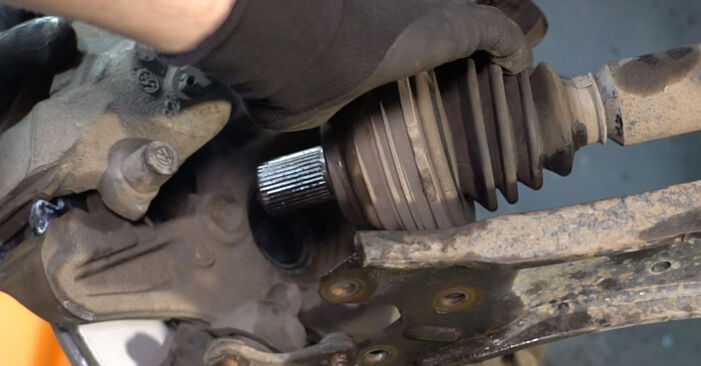 Detach the driveshaft from the steering knuckle.Replacement: CV joint – AUDI A3 Sportback (8VA). Professionals recommend:Make sure that the drive shaft is not unloaded (when the car is jacked).
 - Step 15
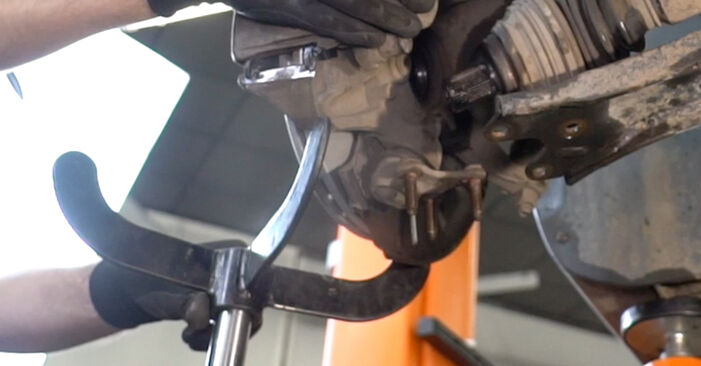 Prop up the steering knuckle. Use a hydraulic transmission jack.
 - Step 16
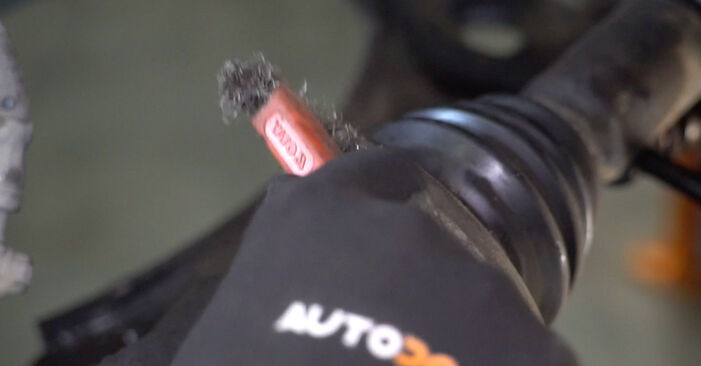 Clean the clamps of the CV joint boot. Use a wire brush. Use WD-40 spray.
 - Step 17
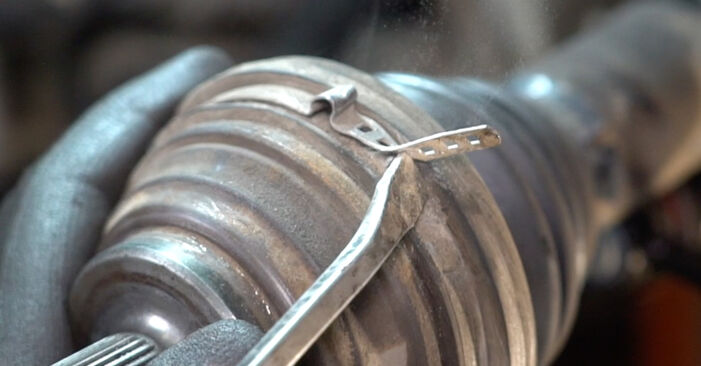 Detach the clamps of the CV joint boot. Use a crowbar.
 - Step 18
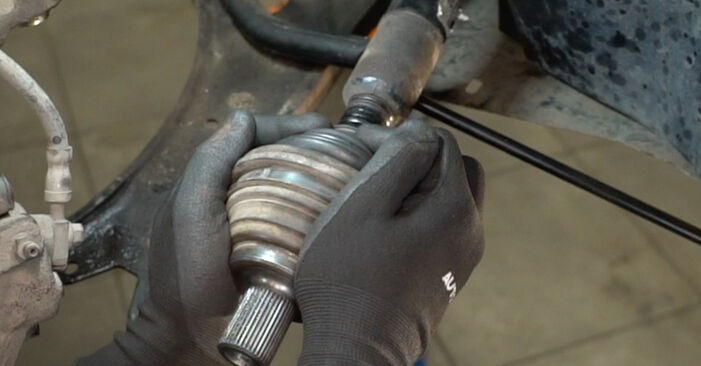 Detach the CV joint boot.
 - Step 19
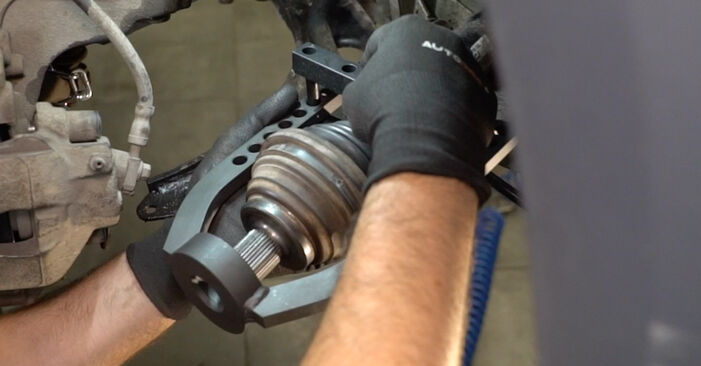 Attach the CV joint puller.
 - Step 20
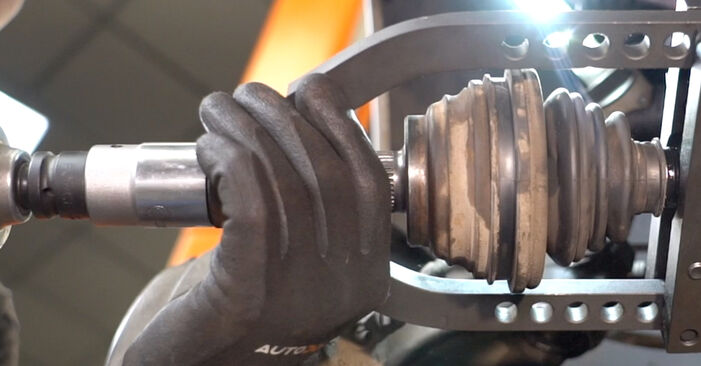 Install and tighten the drive shaft bolt. Use a drive socket #27. Use a ratchet wrench.
 - Step 21Detach the CV joint. Use a CV joint puller.Step 22
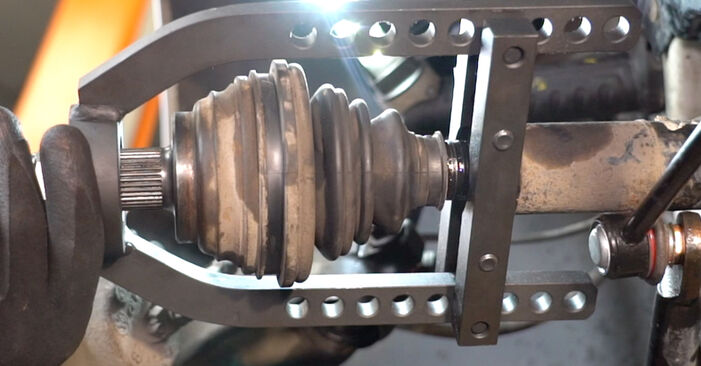 Unscrew the fastener connecting the drive shaft to the wheel hub.
 - Step 23
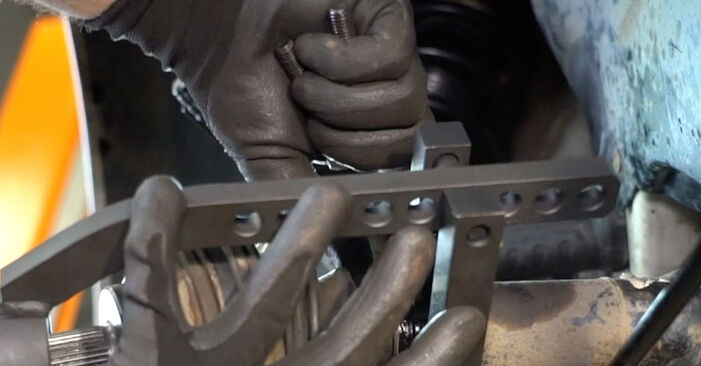 Remove the fastening bolt.
 - Step 24
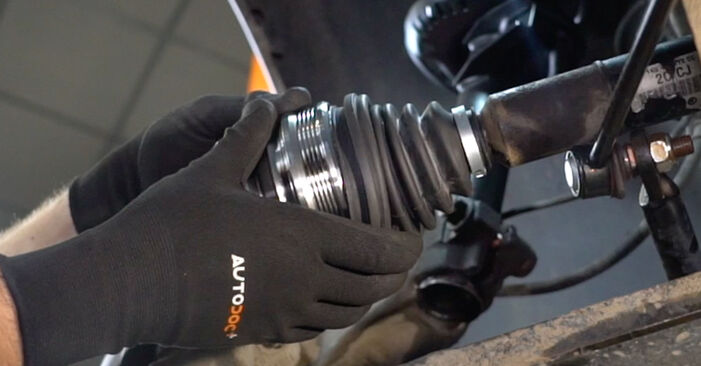
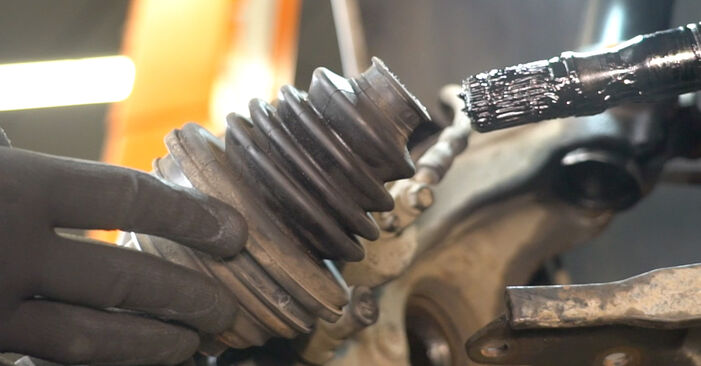 Remove the CV joint together with its boot.
 - Step 25
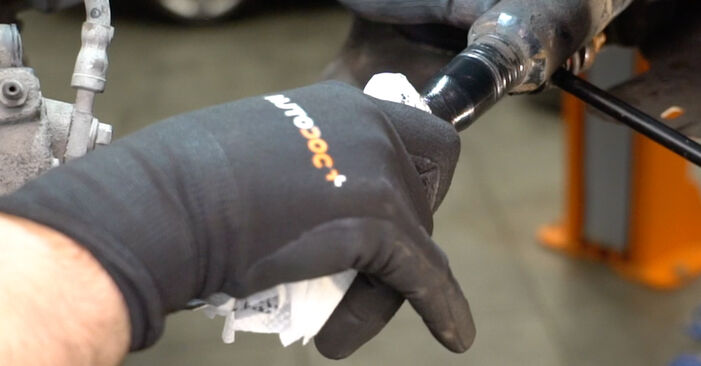 Clean the CV joint mounting seat. Use all-purpose cleaning spray.
 - Step 26
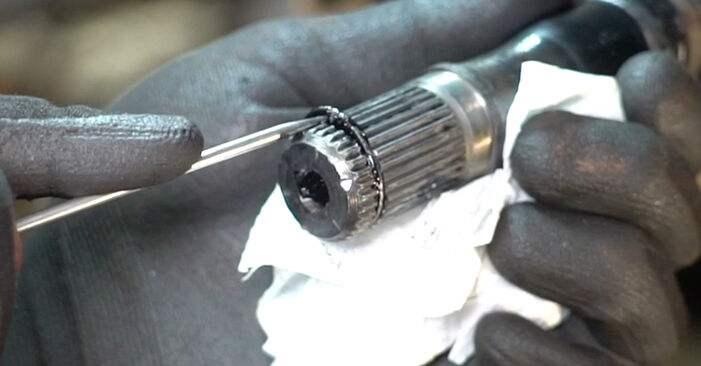 Remove the CV joint circlip. Use a flat screwdriver.
 - Step 27
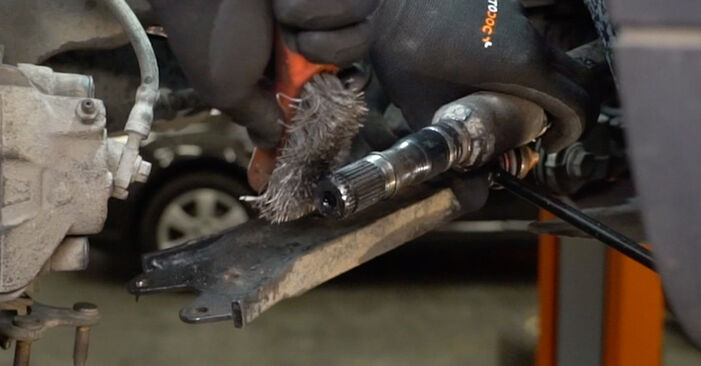 Clean the splines of the drive shaft CV joint. Use a wire brush. Use all-purpose cleaning spray.
 - Step 28
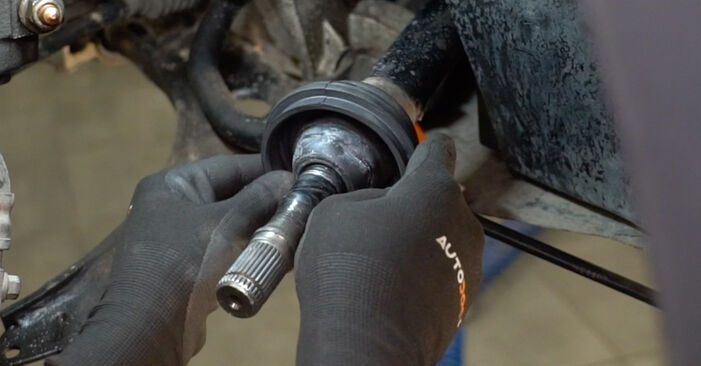 Install the CV joint boot on the CV axle.
 - Step 29
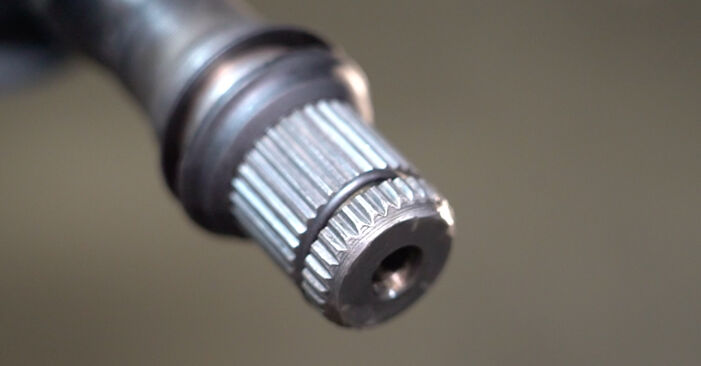 Install the CV joint circlip.
 - Step 30
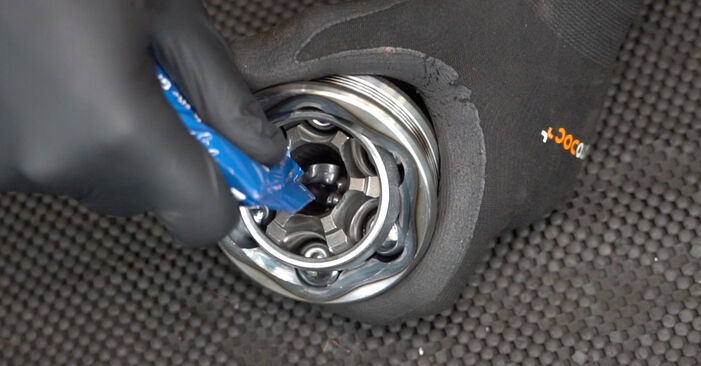 Pack the CV joint with the grease supplied in the kit.
 - Step 31
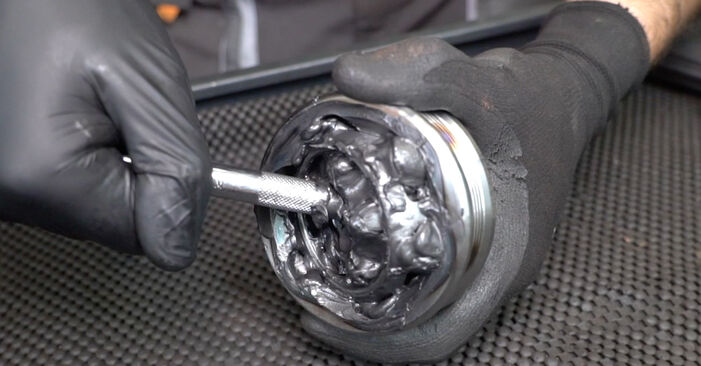 Move the inner race of the new CV joint from side to side to get it ready to work.
 - Step 32
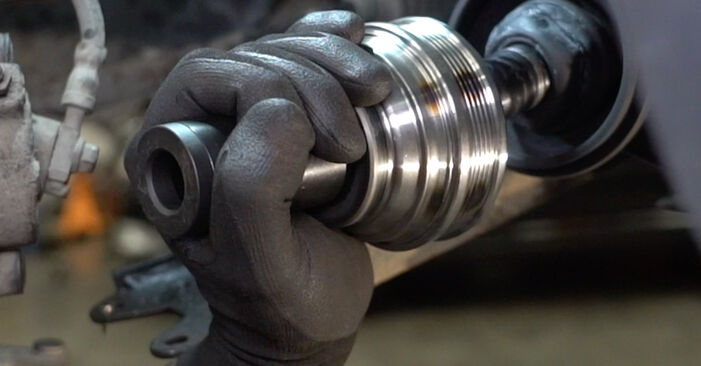 Install the new CV joint. Use a bush and bearing driver set. Use a hammer.
Was this manual helpful?
Please rate this manual on a scale from 1 to 5. If you have any questions, feel free to ask us.
Users voted – 0
Need New Tyres?
Find out which tyre and wheel sizes are compatible with the AUDI A3 Sportback (8VA, 8VF) model

Popular maintenance tutorials for Audi A3 8V Sportback
 Free download PDF
 1.65 MB
 Free download PDF1.54 MB
 Free download PDF1.65 MB
 Free download PDF2.21 MB
 Free download PDF2.5 MB
 Free download PDF675.84 KB
Complete guides for changing the Constant velocity joint on different AUDI A3 models
 Free download PDF2.88 MB
 Free download PDF2.88 MB
 Free download PDF2.87 MB
 Free download PDF2.87 MB
 Free download PDF2.87 MB
 Free download PDF2.87 MB

Unlock your car maintenance assistant!
Track expenses, manage logs, schedule replacements, and more.

Tips & tricks for your AUDI A3 Sportback (8VA, 8VF)
View more
 7 signs of faulty fuel injectors | AUTODOC tips
 Top 5 mistakes when replacing spark plugs | AUTODOC tips
 Revitalize Your Car Interior: DIY Steering Wheel Cover with AUTODOC Tips
 DIY manual gearbox restoration | Drivetrain restoration – Part 3
Most commonly replaced car parts on AUDI A3














Time to replace parts? Get even better deals in our Shop app.

SCAN ME