Gearbox oil performs very important functions. It lubricates contacting elements of the gearbox, removes dirt and wear products, and aids cooling. In automatic transmissions, this working fluid also transfers torque between the components of a torque converter. Therefore, most car manufacturers recommend monitoring the level and condition of the transmission fluid in the gearbox. We will tell you how to check its level in different vehicles and also discuss the situations when it might need change.
What are the symptoms of bad transmission fluid?
The followings signs indicate that there isn’t enough oil in the gearbox or it’s time to replace it:
How to check the transmission fluid level?
To check the oil level in a manual transmission, do the following:- Prepare all the necessary tools and chemicals: a spanner, WD-40, metal brush, clean cloths or paper towels. You might also need oil – you must use the same to what’s in the gearbox now. Information about the fluid used in your car model should be specified in the vehicle manual. If it isn’t, seek professional assistance.

- Get your car on a vehicle lift or over an inspection pit. If you don’t have such equipment and your car is front-wheel-drive, remove the left front wheel to get access to the inspection window located on the gearbox housing.
- Apply the parking brake.
- If you’ve just switched off the engine, wait for a few minutes until the oil drains into the sump.
- Clean the filler cap and the area around it with a metal brush. Wipe with a clean cloth and solvent. This will help you to avoid dirt getting inside the unit.

- Unscrew the cap which closes the opening. If it got stuck, use WD-40 to loosen it.

- Check how much oil is there in the gearbox. Its level should reach the lower edge of the hole.
- If necessary, top up the fluid using a syringe.

- Wipe off oil streaks on the gearbox housing with a cloth or paper towel.
- Screw in the cap.
- Install all units into their places in reverse order.
- Park your vehicle on a level surface.
- Open the bonnet.
- Find the transmission dipstick. Usually, its handle has a bright colour, often orange. If necessary, consult the vehicle manual for the dipstick location.
- Start the engine. Let it run for some time to warm up.
- If you do testing not right after the drive, shift through all the modes holding the lever in each position for about three seconds. This will help to distribute the transmission fluid along the channels.
- Shift the lever into the “Park” or “Neutral” position depending on the vehicle model. The exact position of the gear selector is often specified on the dipstick.
- Apply the parking brake.
- Consult the vehicle manual to find out whether the engine must run or it has to be shut down for the check. In particular, in some Acura and Honda models, the power unit has to be turned off after warming up.
- Take the dipstick out of the gearbox and wipe it with a clean lint-free cloth.
- Insert the dipstick all the way down, then take it out again.
- Look at the dipstick. You’ll see two markings on it. One indicates the transmission fluid level on a cold engine and the second – on a warm engine. Usually, they have corresponding markings: either “Cold” and “Hot” or numbers indicating the temperature. As your engine is now warm, the oil trace on the dipstick has to be at the marking “Hot”, or higher temperature, but not above them. It is not recommended to measure the level of transmission fluid on a cold engine as the results will be inaccurate.
- If necessary, top up the ATF into the gearbox. To do this, shut down the engine and use a funnel.
- Wait for the oil to flow down into the oil pan.
- Start the engine and check the level of the transmission fluid again.
- Warm up the gearbox to working temperatures by travelling a distance of about 15 kilometres.
- Put the vehicle on a lift, inspection pit or car ramp to be able to reach the underbody.
- Start the engine.
- Shift the gear selector into the corresponding mode – “Park” or “Neutral”.
- Unscrew the inspection plug at the bottom of the gearbox. If the fluid leaks out of the hole, there is no need to top it up. Screw the cap back in.
- If nothing leaks out, this means there isn’t enough oil.
- Pour some ATF through the filler opening with a special pump or pipe and funnel, until it starts leaking out from the inspection hole.
- Close the hole with a cap.
- Start the engine.
- Unscrew the cap again and repeat the procedure with refilling.
- As soon as ATF starts leaking out again, close the hole.
- Shift the gear selector through all modes.
- Open the inspection hole and top up the fluid for the last time.
- Screw both inspection and filler plugs.
- Wipe off the streaks from the gearbox.
When should you change the transmission fluid?
It is recommended to replace oil in the manual gearbox every 80,000 – 100,000 km or after 5 years of operation whichever comes first. In semi-automatic transmissions, the fluid is replaced every 60,000 km. Oil change intervals for automatic gearboxes of different designs vary even more – from thirty to several hundred thousand kilometres. Exact replacement intervals for your vehicle model are specified in the owner’s manual.
Sometimes, transmission fluid loses its properties before its due time. This is caused by:How to change gearbox oil on your own?
To change gear oil in a manual gearbox, do the following:- Find out how much gear oil your gearbox can take in. This information can be found in the vehicle manual. Apart from the required amount of fluid, depending on the design of the vehicle, you’ll need a transmission pan gasket or an O-ring for the drain plug, some sealant, a container to catch used oil, funnel and hose or a syringe, cloth and spanners to undo the fasteners.
- Before you start, drive 5–10 km to let the oil warm up and make it less viscous: it’ll be easier to drain it out.
- Put your car on a vehicle lift, inspection pit or a car ramp. If necessary, secure the wheels with wheel chocks.

- Remove the skid plate.
- Install a container under the oil pan.

- Remove the drain plug (for example, in Renault Megane, Audi 100 and Audi A6) and let the transmission fluid drain. If there is no drain plug (like in Opel Astra or Chevrolet Lacetti, for example), loosen the oil pan fasteners, wait until the oil leaks out and then remove the component, tilting it very carefully to one side.

- With a brake cleaner, remove dirt from the mounting seat of the pan or plug threads.

- If you have removed the oil pan during the work, clean the mating surfaces from the residues of the old gasket, wipe them with solvent, install a new gasket using a sealant. Install the oil pan back to its place.

- If you’ve removed the plug, replace its O-ring and close the drainage hole with it.
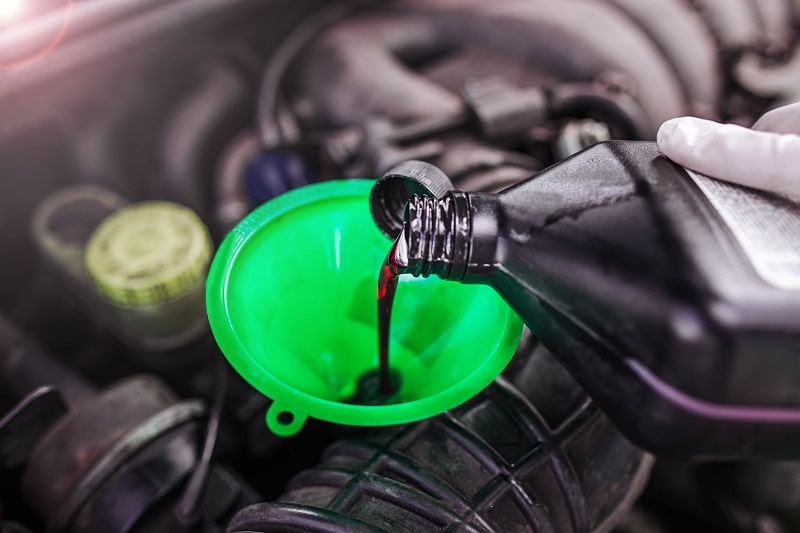
- Use a hose and funnel to pour the required amount of fluid into the gearbox through the bleeder. You can also pour it with a syringe through the inspection hole.
- Reassemble everything in reverse order.
Conclusion
Changing the transmission fluid and topping it up on time will help to significantly extend the service life of both manual and automatic transmission and ensure their long and stable operation. Follow our advice and you’ll be able to check the level and quality of oil on your own to decide what to do next.


Comment