Disclaimer
How to change water pump & timing belt kit on Seat Ibiza 6L1 – replacement guide
downloads:
67
Views:
1684
Recommended replacement interval for the part category Water pump and timing belt kit : 70000 km
Important!
This replacement procedure can be used for:
SEAT Ibiza III Hatchback (6L) 1.4 16V … View more
The steps may slightly vary depending on the car design.
SEAT Ibiza III Hatchback (6L) 1.4 16V … View more
The steps may slightly vary depending on the car design.
How to change timing belt kit and water pump on SEAT IBIZA 3 6L [TUTORIAL AUTODOC]

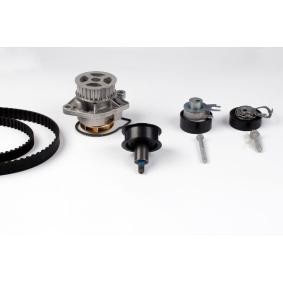
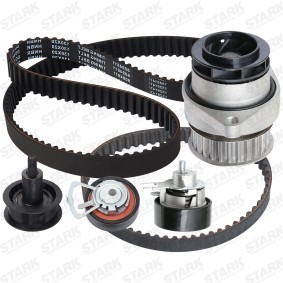
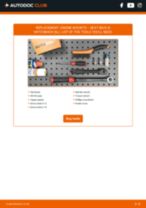
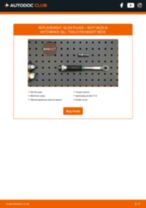
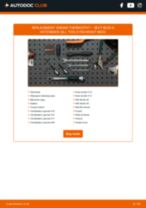
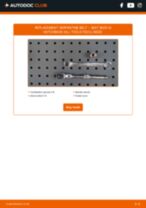
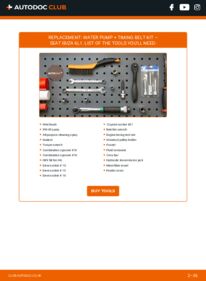
All the parts you need to replace – Water Pump + Timing Belt Kit for Ibiza III Hatchback (6L) and other SEAT models
Alternative products

Wire brush
WD-40 spray
All-purpose cleaning spray
Sealant
Torque wrench
Combination spanner #13
Combination spanner #16
HEX bit No.H6.
Drive socket # 10
Drive socket # 15
Drive socket # 16
12-point socket #21
Ratchet wrench
Engine timing tool set
Universal pulley holder
Funnel
Fluid container
Crow bar
Hydraulic transmission jack
Microfibre towel
Fender cover
Replacement: water pump + timing belt kit – Seat Ibiza 6L1. AUTODOC experts recommend:
- Follow the terms, recommendations and requirements of the part operation provided by the manufacturer.
- Please note: all work on the car – Seat Ibiza 6L1 – should be done with the engine switched off.
Carry out replacement in the following order:
- Step 1
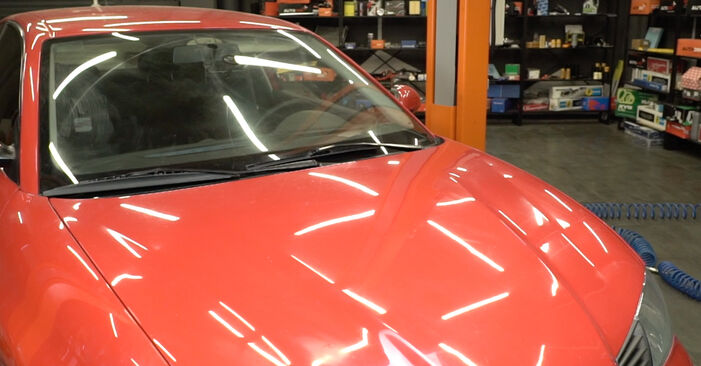
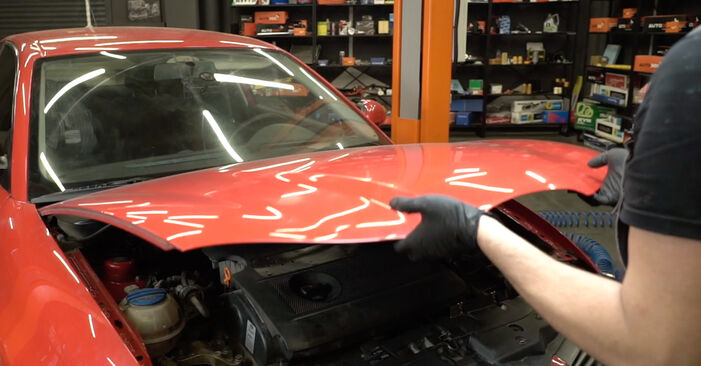
 Open the bonnet.
 - Step 2
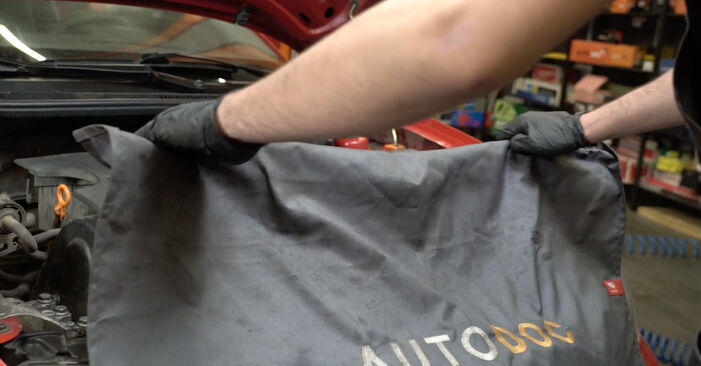
 Use a fender protection cover to prevent damaging paintwork and plastic parts of the car.
 - Step 3
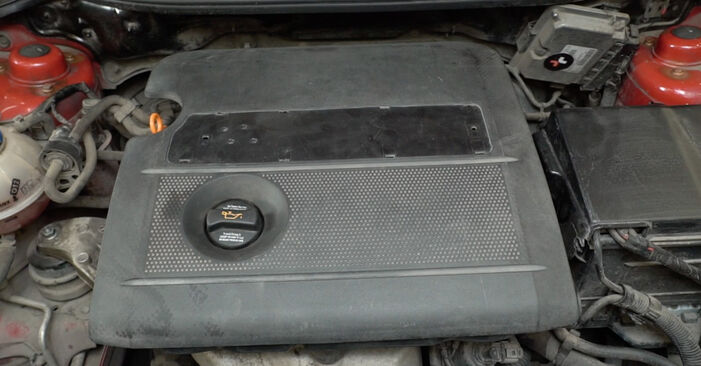
 Remove the protective cover.
 - Step 4
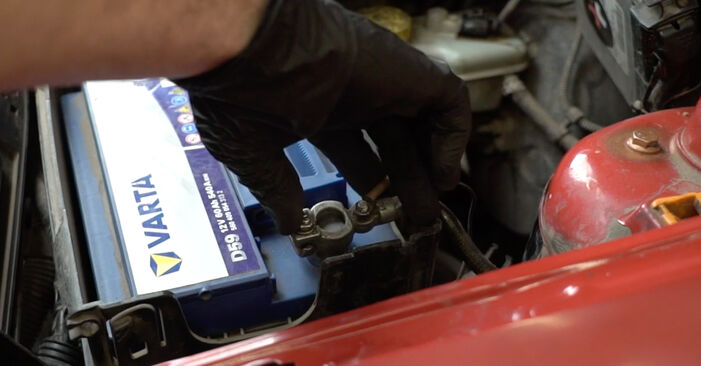
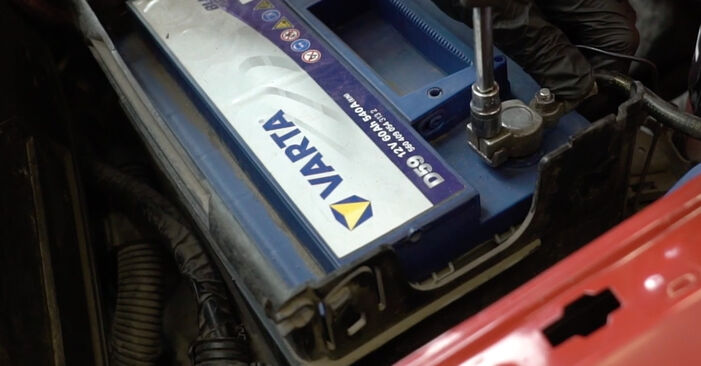
 Unscrew the fasteners of the car battery terminals. Use a drive socket #10. Use a ratchet wrench.
 - Step 5
 Remove the battery terminals.
 - Step 6
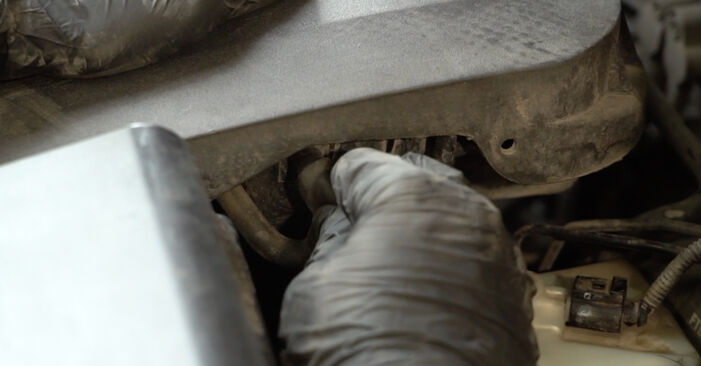
 On the right side, detach the PCV valve hose from the engine cover.
 - Step 7
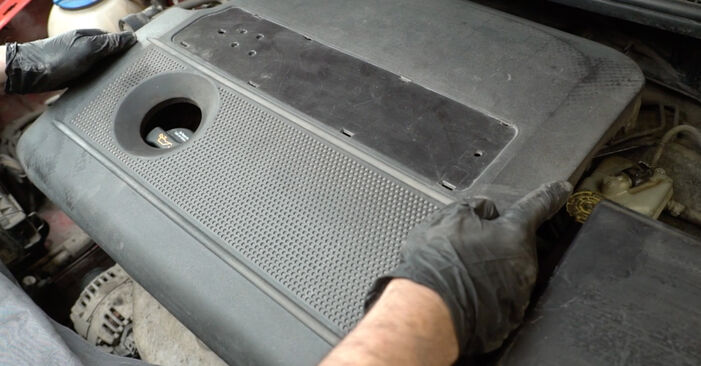
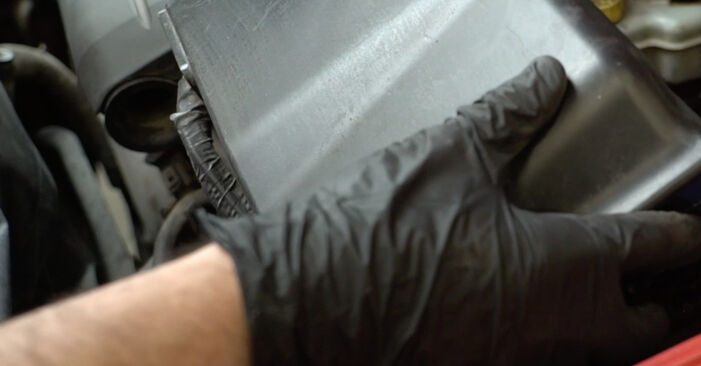
 Remove the engine cover.Replacement: water pump + timing belt kit – Seat Ibiza 6L1. Tip:Raise the engine cover, holding it on two sides simultaneously.Do not apply excessive force when removing the part. Otherwise you may damage it.
 - Step 8
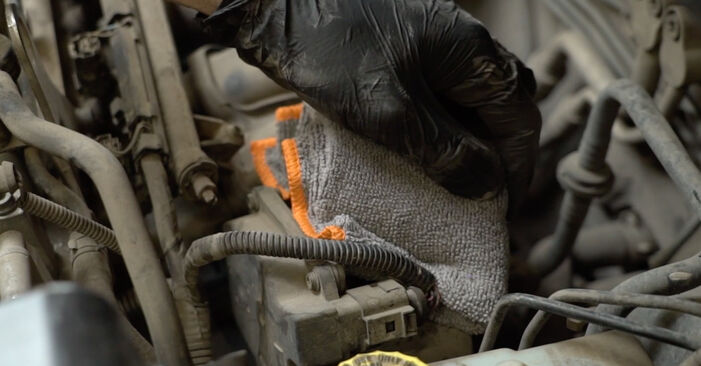
 Cover the throttle body with a microfibre towel to prevent dust and dirt from getting into the system.
 - Step 9
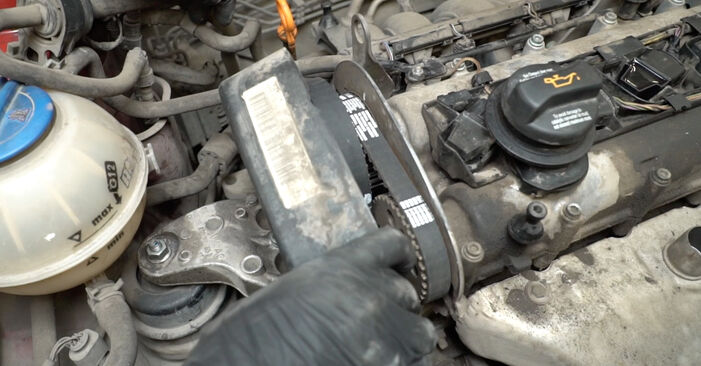
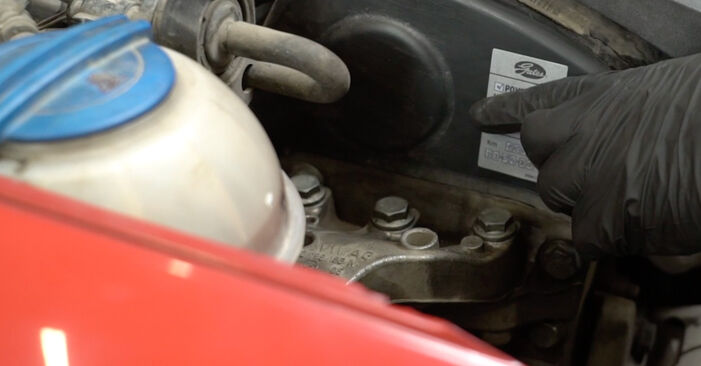
 Undo the fasteners of the upper timing cover.
 - Step 10
 Remove the upper timing cover.
 - Step 11
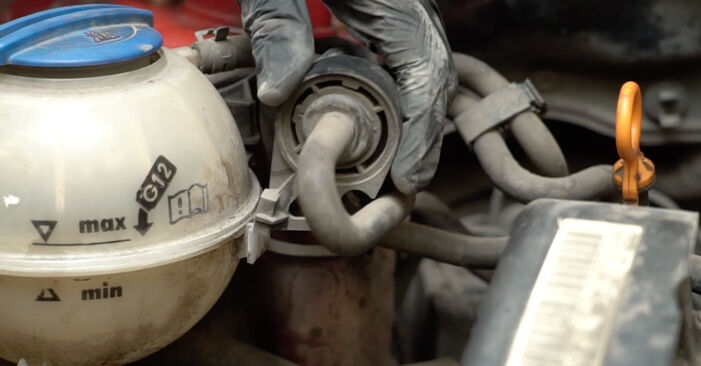
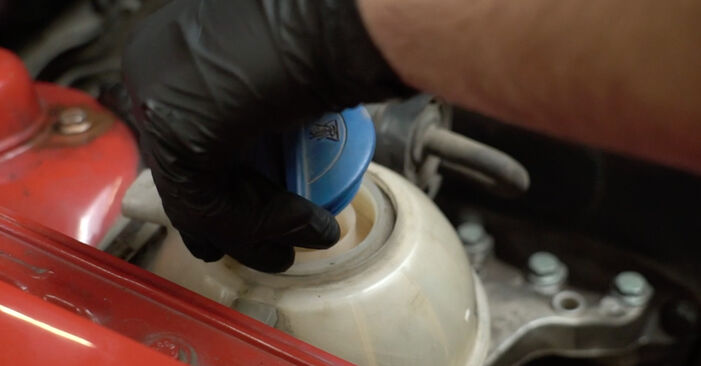
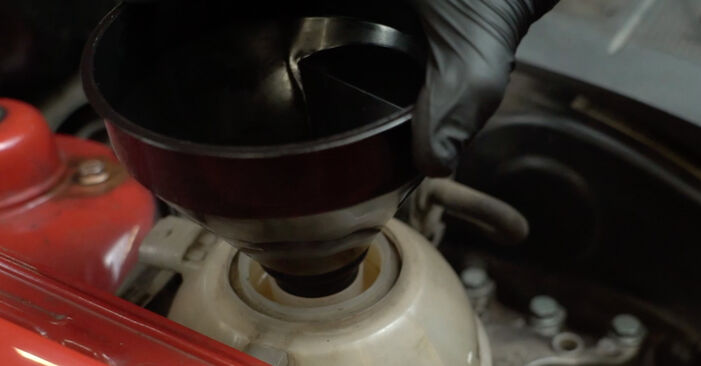
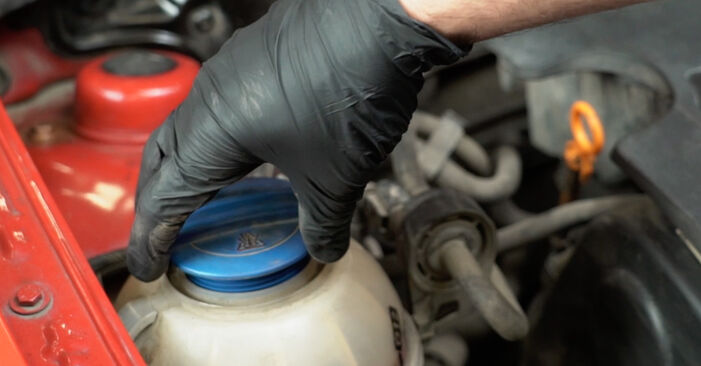
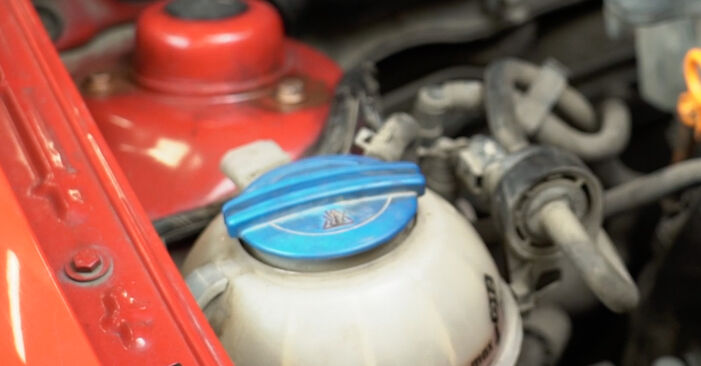
 Unscrew the coolant reservoir cap.
 - Step 12
 Lift the car using a jack or place it over an inspection pit.
 - Step 13
 Prepare a container for fluids.
 - Step 14
 Open the coolant drain tap.
 - Step 15
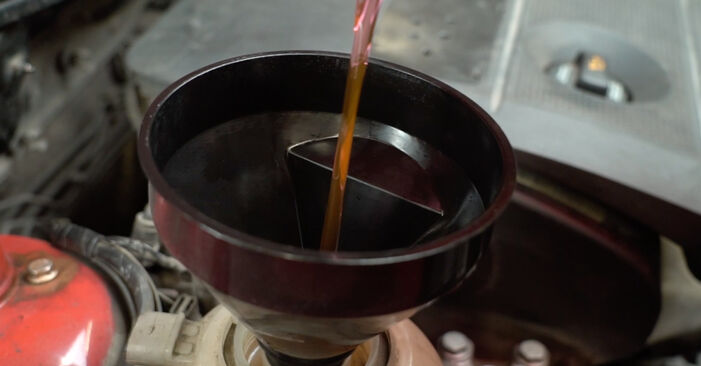
 Drain the coolant from the engine.AUTODOC recommends:Caution! The coolant can be very hot.Wear gloves to prevent contact with hot liquid.All work should be done with the engine stopped.
 - Step 16
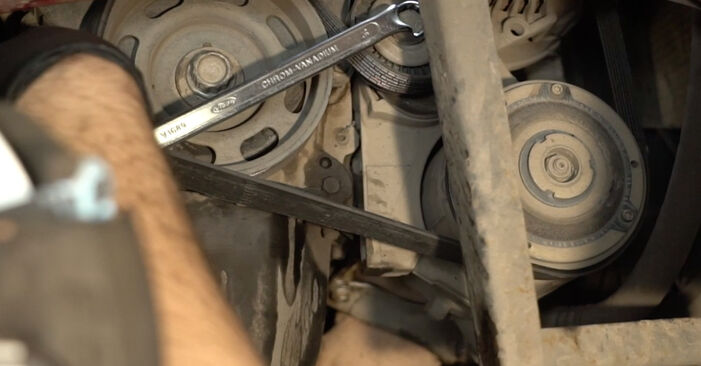
 Pull aside the V-ribbed belt tensioner pulley. Use a combination spanner #16.
 - Step 17
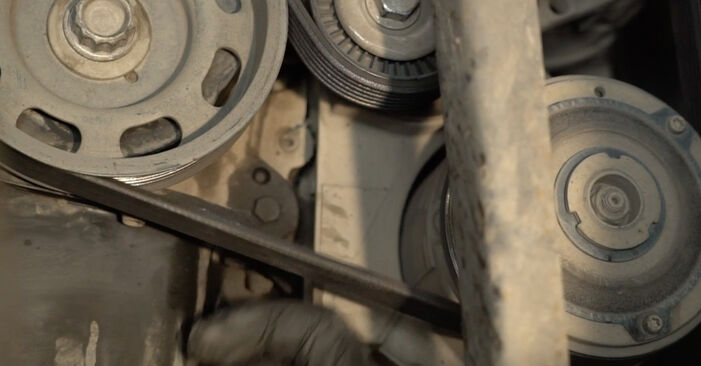
 Remove the V-ribbed belt.
 - Step 18
 Return the tensioner pulley to its initial position.
 - Step 19
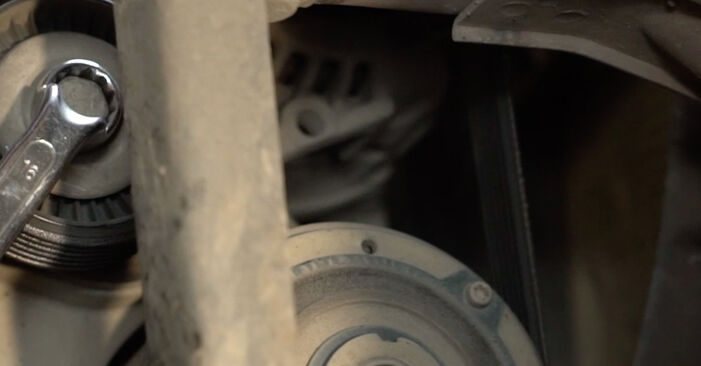
 Unscrew the fastener of the serpentine belt tensioner pulley. Use a combination spanner #16.
 - Step 20
 Remove the serpentine belt tensioner pulley.
 - Step 21
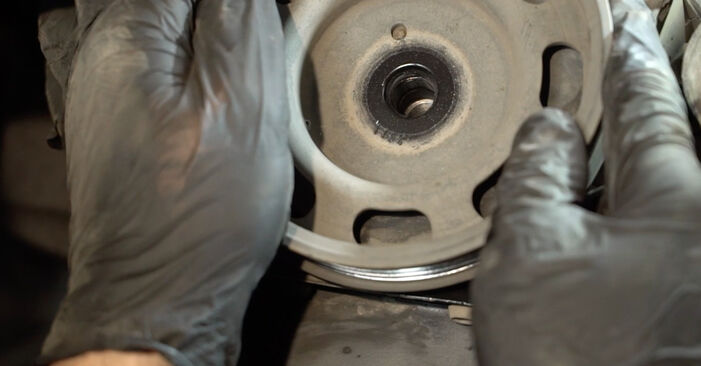
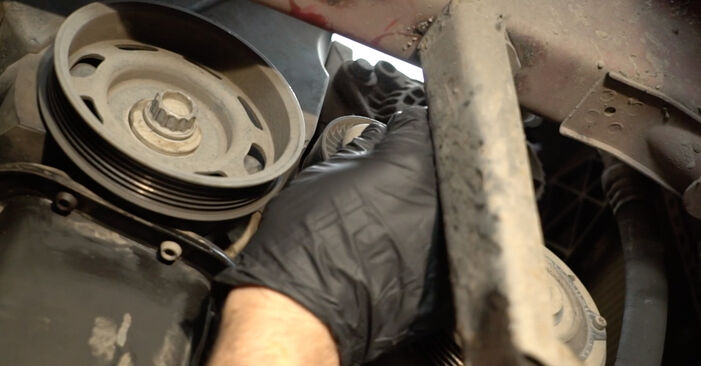
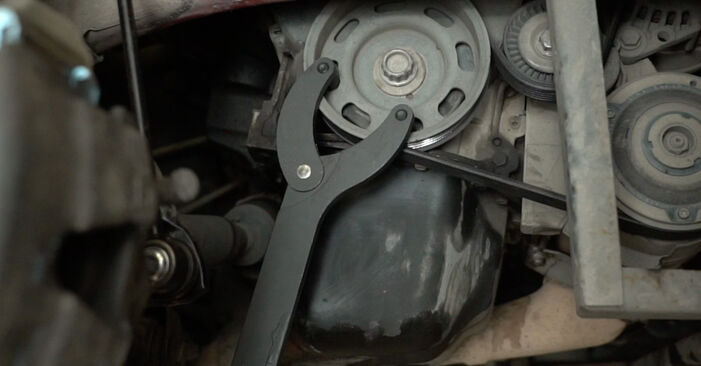
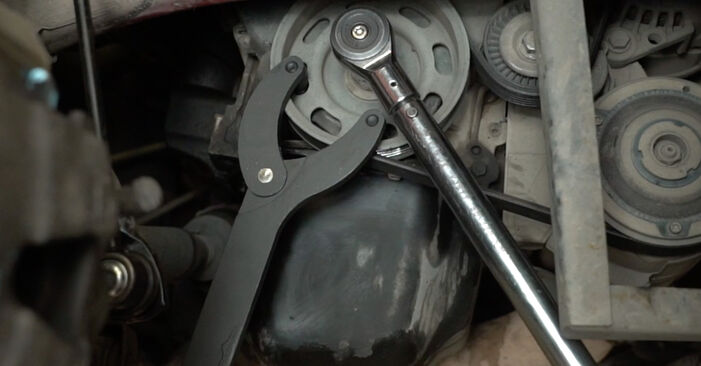
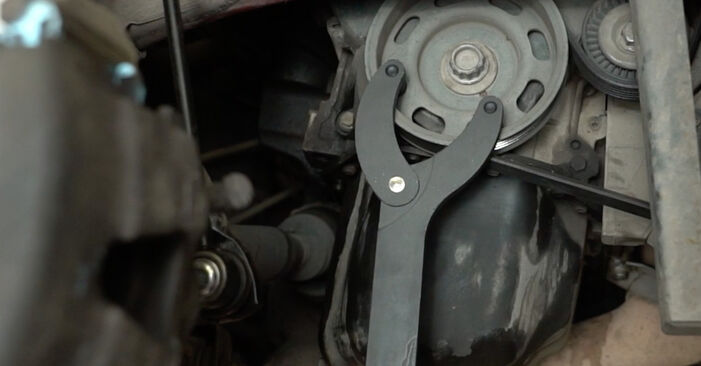
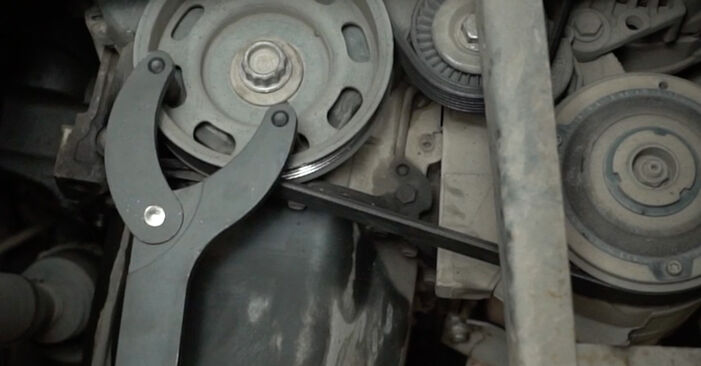
 Unscrew the crankshaft pulley fastener. Use 12-point socket No.21. Use a ratchet wrench.
 - Step 22
 Remove the crankshaft pulley.
 - Step 23
 Screw in the crankshaft pulley fastener. Use 12-point socket No.21. Use a ratchet wrench.
 - Step 24
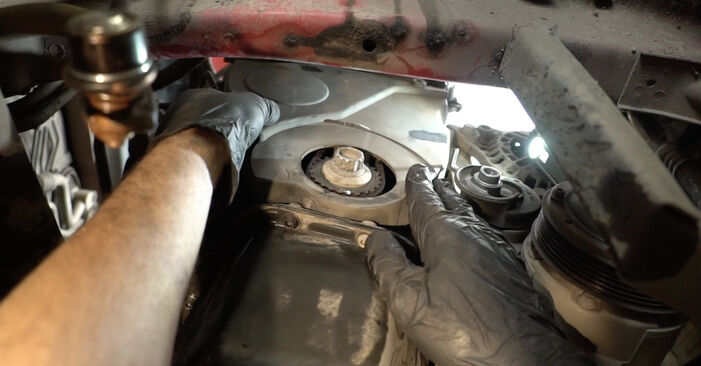
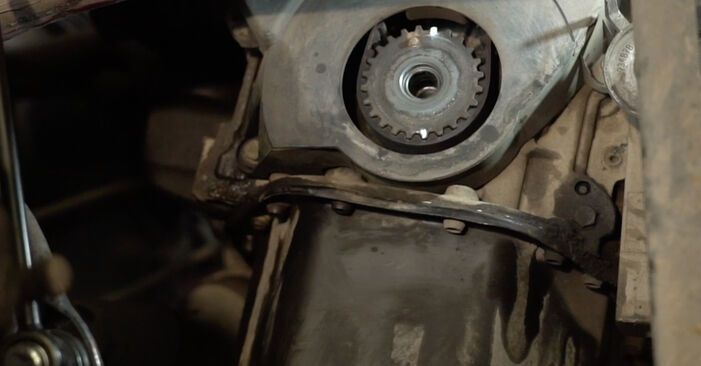
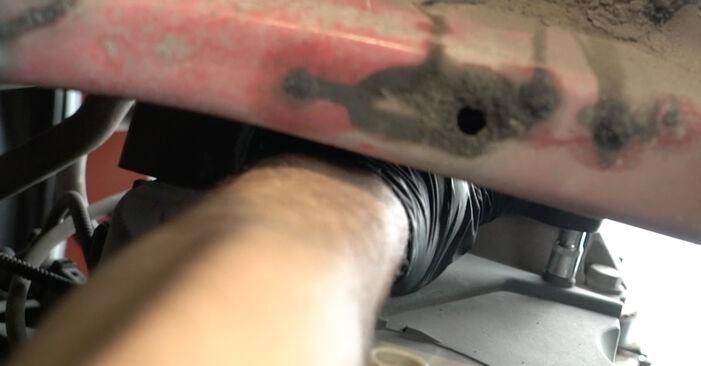 Unscrew the fasteners of the lower timing cover. Use a drive socket #10. Use a ratchet wrench.
 - Step 25
 Open the clips of the lower timing cover. Use a crowbar.
 - Step 26
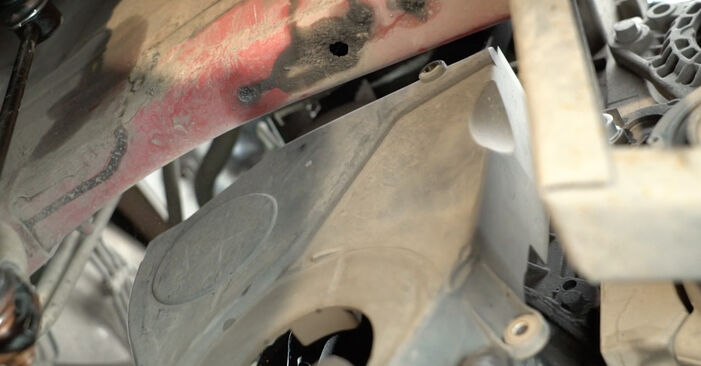 Remove the lower timing cover.
 - Step 27
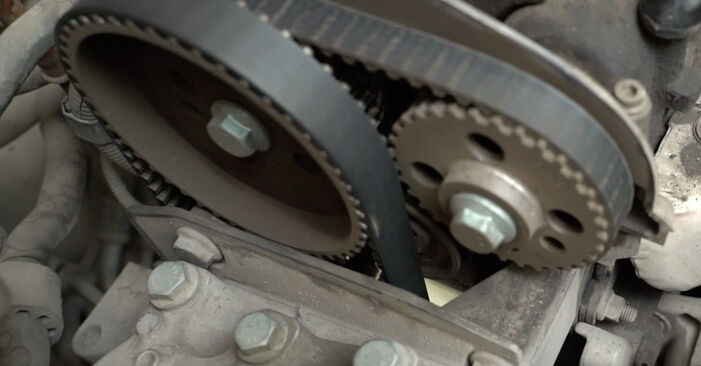 Turn the crankshaft gear. Use 12-point socket No.21. Use a ratchet wrench.Please note!The piston should be at its top dead centre (TDC).
 - Step 28
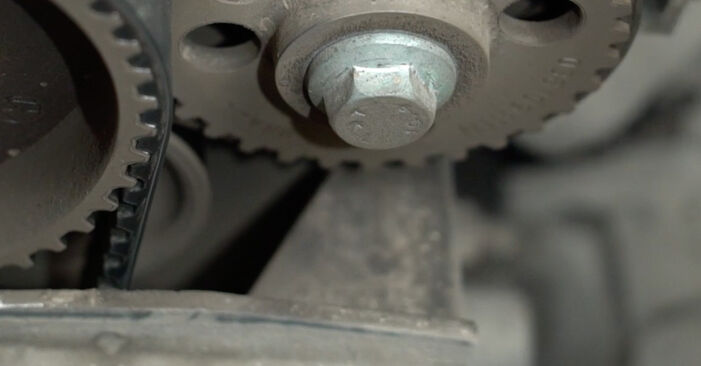 Install the camshaft gear locking tool according to the factory marks. Use an engine timing tool set.
 - Step 29
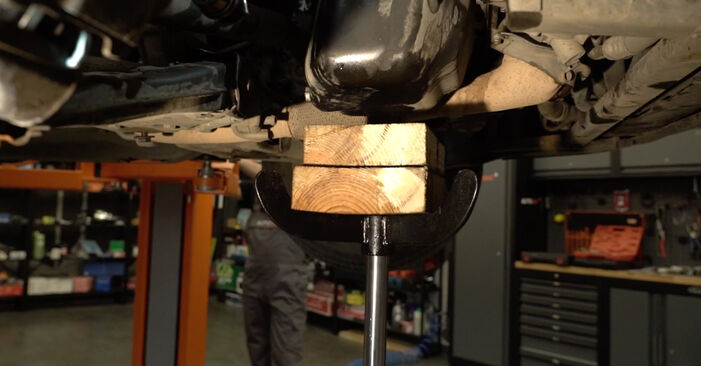
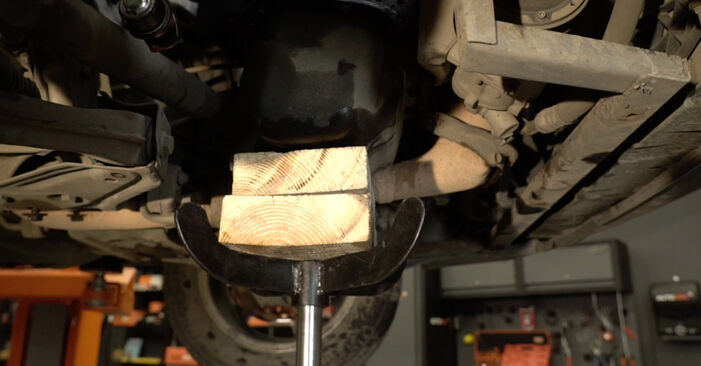 Support the engine in the oil pan area. Use a hydraulic transmission jack.
 - Step 30
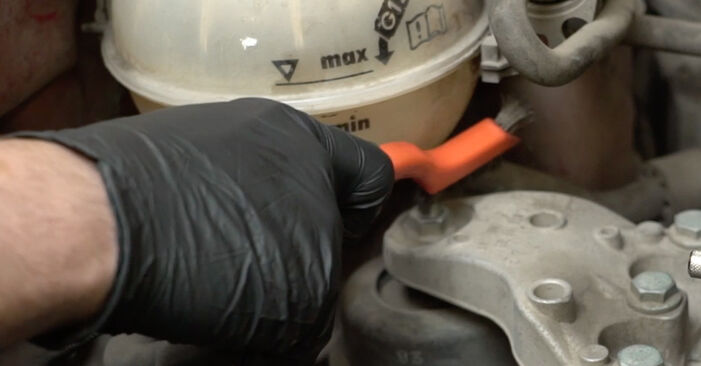 Clean the engine mount fasteners. Use a wire brush. Use WD-40 spray.
 - Step 31
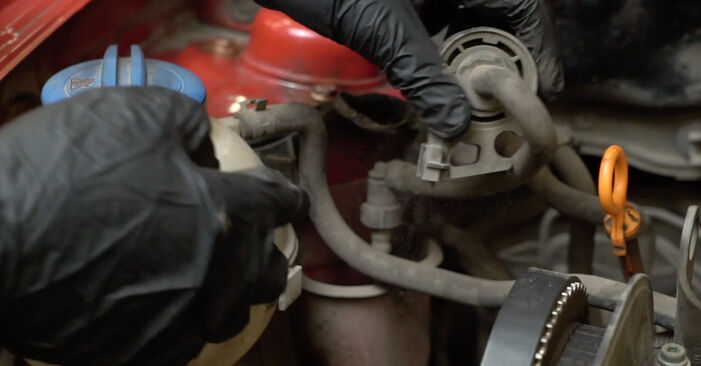 Detach the coolant pipe bracket.
 - Step 32
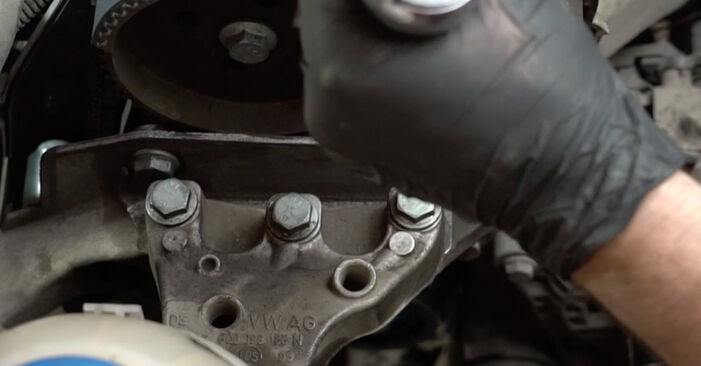
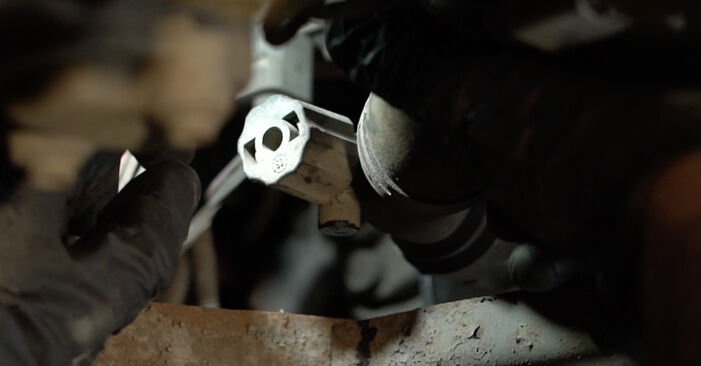
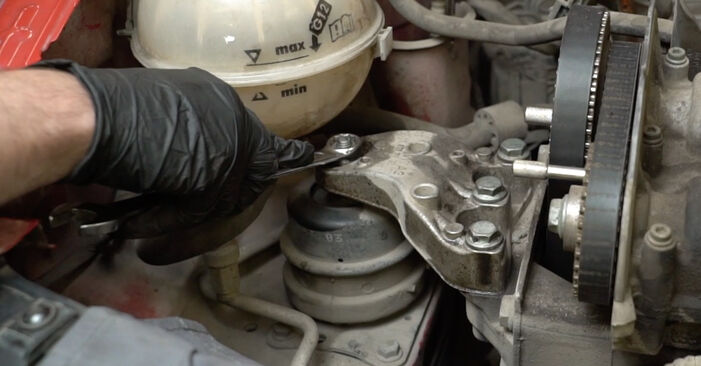 Unscrew the upper fastener of the engine mount. Use a combination spanner #16. Use a drive socket #16. Use a ratchet wrench.
 - Step 33
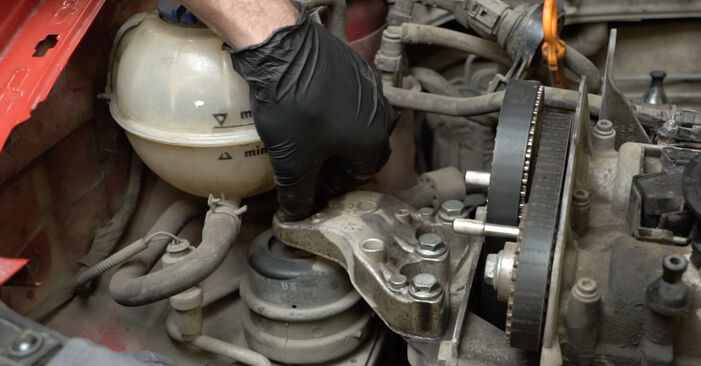 Remove the fastening bolts.
 - Step 34
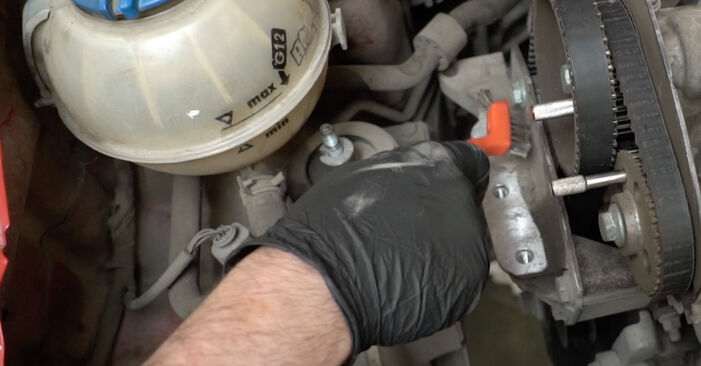 Clean the engine mount fasteners. Use a wire brush. Use WD-40 spray.
 - Step 35
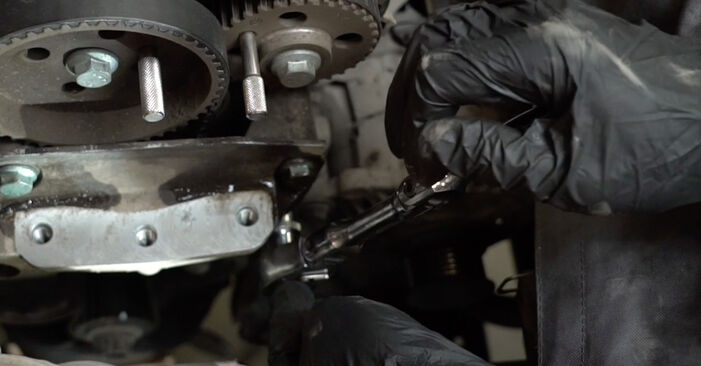 Unscrew the engine mount fasteners. Use a drive socket #16. Use a ratchet wrench.
 - Step 36
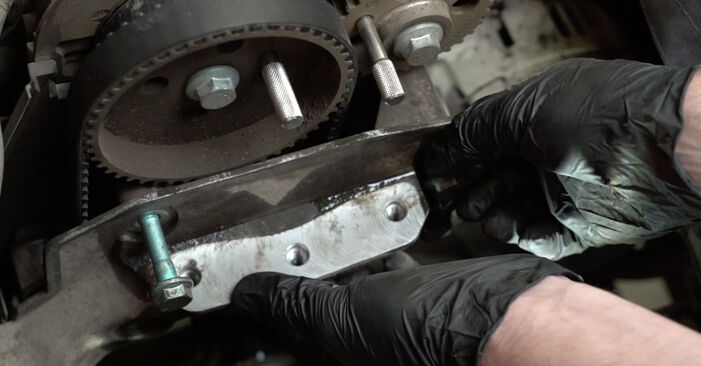 Remove the fastening bolts.
 - Step 37
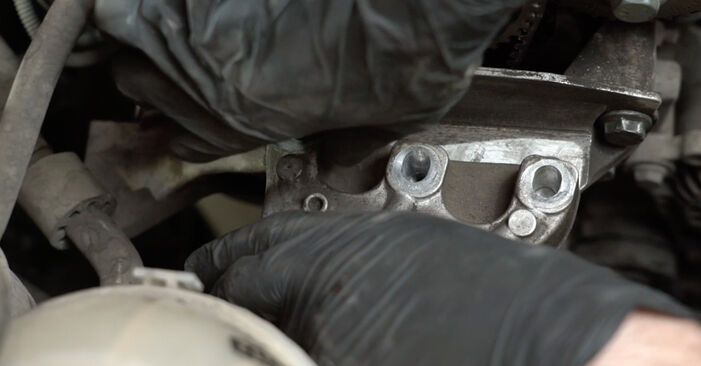
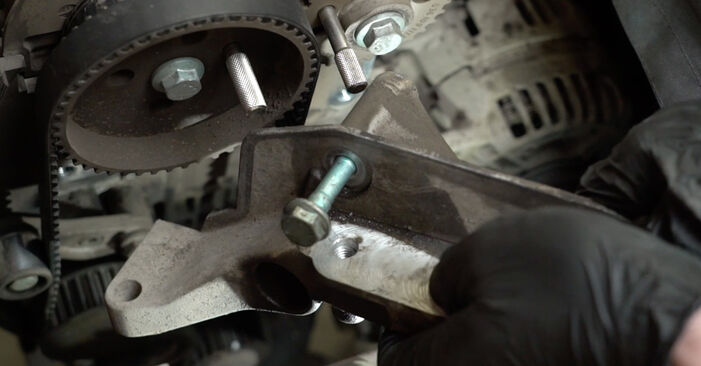 Remove the engine mount.
 - Step 38
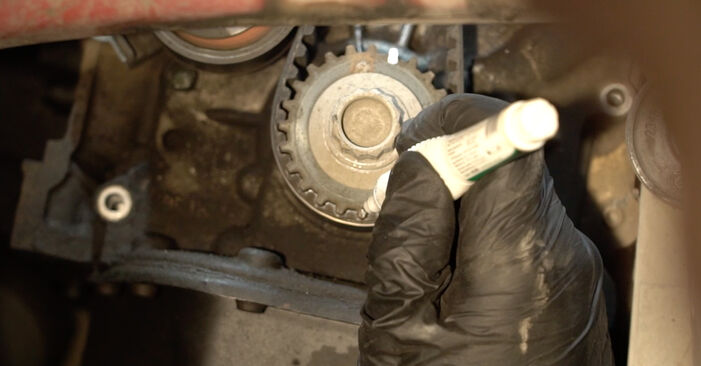 Make a mark on the crankshaft gear.
 - Step 39
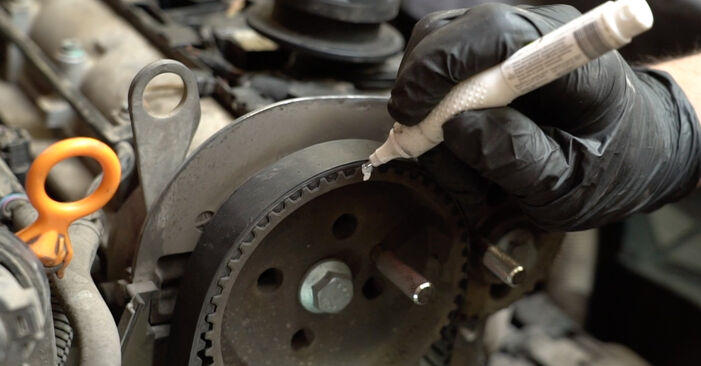 Make a mark on the camshaft gear.
 - Step 40
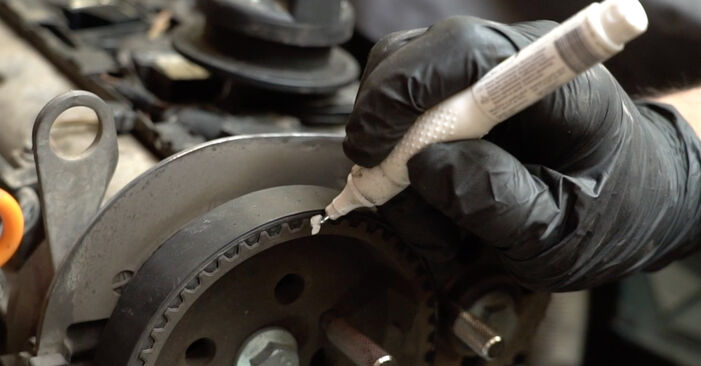 Make a mark on the timing belt.
 - Step 41
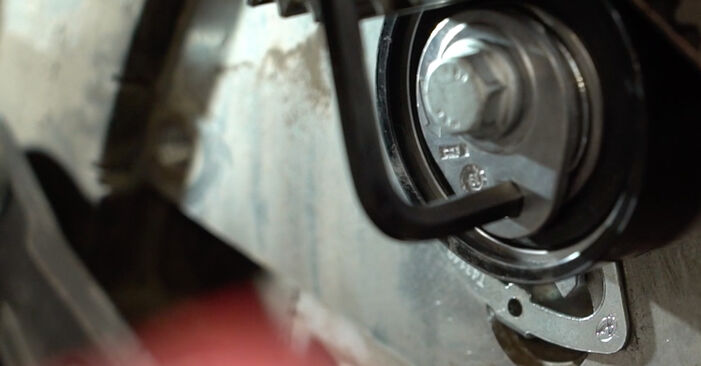
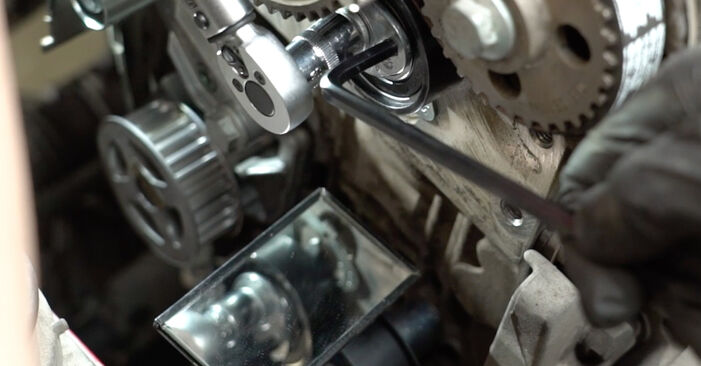
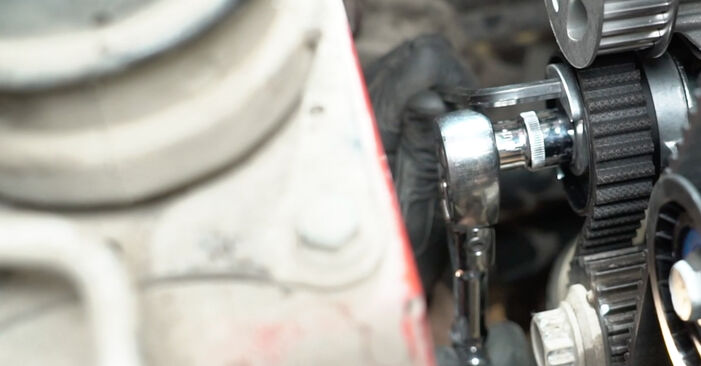
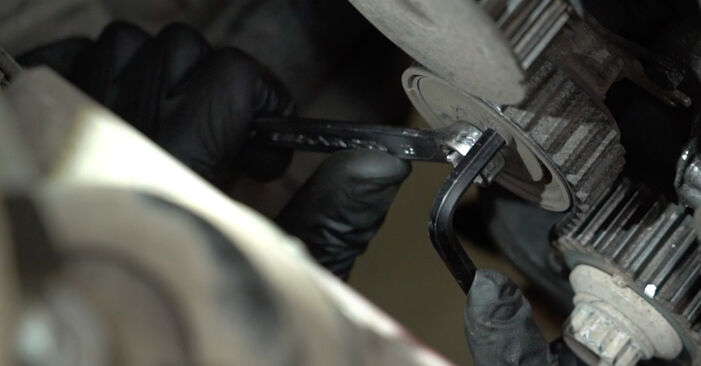 Loosen the fastener of the timing belt tensioner pulley. Use a combination spanner #13. Use HEX No.H6.
 - Step 42
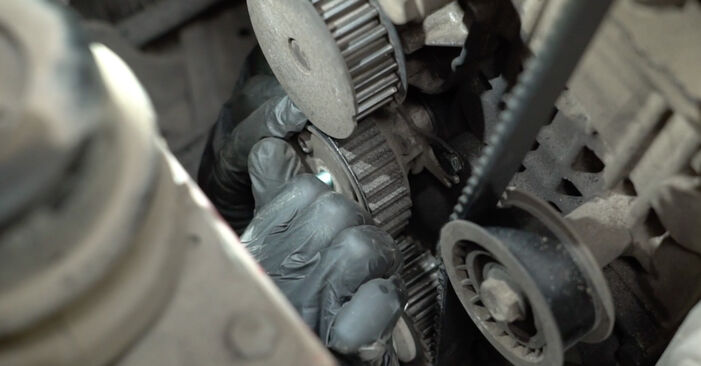 Remove the timing belt tensioner pulley.
 - Step 43
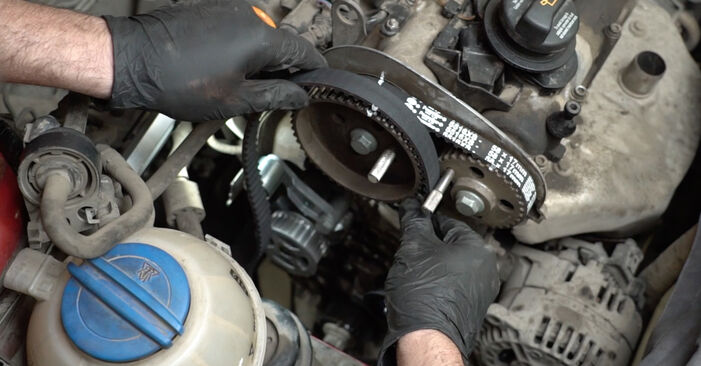
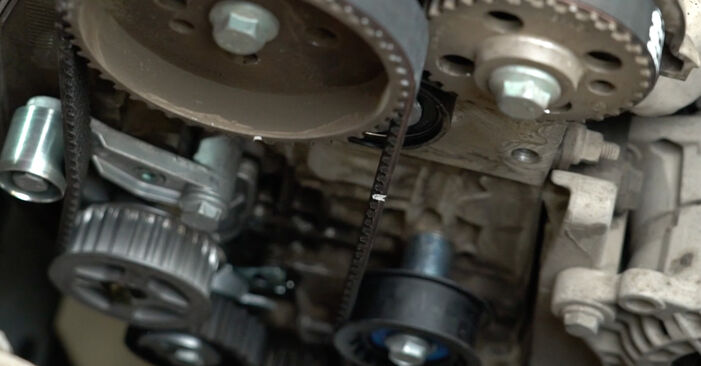
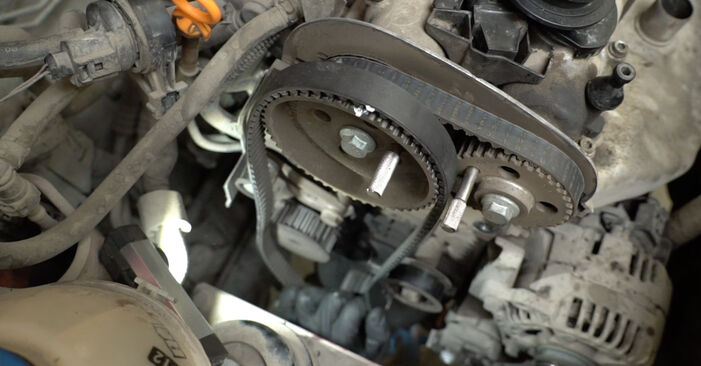 Remove the timing belt.
 - Step 44
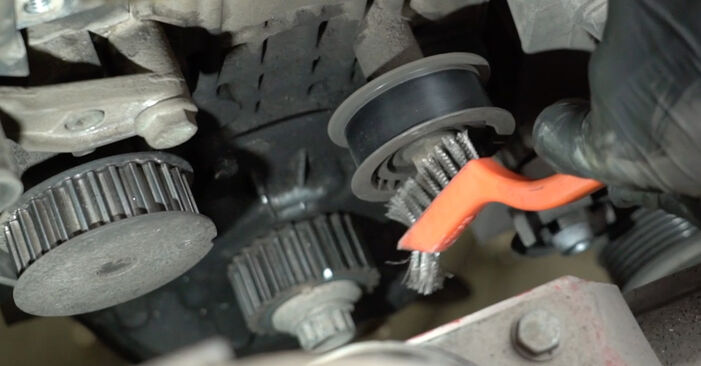 Clean the fastener of the timing belt idler pulley. Use a wire brush. Use WD-40 spray.
 - Step 45
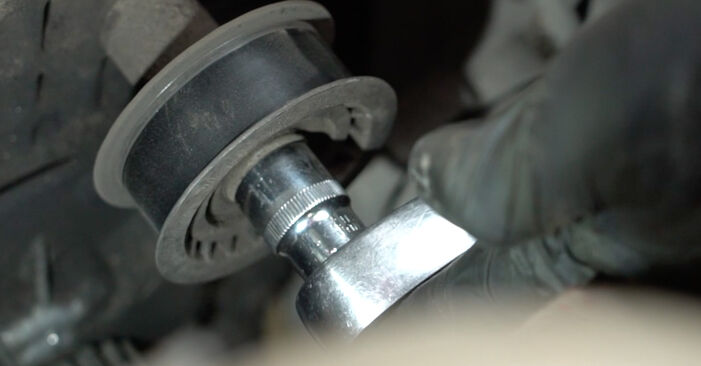 Unscrew the fastener of the timing belt idler pulley. Use a drive socket #15. Use a ratchet wrench.
 - Step 46
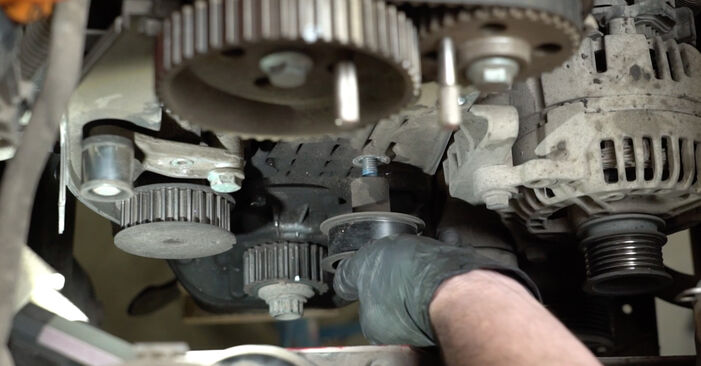 Remove the timing belt idler pulley from its mounting seat.
 - Step 47
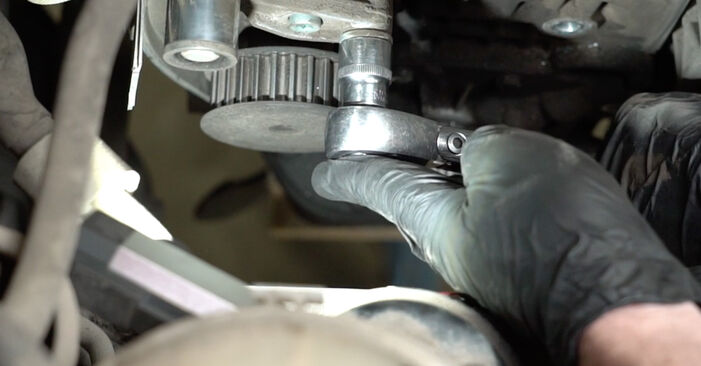 Unscrew the timing belt idler pulley bracket with integrated pulley. Use a drive socket #16. Use a ratchet wrench.
 - Step 48
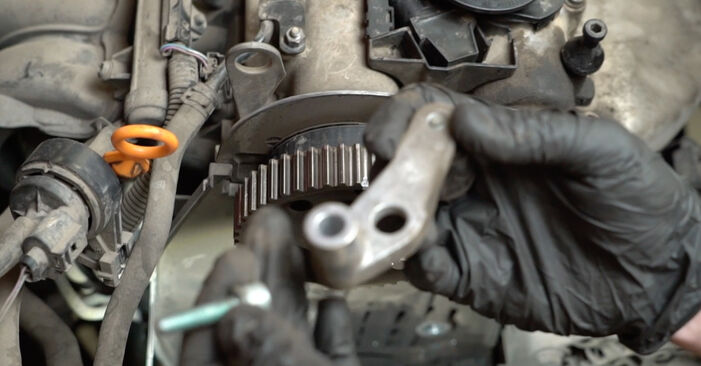 Remove the timing belt idler pulley bracket with integrated pulley.
 - Step 49
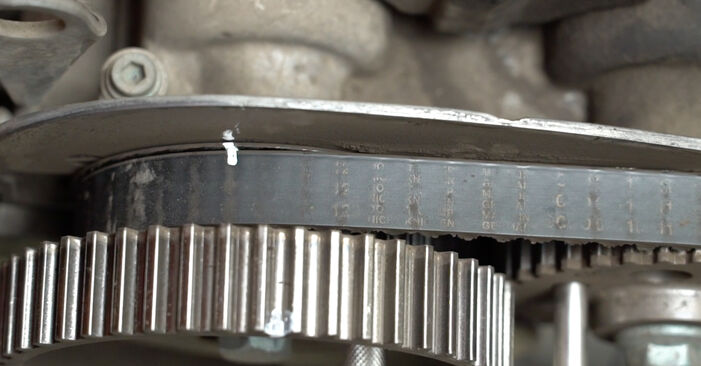 Make a mark on the camshaft gear. Make a mark on the timing belt.
 - Step 50
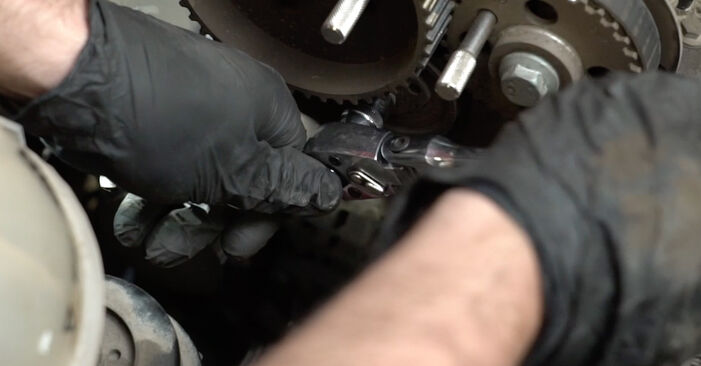 Remove the timing belt tensioner pulley. Use a drive socket #16. Use a ratchet wrench.
 - Step 51
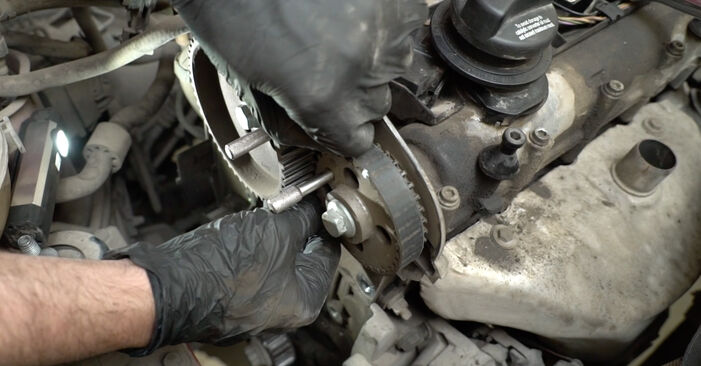 Remove the timing belt.
 - Step 52
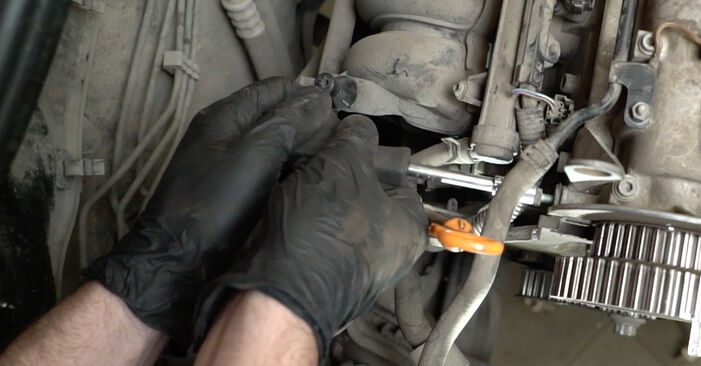 Unscrew the fasteners of the side timing cover. Use a drive socket #10. Use HEX No.H6. Use a ratchet wrench.
 - Step 53
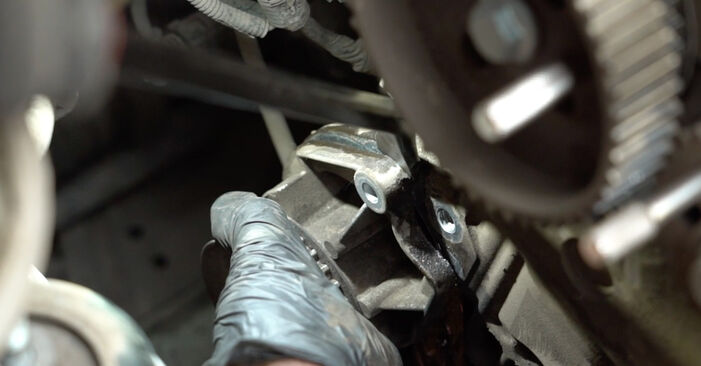 Remove the side timing cover.
 - Step 54
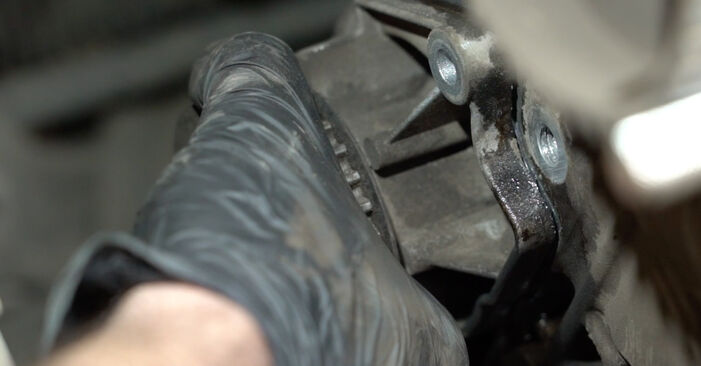 Unscrew the water pump fasteners. Use HEX No.H6. Use a ratchet wrench.
 - Step 55
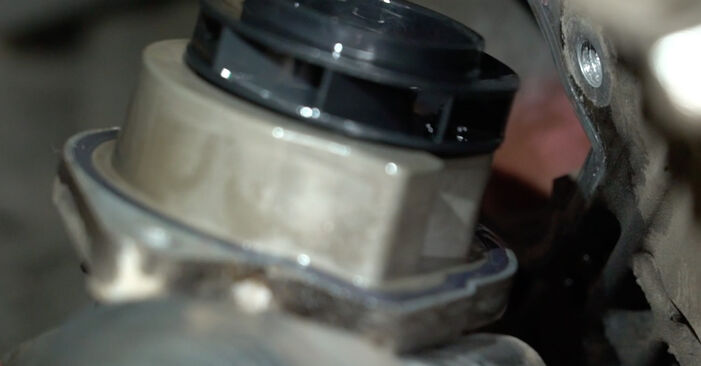 Remove the water pump.Replacement: water pump + timing belt kit – Seat Ibiza 6L1. Tip from AUTODOC:Caution! Coolant may come out from the water pump channels and body.
 - Step 56
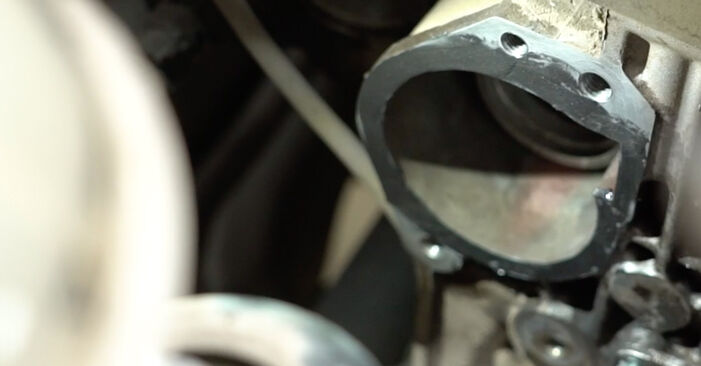 Clean the water pump mounting seat. Use all-purpose cleaning spray.
 - Step 57
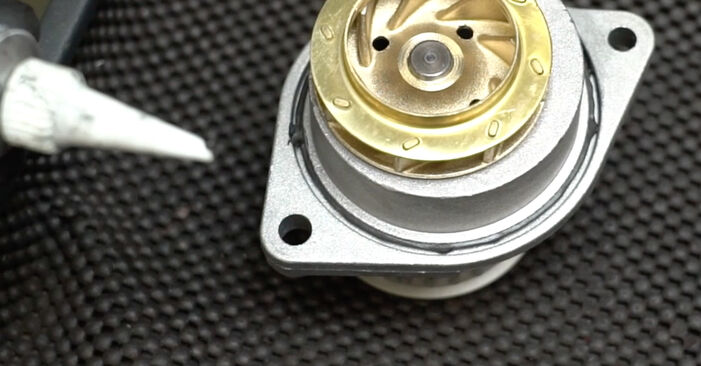 Treat the water pump mounting seat. Use a sealant.
 - Step 58
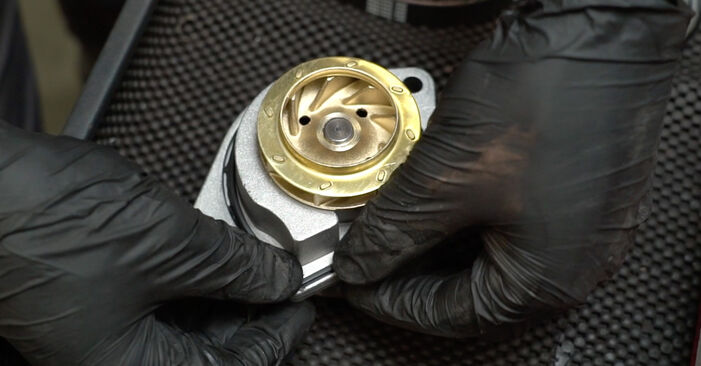 Install the water pump gasket.
 - Step 59
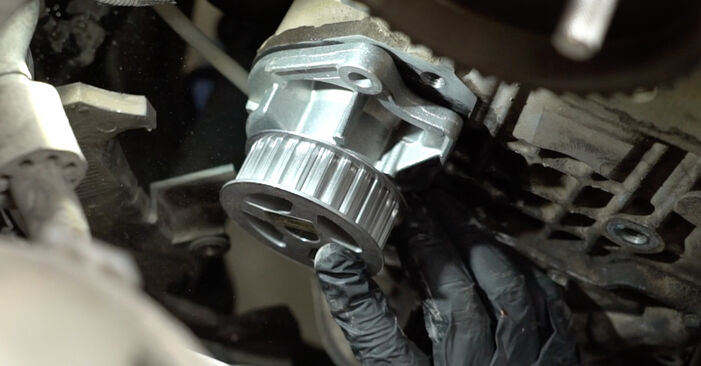 Install the new water pump.
 - Step 60
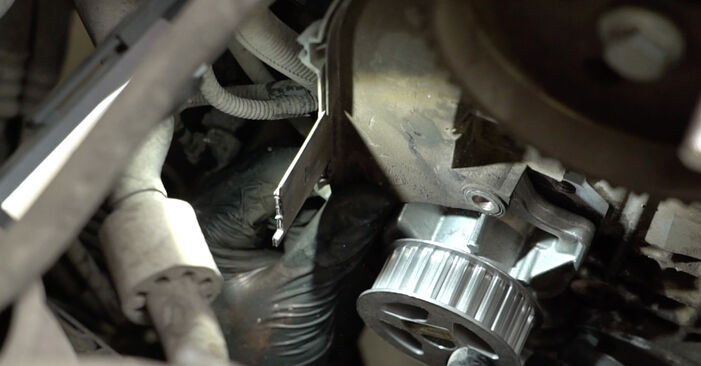 Install the side timing cover.
 - Step 61
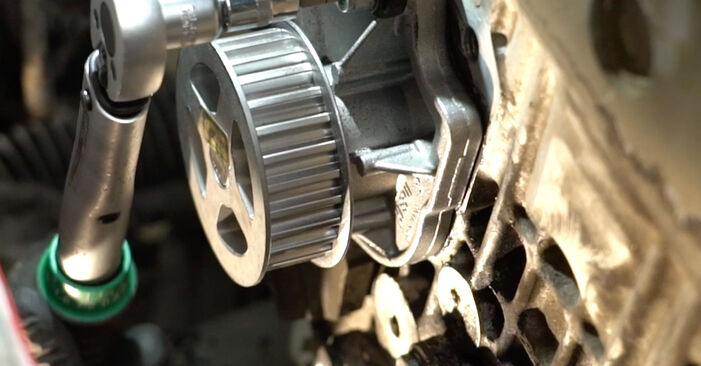 Screw in the water pump fasteners. Use HEX No.H6. Use a ratchet wrench.
 - Step 62
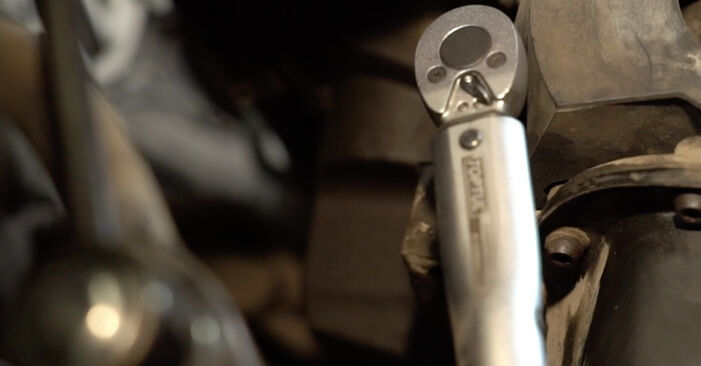
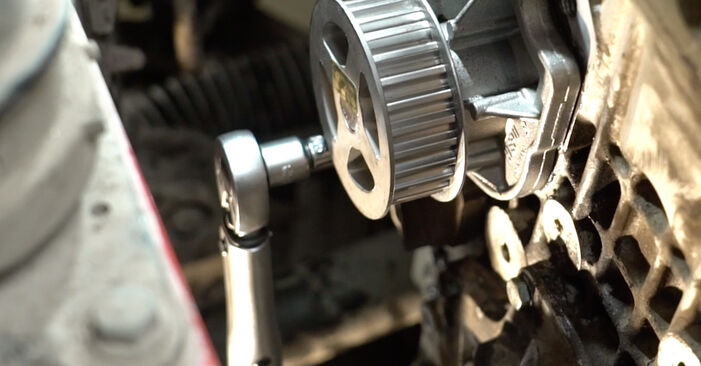 Tighten the water pump fasteners. Use HEX No.H6. Use a torque wrench. Tighten it to 20 Nm torque.
 - Step 63
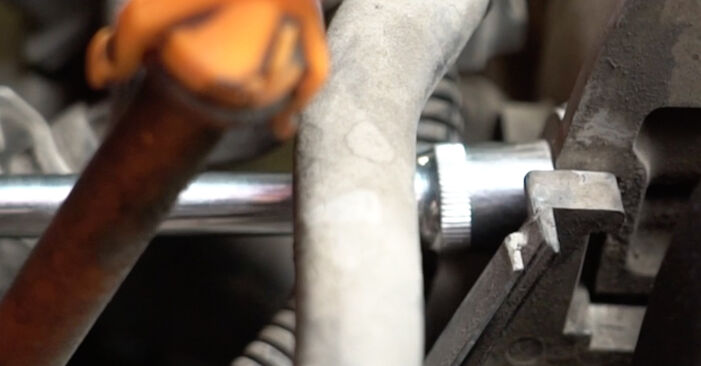 Screw in the fasteners of the side timing cover. Use a drive socket #10. Use a ratchet wrench.
 - Step 64
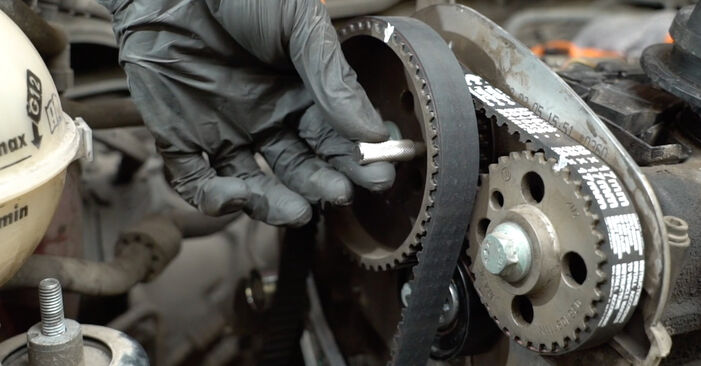
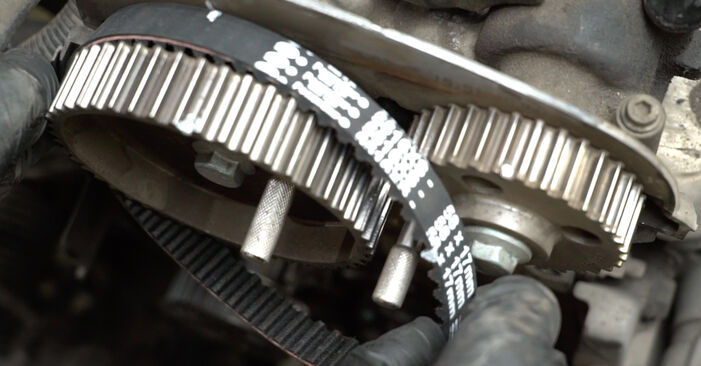 Install the new timing belt according to the factory marks.Replacement: water pump + timing belt kit – Seat Ibiza 6L1. AUTODOC experts recommend:Be careful not to damage the timing belt.
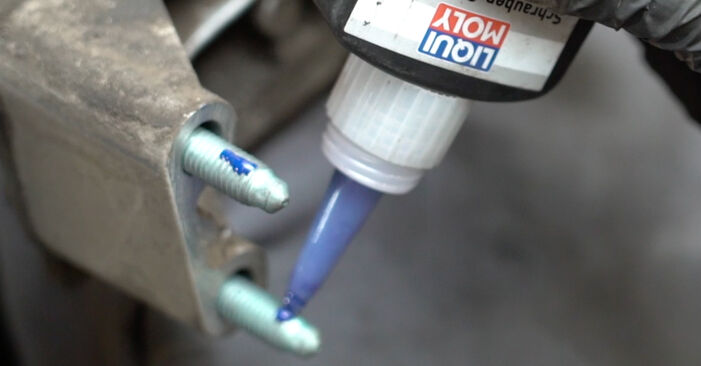
 - Step 65
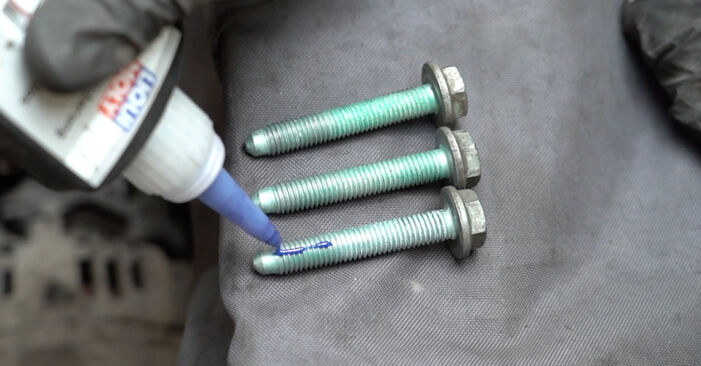
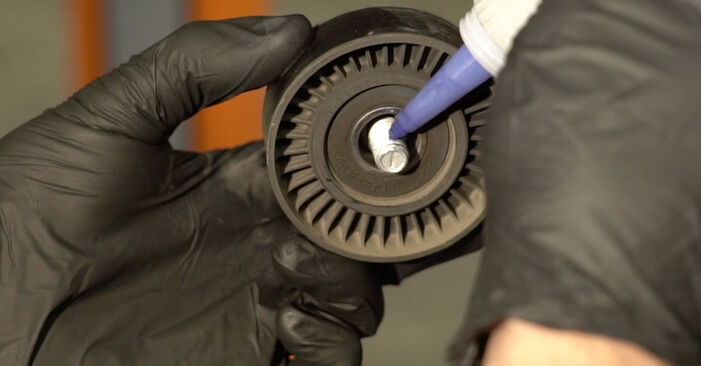
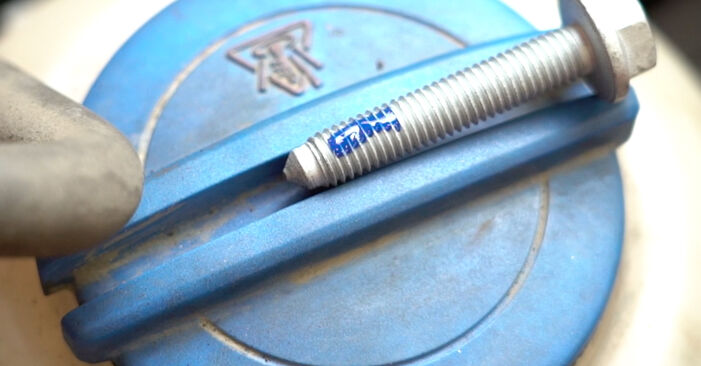 Treat the fastening bolt. Use a sealant.
 - Step 66
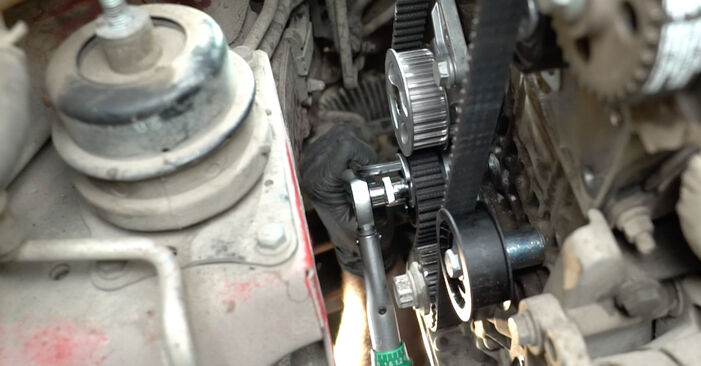
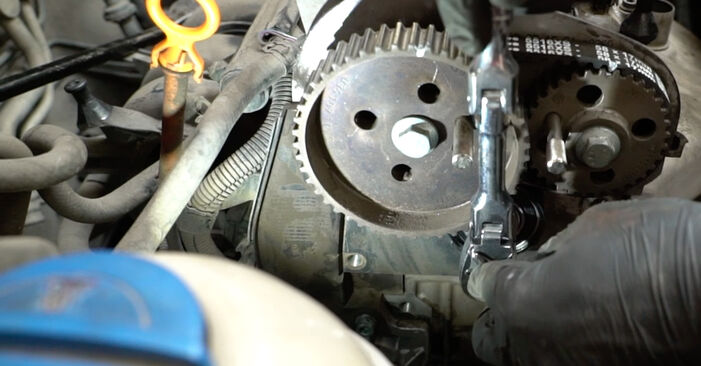 Install the timing belt tensioner pulley. Use a drive socket #16. Use a ratchet wrench.
 - Step 67
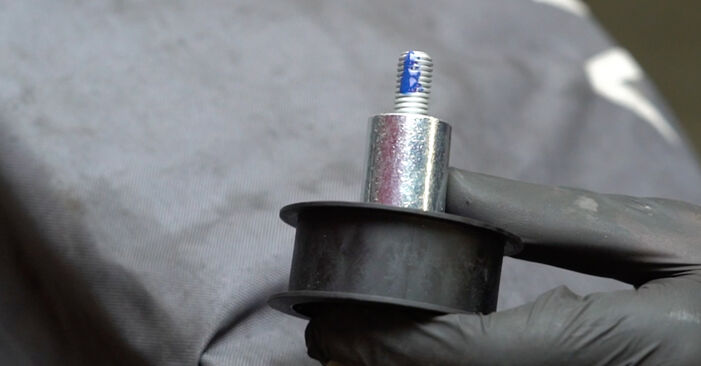 Treat the fastening bolt. Use a sealant.
 - Step 68
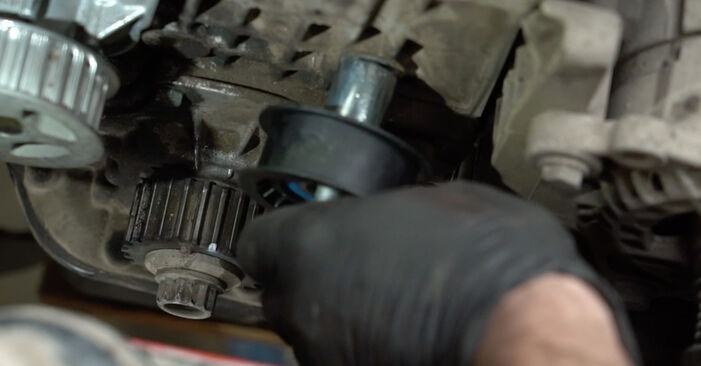 Install the timing belt idler pulley.
 - Step 69
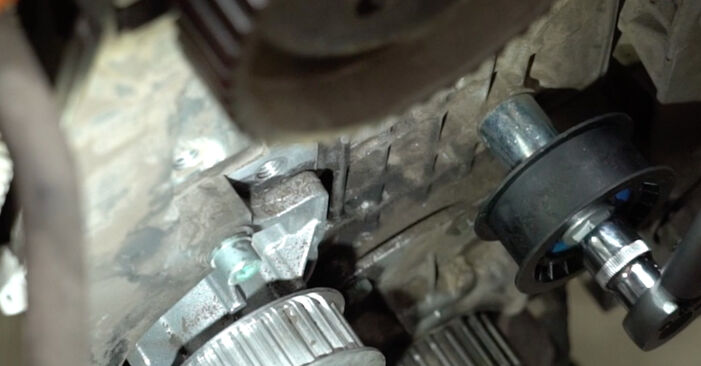 Tighten the fastener of the timing belt idler pulley. Use a drive socket #15. Use a torque wrench. Tighten it to 25 Nm torque.
 - Step 70
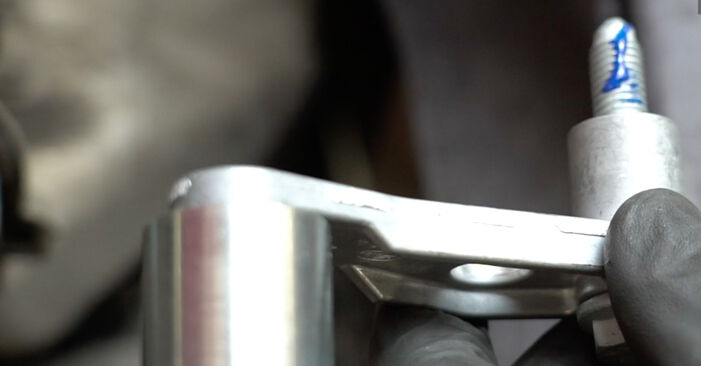 Treat the fastening bolt. Use a sealant.
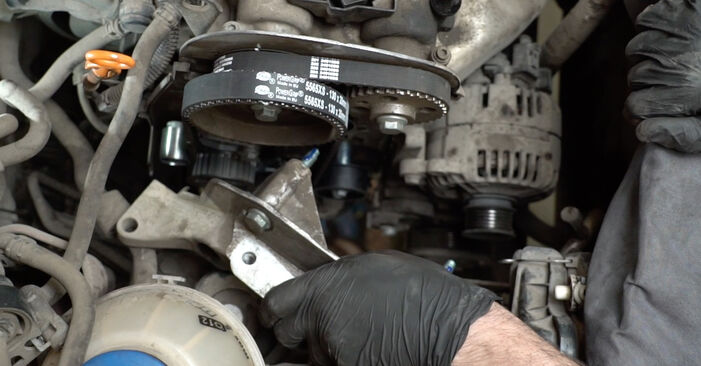
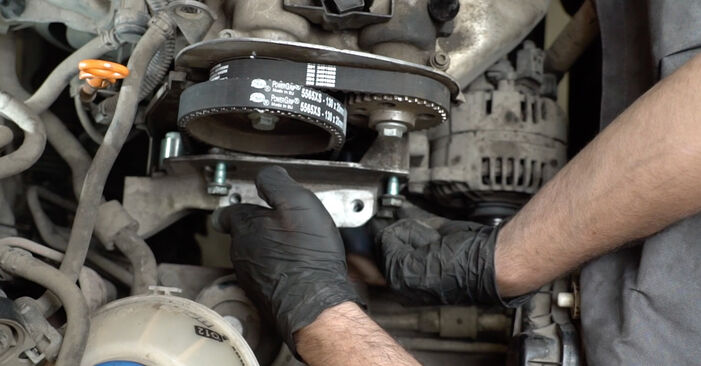
 - Step 71
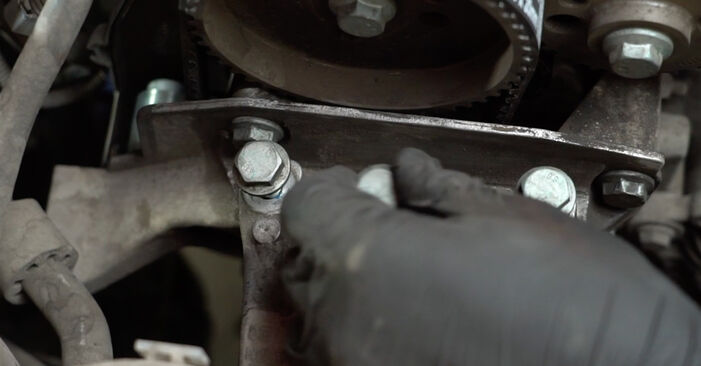
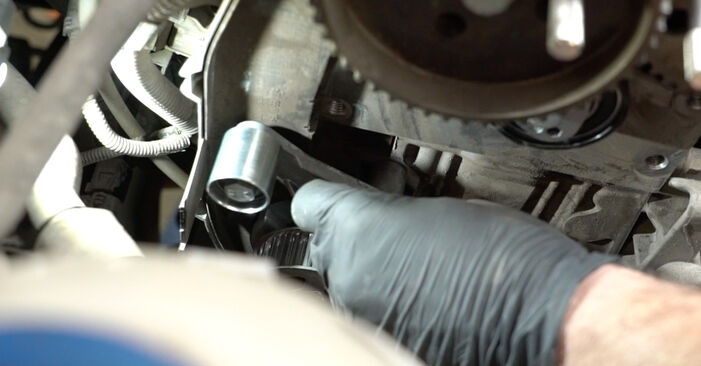 Install the timing belt idler pulley bracket with integrated pulley.
 - Step 72
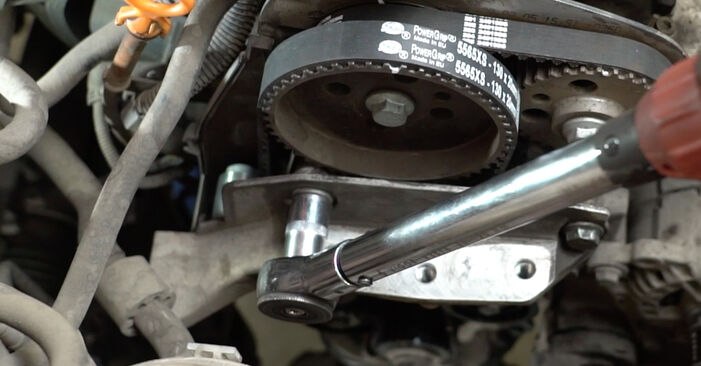
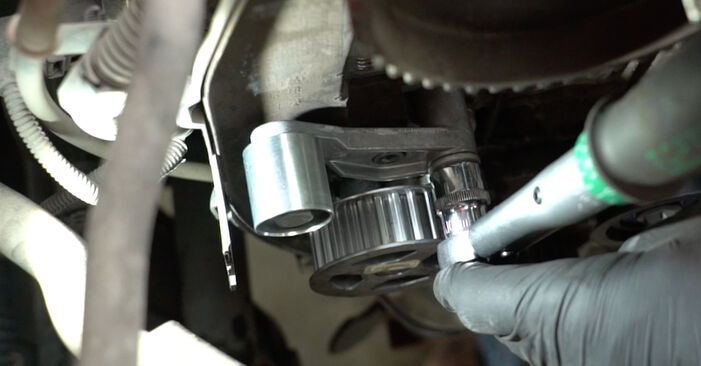 Tighten the timing belt idler pulley bracket with integrated pulley. Use a drive socket #16. Use a torque wrench. Tighten it to 50 Nm torque.
Was this manual helpful?
Please rate this manual on a scale from 1 to 5. If you have any questions, feel free to ask us.
Users voted – 0
Need New Tyres?
Find out which tyre and wheel sizes are compatible with the SEAT Ibiza III Hatchback (6L) model

Popular maintenance tutorials for Seat Ibiza 6L
Complete guides for changing the Timing belt kit with water pump on different SEAT IBIZA models
Unlock your car maintenance assistant!
Track expenses, manage logs, schedule replacements, and more.
Tips & tricks for your SEAT Ibiza III Hatchback (6L)
View more
 BMW E30 Turbo Suspension Swap: Boost Your Handling | AUTODOC project
 7 signs of faulty fuel injectors | AUTODOC tips
 Extend your engine's life: Avoid these 3 damaging factors | AUTODOC tips
 DIY brake caliper restoration | AUTODOC tips
Most commonly replaced car parts on SEAT IBIZA

Time to replace parts? Get even better deals in our Shop app.

SCAN ME


