Disclaimer

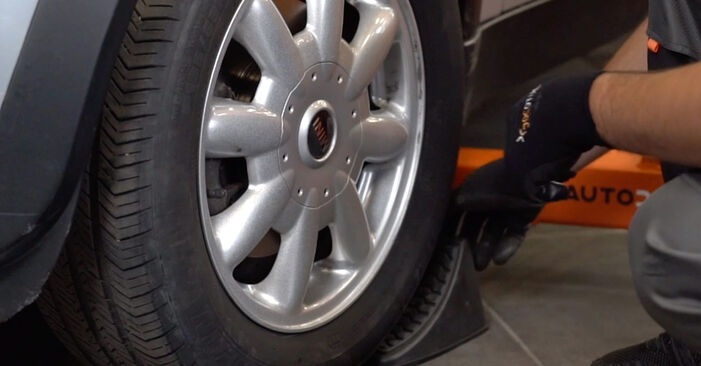
How to change front brake pads on Mini R50, R53 – replacement guide
downloads:
40
Views:
709
Recommended replacement interval for the part category Brake pad set : 30000 km
Important!
This replacement procedure can be used for:
MINI Hatchback (R50, R53) One, MINI Hatchback (R50, R53) Cooper, MINI Hatchback (R50, R53) Cooper S, MINI Hatchback (R50, R53) One D, MINI Hatchback (R50, R53) Works, MINI Hatchback (R50, R53) Cooper S, MINI Hatchback (R50, R53) One D, MINI Hatchback (R50, R53) S Works, MINI Hatchback (R50, R53) One … View more
The steps may slightly vary depending on the car design.
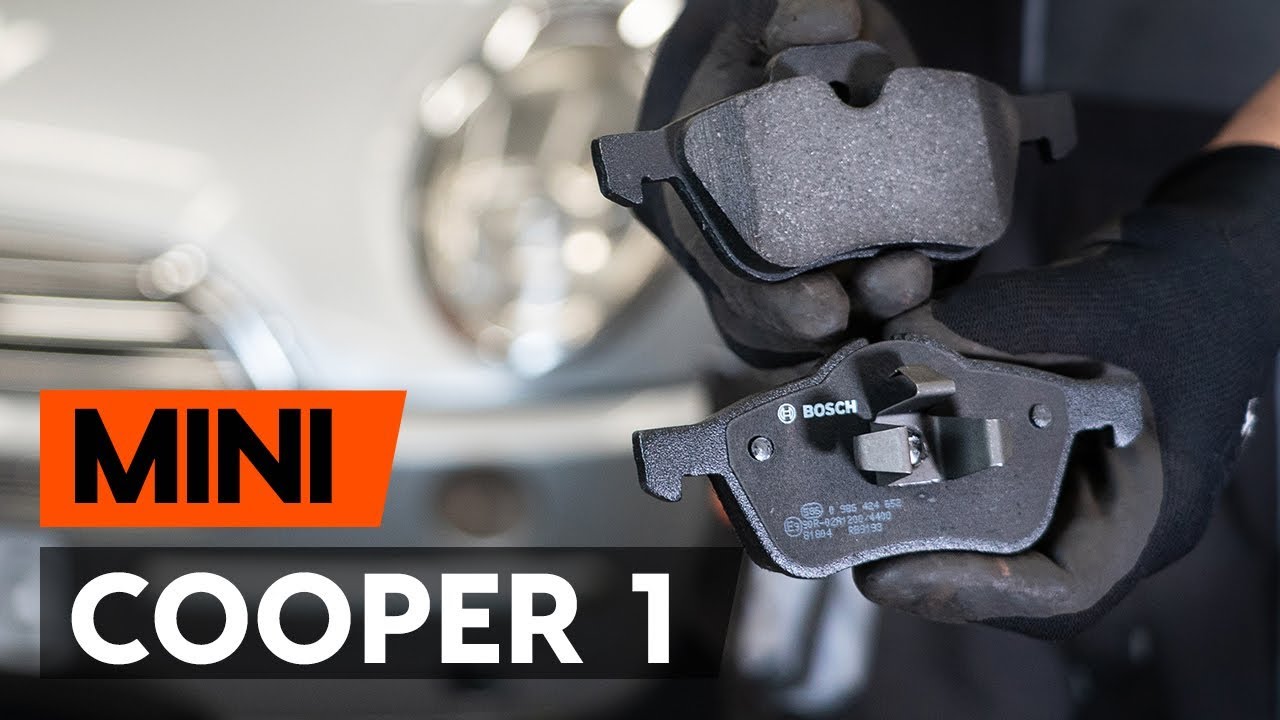
How to change front brake pads / front brake pad set on MINI COOPER 1 (R50, R52) [TUTORIAL AUTODOC]
All the parts you need to replace – Brake Pads for Hatchback (R50, R53) and other MINI models
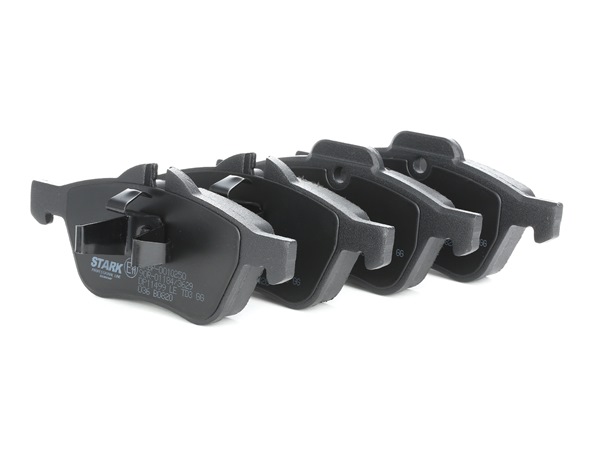
Alternative products
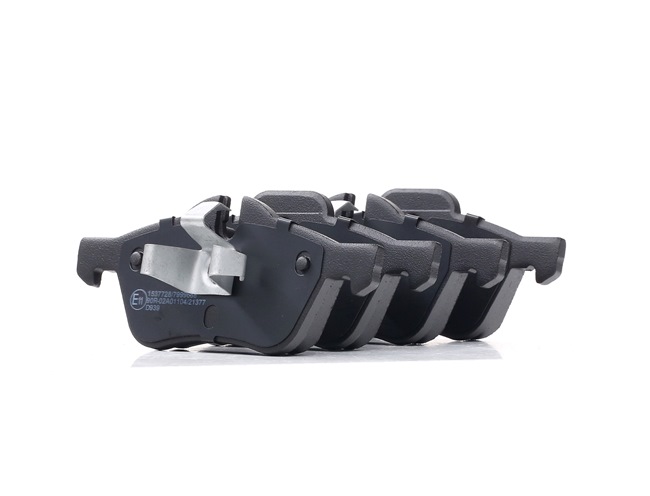
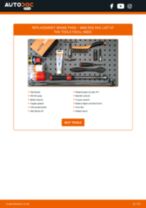
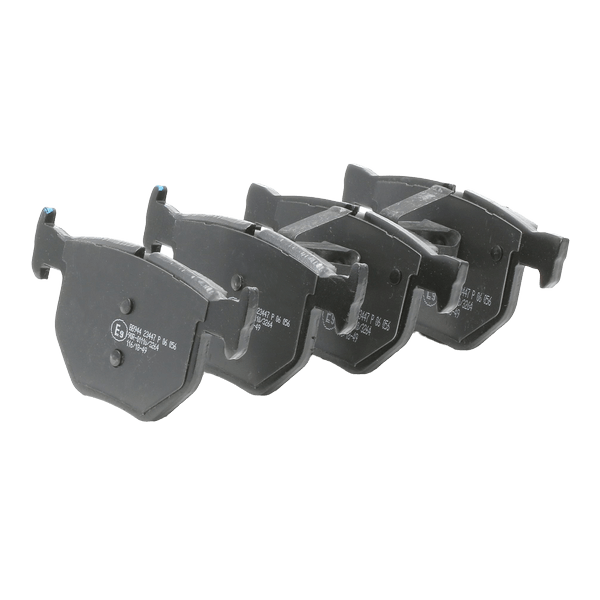 Brake pad set


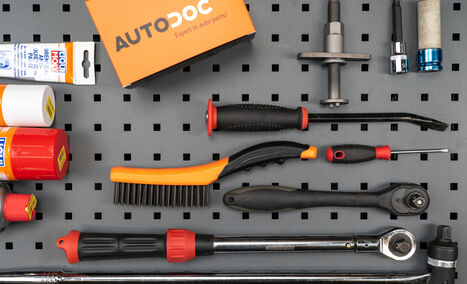
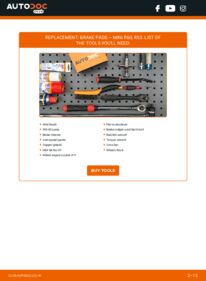
Wire brush
WD-40 spray
Brake cleaner
Anti-squeal paste
Copper grease
HEX bit No.H7.
Wheel impact socket #17
Flat screwdriver
Brake caliper wind back tool
Ratchet wrench
Torque wrench
Crow bar
Wheel chock

Replacement: brake pads – Mini R50, R53. Professionals recommend:
- Perform the replacement of brake pads in complete set for each axis. This provides effective braking.
- The replacement procedure is identical for all brake pads on the same axle.
- Please note: all work on the car – Mini R50, R53 – should be done with the engine switched off.
Carry out replacement in the following order:
- Step 1
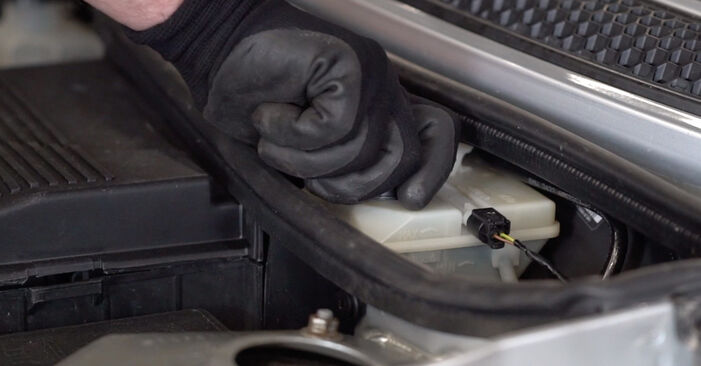 Open the bonnet. Unscrew the brake fluid reservoir cap.
 - Step 2
 Secure the wheels with chocks.
 - Step 3
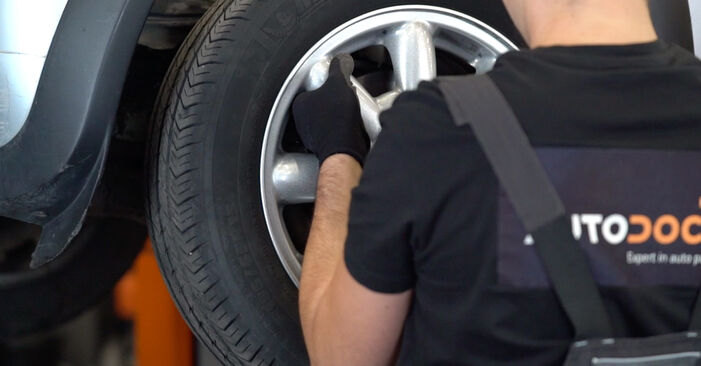
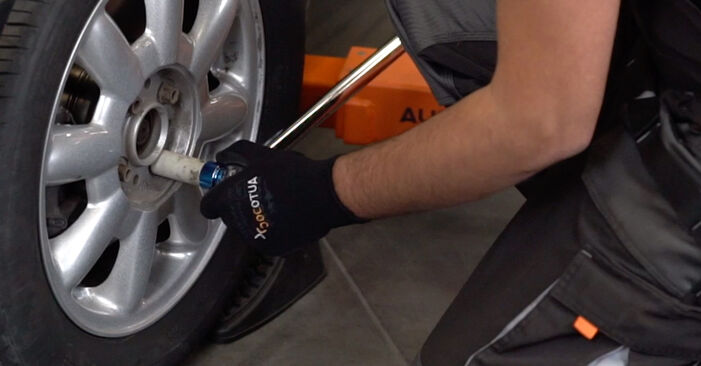
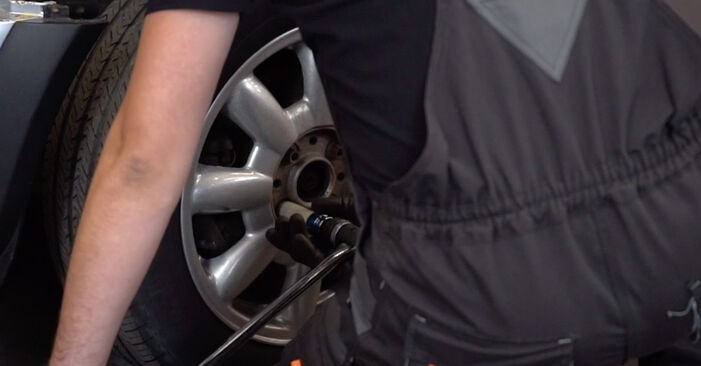 Loosen the wheel mounting bolts. Use wheel impact socket #17.
 - Step 4
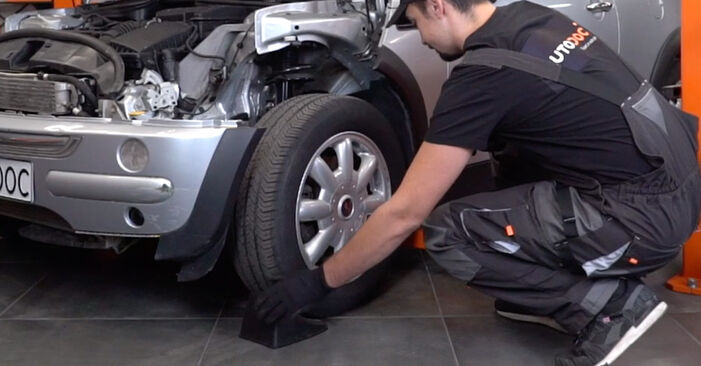
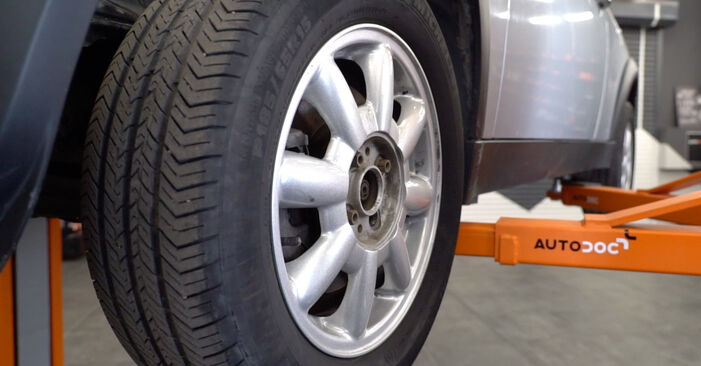 Raise the front of the car and secure on supports.
 - Step 5
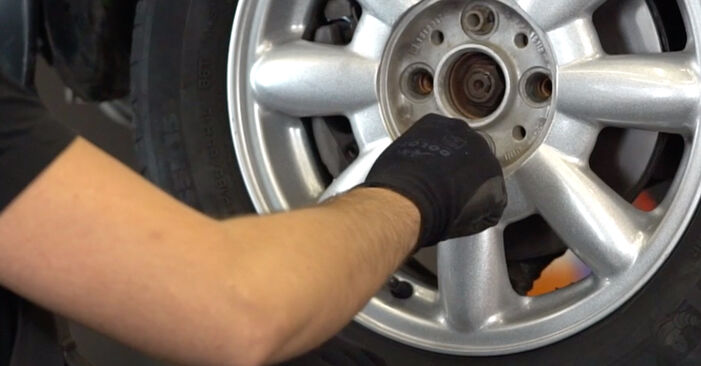
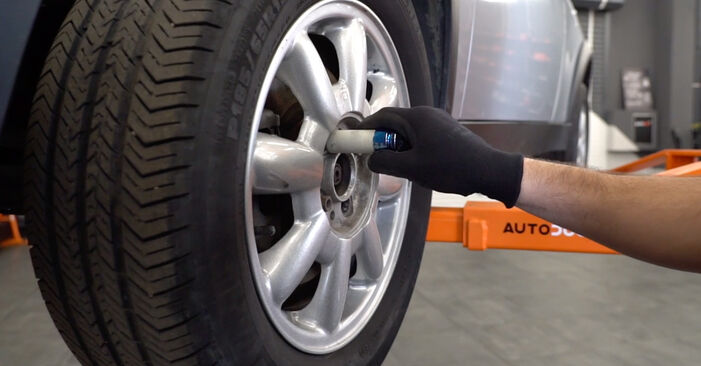 Unscrew the wheel bolts.Replacement: brake pads – Mini R50, R53. AUTODOC experts recommend:To avoid injury, hold up the wheel when unscrewing the bolts.
 - Step 6
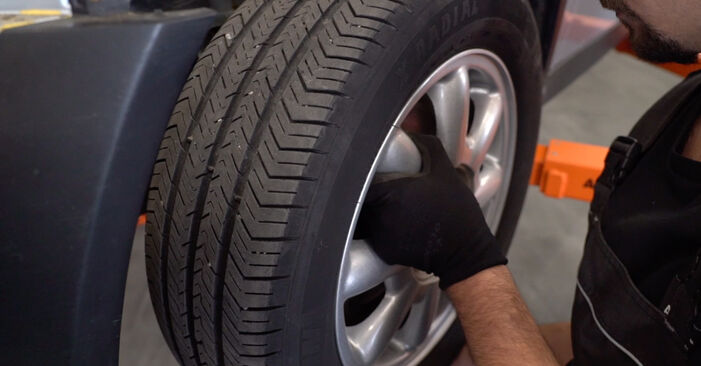 Remove the wheel.
 - Step 7
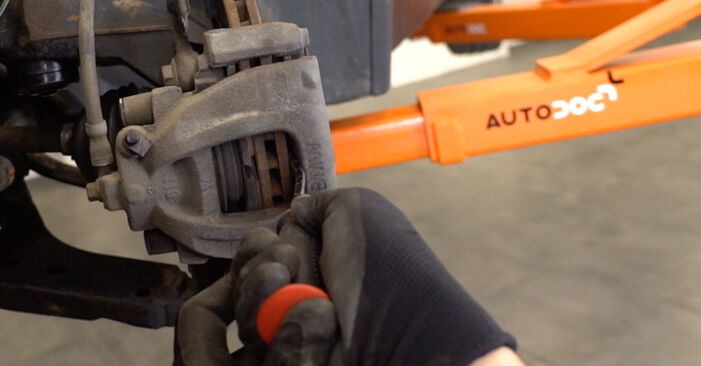 Spread the brake pads. Use a crowbar.
 - Step 8
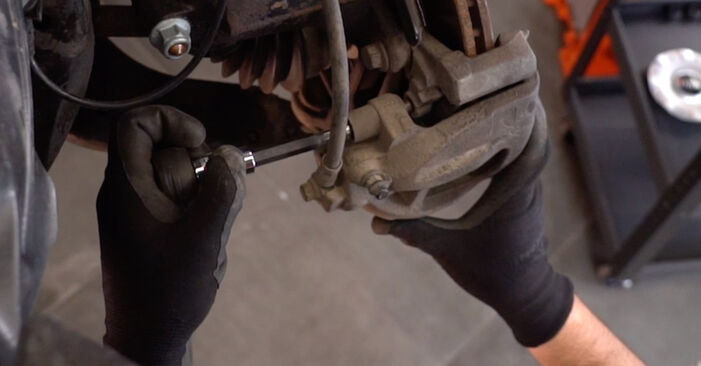
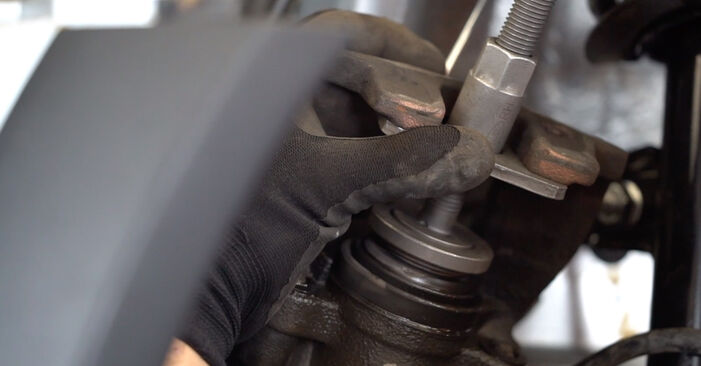
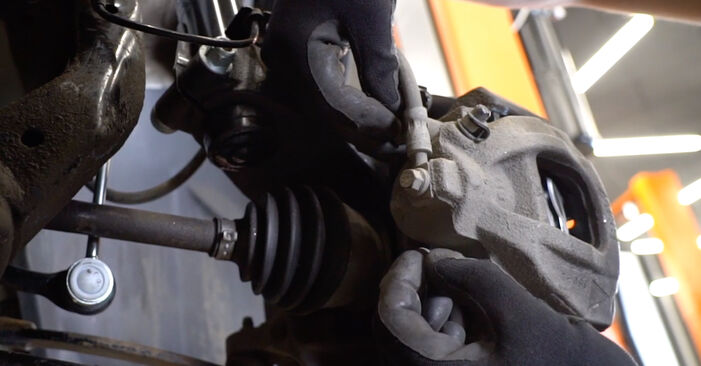
 Remove the dust boot caps of the brake caliper guide pins.
 - Step 9
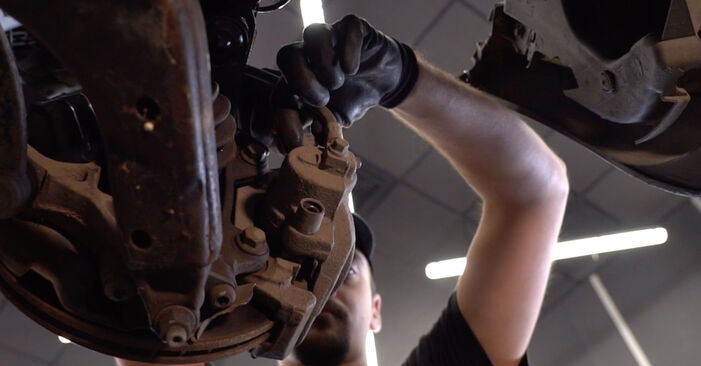
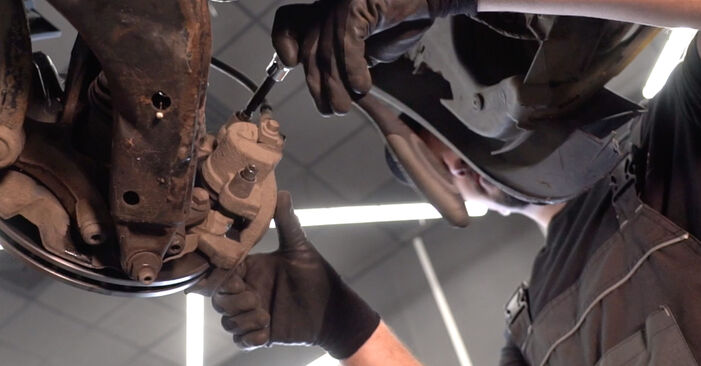
 Unscrew the brake caliper fastening. Use HEX No.H7. Use a ratchet wrench.
 - Step 10
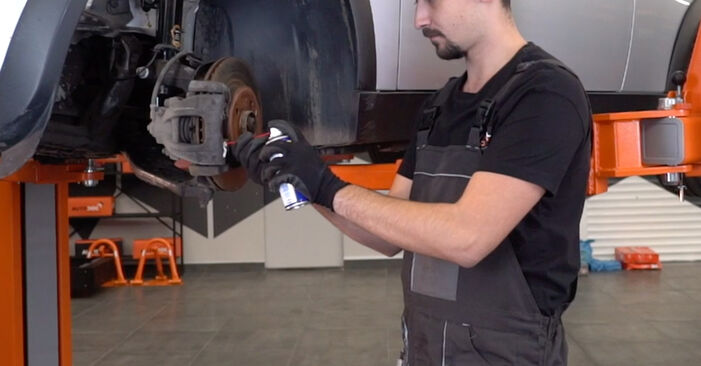
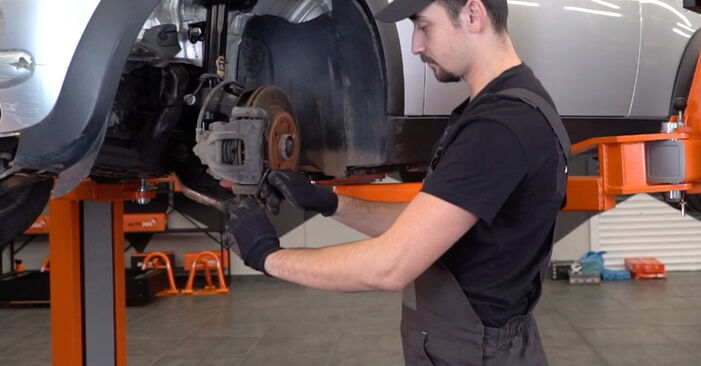
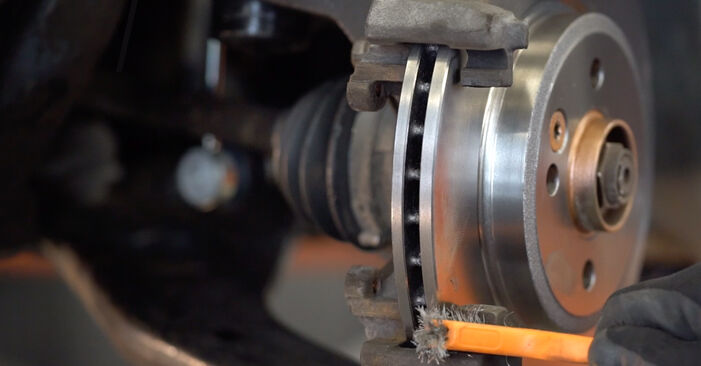
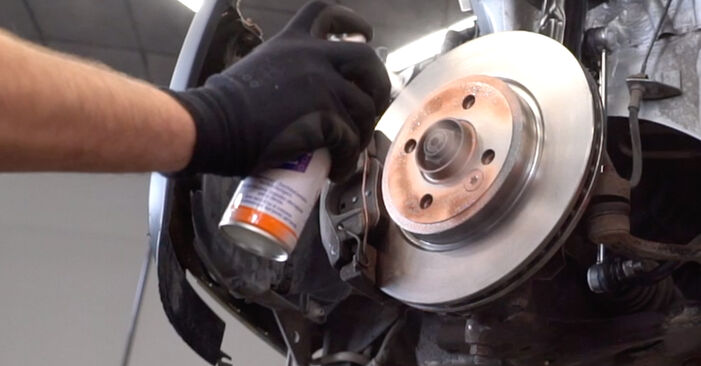
 Treat the mounting seat of the brake caliper retaining spring. Use WD-40 spray.
 - Step 11
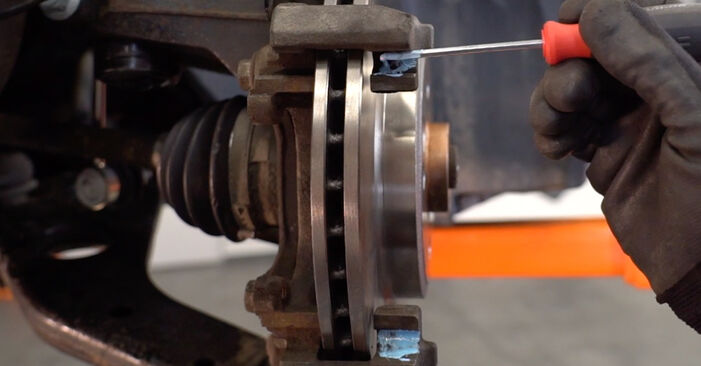
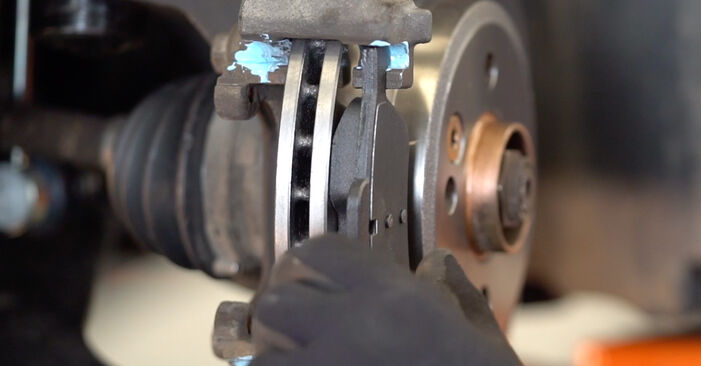
 Detach the brake caliper retaining spring. Use a crowbar.
 - Step 12
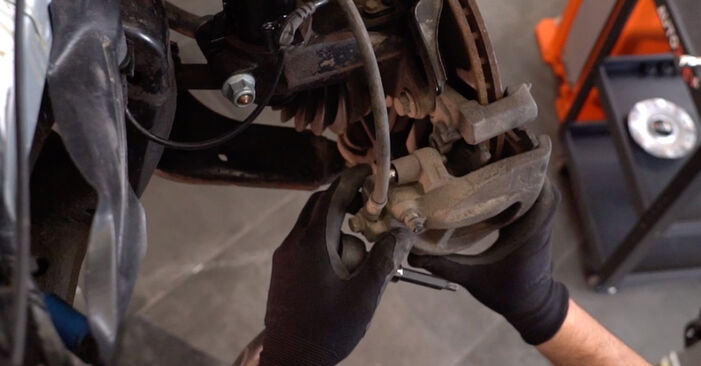 Remove the brake caliper.Replacement: brake pads – Mini R50, R53. AUTODOC recommends:Tie the caliper to the suspension or to the body with a wire without disconnecting from the brake hose to prevent depressurization of the brake system.Make sure that the brake caliper is not hanging on the brake hose.Don't press the brake pedal after the brake caliper has been removed. As a result, the piston can fall out from the brake cylinder, and brake fluid leakage and depressurization of the system may occur.
 - Step 13
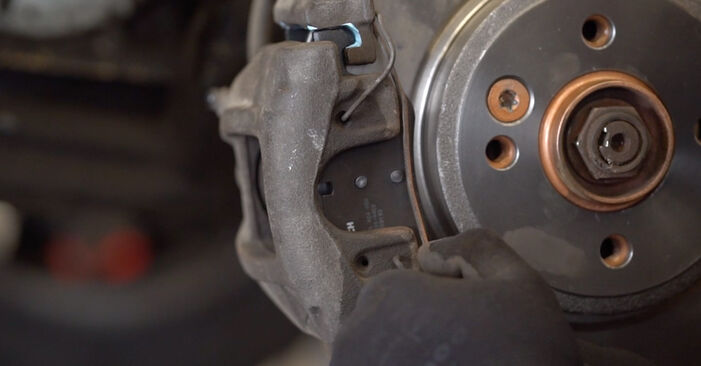
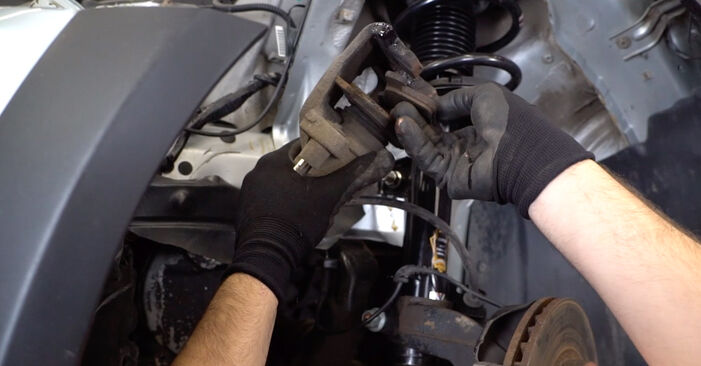 Remove the brake pads.Replacement: brake pads – Mini R50, R53. Tip from AUTODOC experts:Measure the brake disc thickness. Upon reaching the wear limit the part must be replaced.
 - Step 14
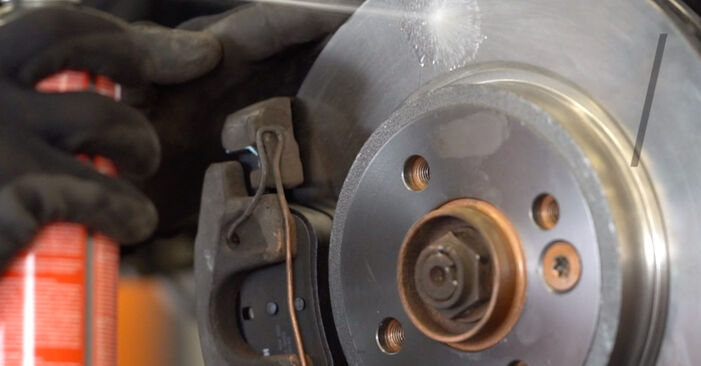
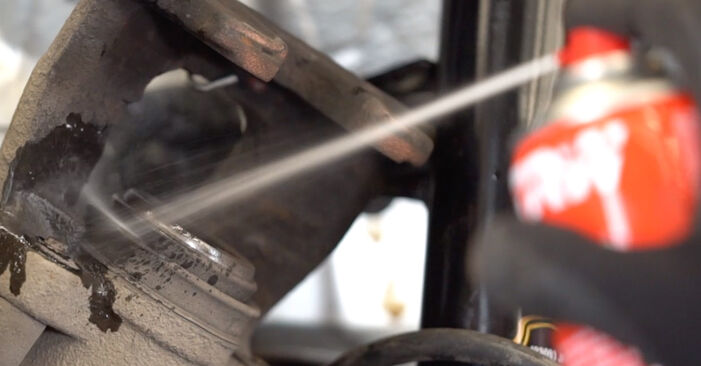 Clean the brake caliper surface. Use a brake cleaner.AUTODOC recommends:Replacement: brake pads – Mini R50, R53. After applying the spray, wait a few minutes.
 - Step 15
 Press in the brake caliper piston. Use brake caliper wind back tool.
 - Step 16
 Clean the brake caliper bracket from dirt and dust. Use a wire brush. Use a brake cleaner.Replacement: brake pads – Mini R50, R53. Tip:After applying the spray, wait a few minutes.
Was this manual helpful?
Please rate this manual on a scale from 1 to 5. If you have any questions, feel free to ask us.
Users voted – 1
Need New Tyres?
Find out which tyre and wheel sizes are compatible with the MINI Hatchback (R50, R53) model

Popular maintenance tutorials for Mini R53
 Free download PDF
 2.31 MB
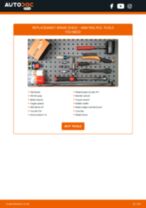 Free download PDF2.73 MB
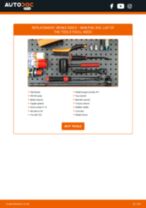 Free download PDF2.58 MB
 Free download PDF829.44 KB
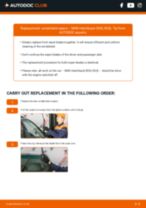 Free download PDF542.72 KB
 Free download PDF2.54 MB
Complete guides for changing the Brake pad set on different MINI MINI models
 Free download PDF1.63 MB
- Free download PDF2.31 MB
 Free download PDF2.84 MB
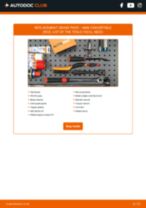 Free download PDF1.53 MB
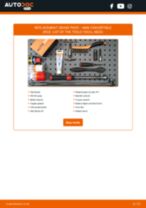 Free download PDF2.3 MB
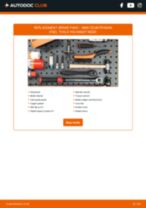 Free download PDF1.91 MB
Unlock your car maintenance assistant!
Track expenses, manage logs, schedule replacements, and more.
Tips & tricks for your MINI Hatchback (R50, R53)
View more
 How to tighten cylinder head bolts
 How to get your motorcycle ready for spring
 Why Checking Your Oil is Crucial for Engine Performance
 How to Fix a Squealing Belt: Causes & Solutions | AUTODOC Expert Tips
Most commonly replaced car parts on MINI MINI


Professional manuals for the most common MINI models


Time to replace parts? Get even better deals in our Shop app.

SCAN ME