Disclaimer
How to change engine oil and filter on CITROËN JUMPER Box – replacement guide
downloads:
6
Views:
54
Recommended replacement interval for the part category Oil filter : 2 year / 40000 km
Important!
This replacement procedure can be used for:
CITROËN JUMPER Box 2.2 HDi, CITROËN JUMPER Box 2.2 HDi, CITROËN JUMPER Box 2.2 HDi, CITROËN JUMPER Box 2.2 HDi, CITROËN JUMPER Box 2.2 HDi … View more
The steps may slightly vary depending on the car design.
CITROËN JUMPER Box 2.2 HDi, CITROËN JUMPER Box 2.2 HDi, CITROËN JUMPER Box 2.2 HDi, CITROËN JUMPER Box 2.2 HDi, CITROËN JUMPER Box 2.2 HDi … View more
The steps may slightly vary depending on the car design.
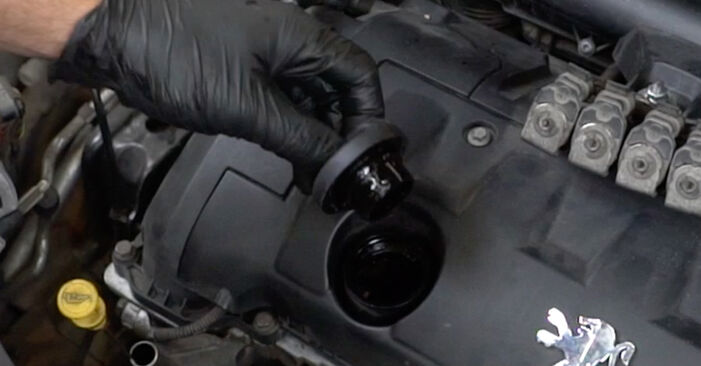
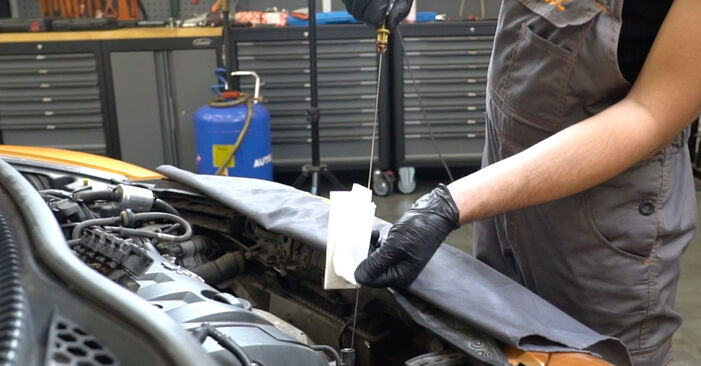
This video shows the replacement procedure of a similar car part on another vehicle
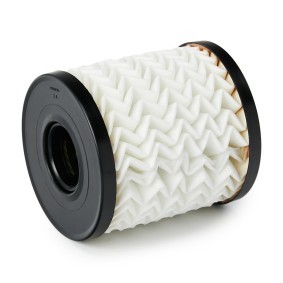
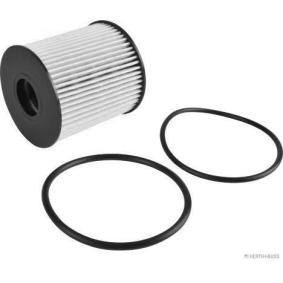
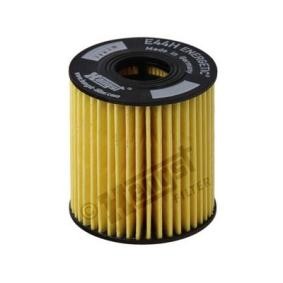
All the parts you need to replace – Oil Filter for JUMPER Box and other CITROËN models
Alternative products

Wire brush
All-purpose cleaning spray
Torque wrench
Drive socket # 27
HEX bit No.H6.
Ratchet wrench
Oil drain pan
Funnel
Flat Screwdriver
Fender cover
Replacement: engine oil and filter – CITROËN JUMPER Box. Tip from AUTODOC:
- Replace the oil filter every time when changing motor oil.
- Use only new O-rings during installation.
- Wear gloves to prevent contact with hot liquid.
- Warning! Shut down the engine before starting any work – CITROËN JUMPER Box
Carry out replacement in the following order:
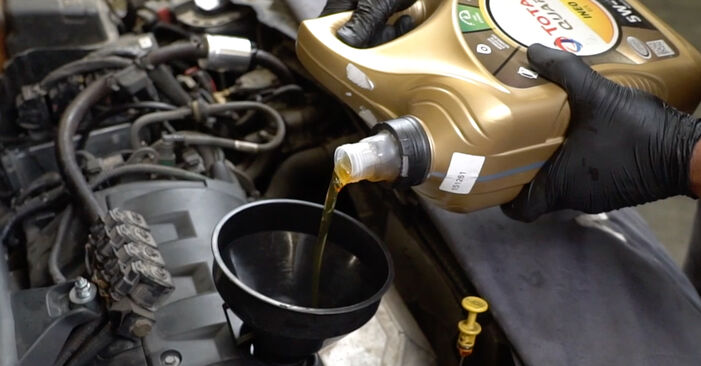
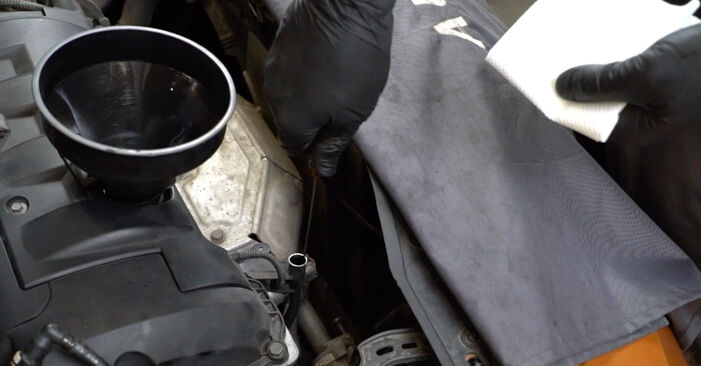
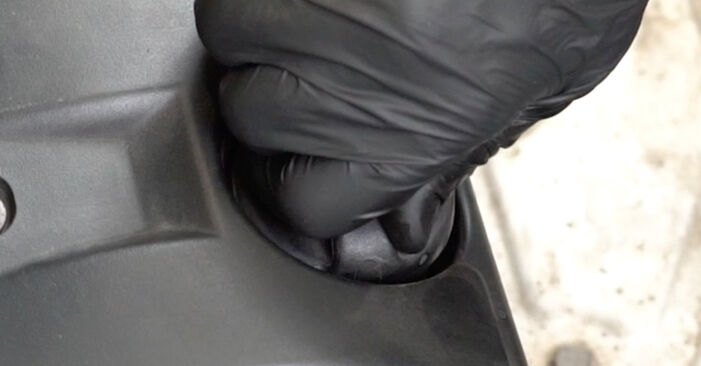
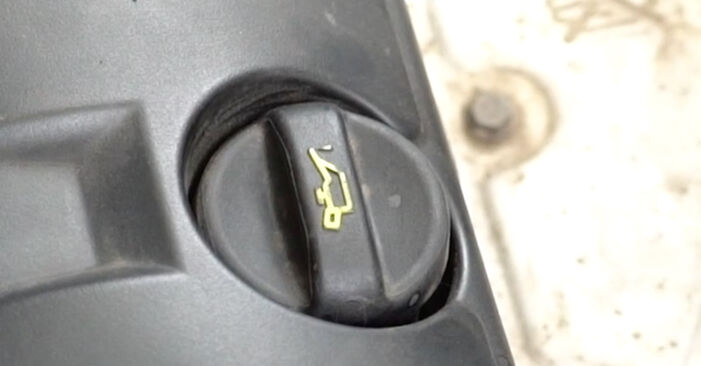
- Step 1Open the hood.Step 2Use a fender protection cover to prevent damaging paintwork and plastic parts of the car.Step 3
 Unscrew the oil filler plug.
 - Step 4Lift the car using a jack or place it over an inspection pit.AUTODOC recommends:The vehicle must be on even keel, and if it is at an angle, the drain plug must be at the lowest point.Step 5
 Put a waste oil container with at least 4 l capacity under the drainage hole.
 - Step 6
 Clean the area of the oil pan drainage hole. Use a wire brush. Use all-purpose cleaning spray.
 - Step 7
 Unscrew the drain plug. Use HEX No.H6. Use a ratchet wrench.
 - Step 8
 Drain the used oil.Replacement: engine oil and filter – CITROËN JUMPER Box. Tip:Caution! The oil may be hot.Wait until the oil has completely drained from the drainage hole.
 - Step 9
 Clean the oil filter housing cap. Use all-purpose cleaning spray.
 - Step 10
 Unscrew the filter housing cap together with the old filter element. Use a drive socket #27. Use a ratchet wrench.
 - Step 11Prepare a container for the old oil filter.Step 12
 Put the old oil filter in the container.AUTODOC recommends:Move up the container. The oil starts to drain out of the drainage hole immediately after you have removed the oil filter.
 - Step 13
 Detach the oil filter from the filter cover.
 - Step 14
 Remove the oil filter cover O-ring. Use a flat screwdriver.
 - Step 15
 Clean the oil filter housing cap. Use all-purpose cleaning spray.
 - Step 16
 Install a new O-ring to its mounting seat on the filter cover.
 - Step 17
 Install the new oil filter to the mounting seat on the filter cover.Please note!Make sure to install the filter correctly. Don't mix up the sides of the part.
 - Step 18
 Lubricate the rubber seal of the new filter with a little amount of fresh oil.
 - Step 19
 Install a new oil filter housing cover and tighten it. Use a drive socket #27. Use a torque wrench. Tighten it to 25 Nm torque.
Was this manual helpful?
Please rate this manual on a scale from 1 to 5. If you have any questions, feel free to ask us.
Users voted – 0
Need New Tyres?
Find out which tyre and wheel sizes are compatible with the CITROËN Relay II Van (250) model

Popular maintenance tutorials for Citroen Jumper 250 Van
Complete guides for changing the Oil filters on different CITROËN RELAY models
Unlock your car maintenance assistant!
Track expenses, manage logs, schedule replacements, and more.
Tips & tricks for your CITROËN JUMPER Box
View more
 TOP 5 mistakes when replacing shock absorbers | AUTODOC tips
 The Ultimate Guide to Engine Bay Cleaning | AUTODOC
 5 Essential Tips to Prepare Your Car for Winter | AUTODOC tips
 5 tools that make car repair incredibly simple | AUTODOC tips
Most commonly replaced car parts on CITROËN RELAY

Time to replace parts? Get even better deals in our Shop app.

SCAN ME


