Disclaimer
How to change clutch kit on BMW 3 Saloon (E46) – replacement guide
downloads:
11
Views:
119
Recommended replacement interval for the part category Clutch kit : 100000 km
Important!
This replacement procedure can be used for:
BMW 3 Saloon (E46) 325 i, BMW 3 Saloon (E46) 320 i … View more
The steps may slightly vary depending on the car design.
BMW 3 Saloon (E46) 325 i, BMW 3 Saloon (E46) 320 i … View more
The steps may slightly vary depending on the car design.
This video shows the replacement procedure of a similar car part on another vehicle
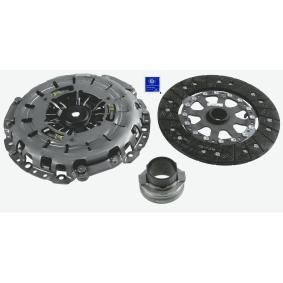
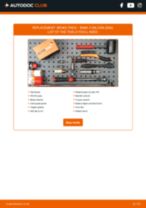
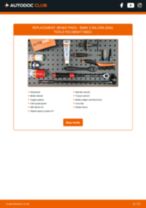
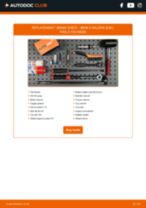
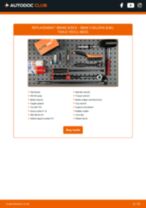
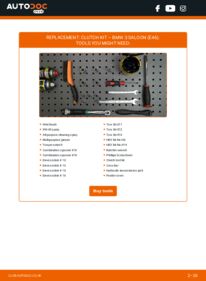
All the parts you need to replace – Clutch Kit for 3 Saloon (E46) and other BMW models
Alternative products

Wire brush
WD-40 spray
All-purpose cleaning spray
Multipurpose grease
Torque wrench
Combination spanner #13
Combination spanner #18
Drive socket # 10
Drive socket # 13
Drive socket # 16
Drive socket # 18
Torx bit E11
Torx bit E12
Torx bit E14
HEX bit No.H6
HEX bit No.H14
Ratchet wrench
Phillips Screwdriver
Clutch tool kit
Crow bar
Hydraulic transmission jack
Fender cover
Replacement: clutch kit – BMW 3 (E46). AUTODOC experts recommend:
- Replace the entire clutch kit assembly: the pressure plate, clutch disc, and release bearing.
- Please note: all work on the car – BMW 3 (E46) – should be done with the engine switched off.
Carry out replacement in the following order:
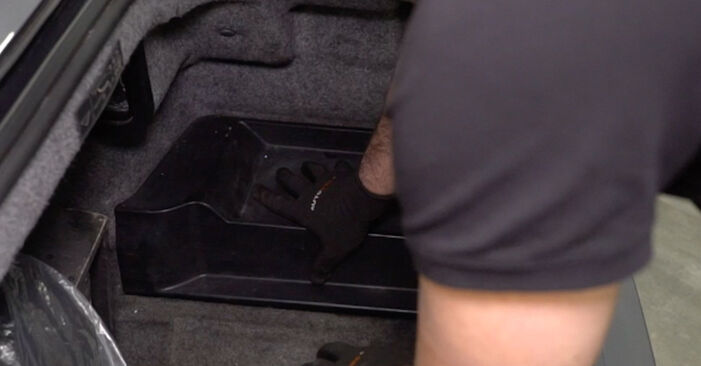
- Step 1Open the bonnet.Step 2Use a fender protection cover to prevent damaging paintwork and plastic parts of the car.Step 3Open the boot lid.Step 4
 Remove the battery cover.
 - Step 5
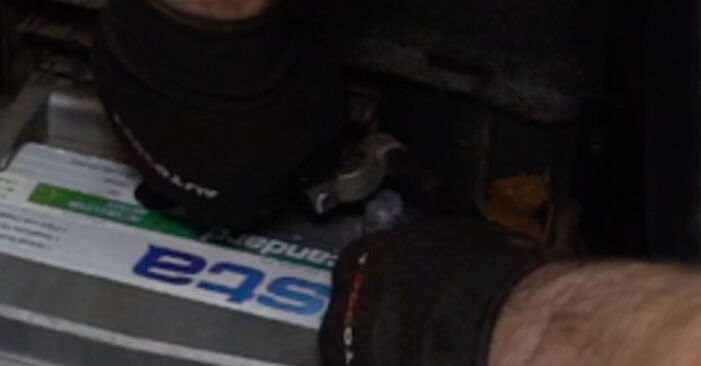
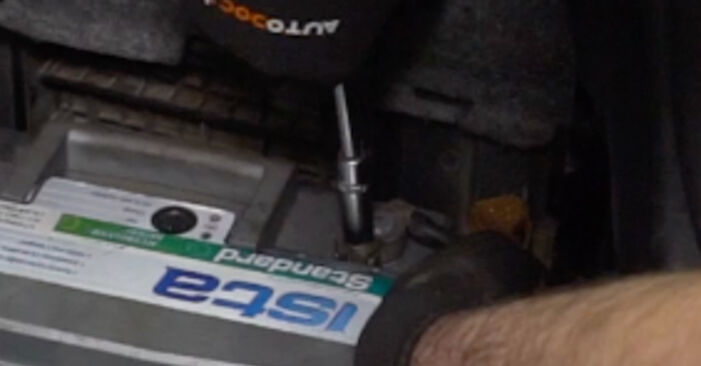
 Unscrew the negative battery terminal fastener. Use a drive socket #10. Use a ratchet wrench.
 - Step 6
 Disconnect the earth cable terminal from the battery.
 - Step 7Lift the car using a jack or place it over an inspection pit.Step 8
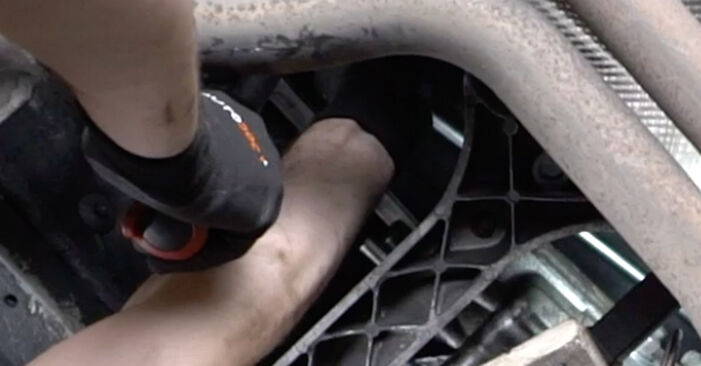
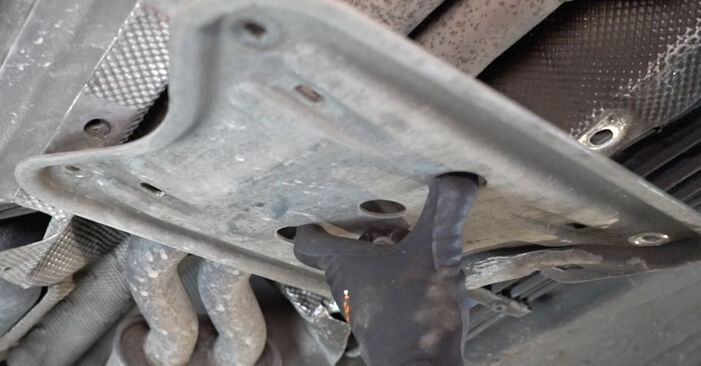
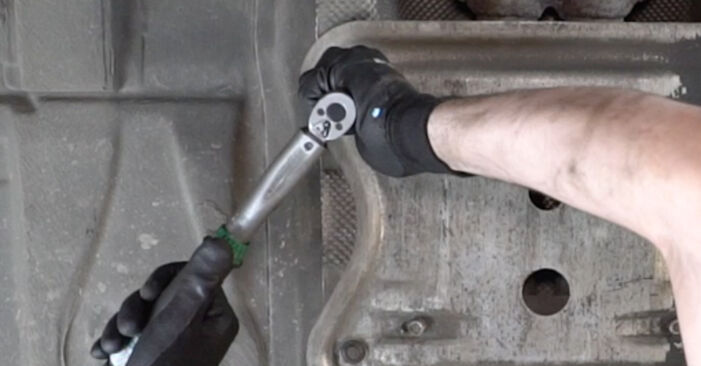
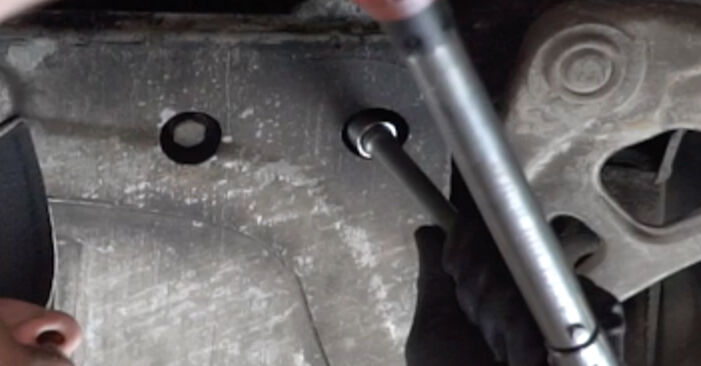
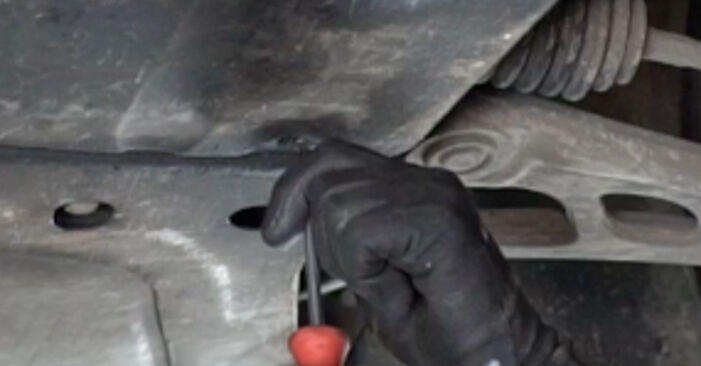
 Unscrew the engine splash guard fasteners. Use a Phillips screwdriver.
 - Step 9
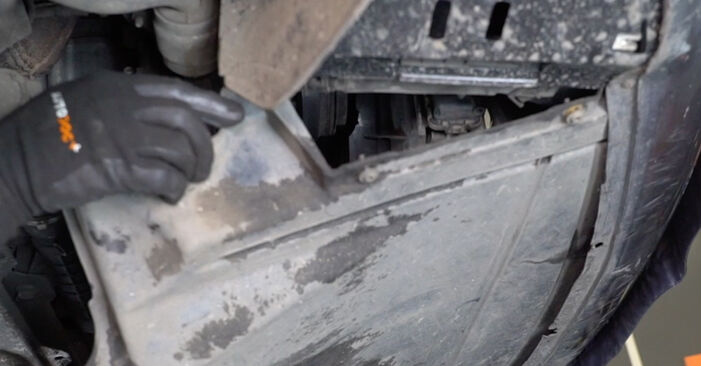
 Remove the engine splash guard.
 - Step 10
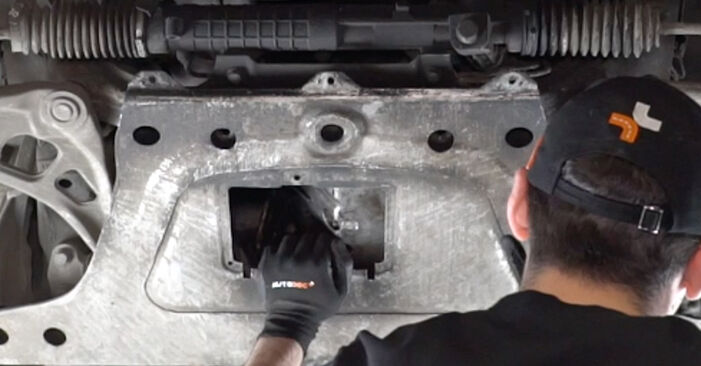
 Prop up the subframe reinforcement bracket. Use a hydraulic transmission jack.
 - Step 11
 Unscrew the subframe reinforcement bracket fasteners. Use a drive socket #16. Use a ratchet wrench.
 - Step 12
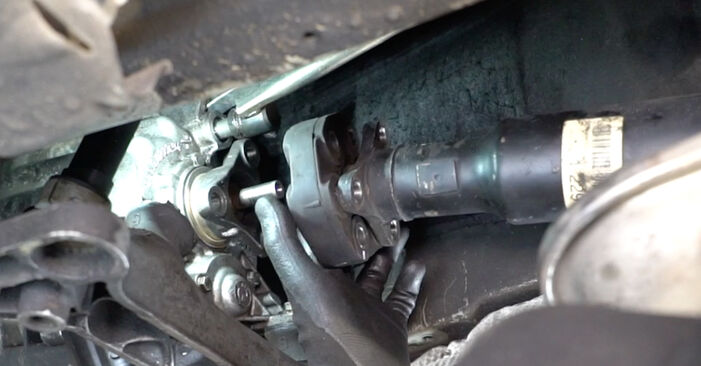
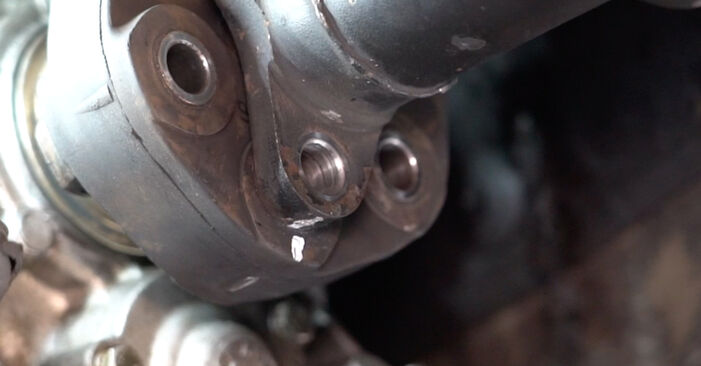
 Remove the subframe bracket.Replacement: clutch kit – BMW 3 (E46). Tip from AUTODOC experts:Make marks on the front propshaft coupling to indicate its position.
 - Step 13
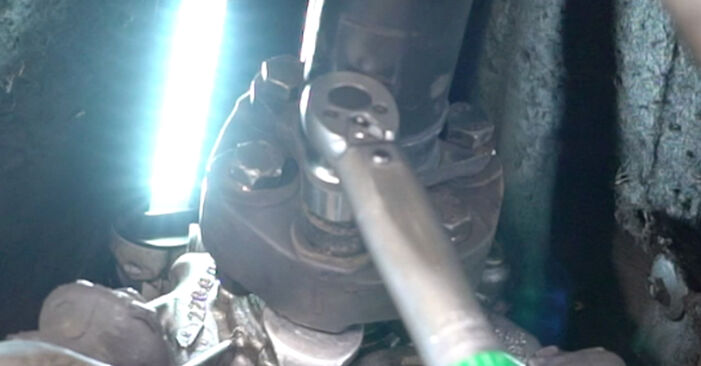
 Unscrew the propshaft coupling fasteners. Use a combination spanner #18. Use a drive socket #18. Use a ratchet wrench.
 - Step 14
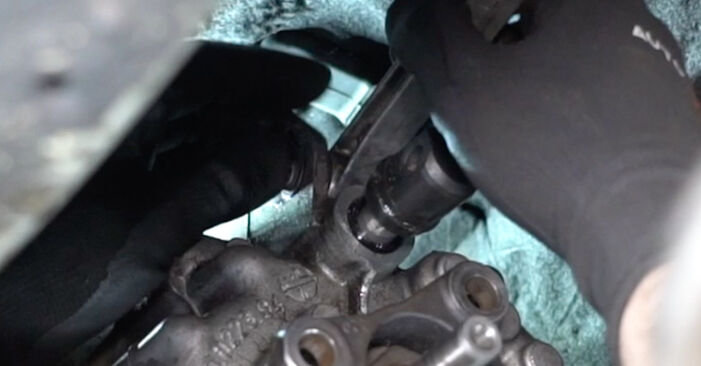
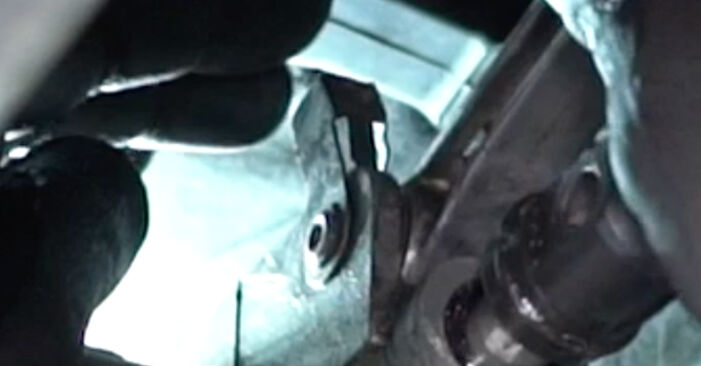
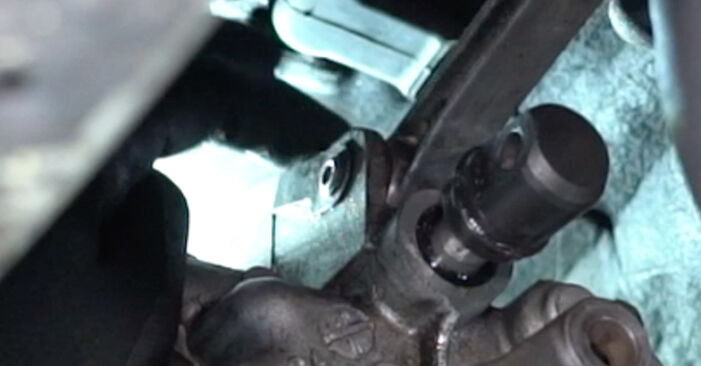
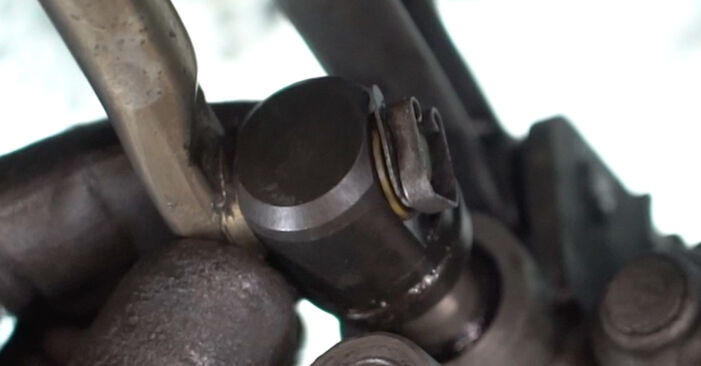
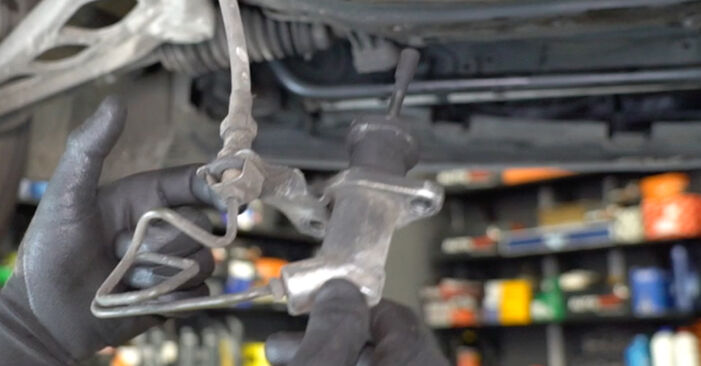
 Unscrew the clutch slave cylinder fasteners. Use a drive socket #13. Use a ratchet wrench.
 - Step 15
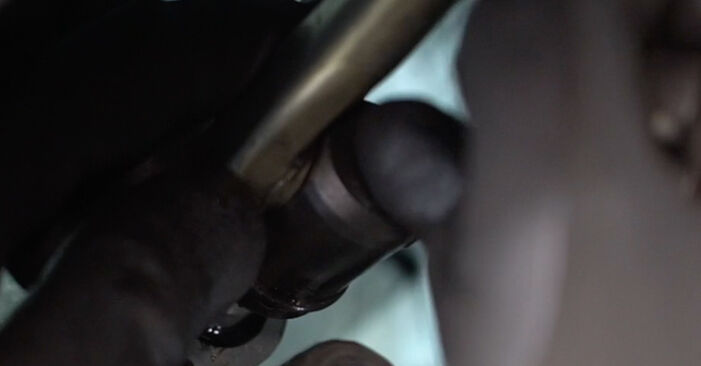
 Remove the clutch slave cylinder.
 - Step 16
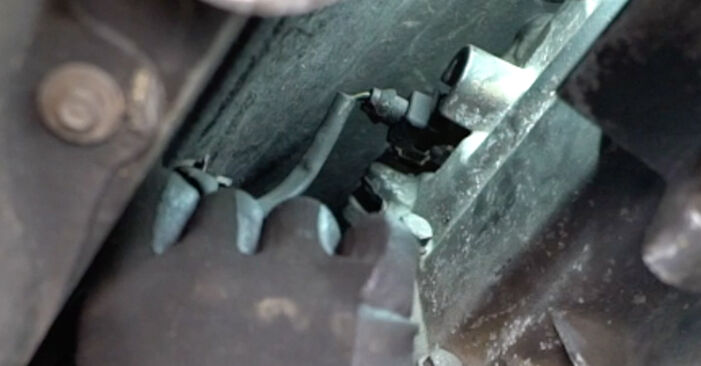
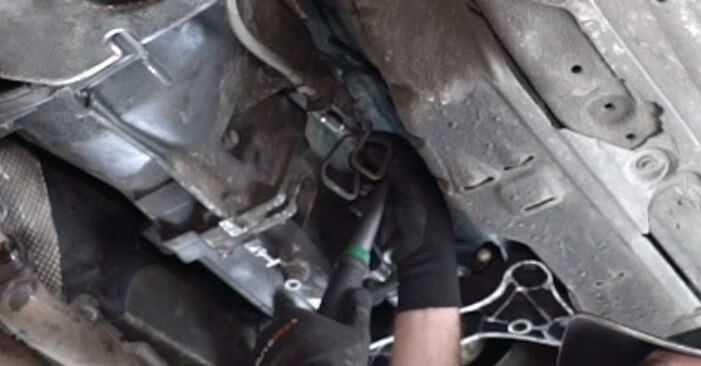
 Disconnect the transmission sensor connector.
 - Step 17
 Prop up the gearbox support. Use a hydraulic transmission jack.
 - Step 18
 Unscrew the fasteners that connect the gearbox support to the car body. Use a drive socket #13. Use a ratchet wrench.
 - Step 19
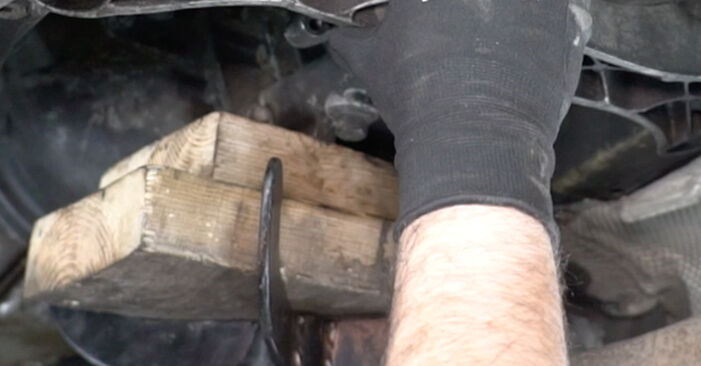
 Unsnap the locking pin on the shift lever support arm. Use a crowbar.
 - Step 20Remove the cotter pin.Step 21
 Disconnect the shift lever support arm.
 - Step 22
 Remove the selector rod retaining clip.
 - Step 23
 Detach the selector rod.
 - Step 24
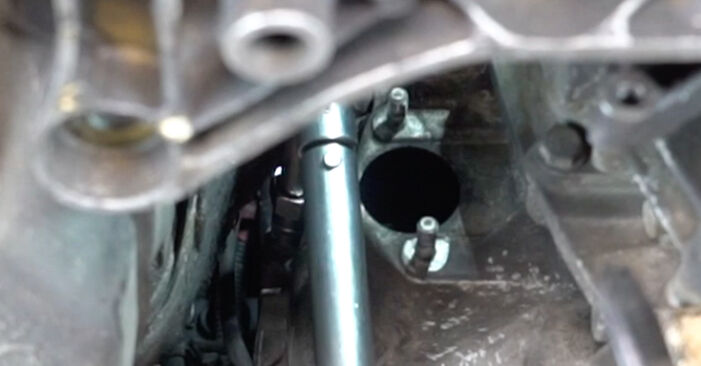
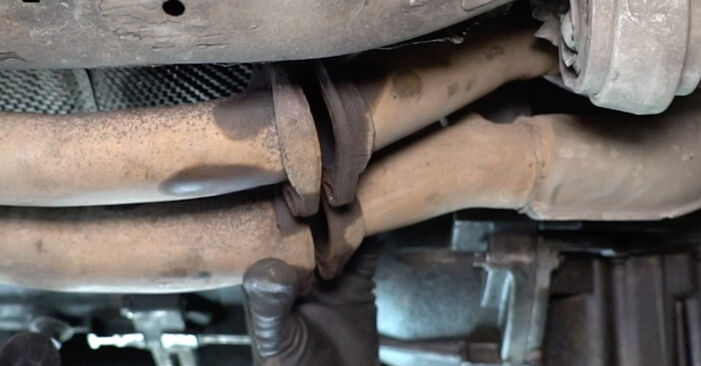
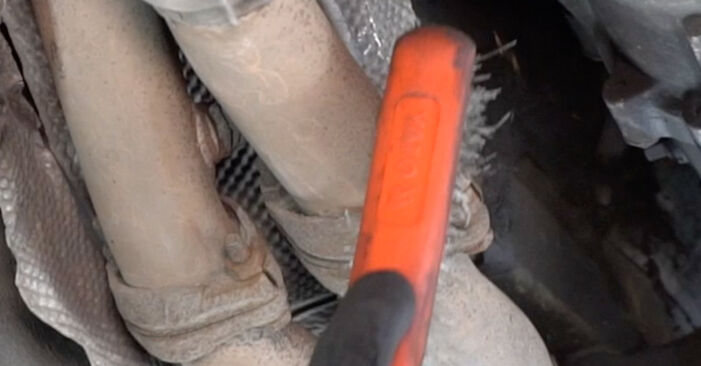 Clean the exhaust system fastener. Use a wire brush. Use WD-40 spray.
 - Step 25
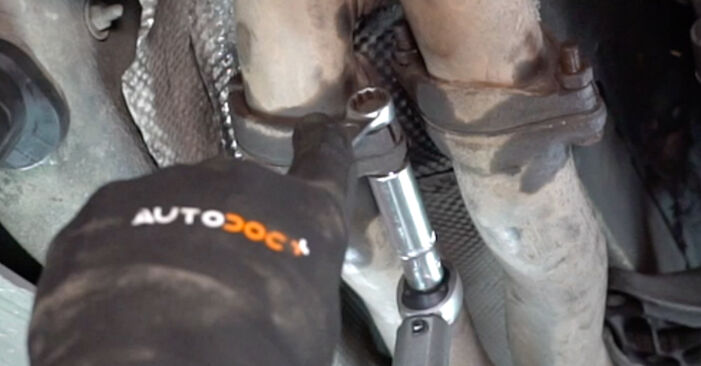
 Unscrew the exhaust system fasteners. Use a combination spanner #13. Use a drive socket #13. Use a ratchet wrench.
 - Step 26
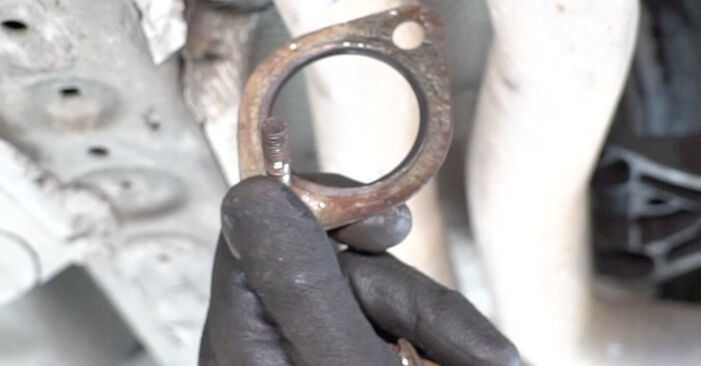 Remove the exhaust system fastener.
 - Step 27
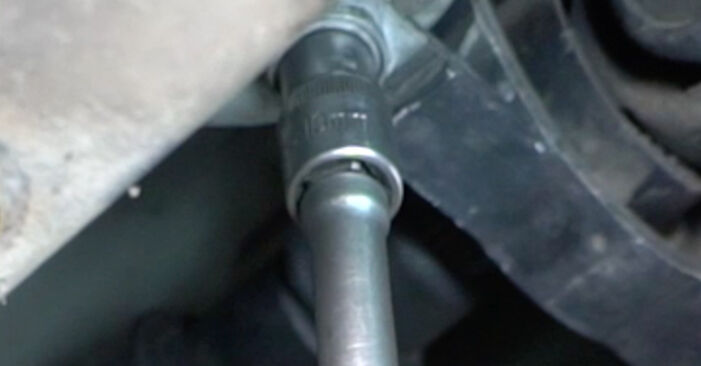
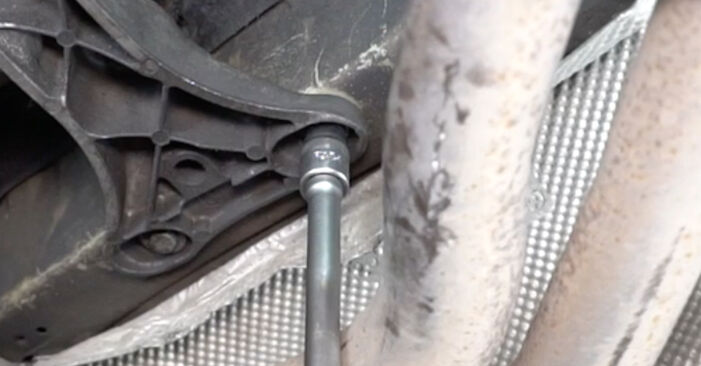
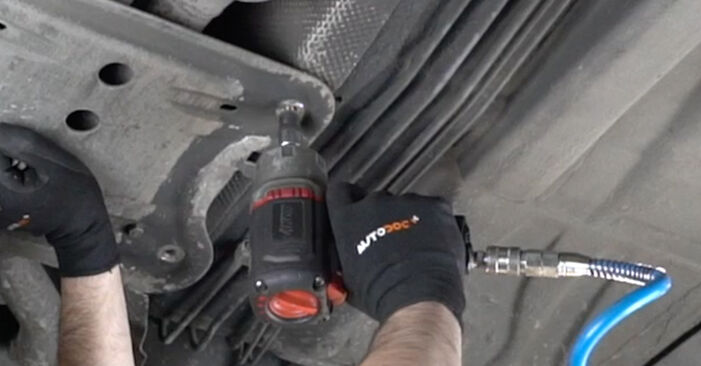 Unscrew the exhaust system bracket fasteners from the car body. Use a drive socket #13. Use a ratchet wrench.
 - Step 28Remove the exhaust system bracket.Step 29
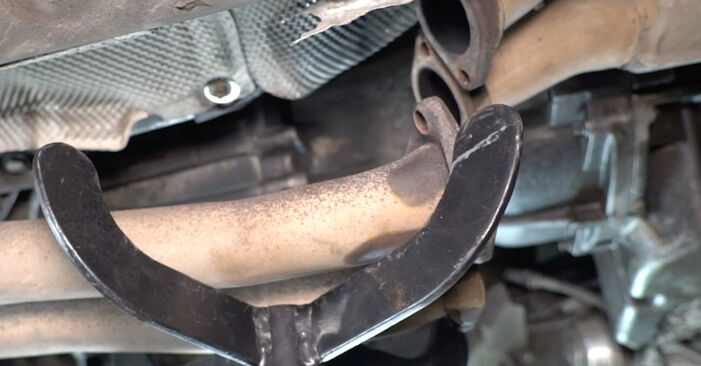
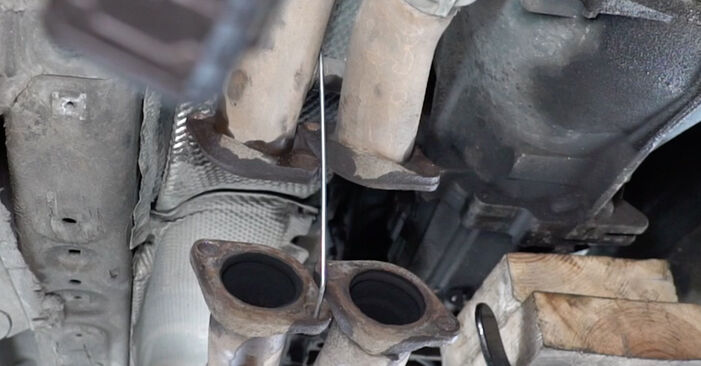 Use a metal hook to hang the exhaust line to the suspension components or to the car body.
 - Step 30
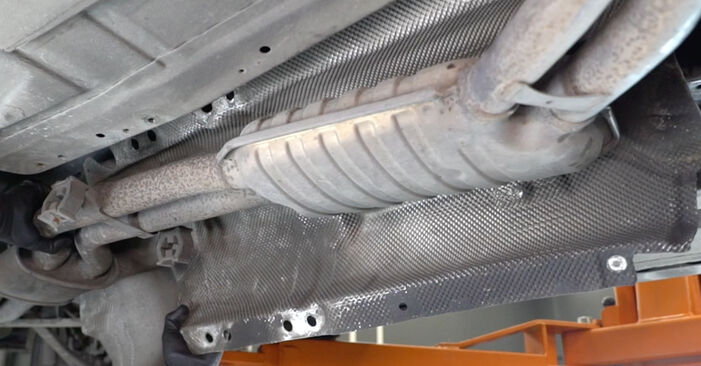
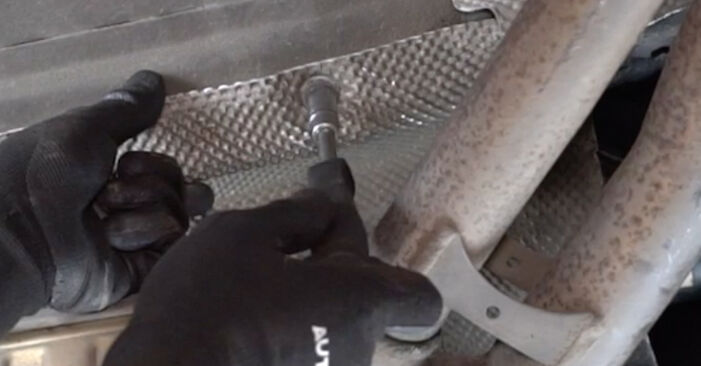
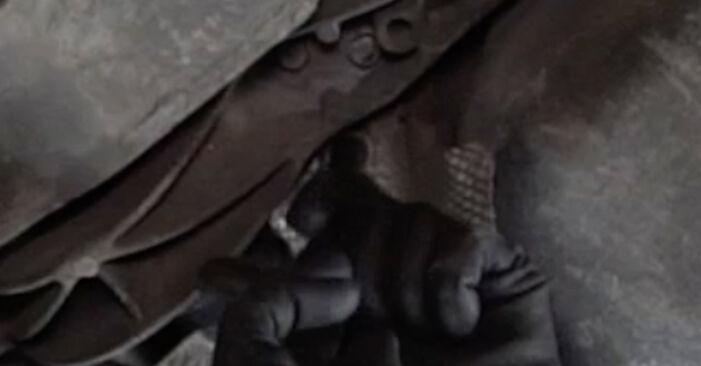 Unscrew the fasteners of the exhaust heat shield. Use a drive socket #10. Use a ratchet wrench.
 - Step 31
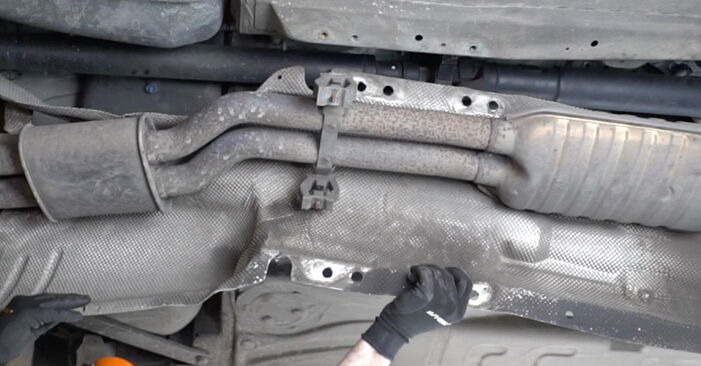 Remove the exhaust heat shield.
 - Step 32
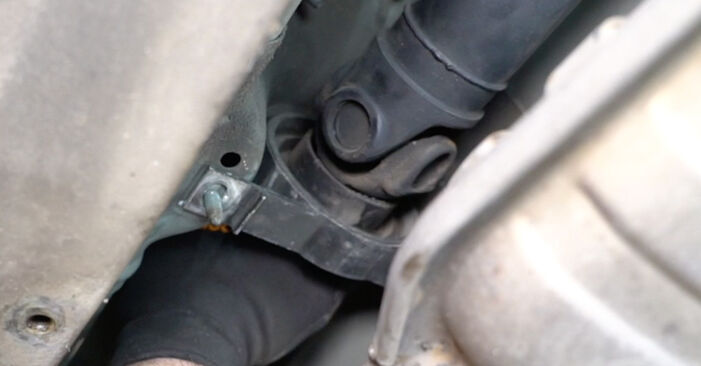
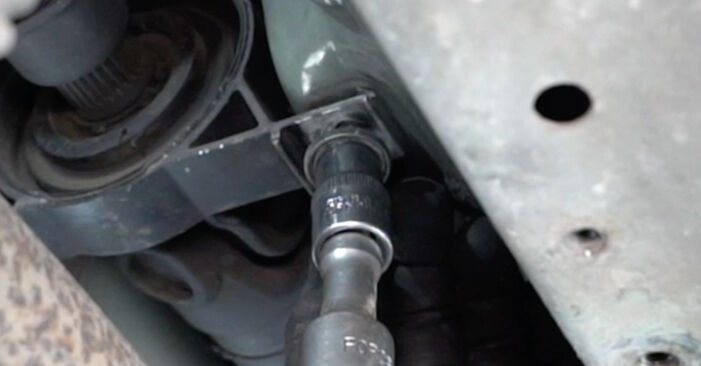 Unscrew the fasteners of the propeller shaft centre support bearing. Use a drive socket #13. Use a ratchet wrench.
 - Step 33
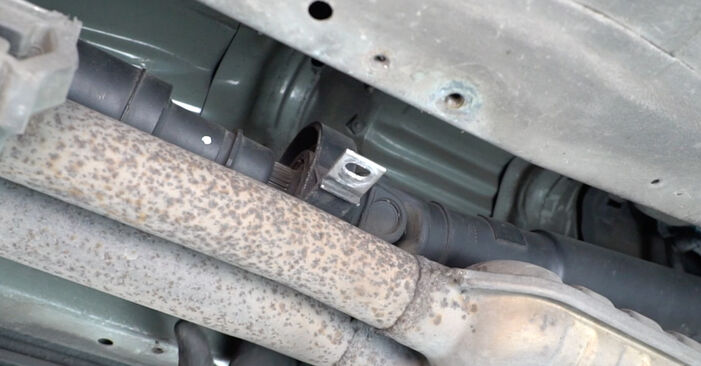 Disconnect the propshaft centre bearing from the car body.
 - Step 34
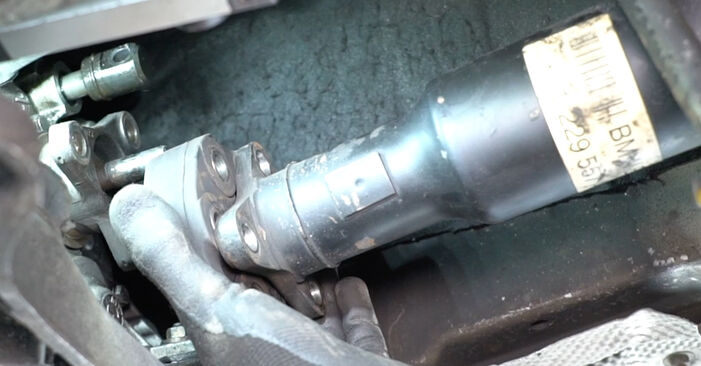 Move the propeller shaft aside.Replacement: clutch kit – BMW 3 (E46). Tip from AUTODOC:Secure the propeller shaft to the car body to prevent injuries.
 - Step 35
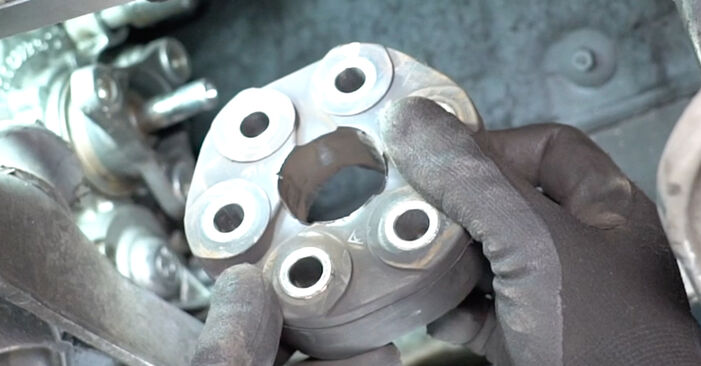 Remove the propshaft coupling.
 - Step 36
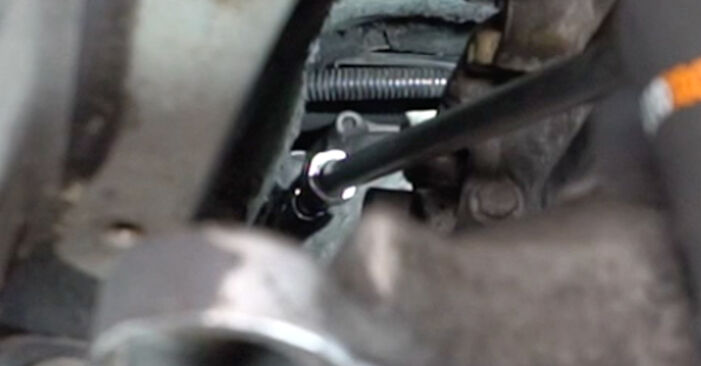
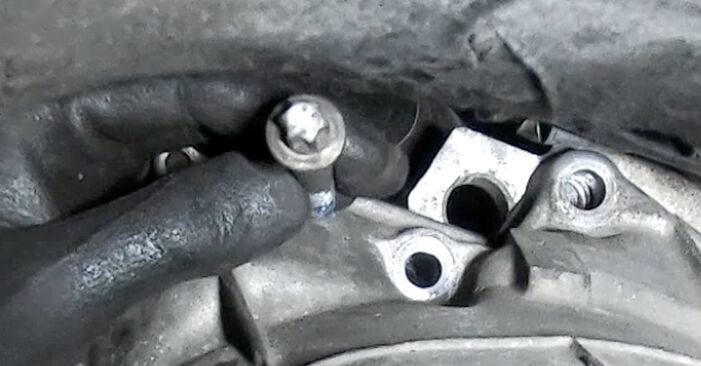
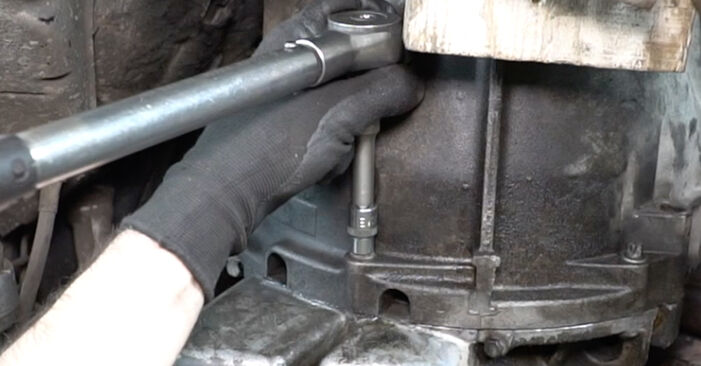
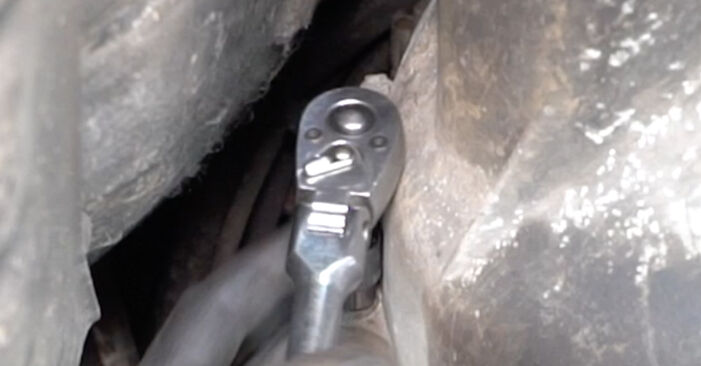 Unscrew the lower fasteners that connect the gearbox to the engine. Use Torx E11. Use a ratchet wrench.
 - Step 37
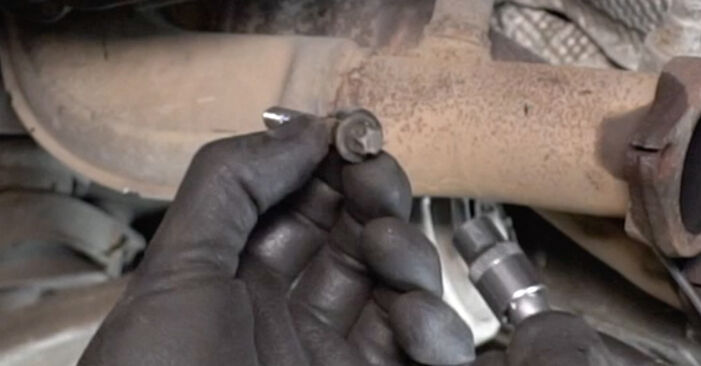 Remove the fastening bolts.
 - Step 38
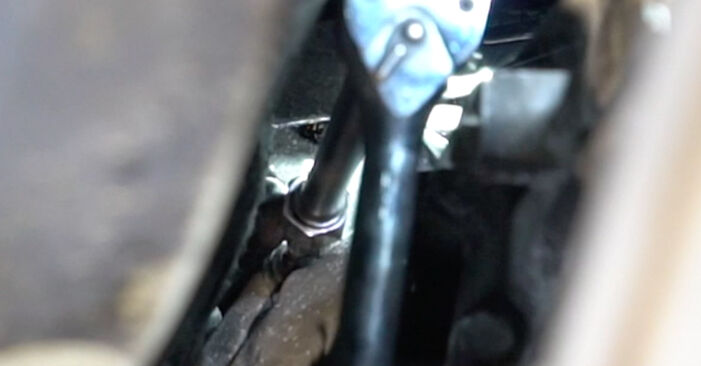 Unscrew the engine starter fasteners. Use Torx E12. Use a ratchet wrench.
 - Step 39
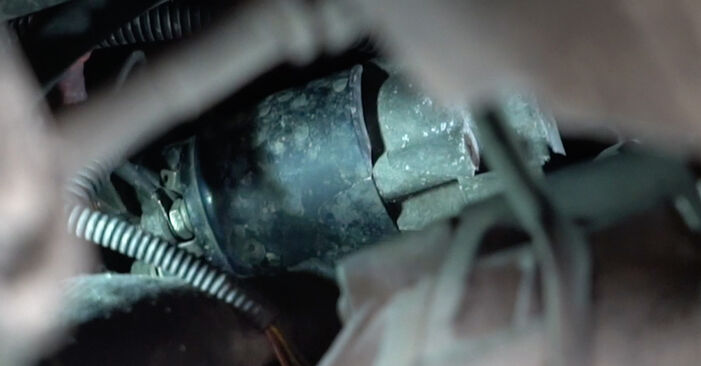 Move the starter away from the gearbox.
 - Step 40
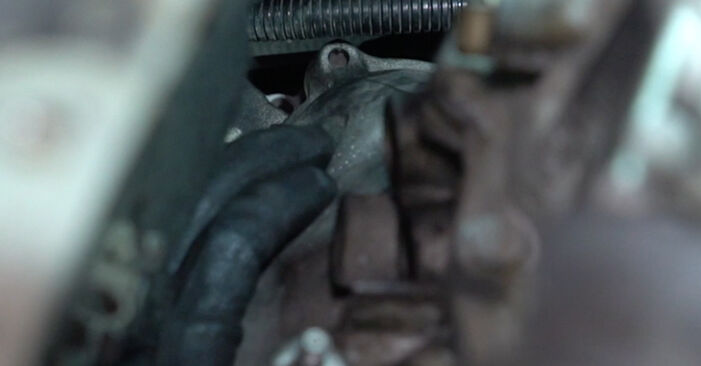
 Unscrew the fasteners that connect the gearbox to the engine block. Use Torx E14. Use a ratchet wrench.
 - Step 41
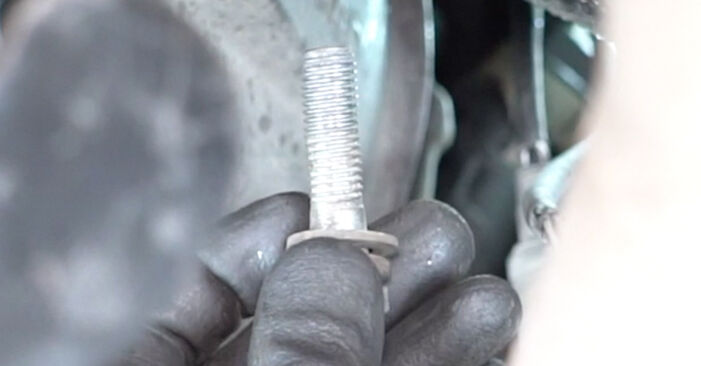 Remove the fastening bolts.
 - Step 42
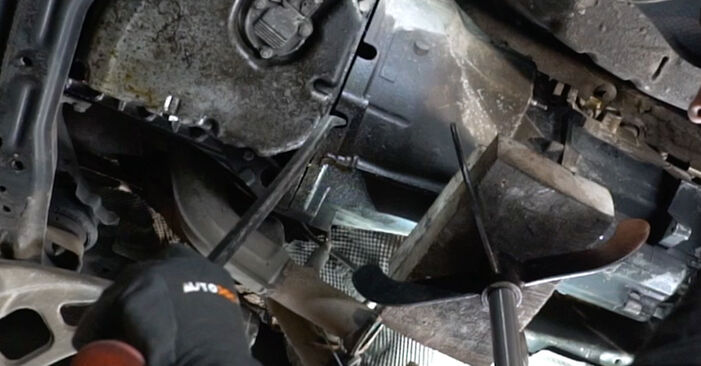 Disconnect the gearbox from the engine. Use a crowbar.
 - Step 43
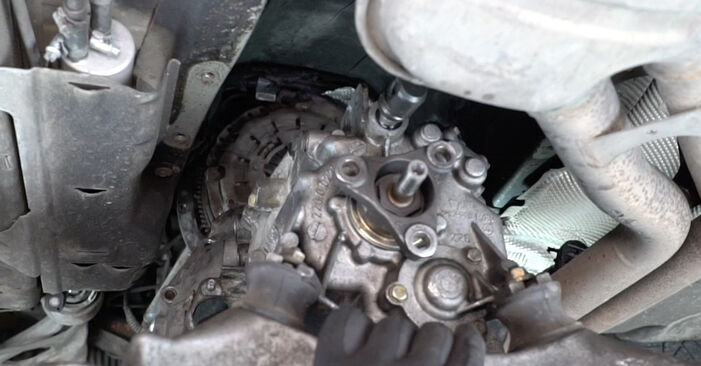 Remove the gearbox. Use a hydraulic transmission jack.
 - Step 44
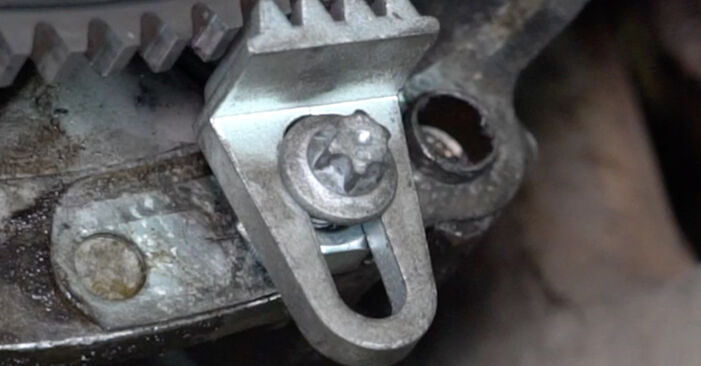 Install the engine flywheel locking tool. Use a clutch tool kit.
 - Step 45
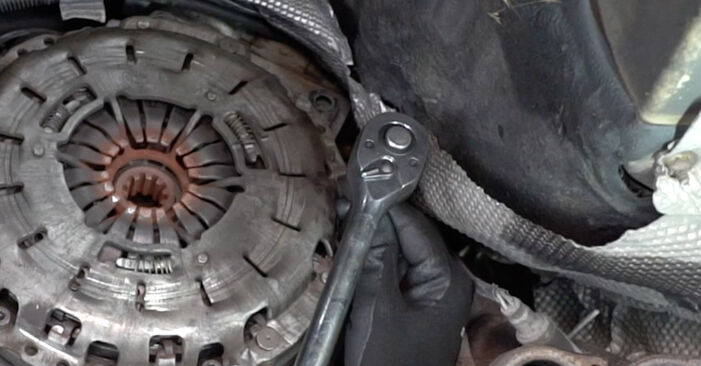 Unscrew the pressure plate fasteners. Use HEX No.H6. Use a ratchet wrench.
 - Step 46
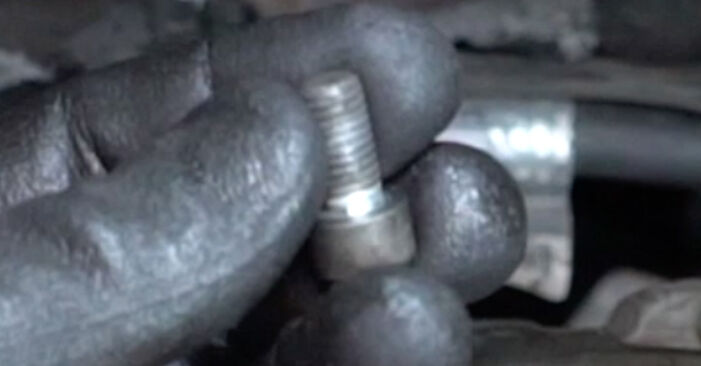 Remove the fastening bolts.
 - Step 47
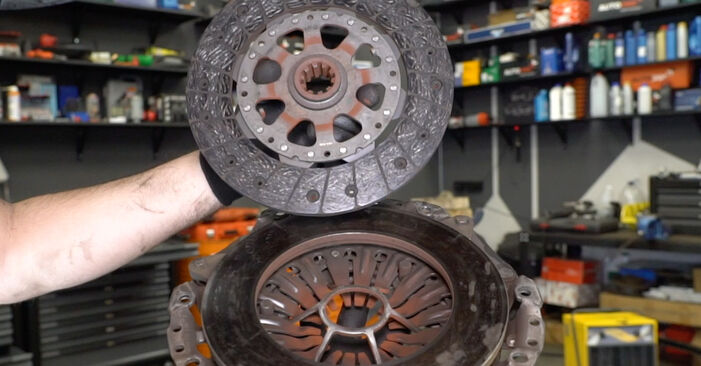 Remove the pressure plate together with the clutch disc. Use a crowbar.
 - Step 48
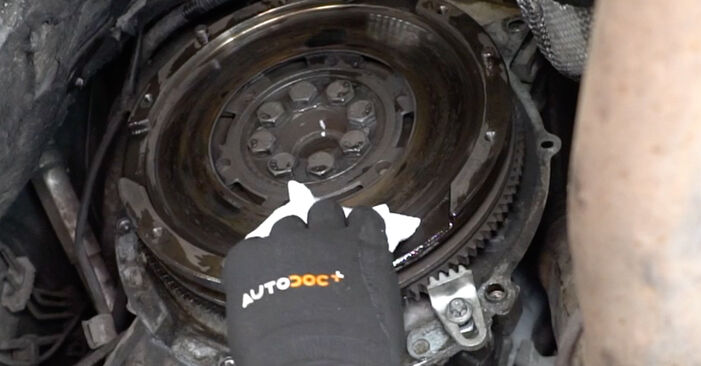 Clean the clutch kit mounting seats. Use all-purpose cleaning spray.
 - Step 49
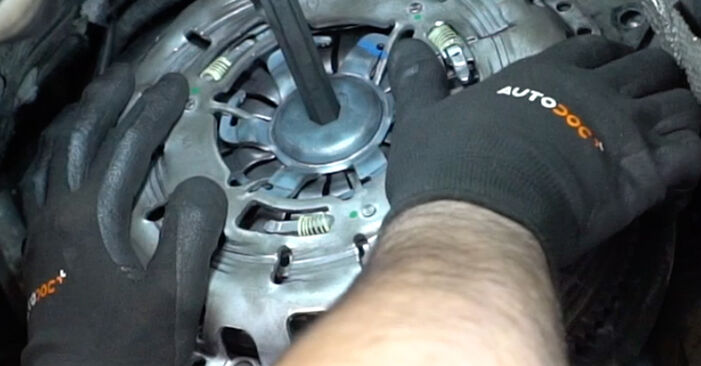 Install the new pressure plate together with the clutch disc.
 - Step 50
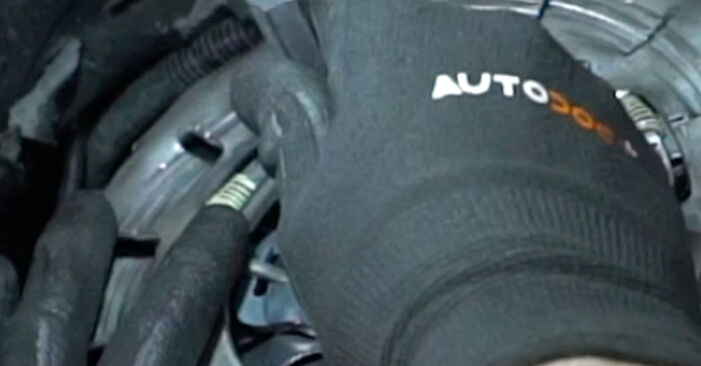 Align the clutch disc. Use a clutch tool kit.Replacement: clutch kit – BMW 3 (E46). Tip from AUTODOC experts:Be careful not to damage the part.
 - Step 51
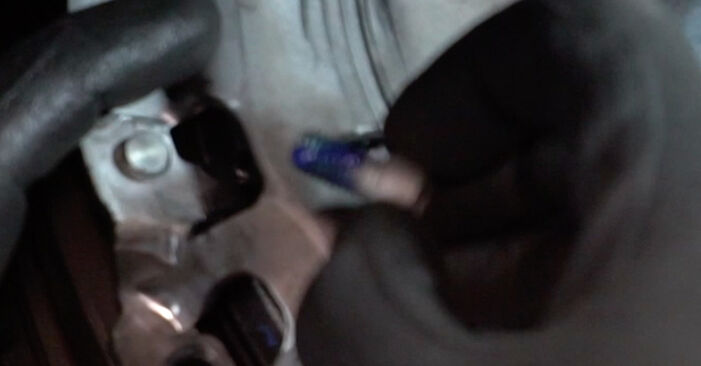 Install the fastening bolts.
 - Step 52Screw in the pressure plate fasteners. Use HEX No.H6. Use a ratchet wrench.Step 53
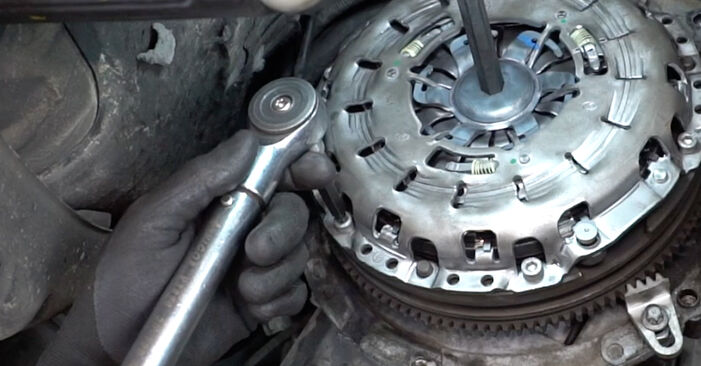 Tighten the pressure plate fasteners. Use HEX No.H6. Use a torque wrench. Tighten it to 25 Nm torque.
 - Step 54
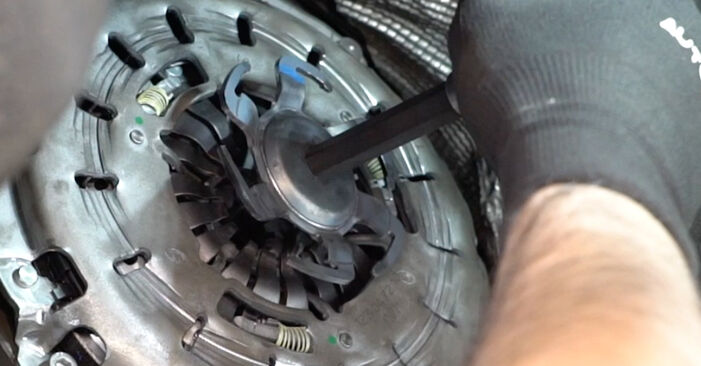 Unscrew the locking plate of the pressure plate. Use HEX No.H14. Use a ratchet wrench.Replacement: clutch kit – BMW 3 (E46). Tip:When unscrewing it, the clutch diaphragm spring may click.
 - Step 55
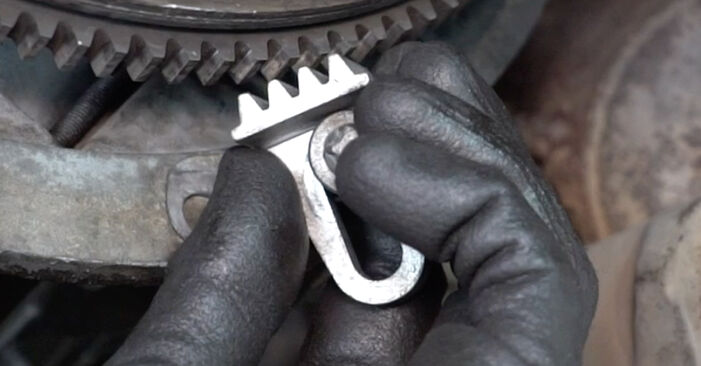 Remove the flywheel locking tool.
 - Step 56
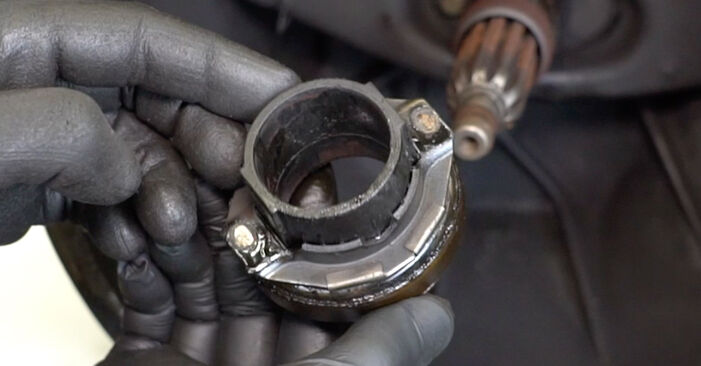 Remove the release bearing.
 - Step 57
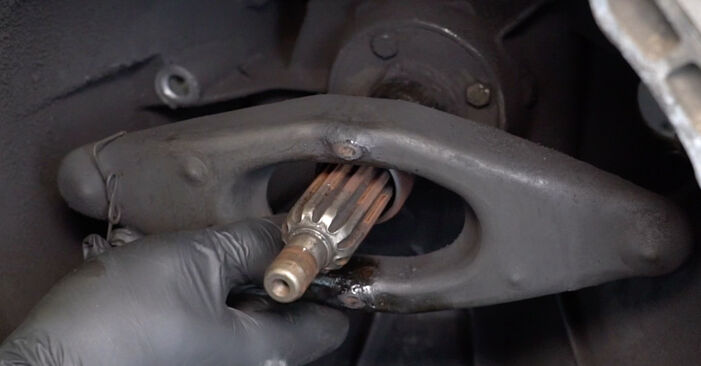 Remove the clutch release fork lever.
 - Step 58
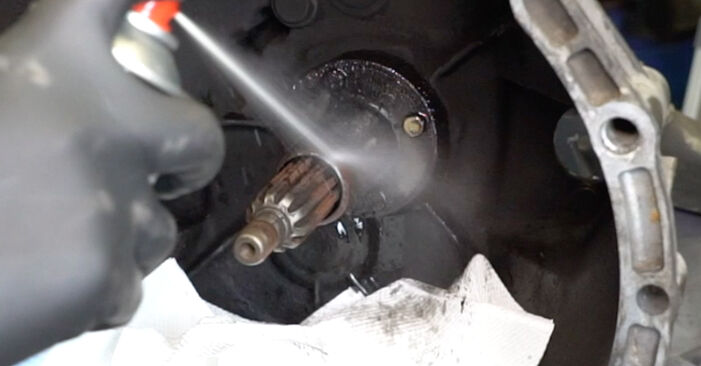 Clean the clutch release bearing mounting seat. Use all-purpose cleaning spray.
 - Step 59
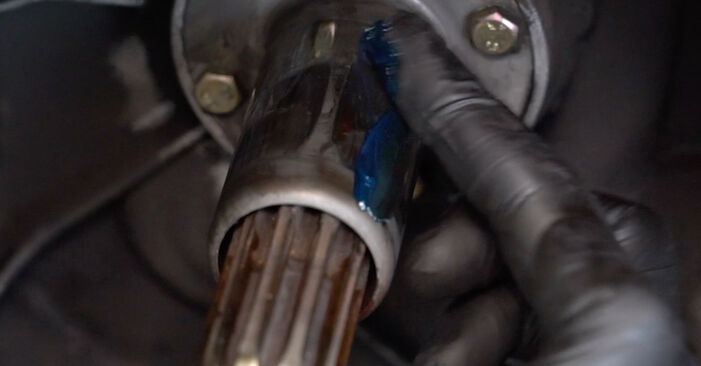 Treat the release bearing mounting seat. Use a multipurpose grease.
 - Step 60
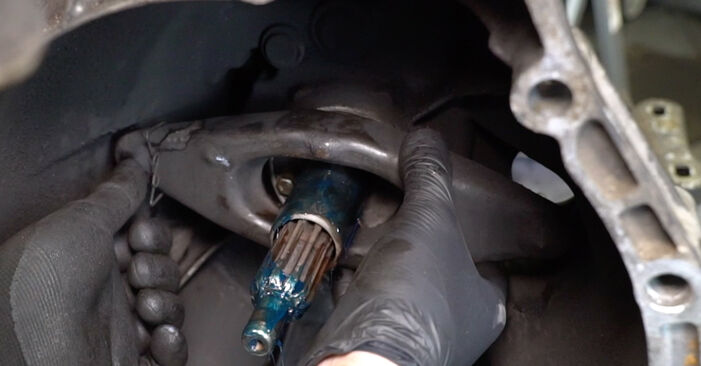 Install the clutch release fork lever.
 - Step 61
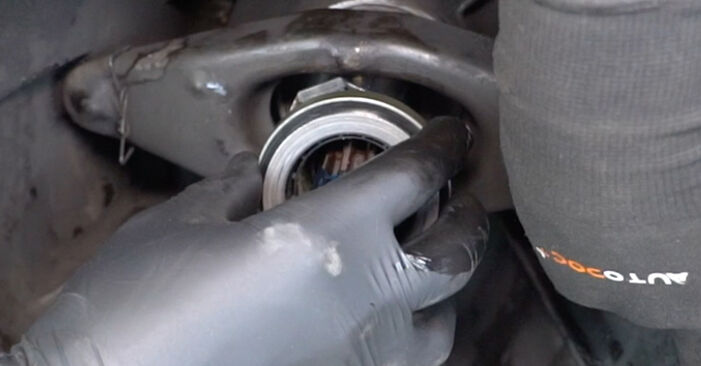 Install the new release bearing.
 - Step 62
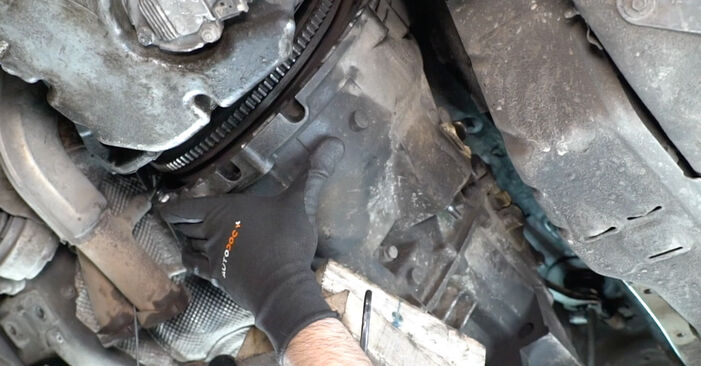 Install the gearbox. Use a hydraulic transmission jack.Replacement: clutch kit – BMW 3 (E46). AUTODOC experts recommend:Take care to prevent the gearbox from being unsupported (hanging).
 - Step 63
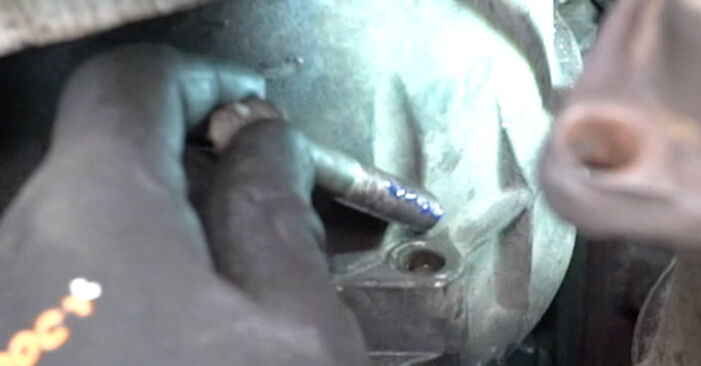 Install the fastening bolts.
Was this manual helpful?
Please rate this manual on a scale from 1 to 5. If you have any questions, feel free to ask us.
Users voted – 0
Need New Tyres?
Find out which tyre and wheel sizes are compatible with the BMW 3 Saloon (E46) model

Popular maintenance tutorials for BMW E46
Complete guides for changing the Clutch set on different BMW 3 SERIES models
Unlock your car maintenance assistant!
Track expenses, manage logs, schedule replacements, and more.
Tips & tricks for your BMW 3 Saloon (E46)
View more
 Kolbenschmidt plastic gauge overview
 TOP 5 mistakes during DIY oil change | AUTODOC tips
 Fuse Replacement Made Simple: Step-by-Step Guide | AUTODOC
 How to tighten cylinder head bolts
Most commonly replaced car parts on BMW 3 SERIES

Time to replace parts? Get even better deals in our Shop app.

SCAN ME


