Disclaimer

How to change pollen filter on TOYOTA Yaris Hatchback (_P13_) – replacement guide
downloads:
1
Views:
52
Recommended replacement interval for the part category Pollen filter : 30000 km
Important!
This replacement procedure can be used for:
TOYOTA Yaris Hatchback (_P13_) 1.3 (NSP130_), TOYOTA Yaris Hatchback (_P13_) 1.0 (KSP130_), TOYOTA Yaris Hatchback (_P13_) 1.4 D (NLP130_), TOYOTA Yaris Hatchback (_P13_) 1.3 (NSP130_), TOYOTA Yaris Hatchback (_P13_) 1.3 (NCP130_), TOYOTA Yaris Hatchback (_P13_) 1.5 Hybrid (NHP130_), TOYOTA Yaris Hatchback (_P13_) 1.5 (NCP131_), TOYOTA Yaris Hatchback (_P13_) 1.5 Hybrid (NHP130_), TOYOTA Yaris Hatchback (_P13_) 1.5 (NSP131_), TOYOTA Yaris Hatchback (_P13_) 1.8 GRMN (NSP131_), TOYOTA Yaris Hatchback (_P13_) 1.0 (KSP130) … View more
The steps may slightly vary depending on the car design.
This video shows the replacement procedure of a similar car part on another vehicle
All the parts you need to replace – Pollen Filter for Yaris Hatchback (_P13_) and other TOYOTA models
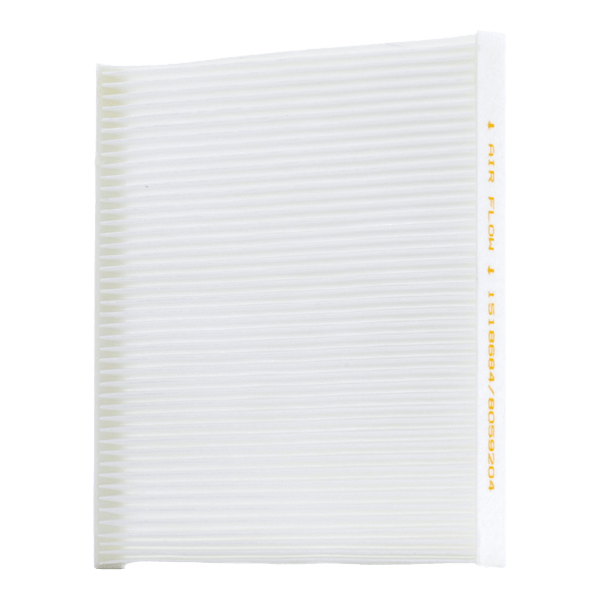 Pollen filter

Pollen filter
Pollen filter for TOYOTA Yaris Hatchback (_P13_) 1.5 (NCP131_) Petrol (109 hp)
Pollen filter for TOYOTA Yaris Hatchback (_P13_) 1.5 Hybrid (NHP130_) Petrol/Electro (101 hp)
Pollen filter for TOYOTA Yaris Hatchback (_P13_) 1.5 (NSP131_) Petrol (112 hp)
Replacement: pollen filter – TOYOTA YARIS (NHP13_, NSP13_, NCP13_, KSP13_, NLP13_). Tip from AUTODOC:
- Replace the cabin filter at least once every six months, in early spring and autumn seasons.
- Follow the terms, recommendations and requirements of the part operation provided by the manufacturer.
- If the air flow into the cabin has sharply reduced, replace the filter before a scheduled maintenance.
- Warning! Shut down the engine before starting any work – TOYOTA YARIS (NHP13_, NSP13_, NCP13_, KSP13_, NLP13_).
Carry out replacement in the following order:
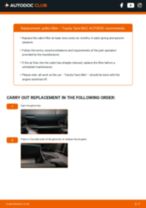
- Step 1
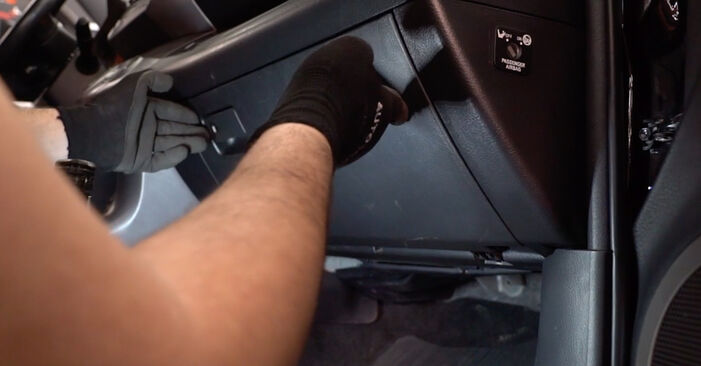
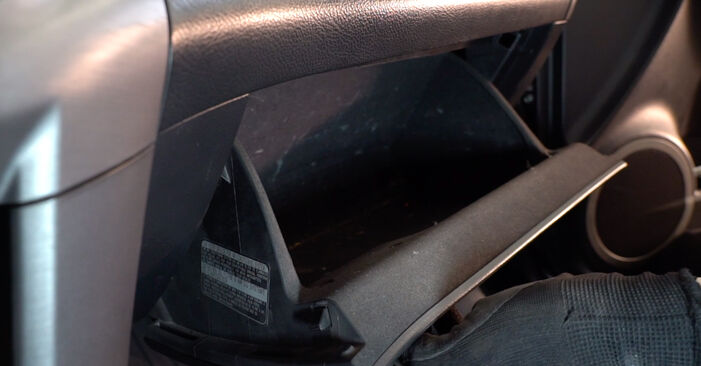 Open the glove box.
 - Step 2
 Detach the stopper (strap) from the glove box lid.
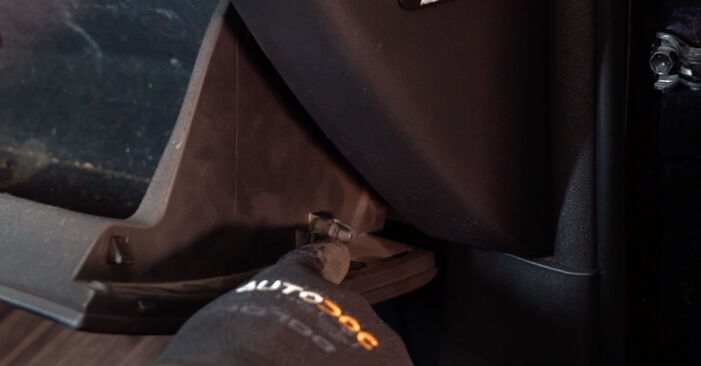
 - Step 3
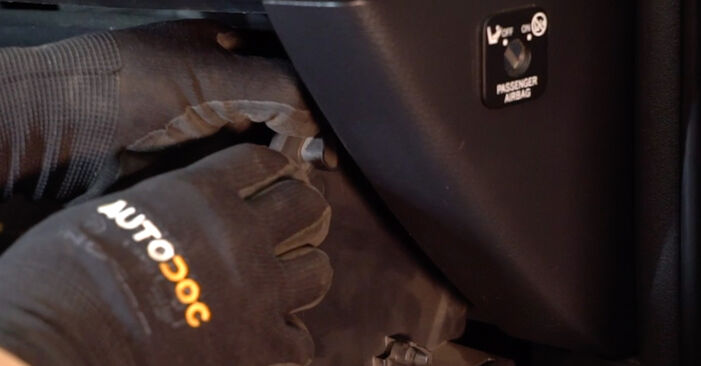 Release the cabin filter cover clips.
 - Step 4
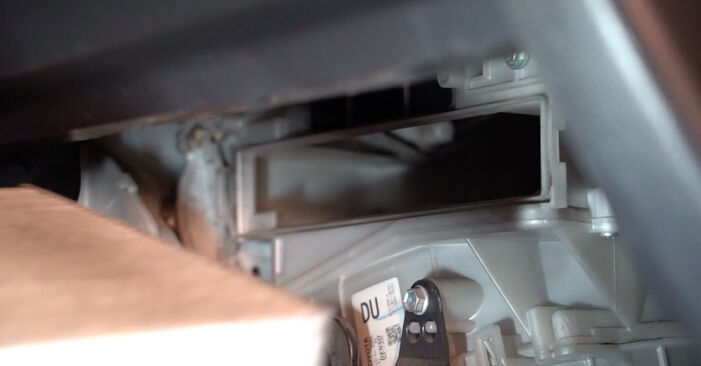
 Remove the cabin filter housing cover.AUTODOC recommends:Replacement: pollen filter – TOYOTA YARIS (NHP13_, NSP13_, NCP13_, KSP13_, NLP13_). To avoid damaging the part when removing it, do not use excessive force.
 - Step 5
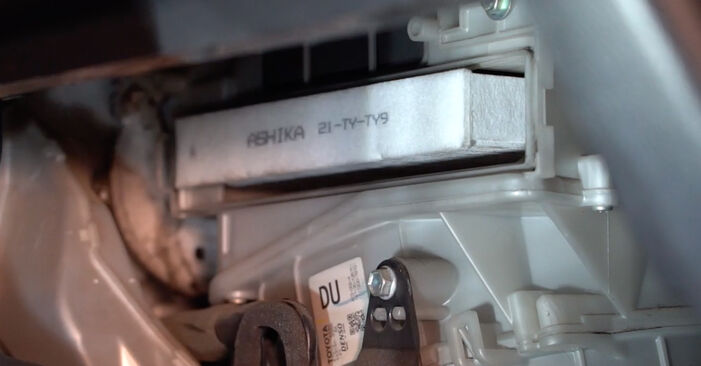
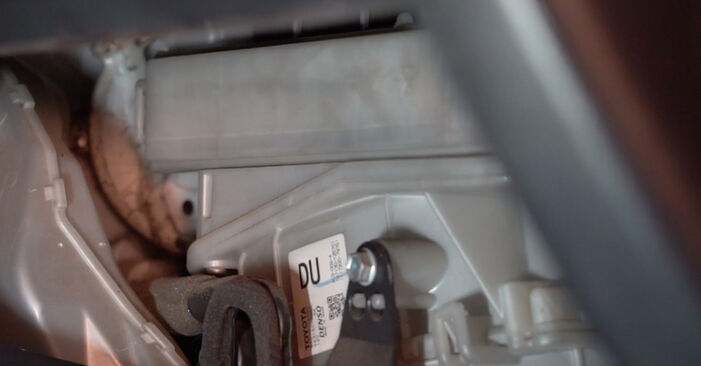
 Remove the cabin filter.AUTODOC recommends:Do not attempt to clean and reuse the filter - it will affect the quality of air cleaning inside the car.
 - Step 6
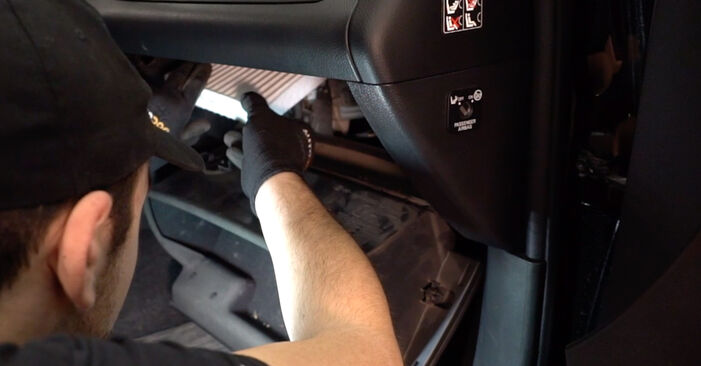 Install the cabin filter to its mounting seat.Replacement: pollen filter – TOYOTA YARIS (NHP13_, NSP13_, NCP13_, KSP13_, NLP13_). Tip from AUTODOC experts:Check out the correct location of the filter element. Do not skew.Follow the air flow direction arrow on the filter.TOYOTA YARIS (NHP13_, NSP13_, NCP13_, KSP13_, NLP13_) – It's important to only use high-quality filters.
 - Step 7
 Reinstall the cabin filter housing cover. Make sure you hear a click indicating that it is locked in place.

Was this manual helpful?
Please rate this manual on a scale from 1 to 5. If you have any questions, feel free to ask us.
Users voted – 0
Popular maintenance tutorials for Toyota Yaris xp13
 Free download PDF
 2.04 MB
 Free download PDF1.95 MB
 Free download PDF1.57 MB
 Free download PDF1.6 MB
 Free download PDF1.93 MB
 Free download PDF1.96 MB
Complete guides for changing the Pollen filter on different TOYOTA YARIS models
 Free download PDF870.4 KB
 Free download PDF686.08 KB
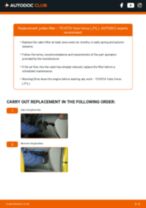 Free download PDF634.88 KB
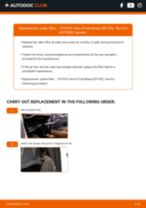 Free download PDF655.36 KB
 Free download PDF655.36 KB
 Free download PDF675.84 KB
Your profile is your personal assistant.
It can track car expenses, keep a car log and replacement schedule, and save favourite materials, notes and documents
Install the AUTODOC CLUB app!
Your personal car expenses manager, maintenance tips, reminders about upcoming appointments and service intervals, DIY repair instructions – all this on your phone.

Scan
To download the app:
- - scan the QR code
- - download from App Store
- - download from Google Play

Tips & tricks for your TOYOTA Yaris Hatchback (_P13_)
View more
 Causes of a worn car boot damper | AUTODOC
 What to check when buying a used car | AUTODOC tips
 The most common problems when buying a used car | AUTODOC
 Headlight Restoration | AUTODOC tips