Disclaimer

How to change glow plugs on VW Caddy III Estate (2KB, 2KJ, 2CB, 2CJ) – replacement guide
downloads:
2
Views:
11
Recommended replacement interval for the part category Glow plug : 30000 km
Important!
This replacement procedure can be used for:
VW Caddy III Estate (2KB, 2KJ, 2CB, 2CJ) 2.0 TDI 4motion, VW Caddy III Estate (2KB, 2KJ, 2CB, 2CJ) 1.6 TDI, VW Caddy III Estate (2KB, 2KJ, 2CB, 2CJ) 1.6 TDI, VW Caddy III Estate (2KB, 2KJ, 2CB, 2CJ) 2.0 TDI 16V, VW Caddy III Estate (2KB, 2KJ, 2CB, 2CJ) 2.0 TDI, VW Caddy III Estate (2KB, 2KJ, 2CB, 2CJ) 2.0 TDI, VW Caddy III Estate (2KB, 2KJ, 2CB, 2CJ) 2.0 TDI 16V 4motion … View more
The steps may slightly vary depending on the car design.
This video shows the replacement procedure of a similar car part on another vehicle
All the parts you need to replace – Glow Plugs for Caddy III Estate (2KB, 2KJ, 2CB, 2CJ) and other VW models
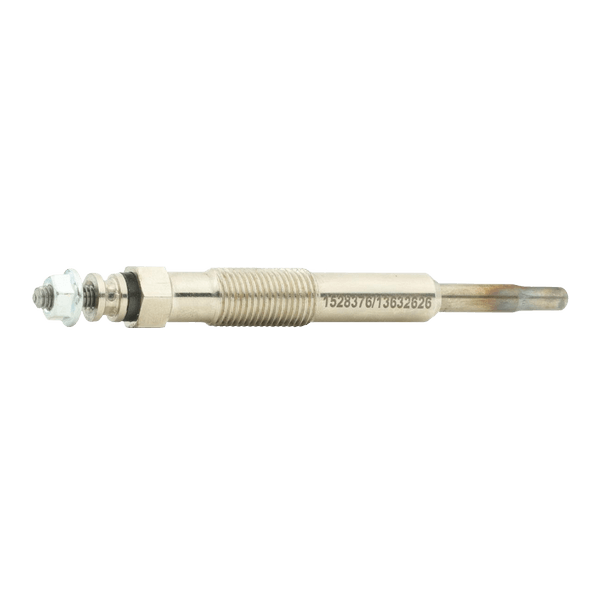 Glow plug

Glow plug
Glow plug for VW Caddy III Estate (2KB, 2KJ, 2CB, 2CJ) 2.0 TDI 4motion Diesel (110 hp)
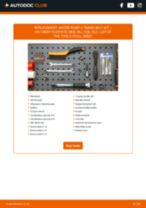
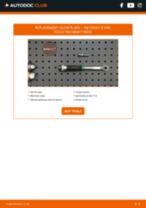
WD-40 spray
Electronic spray
High-temperature ceramic grease
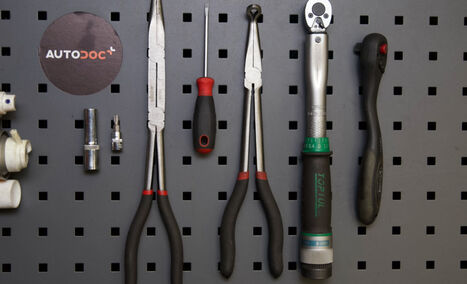
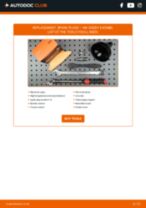
Torque wrench
Spark plug socket # 10
Torx bit T27
Ratchet wrench
Flat screwdriver
Needle nose pliers
Fender cover

Replacement: glow plugs – VW CADDY III Estate (2KB, 2KJ, 2CB, 2CJ). AUTODOC experts recommend:
- The replacement procedure is identical for all glow plugs.
- Wear gloves to protect your hands from hot surfaces.
- Replacement: glow plugs – VW CADDY III Estate (2KB, 2KJ, 2CB, 2CJ). Recommended sequence of steps:
Carry out replacement in the following order:
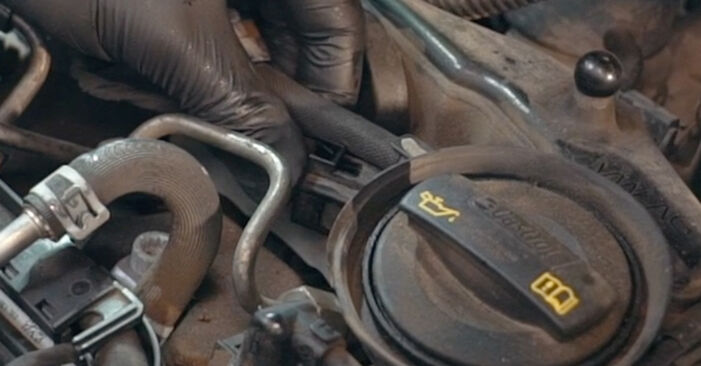
- Step 1Open the bonnet.Step 2Use a fender protection cover to prevent damaging paintwork and plastic parts of the car.Step 3Before getting down to work, start the engine and let it warm up to operating temperature.Step 4Shut off the engine.Step 5
 Unscrew the bracket for the engine pipes. Use Torx T27. Use a ratchet wrench.
 - Step 6
 Detach the engine wiring harness. Use a flat screwdriver.
 - Step 7
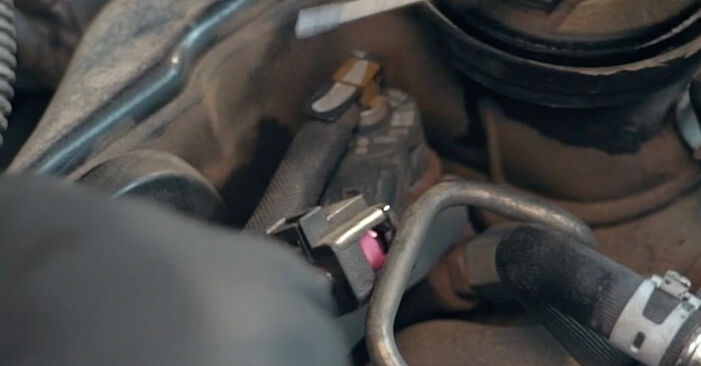 Detach the engine wiring harness connectors. Use a flat screwdriver.
 - Step 8
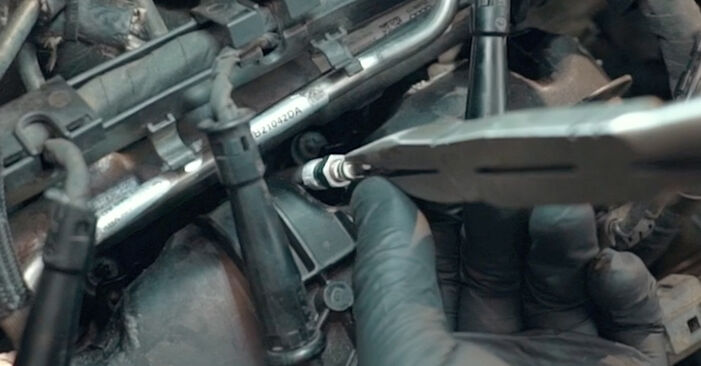
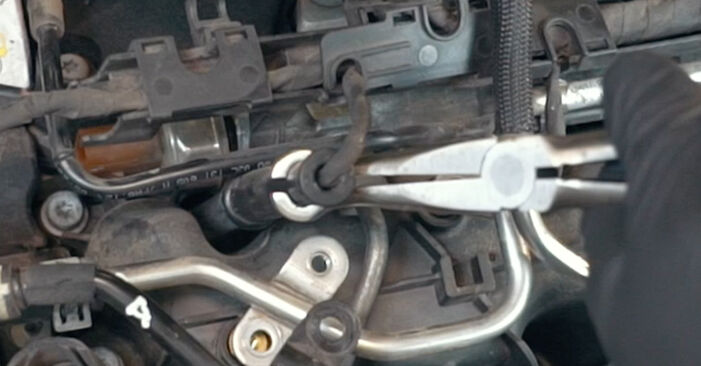 Detach the glow plug wiring connectors. Use needle nose pliers.
 - Step 9
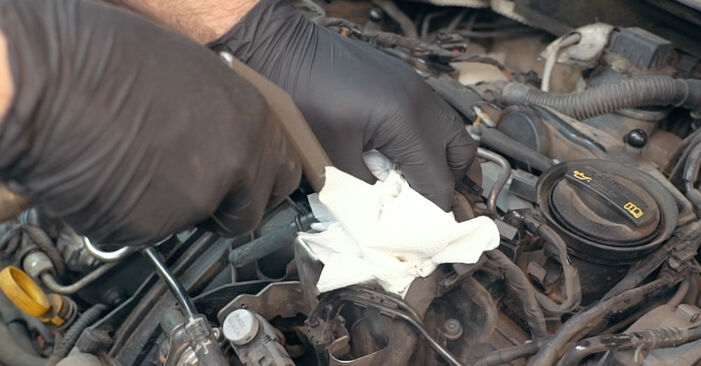
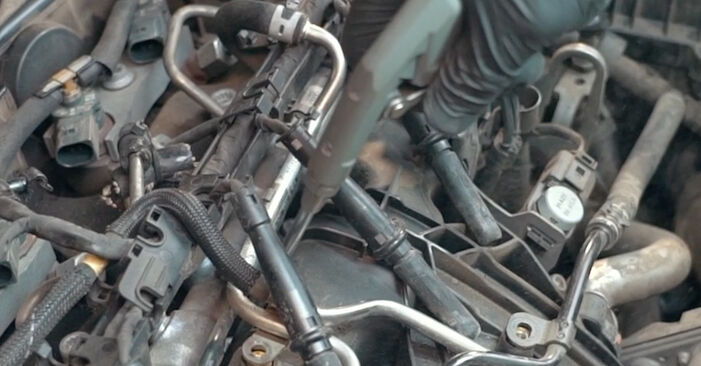 Clean dirt, dust and debris from inside the spark plug wells.
 - Step 10
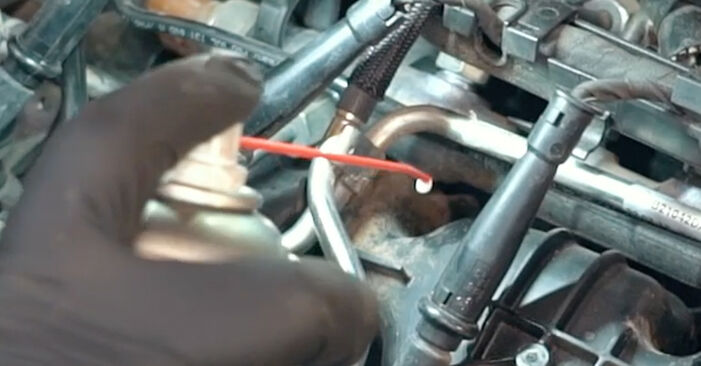 Treat the glow plugs. Use WD-40 spray.
 - Step 11
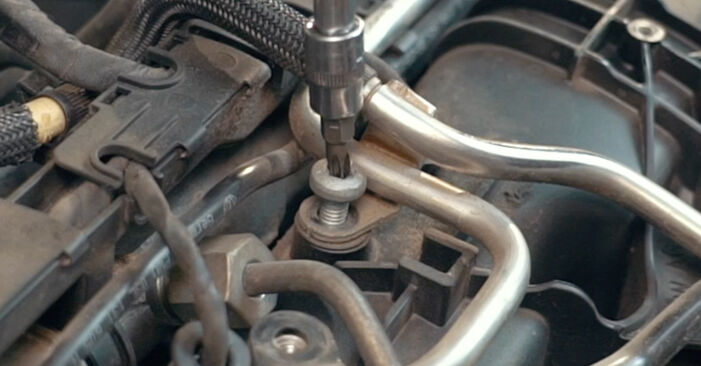
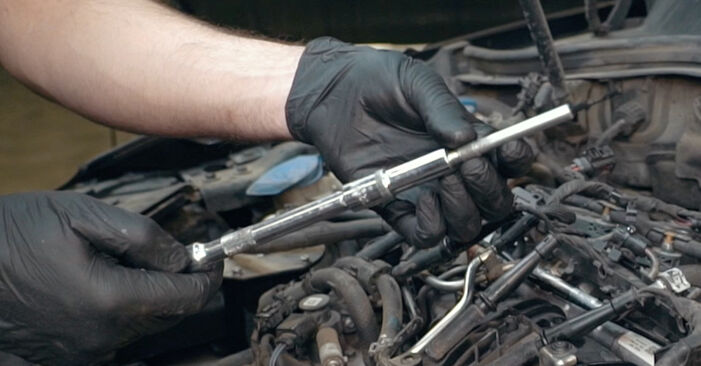
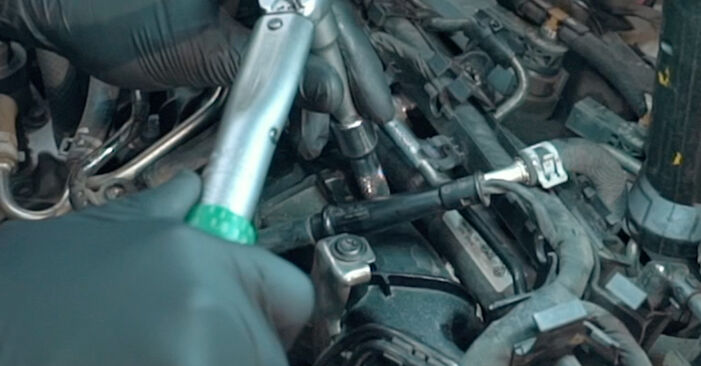
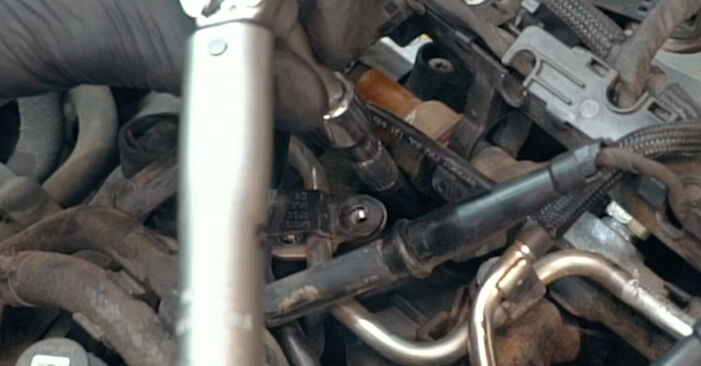 Unscrew the glow plugs. Use the spark plug socket #10. Use a torque wrench.
 - Step 12
 Clean dirt, dust and debris from inside the spark plug wells.
 - Step 13
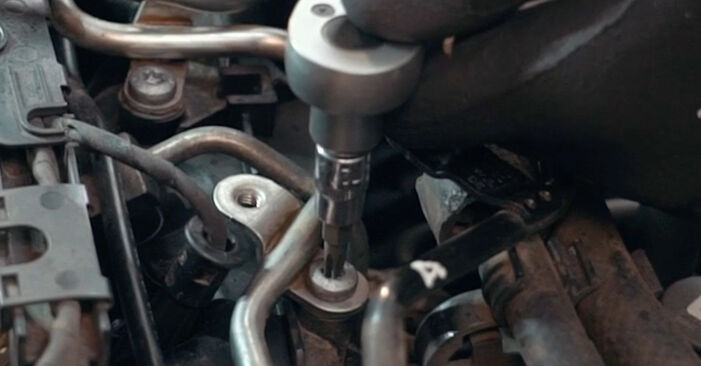
 Remove the glow plugs. Use the spark plug socket #10. Use needle nose pliers.
 - Step 14
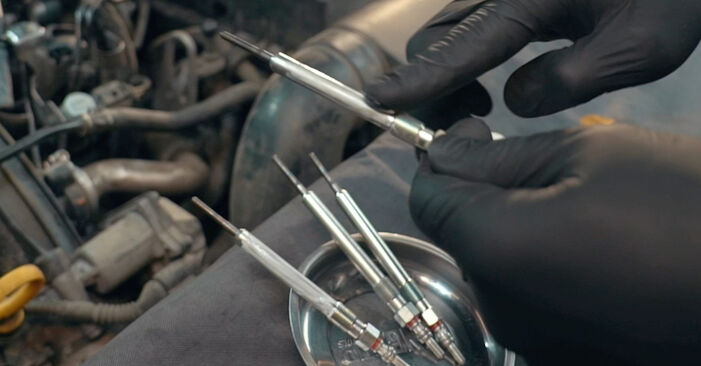 Treat the glow plugs. Use high-temperature ceramic grease.Please note!Do not touch the heating element as fingerprints may cause malfunction.


Was this manual helpful?
Please rate this manual on a scale from 1 to 5. If you have any questions, feel free to ask us.
Users voted – 0
Popular maintenance tutorials for VW Caddy 3
 Free download PDF
 1.64 MB
 Free download PDF1.84 MB
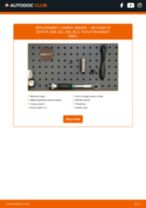 Free download PDF890.88 KB
 Free download PDF4.13 MB
 Free download PDF1.36 MB
Complete guides for changing the Glow plug on different VW CADDY models
 Free download PDF1.09 MB
 Free download PDF1.2 MB
 Free download PDF1.2 MB
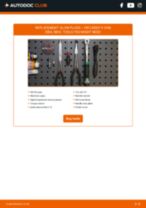 Free download PDF1.2 MB
 Free download PDF1.2 MB
 Free download PDF1.2 MB
Your profile is your personal assistant.
It can track car expenses, keep a car log and replacement schedule, and save favourite materials, notes and documents
Install the AUTODOC CLUB app!
Your personal car expenses manager, maintenance tips, reminders about upcoming appointments and service intervals, DIY repair instructions – all this on your phone.

Scan
To download the app:
- - scan the QR code
- - download from App Store
- - download from Google Play

Tips & tricks for your VW Caddy III Estate (2KB, 2KJ, 2CB, 2CJ)
View more
 Important differences between car tools | AUTODOC tips
 How to replace a wheel stud | AUTODOC tips
 How to replace the suspension on a BMW E30 Turbo | SUPERCAR AUTODOC
 Top 6 products for enhancing your car | AUTODOC tips