Disclaimer

How to change fuel filter on AUDI A6 Avant (4F5, C6) – replacement guide
downloads:
9
Views:
256
Recommended replacement interval for the part category Fuel filter : 60000 km
Important!
This replacement procedure can be used for:
AUDI A6 Avant (4F5, C6) 2.0 TDI, AUDI A6 Avant (4F5, C6) 2.0 TDI, AUDI A6 Avant (4F5, C6) 2.0 TDI … View more
The steps may slightly vary depending on the car design.
AUDI A6 Avant (4F5, C6) 2.0 TDI, AUDI A6 Avant (4F5, C6) 2.0 TDI, AUDI A6 Avant (4F5, C6) 2.0 TDI … View more
The steps may slightly vary depending on the car design.
This video shows the replacement procedure of a similar car part on another vehicle
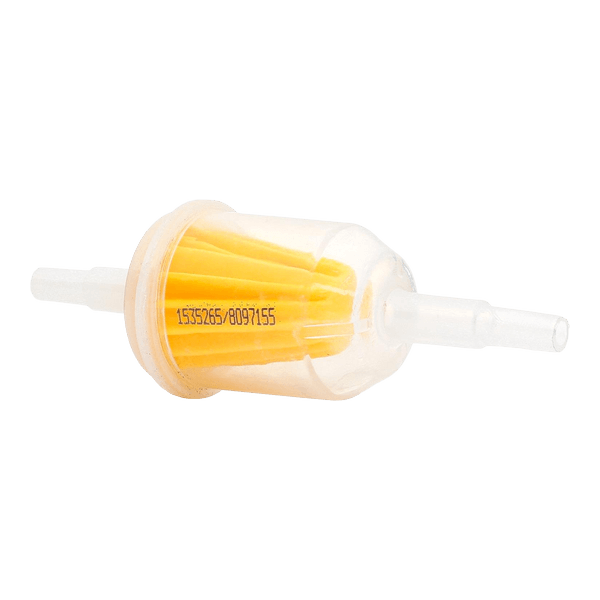
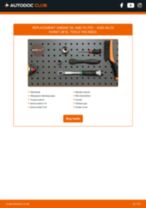
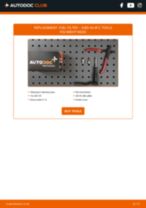
All the parts you need to replace – Fuel Filter for A6 Avant (4F5, C6) and other AUDI models

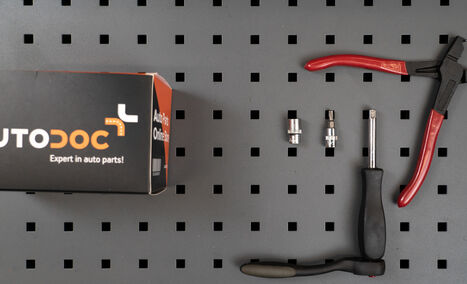
All-purpose cleaning spray
Torx bit T25
Drive socket # 10
Flat Screwdriver
Clic-R collar pliers
Fender cover

Replacement: fuel filter – AUDI A6 Avant (4F5, C6). Tip from AUTODOC:
- Ensure adequate ventilation of the workplace. Fuel vapors are poisonous.
- All work should be done with the engine stopped.
Replacement: fuel filter – AUDI A6 Avant (4F5, C6). Take the following steps:
- Step 1Open the bonnet.Step 2Use a fender protection cover to prevent damaging paintwork and plastic parts of the car.Step 3
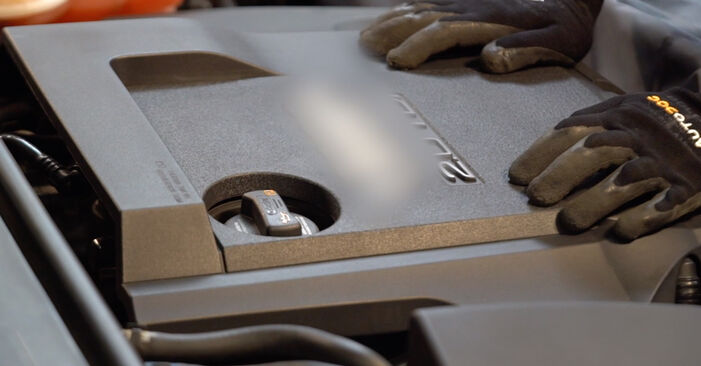
 Remove the engine cover.Replacement: fuel filter – AUDI A6 Avant (4F5, C6). Tip from AUTODOC:Raise the engine cover, holding it on two sides simultaneously.
 - Step 4
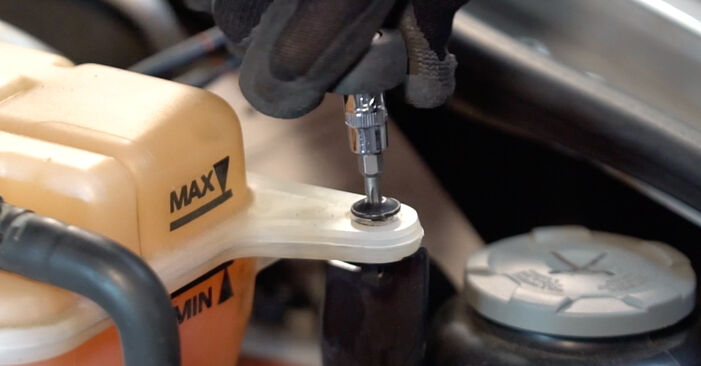
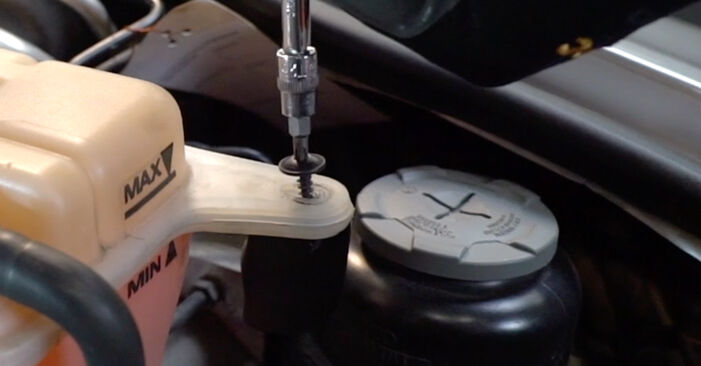 Unscrew the fasteners of the coolant reservoir. Use Torx T25.
 - Step 5
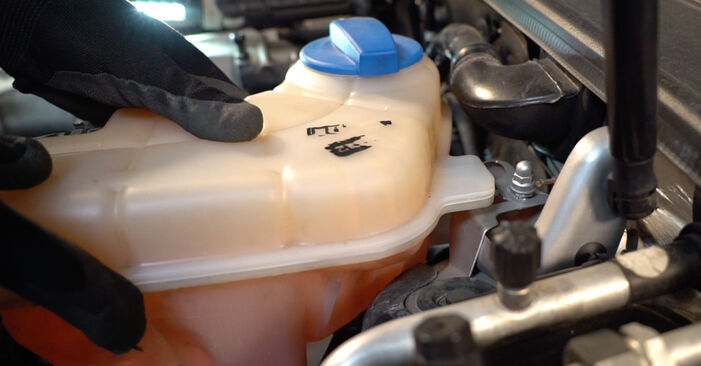
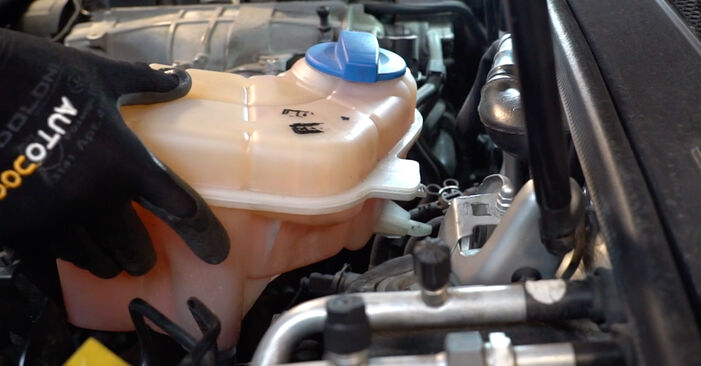 Remove the coolant reservoir.
 - Step 6
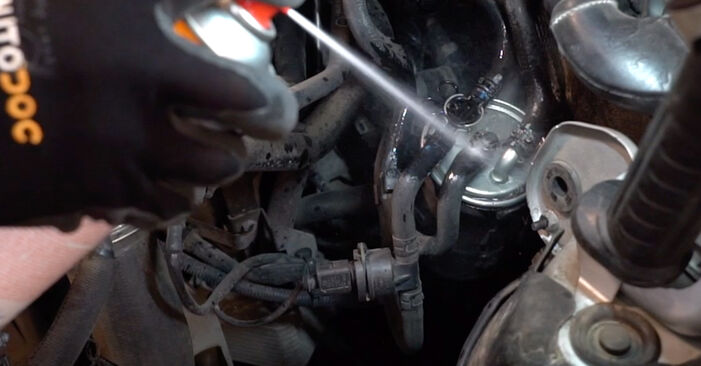 Clean the fuel filter. Use all-purpose cleaning spray.
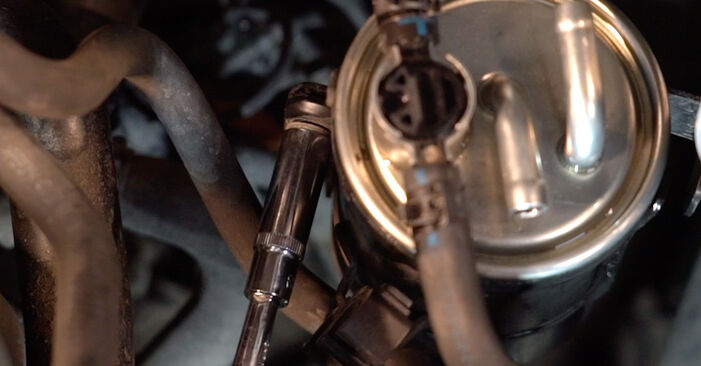
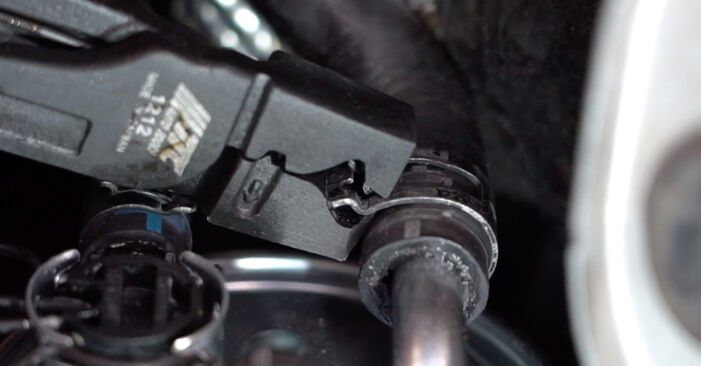
 - Step 7Loosen the fastening clamp of the fuel filter pipe. Use clic-R collar pliers.Step 8
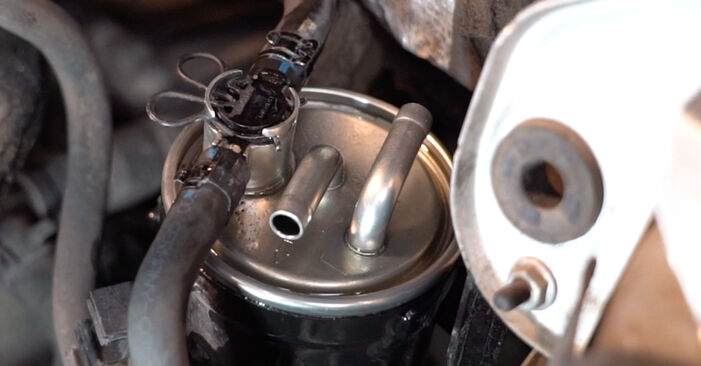 Disconnect the pipe from the fuel filter.AUTODOC recommends:Be careful! Fuel may leak from the filter housing and hoses.
 - Step 9
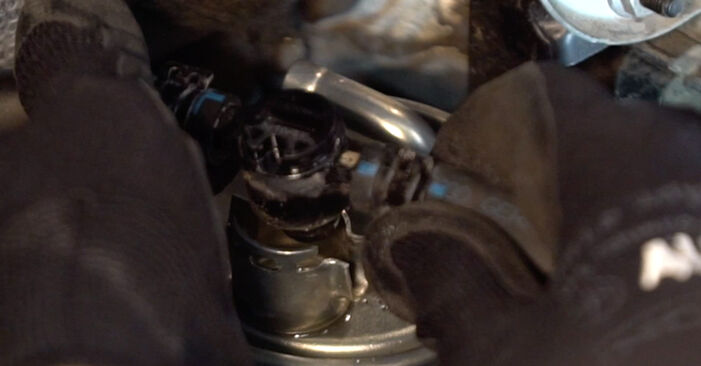
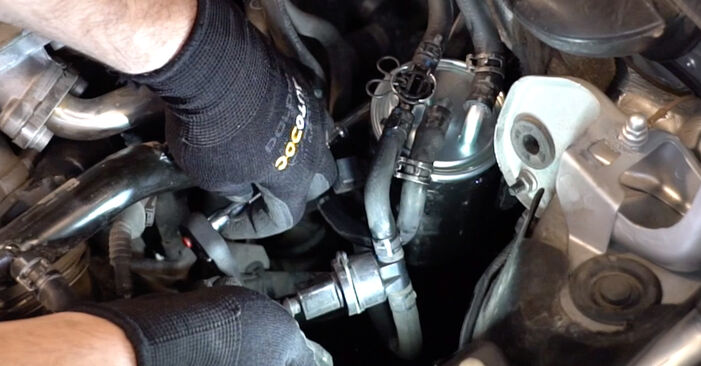
 Loosen the fuel filter mounting. Use a drive socket #10.
 - Step 10
 Disconnect the pipe from the fuel filter.
 - Step 11
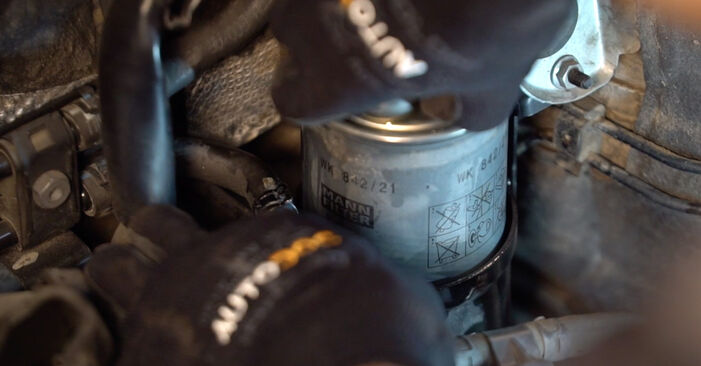 Remove the fuel filter. Put the old filter cartridge in the container.
 - Step 12
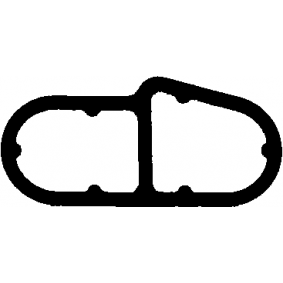
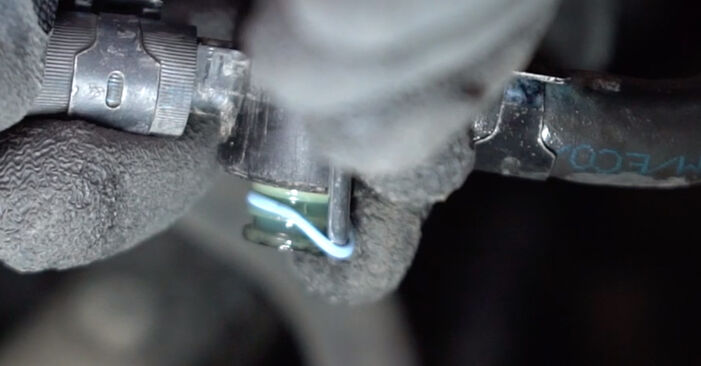 Remove the o-rings. Use a flat screwdriver.
 - Step 13
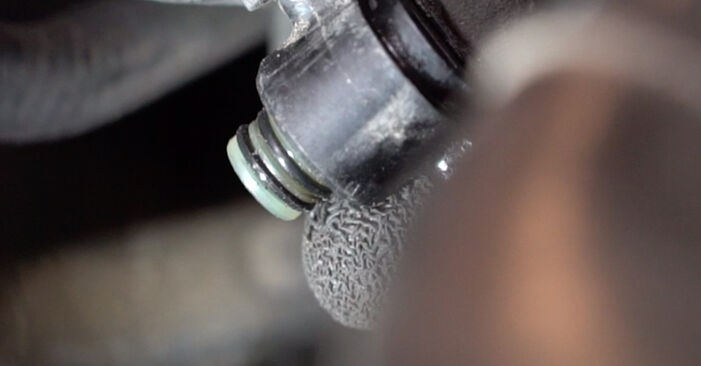 Install new o-rings. Use a flat screwdriver.
 - Step 14
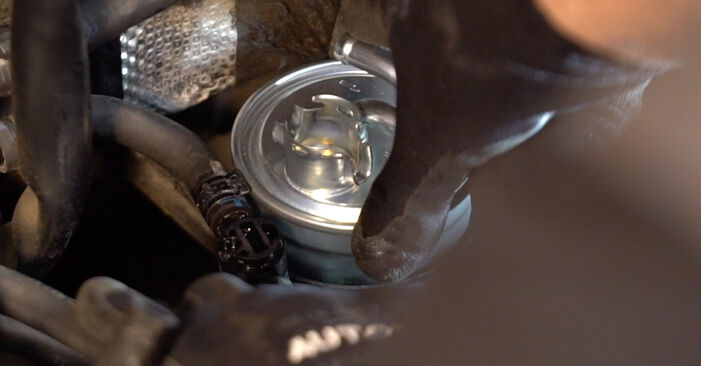 Install a new fuel filter.Replacement: fuel filter – AUDI A6 Avant (4F5, C6). Professionals recommend:Make sure that the fuel filter is positioned correctly. Consider the fuel flow direction mark.During installation, take care to prevent dust and dirt from getting into the fuel filter housing.AUDI A6 Avant (4F5, C6) – It's important to only use high-quality car parts.


Was this manual helpful?
Please rate this manual on a scale from 1 to 5. If you have any questions, feel free to ask us.
Users voted – 0
Popular maintenance tutorials for Audi A6 C6 Avant
 Free download PDF
 1.87 MB
 Free download PDF788.48 KB
 Free download PDF1.14 MB
 Free download PDF1.6 MB
 Free download PDF1.43 MB
 Free download PDF1.9 MB
Complete guides for changing the Fuel filters on different AUDI A6 models
 Free download PDF1.43 MB
 Free download PDF2.13 MB
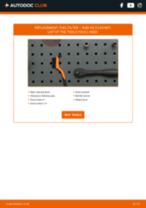 Free download PDF1.42 MB
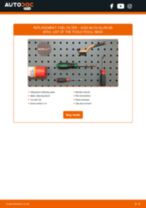 Free download PDF1.97 MB
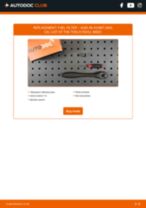 Free download PDF901.12 KB
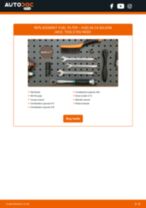 Free download PDF1.9 MB
Your profile is your personal assistant.
It can track car expenses, keep a car log and replacement schedule, and save favourite materials, notes and documents
Install the AUTODOC CLUB app!
Your personal car expenses manager, maintenance tips, reminders about upcoming appointments and service intervals, DIY repair instructions – all this on your phone.

Scan
To download the app:
- - scan the QR code
- - download from App Store
- - download from Google Play

Tips & tricks for your AUDI A6 Avant (4F5, C6)
View more
 Replacing your engine cooling fan | AUTODOC tips
 What to do if your car's air conditioning isn't working properly | AUTODOC tips
 5 tools that make car repair incredibly simple | AUTODOC tips
 How to repair a bumper yourself | AUTODOC tips